
Water Filtration System 
Water Filtration System this video is about what happened to my house’s water filtration and what the worker did to […]
Water Filtration System this video is about what happened to my house’s water filtration and what the worker did to […]

#wholeapartmentfiltrationsystem #wholeapartmentfilter #wholehousefilter #wholehousewaterfilter #waterfilter Product details:- Water Sparks Whole House/ Apartment Filtration System in Complete Stainless Steel 304 grade

Do you want to learn how to easily change your whole house, cottage or cabin water filter? You know, it

Welcome to Duck River Homestead! Watch the 1 year review of our Massey Ferguson 1835E compact tractor here: Learn how

In this video, We listed Best Water Filtration Systems, You can check the price or purchase in the description below!

If you’ve got concerns about the taste, smell, discoloration, staining or safety of your water you know you need a

This time I’ll show you, How to Safely!! Cut into your plumbing to install a 2 stage whole house water

My water softener has been giving me problems lately, so I decided it was finally time to replace the softener,

Farhan Trading Water Technology Company has been working on clean drinking water at national and international level for the last
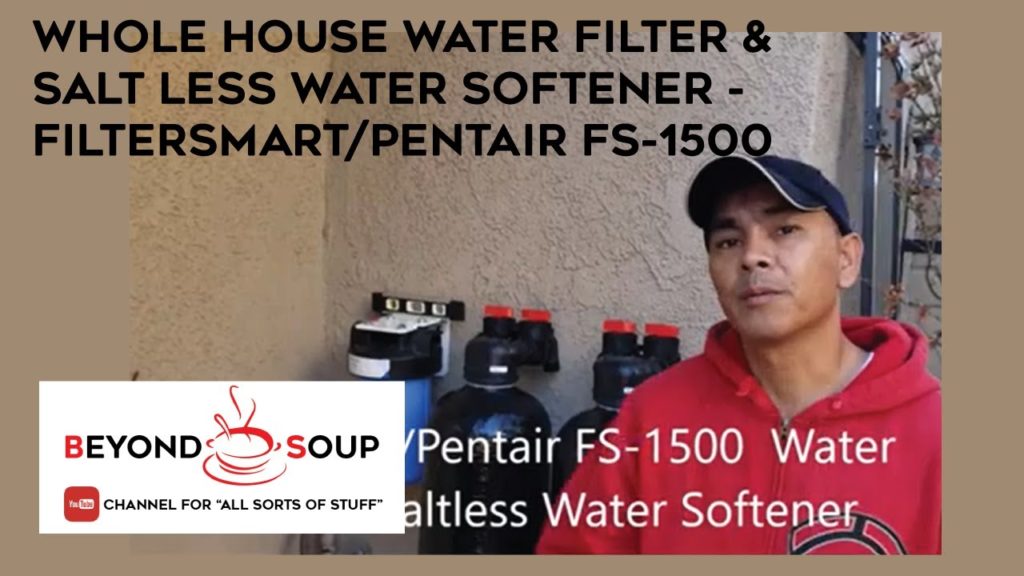
FilterSmart/Pentair Whole House Water Filter & Salt-less Water Softener Rated for 1-3 Bathrooms 1,000,000 gallons or 5 Years Prefilter cartridge