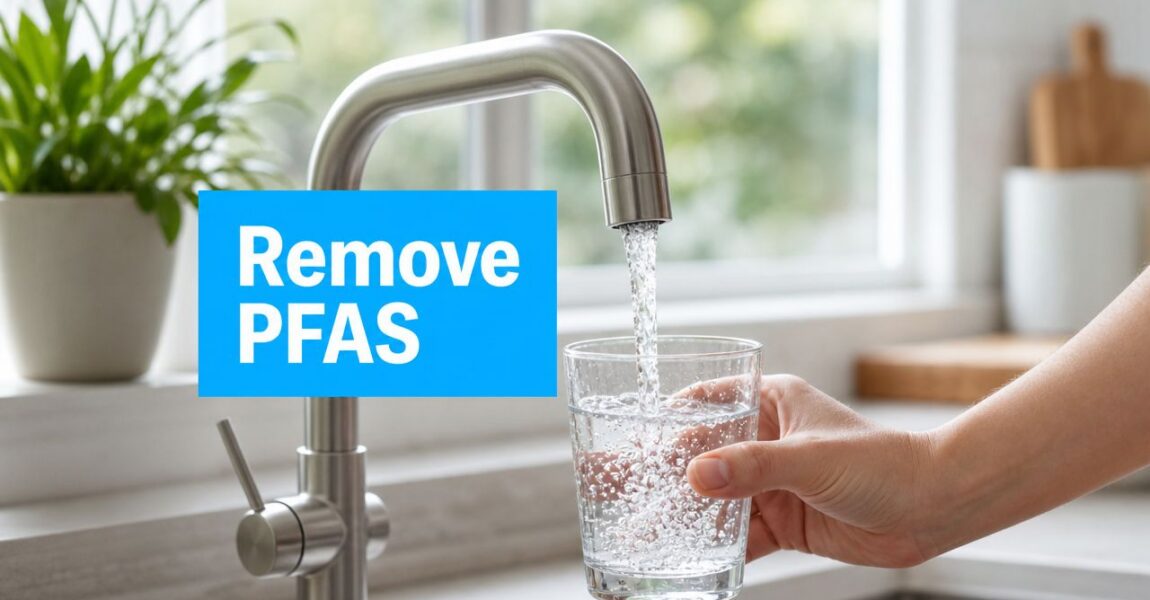
Best Water Filter Pitcher for Well Water: 2026 Guide
A lot of advice about the best water filter pitcher for well water starts in the wrong place. It starts with brands, pitcher size, or which one tastes best.
That's backwards.
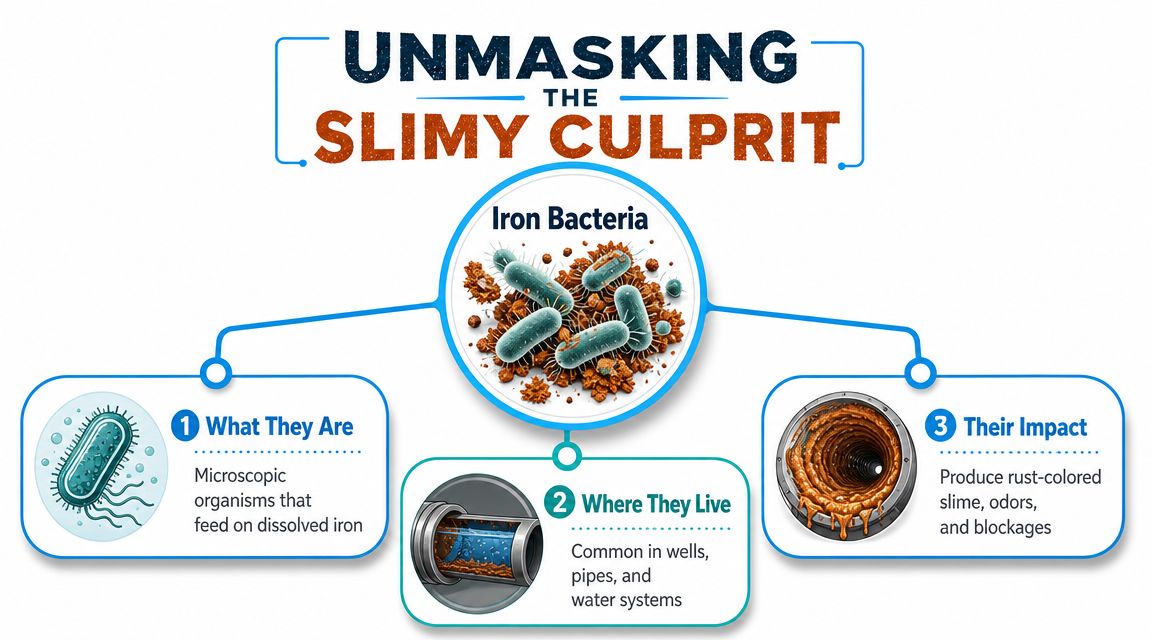
If you've just moved into a home with a private well, a pitcher might help, but it also might give you false confidence. Well water isn't pre-treated the way city water is. It can look crystal clear and still have a problem a basic pitcher won't touch. And some of the most common well issues, like sediment, bacteria, iron, or sulfur odors, can overwhelm a pitcher fast.
A pitcher can still make sense in a narrow situation. The key is knowing whether you're dealing with a small drinking-water problem or a whole-house water-treatment problem. That distinction matters more than the logo on the box.
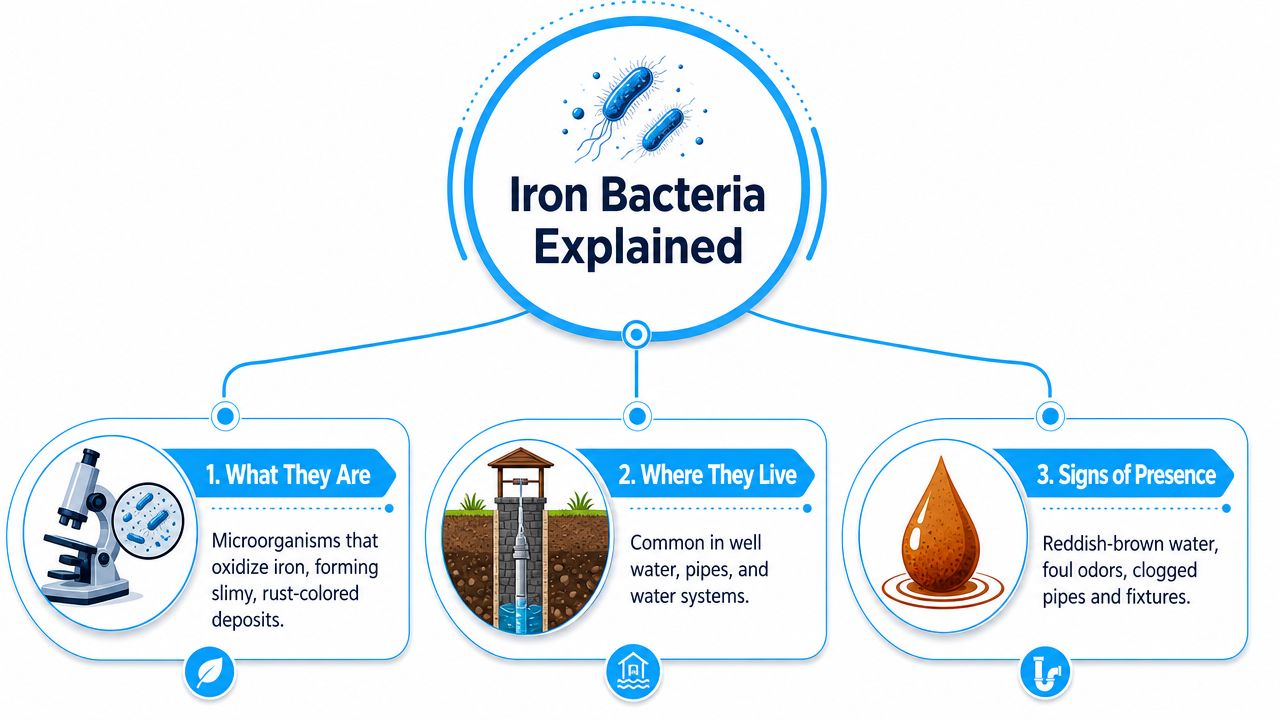
Can a Water Filter Pitcher Really Handle Well Water
A water filter pitcher is often the wrong tool for well water.
That sounds backward because pitchers are sold as a simple fix. Fill it, wait a few minutes, pour a glass. For a home on treated city water, that can be enough for taste or odor. For a private well, the safer question is not “Which pitcher is best?” It is “Is a pitcher appropriate at all?”
Why the usual advice falls apart
A standard pitcher works like a small, targeted filter. It can help with certain drinking water problems if the cartridge is certified for that exact contaminant. It does not clean all the water in your home, and it does not fully treat a well with multiple issues.
That distinction matters.
Well water problems often come in layers. You might notice a smell, but the bigger concern could be something you cannot see or taste. Or you may have sediment and iron that clog a pitcher quickly, even if the pitcher helps a little with flavor. In that case, the pitcher is not solving the main problem. It is covering one symptom while the underlying issue stays in place.
A good way to frame it is tool versus job. A pitcher can be the right tool for a narrow drinking-water problem. It is a poor fit for water that needs disinfection, heavy sediment removal, strong iron treatment, or whole-house protection. If you want a simple way to sort those situations, our well water treatment advice and filter guides can help you match the problem to the right kind of system.
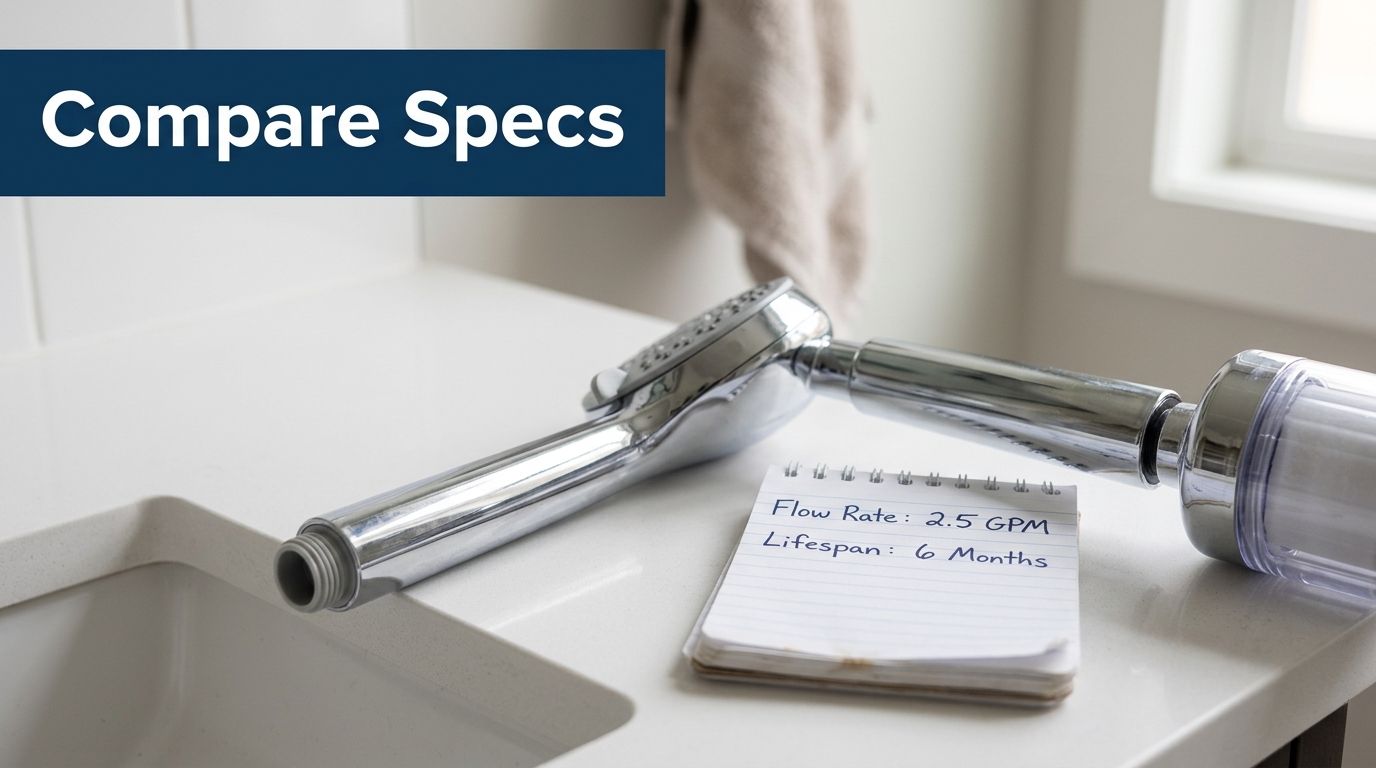
Bottom line: The best water filter pitcher for well water is only “best” if your test results show a problem the pitcher is built to handle.
What well owners usually miss
People new to private wells usually judge the water by the clues they can spot right away. That makes sense. If the water smells like sulfur or leaves orange stains, it is hard to think about anything else.
But visible clues only tell part of the story.
- Bad taste
- Musty or sulfur smell
- Cloudiness
- Orange or black staining
Those signs can point to real treatment needs, but they do not tell you whether a pitcher is enough. A pitcher may improve taste and still leave the main risk untouched. That is the trap with well water. Better-tasting water can make people feel safer than they should.
The better approach is to start with the water itself, not the pitcher box. Once you know what is in the well, you can decide whether a pitcher makes sense for a limited drinking-water use or whether the job calls for a stronger system.
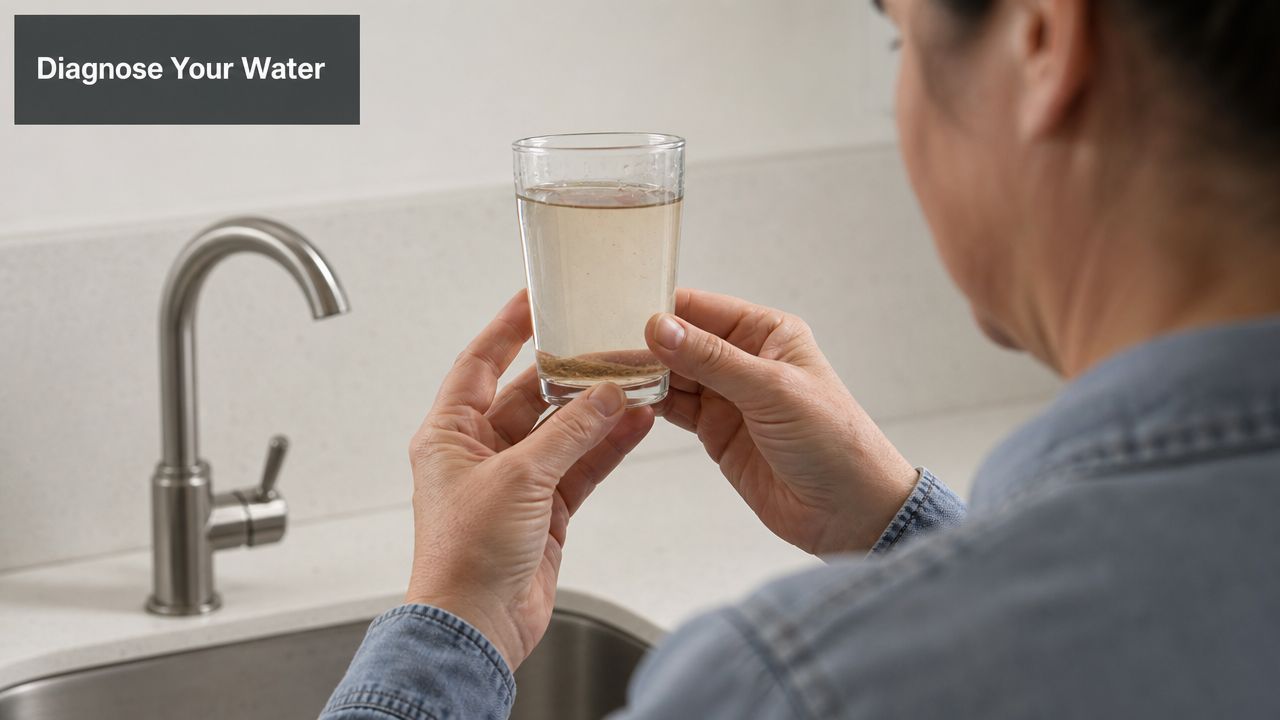
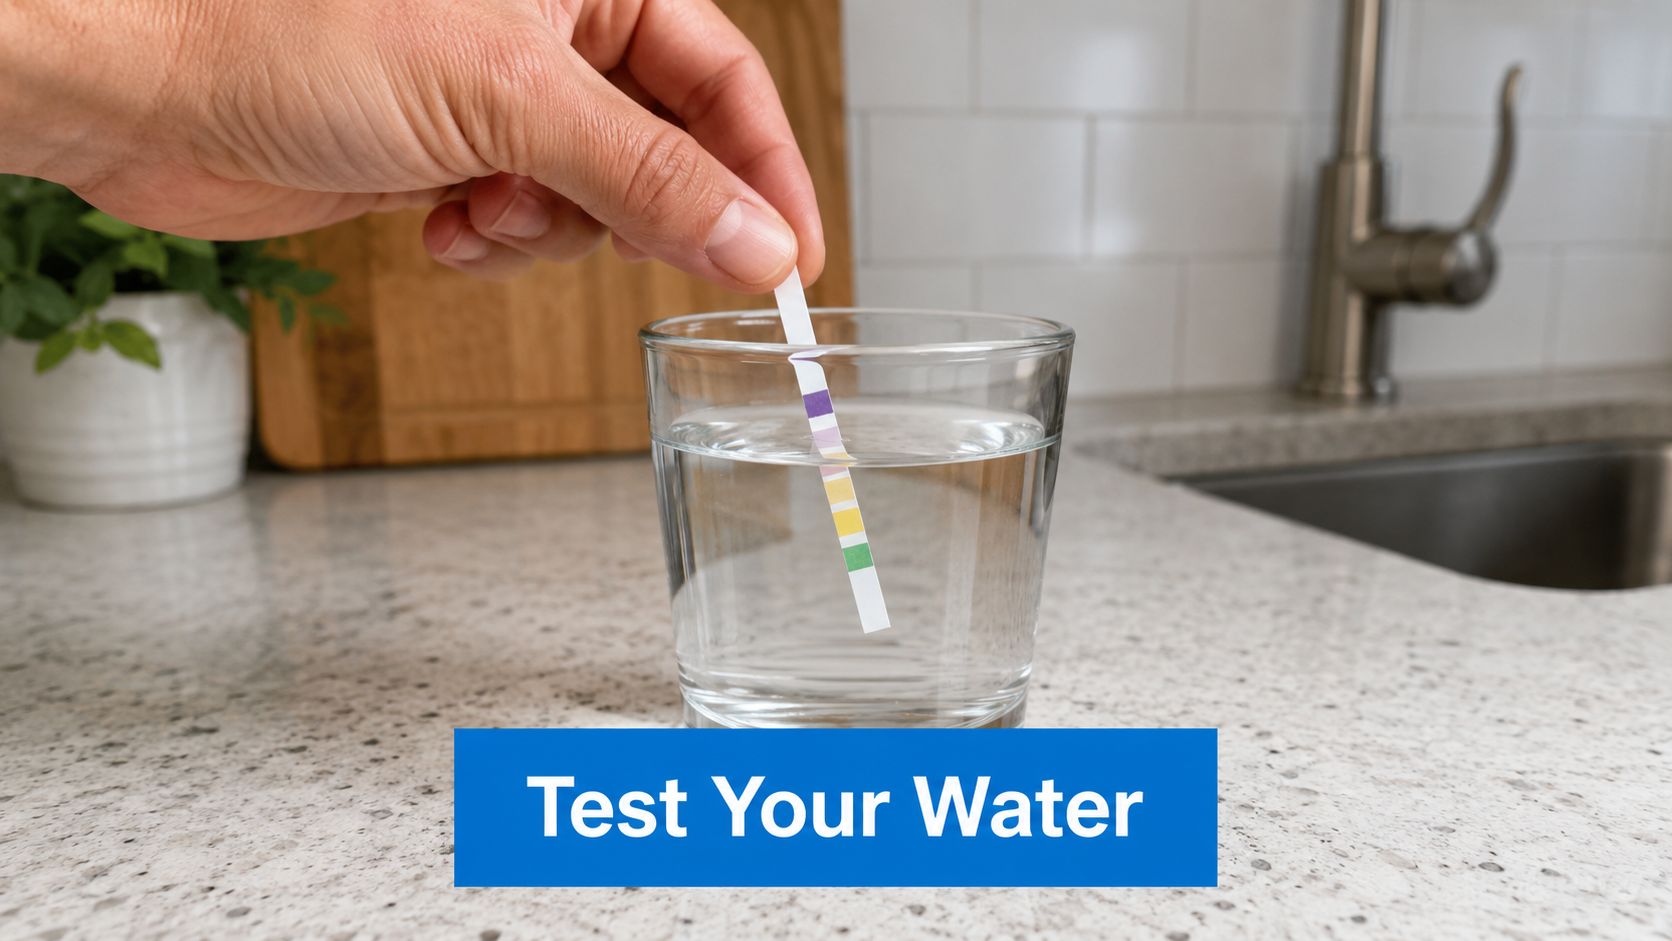
Before You Buy Anything Test Your Well Water
Testing isn't an extra step. It's the first step.
If you skip it, you're guessing. And with well water, guessing is how people end up filtering for chlorine they don't have, while ignoring a problem they do have.
Why testing matters more for wells
A city utility usually treats water before it reaches your house. A private well doesn't come with that safety net. The well owner is responsible for knowing what's in the water and choosing treatment that fits.
The hard part is that well problems fall into very different buckets. One family may have sediment and iron. Another may have a contamination issue that needs disinfection or specialized filtration. Both homes might say, “Our water tastes a little off,” but the solution could be completely different.
Here's a practical way to approach this:
| Water issue type | What it can include | Why a basic pitcher may fall short |
|---|---|---|
| Microbiological | Bacteria and other microbes | Many standard pitchers aren't designed as primary disinfection tools |
| Metals and inorganic contaminants | Lead and other dissolved substances | Some pitchers can reduce certain metals, but only if the model is certified for them |
| Organic contamination | Agricultural or chemical contamination | Performance varies widely, and broad marketing language isn't enough |
| Aesthetic problems | Taste, odor, and some discoloration | Pitchers often help here, but that doesn't mean the water is comprehensively treated |
Test first, then match the filter
Consumer Reports' advice for well owners is the right mindset: test first, then buy a pitcher certified to remove the contaminants your report found. It also warns that phrases like “tested to” aren't the same as certification. That's an important distinction because pitcher performance varies a lot, especially once you move past taste and odor concerns.
If you want plain-language help interpreting results and comparing treatment options, Water Filter Advisor's filtration advice library is a useful place to keep reading after you have your report in hand.
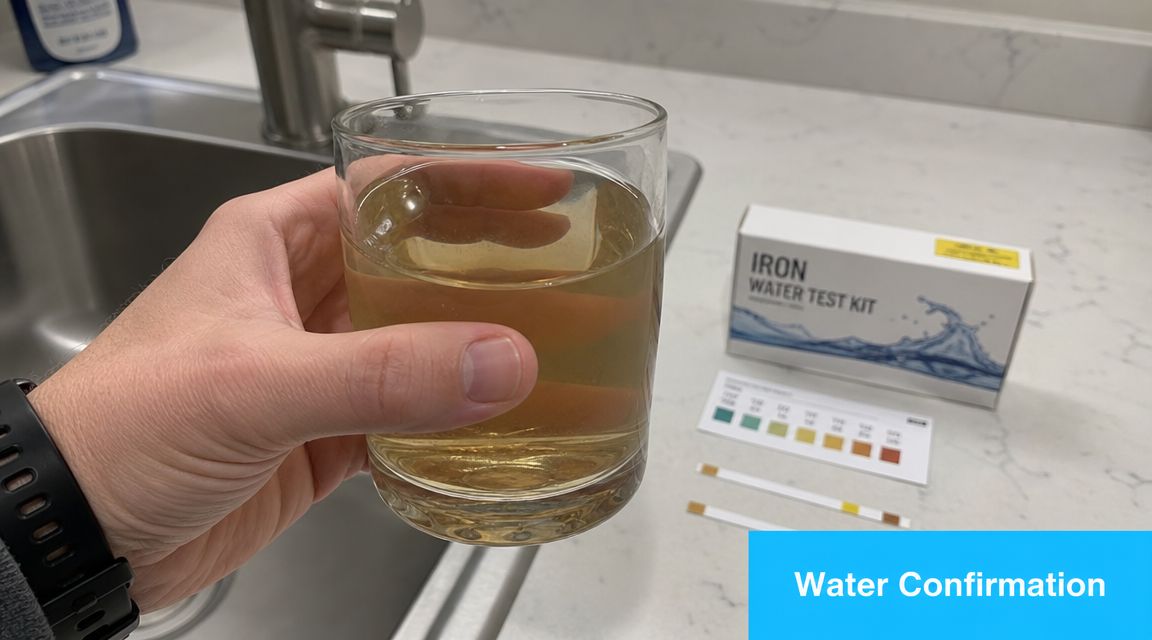
Water that looks fine can still require treatment. A lab result tells you what your eyes and taste buds can't.
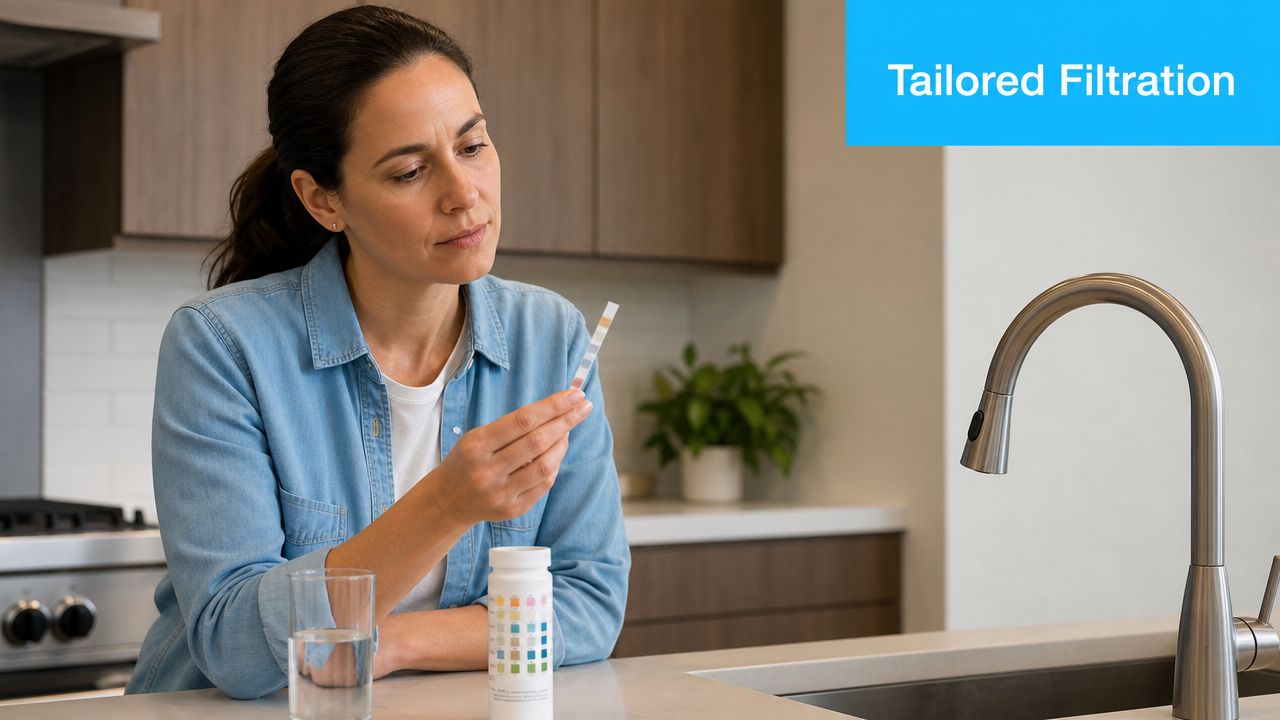
Lab test or home kit
A home kit can be a decent early clue. It can tell you whether something seems off. But if you're making a buying decision about the best water filter pitcher for well water, a certified lab test is the safer basis for that decision.
Use the home kit like a smoke alarm. Use the lab report like the fire inspector.
When you read the report, don't get distracted by marketing promises on a box. Focus on one simple question: what specific contaminants need to be reduced for your drinking water?
Why modern pitchers still need matching chemistry
Pitcher filters have become more advanced over time. An academic study of nine water filter pitchers found models using up to five filtration stages. Some filters reduced fluoride significantly, including two with statistical significance at p < 0.001 and p = 0.030, while most also reduced calcium concentrations at p < 0.01, according to this academic review of pitcher filtration performance.
That sounds promising, and it is, but it leads to the most important lesson: performance is not uniform. Different pitchers use different media and behave differently. So the right question isn't “Which brand is popular?” It's “Which certified filter chemistry matches my water?”
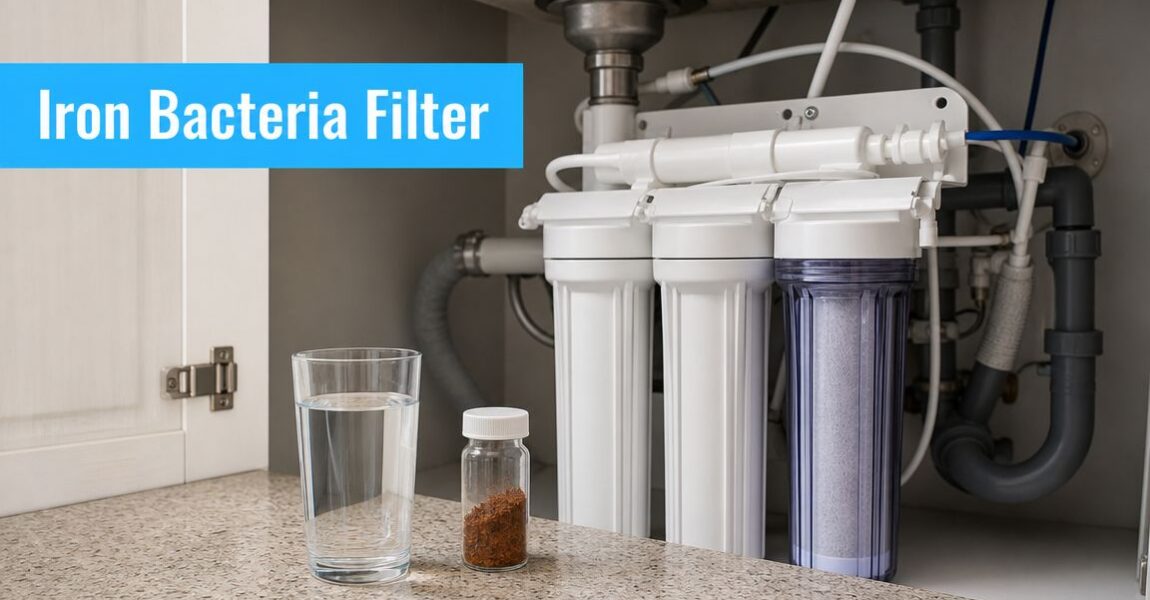
Decoding Pitcher Filters What They Can and Cannot Do
Inside a pitcher, you're not getting one magical layer. You're getting a small stack of media, and each layer has a different job.
Imagine fishing nets with different mesh sizes. One net catches leaves. Another catches pebbles. Another is designed for something much smaller. If you throw the wrong net in the water, the fish you care about swim right through.
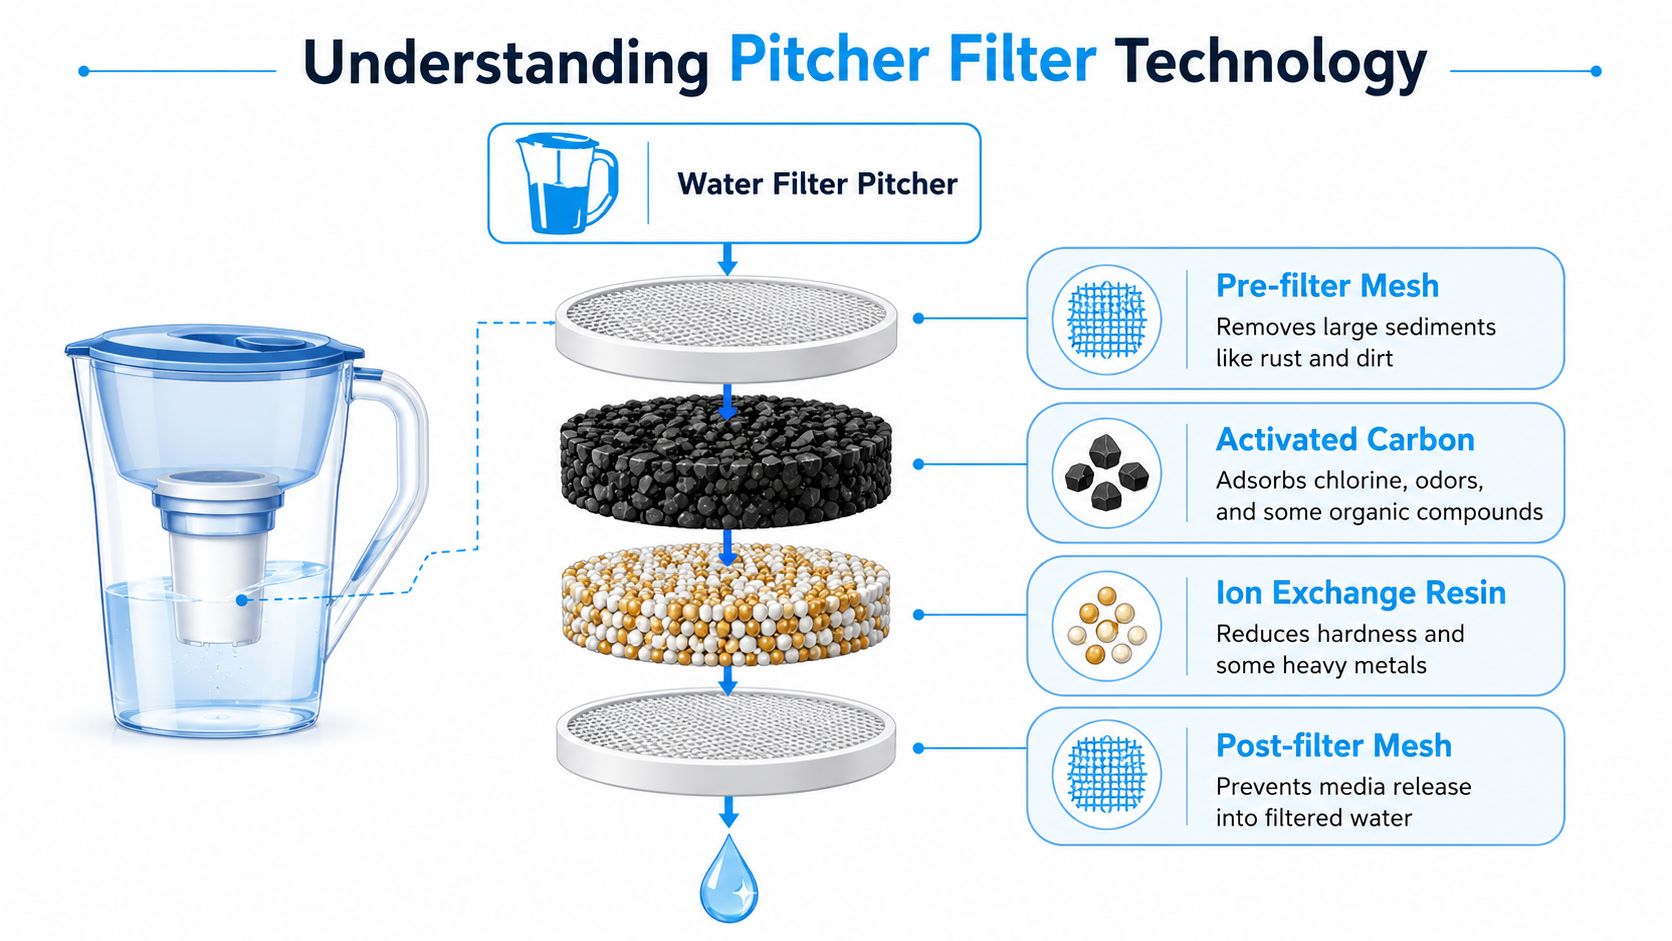
What the common filter media do
Most pitchers use some combination of the following:
- Activated carbon: This is the workhorse for improving taste and odor. It can also reduce some chemicals, depending on the design.
- Ion-exchange resin: This media can help with certain dissolved contaminants, including some metals.
- Pre-filter and post-filter screens: These help manage larger particles and keep filter media from ending up in your drinking water.
That mix is why one pitcher can be decent for lead reduction while another mainly improves flavor. From the outside they can look nearly identical. Inside, they may be solving different problems.
What pitchers usually handle reasonably well
If your well test points to a limited drinking-water issue, a pitcher can sometimes be useful for:
- Taste and odor improvement
- Certain certified contaminant reductions
- Convenient point-of-use treatment for drinking water only
This is the lane where pitchers shine. They're simple, easy to use, and they don't require plumbing changes.
A pitcher is a point-of-use tool, not a whole-home fix. Treat it like a coffee maker for cleaner drinking water, not like a treatment plant for the entire house.
Where pitchers hit a wall
Many buyers are often confused. A pitcher may make water taste better while leaving the actual problem unsolved.
A standard pitcher is generally a poor fit for these common well-water situations:
| Problem in well water | Why a pitcher struggles |
|---|---|
| Heavy sediment or silt | The filter clogs quickly and flow slows down |
| Iron or manganese | These usually need specialized treatment, not a fridge pitcher |
| Hydrogen sulfide odor | The “rotten egg” issue often needs a treatment approach beyond pitcher media |
| Hardness | Pitchers aren't a practical fix for whole-house scaling and soap problems |
| Microbial contamination | A pitcher should not be your first-line answer when disinfection is needed |
Some newer pitchers are marketed for bacteria or parasite reduction, and that can sound like the perfect answer for a well. The catch is practicality. Source water with sediment, iron, or recurring contamination can make a specialized pitcher slow, expensive, or frustrating to live with.
So if you're evaluating the best water filter pitcher for well water, don't just ask what it removes. Ask how it behaves when real well water starts stressing the filter.
How to Choose a Pitcher That Matches Your Water Test
A good pitcher choice starts with one question: what, exactly, showed up in your water test?
That sounds obvious, but it is where buyers get tripped up. A pitcher box may promise cleaner, better-tasting water, while your lab report is asking a much narrower question. Can this filter reduce the specific contaminant in my well water, at the level and under the conditions I have?
A water test is your map. The pitcher is only one tool in the toolbox. If you use the wrong tool, you may get better taste and still leave the actual risk in the glass.
Start with certified claims you can match to the report
As noted earlier, independent ratings often show a gap between taste improvement and meaningful contaminant reduction. That matters for well owners because taste is not the same thing as treatment.
Read the package like you would read a prescription label. Look for a claim that matches your test report, not a broad promise.
Here is the plain-English version:
- Certified means the claim has been checked against an independent standard.
- Tested or lab tested sounds reassuring, but it may only reflect the brand's own testing.
- Reduces many contaminants is too fuzzy to trust for a specific well-water problem.
If your report shows lead, for example, the pitcher should clearly say it is certified to reduce lead. If your report shows PFAS, the claim should name PFAS. If the package makes you guess, keep shopping.
Use a filter-match process, not a popularity contest
A lot of roundup articles rank pitchers like coffee makers. Well water does not work that way. You are matching a device to a contaminant profile.
Use this process:
Mark the contaminants that matter for drinking water
Circle the items on your report that affect health or make the water unpleasant enough that your family will avoid it.Separate pitcher problems from system problems
Some issues belong in the pitcher category. Others belong in the treatment-system category. A pitcher may fit mild chlorine taste in city water. Well water with iron, sulfur, sediment, recurring bacteria, or major hardness usually needs a different class of equipment.Match each concern to a named certified claim
Do not settle for “better water” language. Match contaminant to claim, one by one.Check capacity against your real routine
One person filling a glass twice a day has very different needs than a family filling bottles, cooking pasta, and making coffee.Estimate maintenance realistically
Well water can be harder on filters than the ideal test conditions used for marketing. Slow flow and frequent cartridge changes are common signs that the pitcher is being asked to do too much.
A quick way to judge whether a pitcher fits your test
Here is a practical screen you can use.
| Water test result | Pitcher may fit? | Why |
|---|---|---|
| A specific contaminant the pitcher is certified to reduce, with otherwise clear water | Possibly | This is the narrow use case where a pitcher can make sense |
| Sediment, sand, or visible particles | Usually no | Particles clog filters fast and shorten cartridge life |
| Iron or manganese | Usually no | These often need specialized treatment media |
| Hydrogen sulfide or strong sulfur odor | Usually no | Odor may improve briefly, but the root issue often remains |
| Bacteria or other microbial concerns | Use extreme caution | A pitcher should not be your fallback safety plan for a contaminated well |
| Hardness, scale, soap problems | No practical fit | That is a house-wide water chemistry issue, not a pitcher job |
This table is why a pitcher is often the wrong first purchase for well water. It can be useful, but only in a narrow lane.
Secondary details matter more with well water
Once you confirm the filter claim matches your test, look at the daily-use details.
Filter life matters more than many new well owners expect. A cartridge rated for a certain number of gallons may hit frustratingly slow flow much sooner if your water carries fine sediment or nuisance metals.
Pitcher speed matters too. Slow filtration sounds like a small annoyance until three people are waiting to fill bottles before school.
Total cost deserves a hard look. A cheap pitcher with frequent cartridge changes can end up being the expensive option. If your test suggests you are already close to needing a stronger treatment setup, compare that long-term cost with the benefits of Halo water solutions or another whole-home approach designed for well conditions.
What a sensible pitcher choice looks like
A reasonable pitcher choice for well water usually looks like this:
- You have a current water test.
- The concern is narrow and clearly identified.
- The pitcher has a matching certified claim for that specific contaminant.
- Your water is not loaded with sediment, iron, sulfur, or microbes.
- You only need better drinking and cooking water at the kitchen level.
- You accept the refill routine and cartridge costs.
That is a much smaller target than product roundups usually admit. For well water, that honesty matters. A pitcher can be a useful finishing tool, but only when the water test says it is the right tool.
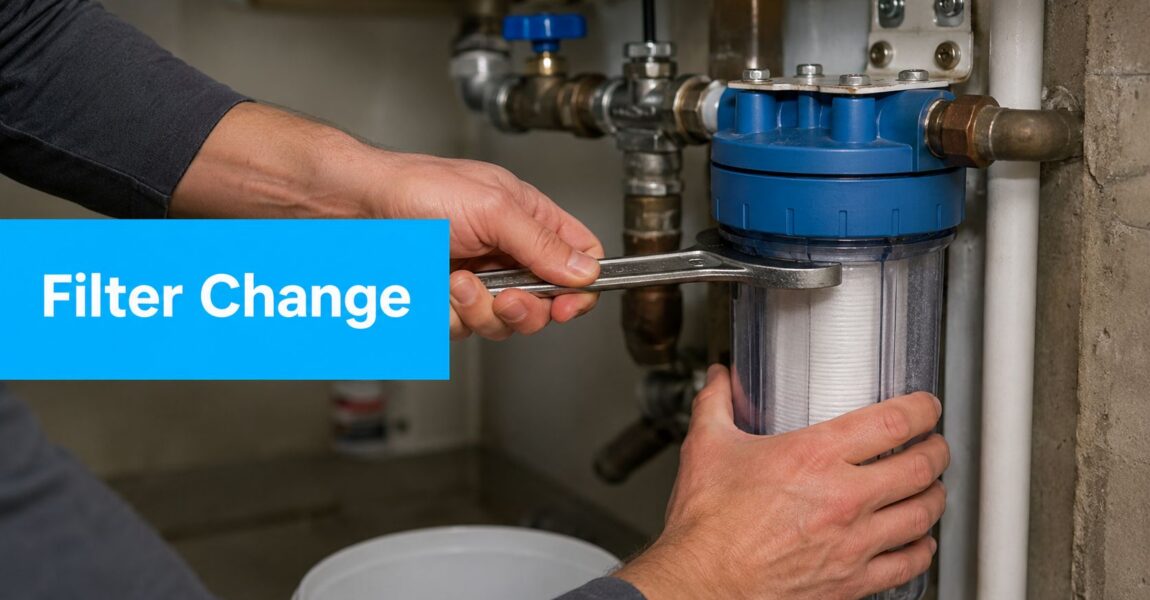
When to Look Beyond a Pitcher for Well Water Treatment
Some well-water problems are too serious, too broad, or too stubborn for a pitcher. That doesn't mean your water is hopeless. It just means you need the right class of treatment.
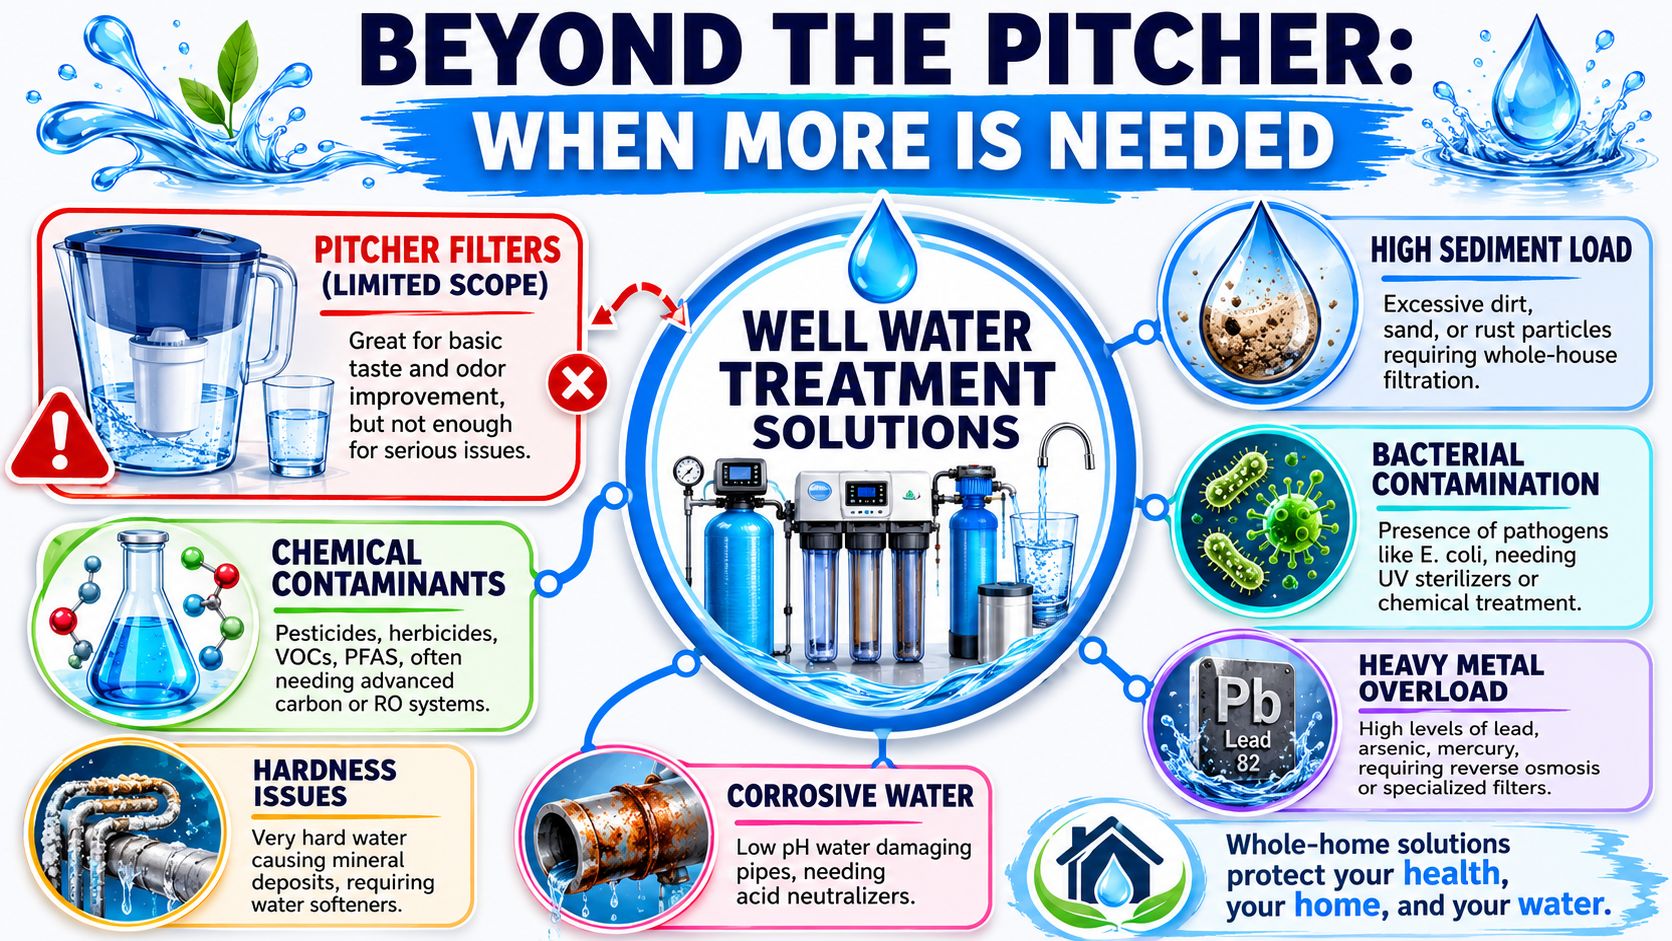
The clearest signs a pitcher isn't enough
If any of these sound familiar, stop looking for a fridge pitcher as your main answer:
- Your water test shows bacteria or recurring microbial issues
- You see sand, dirt, rust, or heavy cloudiness
- Fixtures stain orange, black, or blue-green
- The water smells strongly like sulfur
- Your home has scale buildup, soap problems, or appliance wear linked to hardness
- You're trying to protect the whole house, not just one drinking-water container
Those are treatment-system clues, not pitcher clues.
Match the problem to the right tool
Here's the practical side-by-side view:
| Well water problem | Better treatment direction |
|---|---|
| Bacterial contamination | UV purification or another disinfection approach |
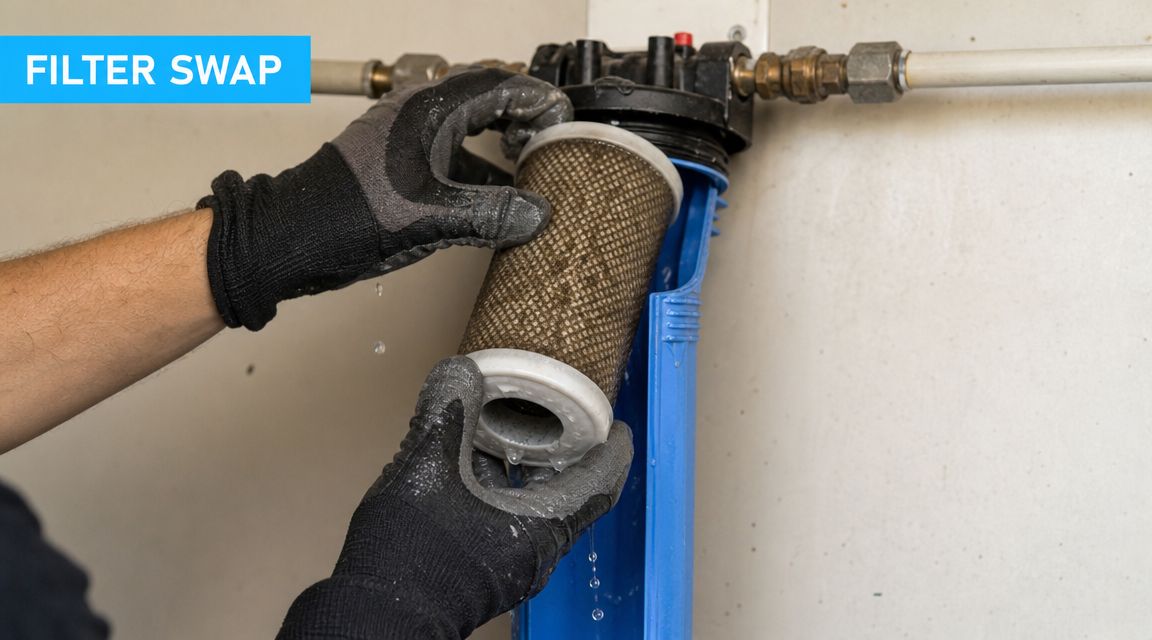
| Sediment and silt | Whole-house sediment prefiltration |
| Iron and manganese | Specialized iron treatment |
| Hardness | Water softening |
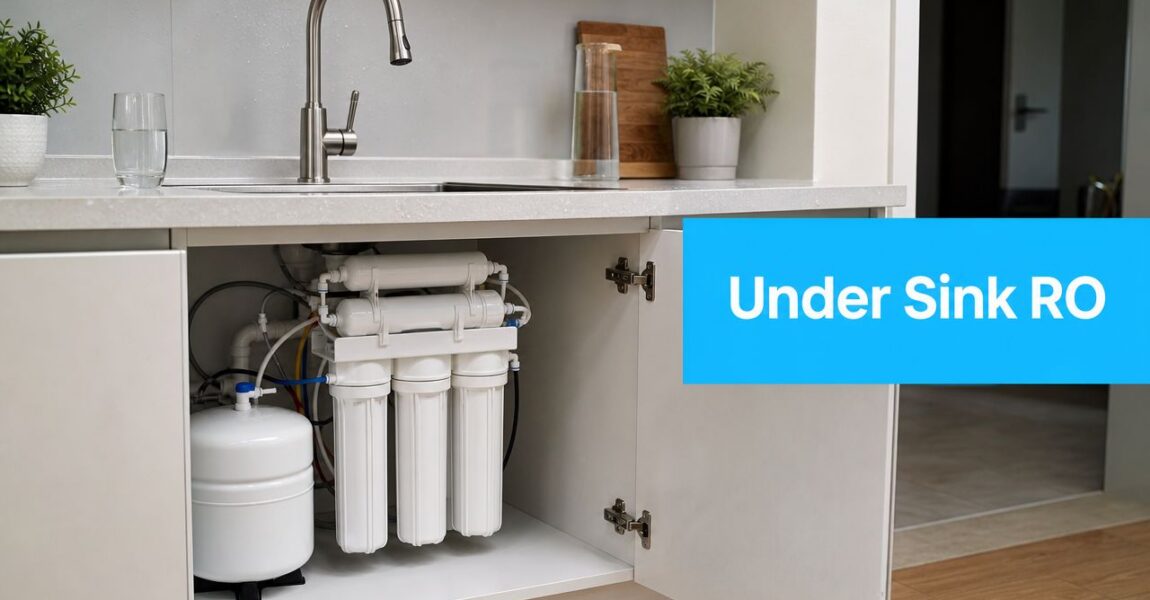
| Broad contaminant concerns for drinking water | Under-sink treatment or reverse osmosis, depending on the issue |
| Corrosive low-pH water | Neutralizing treatment |
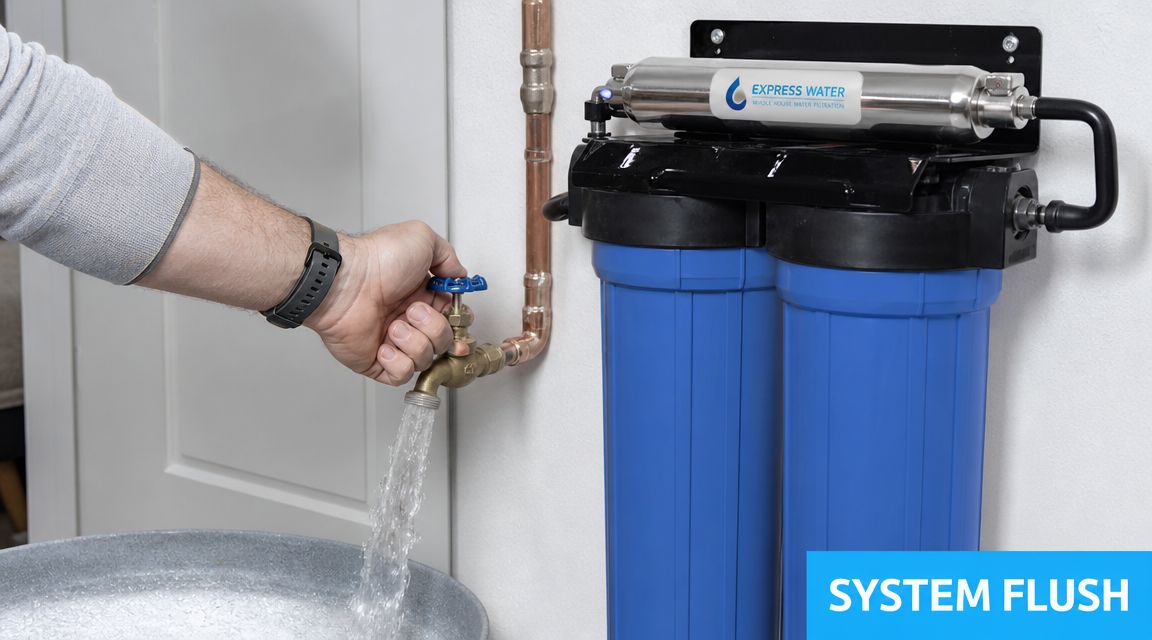
A pitcher sits at the end of the line. These systems address the problem earlier, where it affects the whole home or where stronger treatment is needed.
For homeowners trying to understand what a more complete approach can look like, this overview of the benefits of Halo water solutions from JMJ Plumbing is a helpful example of how whole-home treatment is framed around actual water conditions, not just convenience.
Why high-performance pitchers can still be a bad fit
Some newer pitchers are marketed for bacteria and parasites. That sounds promising, especially for anxious well owners. But the often-missed question is whether those products are practical on real well water.
Epic's discussion of well-water pitchers highlights the issue clearly. It notes that high-performance pitchers can still be expensive or inconvenient for wells because flow rate, replacement cost, and filter life become a problem when source water has high sediment, iron, hydrogen sulfide, or recurring microbial load, as described in Epic Water Filters' discussion of pitcher suitability for wells.
That means a specialized pitcher may be a stopgap, not a durable plan.
This short video gives a helpful visual overview of why well treatment often goes beyond countertop options.
A simple neighbor-to-neighbor rule
If the problem affects only the glass you drink, a pitcher may help.
If the problem affects pipes, fixtures, showers, laundry, appliances, or family safety, you're in system territory.
That's the point where looking for the best water filter pitcher for well water can waste time. The smarter move is upgrading to treatment that matches the seriousness of the problem.
Your Well Water Pitcher Decision Checklist
A good decision isn't complicated once you strip away the packaging language. Save this checklist and use it before you buy anything.
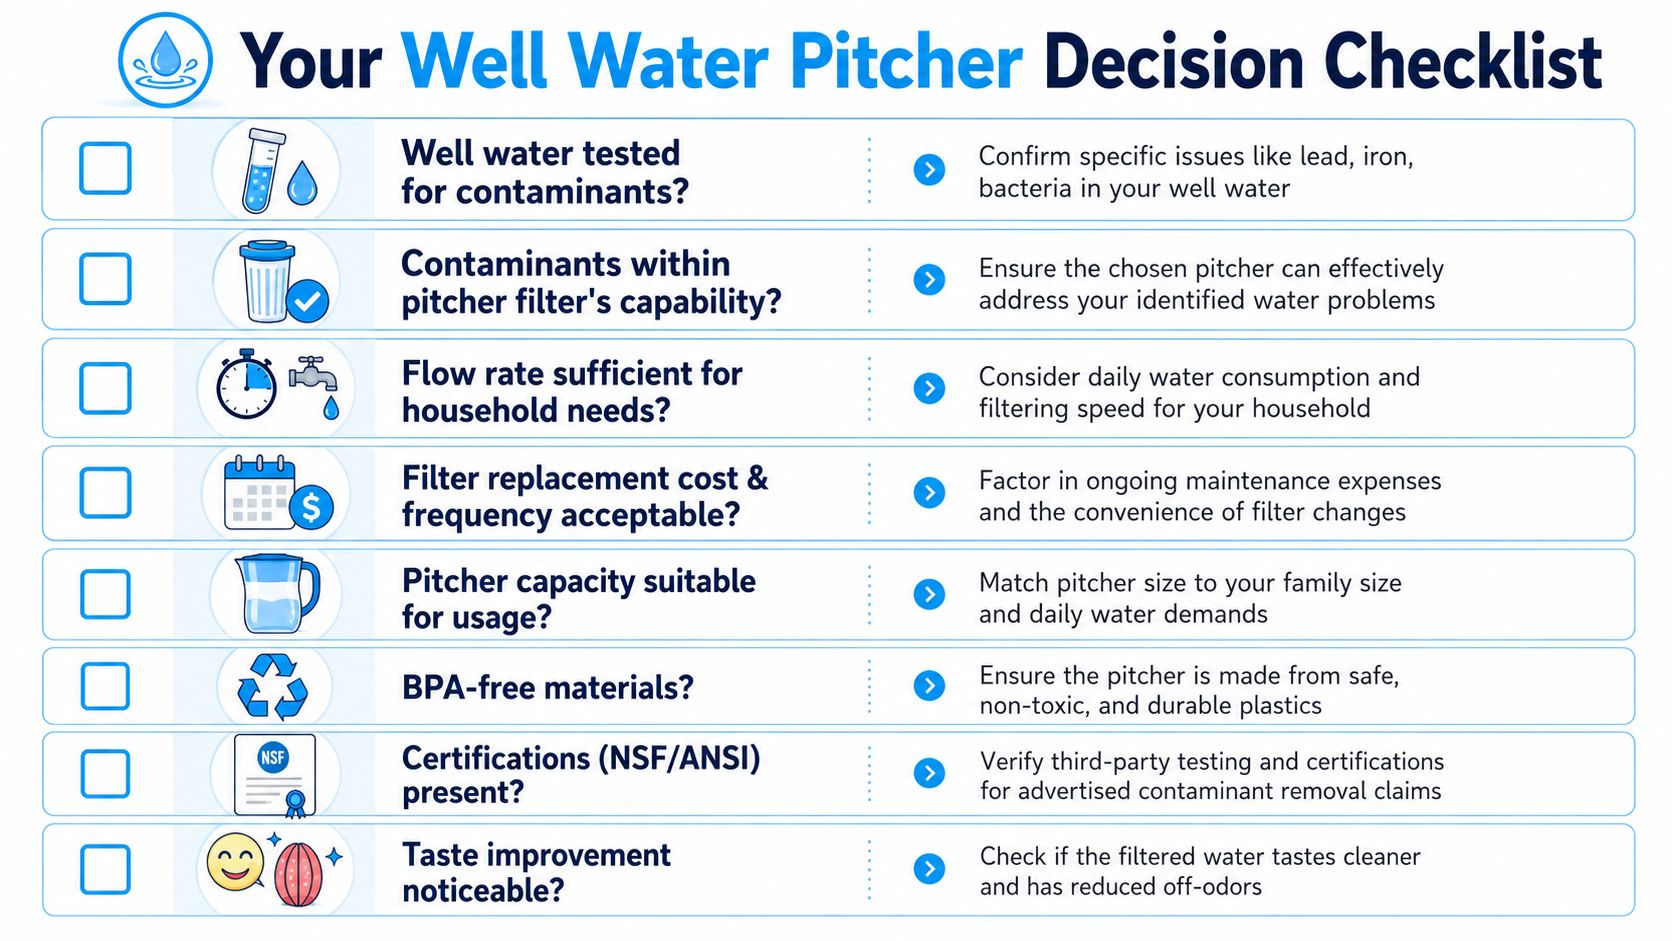
Run through these questions in order
Have you tested your well water?
If not, stop here. Don't pick a filter blind.Is the problem limited to drinking water?
If the issue shows up all over the house, a pitcher is too small a solution.Does your report show a contaminant a pitcher can reasonably address?
Some do. Many well-water problems don't fit this category.Does the exact pitcher have the right certification for your contaminant?
“Better tasting water” is not enough.Will sediment, iron, sulfur odor, or microbial load make the pitcher impractical?
Even a capable filter can become a headache on rough well water.Can your household live with the refill routine, flow rate, and cartridge replacement schedule?
Convenience matters because treatment only helps if people make use of it.Are you using the pitcher as a temporary drinking-water tool, not as a substitute for whole-home treatment when that's needed?
Safe decisions usually become obvious when considering this.
If you need confidence more than convenience, choose the treatment category first and the product second.
A pitcher can be the right answer, but only in a narrow lane. For many private wells, the safer answer is broader treatment and a pitcher only as a supplemental tool, if you want one at all.
If you're sorting through test results, certifications, and the difference between a quick fix and a proper treatment plan, Water Filter Advisor can help you compare options in plain English and choose a filtration setup that fits your home.