How Do Water Filtration Systems Work?
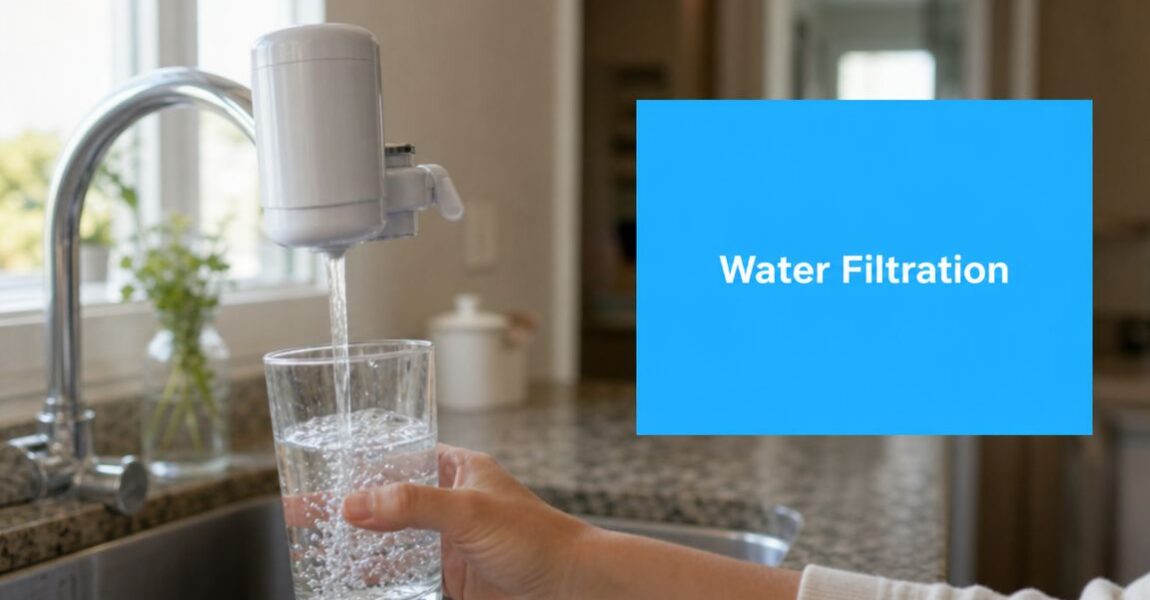
You turn on the kitchen tap, fill a glass, and pause. Maybe the water smells a little like a swimming pool. Maybe it tastes flat, metallic, or just “off.” Maybe the bathtub ran cloudy this morning, or you've noticed spots building up on fixtures faster than you'd like.
That's usually the moment people start asking the core question. How do water filtration systems work, and which kind best solves my problem?
The short answer is simple. A water filter isn't one magic barrier. It's a set of tools, and each tool has a different job. Some catch visible grit. Some grab dissolved chemicals that affect taste and odor. Some systems go further and separate out many dissolved impurities with a membrane. The trick is matching the tool to the problem in your water.
Why Your Tap Water Isn't Just H2O
Open a faucet in two different homes, and you can get two very different stories from the same city supply. One glass smells like chlorine. Another looks cloudy after plumbing work. A third leaves orange or brown staining in the tub. Water is never just H2O. It is water plus everything picked up along the way from the source, treatment plant, water main, and your home's plumbing.
That is the first idea to keep in mind before you shop for any filter. A filter is not solving a vague problem called “bad water.” It is doing a specific job. Sometimes that job is catching grit. Sometimes it is reducing a chemical that affects taste or odor. Sometimes it is dealing with dissolved material you cannot see at all.
A simple comparison helps. Your tap water is a mixed bag of passengers arriving together in the same car. Some are big and obvious, like sand, rust, or sediment. Some are dissolved and invisible, like chlorine byproducts or minerals. Some are harmless but annoying. Some may deserve closer attention. The right filtration system works like a team, with each stage assigned to the kind of problem it can handle well.
That explains why a one-size-fits-all filter often disappoints. A basic sediment filter can catch visible particles, but it will not do much for chlorine taste. Activated carbon can improve taste and odor, but it is not designed to remove every dissolved impurity. A tighter membrane system can address many dissolved substances, but it is usually not the first tool you need for cloudy water full of grit.
The problem you notice isn't always the problem you have
The symptom at the tap is a clue, not a full diagnosis.
If you have ever dealt with discolored bathwater, this practical explanation of why brown water in your tub is useful because it shows how color can point to sediment, rust, or plumbing-related issues instead of one single universal “water quality” problem. However, the problem you notice isn't always the only problem you have. Water can look clear and still contain dissolved substances that affect taste, odor, scale buildup, or overall drinking quality.
A helpful way to sort the jobs looks like this:
- Visible particles need screening or blocking. Sand, silt, rust, and debris are usually handled with sediment filtration.
- Taste and odor problems often need a surface that grabs contaminants. Activated carbon works a bit like a magnet for certain chemicals, holding them on its surface as water passes by.
- Many dissolved impurities need a tighter barrier. Problems involving salts or other dissolved substances may call for reverse osmosis or another specialized treatment step.
Practical rule: Do not shop for “the best filter.” Shop for the filter system that matches the jobs your water needs done.
Once you look at filtration this way, product labels start to make more sense. A pitcher, an under-sink unit, and a whole-house system are not doing the same work in different shapes. They are different tool sets for different water problems.
The Three Core Filtration Mechanisms
Most home systems rely on a few basic ways of separating unwanted material from water. Once you understand these, most filter designs stop looking mysterious.
A helpful visual makes this easier to picture:

Mechanical filtration
Mechanical filtration is the easiest one to understand. Think of a pasta strainer or a coffee filter. Water passes through. Bigger particles don't.
In home filtration, this job often belongs to sediment or mesh media. As explained by NuWater's overview of how water filtration systems work, these stages capture suspended solids such as sand, silt, rust, and debris before they move farther into the system. That matters for water quality, but it also protects the next filter stages from clogging too quickly.
If your water looks cloudy after plumbing work, or if you see grit in the bottom of a glass, this is usually the first line of defense.
Adsorption
Adsorption sounds technical, but the idea is very friendly. It means contaminants stick to the surface of the filter material.
Activated carbon is the star here. It works a bit like a contaminant magnet, except not every contaminant sticks equally well. As water moves across the carbon surface, compounds associated with chlorine, taste, odor, and some organic chemicals adhere to that media instead of continuing to your tap.
That's why a carbon filter can make water taste dramatically better even when the water already looks perfectly clear. The issue isn't floating dirt. It's dissolved substances your eyes can't detect.
Filter media doesn't have to trap everything like a net. Sometimes it works by giving unwanted compounds a place to cling.
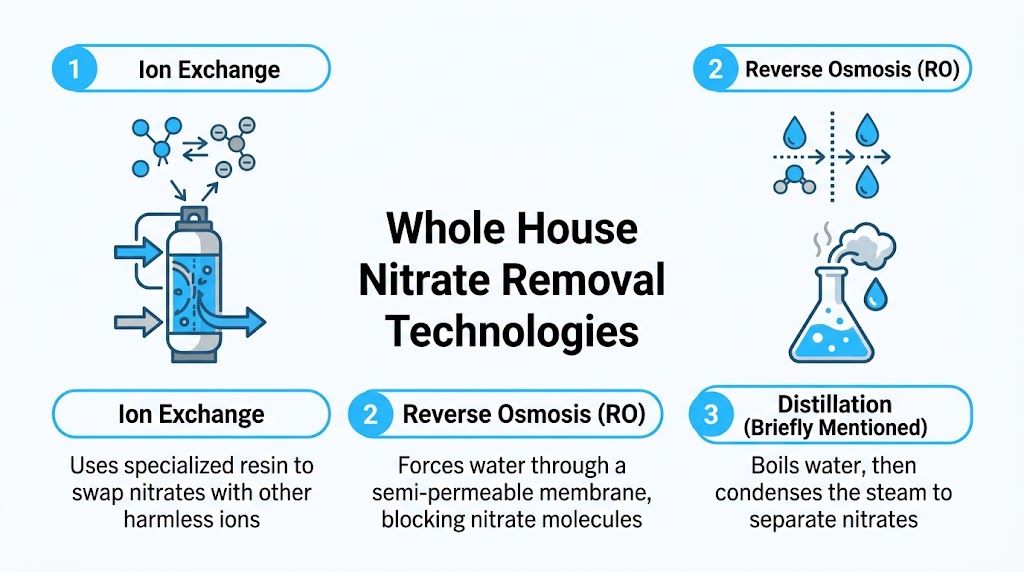
Membrane separation and why RO feels different
Reverse osmosis works differently from both straining and adsorption. It uses pressure to push water through a semipermeable membrane. Many dissolved ions and larger molecules are left behind rather than passing through with the water.
That's why RO systems are often chosen when the concern goes beyond taste. They're used for broader reduction of dissolved impurities, including salts and many substances that basic carbon filters don't handle well.
A short walk-through can help if you want to see the process in motion:
Why systems use stages instead of one super-filter
A good home system often combines these mechanisms because each one handles a different task.
- Stage one clears the path: Sediment filtration removes larger particles.
- Stage two improves the water experience: Carbon handles taste, odor, and some dissolved chemicals.
- Stage three goes tighter when needed: RO addresses many dissolved impurities that the earlier stages don't catch.
That staged approach is why multi-stage units are so common. One filter is doing the gritty cleanup. Another is polishing taste. Another may be doing the heavy lifting on dissolved contaminants.
Exploring Your Filtration Media Toolkit
Once you know the mechanisms, the parts inside a filtration system start to feel less like mystery cartridges and more like a toolbox. Each media type has strengths, blind spots, and a best use.
Here's what that toolkit can look like inside the practical world of home filtration:
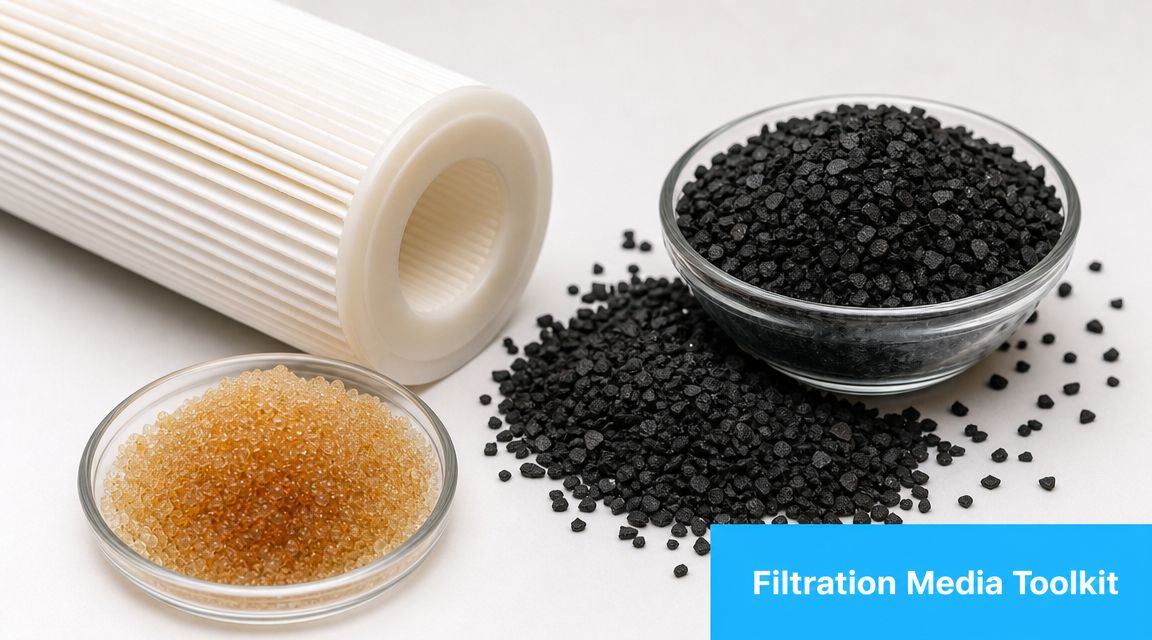
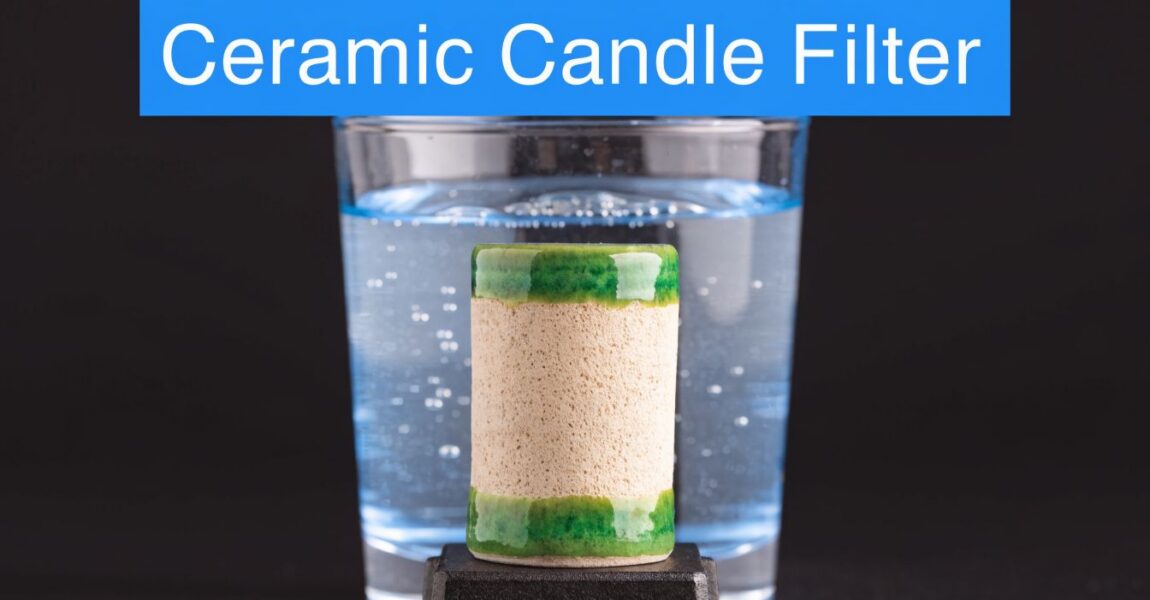
Sediment media
Sediment filters are the work boots of the system. They do the dirty, necessary work first.
They're built to catch physical material such as grit, rust, and debris before that material reaches more specialized media. If you skip this stage in a home with particle-heavy water, downstream cartridges can clog faster and water flow can drop.
This kind of staged thinking shows up outside homes too. If you're curious how similar ideas apply in another setting, this guide to marine water filtration is a useful example of how filtration choices change when water conditions and system demands change.
Activated carbon
Activated carbon is the neighbor everyone likes. It improves the experience of using water.
This media is especially valuable when the complaint sounds like, “The water smells like chlorine,” or “It tastes weird, but it looks fine.” Carbon's strength is adsorption. Its weakness is that it's not a universal answer for everything dissolved in water.
A carbon cartridge is excellent at making many municipal water supplies more pleasant to drink. It is not the same thing as a broad dissolved-solids solution.
KDF media
KDF, often described as a copper-zinc medium, is usually part of a team rather than a stand-alone hero in home systems. In whole-house setups, it's commonly paired with sediment filtration and carbon.
Its role is often tied to addressing chlorine and some heavy metals in the treatment train. Think of it as a specialist that works best when the rough debris has already been removed and when a carbon stage is nearby to handle related taste and odor concerns.
A smart filter setup doesn't ask one material to do five jobs badly. It assigns each media one job it does well.
Reverse osmosis membrane
The RO membrane is the precision instrument in the kit. Unlike a basic cartridge full of loose media, the membrane is built for selective separation under pressure.
This is the component people often choose when they want stronger reduction of many dissolved impurities, not just better flavor. That's also why RO systems are commonly installed where people draw drinking and cooking water, such as under the sink.
Why media works best as a team
If you opened several different systems, you'd see a pattern. Good design is less about one “premium” material and more about job order.
- Sediment media protects everything downstream
- Carbon improves taste and targets certain dissolved chemicals
- KDF adds another treatment role in some whole-house systems
- RO membranes handle many dissolved impurities that basic media misses
That's the key lesson. Filtration media isn't a list of buzzwords. It's a work crew.
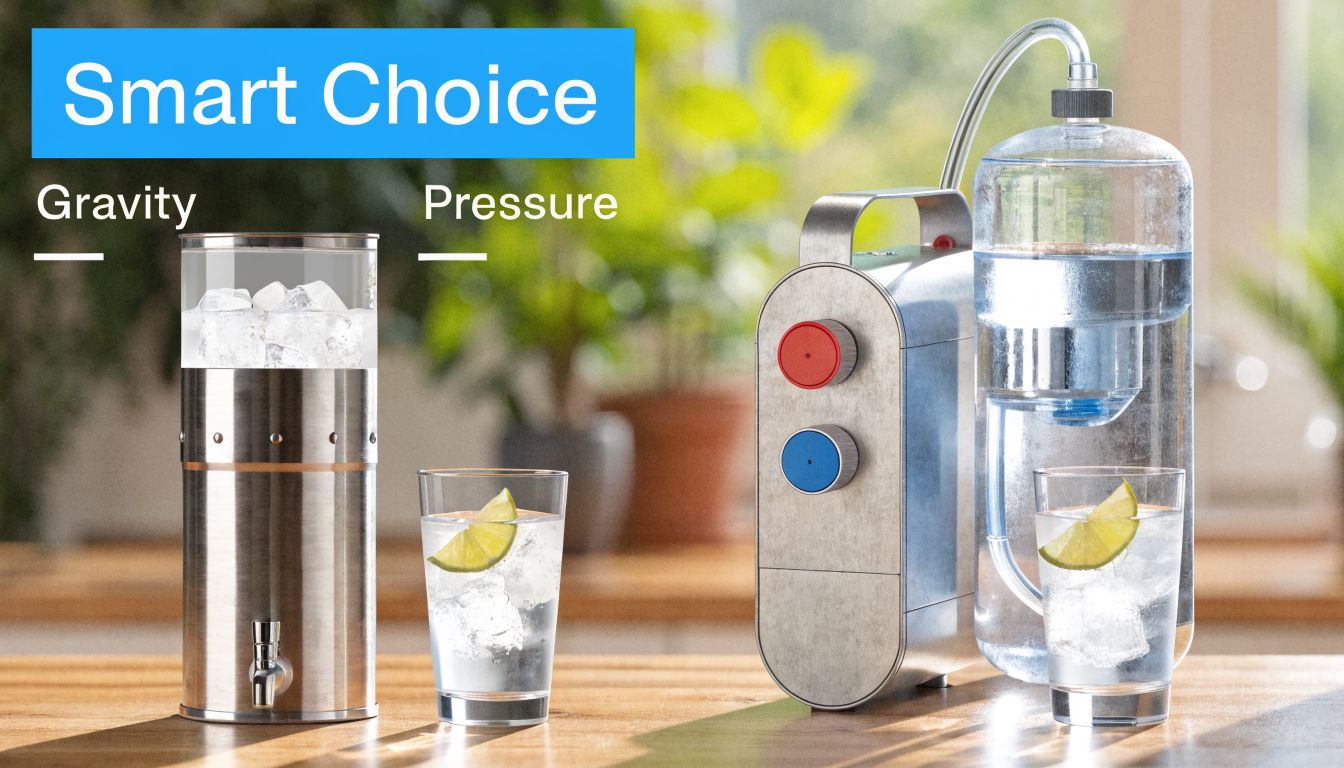
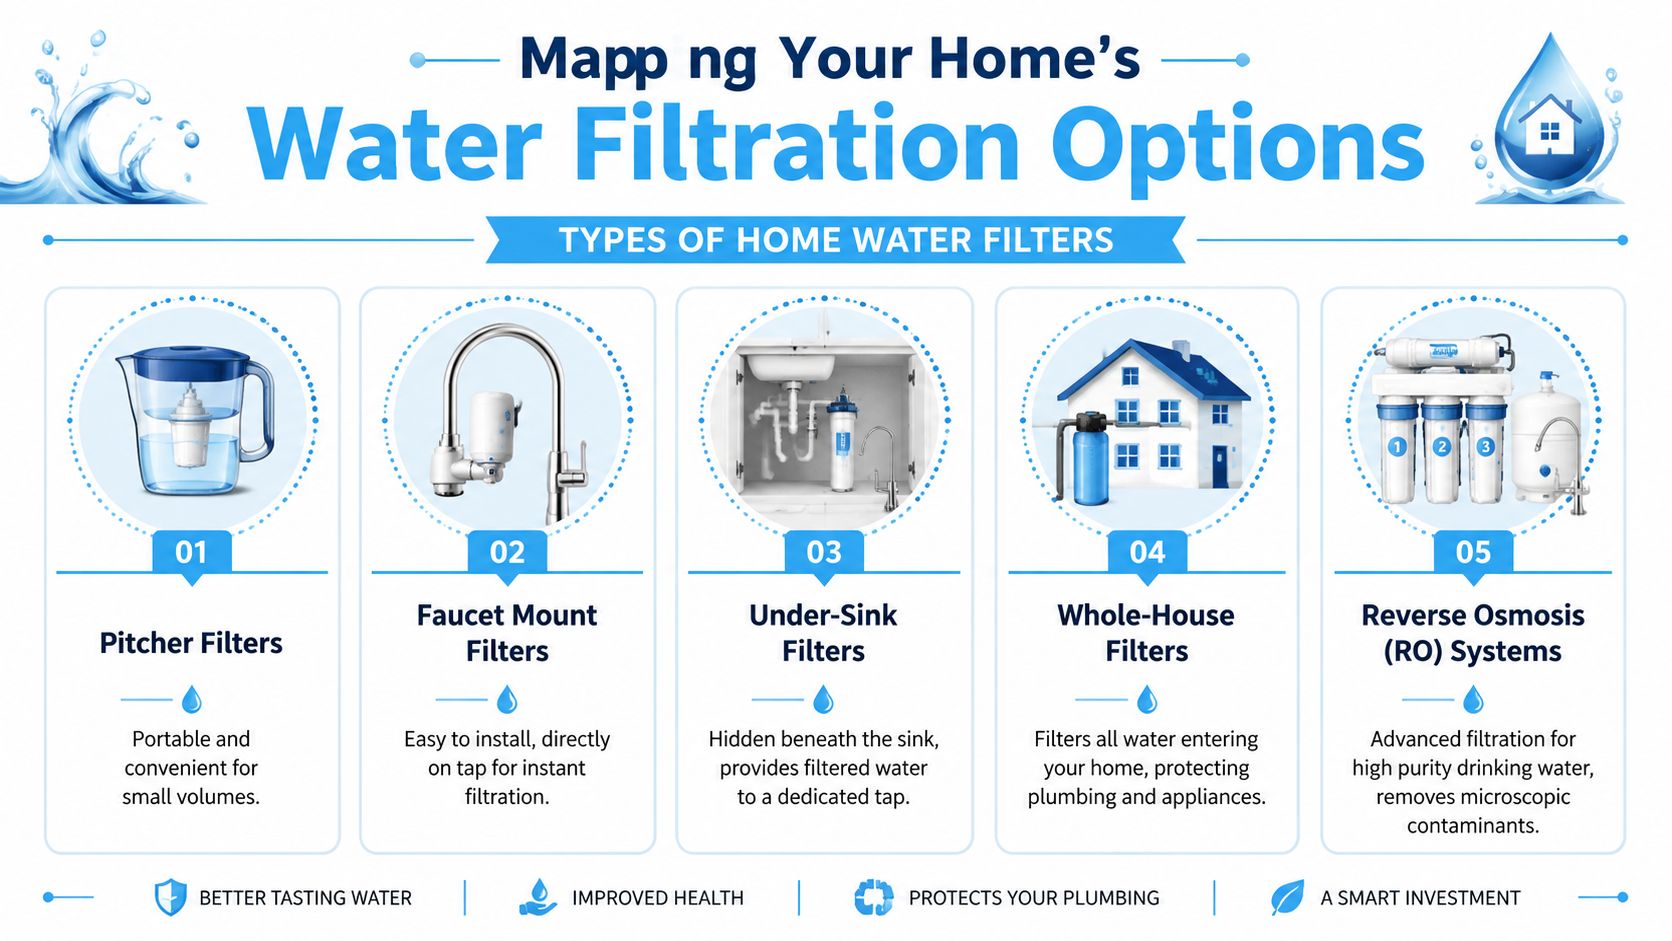
Common Types of Home Water Filter Systems
A home water filter system is really a delivery method for a set of jobs. One setup is built to improve the glass of water you drink at the kitchen sink. Another is built to treat every drop entering the house so showers, laundry, and appliances get cleaner water too.
That is the easiest way to sort the options. Point-of-use systems treat water at one spot, usually where you drink or cook. Point-of-entry systems, often called whole-house systems, treat water as it comes into the home.
Point-of-use options for targeted treatment
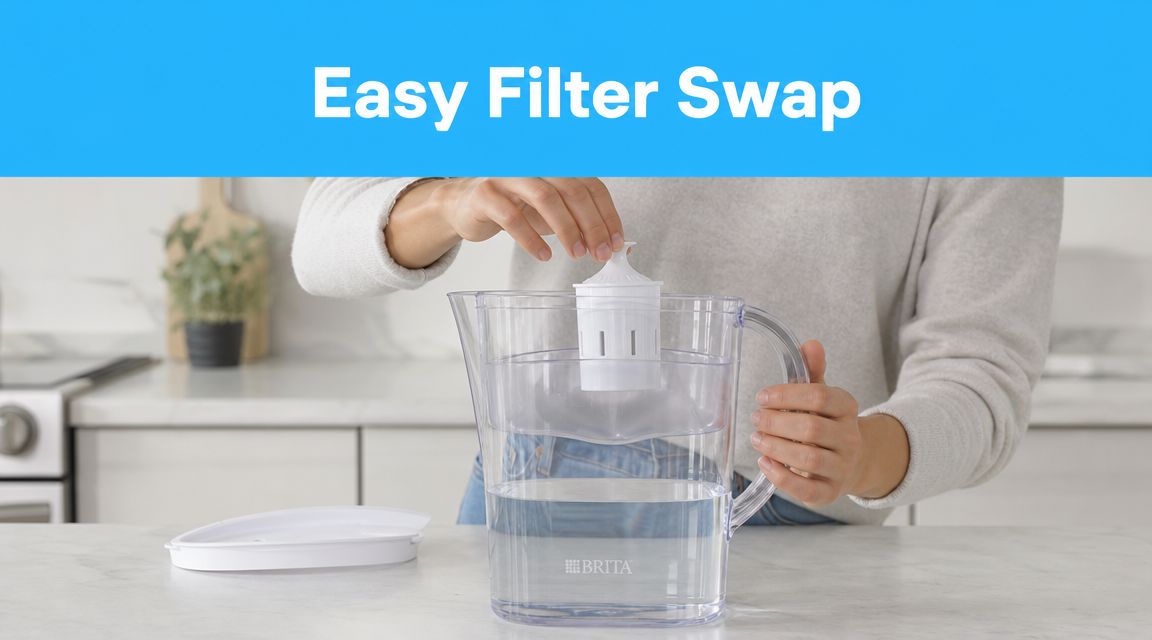
Pitchers and faucet-mounted filters handle small, focused jobs. A pitcher is a lot like keeping a simple coffee filter on the counter. It helps with common taste and odor complaints, and it asks very little from the homeowner beyond refilling and changing cartridges. Faucet filters do a similar job right at the sink, which makes them handy for apartments, rentals, or anyone who wants a quick kitchen upgrade.
Countertop and under-sink systems take on bigger jobs because they have more room for stages working together. That extra space matters. It can allow sediment reduction, carbon treatment, and in some designs reverse osmosis, all in one path before the water reaches your glass. If your main goal is better drinking and cooking water, this category usually makes more sense than filtering water for toilets or outdoor spigots.
If you want a side-by-side look at formats before deciding, this guide to types of home water filters compares common setups by use case.
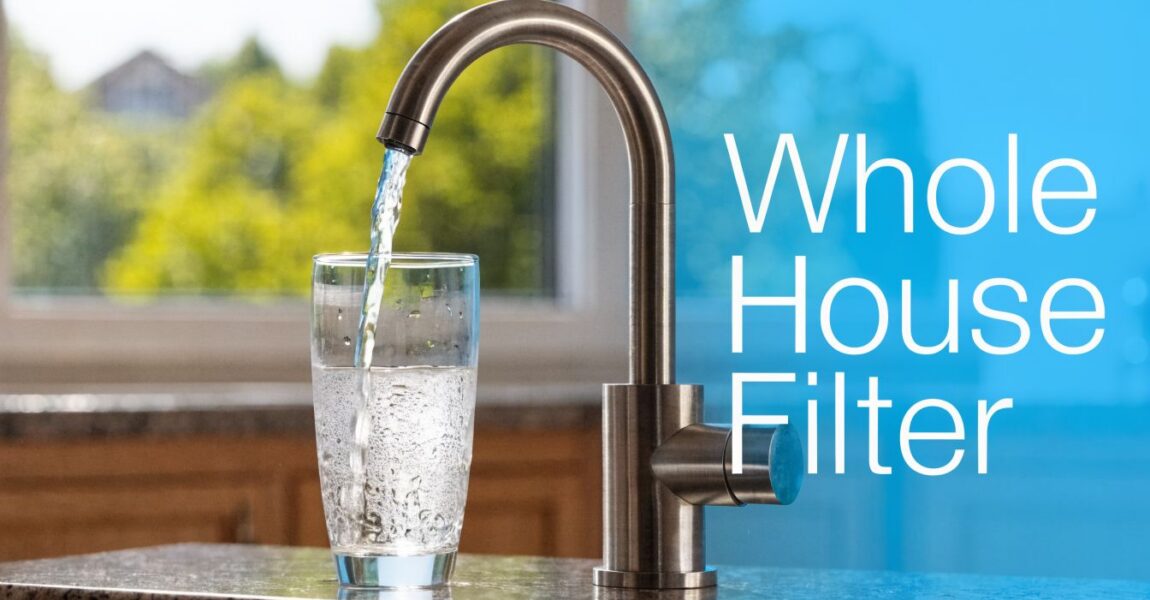
Whole-house systems for point-of-entry treatment
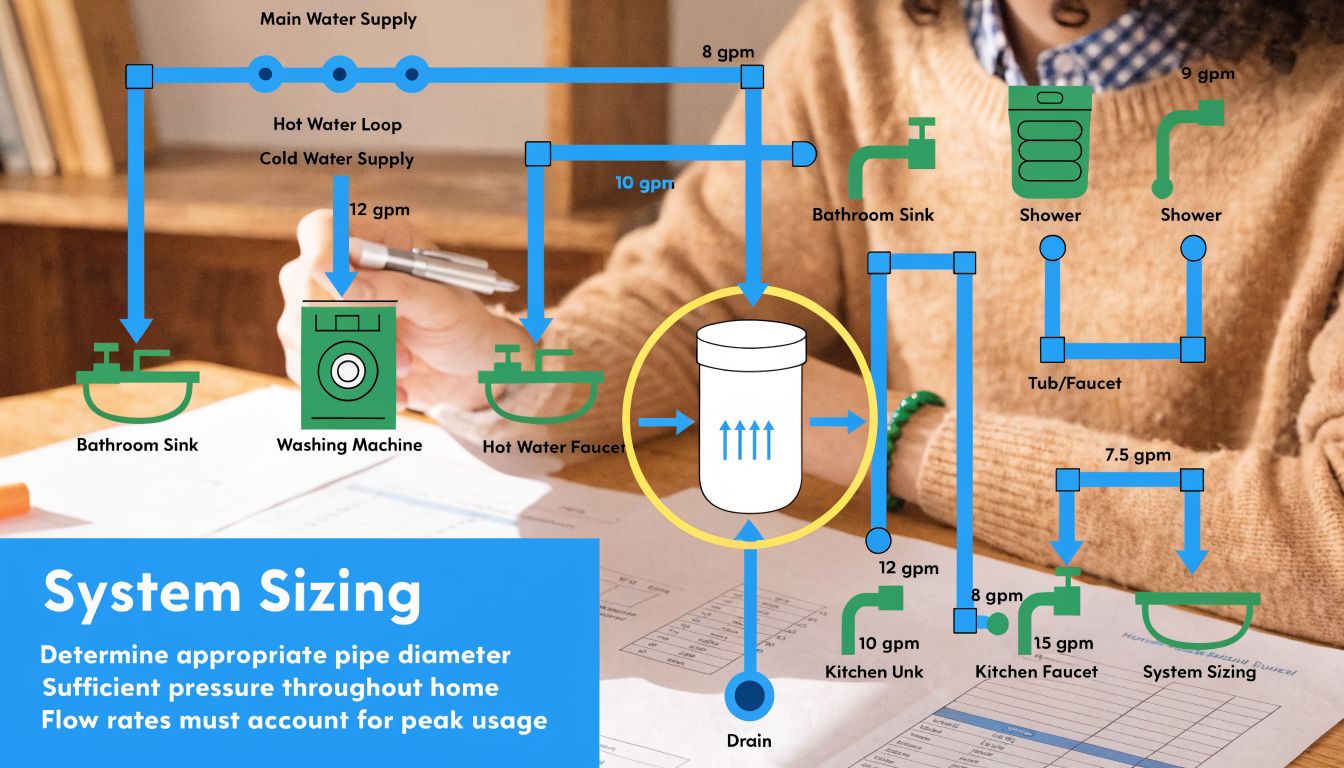
Whole-house systems solve a different problem. They are chosen when the complaint is spread across the home, such as chlorine smell in the shower, sediment affecting fixtures, or water quality issues that can bother appliances as well as people.
These systems usually work in stages, just like a team on a job site. A sediment prefilter catches the larger grit first so the downstream media does not get clogged too quickly. Carbon media often follows to improve taste and odor and reduce chlorine. Some systems add specialty media such as KDF for a narrower treatment role. The order matters because each stage protects or supports the next one.
Size matters too. A whole-house unit has to keep up with real household demand, not just one drinking glass at a time. If the system is undersized, you may feel it as weaker flow at busy times, like when someone is showering while the dishwasher runs.
Home Water Filter System Comparison
| System Type | Installation | Typical Cost | Best For |
|---|---|---|---|
| Pitcher filter | Very easy, no plumbing | Lower upfront cost | Renters, small households, better-tasting drinking water |
| Faucet-mounted filter | Easy | Lower to moderate | Quick kitchen upgrade without major changes |
| Countertop system | Easy to moderate | Moderate | People who want more capacity without under-sink work |
| Under-sink filter | Moderate | Moderate to higher | Dedicated drinking and cooking water, including multi-stage or RO setups |
| Whole-house system | Professional or advanced DIY | Higher | Treating water for the entire home, including bathing and appliances |
“Typical cost” varies widely by brand, filter life, and installation complexity, so it is smarter to compare categories than chase one number.
Matching lifestyle to system type
The best system depends on where the water problem shows up.
- Apartment living: A pitcher or faucet filter keeps installation simple and portable.
- Busy family kitchen: An under-sink system often gives better capacity and less day-to-day hassle.
- Whole-home comfort concerns: A point-of-entry system fits better if the issue shows up in showers, sinks, and appliances across the house.
- Mobile setups: If your water source changes from stop to stop, these RV water filtration systems show how filter design shifts for travel.
The main idea is simple. Choose the system by the job you need done, then make sure the stages inside that system match the contaminants or nuisances you are trying to address.
How to Know a Filter Really Works Certifications
A filter box can promise almost anything. The question is whether anyone independent tested those claims.
That's where certification matters. It moves you from marketing language to verified performance standards. Instead of “improves water quality,” you can ask a much better question: certified for what, exactly?
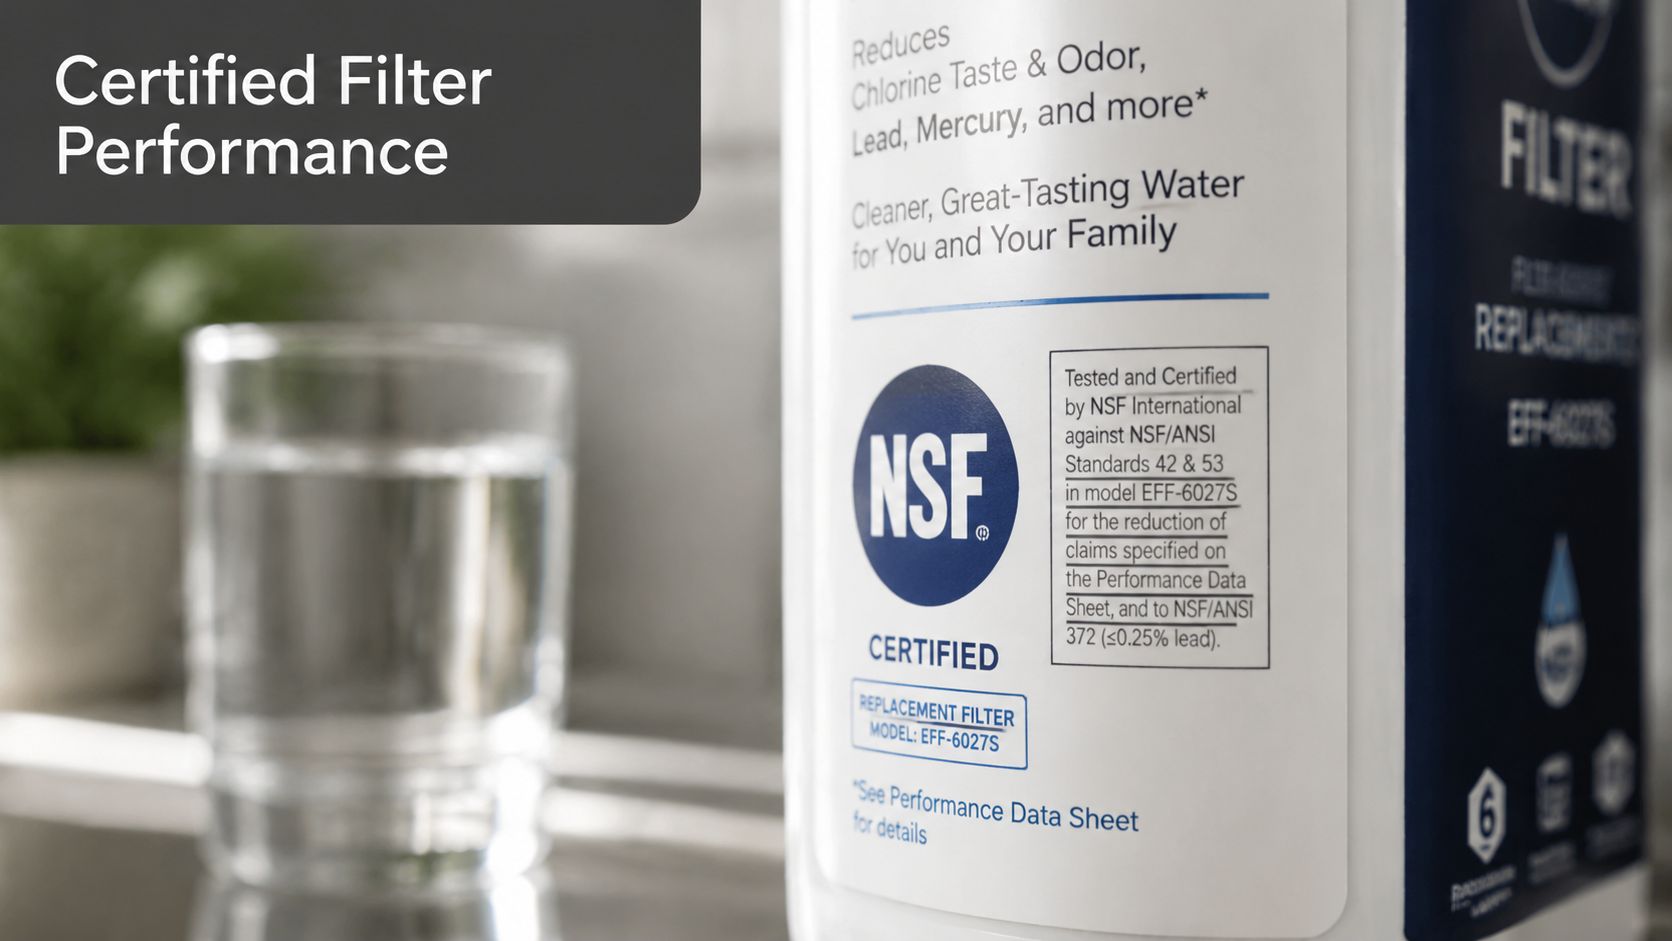
Why the seal matters
According to NSF International's consumer research on certified water filters, 91% of Americans used a water filter in 2023, and 73% of filtration buyers are influenced by an independent certification seal. That says two things at once. Water filtration is mainstream, and people increasingly want proof that a filter does what the label says.
That instinct is a good one.
The NSF numbers most homeowners should recognize
Not every certification number means the same thing. A lot of confusion starts here because shoppers see a seal but don't know what category it covers.
Use these as plain-English shortcuts:
- NSF 42: Often tied to taste and odor concerns
- NSF 53: Used for certain health-related contaminants, including lead
- NSF 58: Applies to reverse osmosis systems
Those categories matter because a product can be strong in one lane and irrelevant in another. A filter certified for taste and odor isn't automatically the right answer for a more serious contaminant concern.
Buying advice: If a product page talks big but avoids specific NSF standards, slow down and read the fine print.
What to check before you buy
You don't need to become a lab technician. You just need a short checklist.
- Match the claim to the problem. If your issue is chlorine taste, look for the right certification category for that job.
- Read beyond the seal. See which contaminants the model is certified to address.
- Check the exact system or cartridge. Certification should apply to the specific product you're buying, not just the brand name.
Certification won't choose your filter for you, but it's the best first screen for separating tested performance from wishful packaging.
Matching a Filtration System to Your Home
The best filter for your neighbor might be a waste of money in your house. The right choice starts with the problem, not the product.
Some people want coffee that tastes better. Some want to reduce chlorine at the shower. Some are on a private well and need to think carefully about what filtration can and cannot do. Those are different jobs, and they lead to different system designs.
Start with the water problem, not the catalog
Begin with what you already know.
If the water smells chemical, that points you in one direction. If you see grit or rust-colored particles, that points you in another. If you're on a well, the smartest move is to test the water so you're not guessing about invisible issues.
A simple decision path looks like this:
- Taste or odor problem at one tap: A point-of-use carbon system may be enough.
- Visible sediment or debris: Start with a sediment stage.
- Concern about dissolved impurities in drinking water: Consider a system that includes RO.
- Whole-home comfort issues: Look at point-of-entry treatment for the house, not just the kitchen sink.
Know what filtration doesn't do by itself
Many people get tripped up on this point. They hear “filtered” and assume “fully safe.”
According to government guidance on how filtration works, filtration does not equal disinfection. Even after sand or carbon filtration, water may still need purification or disinfection before it's safe to drink because most standard filters are not designed to remove pathogens. That's especially important for well owners, who may need a dedicated disinfecting stage such as UV treatment if microbes are a concern.
That's not a small technicality. It changes the entire buying decision.
Filtered water can be cleaner, clearer, and better tasting without being microbiologically disinfected.
A practical matching framework
If you want a simple way to choose, think in three layers.
Layer one is the symptom. What do you notice first: smell, particles, staining, or concern about what you can't see?
Layer two is the objective. Do you want nicer shower water, better drinking water, or treatment across the whole house?
Layer three is the treatment type. Pick the system that fits both the contaminant and the point of use.
For example, a family bothered by chlorine taste in the kitchen may do great with an under-sink carbon system. A homeowner dealing with sediment throughout the plumbing may need a whole-house prefilter. A well owner worried about pathogen safety shouldn't stop at standard filtration if the water source requires disinfection.
That's the heart of how do water filtration systems work in real life. They solve specific jobs. They don't solve every water problem by default.
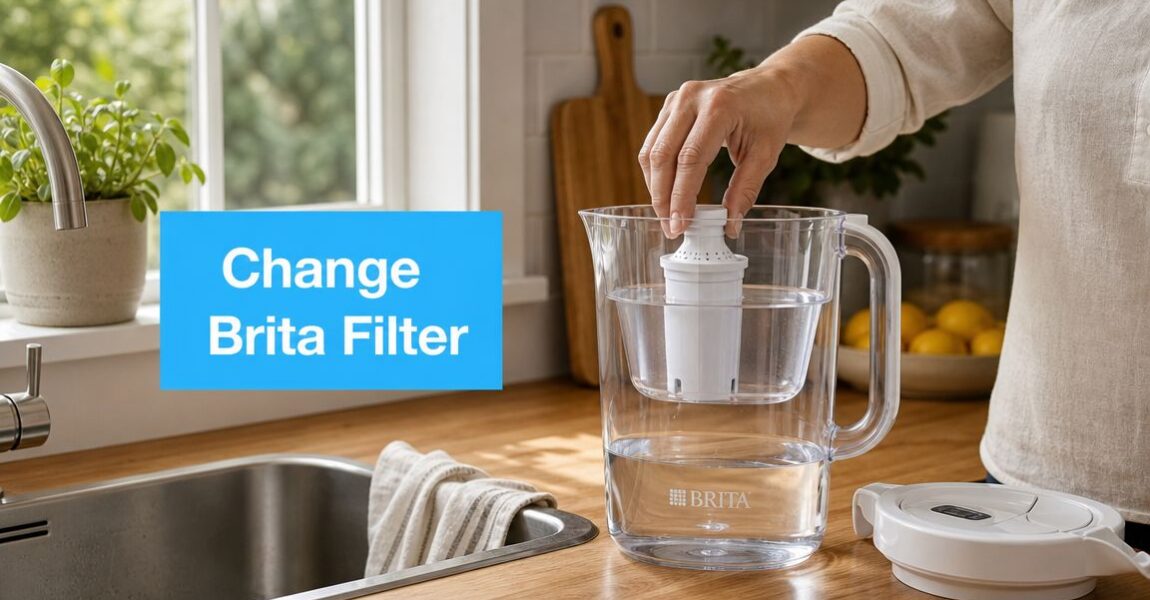
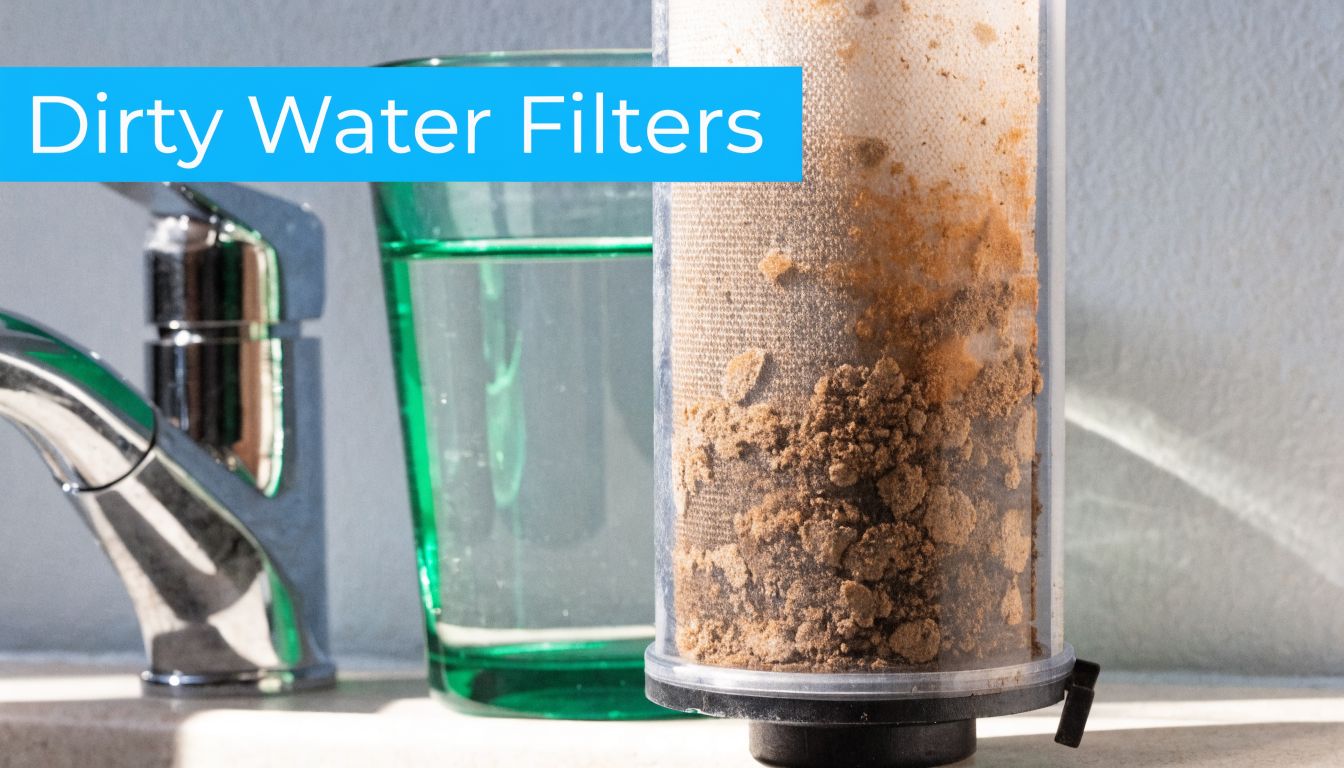
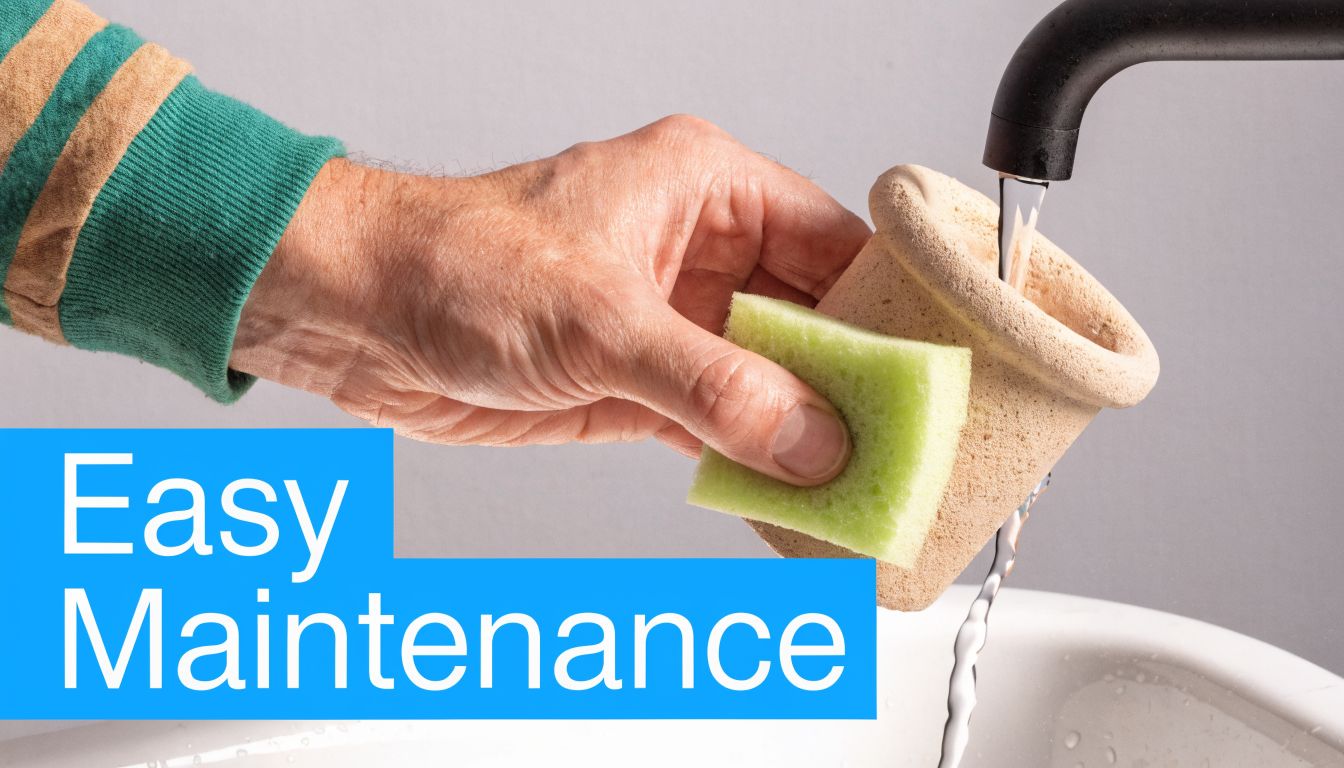
Keeping Your Water Clean with Proper Maintenance
A water filter only works well when the media inside it still has capacity left. Once a cartridge fills with captured particles or a carbon stage is spent, performance can drop and water flow can change.
You don't need a complicated maintenance routine, but you do need a consistent one. For whole-home systems, this practical guide to whole-house water filter maintenance is a helpful reference for keeping replacement schedules and service steps organized.
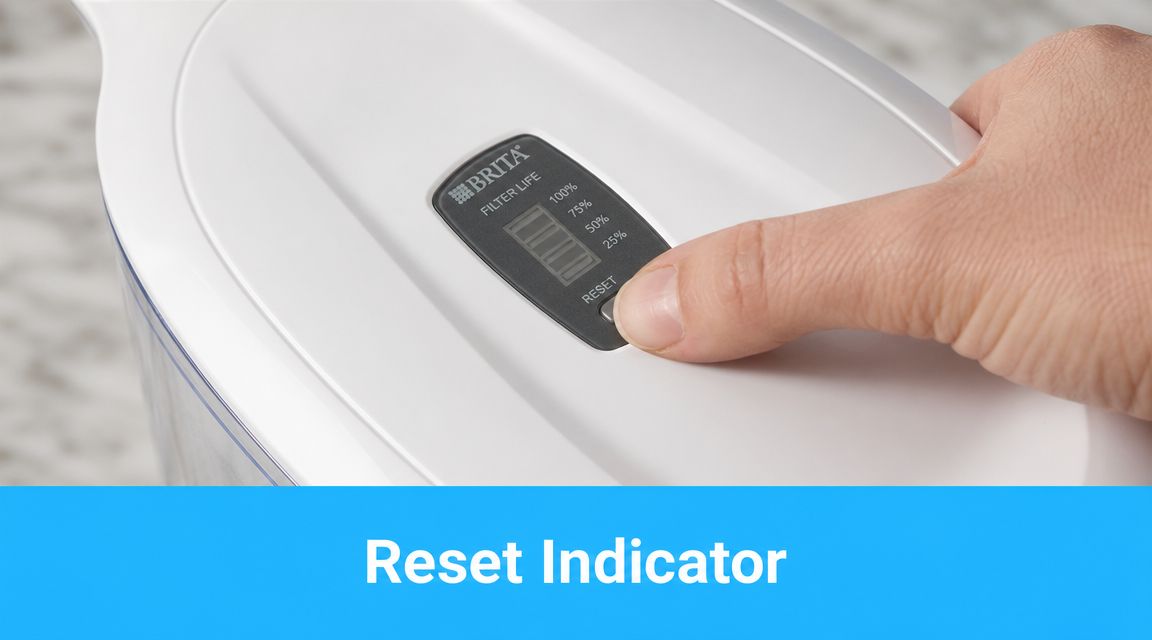
A simple maintenance checklist
- Follow the replacement schedule: Every system has cartridges or media that need periodic replacement.
- Watch for slower flow: Reduced pressure can be a clue that a sediment stage is loading up.
- Pay attention to returning taste or odor: If the chlorine smell comes back, the carbon stage may be spent.
- Inspect housings and connections: Look for leaks, cracks, or worn seals during routine changes.
- Keep records: A note on your phone or calendar beats trying to remember when you last changed a filter.
Signs your filter needs attention
Some failures are obvious. Others creep in slowly.
If water starts tasting like it used to before filtration, that's a clue. If the shower or sink flow feels weaker than normal, that can also point to a loaded filter stage. The goal is to replace media before performance becomes a problem, not after.
A good filter system is a lot like a furnace filter or the oil in your car. It performs its function effectively, but only if you keep up with it.
If you're comparing systems, trying to decode certifications, or figuring out which setup fits your home, Water Filter Advisor offers practical guides that make the process easier without burying you in jargon.