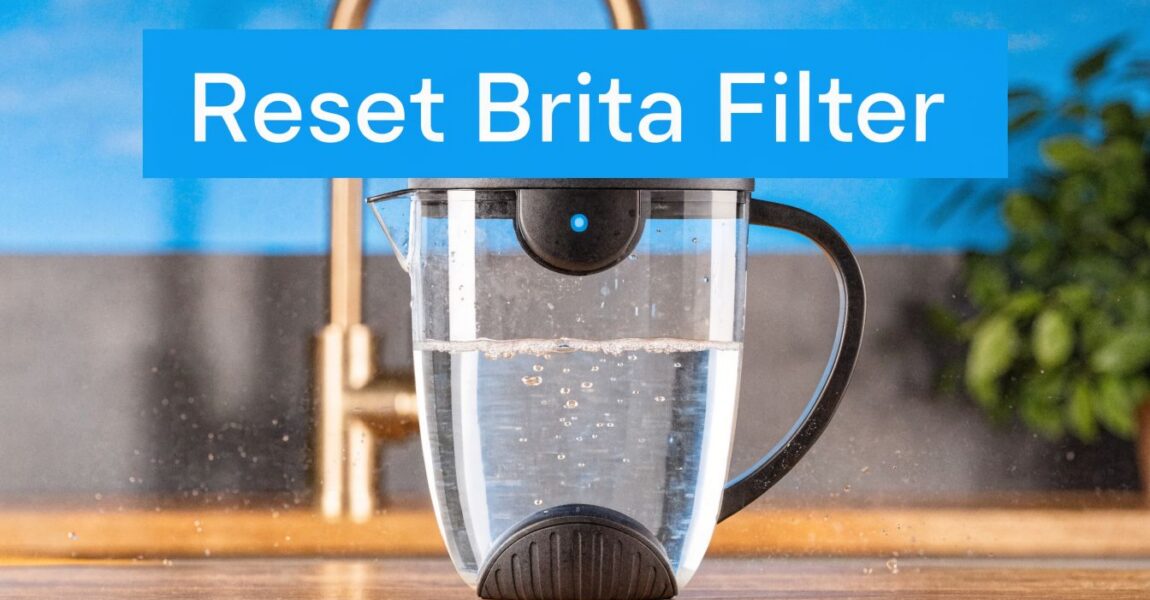
You changed the filter. You filled the pitcher. Then that little light starts blinking again like you did something wrong.
That’s where users often get annoyed with Brita. I’ve seen this happen a dozen times in real kitchens. Someone swaps in a fresh filter, taps the button quickly, and a week later the light is acting like the filter is spent. The usual reaction is to blame the filter. Most of the time, the issue is the reset.
The fix is simple once you know what the indicator is doing. And that’s the important part. If you only learn how to make the red light disappear, you’ll still be guessing. If you understand how the counter works, you can manage your filter properly, waste less, and keep your drinking water tasting the way it should.
That Blinking Light Is Back Again
The classic Brita problem goes like this. You replace the cartridge, snap the lid back on, press a button for a second, and walk away. A few refills later, the light looks wrong. Green never settled in, or red came back too soon.
That doesn’t usually mean the new filter failed. It usually means the indicator never got a clean reset.
Brita pitchers and dispensers are common because they’re easy to live with. But the reset process trips people up because it changes by model and by filter type. A standard white filter isn’t reset the same way as a long-life navy filter. If you mix up those hold times, the lid can start counting on the wrong schedule.
I’ve also seen people chase the light and ignore the basics. They forget to rinse the new cartridge, seat it crooked in the reservoir, or skip the first flush cycles. Then they blame the reset when the actual problem is installation.
A good reset routine is simple:
- Prep the filter first: Install it correctly before touching the indicator.
- Match the reset to the filter type: White and navy filters don’t use the same button hold.
- Treat the light like a reminder: It helps, but it isn’t testing the water in real time.
Practical rule: If the light behaves strangely right after a filter change, check the reset method before you assume the cartridge is bad.
That’s the difference between random button pressing and knowing how to reset brita filter systems the right way.
What Your Brita's Blinking Light Really Means
It is often assumed the indicator is measuring water quality. It isn’t.
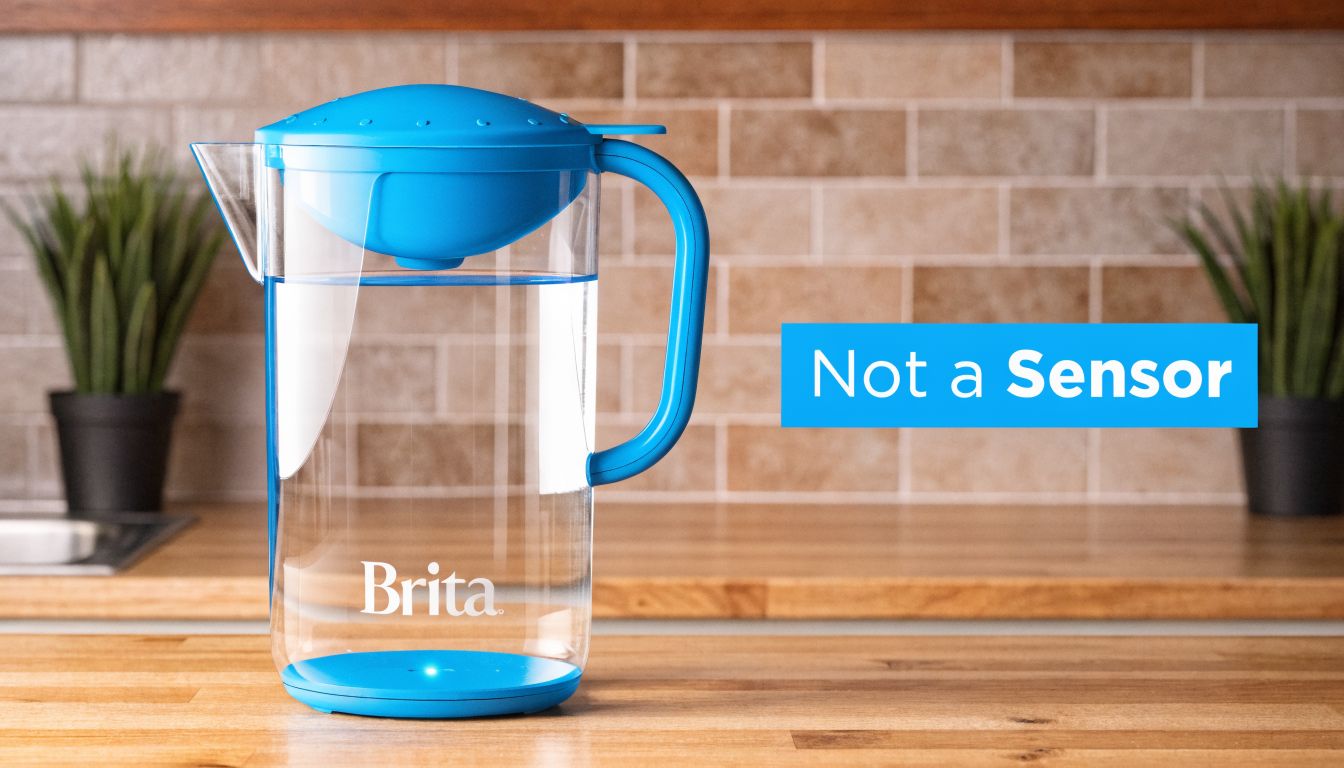
On many Brita models, the light is basically a counter, not a sensor. Brita notes that the system tracks refills through lid-open detection, requiring the lid to stay open for 10+ seconds, rather than measuring gallons directly or testing water quality. Brita also states official capacities of 40 gallons and 120 gallons depending on the filter, while noting that this can lead to premature red lights for small households. The same guidance also notes that third-party testing found standard filters can retain 70% efficacy post-indicator at low flows, which is why manual tracking can help in some homes (Brita resident support).
Why that matters in real homes
If you live alone and only fill the pitcher a little at a time, the light can turn red before the filter has done much real work.
If you’ve got a busy household, people may refill constantly. In that case, the counter may line up better with actual use, but it’s still estimating. It doesn’t know whether your tap water is easy or hard on the filter. It doesn’t know what your chlorine level tastes like that week.
That’s why I tell people to stop treating the light like a lab instrument. It’s a maintenance reminder.
What the light does well and what it doesn't
The indicator is useful when you understand its limits.
- What it does well: It gives you a consistent prompt to think about replacement.
- What it doesn’t do: It doesn’t test for chlorine, copper, lead, or taste changes in the moment.
- What smart users do instead: They use the light plus a little common sense about refill habits, water taste, and household usage.
The blinking light is a convenience feature. It isn't a water-quality verdict.
Once you get that, Brita becomes a lot less mysterious. You’re no longer reacting to a blinking lid. You’re managing a simple filter system the way it was meant to be managed.
How to Reset Brita Pitcher and Dispenser Indicators
Most reset mistakes happen here. The key is to identify which filter you installed before you touch the button.
Brita’s official guidance for pitchers and dispensers says a standard white filter is rated for 40 gallons and should be reset by holding the STATUS button for 2 seconds until the green light blinks 3 times. A long-life navy filter is rated for 120 gallons and uses a hold time of about 6 seconds. Brita also notes that rinsing a new filter for 15 seconds helps remove carbon fines, which prevents black specks in 90% of unrinsed setups, and that using the wrong hold time causes reset failures in up to 15% of cases (Brita water dispenser support).
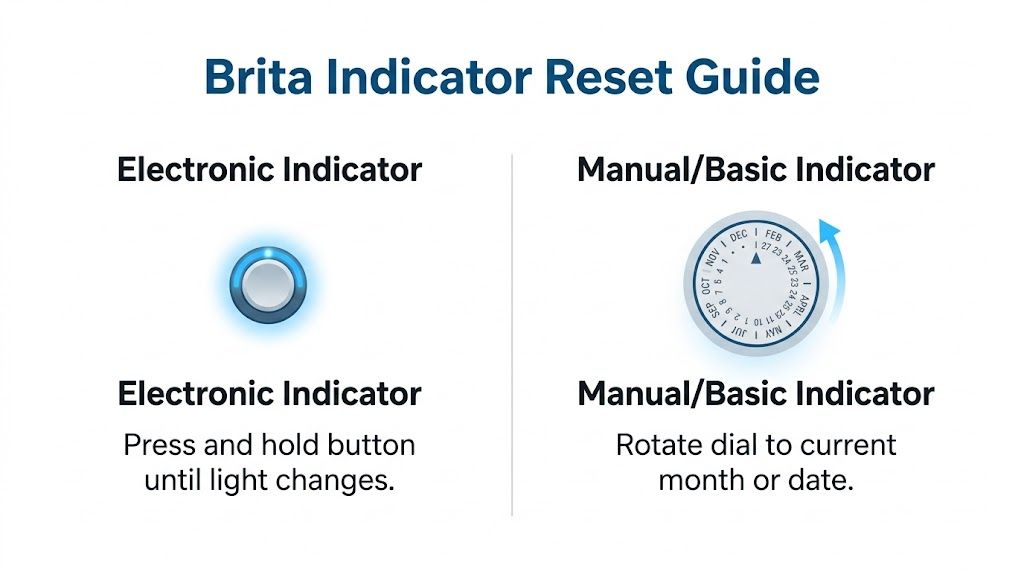
Electronic indicator models
If your pitcher or dispenser has a button on the lid, do it in this order.
Rinse the new filter
Hold it under cold water for the recommended rinse before installation.Install it firmly
Line up the groove and notch, then press it in so it seals properly.Reset based on filter type
For a white standard filter, hold STATUS for 2 seconds.
For a navy long-life filter, hold it for about 6 seconds.Watch the light
On standard mode, you’re looking for the green light to blink three times.
That timing matters more than people think. A quick tap often doesn’t register. A too-long hold can set the wrong cycle on some lids.
Manual indicator models
Some older or simpler Brita pitchers don’t have electronics at all. They use a manual date wheel or sticker.
Those are easy. You rotate or set the reminder to the current month and count forward based on the filter you’re using. There’s no battery, no button sequence, and no electronic counter to fight with.
Brita Pitcher and Dispenser Reset Quick Guide
| Filter Type | Rated Capacity | Reset Action | Visual Cue |
|---|---|---|---|
| Standard white filter | 40 gallons | Hold STATUS/RESET for 2 seconds | Green light blinks 3 times |
| Long-life navy filter | 120 gallons | Hold STATUS/RESET for about 6 seconds | Indicator confirms long-life reset |
| Manual/basic indicator | Manual reminder only | Set dial or sticker to current month | Date reminder aligned manually |
What works and what doesn't
Here’s the field-tested version.
- What works: Holding the button deliberately, counting the seconds, and watching for the light response.
- What doesn’t: Tapping the button once and assuming the lid figured it out.
- Another mistake: Resetting before the filter is properly seated. If the install is sloppy, people often end up troubleshooting the wrong problem.
If you can’t remember which cartridge you bought, look at the filter color first. That single detail decides the reset method.
For most homes, this is the whole answer to how to reset brita filter pitchers and dispensers without frustration.
Resetting Your Brita Faucet Filter System
Pitcher logic doesn’t carry over cleanly to faucet units. A faucet-mounted Brita is a different animal. The housing, cartridge fit, and indicator setup are different, so don’t go hunting for a pitcher-style STATUS button.
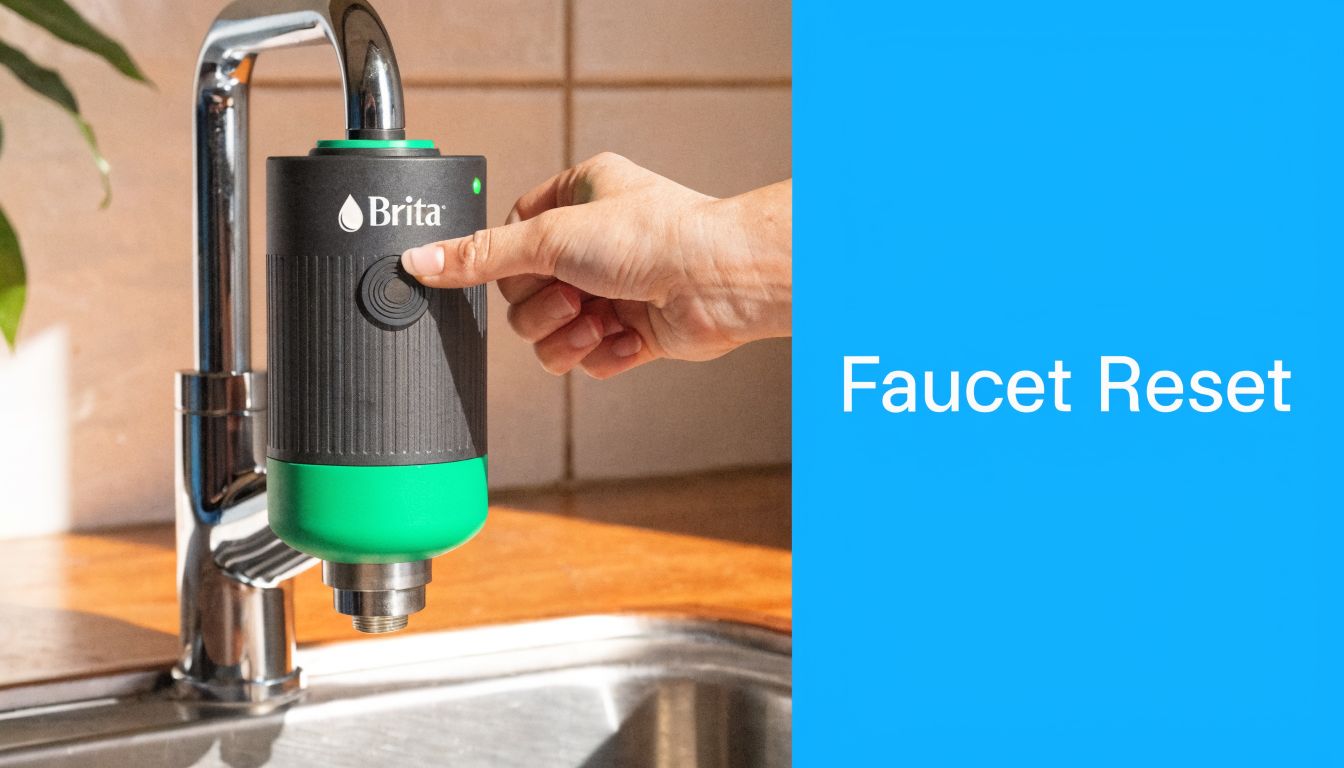
On most faucet systems, the routine is mechanical and straightforward. After you replace the cartridge, you look for a small reset point or switch near the filter housing. Depending on the model, you may press it firmly with a pen tip or flip a reset switch and return it to the normal position.
A simple faucet reset routine
- Shut off the filtered setting first: Replace the old cartridge with the water off or diverted according to your unit’s design.
- Seat the cartridge fully: If it isn’t locked in place, the reset can seem faulty when the issue is fit.
- Use the built-in reset control: That may be a recessed button or a small switch.
- Check the indicator response: If the light doesn’t behave normally after reset, remove and reseat the cartridge before assuming the electronics failed.
Where people go wrong
The most common faucet mistakes are forcing the cartridge, cross-installing it, or pressing the wrong part of the housing. I’ve seen people mash every button on the unit except the actual reset point.
If your faucet model seems unresponsive, check your owner instructions for that exact unit. Faucet systems vary more than pitchers, and the reset hardware can be tucked into awkward spots. The right process is usually easy once you find the correct control.
Troubleshooting Common Brita Reset Problems
The complaint I hear most often is simple. “I reset it, but the light is still red.”
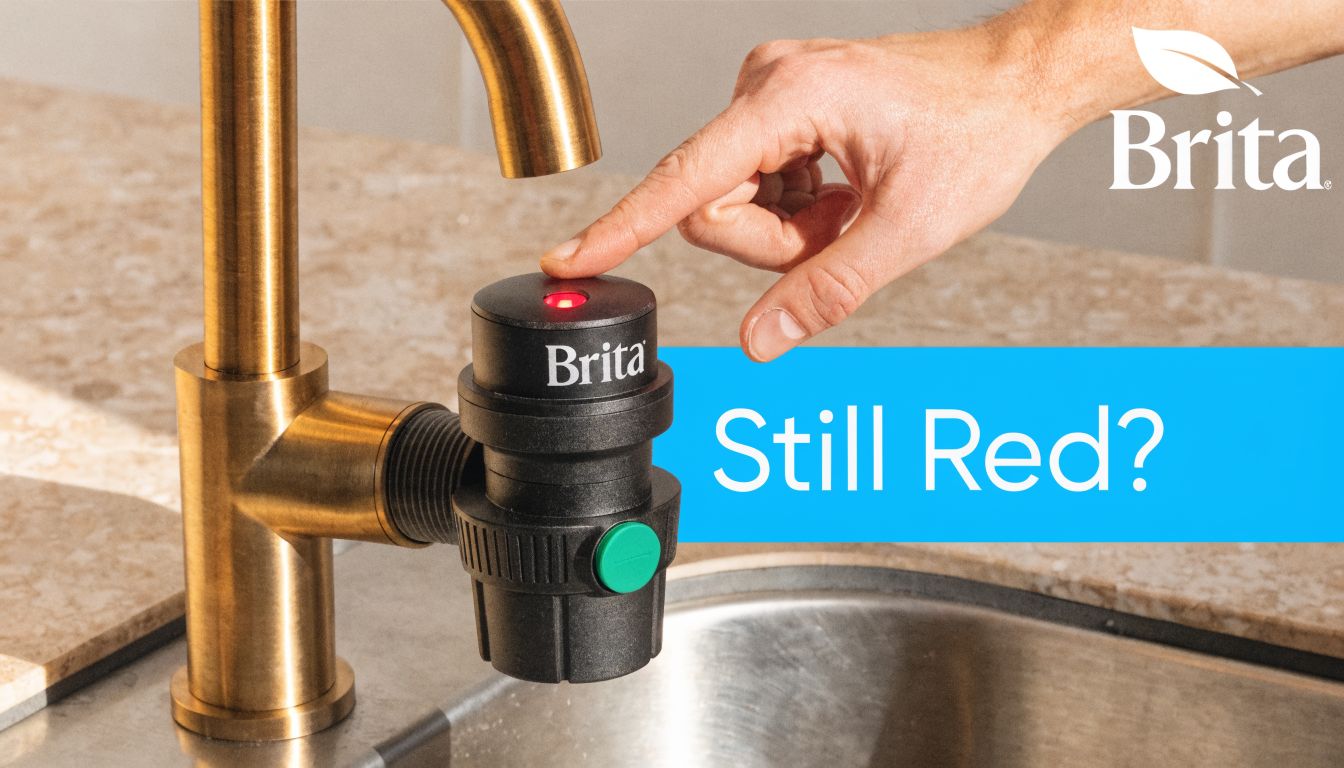
That usually comes down to one of three things. Wrong hold time. Incomplete install. A lid that didn’t register the reset.
Brita states that standard filters are rated for 40 gallons, and that failing to reset the indicator properly after replacement can trigger premature red light alerts. Brita also reports that following the reset process correctly helps users get the full 40 gallons and can reduce annual household costs by 20-30% compared with overuse or replacing filters too early (Brita pitcher FAQ).
When the light stays red
Start with the obvious. Remove the lid, confirm the filter is seated properly, then try the reset again carefully.
Use a clock if you need to. People count fast when they’re annoyed. Two seconds should feel deliberate. If you’re using a long-life filter, the longer hold matters even more.
When the light turns red too early
This is often a usage-pattern issue, not a failure. If you top off the pitcher all day in small amounts, the counter may behave differently than you expect because it’s tracking refill behavior rather than reading the water itself.
That’s why some households burn through indicator cycles faster than others. The lid can only count what it’s designed to count.
A quick visual walkthrough can help if your lid is being stubborn:
A short checklist that fixes most reset headaches
- Retry the reset calmly: Hold the button for the full required time.
- Check the cartridge fit: A crooked install causes all kinds of false troubleshooting.
- Look at the lid condition: If the indicator won’t respond at all, the lid electronics may be the issue.
- Don’t replace the filter too soon: A bad reset can waste a good cartridge.
A lot of “bad filter” complaints are really “bad reset” complaints in disguise.
Proactive Maintenance for Better Tasting Water
A reset is only half the job. Good-tasting water starts with how you prep the cartridge before that first refill.
If I had to pick one habit that separates smooth Brita ownership from constant annoyance, it’s this. Treat a new filter like media that needs to be activated, not like a plug-and-play plastic part.
According to the installation guidance in this Brita filter replacement walkthrough on Instructables, soaking a new filter in cold water for 15 minutes can expand the media and boost initial flow by 20-30%. The same guide says rinsing for 15 seconds removes 95% of loose carbon fines, and discarding the first 2-3 full reservoirs helps activate the ion-exchange resin, reaching 90% of its lead and copper removal capacity in the first cycle.
A better replacement routine
- Soak first: Let the media saturate before installation.
- Rinse second: This helps clear loose carbon so you don’t get black flecks in the first pours.
- Flush the first batches: Run the first full reservoirs through and discard them.
- Reset last: Once the filter is ready to work, then set the indicator.
That same logic shows up in larger commercial-style systems too. If you want a useful parallel, Allied Drinks Systems has a solid walkthrough on flushing your Brita Professional filter. The equipment is different, but the maintenance principle is the same. New filter media performs better when you flush it properly.
Why this matters more than the blinking light
The indicator only tracks usage. It doesn’t make the filter perform better. Prep work does.
If you want cleaner-tasting water from day one, this is the part that deserves your attention. And if you want more home filtration guidance beyond Brita, the maintenance advice at https://www.waterfilteradvisor.com/advice/ is a useful place to keep reading.
If you want practical help choosing, maintaining, or troubleshooting home water filters, visit Water Filter Advisor. It’s built for households that want clearer answers on filtration, replacement schedules, and better-tasting water without the marketing fluff.
- April 16, 2026
- Uncategorized
