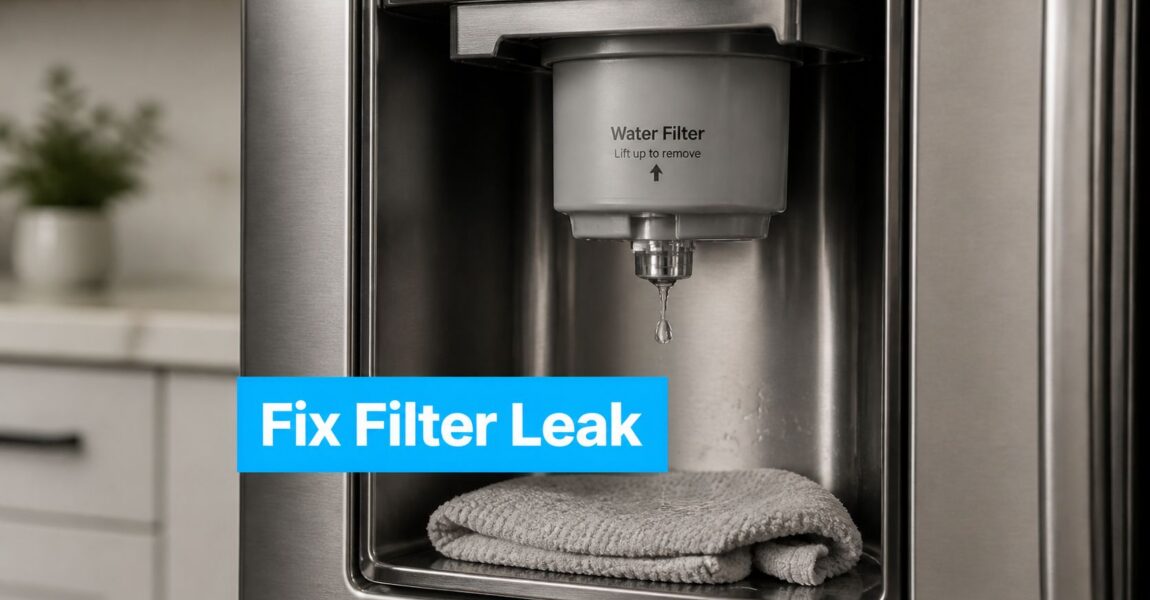
You open the fridge for a glass of water, and there it is again, a wet spot under the door or a drip line under the filter cover. That kind of leak feels bigger than it is, but most of the time it's a seal problem, not a dead refrigerator. On the bench and on kitchen floors, the pattern is usually the same, a cartridge that isn't seated right, an O-ring that's tired, or pressure in the home line pushing water where it shouldn't go.
Why Your Fridge Filter Is Suddenly Dripping
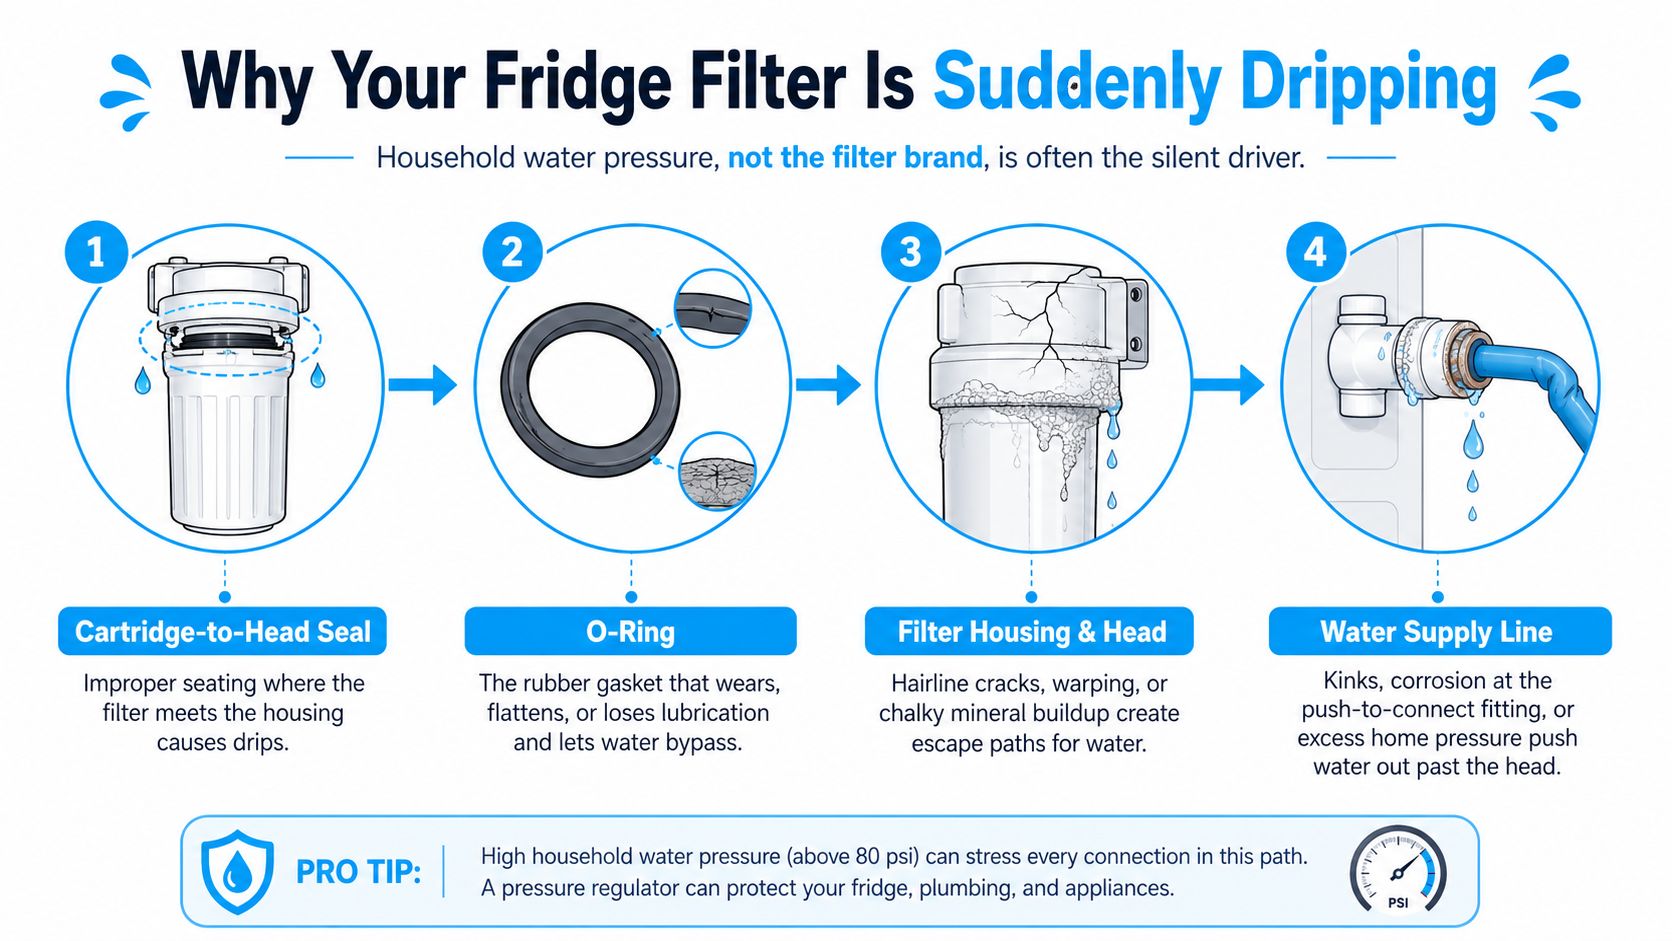
A filter that starts dripping right after a swap usually points to fit, seal, or pressure. The cartridge may not be fully locked in, the O-ring may be worn or out of place, or the water line feeding the head may be pushing harder than the seal can hold. A bad cartridge does happen, but in the field I check the seal path first, because that is where most repeat leaks start.
The leak usually starts at the filter head
Whirlpool's guidance points to a worn or missing O-ring, a filter that is not fully seated, cross-threading, a cracked housing or head, and clogged or kinked water lines that increase pressure at the seal. Whirlpool also warns that non-OEM or incompatible filters may not fit correctly and can drip, which is why fit matters as much as the cartridge itself. The same basic idea shows up in Bluepoint Plumbing's Bluepoint Plumbing's water filter guide, which keeps the focus on sealing surfaces, fit, and the plumbing feeding the refrigerator. Those are the clues that separate a simple reseat from a real parts problem, and they usually point back to the head before they point to the box on the counter. (Whirlpool guidance)
Water pressure is the silent driver
Pressure gets overlooked all the time. A homeowner sees water at the filter and blames the cartridge, but excess pressure can force water past a sound seal just as easily as a damaged one. That is why I check the supply side before I start swapping parts.
If the drip starts after a change, the first questions are simple. Did the filter lock in fully, is the seal clean and intact, and is the home line pushing too hard into the head. A pressure-and-seal check takes less time than chasing the same leak twice, and it often saves a good filter from being thrown out too soon.
Practical rule: if the leak starts right after a change, check seat, seal, and pressure before you assume the filter is defective.
Tools, Parts, and Safety Prep Before You Start
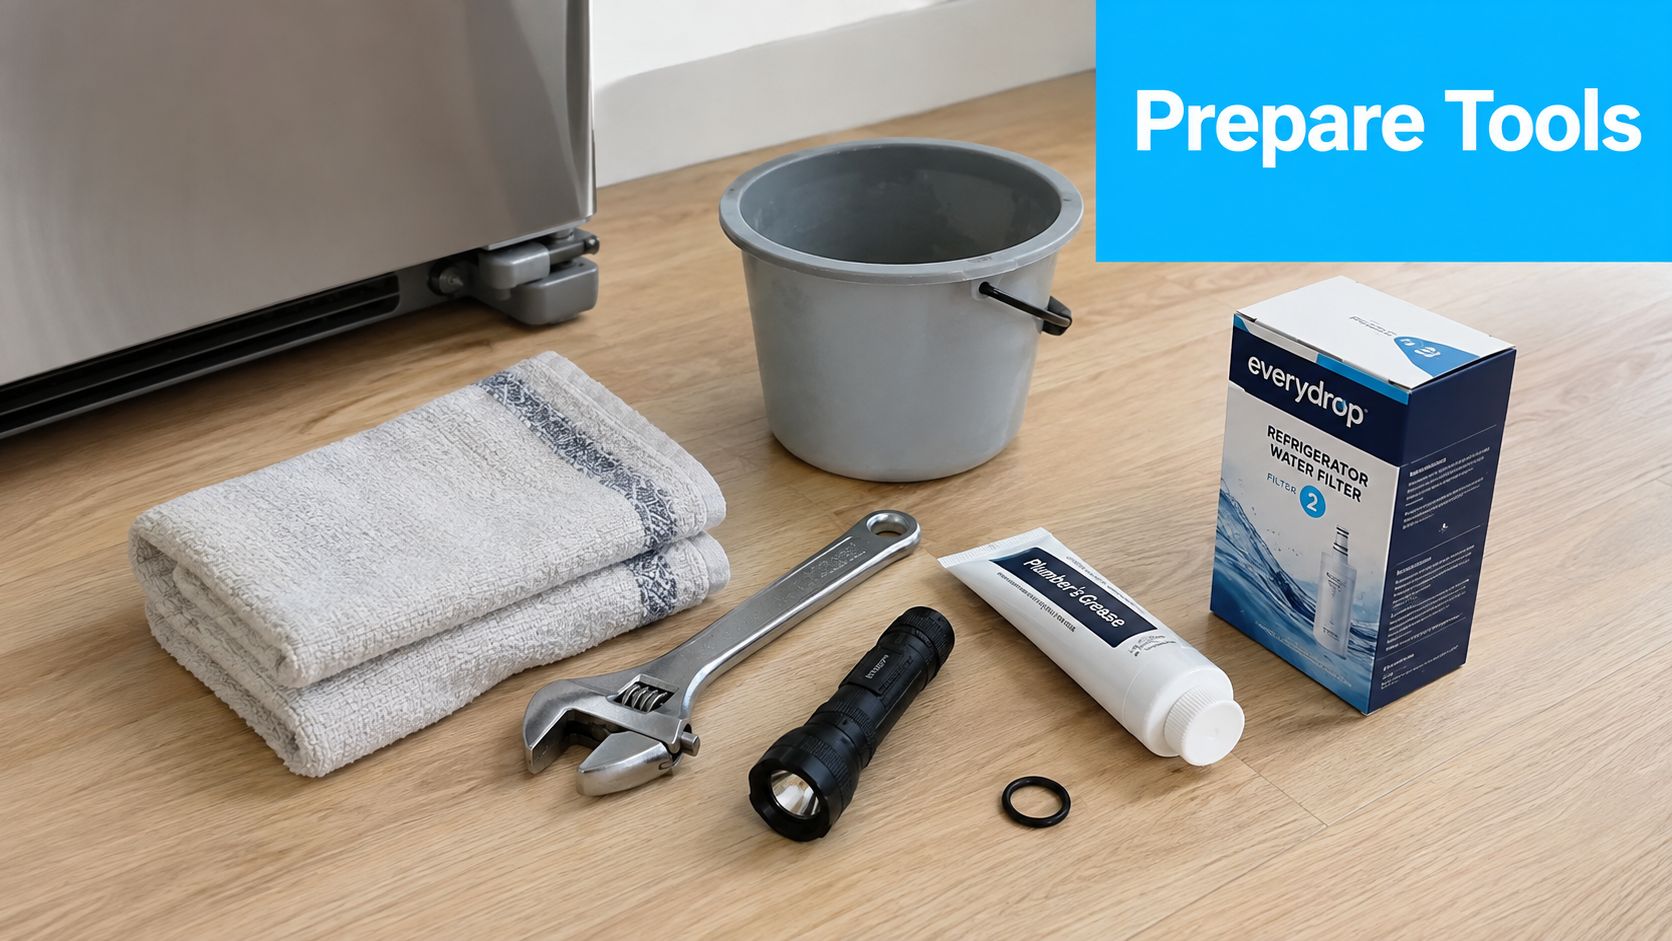
A clean fix starts before the water is shut off. Grab a towel, a bucket, a flashlight, an adjustable wrench, plumber's grease, a spare filter, and the correct OEM O-ring if your model uses one. I keep the grease handy because a thin film helps the seal slide and seat properly, while tape on a rubber seal usually creates more trouble than it solves.
What to have ready
- Towel and bucket: Catch the water that comes out when you pull the cartridge or open the line.
- Flashlight: You need to see the sealing surface, not guess at it in kitchen shadow.
- Adjustable wrench: Useful for supply-side fittings if your model has them.
- Plumber's grease: Use a light coat on the O-ring, not a glob.
- Replacement filter: Worth having on hand if the old one shows cracks, flat spots, or damage.
- OEM O-ring: Use the right part if your refrigerator calls for one, because size and material matter.
- OEM filter when possible: Aftermarket cartridges can work, but only if they seat correctly in your specific head.
Unplug the fridge or close the supply valve before you start. If the refrigerator sits over a basement line or near exposed utilities, check the floor area for electrical lines before reaching under it. Most of these fixes take 15 to 30 minutes, and the parts cost is often $0 to $40, depending on whether you only need a seal or a full cartridge. For a broader homeowner checklist, I'd also point people to troubleshooting guides for DIY homeowners, especially if they want to compare a quick repair against a deeper plumbing issue.
Reseating the Filter and Inspecting the O-Ring
The first fix is usually the boring one, and that's a good thing. Shut off the supply, relieve pressure at the dispenser if your model has that feature, remove the filter, and reinstall it with a slow, deliberate turn. If the cartridge was even slightly misaligned, that alone can stop the drip.
What a bad seat looks like
A cross-threaded filter usually feels wrong on the way in. It resists, catches, or stops before it should, and the handle or cap doesn't sit square when you finish. Whirlpool and Frigidaire both make the same basic point, the cartridge has to be fully seated and installed correctly and securely, because a bad fit opens a path for water to escape. (Frigidaire support)
What the O-ring tells you
A flattened O-ring is a different animal. It may look shiny, stiff, or compressed on one side, and it won't rebound the way a healthy seal does. Whirlpool's service guidance also points to mineral buildup, flattened O-rings, and improper seating, so if you see crust on the sealing surface, clean it before you reinstall anything. If the cartridge itself is cracked or the O-ring is damaged, stop trying to coax it back into service and replace it.
OEM cartridges usually seat the way the head was designed to accept them. Third-party filters can work, but if the fit is sloppy, the leak often comes right back.
Checking the Filter Housing, Head, and Supply Line
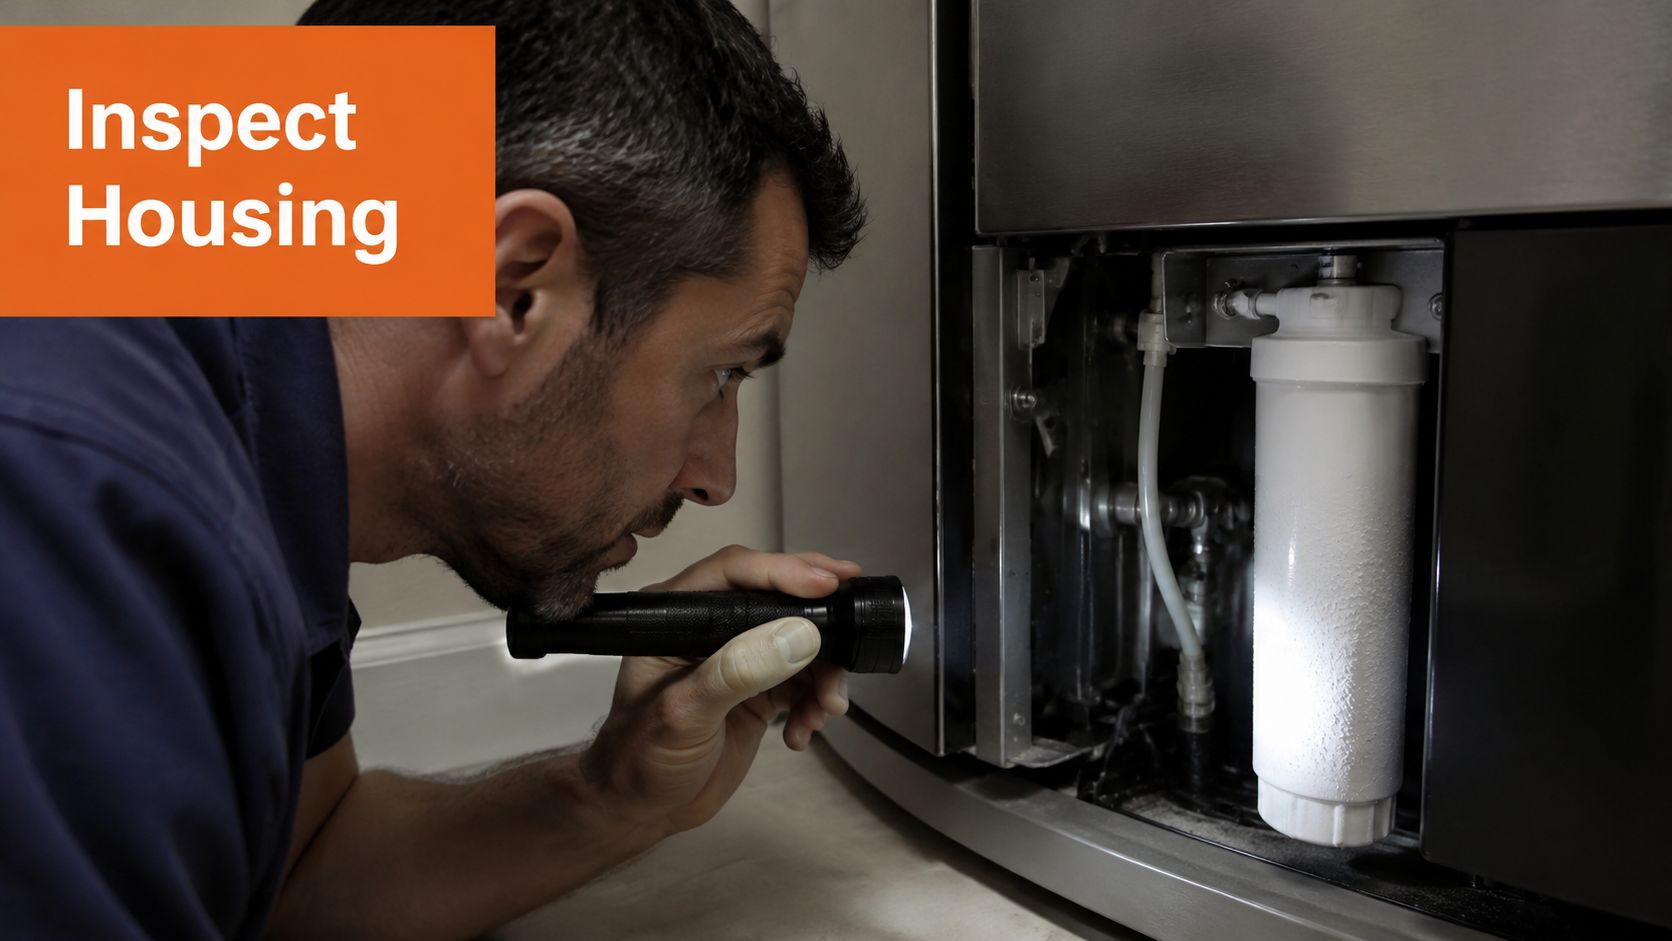
Once the cartridge and seal check out, go one layer deeper. Pull the filter back out and inspect the housing, the filter head, and the water line feeding the fridge. A lot of repeat leaks come from pressure and sealing problems here, not the cartridge itself.
Look for cracks, warping, and buildup
Hairline cracks can hide under grime, and a warped head can leak under normal use even when it looks fine at a glance. Remove the filter, check the housing and sealing surfaces for hairline cracks, warping, and mineral buildup, then reinstall or replace the damaged part as needed. The order matters, because a perfect cartridge will not fix a damaged head. (Whirlpool guidance)
The supply line needs the same close look. Follow it behind the fridge and check for kinks, pinches, and corrosion at the push-to-connect fitting. If the line is kinked or restricted, pressure can build at the filter head and push water past a seal that would otherwise hold.
Run the pressure test before you blame the cartridge
Samsung's guidance uses a simple check. The home water line should fill 6 ounces in less than 10 seconds, and household pressure should stay between 30 and 130 psi. If the test only goes out of range with the filter installed, the next move is to replace the filter or address the pressure issue. If the leak stays at the filter area after reseating, cleaning the seal, and checking the line, the problem is more likely a defect in the cartridge, housing, or head than a simple install mistake. (Samsung pressure guidance)
Purge the air after reinstalling
After a filter change, dispense water to clear trapped air. A little sputter or a short-lived drip can come from air working its way out of the system. If the drip does not settle after the purge and the fit checks are clean, stop reseating the same part over and over.
| Pressure Test Results and What They Mean | Filter Installed | Filter Removed | Most Likely Cause |
|---|---|---|---|
| Water fills 6 ounces in less than 10 seconds | Too fast | Too fast | Excess household pressure |
| Water fills 6 ounces in less than 10 seconds | Too fast | Normal | Filter or head restriction, pressure problem at the assembly |
| Water fills at a normal pace | Drips | No drip | Seal, seating, O-ring, or cartridge defect |
| Water fills at a normal pace | No drip | No drip | Leak likely resolved or intermittent seating issue |
A persistent leak after reseating, a cracked filter head, or a kinked line behind the fridge usually is not worth gambling on. That is the kind of repair where one mistake can turn into a flooded kitchen, and if you are deciding whether to repair or replace an appliance in a rental or flip situation, how landlords should decide on appliances helps frame the call.
Repair Costs Compared to Calling a Technician
DIY is cheap when the issue is a seal or cartridge fit. A filter usually runs $20 to $50, an O-ring about $3 to $10, and plumber's grease about $5. A service visit often lands around $120 to $250 plus parts, and that gap matters when the problem is something you can correct in one pass with a flashlight and steady hands.
Match the symptom to the fix
| Leak Description | Likely DIY Move | When to Call a Tech |
|---|---|---|
| Drip started right after a cartridge change | Reseat, inspect O-ring, purge air | If the leak persists after a proper reinstall |
| Water at the head with visible crack or warp | Replace the damaged part if available | If the housing or head is cracked |
| Leak comes from the line behind the fridge | Check kinks and fittings | If access is tight or the line needs replacement |
A persistent leak after reseating, a cracked filter head, or a kinked line behind the fridge usually isn't worth gambling on. That's the kind of repair where a mistake can turn into a flooded kitchen, and if you're deciding whether to repair or replace an appliance in a rental or flip situation, how landlords should decide on appliances is a useful lens for weighing risk against downtime. If the fridge is otherwise fine, though, a careful filter-area repair is usually the smarter first move.
Preventing the Next Leak With Simple Maintenance
The best way to avoid another puddle is to treat the filter like a maintenance item, not a one-time fix. Replace it on schedule, keep the O-ring lightly lubricated with plumber's grease during each swap, make sure the supply line doesn't sag behind the fridge, and confirm that home pressure stays in the 30 to 130 psi range. That rhythm keeps the seal from getting hammered by pressure and age.
A simple maintenance checklist
- Replace on schedule: Most fridges use a six-month or 300-gallon interval.
- Lubricate the seal: Use a thin film of plumber's grease on the O-ring.
- Check the line: Look for sagging, pinching, or hard bends behind the fridge.
- Verify pressure: If the line seems aggressive at the dispenser, test it instead of guessing.
- Inspect the head: Watch for scale, cracks, or a cartridge that never quite feels right.
I've seen a drip disappear after a homeowner installed a pressure-reducing valve, and the fix made sense because the problem was the line, not the cartridge. That's the mindset to keep, the fridge is giving you feedback. If the seal keeps failing, the system is telling you something about pressure, fit, or wear.
For a deeper set of filter maintenance notes and product comparisons, Water Filter Advisor keeps the focus on practical upkeep instead of guesswork. That's the right habit if you want clean water without turning every filter change into a rescue job.
Three Persistent Myths About Fridge Filter Leaks
The first bad habit is reaching for more plumber's tape. Tape belongs on the right threaded connections, not on a rubber seal that needs clean contact and proper seating. If you wrap the wrong spot or force a cross-threaded cartridge tighter, you usually make the leak worse.
The second myth is that a slow drip will stop on its own. It usually won't. It just keeps wetting the subfloor, the toe-kick, or the cabinet base until you notice the smell or the stain.
The third myth is that any filter that fits the slot works. Whirlpool and Frigidaire both warn that fit and installation precision matter, and that filters that don't seat correctly can leak. If the cartridge doesn't align cleanly, or the O-ring and head don't match well, don't pretend it's close enough.
If you want a practical second opinion before you buy another cartridge, Water Filter Advisor breaks down refrigerator filter problems, replacement choices, and maintenance habits in plain English. Visit Water Filter Advisor when you're ready to sort out the leak and pick the right fix without guessing.
- August 6, 2026
- Uncategorized
