
Let's be honest, a successful whole-home water filtration system installation doesn't start with a pipe cutter. It begins long before you even dream of getting your tools out; it starts with a rock-solid plan. This isn't just about avoiding a DIY disaster—good planning is what separates a system that delivers pure, delicious water for years from one that becomes your next big headache.
Planning Your Installation for Flawless, Filtered Water
Jumping into the installation without a little forethought is like trying to bake a cake by just throwing ingredients in a bowl. It’s a recipe for chaos. Trust me, spending an hour or two on planning will save you a world of frustration and maybe even a call to an emergency plumber. This is what separates a pro-level setup from a weekend project gone sideways.
It's no surprise that more people are seeking water that doesn't taste like a swimming pool. The global home water filtration market is expected to hit a staggering USD 37.54 billion by 2034, and whole-house systems are a massive part of that wave. In fact, interest in these systems is set to grow by 61.56% by 2026, mostly because we're all tired of that chlorine funk coming from every tap. You can learn more about these market trends to see just how big this movement for better water has become.
First Things First: Play Detective with Your Water
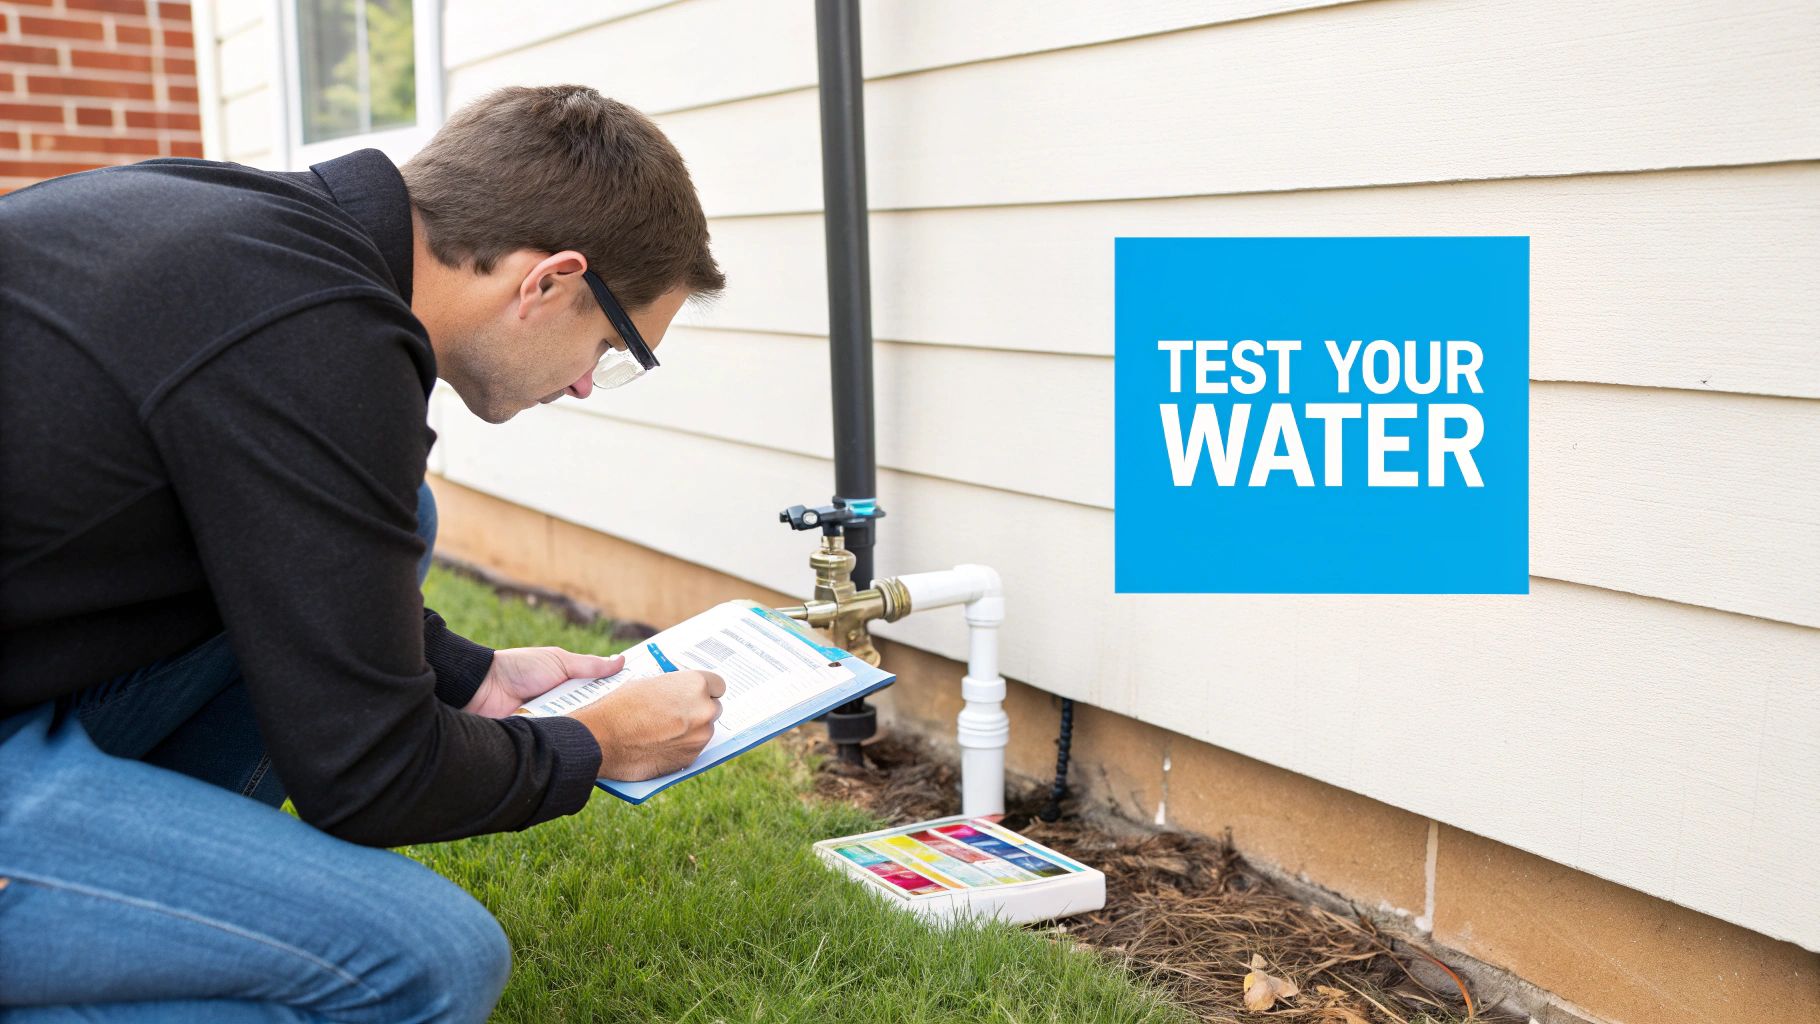
Before you can fix your water, you have to know what you're fighting. Is it "hard," leaving that chalky film on your shower door? Does it have that faint swimming pool smell or, worse, smell like rotten eggs? Maybe you’re seeing those lovely rust-colored stains in your sinks and toilets.
A good water test is non-negotiable. You can grab a simple DIY kit from the hardware store for a quick snapshot, but for the real story, I recommend sending a sample to a certified lab. They'll give you a detailed report on contaminants like:
- Chlorine and Chloramine: The stuff cities use to disinfect water that makes your morning coffee taste "off."
- Sediment and Silt: Gritty particles that make water cloudy and can slowly destroy your appliances from the inside.
- Hard Minerals: Calcium and magnesium, the tag-team duo behind stubborn limescale buildup.
- Iron and Manganese: Metals that leave ugly orange and black stains and give water a metallic tang.
- Lead and VOCs: The more serious troublemakers you definitely want to know about.
Once you know exactly what’s lurking in your H2O, you can choose a filter that’s specifically designed to kick those contaminants to the curb.
Find the Perfect Home for Your Filter
Location, location, location! The best spot for your system is almost always right where the main water line enters your house. Think basement, garage, or a utility closet. Placing it here ensures every single drop of water, both hot and cold, gets purified before it travels anywhere else in your home.
When you’re scouting for a location, keep these things in mind:
- Accessibility: You're going to need to get to this thing to change filters. Don't shove it into a creepy corner you can barely reach. Think about future-you.
- Protection: Make sure it's in a place that won't freeze. A frozen filter housing will crack, and you’ll have an indoor water park you never asked for.
- Drain Access: If you choose a system that backwashes (like a water softener or some large carbon filters), it needs a place to send its wastewater.
- Power Source: Many modern systems have electronic control heads or UV lights that need to be plugged into a standard outlet.
Don't Choke Your Water Flow: Size Your System Correctly
One of the most common DIY mistakes is buying a system that's too small for the home. The result? A frustrating drop in water pressure every time you try to do two things at once, turning your powerful shower into a pathetic dribble.
To get this right, you need to match the system to your home's peak water demand, which is measured in gallons per minute (GPM).
Think about a chaotic morning in your house—the shower's running, the dishwasher is on, and someone's washing their hands. You need a filter that can handle all of that without breaking a sweat. A plumber can do a proper flow rate test, but you can also get a good estimate based on your home’s size and the number of bathrooms. For more in-depth guidance on choosing the right system, you might find valuable advice on specialized water filtration platforms like https://www.waterfilteradvisor.com.
Of course, clean water is just one piece of the healthy home puzzle. Many homeowners who upgrade their water also look into things like whole-home air purifiers to improve their environment from top to bottom.
Assembling Your Tools and Materials Like a Pro
Nothing kills the momentum of a weekend project faster than an unexpected, last-minute trip to the hardware store for that one tiny fitting you forgot. Trust me, we've all been there. A successful whole home water filtration system installation hinges on having every single tool and part ready before you make that first cut.
Think of it like a TV chef preparing their ingredients—what they call mise en place. Everything is in its place, prepped and waiting. Taking the time to get organized turns a potentially chaotic job into a smooth, professional-feeling process.
Before you even think about shutting off the water, lay everything out on a tarp or drop cloth near your work area. This simple step keeps tiny fittings from rolling into oblivion and protects your floors. It's also your final chance to eyeball everything and make sure you have it all, from the big wrenches down to the last screw.
Your Essential Water Filter Installation Toolkit
To make sure you're not that person making a frantic mid-project hardware store run, I've put together a checklist. This covers just about everything you could need for a standard installation.
| Tool or Material Category | Essential Items | Pro Tip for Selection |
|---|---|---|
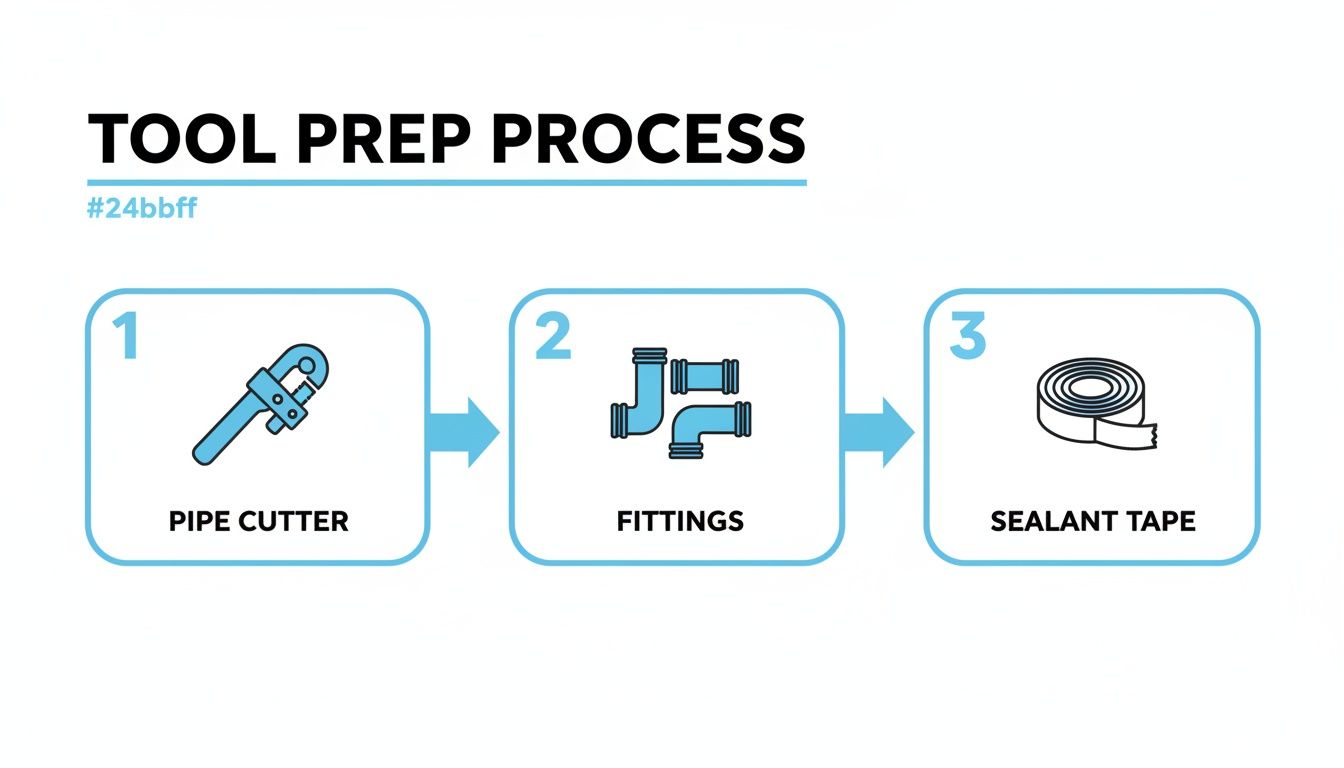
| Cutting & Measuring | Pipe cutter (specific to your pipe type), measuring tape, permanent marker. | For copper, a simple tubing cutter is best. For PEX or PVC, a ratchet-style cutter prevents burrs and ensures a clean, square cut. |
| Wrenches & Fasteners | Two pipe wrenches (or one pipe, one adjustable), drill with assorted bits, screwdriver set. | Always use two wrenches working in opposite directions on fittings. This stops you from stressing and damaging old pipes. |
| Safety Gear | Safety glasses, work gloves. | Non-negotiable. Debris in your eye or a sharp metal burr on your hand will end your project and your good mood instantly. |
| Sealing & Cleanup | Thread seal tape (Teflon tape), a bucket, several old towels or rags. | Wrap Teflon tape clockwise on male threads. If you go counter-clockwise, it will unravel as you tighten the fitting. |
| Piping Specifics | Solder & flux (copper), crimp rings & tool (PEX), or primer & cement (PVC/CPVC). Push-to-connect fittings can be a universal alternative. | Double-check that your primer/cement is rated for the type of plastic pipe (PVC vs. CPVC) you have. They are not interchangeable. |
Having these items on hand before you start is the difference between a frustrating afternoon and a job you can be proud of.
The Right Stuff for a Watertight Seal
The tools get the job done, but the materials are what guarantee every connection stays secure and leak-free for years. This is where you buy your peace of mind.
A leak isn't just a drip; it's a potential disaster waiting to happen. Using the correct fittings and sealant for your pipe type is the single most important step in preventing water damage down the road.
Your shopping list for materials will depend entirely on what kind of plumbing you have. Let's break down the most common setups.
Working with Your Pipe Type
-
For Copper Pipes: You'll be soldering. This means you need solder, flux, a propane torch, and the right copper fittings. Don't forget a small piece of emery cloth or a wire brush to clean the pipe ends—flux won't stick to a dirty surface.
-
For PEX Tubing: Your main options are crimp or clamp rings, which require a special tool. Alternatively, push-to-connect fittings (like SharkBite) are a fantastic, solder-free option that's incredibly DIY-friendly.
-
For PVC/CPVC Pipes: This is a solvent-weld job. You'll need primer (usually purple) and cement specifically designed for your pipe material. The primer cleans the plastic and prepares it for a permanent chemical bond with the cement.
One universal item is thread seal tape. You'll wrap this 3 to 5 times around any male pipe threads to create a perfect, watertight seal.
And for a final bit of real-world advice: have a drill ready. You’ll need it to mount the filter housing securely to a wall or joist. If you’re working in a basement, knowing about selecting the right drill bit for concrete is crucial for anchoring into those tough foundation walls.
Installing Your Water Filtration System: The Main Event
Alright, you’ve done the prep work, your tools are laid out, and now it’s time to bring on the main event. All that planning is about to pay off as we get hands-on with the whole home water filtration system installation. Let's walk through this together, step by step, so you can feel like a plumbing rockstar.
The very first thing you need to do is arguably the most important. To keep this project from turning into an indoor swimming pool, you have to shut off the water supply to the entire house.
Safety First: Shutting Down Your Water Supply
First, find your main water shutoff valve. It's usually hiding in a basement, crawl space, or sometimes in an exterior utility box near your water meter. Give the handle a full clockwise turn until it stops. If it's a lever-style ball valve, you need to turn it 90 degrees until it’s perpendicular to the pipe.
With the main shutoff closed, you still need to get the water out of the pipes. Go open the lowest faucet in your house—think basement sink or outdoor spigot—and then the highest one, like a second-floor bathroom. This little trick uses gravity to drain the lines so you don't get a face full of water when you make that first cut.
Pro Tip: Even after draining, there’s always some water left in the pipes. I always stick a bucket right under where I'm about to cut and have a few old towels ready. It’s the best way to keep your workspace from turning into a swamp.
Measuring and Cutting Your Main Water Line
You’ve heard it a thousand times, but "measure twice, cut once" is the gospel of plumbing for a reason. Hold your fully assembled filter unit up to the section of pipe you’ve chosen. Don't just measure for the filter housing; make sure you account for all the fittings and, crucially, the bypass valve.
Grab a permanent marker and mark your cut lines clearly on the pipe. A crooked cut is a recipe for a bad seal and a frustrating, slow leak down the road.
When you’re ready, grab the right cutter for your pipes:
- For copper pipe: A tubing cutter clamps on, and you just rotate it around the pipe, tightening the knob with each turn until it pops right through.
- For PEX or PVC/CPVC: A ratchet-style plastic pipe cutter will give you a clean, straight cut with a few squeezes.
Once the pipe is cut, take a minute to clean up the edges. A simple deburring tool or even a small piece of sandpaper will smooth out any burrs. This is a critical step—any little plastic or metal bits can tear the O-rings inside your new fittings and cause a leak you'll be chasing for weeks.
Assembling the Filter and Bypass Valve
Before you even think about fitting this into your main line, it’s much easier to assemble the filter head, housing, and the bypass valve on a workbench. That bypass valve is a non-negotiable part of the setup. It’s a three-valve system that lets you route water around the filter, which is a total game-changer when it’s time for maintenance. No more shutting off water to the whole house just to swap a filter.
Pay close attention to the manufacturer's directions here, especially the flow-direction arrows on the filter head. For every threaded connection, use thread seal tape. Wrap it clockwise 3-5 times around the male threads; this ensures the tape tightens as you screw in the fitting instead of unraveling.
Making Your Final Connections
Now it’s time to marry the filter assembly to the main water line you just prepped. How you do this depends entirely on the type of plumbing you have.
As you can see, it comes down to three things: a clean cut, the right fitting, and a proper seal.
These are the most common ways to make the connection:
- Push-to-Connect Fittings (e.g., SharkBite): These are a DIYer's dream. You just push the fitting onto a clean, deburred pipe until you feel it "click." They work on copper, PEX, and CPVC.
- PEX Crimp/Clamp Rings: If you have PEX, you'll slide a metal ring over the tubing, insert a barbed fitting, and use a special tool to secure the ring tightly over the barb. It creates a rock-solid connection.
- Copper Soldering: This is a more advanced skill. It involves cleaning and fluxing the pipe and fitting, heating the joint with a torch, and letting solder flow into the gap to create a permanent bond.
- PVC/CPVC Solvent Weld: For plastic pipes, you'll apply primer, then a coat of cement. Push the pipe into the fitting with a quarter-turn twist and hold it firmly for about 30 seconds while the chemicals literally weld the two pieces together.
With your connections made, the last step is to securely mount the filter bracket to a wall stud or another solid surface. A filter full of water is surprisingly heavy, and you don't want that weight hanging directly on your pipes.
Bringing Your New System To Life: The Moment of Truth
You’ve tightened every fitting and secured the last bracket. Now comes the moment of truth. This is the commissioning process, where patience pays off big time. Jumping in too fast here can lead to leaks, sputtering faucets, and water that still tastes off.
This stage is the real test of your whole home water filtration system installation. Rushing it now puts all that careful work at risk.
The Slow And Steady Water Turn-On
First, leave the bypass valve open and close both the inlet and outlet valves on the filter. Then head to your main shutoff valve and crack it open—just a quarter turn is enough. Listen for a soft hiss as the pipes begin to fill.
After that gentle hiss fades, open the valve fully. Grab a flashlight and go inspect every connection you made. Even a tiny droplet on a new joint means you need to tighten it again before moving forward.
Purging Air And Hunting For Leaks
Next, shut off the bypass valve. Very slowly open the inlet valve feeding the filter and listen as water floods the housing. This is the most pressure-sensitive moment; any weak seal might start leaking now.
The most common leak appears the second the system pressurizes. Watch every connection like a hawk—if you spot a drip, close the inlet, release the pressure, and fix it immediately.
Once the inlet is fully open, repeat the process with the outlet valve. Your system is now under full pressure.
Finally, get the air out. Turn on a nearby cold-water tap (a laundry sink is perfect for this) and let it sputter and spit until you see a smooth, steady stream.
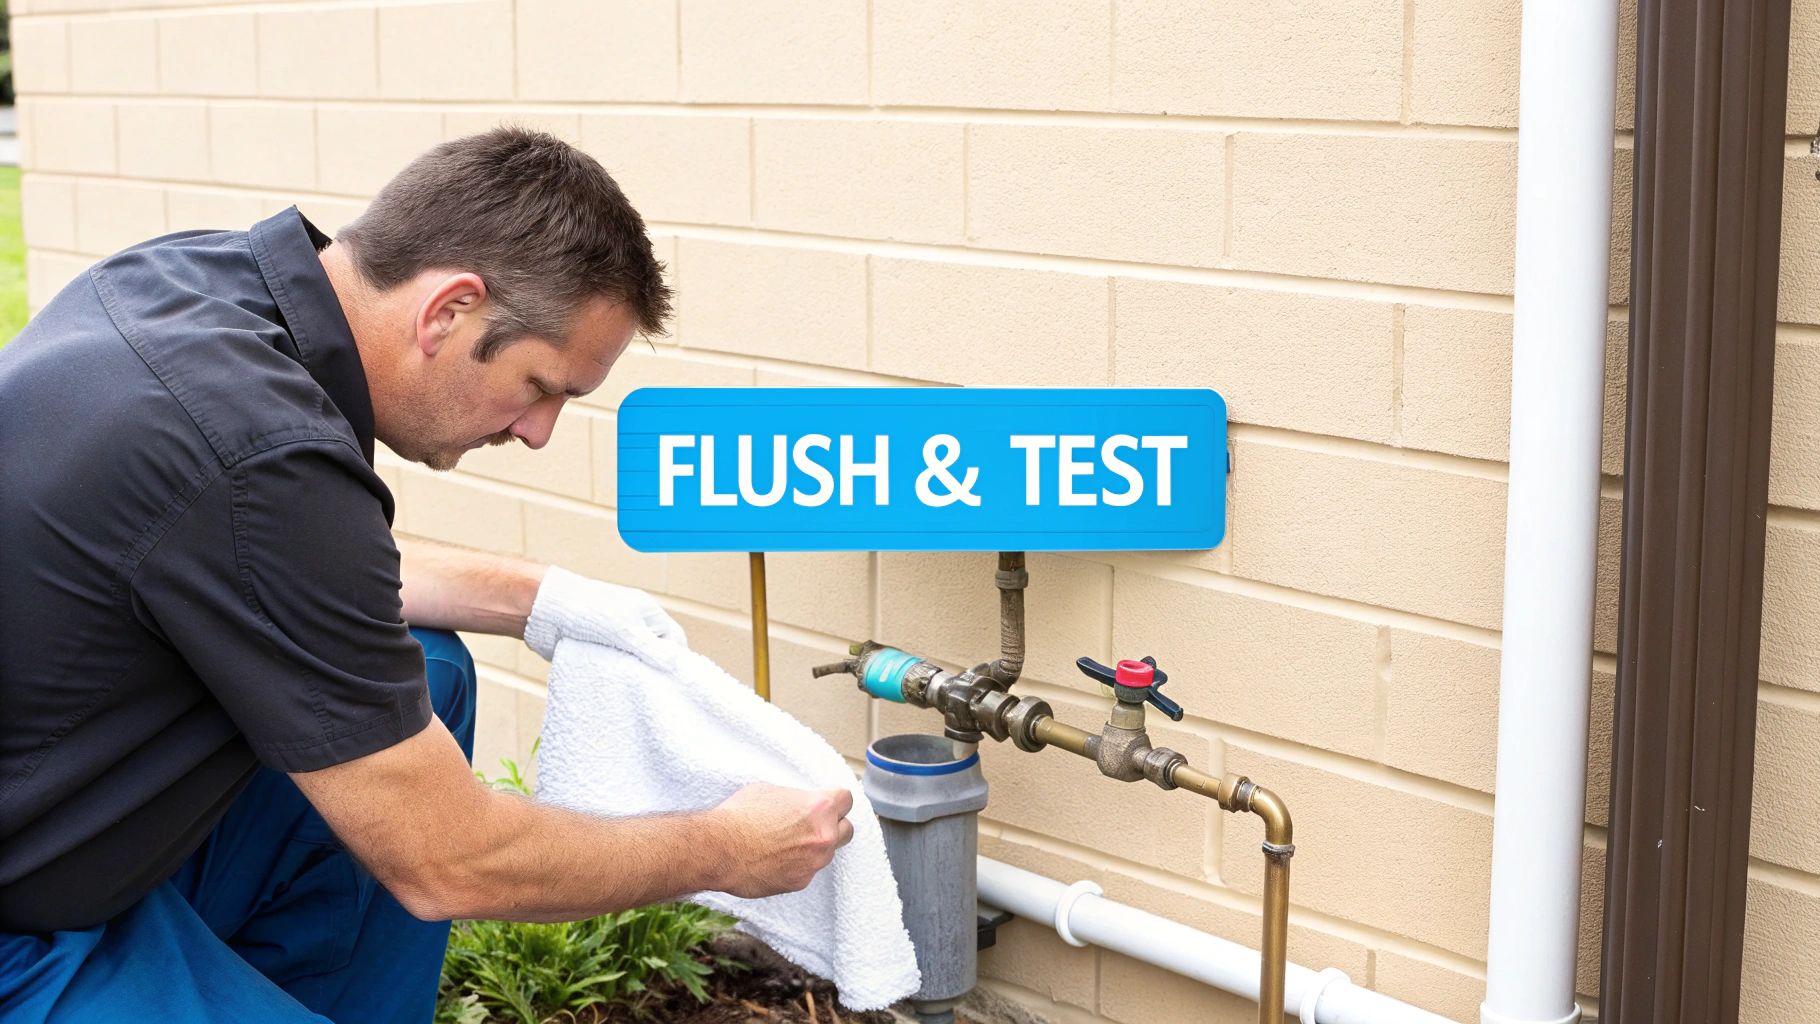
Initiating The First Flush
If your system supports backwashing, now's the time to trigger the cycle from the control head. Expect it to run for 10 to 30 minutes as it washes out fine particles and factory dust.
For simpler cartridge-style setups, you just need to do a straight flush.
- How to Flush: Simply run cold water from a high-flow tap, like a bathtub, for at least 15-20 minutes.
- What to Look For: Initially, the water may look cloudy or discolored from fine carbon dust ("fines"). This is completely normal and expected.
- When It's Ready: Keep flushing until the water runs perfectly clear.
Once you see that crystal-clear stream, pour yourself a glass. With air purged, leaks resolved, and the filter media flushed, your whole home water filtration system is officially open for business.
Maintaining Your System for Long-Term Awesome Water
Alright, your whole home water filtration system installation is done. You're already enjoying that clean, crisp water flowing from every faucet. But to keep things running like a dream, a little routine care is in order. Think of it as protecting your investment, not another chore.
A good maintenance schedule is your ticket to consistently great water. Let it slide, and you're looking at clogged filters, a noticeable drop in water pressure, and the return of the very contaminants you worked so hard to get rid of.
Why You Can’t Just "Set It and Forget It"
The filter media is the heart of your system. Whether it’s a simple sediment cartridge or a massive tank of carbon, it has a limited lifespan. Once it’s saturated with all the gunk it has pulled from your water, it’s done. Using an exhausted filter is like trying to dry dishes with a soaking wet towel—it just doesn’t work.
That’s why sticking to a replacement schedule is the single most important thing you can do.
- Sediment Pre-filters: These are the bouncers at the club door, catching all the dirt and rust. They usually need swapping out every 3 to 6 months. If you notice your water pressure taking a nosedive, a clogged pre-filter is almost always the culprit.
- Carbon Filters: The big carbon tank is the heavy lifter, tackling chlorine, funky tastes, and chemicals. The media inside can last a surprisingly long time—anywhere from 3 to 10 years, depending on the quality of the carbon and how much water your family uses.
- Specialty Cartridges: If you have extra stages for things like bacteria (a UV bulb) or heavy metals (KDF), they have their own schedules. A UV lamp, for instance, needs to be replaced every year. Even if it’s still lit, its sterilizing power fades over time.
Creating Your Simple Maintenance Schedule
You don't need a complicated spreadsheet for this. Just pop a few reminders in your phone's calendar or scribble the dates on a sticky note and slap it right on the filter housing. This little habit will save you a ton of headaches.
Your water filtration system is the guardian of your home's water supply. A little routine maintenance is all it asks for in return to keep doing its job effectively day in and day out.
To make it even easier, here’s what a typical maintenance plan might look like.
A Simple Maintenance Schedule for Whole Home Filters
This schedule gives you a ballpark idea. Your manufacturer's guide will have the exact details, but this is a great starting point.
| System Type | Maintenance Task | Recommended Frequency | Time Commitment |
|---|---|---|---|
| Cartridge-Based System | Replace sediment pre-filter. | Every 3-6 months | 15-20 minutes |
| Carbon Tank System | Replace carbon filter cartridge. | Every 6-12 months | 20-30 minutes |
| Water Softener | Check and refill salt reservoir. | Monthly | 5-10 minutes |
| UV Purifier | Replace UV lamp and clean quartz sleeve. | Annually | 30-45 minutes |
| All Systems | Conduct a post-installation water test. | Annually | 10 minutes (to collect a sample) |
A little bit of planning goes a long way in keeping your water pure and your system humming.
Beyond the Basics: Sanitizing and Testing
Here’s a pro tip: when you change a cartridge filter, take an extra ten minutes to sanitize the housing. A few capfuls of unscented household bleach mixed into a gallon of water is all you need. Give the inside a good scrub to keep any nasty bacteria from setting up shop.
It's also a smart move to test your water again about a year after the installation. This confirms the system is still working as it should and alerts you if any new contaminants have snuck into your water supply.
Staying on top of this is more important than ever. The home water treatment market is projected to hit an incredible USD 91.39 billion by 2034, driven by homeowners who are more aware of water quality issues. You can learn more about these market trends and see how consumer awareness is shaping the industry. A little upkeep ensures your system remains a top-tier solution.
Got Questions About Your Filter Install? We've Got Answers.
Even with the best guide in hand, tackling a whole home water filtration system installation for the first time can leave you with a few nagging questions. That's completely normal. This is a big upgrade for your home, so let's clear up some of the common uncertainties we hear from homeowners.
Think of this as the final pep talk. Getting this right isn't just a plumbing project; it's an investment in your family's health and the longevity of all the water-using appliances in your house.
How Much Does It Cost to Have a Pro Install It?
If you're thinking of calling a licensed plumber instead of going the DIY route, you can expect the cost to land somewhere between $300 and $1,500.
Why such a big range? It really boils down to the complexity of the job. If you have easy-to-access PEX or PVC pipes and you're installing a basic cartridge system, you'll be on the lower end. But if it's an involved multi-tank system that requires sweating new copper pipes and running a drain line, the price will naturally creep up.
My best advice? Always get at least three itemized quotes from reputable, licensed plumbers. It's the only way to know you're getting a fair price.
Can I Really Install a Whole House Water Filter Myself?
Absolutely. If you have some basic plumbing skills under your belt and the right tools, installing a whole house water filter is a totally doable weekend project. Honestly, systems with modern push-to-connect fittings have made the job easier than ever.
But you have to be honest with yourself. If the thought of taking a pipe cutter to your home's main water line gives you cold sweats, or if you've never soldered a copper joint, hiring a pro is the smart move. A small mistake can turn into a hidden leak or a full-blown flood—and the cost of that water damage will make a plumber's invoice look like a bargain.
Will a Whole House Filter Kill My Water Pressure?
This is probably the number one concern we hear. The short answer is yes, it will reduce it slightly, but it shouldn't be a deal-breaker. A correctly sized system will typically only cause a minor drop of about 5 to 15 PSI. Most people barely even notice it.
The secret to keeping your pressure strong is all in the sizing. You have to make sure your system's flow rate—measured in gallons per minute (GPM)—can keep up with your family's water usage at its peak.
To keep that pressure drop to a minimum, here's what to do:
- Go for a High Flow Rate: Pick a system with a GPM rating that meets or beats your home's demand. A house with 3-4 bathrooms, for example, really needs a filter rated for 12-15 GPM.
- Choose Bigger Ports: Look for filters with 1-inch inlet and outlet ports instead of the smaller ¾-inch ones. Bigger pipes mean better flow.
- Consider a Booster Pump: If your water pressure is already on the low side to begin with, you can install a water pressure booster pump right alongside the filter to solve the issue for good.
Where’s the Best Place to Install My Filter System?
Location is everything. The sweet spot is on your main water line, right after it enters your house but before it splits off to your water heater or any other fixtures.
Most people find these spots work best:
- Basements
- Garages
- Utility closets
The perfect location isn't just about space. It needs to be easy to get to, so you aren't doing plumbing gymnastics in a crawlspace. It also has to be a spot that's protected from freezing temperatures—a frozen filter housing will crack, and you'll have a major mess on your hands. And don't forget, if your system needs power or has a backwashing feature, you'll need an electrical outlet and a drain nearby.
At Water Filter Advisor, our mission is simple: give you the knowledge you need to get cleaner, safer water in your home. From picking the perfect system to walking you through the install, we're here to help you make smart choices for your family. Check out all our in-depth guides and reviews at https://www.waterfilteradvisor.com.
- January 13, 2026
- 0
- Uncategorized