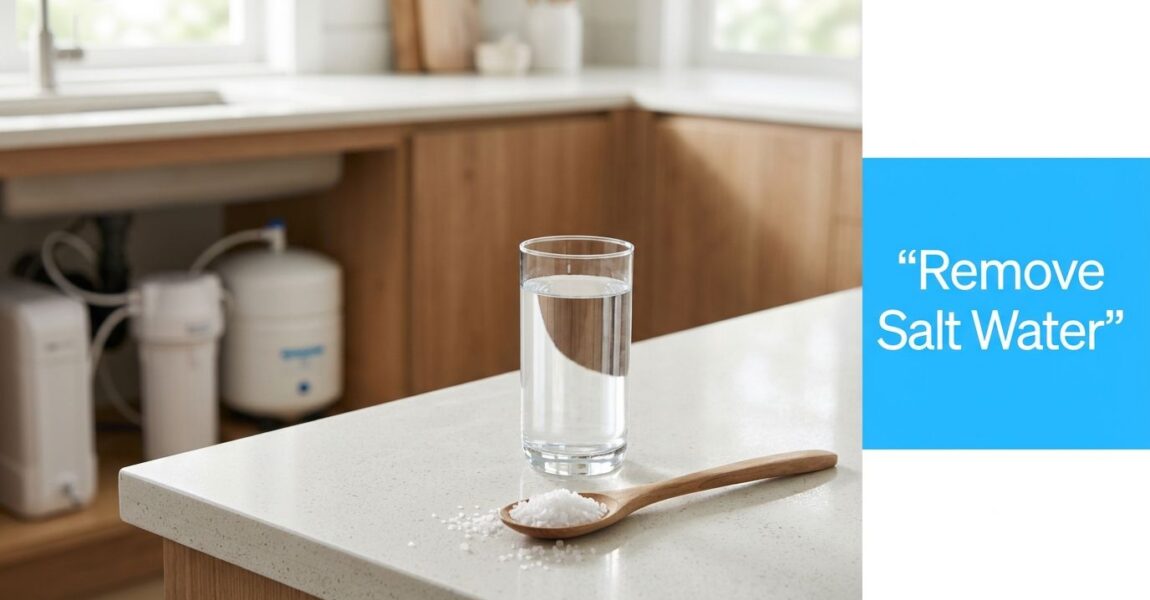
How Can You Remove Salt from Water
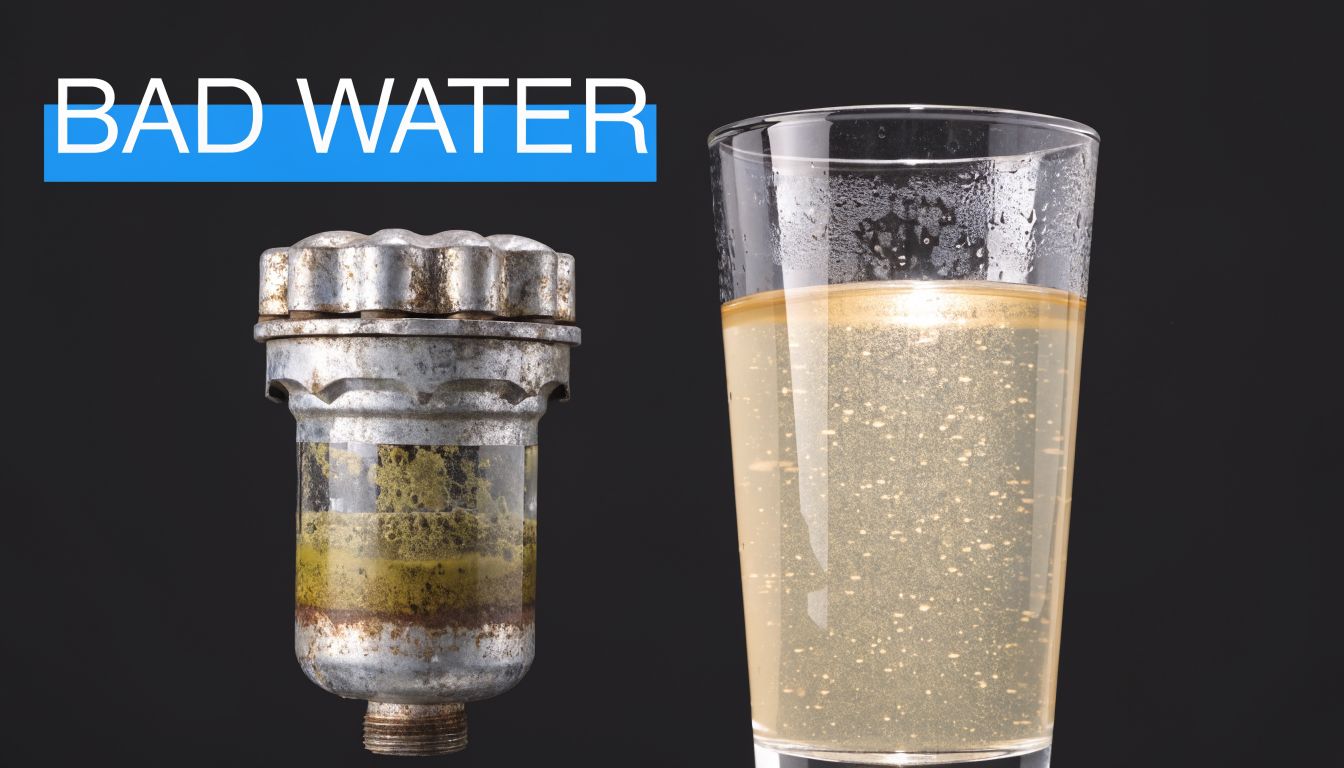
You turn on the kitchen tap, fill a glass, take a sip, and stop halfway through the swallow. The water tastes wrong. Not metallic. Not swampy. Salty.
That usually sends people in two directions. One group assumes the water softener is acting up. The other starts worrying that something bigger is happening, especially if the house sits near the coast, relies on a private well, or uses brackish source water. Both reactions are understandable. Only one gets you to a fix.
Salt in water is a different problem from hard water. It needs a different toolset too. If you're trying to figure out how can you remove salt from water at home, the short answer is yes, but only with a few methods that separate dissolved salt from the water itself. A standard pitcher filter won't do it. A basic sediment filter won't do it. And in many cases, a conventional softener makes the situation worse.
That Salty Surprise in Your Tap Water
A salty tap usually shows up in a way people remember. Morning coffee tastes flat and strange. Pasta water seems seasoned before you add anything. Ice cubes carry a faint ocean note. If you've never dealt with it before, it's unsettling because it feels like something that should only happen on a boat, not in your kitchen.
For homeowners, there are a few common real-world scenarios. Coastal wells can pick up saltwater intrusion. Some private wells pull from groundwater with naturally high sodium and chloride. In emergencies, people may only have access to brackish water and want to know whether they can make it drinkable at home. The good news is that desalination isn't only an industrial plant problem. Some methods scale down well. Others don't.
What people usually get wrong first
The biggest mistake is treating salty water like hard water. Hard water leaves scale. Salt changes taste, raises sodium and chloride, and behaves differently in treatment equipment. A softener is designed to exchange hardness minerals, not remove dissolved salt from source water.
Salty water and hard water can show up in the same house, but solving one doesn't automatically solve the other.
I've also seen people chase the wrong symptom. They clean fixtures, flush heaters, or swap faucet filters, hoping the taste will disappear. Maintenance matters, but it doesn't solve dissolved salt. It only solves buildup from other contaminants. If you're already in deep-cleaning mode for household equipment, Altitude Cleaning Crew's iron cleaner guide is a good example of how mineral residue behaves in appliances. The key difference is that visible residue and dissolved salinity aren't the same problem.
What actually helps
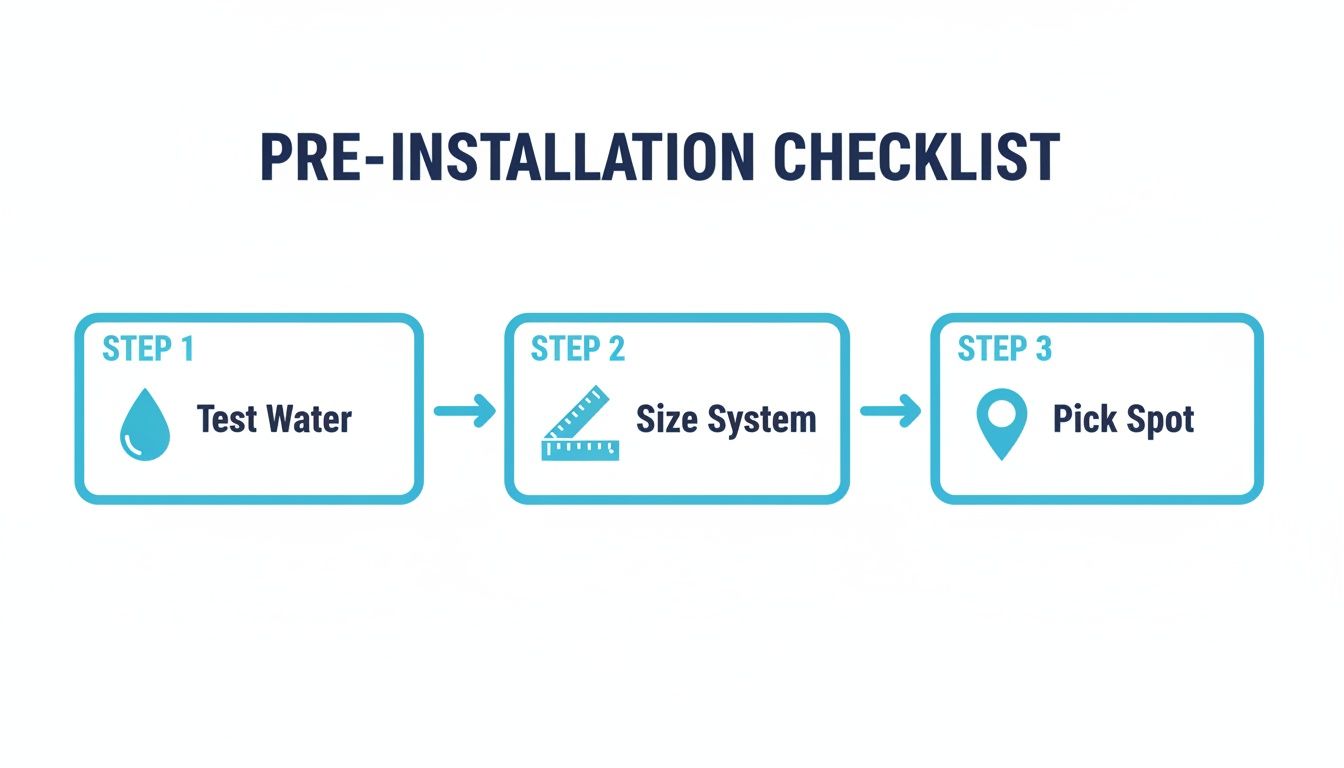
Start with diagnosis, not shopping.
- Check your water source: A municipal supply issue, a coastal well, and a naturally saline aquifer don't call for the same setup.
- Separate taste from chemistry: Water can taste bad for many reasons. Salt has a distinct cause and needs specific treatment.
- Think about volume: Daily drinking water is one problem. Whole-house desalination is another. Emergency water is a third.
Once you know which of those situations you're in, the treatment path gets much clearer.
The Basic Science of Making Saltwater Drinkable
Salt disappears into water so completely that it can feel impossible to remove. But the trick is simple. You either push water through something that blocks salt, or you turn water into vapor and leave salt behind.

Filtration that works at the molecular level
When people hear "filter," they often picture a screen catching grit. Salt is much smaller than sand, rust, or sediment. So desalination needs a much finer barrier.
Reverse osmosis uses a semi-permeable membrane. Water molecules pass through. Salt ions mostly do not. The system uses pump pressure to force water the opposite direction of natural osmotic flow, which is why the method is called reverse osmosis. A useful analogy is a coffee filter designed for molecules instead of grounds. Water gets through. The dissolved salt gets left behind.
This approach isn't niche. Reverse osmosis is the most common membrane-based desalination technology nationwide, with more than two-thirds of all U.S. desalination facilities being brackish water reverse osmosis plants, according to the U.S. Department of Energy's desalination overview.
Evaporation and condensation
Distillation works on a different principle. If you've ever boiled a pot and seen steam collect on a lid, you've already seen the idea. The water turns into vapor first. The salt doesn't go with it. When the vapor cools and condenses, you collect water that has been separated from the dissolved salt.
Simple rule: If the salt is dissolved, you need either a membrane fine enough to reject it or a phase change that leaves it behind.
That makes distillation effective, but often slow for household use. You're moving heat, boiling water, managing condensation, and collecting only as much as the setup can produce.
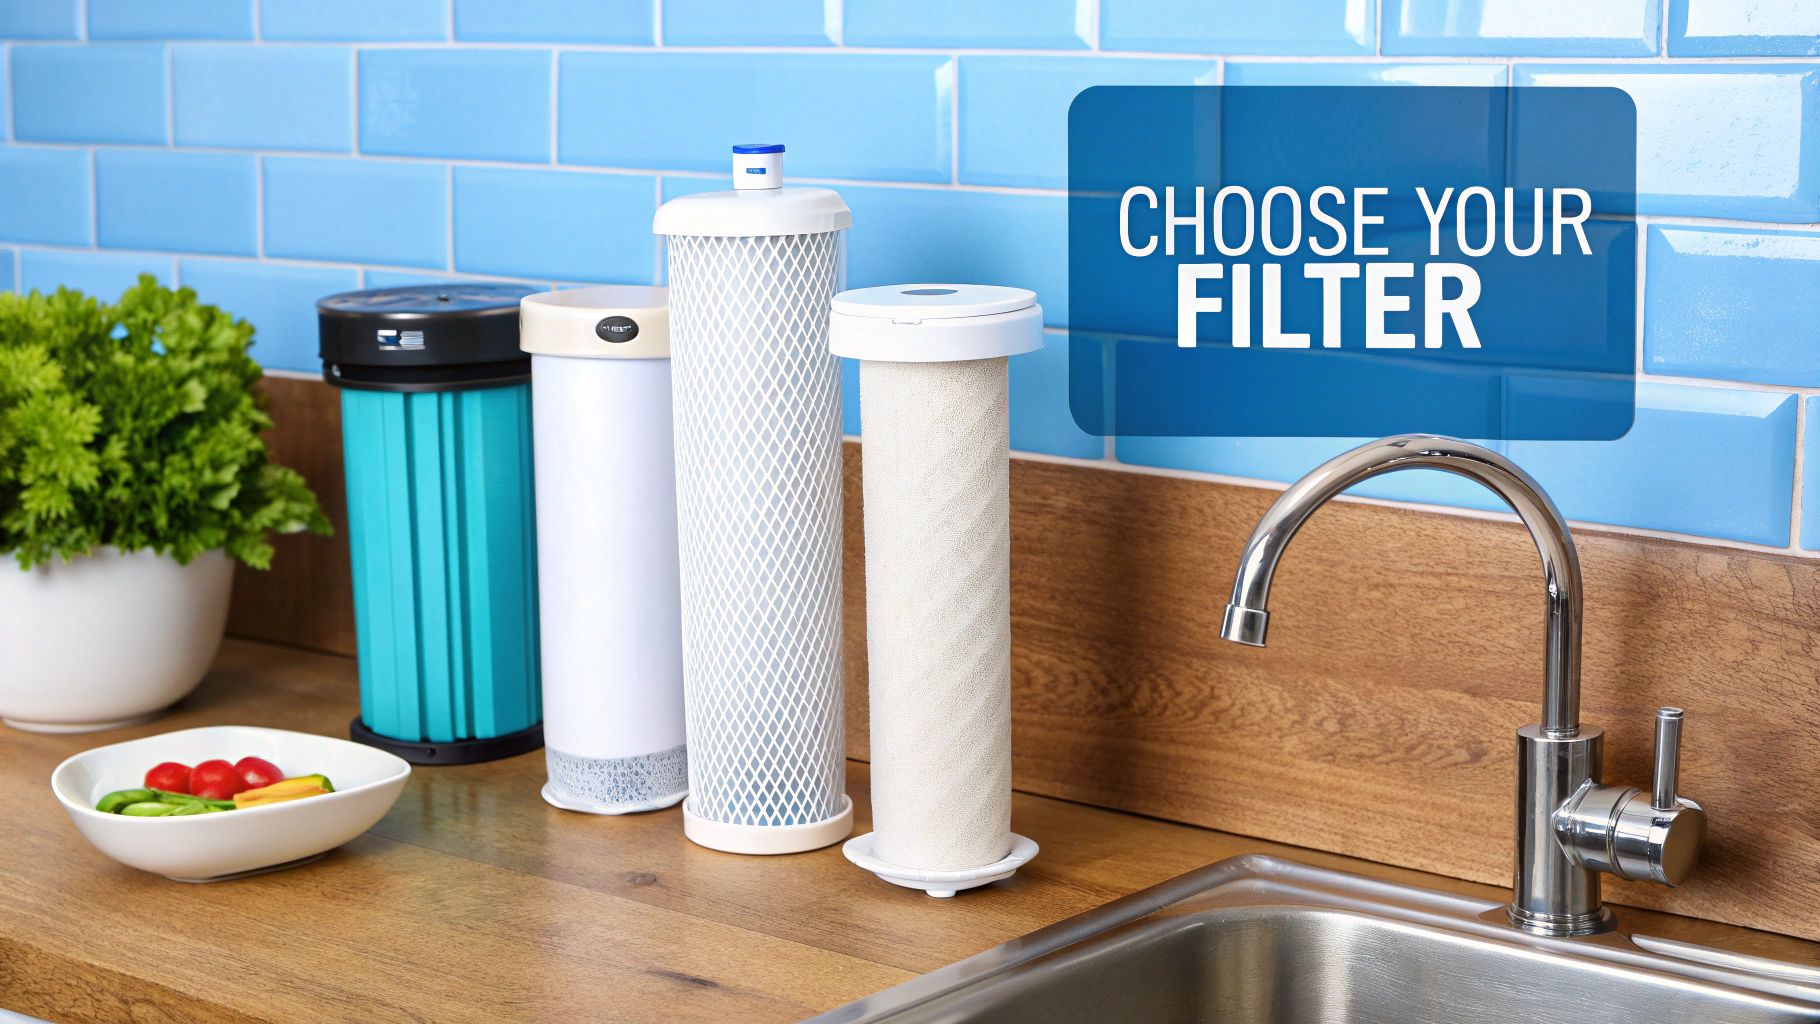
Why common household filters don't solve salinity
A few methods help water quality without removing salt:
- Sediment filters: Good for sand, silt, and rust. They don't desalinate.
- Activated carbon filters: Helpful for taste, odor, and some chemicals. They don't remove dissolved salt effectively.
- Water softeners: Useful for hardness. They aren't the right fix for natural sodium or chloride in source water.
If you're trying to answer how can you remove salt from water, the science narrows the field quickly. For most homes, the practical choices are reverse osmosis for everyday use and distillation for small-batch or backup use.
Reverse Osmosis Your Best Bet for Home Desalination
For most homeowners, reverse osmosis is the best home-scale answer. It exists in real products, it fits under sinks, and it has a long track record. It also addresses the main thing you're trying to fix, which is dissolved salt, not just bad taste.
Reverse osmosis remains the most widely adopted technology for salt removal globally, with modern seawater RO systems capable of removing 99% or more of dissolved salts, including sodium and chloride ions, alongside other contaminants, as described in Frizzlife's RO desalination guide.
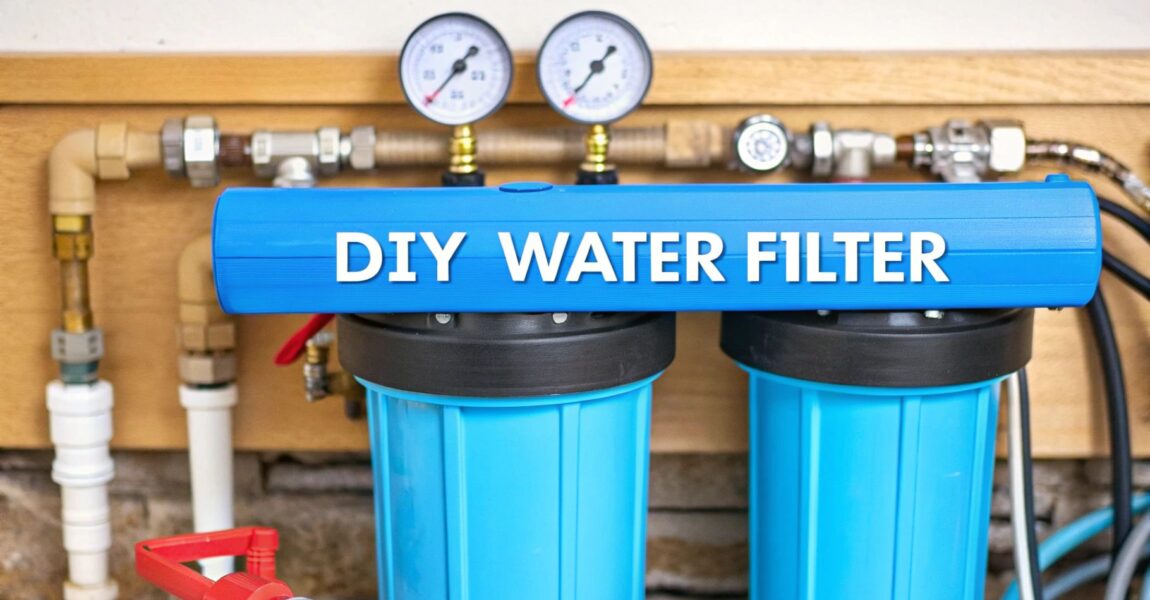
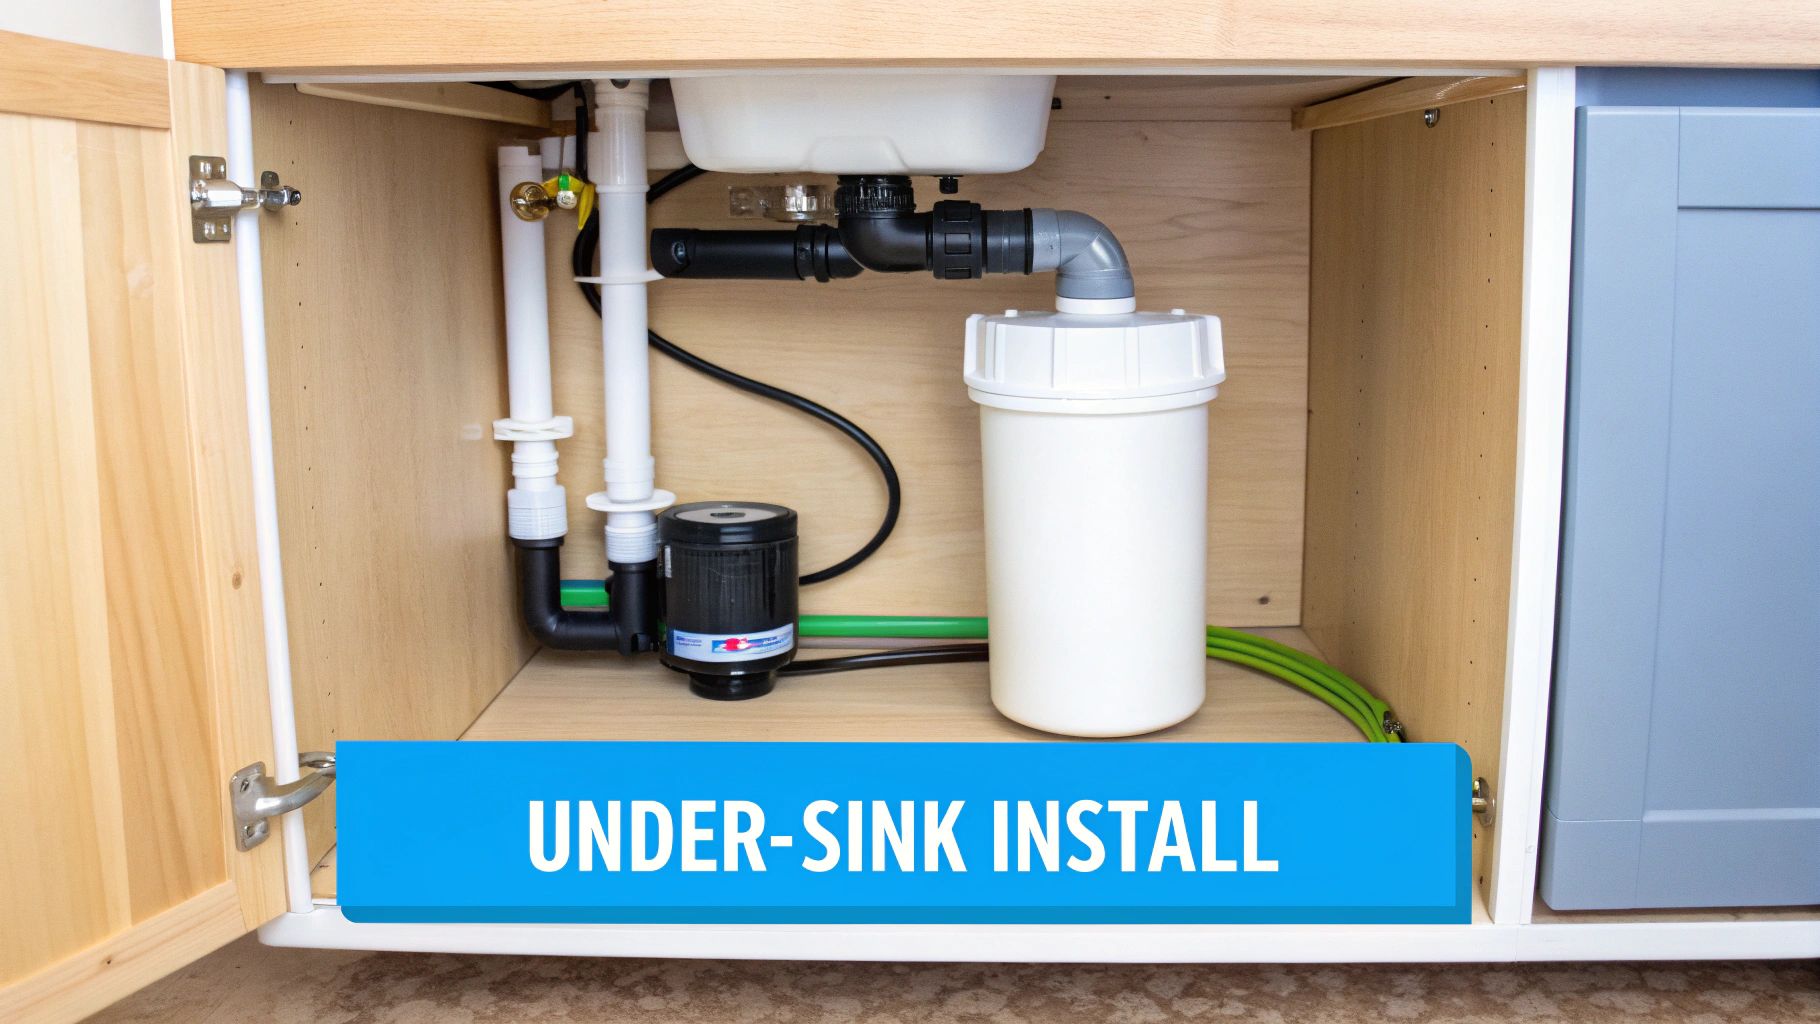
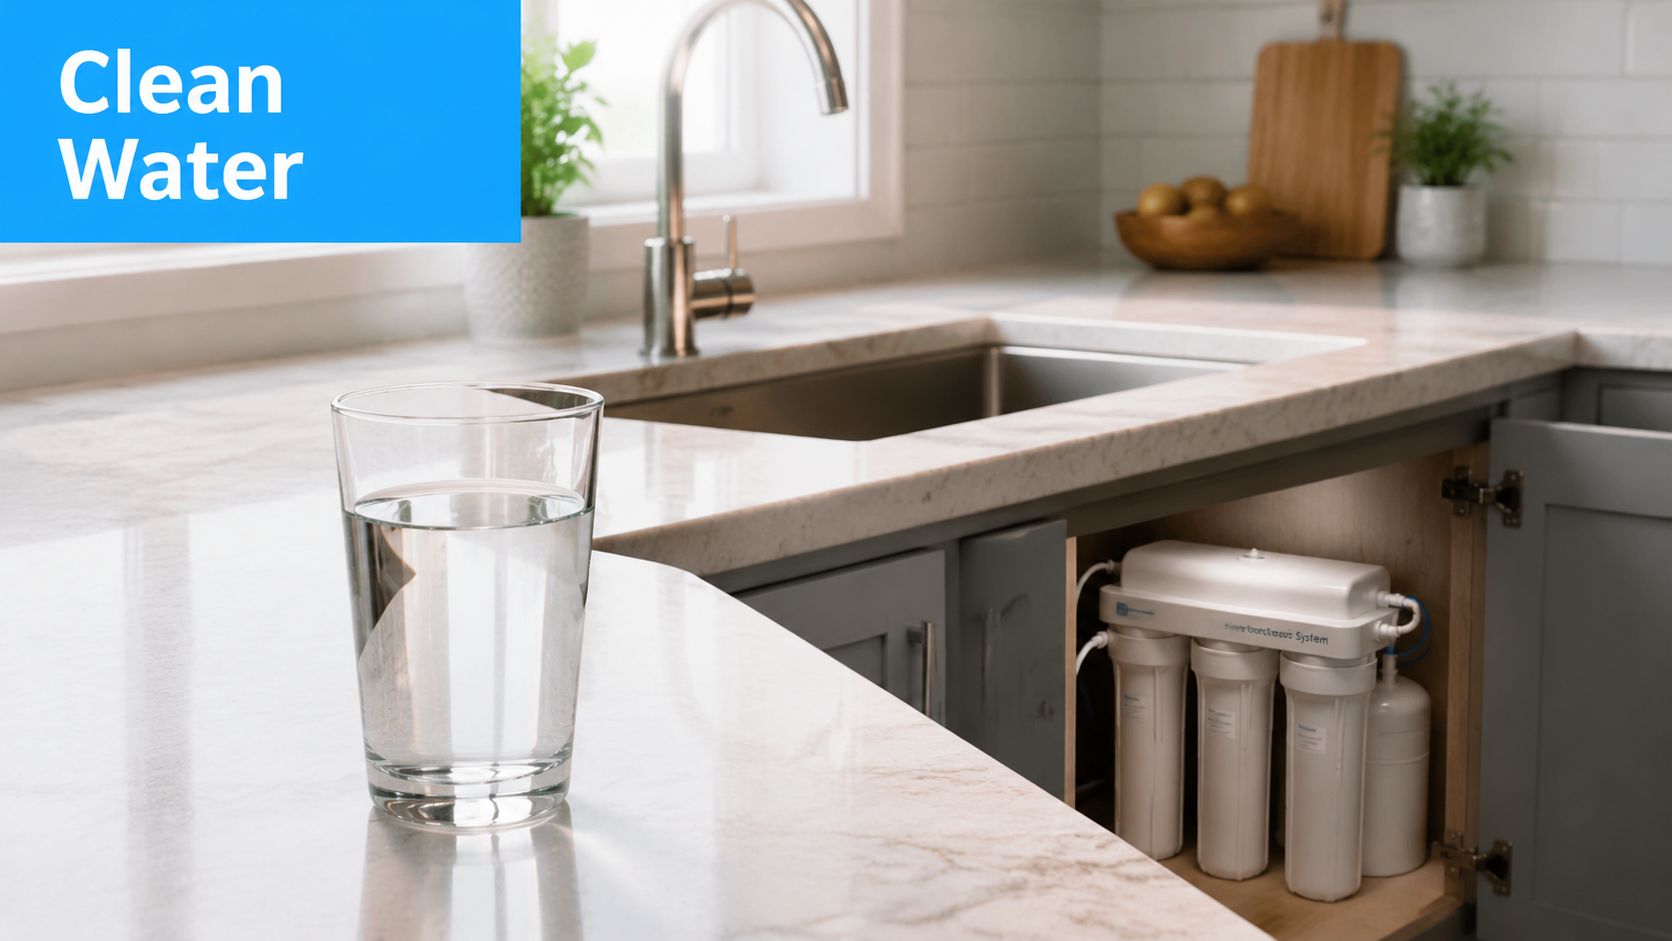
Under-sink RO versus whole-house RO
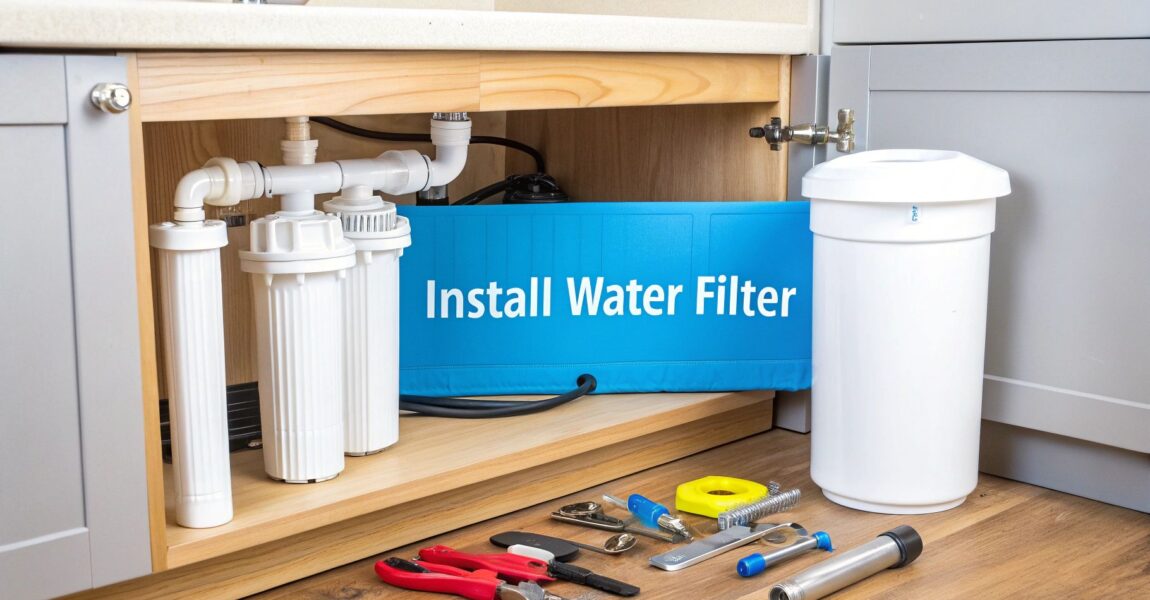
Most homeowners should first think in terms of point-of-use treatment. An under-sink RO system treats the water you drink and cook with. That's usually the smartest move because desalinating every gallon entering the home is much more demanding.
An under-sink setup typically includes:
- Pre-filters: These handle sediment and often carbon-based reduction of taste and odor issues before water reaches the membrane.
- RO membrane housing: This is the heart of the system.
- Storage tank: Many systems store treated water so you don't wait for production one glass at a time.
- Dedicated faucet: Treated water usually comes out of its own tap.
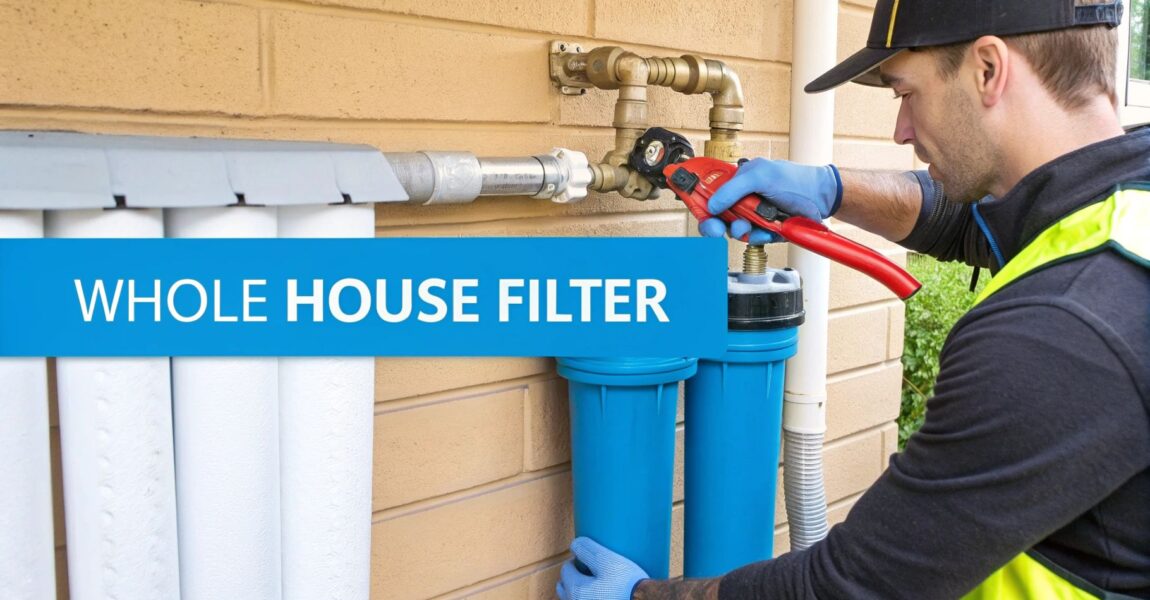
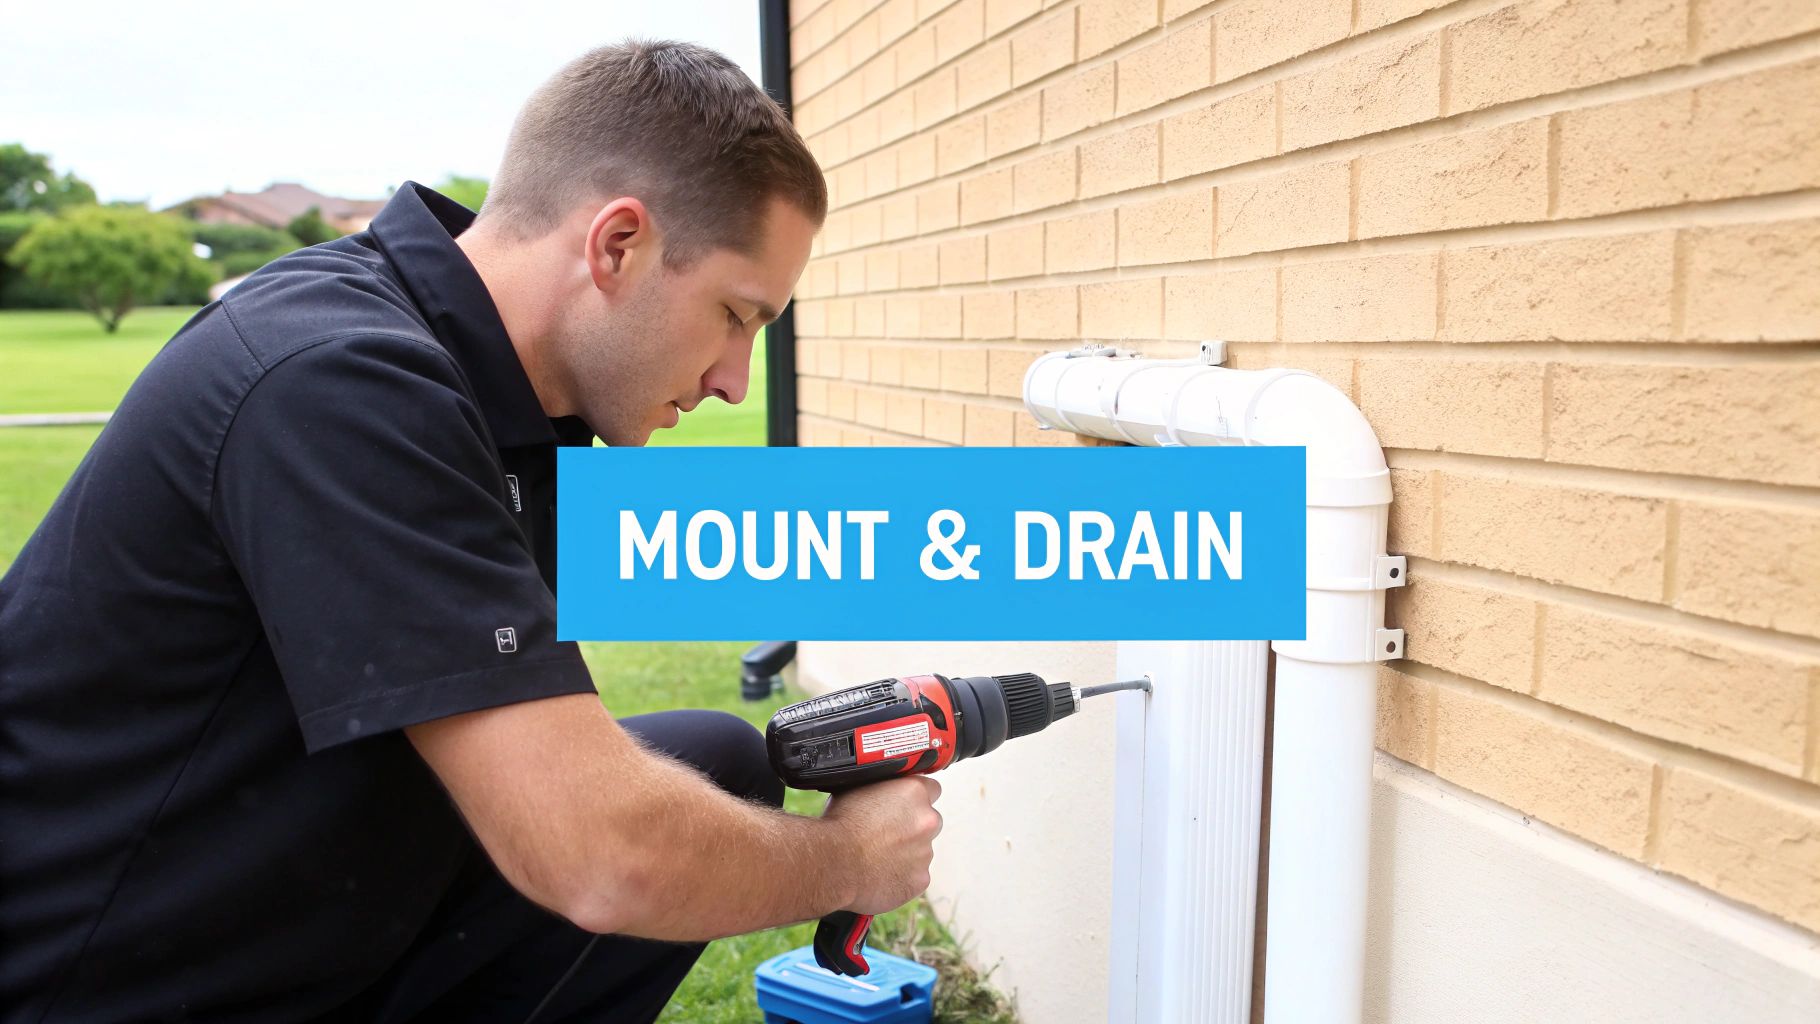
Whole-house RO exists, but it's a bigger project. It needs more planning, more space, more pretreatment, and careful attention to wastewater handling. That's usually the territory for severe salinity problems, special properties, or homes where the incoming source is so compromised that every fixture needs treatment.
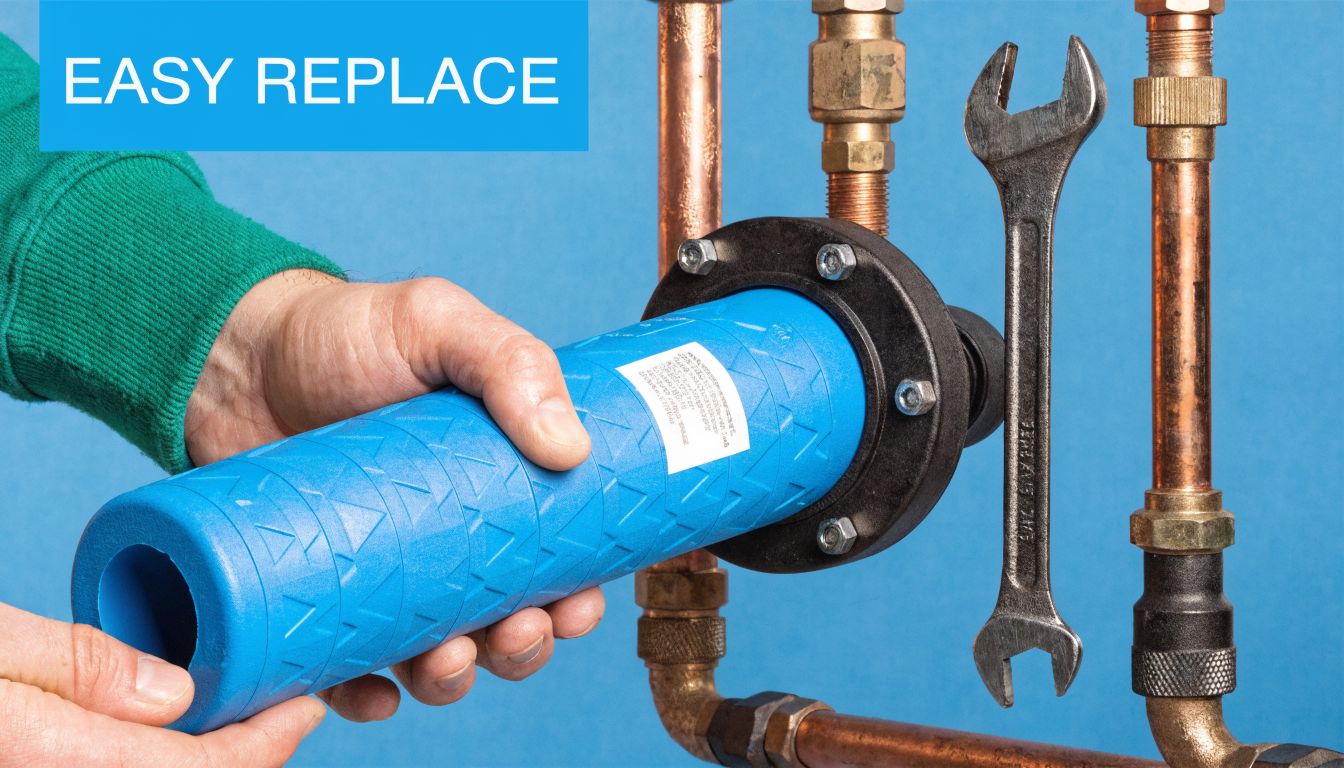
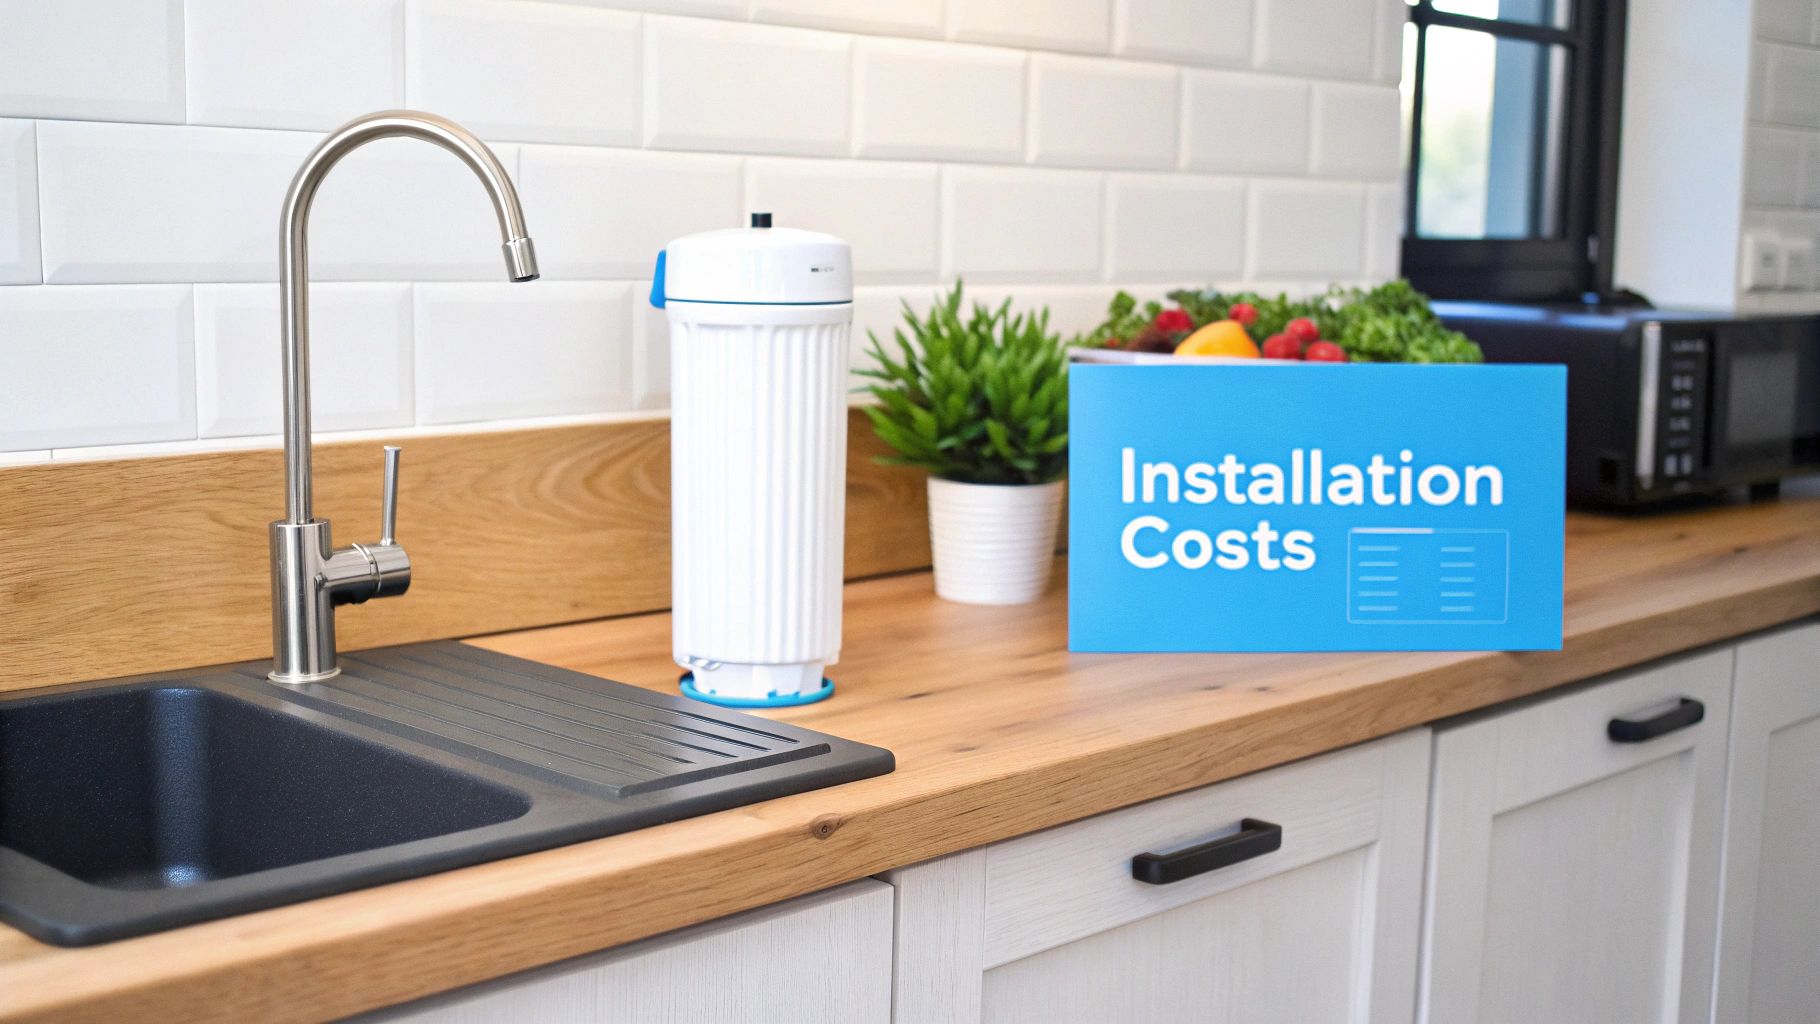
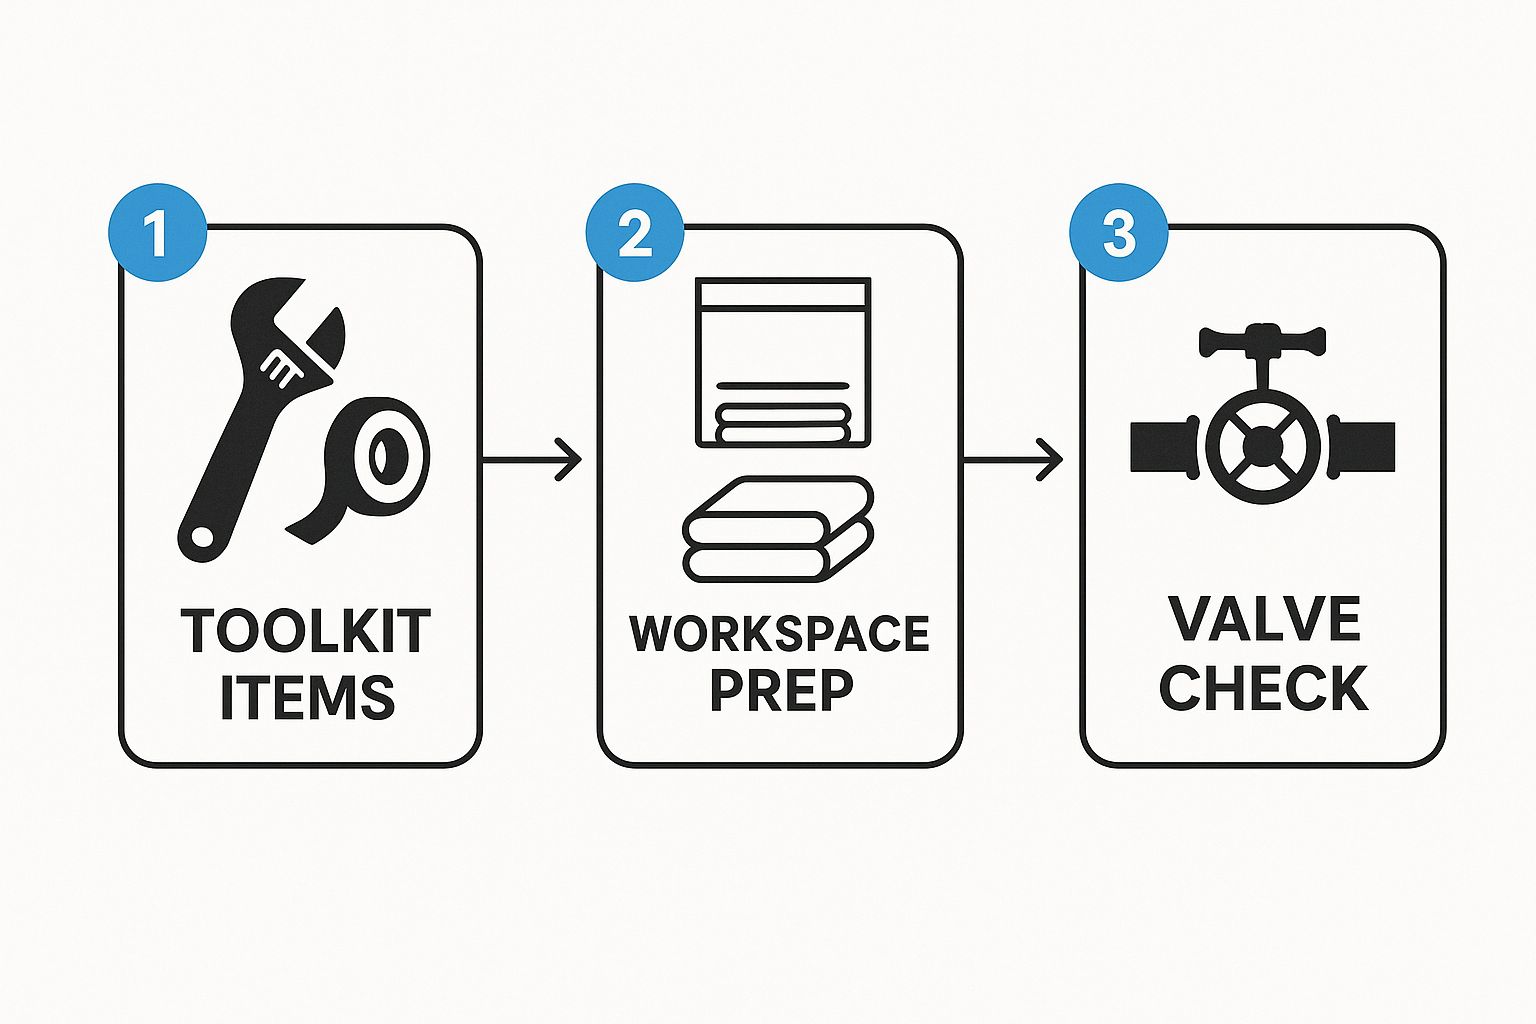
What installation is really like
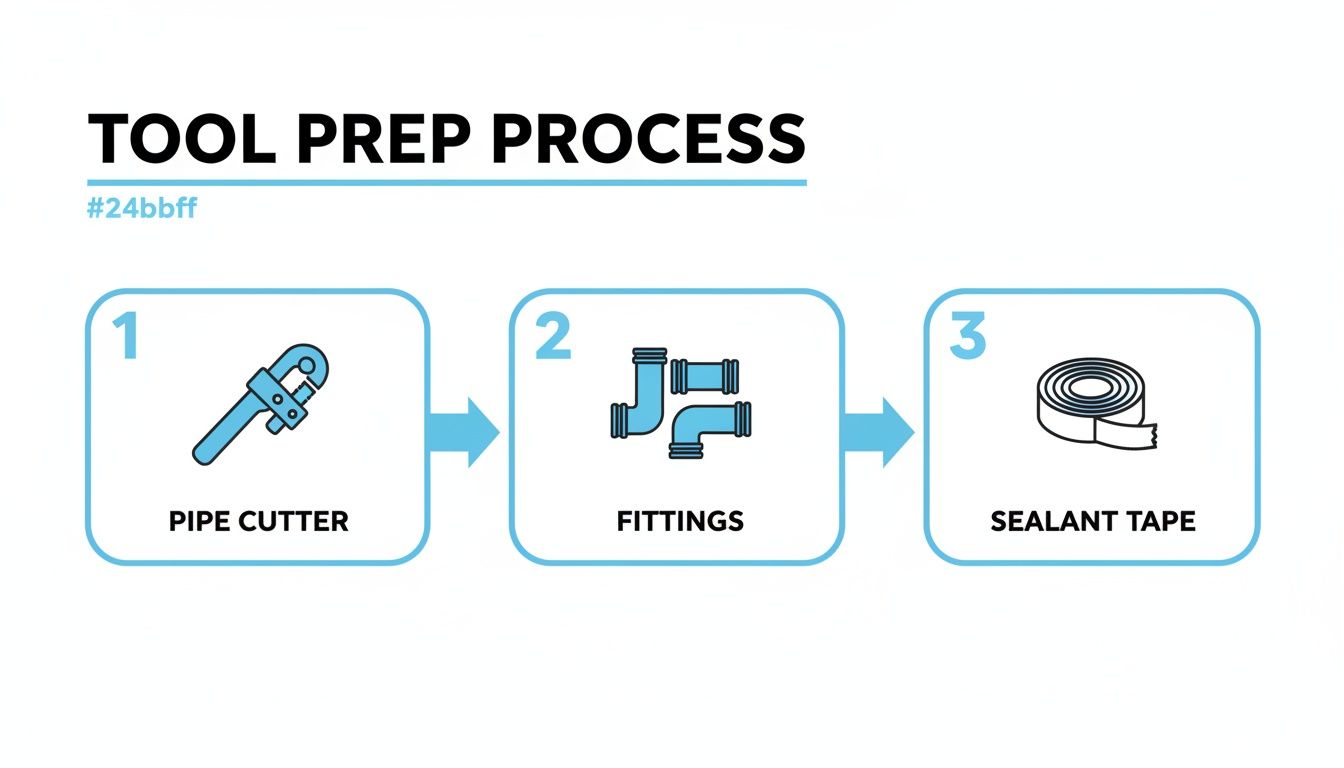
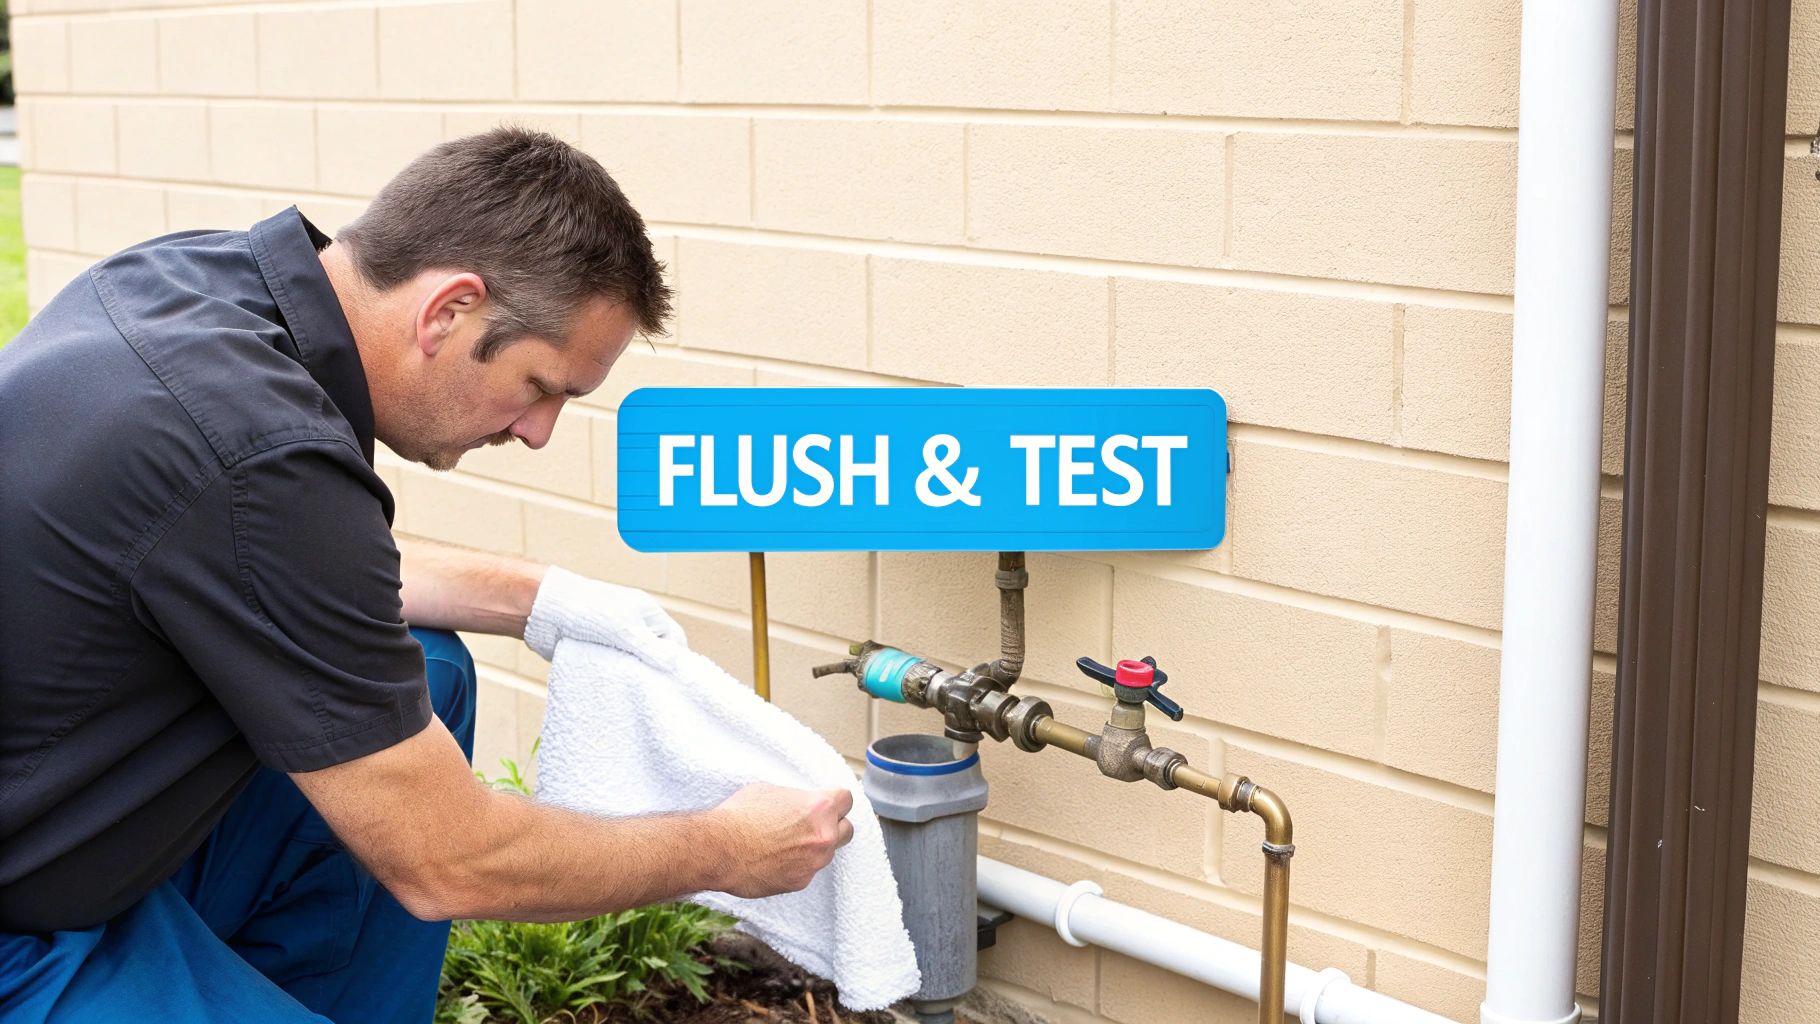
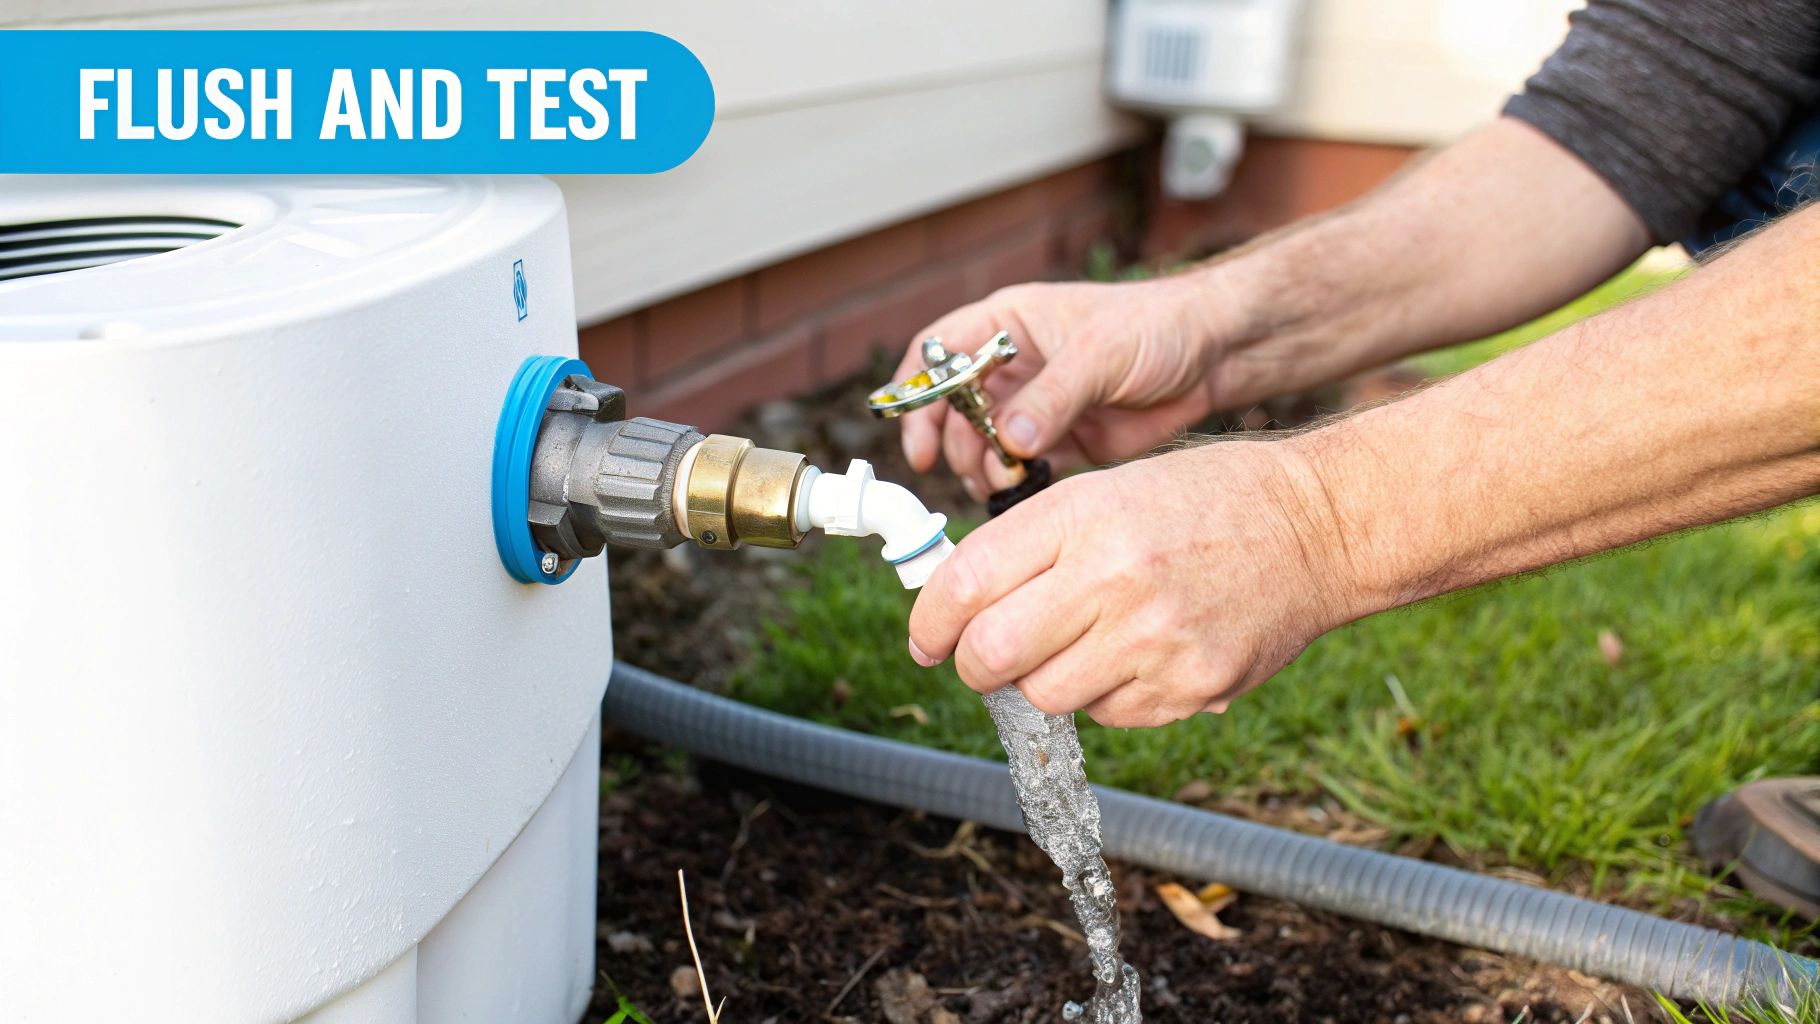
A DIY-capable homeowner can often handle an under-sink RO install if the cabinet has room and the plumbing is accessible. The work is usually about mounting the faucet, connecting the feed line, placing the drain saddle, setting the storage tank, and flushing the system before use.
What trips people up isn't usually the plumbing itself. It's the details.
Buy enough tubing, confirm the cabinet dimensions, and make sure you have an accessible drain line before opening the box. Most frustration starts with spacing, not the membrane.
Whole-house RO is different. That's where I strongly lean toward professional design and installation. You need to think about pretreatment, pump sizing, drain routing, and whether your household water use pattern matches what the system can produce.
What you can expect from the water
RO earns its reputation. Salty water tastes flatter in the bad way. RO-treated water usually tastes clean, neutral, and crisp by comparison. Homeowners often notice the change first in coffee, tea, soups, baby formula preparation, and ice.
RO also works beyond salt. It reduces many dissolved contaminants along with sodium and chloride, which is part of why it remains the default desalination choice in both home and larger systems.
A few realistic trade-offs matter:
| Consideration | What it means at home |
|---|---|
| Wastewater | RO creates a reject stream that carries concentrated salts away |
| Flow rate | Production is slower than a standard faucet line |
| Maintenance | Prefilters and membranes need periodic replacement |
| Space | Under-sink systems take cabinet room |
That doesn't make RO inconvenient. It just means the system needs to fit your daily habits.
When RO is the right call
RO is the strongest fit when:
- Your drinking water tastes salty: You want a direct fix at the kitchen sink.
- You have brackish or mildly saline source water: Especially common with certain wells and coastal conditions.
- You want dependable, repeatable treatment: Not a one-off emergency setup.
- You need a method people use at home: Not a lab concept or survival hack.
Later in the market, there are also newer desalination ideas beyond conventional RO. One notable example is Temperature Swing Solvent Extraction, developed by Columbia University researchers. It achieved up to 98.4% salt removal, uses low-grade heat of less than 70°C (158°F) instead of high-pressure pumping, and researchers estimate it could reduce energy consumption by approximately 30%, lowering desalinated water cost by roughly 6%, according to CNET's report on the TSSE method. That's promising, especially for hypersaline brines, but it isn't the thing you're ordering for your kitchen this week.
For home use today, RO still wins on availability and practicality.
A quick visual helps if you're comparing layouts and expectations:
Homeowner expectations that stay realistic
Don't expect an under-sink RO system to behave like a full-flow kitchen line with unlimited output. That's not what it's designed for. Think of it as a high-purity drinking water tap, not a whole-home pressure replacement.
Do expect it to handle the main problem effectively when the source water and pretreatment are matched properly. That's why it's the method I recommend first when someone asks how can you remove salt from water without turning the house into a small utility plant.
Emergency and Small-Scale Salt Removal
Sometimes you don't need a permanent install. You need a backup plan. Storm prep, cabin use, travel, and short-term off-grid situations all change the question from "What's the best system?" to "What can I do with basic tools and time?"
That usually means distillation or a simple solar still.

A basic solar still
A solar still works because sunlight heats salty or brackish water, water vapor rises, and that vapor condenses on a cooler surface where you can collect it.
A stripped-down version looks like this:
- Use a shallow basin and place salty water in it.
- Put an empty cup in the center so it can catch condensed fresh water.
- Cover the basin with clear plastic and seal the edges as well as you can.
- Place a small weight over the center so the plastic slopes downward toward the cup.
- Set it in direct sun and wait.
The vapor that forms under the plastic condenses and drips into the cup. The salt stays behind in the basin.
This works. It also works slowly. That's the part people often underestimate.
Stovetop distillation
If you have fuel and a kitchen, boiling and condensing water is usually more predictable than a solar still. The idea is straightforward. Heat the saltwater, capture the steam, cool it, and collect the condensed water.
A home improvised setup often uses a pot, a lid arranged to encourage condensation, and a clean collection vessel. The challenge isn't understanding it. The challenge is doing it safely and producing enough water to matter.
Distillation is excellent for small batches. It's a poor choice if you're trying to supply normal household water demand every day.
Why portable filters aren't all the same
Portable emergency filters are often great for microbes, sediment, and debris. That's not the same as salt removal. Many people hear "survival water filter" and assume seawater is fair game. Usually it isn't.
If the packaging doesn't specifically say the device handles dissolved salts, don't assume it does. Hand-pump filters have real value in emergencies, but salinity is a different treatment category.
Newer solar desalination ideas
Research labs are pushing solar desalination in interesting directions. A new solar-thermal desalination method developed at the University of Rochester uses specially engineered black metal panels etched with femtosecond lasers to absorb nearly all solar radiation, distill water, and extract nearly 100% of salts in solid form instead of producing harmful brine waste, as described in the University of Rochester's desalination article.
There's also growing interest in ultra-compact solar devices. One widely discussed example is a $4 compact solar desalination device developed by MIT and Chinese researchers, with a 10.8 ft² (1 m²) model described as capable of providing continuous family drinking water using only sunlight, according to this Futurology discussion referencing the MIT-linked work. That's exciting, but for homeowners right now, it belongs more in the "watch this space" category than the "replace your kitchen system" category.
Best use cases for small-scale methods
- Emergency preparedness: Keep the method simple and tested ahead of time.
- Cabins and off-grid stops: Accept slow production and limited output.
- Short disruptions: Distillation can bridge a temporary problem.
If you need regular, dependable drinking water at home, these methods are backups. They are not substitutes for a properly chosen RO system.
Choosing the Right Method for Your Needs
The right answer depends less on chemistry and more on your daily life. Are you trying to fill a glass at the kitchen sink every day, get through a storm outage, or fix a private well problem without tearing apart your plumbing twice?
Homeowners save money by being honest about the job.
Side-by-side reality check
| Method | Best for | Main advantage | Main drawback |
|---|---|---|---|
| Reverse osmosis | Daily drinking and cooking water | Reliable household use | Needs installation and creates reject water |
| Distillation | Small batches and backup use | Very pure output | Slow and energy-hungry |
| Solar still | Off-grid and emergency use | No grid power needed | Very low output and weather dependent |
RO wins when convenience matters. Distillation wins when purity matters more than speed. Solar stills win when you have sun, time, and no better equipment.
The well-water mistake that keeps repeating
The most common bad decision I see is a homeowner with natural sodium or chloride in well water treating it like a hardness issue. That usually leads straight to a softener-first strategy that doesn't solve the underlying problem.
Watch this closely: A standard water softener is not the fix for naturally salty well water. It targets hardness minerals, not the source of sodium and chloride.
A critical gap in existing coverage is the lack of clear guidance on removing salt from well water specifically containing natural sodium/chloride. While reverse osmosis removes 85–94% of sodium, it is often misapplied by homeowners who confuse the issue with hardness, leading to recurring contamination, as noted in this well-water sodium treatment discussion.
If you're on a private well, don't assume "salty" means "needs a softener." It may need testing, source evaluation, and point-of-use RO for drinking water. In some cases, homeowners also look at deionization or distillation for targeted needs, especially when the water chemistry is unusual.
Quick decision guide
Choose based on the job:
- Kitchen drinking water every day: Under-sink RO is usually the most realistic fit.
- Whole-house saline water issue: Get professional design input before buying equipment.
- Backup for outages or remote use: Distillation or a solar still can work if you're patient.
- Natural salt in well water: Test first, then treat the salinity directly instead of chasing hardness.
Homeowners near the ocean may also consider dedicated home desalination setups. For coastal properties, land-based systems using RO are marketed specifically to produce fresh water from seawater or brackish sources, with claims of 99%+ salt, mineral, and contaminant removal, as described by Echotec Watermakers' home desalination page. That's a specialized path, but it shows that home desalination is no longer an exotic concept.
The simpler your goal, the simpler your equipment should be. A dramatic solution is not always necessary. The right one is.
Finishing Touches Water Testing and Waste
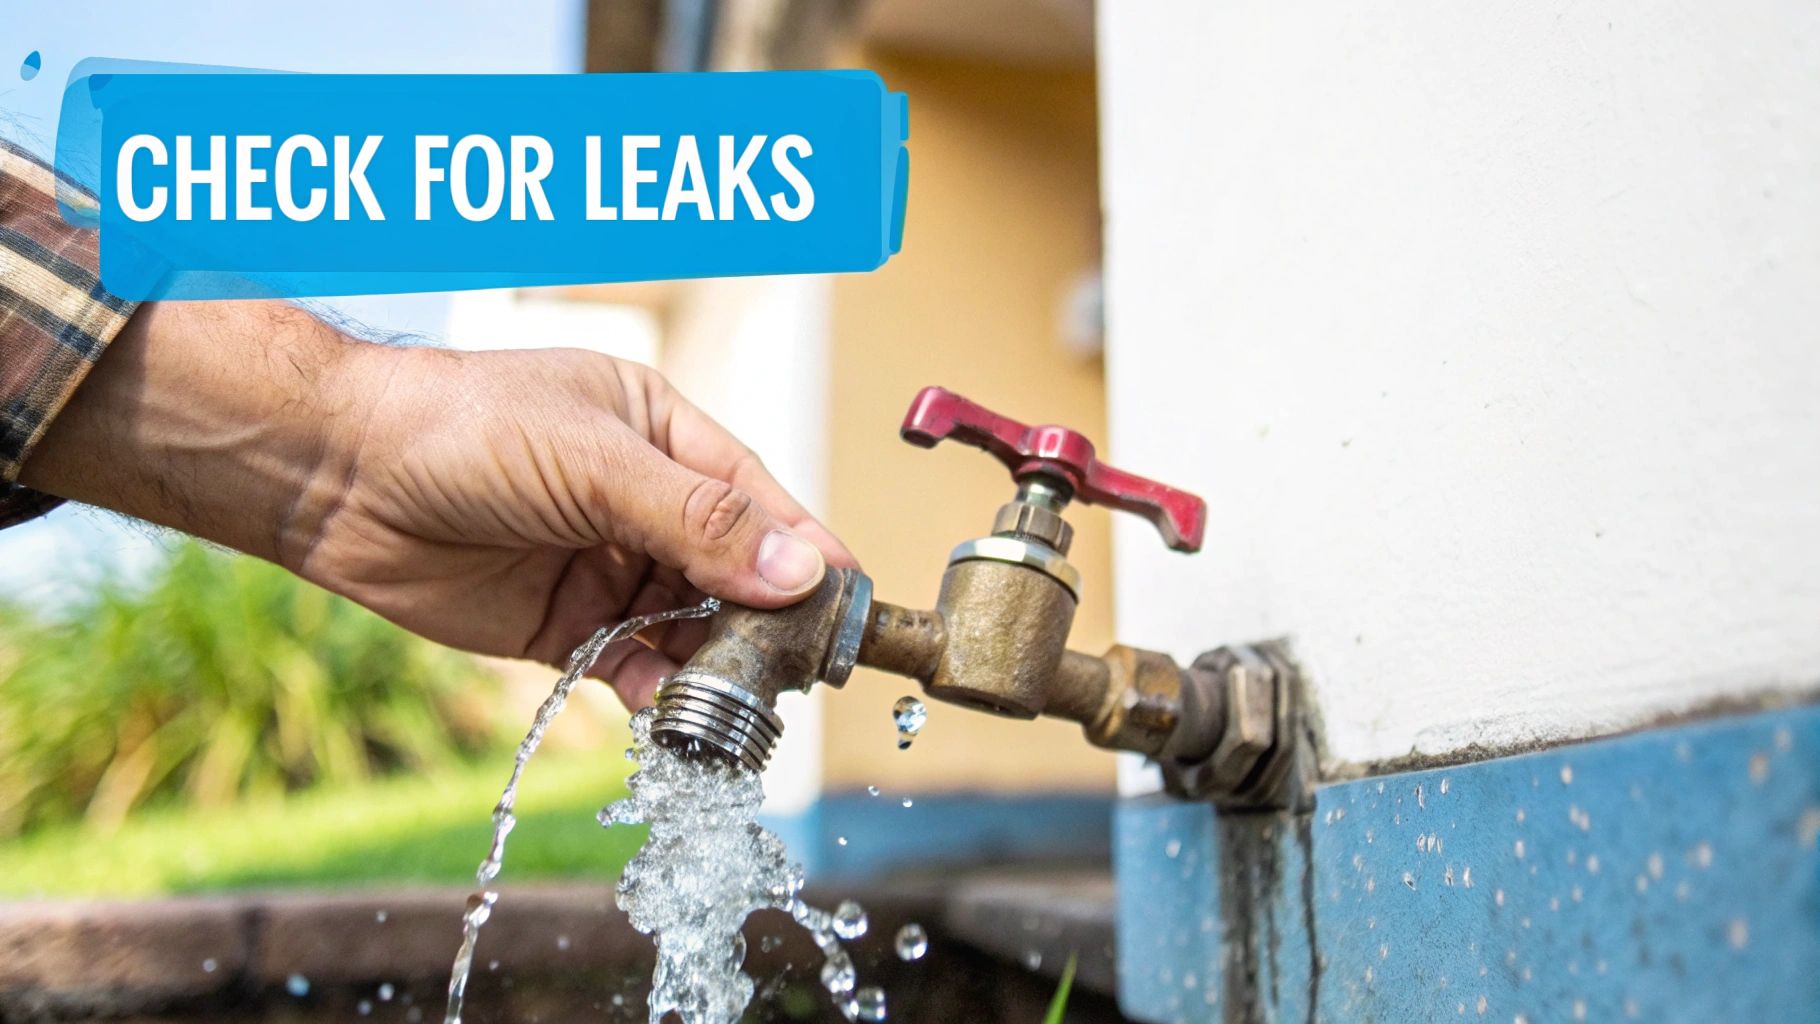
Installing a treatment system isn't the finish line. You still need to confirm that it's working and deal with the salty reject water responsibly.
What to do with the brine
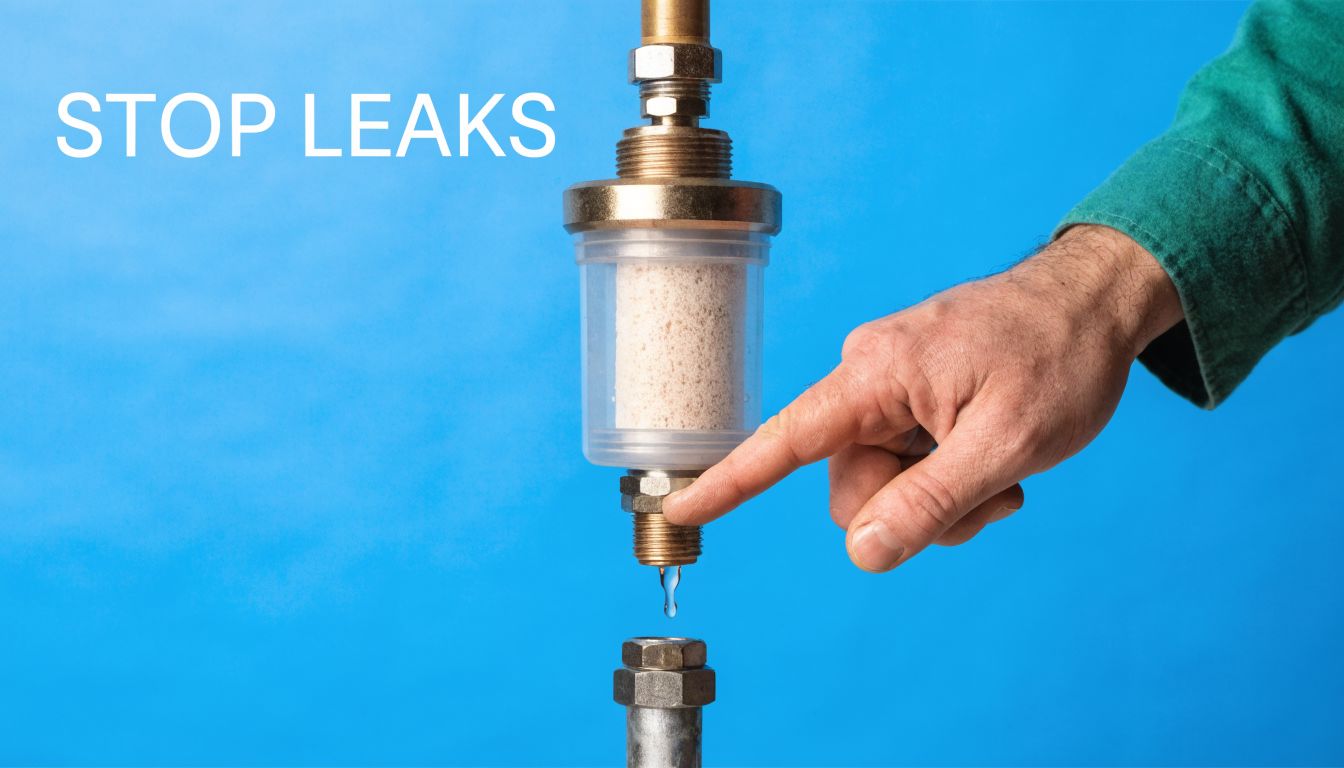
Reverse osmosis doesn't destroy salt. It separates it. The concentrated reject stream, often called brine or wastewater, has to go somewhere. In most home systems, that means a drain connection designed for the unit.
Don't improvise this part. A sloppy drain setup can create leaks, odors, or sanitation problems. If you're dealing with larger systems or unusual property conditions, ask a local pro how wastewater should be handled on your site rather than assuming every drain arrangement is acceptable.
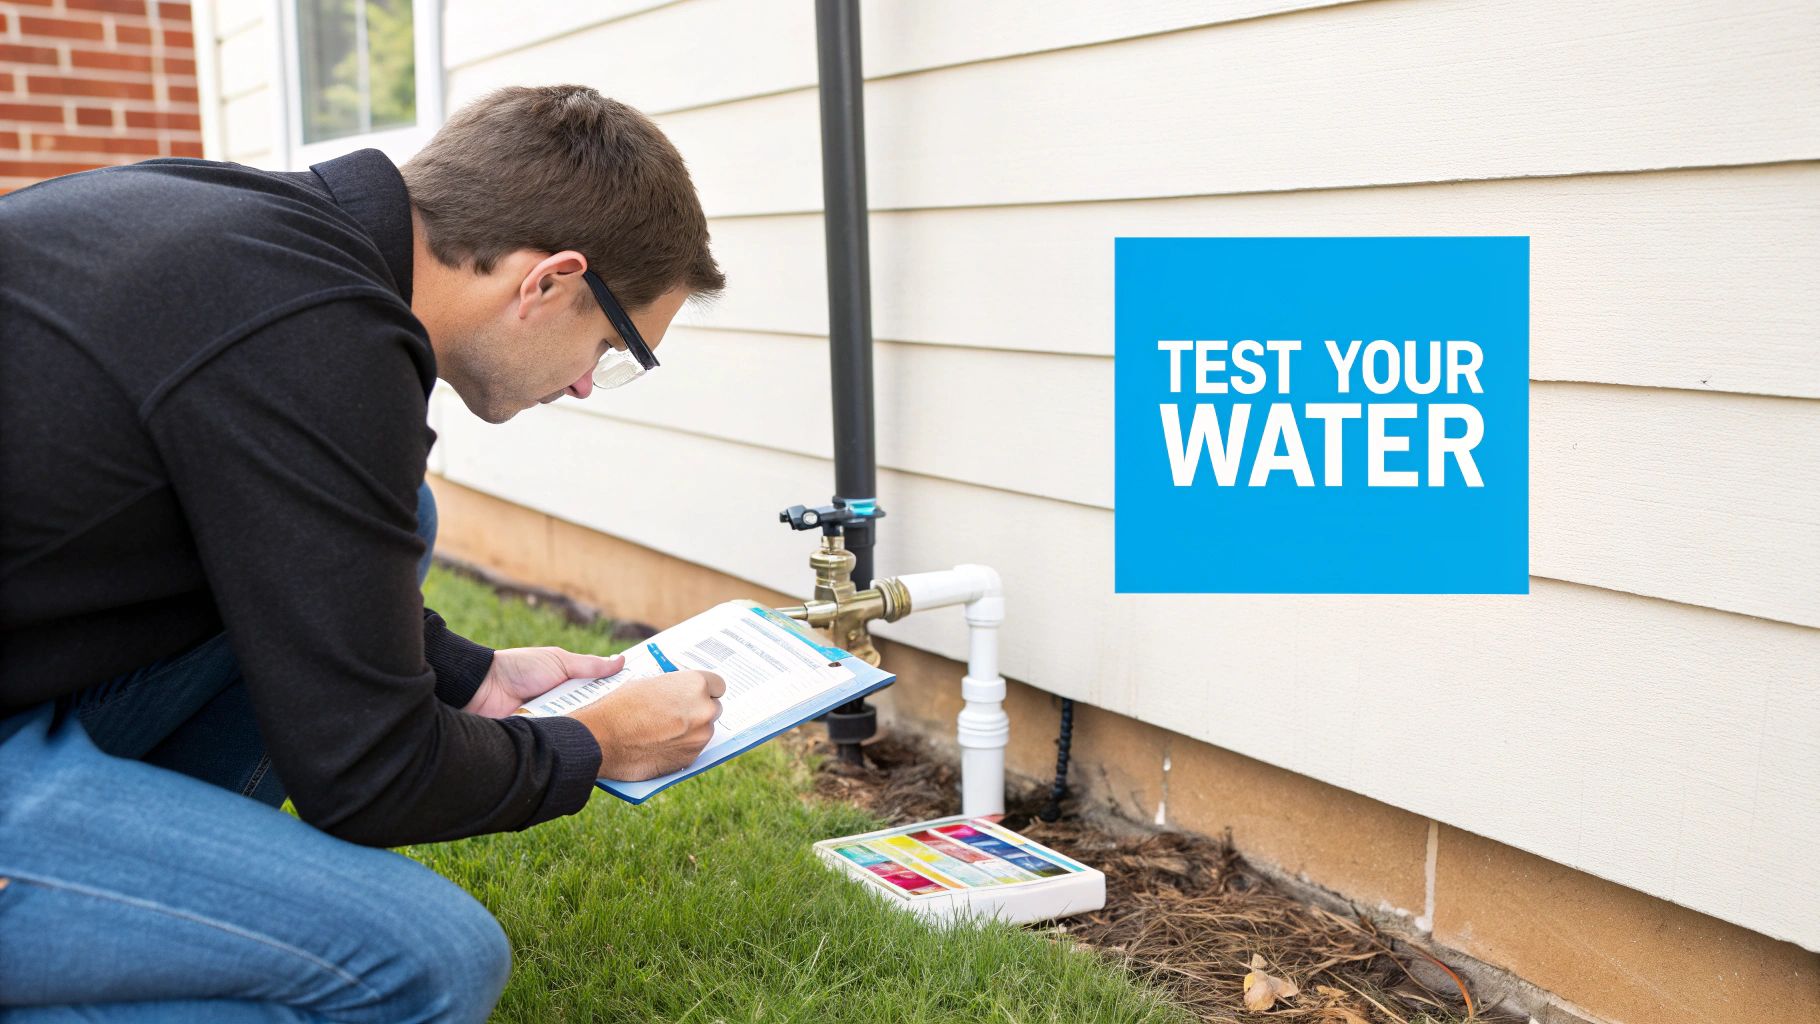
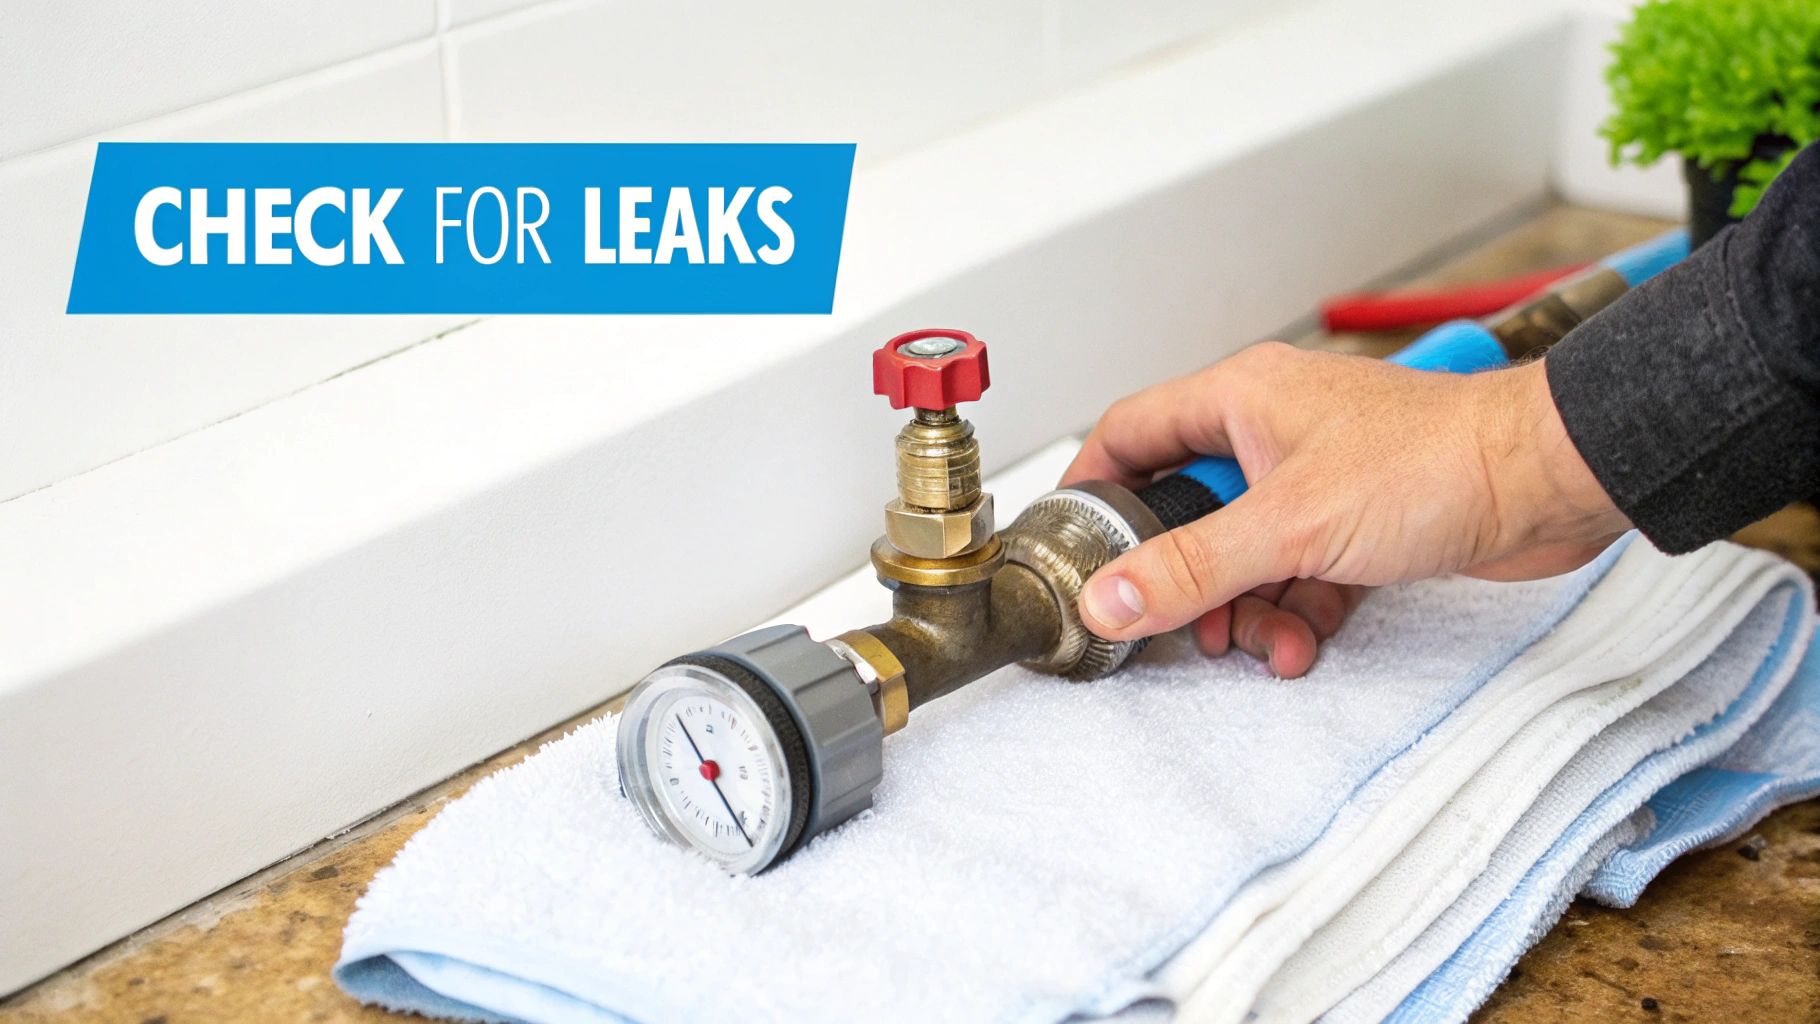
Test the water after treatment
A simple TDS meter is a useful homeowner tool because it gives you a quick before-and-after snapshot of dissolved solids. It doesn't replace a full lab analysis, but it helps confirm that the system is changing the water.
A practical maintenance routine looks like this:
- Test feed and product water: Compare incoming water with treated water from the RO faucet.
- Track taste changes: If the salty taste starts creeping back, don't ignore it.
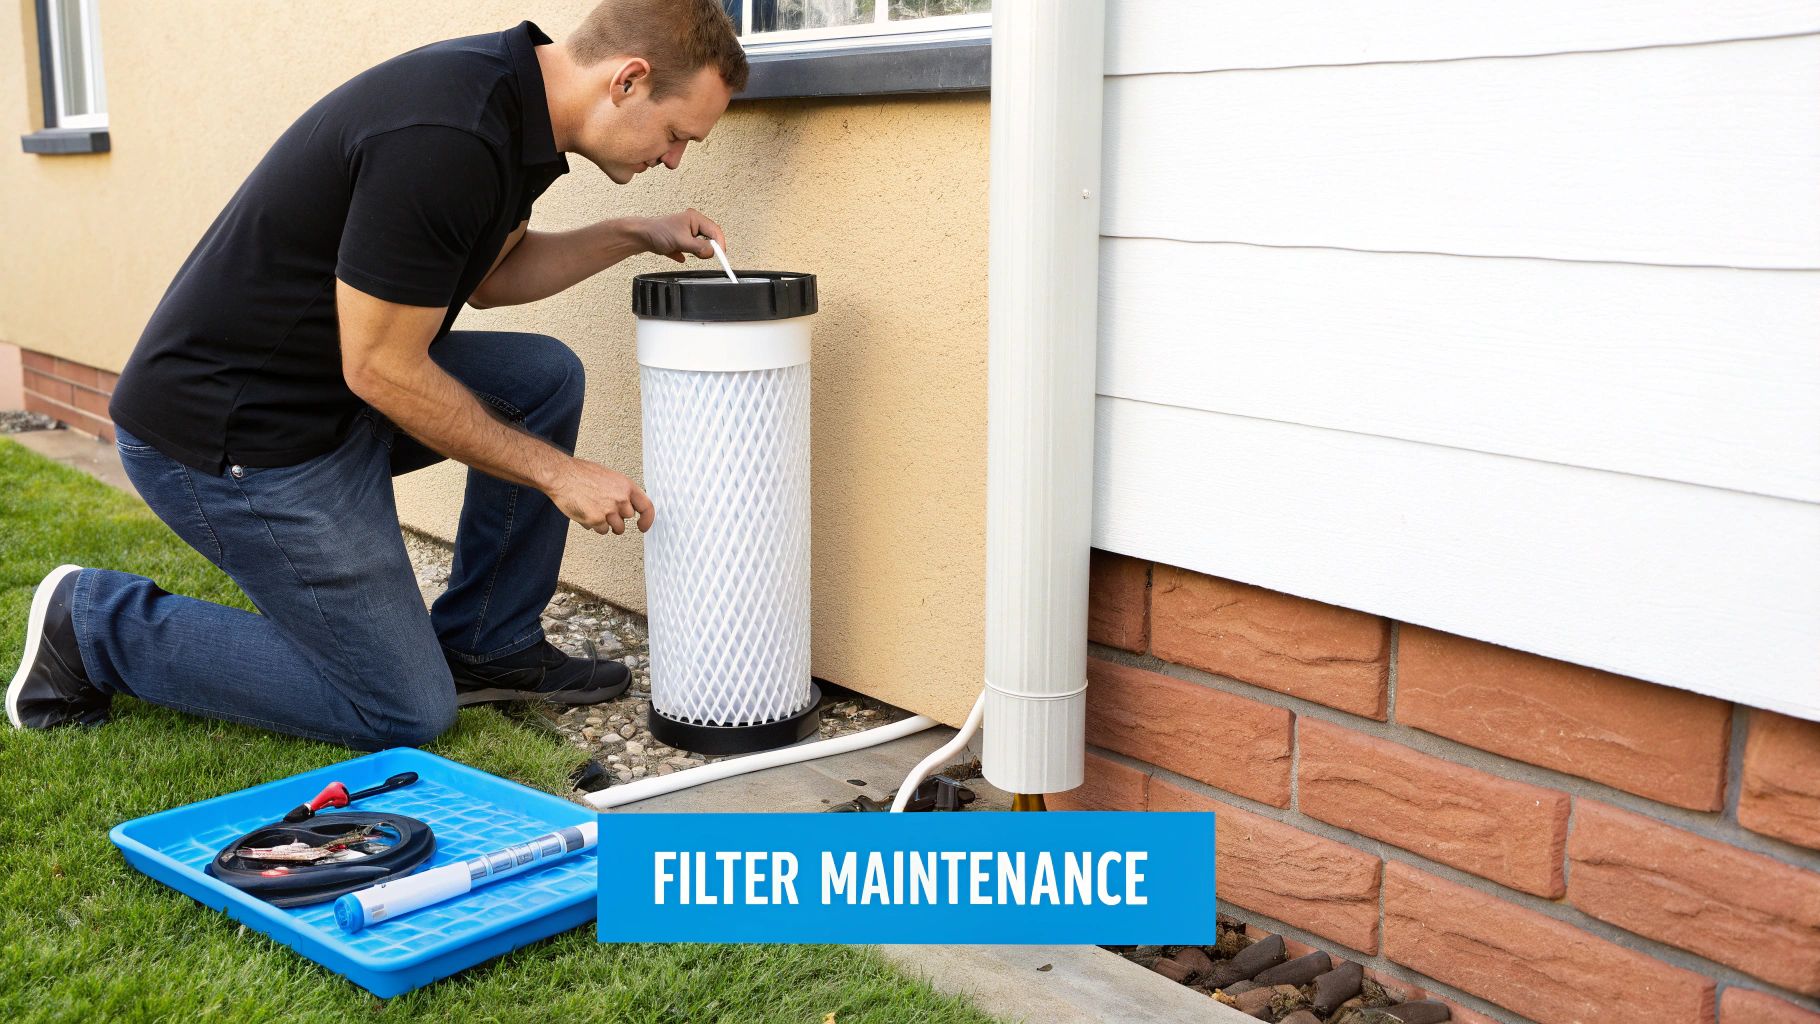
- Replace filters on schedule: Membranes fail slowly. Prefilters often show trouble first.
- Inspect fittings and drain lines: A small leak under a sink turns into a cabinet problem fast.
For readers who want a reference point on just how pure water can get in technical settings, Herbilabs' guide to WFI use is helpful context. Water for Injection is a pharmaceutical standard, not a home drinking-water target, but it shows how tightly controlled water quality becomes when purity requirements are extreme.
If you want more homeowner-focused help on testing, maintenance, and treatment choices, the practical guides in Water Filter Advisor's advice library are a solid next step.
The last thing I'll leave you with is this. Salty water is fixable, but only when you match the method to the problem. If the source water is naturally saline, don't let anyone sell you a hardness solution and call it done.
If you want clear, no-nonsense help comparing reverse osmosis systems, understanding water test results, or choosing filtration that fits your home, visit Water Filter Advisor. It's built for homeowners who want better water without guessing.