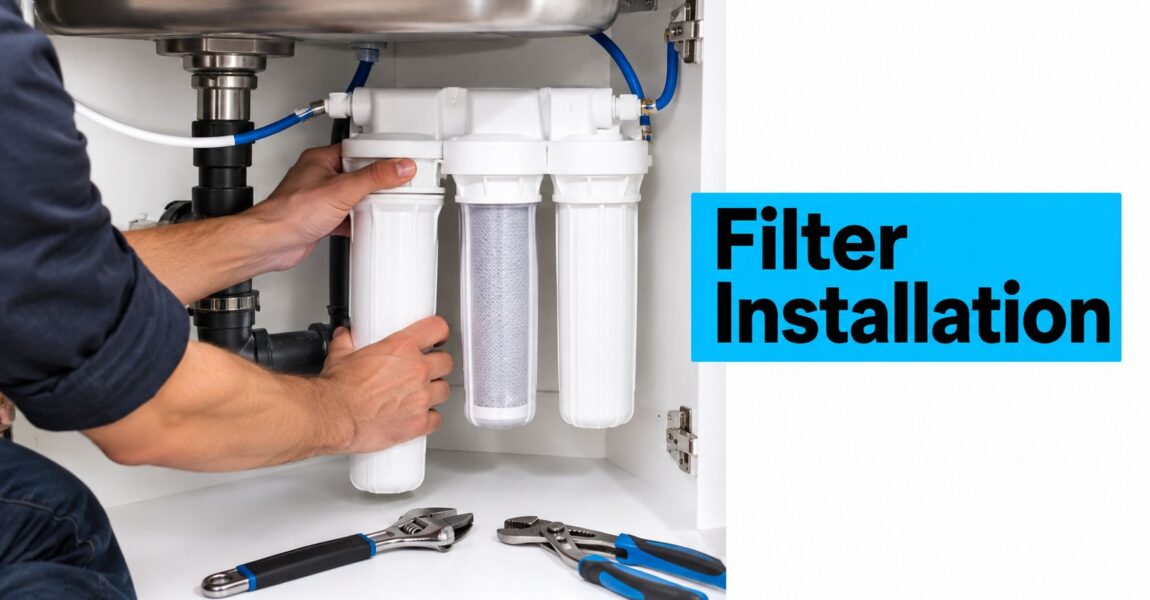
You've opened the box, spread the fittings across the kitchen counter, and found yourself holding three short lengths of tubing, two adapters, and a filter housing that apparently needs to become part of the plumbing. The connection looks simple. The consequences of getting the verification step wrong aren't.
A good water filter installation isn't finished when the joints stop dripping. You still need to confirm pressure, flow direction, drainage, backflow protection, flushing, certification, and a maintenance plan. These installation instructions take you through the common home setups, from a faucet-mounted cartridge to a whole-house system, with the points that prevent leaks, restricted flow, contamination, and expensive callbacks.
Know Your Filter Type Before You Touch a Wrench
Start by identifying where the filter belongs. A whole-house filter is a point-of-entry system installed on the incoming supply, so it serves every faucet and fixture. An under-sink, faucet-mounted, or shower filter is normally a point-of-use system, serving one outlet or one shower.
That distinction changes the plumbing work completely. A whole-house unit may require pipe cutting, a mounting bracket, isolation valves, a bypass, pressure checks, and local code review. An under-sink carbon filter usually connects to the cold-water line and a dedicated faucet. Faucet and shower models often attach to existing threads without cutting a pipe.
Before choosing the installation method, confirm the actual water problem. EPA guidance supports a qualification-first approach: test the source water, identify the target contaminant, decide whether treatment belongs at one outlet or the whole building, and match the device's independently certified claim to that contaminant and application. NSF/ANSI 42 addresses aesthetic effects, NSF/ANSI 53 health effects, NSF/ANSI 55 ultraviolet systems, and NSF/ANSI 58 reverse osmosis, so a familiar brand name isn't enough. The certification must match the claim.
Use the model number on the box and the manual, not the product photo, to confirm flow direction, inlet size, pressure limits, cartridge type, and intended location. Water Filter Advisor also provides practical installation and maintenance advice for comparing household filtration setups.
Filter Types at a Glance
| Filter Type | Install Location | Tools Needed | Code Considerations |
|---|---|---|---|
| Whole-house | Incoming supply, point of entry | Wrench, tube cutter, gauge, mounting hardware | Pressure, bypass, plumbing code, backflow |
| Under-sink carbon | Cold-water line and dedicated faucet | Adjustable wrench, pliers, bucket | Fittings, shutoff access, potable materials |
| Reverse osmosis | Cold-water line, storage tank, dedicated faucet, drain | Wrench, drill, tubing cutter, air-gap hardware | Drain air gap, cross-connection, local requirements |
| Faucet or shower | Existing faucet or shower threads | Usually hands only, sometimes pliers | Adapter fit, flow direction, leak control |
Practical rule: Don't install a filter until you can answer two questions: “What does it remove?” and “Which outlet actually needs treatment?”
Tools, Safety Prep, and the Pressure Check That Comes First
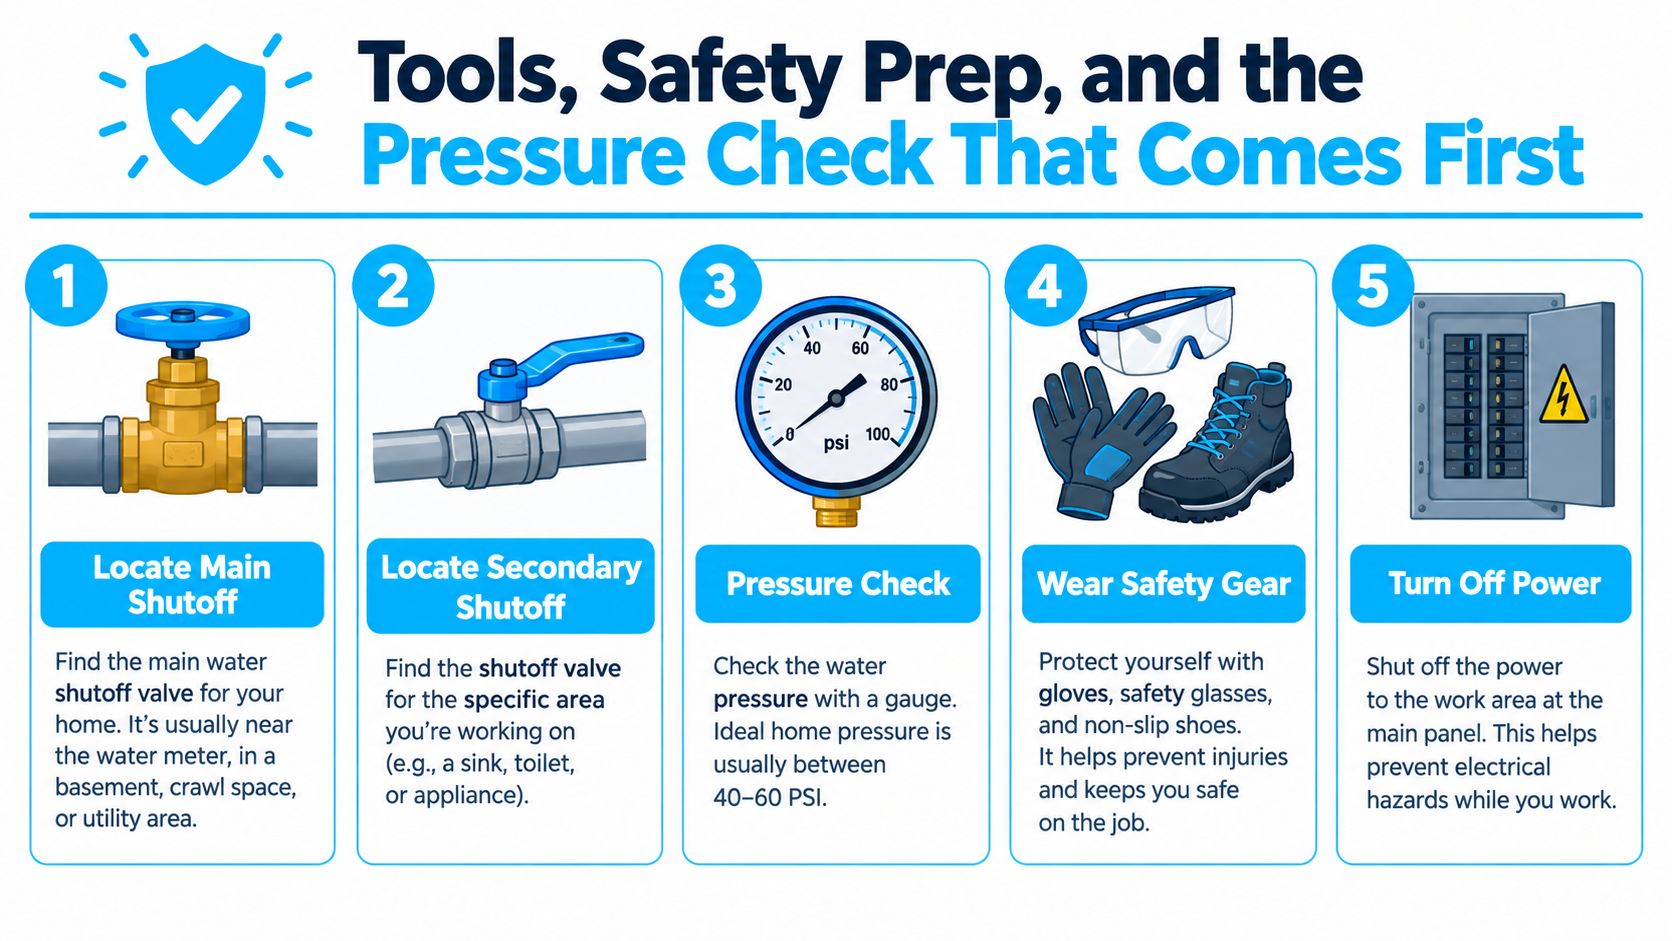
Water finds the one towel you didn't put down. Before disconnecting anything, locate the main shutoff and the secondary shutoff serving the work area. Close the local valve first when possible, open a downstream cold-water faucet to relieve pressure, and place a bucket directly beneath the connection.
Your basic kit should include:
- Adjustable wrench: For compression nuts and supply connections.
- Two pairs of channel-lock pliers: One holds the fitting while the other turns the nut, preventing stress on connected tubing.
- Bucket and towels: For trapped water inside housings and supply lines.
- Thread seal tape: For compatible tapered threaded joints, applied in the direction of tightening.
- Tube cutter: For clean, square cuts in PEX or copper where the system requires a pipe section.
- Pressure gauge: A simple gauge that attaches to a hose bibb or suitable cold-water connection.
- Flashlight: For spotting a slow bead of water behind a housing or under a sink.
A phone photo of every existing connection is cheap insurance. Take one before removing the old fitting, then label tubing with masking tape if several lines look alike. If the water supply will remain off for an extended period, follow the appliance and water-heater manufacturer's shutdown guidance. Turn off power to nearby electrical equipment before working around water.
For practical ways to use common hand tools more effectively, you can find tool-shortcut tips from XTREME EDEALS INC.
Check Pressure Before Designing the Layout
Attach the gauge to a hose bibb, washing-machine cold-water connection, or first-floor cold-water faucet. EPA WaterSense guidance recommends incoming service pressure of 45–60 psi for efficient water use and proper system function, while most U.S. plumbing codes require a pressure-regulating valve when supplied water exceeds 80 psi (EPA WaterSense pressure guidance).
A high reading isn't fixed by squeezing a filter into the line. A pressure-reducing valve belongs downstream of the water-source connection, and the final arrangement may also require attention to thermal expansion. If the pressure is unstable, unusually low, or drops sharply when a fixture runs, stop and diagnose the supply before blaming the cartridge.
Installing a Whole-House Filter the Right Way
A whole-house filter belongs on the incoming household supply, where it can treat water before it reaches the home's fixtures. Choose a straight, accessible section after the main shutoff and leave enough clearance to remove the housing vertically. The filter head's flow arrow must point toward the house. Reversed flow can restrict performance and shorten cartridge life.
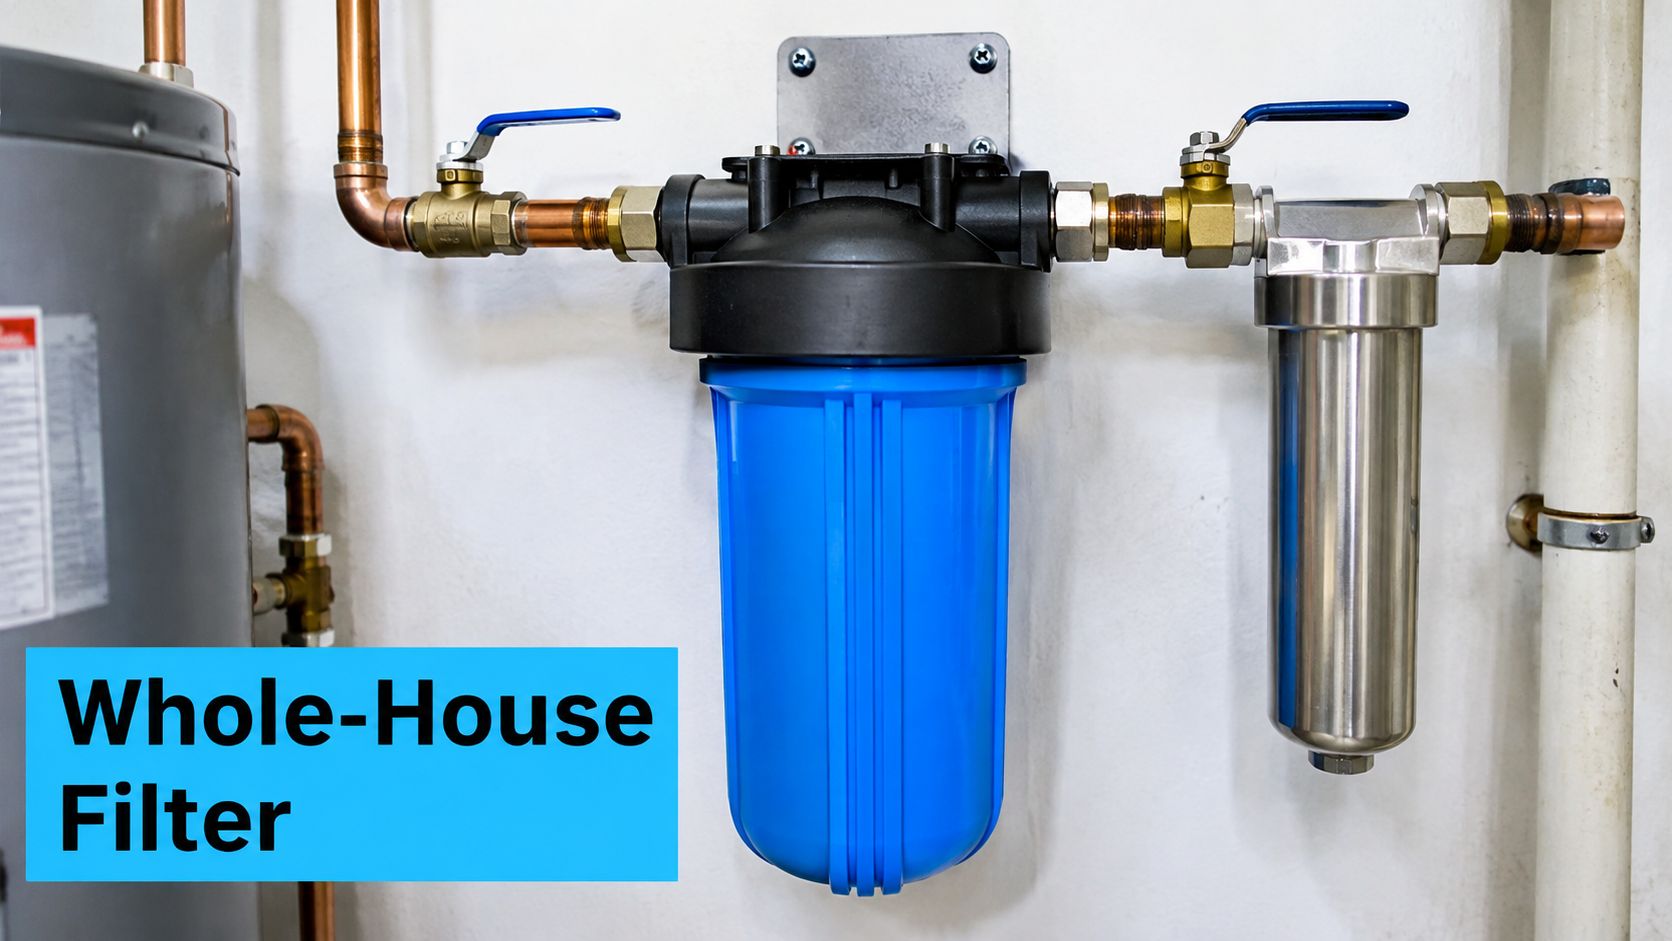
Dry-fit the pipe, elbows, unions, valves, and filter head before cutting. Mount the bracket to a stud or secure backing board, because a full housing becomes heavy and shouldn't hang from unsupported pipe. Build in a bypass with isolation valves. That arrangement lets you isolate the filter for cartridge changes while keeping water available elsewhere in the home.
Use potable-water-compatible fittings and follow the manufacturer's specified flow direction. Apply thread seal tape only where the fitting calls for it, wrapping clockwise so tightening doesn't unravel the tape. Hand-tighten the plastic sump into the head, then use a strap wrench if the manual permits. Channel-lock pliers can distort or crack a plastic housing.
The bypass is part of the installation, not an accessory. Without it, routine filter service can become a whole-house shutdown.
Open the main supply slowly. Check the housing, unions, valve stems, and every threaded joint under pressure. A whole-home filter also changes the plumbing environment. The CDC warns that removing chlorine or other disinfectants with a whole-home filter can allow more germs to grow in household plumbing, which makes correct maintenance and cartridge replacement especially important (CDC guidance on choosing home water filters).
For projects that combine filtration with broader treatment equipment, this overview of professional water softener installation from Bear Valley Plumbing & Heating offers useful context on planning space, connections, and service access.
Here's a visual walkthrough of the physical arrangement and connection sequence:
Under-Sink and Reverse-Osmosis Installation Steps
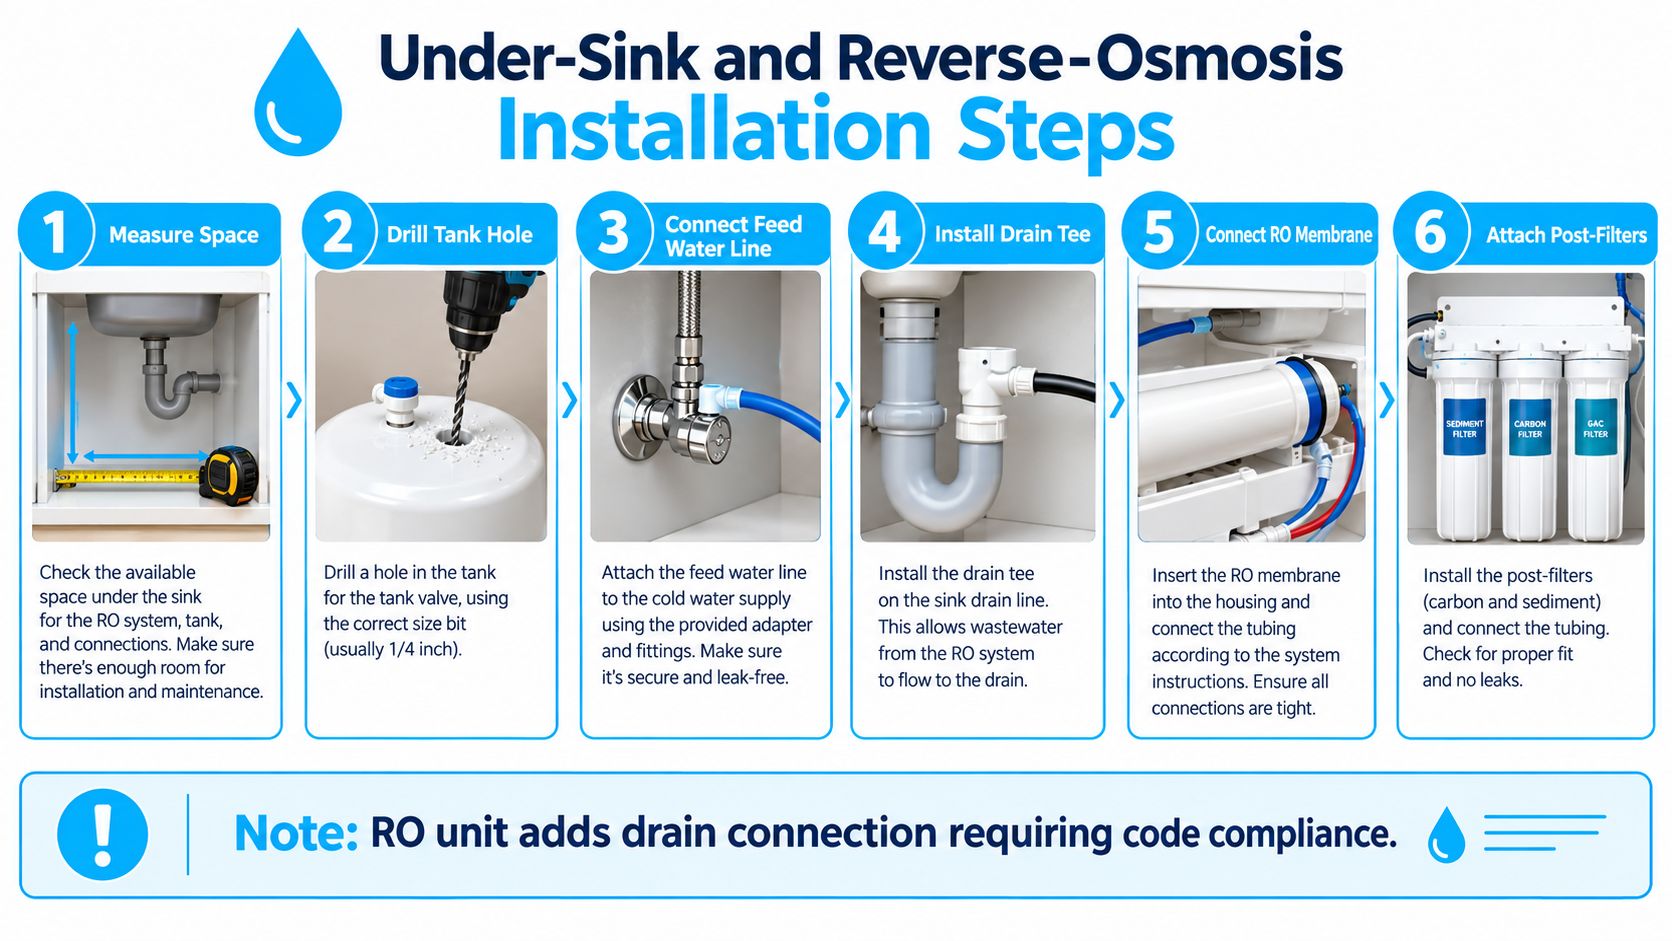
Clear the cabinet before you begin. You need to see the cold-water shutoff, measure the filter head and storage tank, and leave enough room to replace cartridges without removing the entire assembly.
Close the cold-water valve and open the faucet to relieve pressure. Install the supplied feed adapter or tee at the cold-water supply, using the gasket or thread seal specified by the manufacturer. Don't force a mismatched adapter onto an angle stop. Run the feed tube to the filter inlet with broad bends, not sharp kinks, and mount the head where it won't swing against the cabinet wall.
A basic under-sink carbon system usually has a dedicated faucet, filter head, cartridge, and outlet tube. Secure the faucet, connect the inlet and outlet according to the arrows, and keep the cartridge accessible. Reverse osmosis adds a storage tank, membrane housing, post-filter, and drain connection, so the job has more than one place where a technically functioning installation can still be unsafe.
Treat the RO Drain as a Safety Connection
Never submerge the RO reject tube in a drain or place it where wastewater can flow backward. EPA identifies discharge tubing from an under-sink reverse-osmosis unit or water filter connected to a drain as a direct connection to the sewage system. The drain arrangement must preserve an air gap. EPA cross-connection guidance specifies that the air gap should be twice the diameter of the outlet pipe to prevent wastewater from siphoning into the drinking-water supply (EPA cross-connection guidance).
Install the manufacturer's air-gap faucet or approved drain fitting, route the tubing without low loops, and keep the storage tank stable and accessible. The local plumbing authority may require a specific drain arrangement, backflow protection, or a licensed plumber. Code requirements take priority over a generic video or a fitting that happens to screw together.
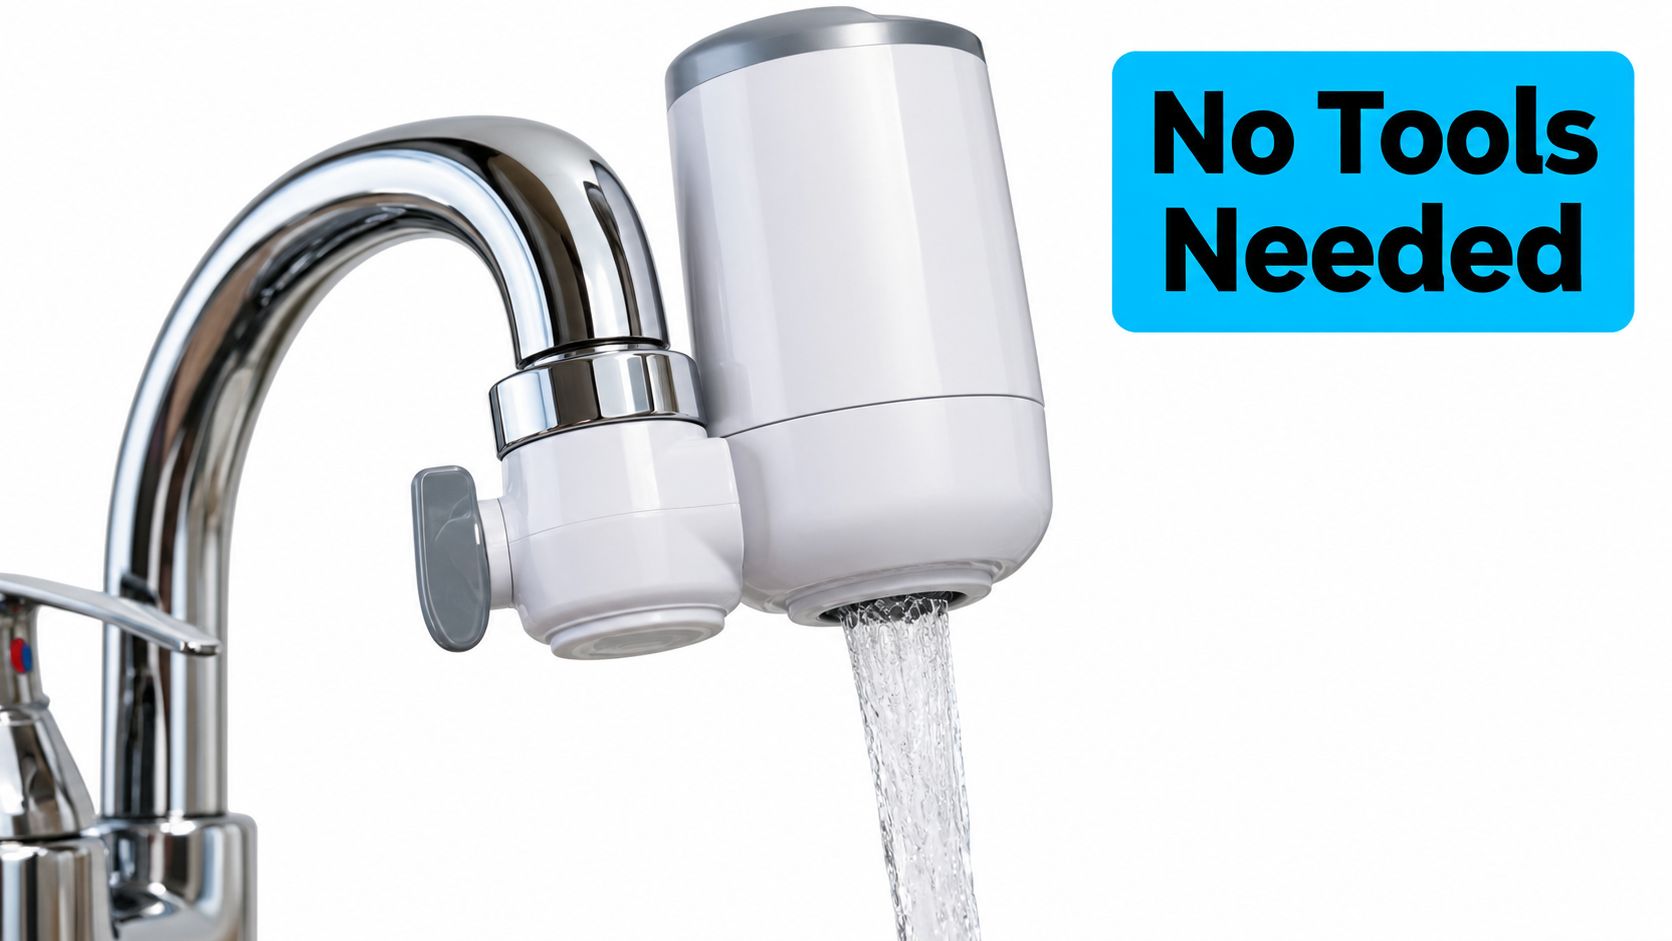
Faucet-Mounted and Shower Filters Without Tools
Faucet-mounted filters suit renters and secondary sinks because they usually attach to the aerator threads without altering the supply line. Remove the existing aerator carefully and compare its threads with the supplied adapters. Many kits use common faucet thread sizes, but the exact match depends on the faucet, so keep the old aerator until the installation is complete.
Place the rubber gasket in the adapter, thread the filter on by hand, and stop when it's snug. Tool-tightening can damage the faucet finish, strip plastic threads, or crush the gasket. Switch the diverter between filtered and unfiltered flow, then watch the connection while the water runs.
A shower filter follows the same principle. Unscrew the showerhead, clean the shower-arm threads, wrap two turns of thread seal tape clockwise, and hand-tighten the filter onto the arm before reconnecting the showerhead. Keep a hand on the shower arm while loosening the old head so you don't twist the pipe inside the wall.
Follow the Arrow Even on a Simple Filter
The flow-direction arrow is easy to miss inside a compact cartridge or adapter. Water moving backward can reduce contact with the media and create unnecessary restriction. Check the arrow before tightening the final connection, especially when the housing can be mounted in either orientation.
If the filter leaks, turn the water off and inspect the gasket first. A missing, pinched, or displaced gasket causes more trouble than a connection that needs extra force. These setups are convenient, but convenience doesn't remove the need for a flush, a leak check, and a replacement date.
Flushing, Pressure Checks, and the Verify Step Most People Skip
A drip-free connection proves only that water isn't escaping at that moment. It doesn't prove that the filter is installed in the right direction, that the drain is protected, that the pressure remains usable, or that the first water is ready to drink.
Reopen the supply gradually. Use a flashlight and a dry paper towel around each joint, housing seam, valve, and tube connection. A dry towel catches a slow weep that your eyes may miss. Recheck after the filter has operated under flow, not only while every faucet is closed.
For a new carbon filter, EPA consumer guidance recommends opening the faucet fully for at least 30 seconds before first use, filtering cold water only, and using the slowest practical filtration rate to clear carbon fines and preservatives (EPA consumer guidance on carbon filters). Follow the manufacturer's longer flushing requirement for reverse osmosis, membrane systems, and larger housings.
Use a Verification Checklist
- Flow direction: Confirm the arrow points from the supply toward the treated outlet.
- Pressure under flow: Compare the running pressure with the static reading taken before installation.
- Drain protection: Confirm the RO or drain-connected filter has the required air gap.
- Pressure control: Confirm a pressure-reducing valve is present where local requirements call for it.
- Certification match: Check that the independent certification addresses the contaminant and application.
- Service record: Write the installation date, observed pressure, cartridge type, and replacement interval on a label under the sink or inside the utility area.
A sharp pressure drop can indicate a clogged pre-filter, a kinked tube, an undersized supply line, or an incorrectly loaded cartridge. Don't solve that symptom by removing the cartridge and leaving the system unfiltered. Find the restriction, correct it, and repeat the verification.
Troubleshooting and Long-Term Maintenance After Installation
The first month usually reveals whether the installation was planned or merely connected. Start with the symptom, then inspect the part most likely to cause it.
- Persistent drip at a fitting: Shut off the water, relieve pressure, and inspect the gasket or threaded joint. Tape may be missing, applied in the wrong direction, or used where a gasket should make the seal.
- Noticeable flow reduction: Check the cartridge orientation, inlet valve, kinked tubing, and pre-filter condition. Compare pressure under flow with the pre-installation reading.
- Discolored first water: Flush again for the manufacturer's required duration. Carbon fines and preservatives can remain when the initial commissioning flush is too short.
- RO drain noise or poor production: Check the drain routing, air-gap fitting, tubing bends, and tank position before changing the membrane.
- Recurring microbial or odor concerns: Review source-water suitability, stagnant sections, cartridge age, housing hygiene, and whether the system is removing disinfectant from the whole home.
CDC advises maintaining and replacing household filters according to the manufacturer's instructions because poorly maintained filters can support germ growth. Wear gloves when changing a cartridge and wash your hands afterward (CDC home filter maintenance guidance).
Build the Service Plan Into the Install
The exact replacement interval belongs to the product manual and water conditions, not a universal calendar. Record the date at installation, note pressure and flow observations, and set the next service reminder before you close the cabinet or utility-room door. Reusable housings need hygienic cleaning, and a bypass or isolation arrangement should make that work practical rather than disruptive.
A filter can produce excellent-tasting water and still be defective. A submerged RO drain, an unprotected cross-connection, excessive pressure loss, or a whole-home chlorine-removal system without disciplined maintenance can undermine the installation. A 2025 multi-country household study found that treated water generally met turbidity targets and reduced microbial risk, yet moderate risk could reappear within household distribution or storage after treatment, reinforcing that the safety check extends through the post-filter plumbing path (2025 household treatment study).
The installation you can trust is the one you can inspect, flush, document, service, and verify long after the tools go back in the drawer.
Water Filter Advisor offers practical guidance for choosing, installing, comparing, and maintaining whole-house, under-sink, faucet, shower, and other home filtration systems. Visit Water Filter Advisor to match a filter to your water concern and use clear maintenance and installation checklists before you turn the water back on.
- October 11, 2026
- Uncategorized
