Do Water Filters Remove Chlorine? a Home Guide

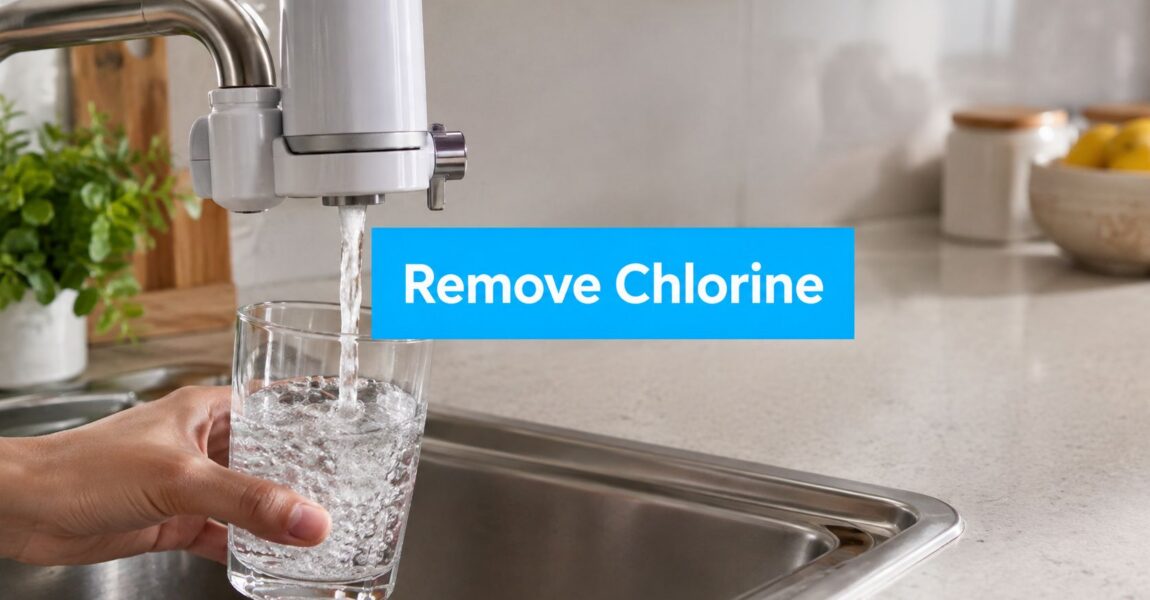
Many water filters do remove free chlorine, and certified systems may achieve at least 50% reduction under NSF/ANSI 42 test conditions, while some filters have demonstrated reductions as high as 97.4%. But not every filter targets chlorine, and a chlorine claim doesn't automatically mean meaningful chloramine reduction.

You may notice the issue while filling a glass before breakfast. The water has a faint swimming-pool smell, or coffee tastes slightly different from yesterday. In the shower, your skin feels tight afterward, and your hair seems less comfortable. Those experiences often lead to a simple question: do water filters remove chlorine, or is “filtered” just a broad word on the package?

The useful answer depends on four details: the disinfectant in your water, the filter media, the water's contact time with that media, and the cartridge's condition. A sediment cartridge can trap rust while leaving dissolved chlorine untouched. An activated-carbon system can reduce free chlorine effectively, yet a similar-looking carbon filter may perform poorly against chloramine.

Why Chlorine Changes What You Notice at Home

A municipal utility adds chlorine deliberately. Its job is to disinfect water and maintain a residual as treated water travels through the distribution system. That protection matters before the water reaches your tap, but chlorine can also react with organic material and create the taste and odor many households recognize.

That's why one person notices a pool-like smell immediately while another barely detects anything. Water characteristics can vary with the source, treatment conditions, and location in the distribution system. Even nearby homes may experience different perceptions because water has traveled through different plumbing or sat for different lengths of time.

Practical rule: Treat chlorine taste and odor as a filtration target, not proof that your water is unsafe.

The same residual that affects drinking water can influence bathing comfort. Some people notice drier skin, tightness, or changes in hair feel after a shower. You don't need laboratory equipment to notice those effects, but you do need a properly matched filter to address them consistently.

The household trade-off

Chlorine's presence reflects a public-health treatment step, while chlorine removal at home is usually a taste, odor, and comfort decision. A filter can make water more pleasant, but it won't automatically address lead, nitrate, hardness, microorganisms, or every other concern in the supply.

The question isn't whether a filter exists. It's whether the product has been tested for the specific contaminant claim you care about, under conditions that resemble your household's flow and usage.

How Water Filters Capture Chlorine

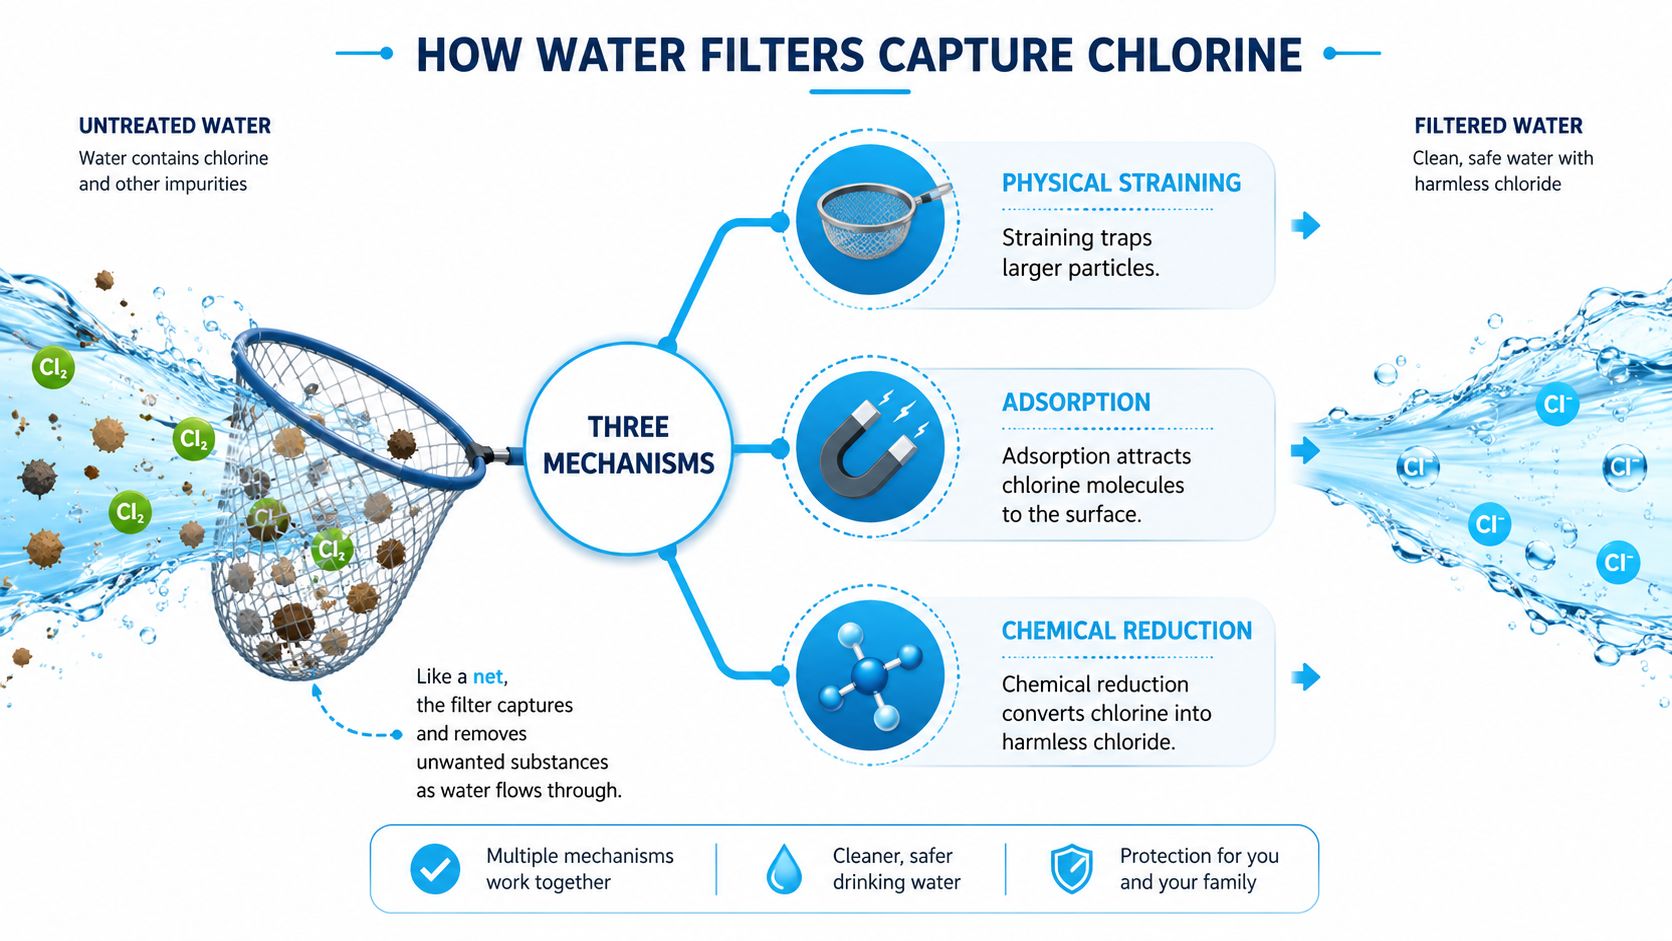
Think of a filter as a water pathway with different tools along the route. A physical strainer acts like a kitchen sieve. It catches larger particles, such as sediment, sand, or rust flakes, but dissolved chlorine passes through because the molecules are far smaller than the debris the sieve is designed to trap.

Adsorption works differently. Activated carbon has an enormous internal surface area, so chlorine and other compounds can attach to the carbon as water moves through the bed. The comparison to a sponge is helpful, although carbon doesn't soak up chlorine like a towel absorbs a spill. The media provides surfaces where chlorine can be captured and reduced.

Chemical reduction changes the substance rather than merely holding it. Catalytic carbon and KDF media can promote reactions that convert free chlorine into chloride ions. That chemical change helps explain why a properly selected system can reduce the pool-like odor and soften the flavor.

A diagram explaining three mechanisms including physical straining, adsorption, and chemical reduction used to remove chlorine from water.

Why flow matters

A net only catches what water brings into contact with it. If water rushes through too quickly, the filter has less opportunity to adsorb or chemically reduce chlorine. That's why two products with similar media names can produce different results at the kitchen faucet or throughout a whole-house system.

Activated carbon is a core home-water mechanism for chlorine, taste, and odor reduction, but the EPA home drinking-water filtration guidance also makes clear that carbon isn't a universal solution for metals, nitrate, microbial contaminants, or other inorganic contaminants. The medium must match the contaminant.

For a visual explanation of how water moves through household treatment stages, this video provides a useful companion:

Comparing Chlorine Filtration Technologies

The most practical comparison starts with the media inside the housing, not the shape of the product. A pitcher, faucet unit, shower cartridge, or whole-house tank can all contain carbon, but they won't necessarily offer the same contact time, capacity, flow, or contaminant claim.

Technology Free Chlorine Removal Chloramine Removal Typical Use Maintenance Notes
Granular activated carbon Generally effective when properly sized and certified Often limited Pitchers, faucet filters, under-sink systems, whole-house tanks Replace according to tested capacity and monitor flow
Carbon block Strong point-of-use option with dense carbon contact Depends on formulation and certification Under-sink and faucet systems Can restrict flow as it loads with sediment
Catalytic carbon Effective Designed for more demanding chloramine reduction Whole-house and drinking-water systems Needs adequate contact time and timely media replacement
KDF media Can reduce free chlorine through chemical reduction Usually needs support from other media Shower and whole-house systems Often combined with carbon for broader treatment
Reverse osmosis Removes chlorine as part of a multi-stage system Can address chloramine when the system is designed and certified for it Drinking and cooking water Requires prefilters, membrane care, and postfilter replacement
Sediment or particle filter Does not target dissolved chlorine Does not target dissolved chloramine Rust, sand, and visible particles Replace when pressure drops or the cartridge loads

Granular activated carbon and carbon blocks are common choices for free chlorine in municipal water. Catalytic carbon is the more logical direction when the utility uses chloramine, while KDF is often used in shower and whole-house designs.

Reverse osmosis deserves a separate look because homeowners often confuse broad contaminant reduction with whole-house practicality. A well-designed reverse osmosis water filtration system is usually intended for drinking and cooking water rather than treating every shower and appliance.

Manufacturer claims also need context. A percentage without the inlet concentration, contact time, flow rate, or end-of-cartridge result tells you less than it appears to. A filter that performs well at a slow laboratory flow may behave differently when a family opens several fixtures at once.

Why Chlorine and Chloramine Need Different Claims

Free chlorine and chloramine are related disinfectants, but a filter can respond to them very differently. Free chlorine includes reactive forms such as HOCl and OCl-. Activated carbon can reduce it through adsorption and chemical reaction, often quickly when the bed is properly sized.

Chloramine is formed when chlorine binds with ammonia. Forms include NH2Cl, NHCl2, and NCl3. The resulting compounds are more stable, so the chlorine-nitrogen bond can be harder for ordinary activated carbon to break.

The label trap

A box that says “chlorine reduction” may be making a valid claim about free chlorine while saying nothing about chloramine. Standard granular activated carbon can perform well against free chlorine yet allow substantial chloramine through, particularly when water moves rapidly or spends little time in the bed.

Catalytic carbon is engineered to make the reaction more favorable. KDF and advanced carbon formulations may also contribute, but the product still needs a specific, verifiable claim. Don't treat a general carbon description as proof of chloramine performance.

Property Free Chlorine (HOCl/OCl-) Chloramine (NH2Cl)
Chemical behavior More reactive More stable
Standard carbon response Often effective Frequently limited
Media considerations Activated carbon, carbon block, catalytic carbon, or KDF may help Catalytic carbon, suitable carbon blocks, or combined media may be required
Main buying question Is free-chlorine reduction certified? Is chloramine reduction separately certified and tested?
Flow sensitivity Performance falls when contact time is too short Contact time and media design are especially important

NSF/ANSI 42 treats chlorine reduction and chloramine reduction as distinct performance claims. Recent updates clarified chlorine testing and changed chloramine testing to an at least 80% reduction requirement, as described in this technical explanation of chlorine and chloramine filter claims.

Buying rule: If your utility uses chloramine, search the performance sheet for the word “chloramine.” Don't infer it from “chlorine,” “carbon,” or “taste and odor.”

Testing Performance and Reading Certifications

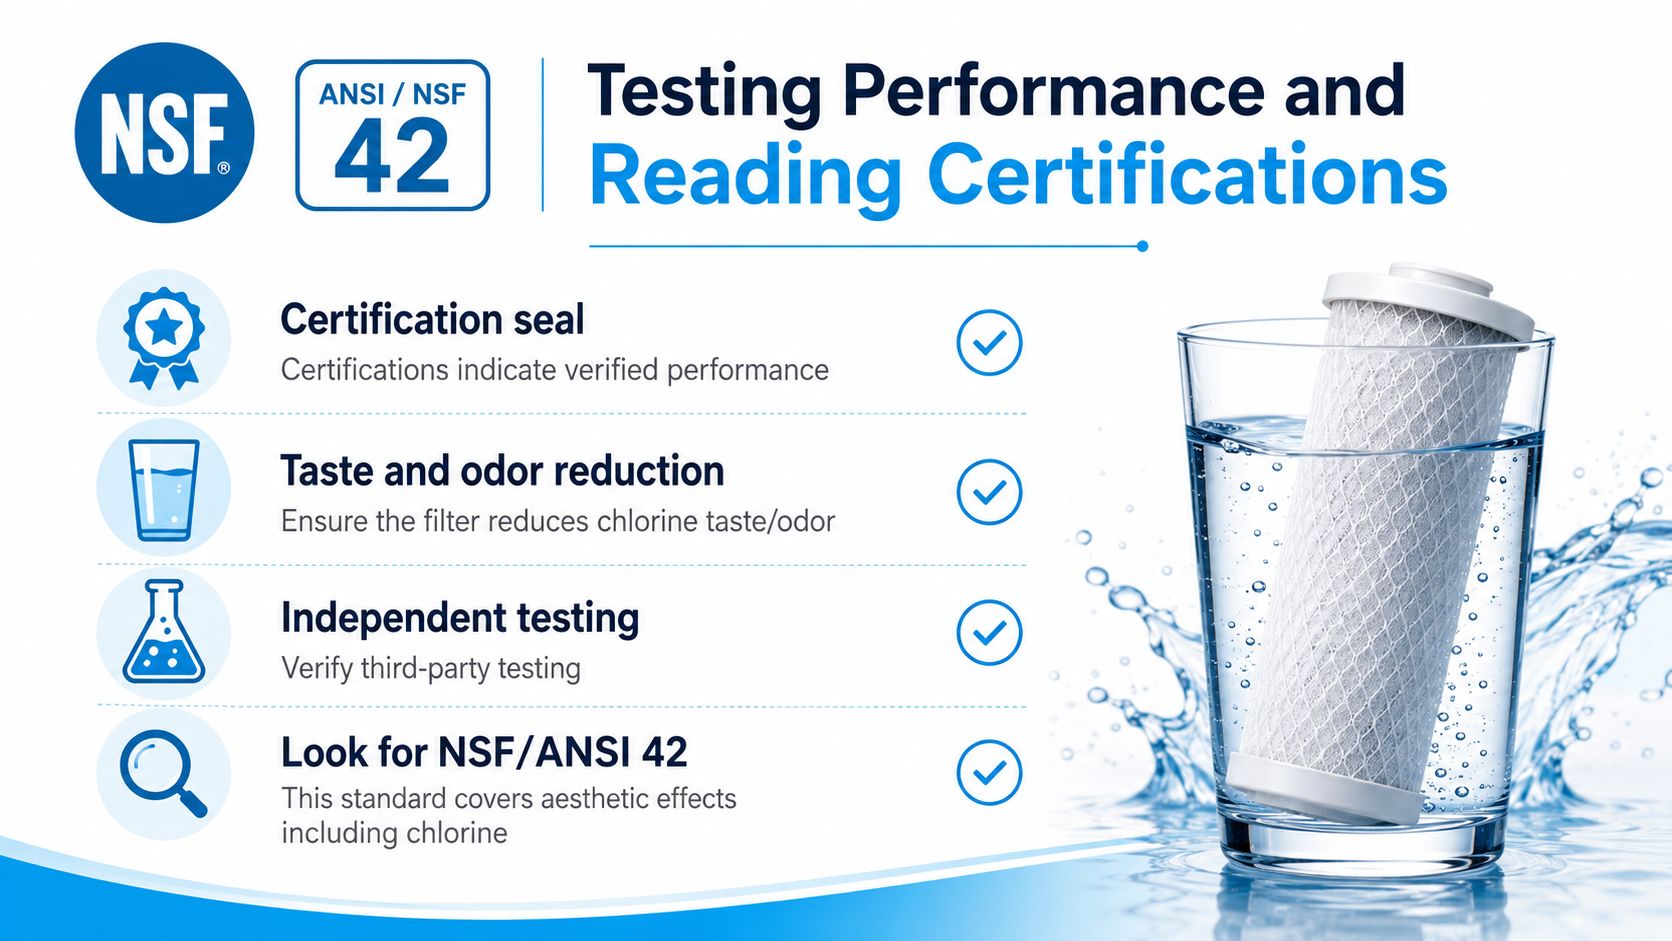
Certification gives a product claim a defined meaning. NSF/ANSI 42 is the principal residential benchmark for aesthetic effects such as chlorine taste and odor. Its chlorine reduction classes distinguish performance levels, with Class I requiring at least 75% reduction, Class II requiring 50% to 74%, and Class III requiring 25% to 49%, according to this NSF/ANSI Standard 42 reference.

NSF also identifies Standard 42 for aesthetic impurities such as chlorine in point-of-use and point-of-entry products in its water-treatment standards overview. One summary of the test conditions describes a 2.0 mg/L chlorine challenge and a required reduction of at least 50% for a listed filter. Those conditions matter because they turn “improves taste” into a defined performance test.

NSF/ANSI 53 covers health-related contaminant claims, while NSF/ANSI 58 applies to reverse osmosis systems. A certification seal alone isn't enough. Check the exact contaminant listing, the model number, and whether the certification belongs to the complete system or only a replacement cartridge.

An infographic explaining the NSF/ANSI 42 certification standard for water filters, focusing on chlorine reduction and testing.

What a useful datasheet includes

Look for these details before purchasing:

  • Reduction result: The tested percentage should identify the contaminant and test conditions.
  • Capacity: Gallons or months should be tied to a specific replacement recommendation.
  • Rated flow: A whole-house filter needs a flow rating that suits the fixtures it will serve.
  • Test conditions: Inlet concentration, pressure, pH, and contact time help you judge whether the test resembles your home.
  • Chloramine wording: A separate chloramine claim matters if your utility uses chloramine.

You can also test performance at home. A free-chlorine DPD test kit uses color development to measure free chlorine, while a total-chlorine test uses a converting reagent to detect chlorine plus chloramine. Test the untreated tap, run water through the filter for its stated flush time, then test the filtered sample.

A change from 1.0 ppm to under 0.1 ppm indicates strong removal when measured correctly, while a filtered reading close to the inlet value can point to exhausted media, excessive flow, or bypass. These example readings and testing distinctions are summarized in the Canada Health guidance on finding a drinking-water filter.

Matching Filtration to Common Household Needs

A kitchen drinking-water problem doesn't always require a whole-house system. Start with the rooms where chlorine causes a noticeable inconvenience, then choose the smallest placement that solves that problem without creating unnecessary maintenance.

Placement Best For Chloramine Capable? Renter Friendly
Whole-house point-of-entry carbon or catalytic-carbon tank Treating taps, showers, and appliances Yes, when specifically designed and certified Usually no
Under-sink carbon or reverse osmosis Drinking and cooking water Depends on the certified claim Sometimes
Faucet-mounted carbon filter Single-tap drinking water Often limited Yes
Pitcher carbon filter Small-volume drinking water Often limited Yes
Shower filter with KDF or vitamin-C media Bathing comfort and chlorine exposure reduction Some models can, but verify the claim Usually yes
Refrigerator cartridge Taste and odor at the dispenser Depends on model certification Yes
Countertop reverse osmosis Renters wanting broader kitchen treatment Depends on system design Yes

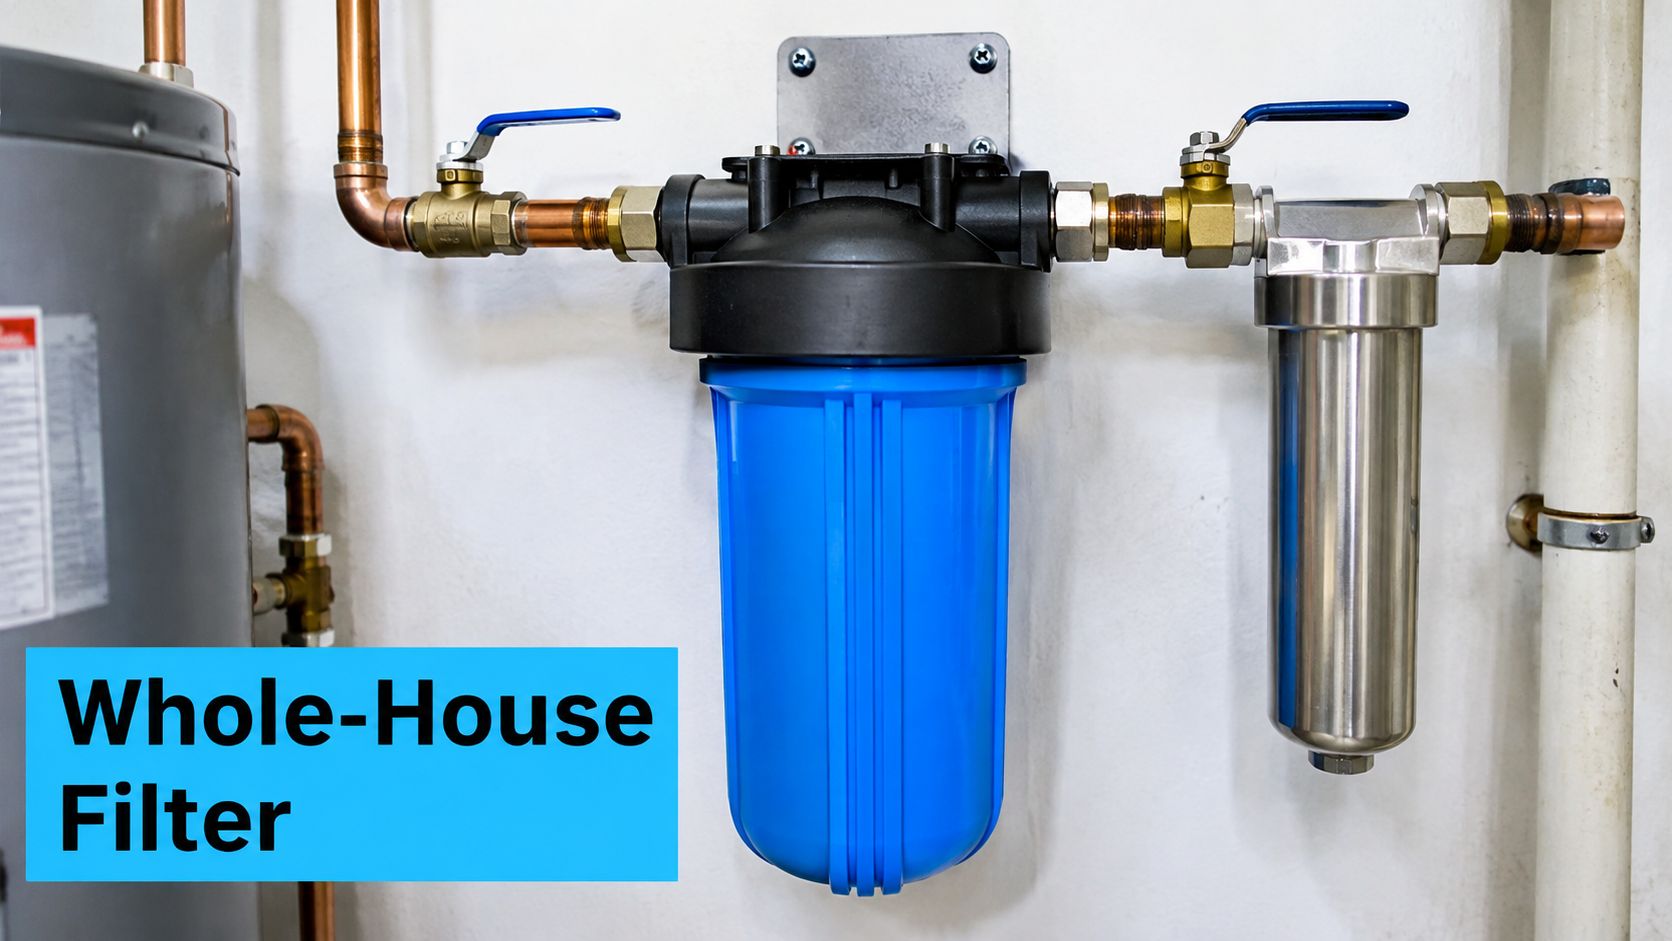
A whole-house catalytic-carbon or KDF system makes sense when the concern follows you from the kitchen to the shower. It treats water entering the home, so the same treatment reaches bathing fixtures, appliances, and sinks. The trade-off is greater installation complexity and a larger media bed that must be maintained.

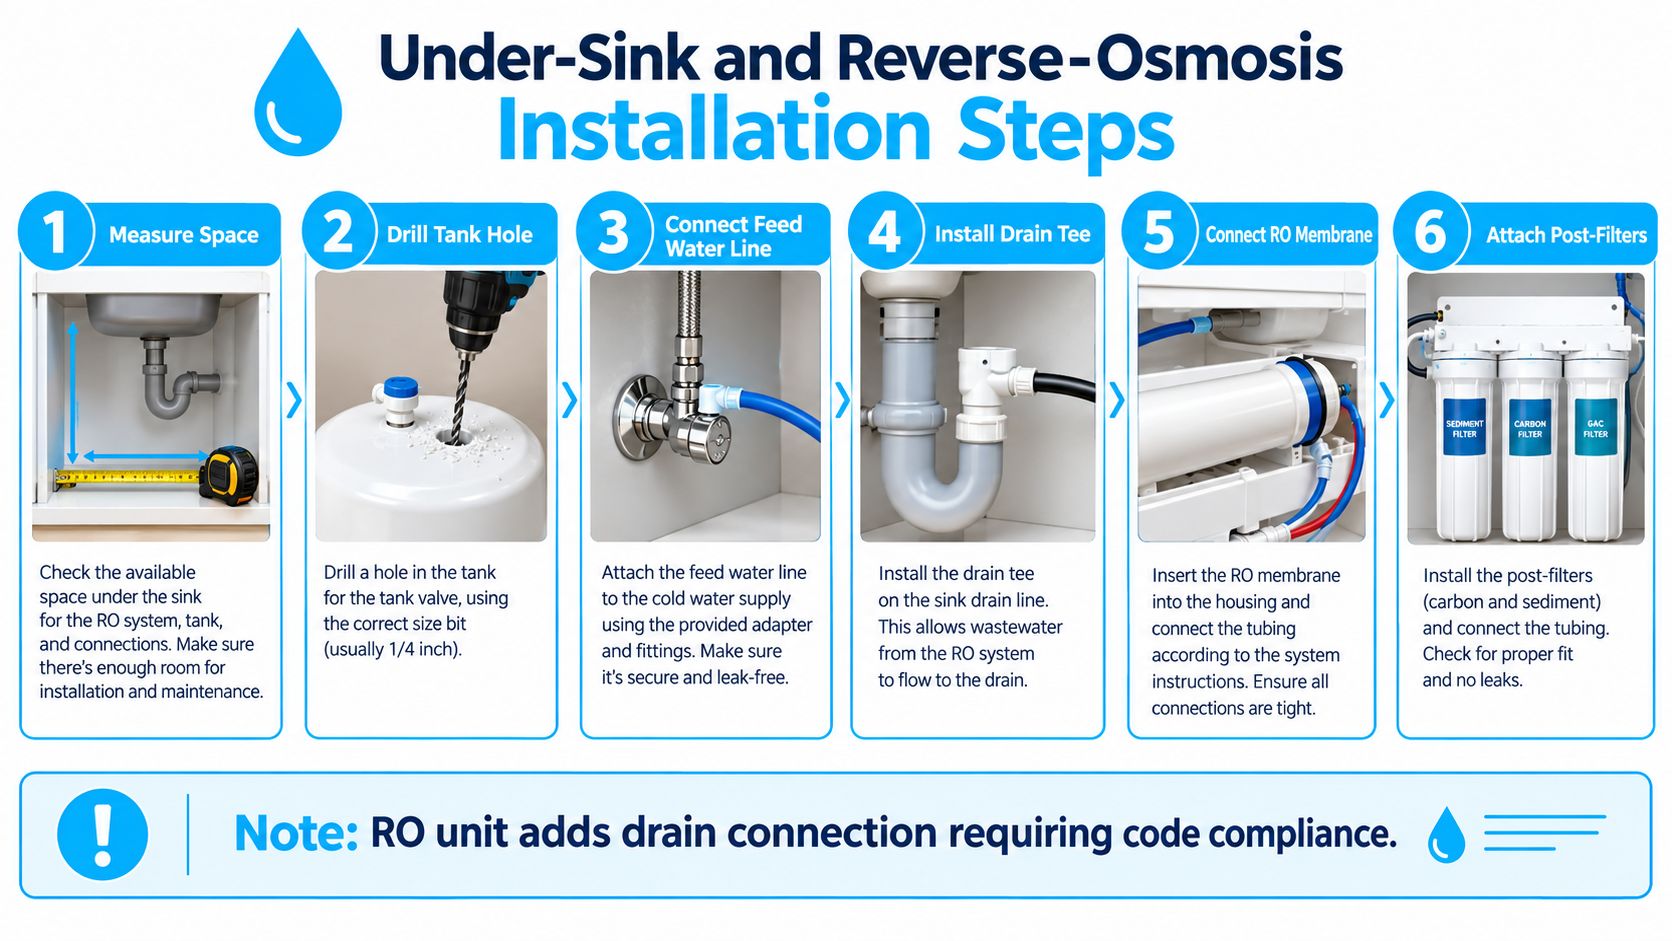
For drinking and cooking, an under-sink carbon block or reverse osmosis system concentrates treatment where you consume the water. RO can offer broader dissolved-contaminant reduction, but homeowners should expect a slower dispensing experience and system-specific wastewater handling.

Choosing for a rental

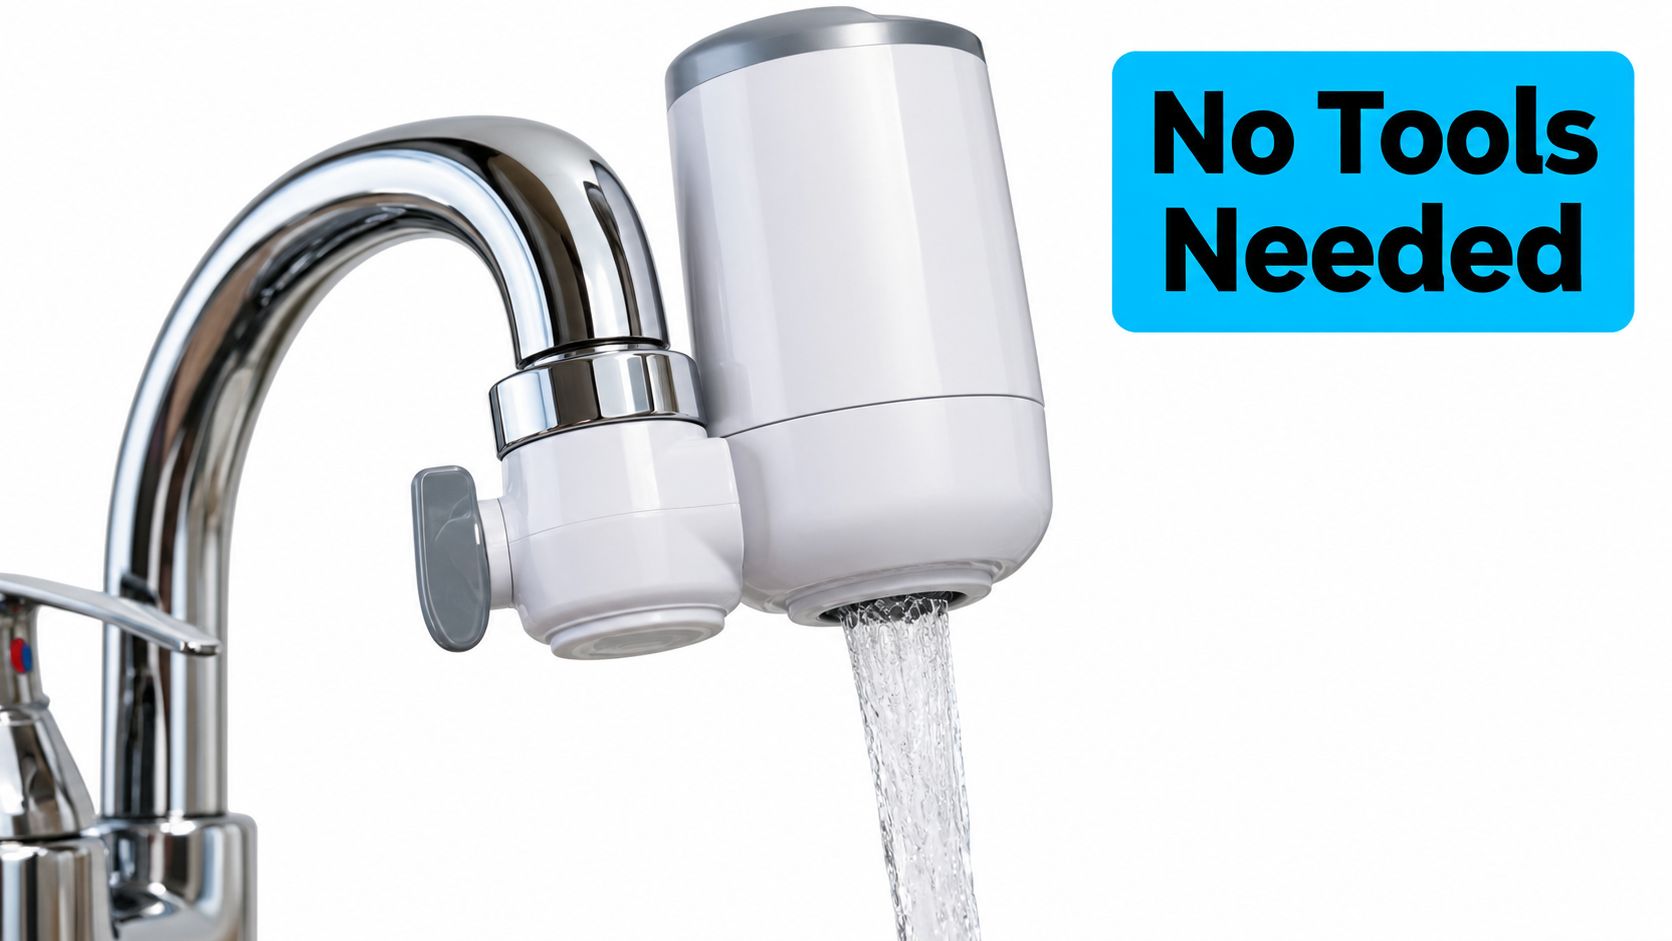
Renters usually benefit from reversible equipment. A faucet-mounted filter, countertop RO unit, pitcher, or shower cartridge can address a targeted concern without changing permanent plumbing. The limitation is coverage. A faucet filter won't treat shower water, and a shower filter won't guarantee drinking-water performance unless its certification covers that use.

Refrigerator filters are convenient, but they're usually intended to polish taste and odor at one dispenser. Keep the cartridge schedule visible, especially if the refrigerator is the household's main drinking-water source.

Maintaining Cartridges and Spotting Filter Problems

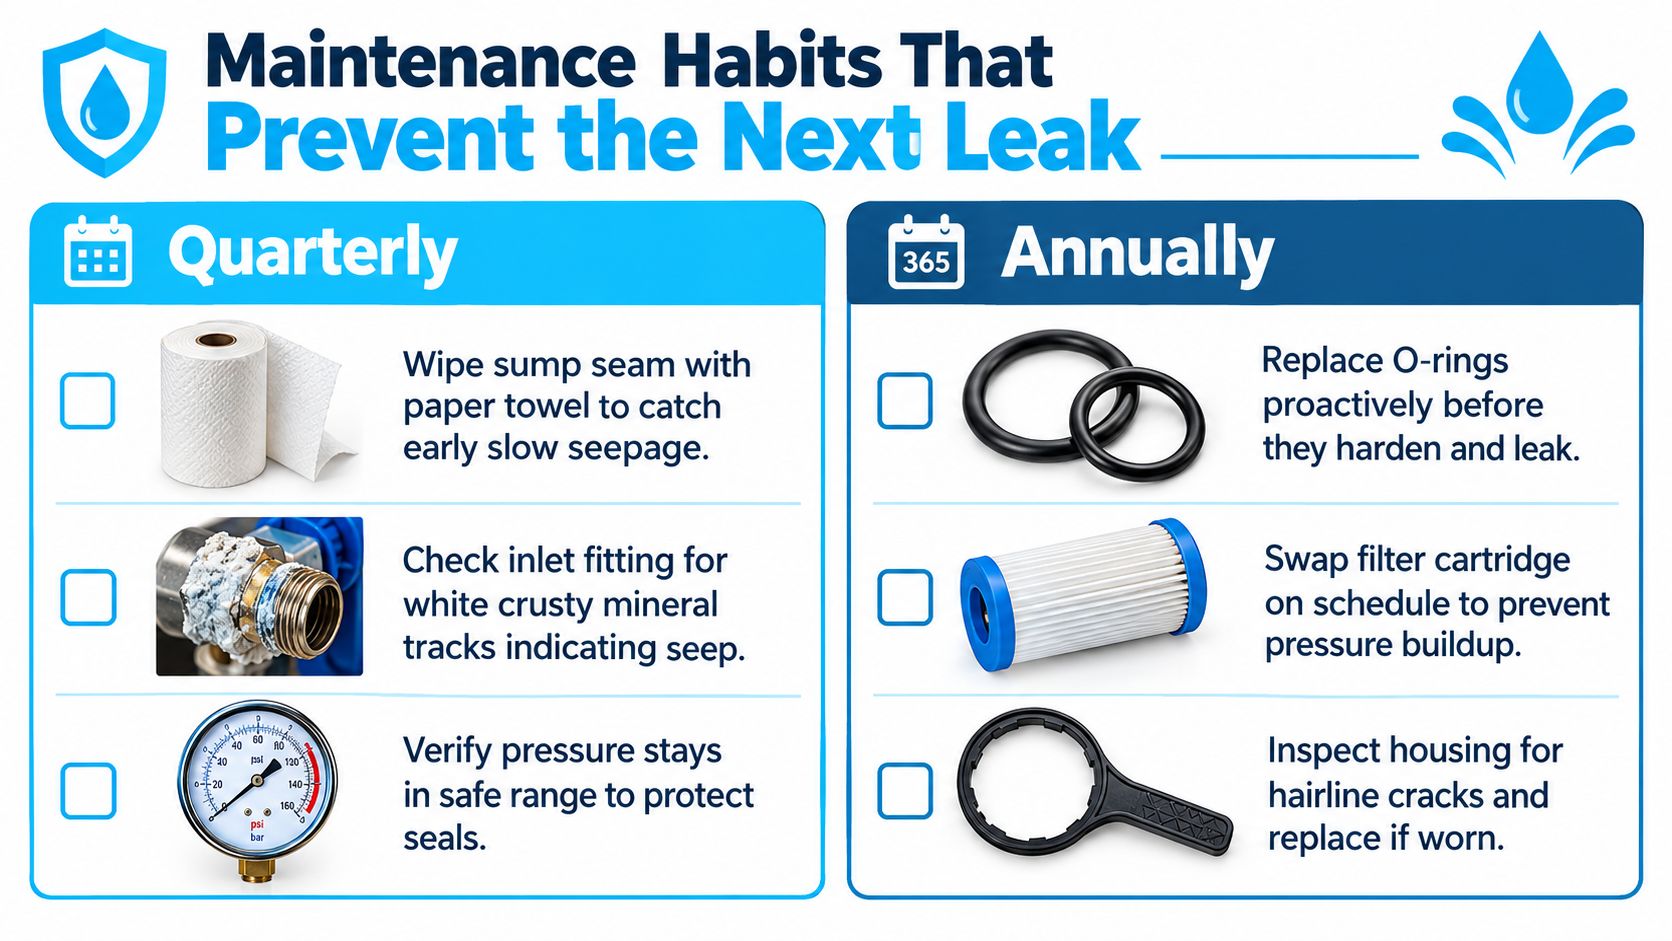
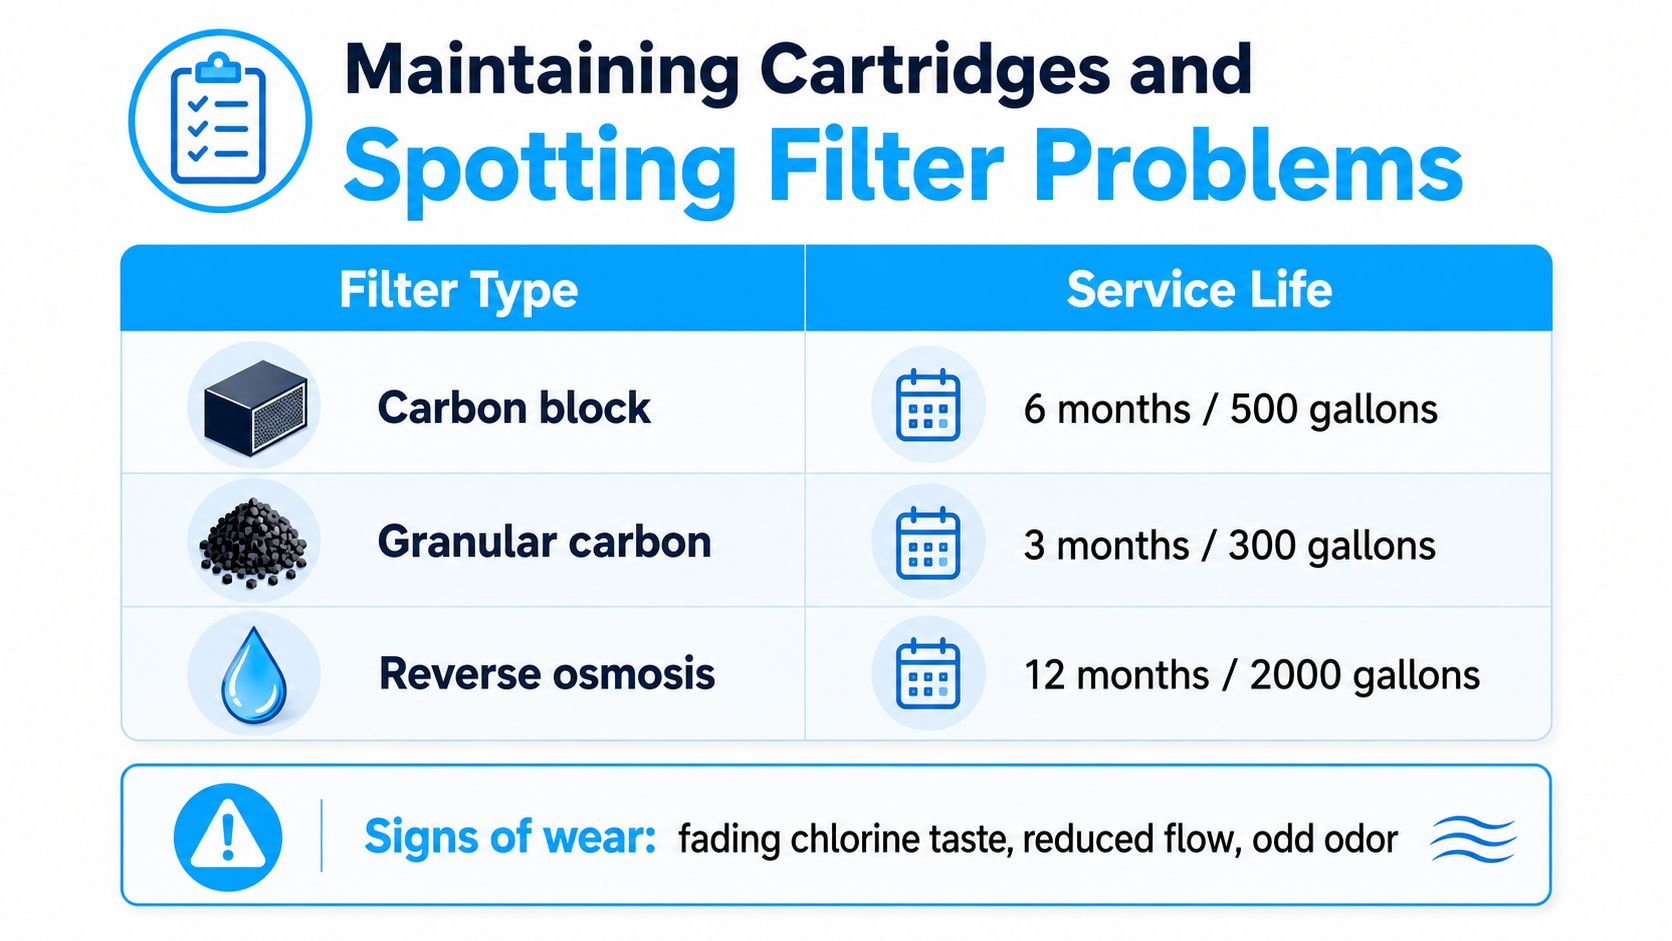
Carbon doesn't stop working at one dramatic moment. Its adsorption capacity fills progressively, so a cartridge may continue passing water while its chlorine reduction weakens. Taste and odor can therefore become a late warning rather than an early one.

Use the manufacturer's tested capacity and replacement interval rather than copying a schedule from another product. The supplied maintenance infographic lists examples of six months or 500 gallons for carbon block, three months or 300 gallons for granular carbon, and 12 months or 2,000 gallons for reverse osmosis cartridges, but those figures must be treated as product-specific examples, not universal rules.

A chart detailing the service life of carbon block, granular carbon, and reverse osmosis water filter cartridges.

A practical care checklist

  • Record installation: Write the installation date on the housing or set a calendar reminder.
  • Track usage: Use gallon capacity when the system provides it, especially in a busy household.
  • Flush new cartridges: Follow the manufacturer's flush instructions before collecting drinking water.
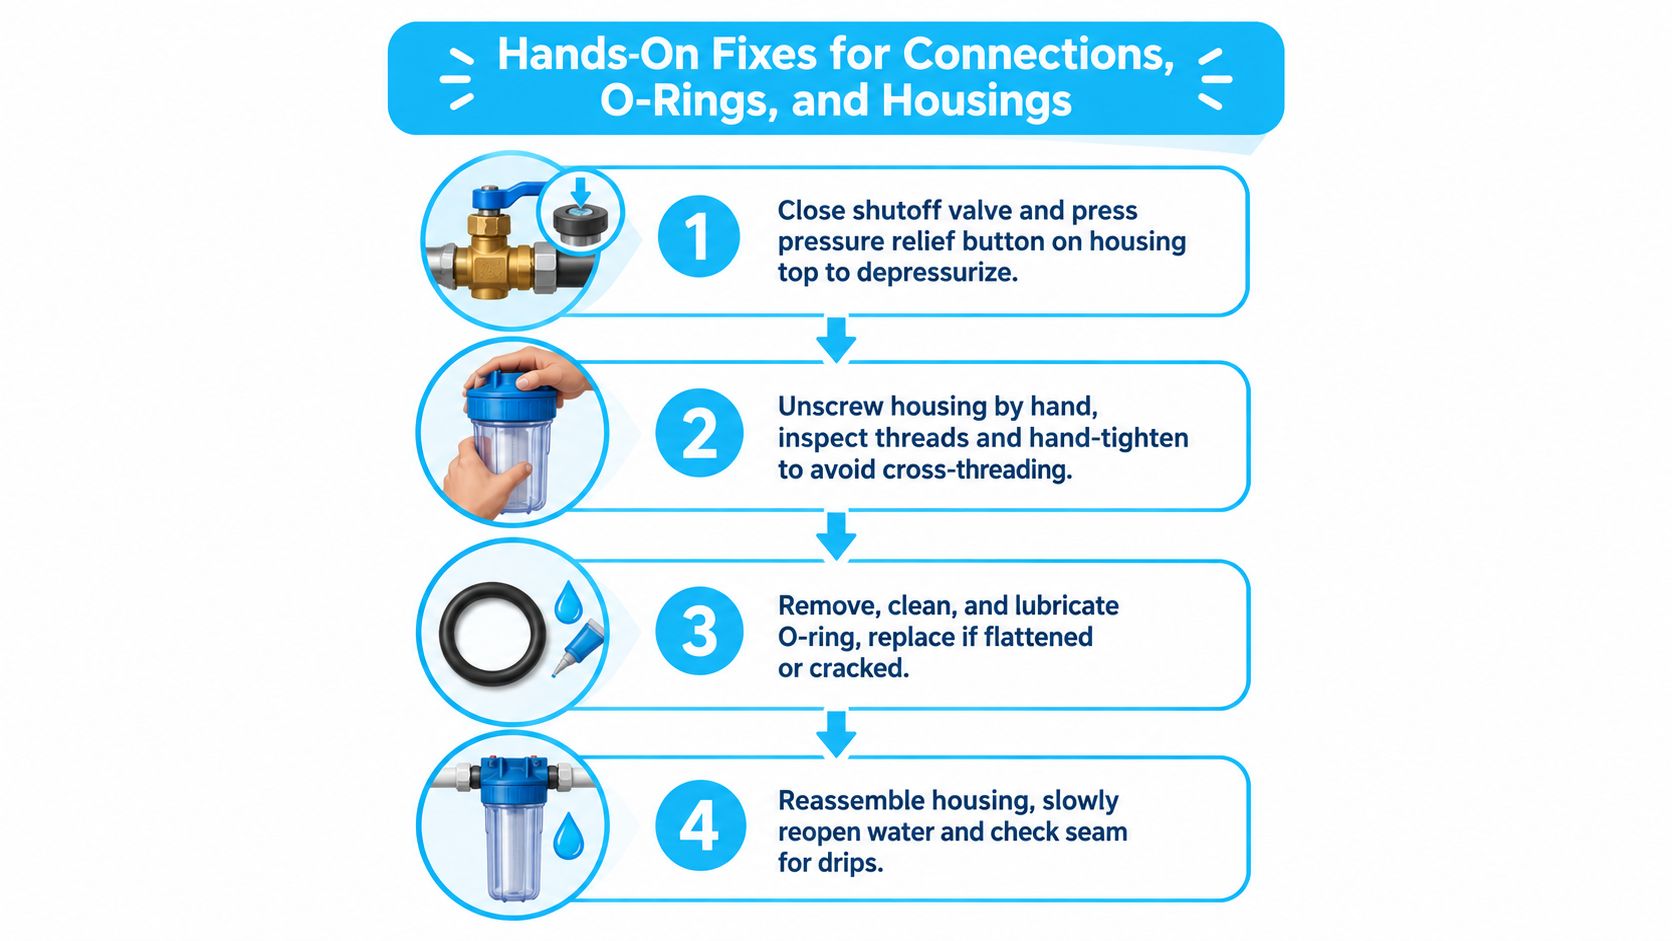
  • Clean the housing: Sanitize the housing during cartridge changes to reduce contamination inside the unit.
  • Protect the media: Keep cartridges away from hot water and avoid prolonged stagnation where the product instructions warn against it.
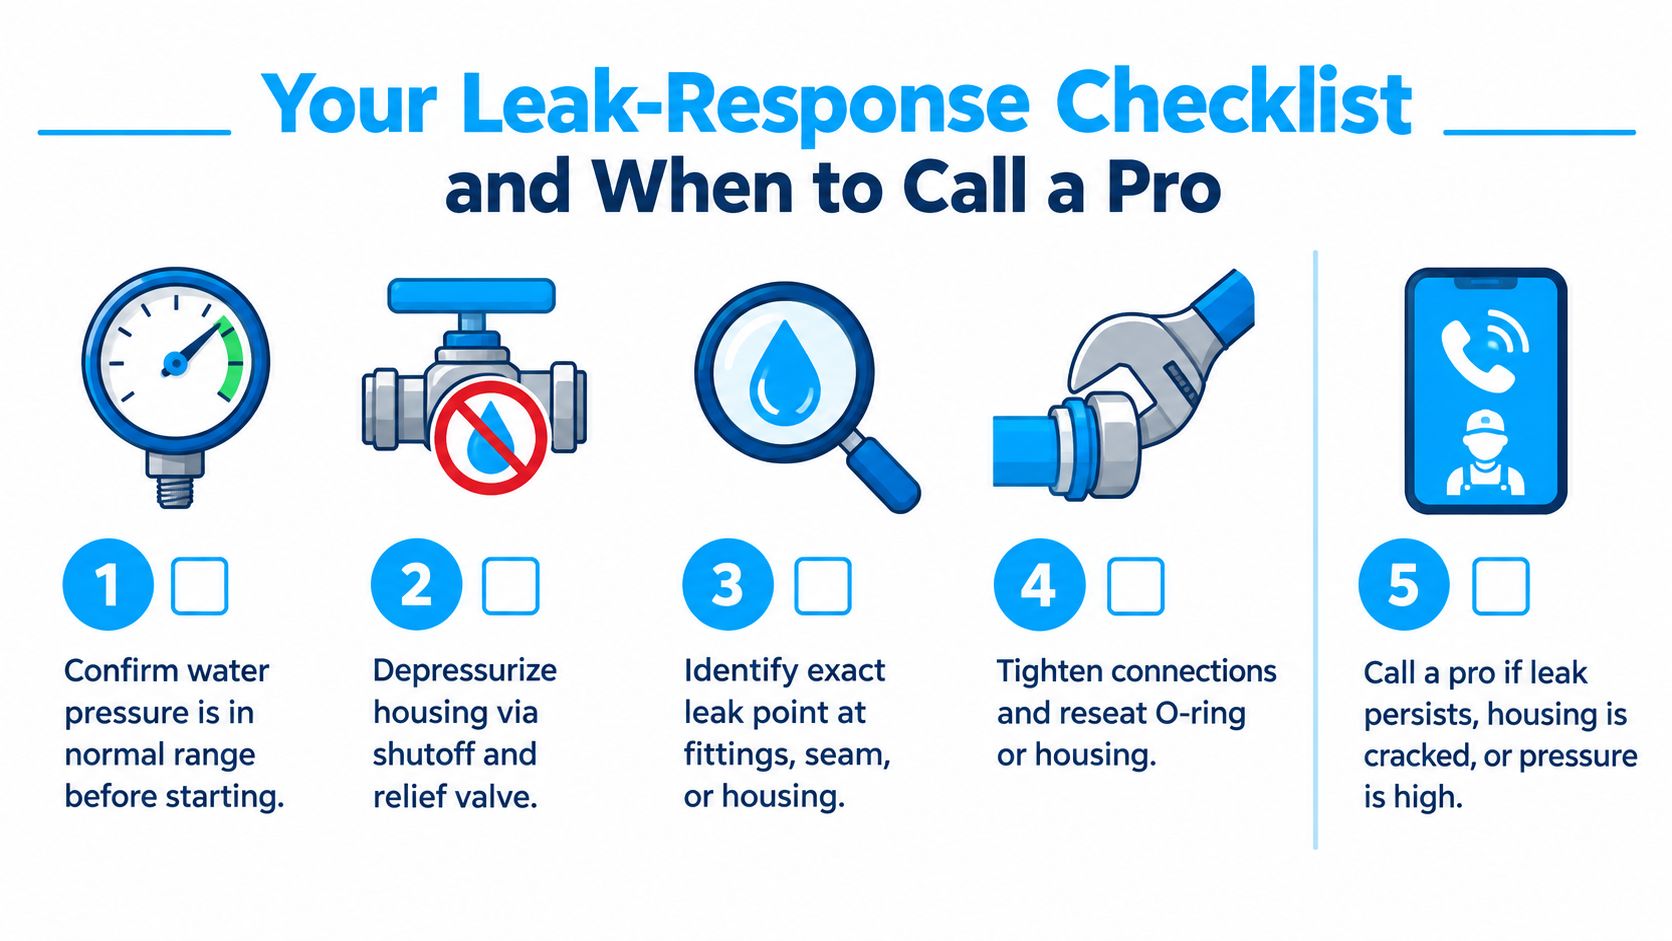
  • Watch the flow: Slower flow may indicate sediment loading, low feed pressure, or a blocked cartridge.
  • Test the water: If chlorine returns before the expected interval, check for bypass, incorrect orientation, high flow, or exhausted media.

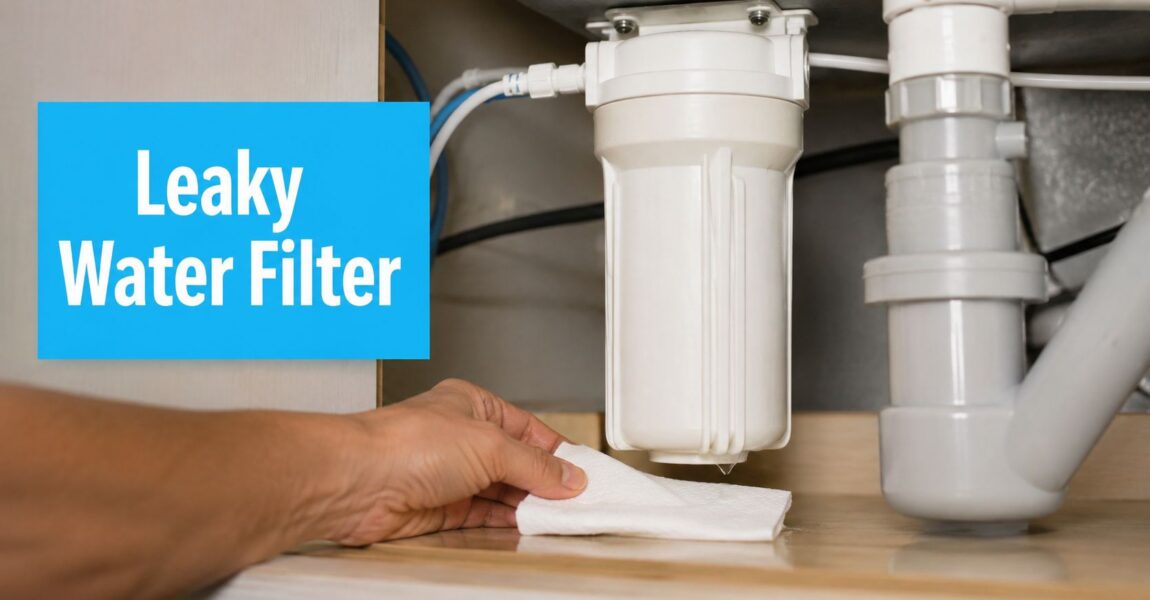
A gritty taste, unusual odor, visible discoloration, or fading chlorine reduction deserves attention. A clogged sediment prefilter can create low flow even when the carbon remains active, while exhausted carbon can leave flow looking normal but allow chlorine through.

Research on activated-carbon point-of-use filters also identifies a hygiene trade-off: removing residual disinfectant can allow microbial proliferation inside a neglected cartridge, and chloraminated water can contribute to localized filter-induced nitrification. The research on filter-induced microbial changes reinforces a simple habit: replace and clean the unit on schedule instead of relying only on taste.

Choosing a Filter With Confidence

A confident purchase follows the water, not the advertising language.

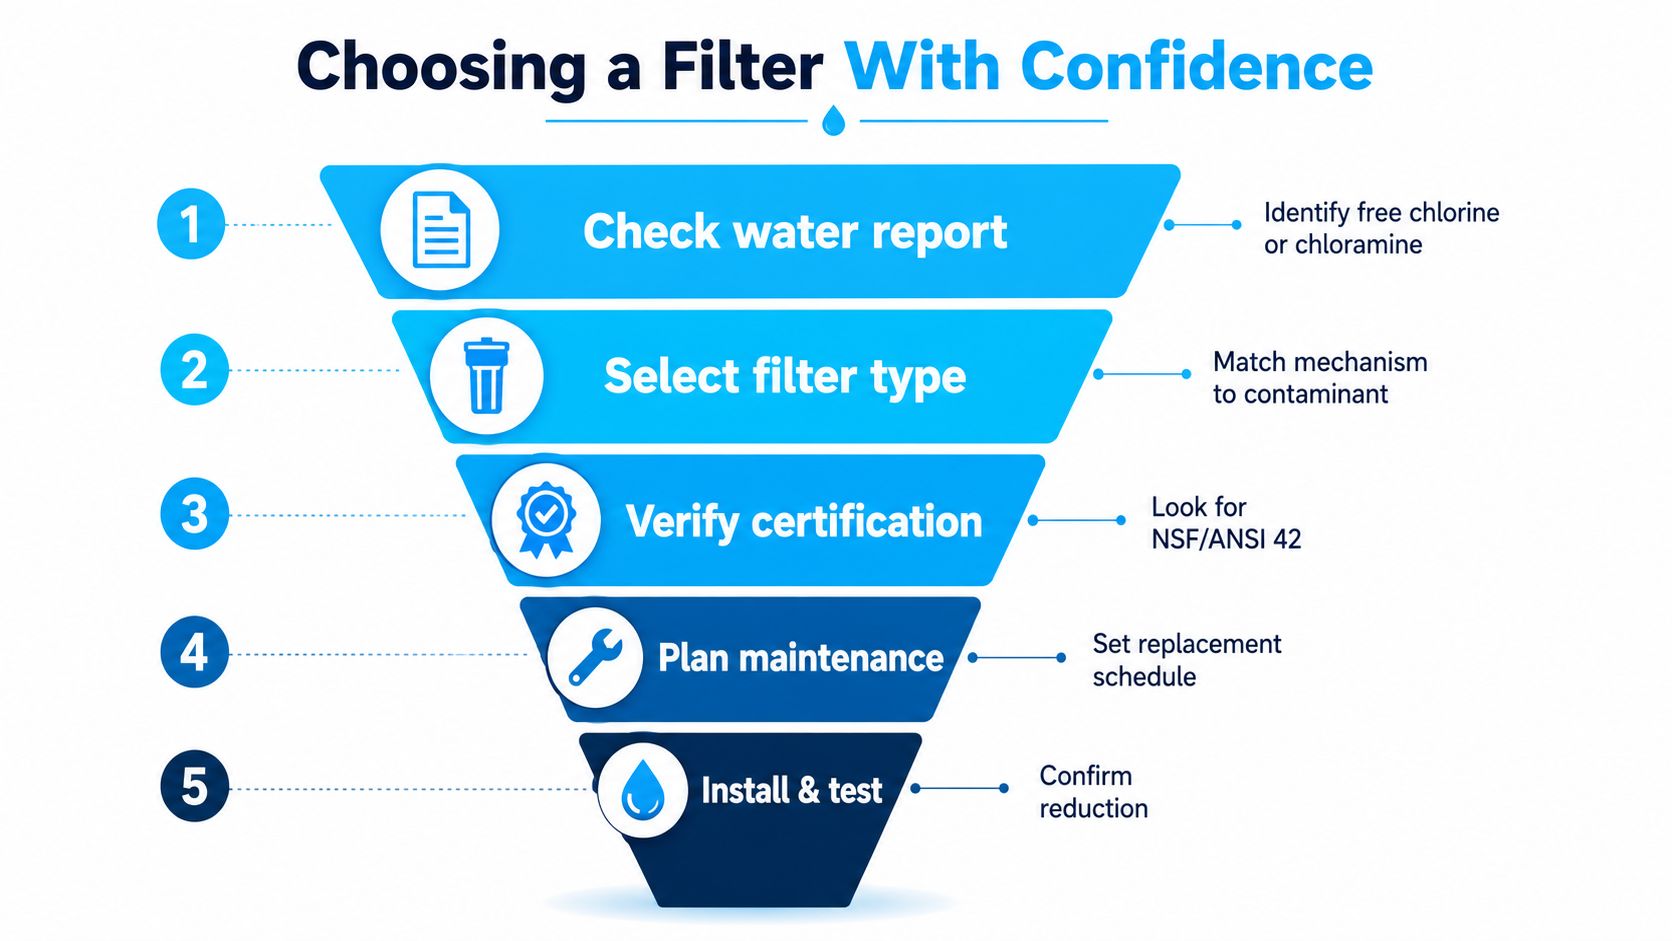
  1. Check the local profile. Read the utility report or use separate free-chlorine and total-chlorine tests. Identify whether the disinfectant is free chlorine or chloramine, and note other concerns such as hardness or lead.
  2. Match the mechanism. Choose activated carbon for a certified free-chlorine claim. Consider catalytic carbon or another specifically tested design when chloramine is present.
  3. Verify the certification. Look for NSF/ANSI 42 for chlorine taste and odor, NSF/ANSI 53 for applicable health-related claims, and NSF/ANSI 58 for reverse osmosis systems.
  4. Choose the placement. Use point-of-use treatment for drinking and cooking, or point-of-entry treatment when showers, appliances, and every tap need coverage.
  5. Plan maintenance. Confirm capacity, flow rate, replacement timing, and the cost and availability of cartridges before installation.

A funnel diagram illustrating five steps to confidently choose a water filter for your home.

A filter's media type tells you how it may work. The certified contaminant claim tells you what it was tested to reduce. The flow rating and maintenance plan tell you whether that performance can continue in your home. For additional guidance on comparing household filtration choices, visit Water Filter Advisor's filtration advice.


Water Filter Advisor offers practical comparisons and maintenance guidance for whole-house, under-sink, faucet, shower, refrigerator, and portable filtration systems. Visit Water Filter Advisor to compare certified chlorine and chloramine options, understand replacement requirements, and choose a setup that fits your water profile and daily routine.

Whole House Filter Before or After Water Softener? Guide

Put the whole-house filter before the water softener when the water carries sediment, chlorine, or iron, because those contaminants foul resin and choke flow. If your water is cleaner and only hard, the order can flip.

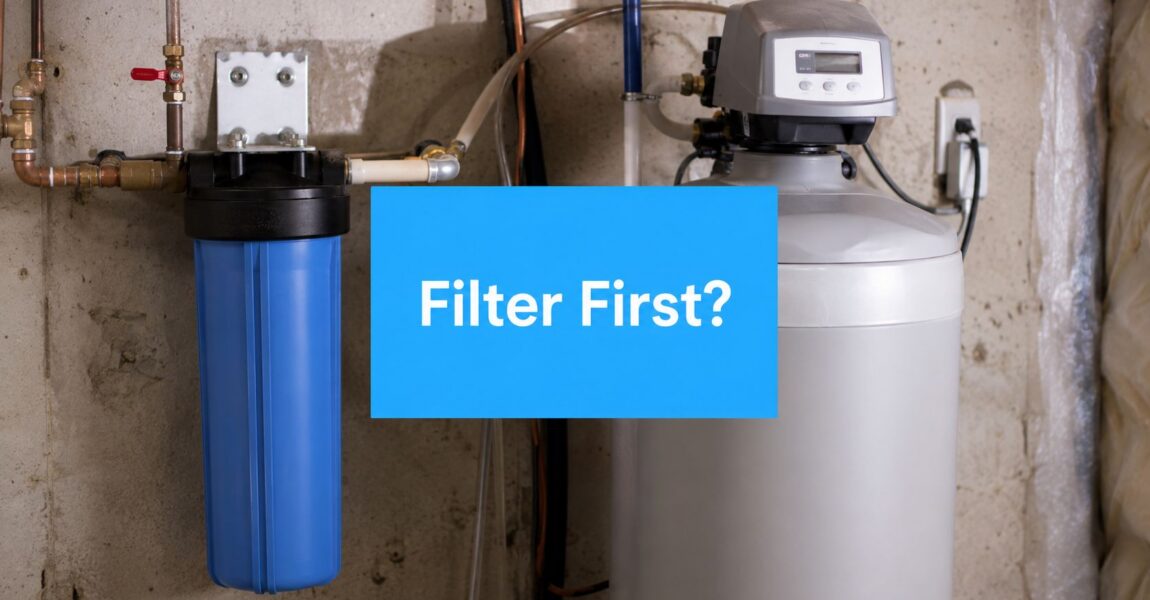
You've got the tanks sitting there, the pipe stub is staring back at you, and the only question that matters is simple, where does the filter go. The answer is usually filter first, however, the crucial task involves aligning the initial stage with the component requiring safeguarding, because a sediment filter, a carbon filter, and a softener do different work in the line. That distinction is what keeps a softener alive, keeps backwash moving, and keeps you from buying the wrong setup twice.

The Big Question Every Homeowner Asks First

You're standing in the basement with two shiny tanks and a pile of fittings, and the pipe out of the wall is the only thing left to decide. Put the whole-house filter before the water softener in the usual case, especially when you're dealing with grit, chlorine, or iron, because that order protects the softener and preserves pressure through the system. That basic rule is the one most installers reach for first, and it's the one that saves the most headaches later. Water Filter Advisor's advice page is a decent place to sanity-check the bigger picture, but plumbing logic is the primary driver.

The order changes what wears out first

A softener's resin is the expensive part. If the incoming water brings in sediment or chlorine, that resin takes the beating first, and the softener loses performance earlier than it should. Put the filter upstream and you give the softener cleaner water to work with, which is the point of the whole chain. That's why so many installation guides push the filter-first layout when the supply isn't already clean.

The order also changes how the system breathes

Backwash matters. If the first component in line is the one that needs the stronger backwash flow, it needs to sit upstream so it isn't starved of pressure during regeneration. A clogged prefilter can pinch flow, and a softener that can't backwash properly turns into a maintenance problem fast.

Practical rule: if the incoming water has anything you can see, smell, or taste before it reaches the softener, treat the front end of the line like protection gear, not decoration.

The best way to think about it is this. The filter is the gatekeeper, and the softener is the specialist. If the gatekeeper fails, the specialist gets abused.

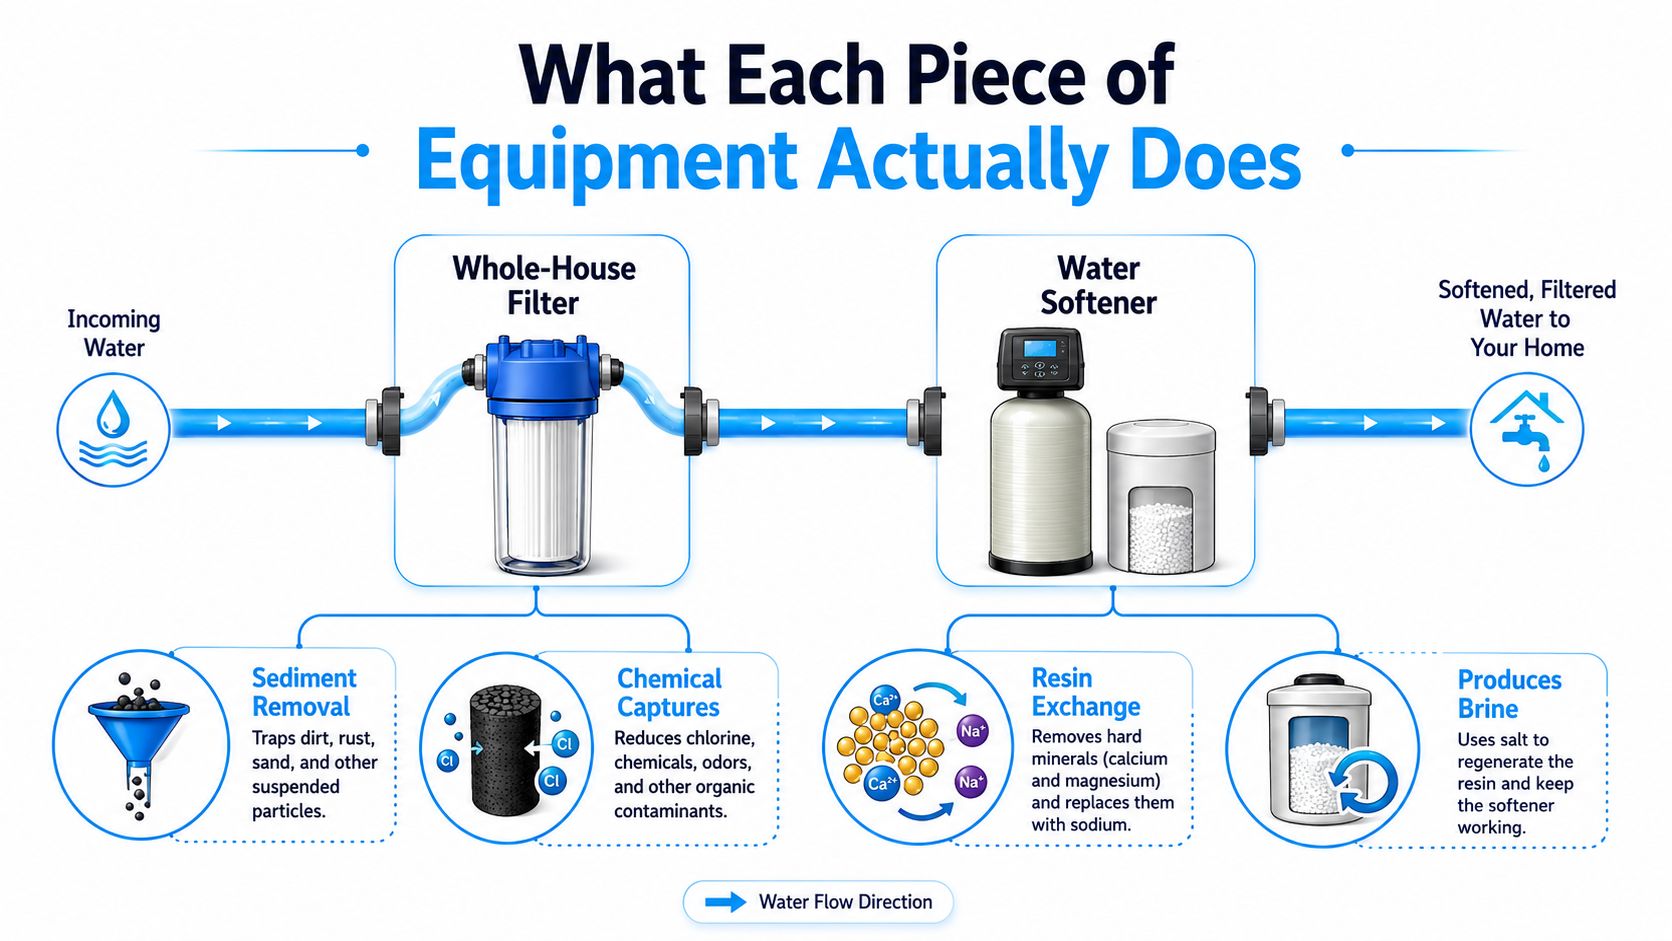
What Each Piece of Equipment Actually Does

A whole-house filter and a water softener are not interchangeable, and that's where a lot of bad advice starts. A filter catches or reduces the stuff you don't want moving through the plumbing, while a softener changes the water's mineral makeup. They can sit in the same line, but they don't solve the same problem.

A diagram illustrating a water treatment system with a whole-house filter followed by a water softener unit.

The filter is the front line

Think of a whole-house filter like a coffee filter or a screen door. Sediment filters trap sand, rust, and grit. Carbon filters deal with chlorine and odor, which is why they show up so often on city-water systems.

The softener is a mineral swap machine

A water softener uses ion-exchange resin to swap hardness minerals, mainly calcium and magnesium, for sodium or potassium. It doesn't “clean” water in the broad sense, it specifically changes the water so it doesn't scale fixtures, cloud glass, or cake up appliances. That's why the softener wants reasonably clean water going into it, not a stream full of debris.

The softener is a specialist, not a garbage disposal for the water line.

Once you see the difference, the placement debate gets much easier. The filter protects the line. The softener protects the house from hardness. Put them in the wrong order, and you make one of them do a job it wasn't built for.

Why Order Matters for Resin, Flow, and Backwash

The biggest reason to put filtration ahead of softening is resin protection. Sediment, chlorine, and iron all shorten the life of ion-exchange resin, and resin is the part you do not want to replace early. That's not a theory, it's basic treatment-train logic, and the same rule shows up in installation guidance that places the higher-backwash component upstream when needed so it can run without being starved of pressure. Quality Water Lab explains that control rule clearly.

A diagram illustrating why a whole house filter should be placed before a water softener to protect resin.

Resin hates dirty water

If sediment gets into the softener first, it can clog the valve assembly and get into places it has no business being. Chlorine is a different problem, it wears down the resin itself, which is why carbon often matters so much on municipal water. Iron is worse still, because it can foul resin beds and leave the softener struggling long after the water looks fine.

Backwash needs room to work

A softener has to regenerate and backwash properly. If a prefilter is packed with debris, it can rob the system of pressure at exactly the wrong time. That's the plumbing version of trying to run a vacuum with a stuffed bag, the machine may still turn on, but it's not doing the job it was built to do.

When a homeowner tells me the softener “just isn't working right,” I don't start by blaming the softener. I look upstream first. Dirty water, clogged prefiltration, or a bad sequence usually shows up there before it shows up anywhere else.

City Water Versus Well Water Two Different Stories

City water and well water are not the same plumbing problem, so they don't deserve the same answer. Municipal water is commonly chlorinated, which makes chlorine protection the main issue. Well water more often brings iron, sediment, and hardness to the party, which shifts the priority toward physical prefiltration.

City water usually wants carbon ahead of the softener

On chlorinated municipal water, the softener's resin takes the hit from chlorine if nothing stops it first. That's why the usual move is a carbon filter before the softener, because carbon is there to reduce the chemical stress that wears the resin down. Some homes also need sediment removal first if the supply carries grit, but the chemical protection question is what usually drives the city-water layout.

Well water usually wants sediment and iron control first

Well water flips the script. There's often no chlorine to worry about, but there may be sand, rust, iron, and other particulates. In that case, the right first move is usually sediment or iron filtration before the softener so the resin doesn't get buried under contamination it can't handle well.

The simple rule is this. City water often asks, “How do I protect the resin from chlorine?” Well water often asks, “How do I keep grit and iron out of the softener?” Those are two different questions, and they deserve two different front-end setups.

My field rule: if the water smells like a pool, think carbon first. If it leaves orange stains or gritty residue, think sediment or iron first.

That's why the phrase whole house filter before or after water softener is really shorthand. It's not one decision. It's a decision tree.

Which Filter Type Goes Where in the Chain

Homeowners get into trouble when they treat every whole-house filter like the same piece of gear. A sediment filter, a carbon tank, and an iron filter each solve a different problem, and their position in the line should match that job. Put the wrong stage first and you waste capacity or fail to protect the softener.

Sediment almost always goes first

Sediment prefilters, whether they're pleated cartridges or spin-down units, belong at the front of the line when the water carries sand, rust, or visible grit. They protect valves, resin, and downstream media from getting clogged with junk that should have been removed earlier. The same logic shows up in installation guidance that places Sediment → Softener → Carbon/RO → UV → Point-of-Use as a standard home treatment train. Water Tech Advice lays out that sequence.

Carbon can go before or after, depending on the goal

Carbon before the softener makes sense when the softener needs protection from chlorine. Carbon after the softener makes sense when the goal is polishing taste and odor after hardness is already handled. That's why generic “filter first” advice is too crude on its own, carbon isn't always a prefilter, it's sometimes the finishing stage.

Iron and specialty media usually belong ahead of the softener

Iron filtration, manganese media, and similar specialty filters usually go upstream because they target contaminants that will foul resin or clog the softener path. If the water has iron, don't make the softener be the catcher's mitt. Let the iron media do that job first.

Filter Type What It Removes Recommended Position Why
Sediment filter Sand, rust, grit First Protects valves and media from clogging
Activated carbon Chlorine, taste, odor Before softener on chlorinated water, after softener for polishing Protects resin or improves final water quality
Iron filter Iron and related metals Before softener Keeps resin from fouling
Specialty media Problem contaminants specific to the source water Usually before softener Prevents downstream damage

That table is the whole game in one glance. The filter type matters more than the slogan.

A Standard Treatment Train From Wall to Tap

A good residential treatment train follows the water, not the marketing brochure. The common layout starts with sediment filtration, moves into softening, then uses carbon or reverse osmosis as the polish stage. UV or a point-of-use filter can sit near the end if the home needs that extra layer.

A diagram illustrating the six-step standard treatment train process for residential whole house water filtration systems.

Read the line from left to right

Main water line first. Then the pre-filter. Then the softener. Then the polishing stage. That order is easy to maintain because every stage sees water that's already been treated for the problem in front of it. A plumber can also line up bypass valves and drain access in that order without turning the basement into a maze of elbows.

Maintenance works better when the sequence is sane

A sediment cartridge gets changed at the front because it takes the first hit. The softener sits behind it because it doesn't want that load. Carbon, RO, UV, and point-of-use gear come later because they're doing refinement work, not brute-force cleanup.

That sequence also makes troubleshooting easier. If the water looks bad at the faucet, you can walk back through the chain in order and find the stage that failed first. In the field, that saves time, and time is money.

Installation Maintenance and Warranty Tradeoffs

The wrong order costs more than it should. If chlorine reaches a softener's resin continuously, the resin gets worn out sooner than it should, and that means an early replacement nobody budgeted for. If sediment hits the valve and control head, you get pressure swings, nuisance alerts, and service calls that should never have happened.

Warranty language matters

Many manufacturers expect a carbon prefilter upstream when chlorine is present. If you skip that and then ask for warranty help later, you may have a bad conversation on your hands. I've seen homeowners fight the softener manufacturer over damage that really came from bad upstream treatment, and that's not a fight you want.

Maintenance gets simpler when the order is right

Put the sediment stage first and you replace cartridges where they belong, before the softener starts carrying the burden. Put carbon before the softener on chlorinated water and you protect the resin instead of gambling with it. If you want a broader plumber's-eye look at installing and maintaining the rest of the system, the Growth 4 Trades plumbing guide is useful context for how pros think through the work.

A clean treatment train is cheaper to own than a messy one is to fix.

The greater cost isn't just the first install. It's the call you make later when a valve sticks, resin fouls early, or the system behaves like it was never designed to work together in the first place.

Common Myths and When to Break the Rules

The biggest myth is that filter first is a universal plumbing law. It isn't. It's a strong default, and on dirty or chlorinated water it's the correct move, but there are legitimate setups where the softener goes first or where a separate upstream filter already handled the dirty work.

An infographic showing common myths about water softener and filter installation order for home water systems.

When the softener can go first

If the water is relatively clean and the only real issue is hardness, the softener can go first. That fits homes without sediment, without chlorine stress, and without another contaminant that would punish the resin. It's not the common case, but it's a real one.

When the rule should be broken on purpose

If there's already an iron filter or another protective stage upstream, you don't need to repeat the same job. If the home is on a clean municipal supply and the softener is handling hardness alone, the sequence can be simpler than the usual treatment train. And if the goal is reverse osmosis at the tap, that stage usually sits last, not ahead of everything else.

Don't copy a generic install diagram and call it done. Match the order to the water you actually have.

Common questions homeowners ask

  • Do I always need both a filter and a softener? No. If hardness is the only issue, a softener may be enough.
  • Should carbon always come first? No. Carbon comes first when it's there to protect the softener from chlorine. It can also come after when it's polishing the water.
  • Is “filter first” a code requirement? No. It's a practical design principle, not a universal rule.

Make the sequence fit the source water, the problem you're solving, and the part you're trying to protect. That's how you build a system that works without drama.


If you want a cleaner answer for your own house, start with the water source and the contaminants, not the tank labels. Visit Water Filter Advisor for practical guidance on whole-house systems, softeners, and the right treatment order, then use that knowledge to choose the setup that protects your resin, your pressure, and your wallet.

Micron Filtration Chart: Ultimate Home Water Filtration Guide

Printable Micron Filtration Chart Quick Guide

Whether you’re battling gritty well water or banishing chlorine taste, this micron filtration chart lets you pick the perfect pore size in seconds—and it’s 100% water filtration focused for home use.

  • Streamlines filter shopping by matching pore sizes to your top water concerns
  • Cuts guesswork—just find your issue and grab the right cartridge
  • Includes a printable checklist for swaps and routine check-ups
  • Prevents both over-filtering (hello, slow flow!) and under-filtering (yuck, contaminants!)

Tuck this guide in your home improvement binder or tape it inside the filter housing for instant reference.

When To Use The Quick Chart

Reach for this chart every time you fit a new unit or swap worn cartridges. Perfect for DIYers and the service tech who fixes your faucet:

  • Tape it inside your filtration housing for at-a-glance confirmation
  • Slip it in your maintenance binder next to water test reports
  • Track cartridge lifespan, pressure changes and flow rates over weeks

Formats available in letter and A4—print effortlessly and never guess again.

Why Chart Visuals Matter

During that emergency filter swap, visuals rule. They’re a boon for homeowners and pros alike:

  • Well water users spot sediment issues immediately
  • City water dwellers zero in on chlorine taste and odor
  • Portable system owners get a fast microbial barrier reference

Next up: an infographic that highlights three key micron tiers with eye-catching icons.

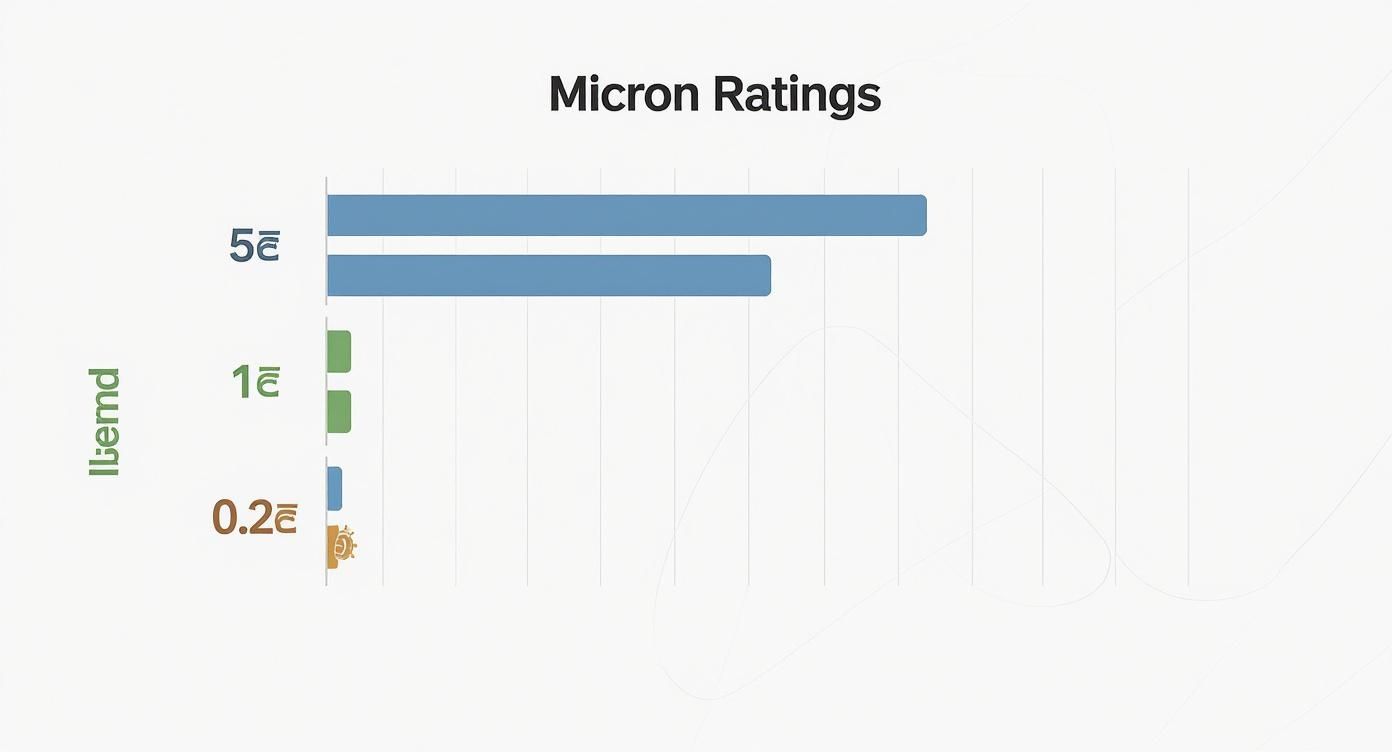
Infographic about micron filtration chart

Below is a printable table to match exact water issues with the ideal filter rating.

Micron Rating Quick Guide

Micron Rating Primary Use Example Contaminants
5 µ Sediment Pre-Filter Sand, silt, rust
1 µ Fine Particle & Taste Filter Chlorine, cysts
0.2 µ Microbial Barrier Bacteria, protozoa

Keep this chart on your fridge, in the garage or saved on your phone.

How To Match Filter To Your Issue

  1. Pinpoint your water concern: grit, taste or microbes.
  2. Find the corresponding micron rating in the table above.
  3. Select a cartridge with that rating and verify the media type.
  4. Install and test flow before daily use.

Store a digital copy on your phone for quick field checks—and share it with neighbors for safer community water.

Benefits Of Using Micron Filtration Chart

A micron filtration chart turns guesswork into confidence. By lining up pore sizes with specific contaminants, you pick sediment, carbon, membrane or ceramic media precisely. No more over-spending or under-filtering—just crystal-clear results.

Slip a printable PDF in your maintenance binder for on-site checks. Or load the interactive chart on your phone to sort by media and contaminant. Seeing everything side by side cuts decision time by up to 50%.

  • Simplified Decisions: match pore size to contaminant
  • Faster Filter Swaps: shop by test results
  • Consistent Maintenance: built-in printable checklists
  • Balanced Flow Control: avoid clogged filters or low pressure

Each chart entry links to deep-dives on sediment, carbon block, membrane/RO and ceramic filters. Jump straight to what you need—no manual spelunking required.

Visualizing Pore Sizes And Contaminants

Grouping ratings—5 µm for grit, 1 µm for fine particles, 0.2 µm for bacteria—gives you an instant snapshot. Color codes and clear icons turn technical specs into intuitive visuals.

Tables comparing flow rate vs. removal efficiency make tradeoffs crystal clear. Homeowners report cutting decision time in half with side-by-side charts rather than specs.

A concise chart brings transparency to every filter choice, ensuring you get exactly the protection you need.

Keep your chart next to the water test kit. When turbidity spikes or pressure dips, you’ll know exactly which rating to grab.

The global micron filters market hit roughly USD 1.2 billion in 2024 and may swell to USD 2.4 billion by 2033—an 8.5% CAGR from 2026 to 2033 Learn more about micron filters market growth.

Streamlining Filter Maintenance

Stash the chart in your filter housing to remove all guesswork at swap time. Follow these steps for perfect cartridge changes:

  1. Log initial flow rate and install date
  2. Compare test results to chart recommendations
  3. Pick a cartridge with the exact micron rating
  4. Replace, log the new date and record flow

Real-world examples:

  • Well water packed with sand? Use a 5–20 µm pre-filter.
  • City water smelling like pool chlorine? A 1 µm carbon block is your friend.

Mini-table of formats:

Format Use Case Key Advantage
Printable PDF Binder storage Always available
Interactive Web Field use Dynamic sorting
Mobile App Quick lookup Offline access

Keep both digital and printed charts within arm’s reach—especially when water issues strike.

Comparing Filter Media Types

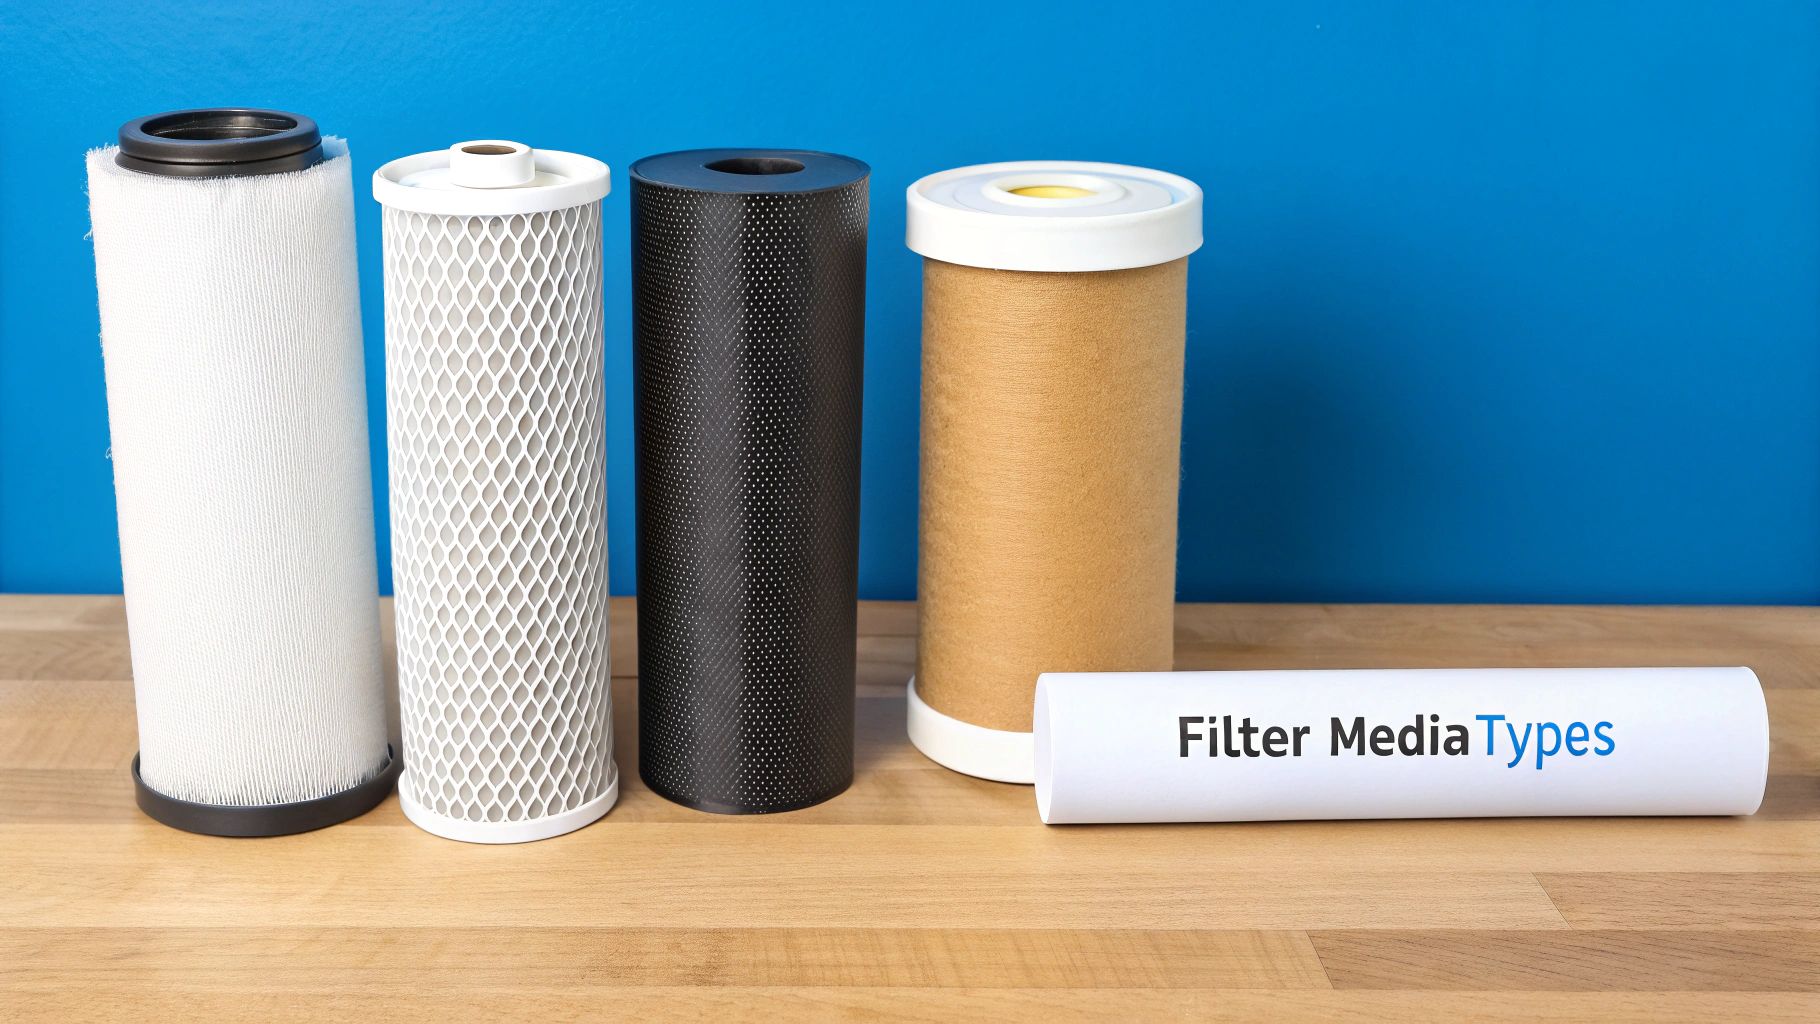
Pick the right media by matching pores to particles. Below we line up sediment cartridges, carbon blocks, RO/UF membranes and ceramic filters on our micron filtration chart.

Filter Media Types

Sediment Cartridges Overview

Sediment filters (5–20 µm) capture big chunks—sand, silt and rust flakes—protecting finer media downstream.

  • Pore Size Range: 5–20 µm
  • Key Targets: sand, silt, rust
  • Use Case: pre-filtration on well pump systems

Activated Carbon Blocks Details

Carbon blocks (0.5–5 µm) adsorb chlorine, chloramine and organics for better taste and odor.

  • Pore Size Range: 0.5–5 µm
  • Key Targets: chlorine, VOCs, TTHMs
  • Use Case: municipal water treatment, fridge filters

For more on targeted media, check the best HVAC filters for allergies.

Membranes And Ceramic Filters

Membranes (RO/UF) range from 0.0001–0.01 µm, stripping heavy metals and dissolved solids. Ceramic filters (0.2–1 µm) remove bacteria and cysts, and are easy to clean for repeated use.

Media Type Pore Size Range Targets Application
Sediment 5–20 µm Sand, silt, rust Well water pre-filter
Carbon Block 0.5–5 µm Chlorine, VOCs City water taste & odor
Reverse Osmosis 0.0001–0.01 µm Heavy metals, TDS Under-sink drinking water
Ceramic 0.2–1 µm Bacteria, protozoa Faucet-mounted or countertop

Composite cartridges stack stages—for example, 20 µm sediment → 5 µm carbon → 1 µm ceramic—to tackle grit, chemicals and microbes in one go.

A smart media pairing delivers high removal rates without killing your flow.

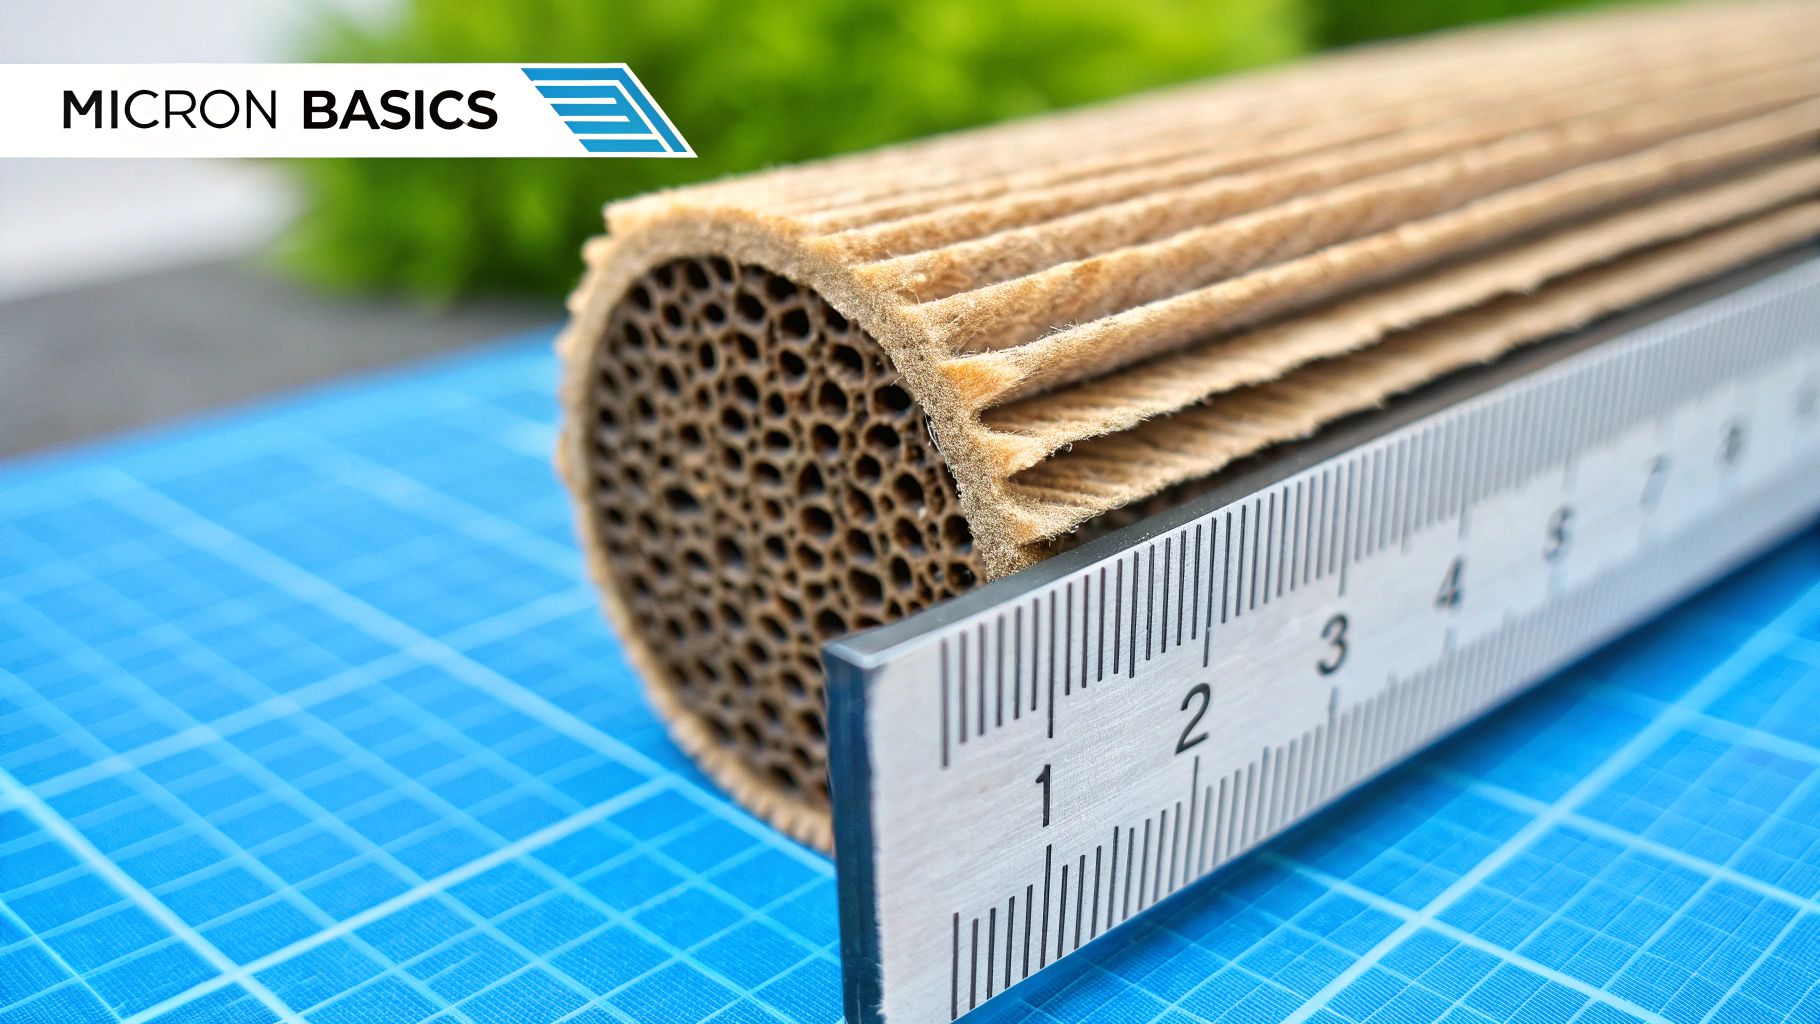
How Micron Ratings Work

Filter pore structure diagram

A micron (µm) is one-millionth of a meter—your guide to what particles a filter traps. Manufacturers use ASTM or ISO tests to assign nominal and absolute ratings, but those labels deserve context.

  • ASTM F2389: Absolute retention at 99.9% for stated sizes
  • ISO 9001: Nominal retention around 85% of particles
  • Operating flow and pressure can shift a filter’s effective pore size

Understanding Nominal And Absolute Ratings

Rating Type Retention Percent Best For
Nominal ~85% Sediment pre-filtration
Absolute ~99.9% Microbes & heavy metals

Nominal filters aren’t bad—they’re great for general debris. Absolute filters guarantee near-total removal, perfect for drinking water safety.

Interpreting Data Sheets And Performance

Look for flow (gpm/lpm) and pressure (psi/bar) alongside micron specs. These numbers let you compare lab results to real-world performance.

  • High pressure can compress pores—boosting retention but slowing flow
  • Low pressure may let fine particles sneak through

A lower micron value isn’t always superior if your flow becomes a trickle.

Check test fluid (water, beads, oil) because results vary by medium. Then match data sheets with our sediment, carbon, membrane and ceramic guides.

Avoiding Common Misconceptions

Ultra-fine ratings clog in heavy sediment, upping replacement costs. Always pair specs with onsite pressure and flow checks.

  • Look for the NSF mark for verified materials
  • Choose filters tested under ANSI standards for extra peace of mind

Run your tap at 60 psi, record the result, and overlay it on your printable micron filtration chart.

Tradeoffs Of Filter Media

Balancing removal efficiency, flow rate and maintenance is easier with a micron filtration chart. Tighter pores trap more particles but can slow water and clog sooner.

Global macrofiltration may hit USD 8.3 billion in 2024 Straits Research.

  • Sediment Filters (5–20 µm): low pressure drop, frequent cleaning in turbid water
  • Carbon Blocks (0.5–5 µm): great for taste, medium flow reduction under load
  • Membranes (RO/UF) (0.0001–0.2 µm): ultra-pure water, high pressure needs

Comparing Flow And Longevity

Media Type Pore Range Longevity Clog Potential
Sediment 5–20 µm 3–6 months Low
Carbon Block 0.5–5 µm 6–12 months Medium
Membrane 0.0001–0.2 µm 1–3 years High

Finer micron ratings often double replacement frequency in sandy water.

Case Study Examples

  • Well water with sand: 20 µm pre-filter swaps monthly in muddy seasons.
  • City water chlorine: 1 µm carbon block for crisp taste; add a booster pump for steady flow.
  • Mixed contaminants: stack 10 µm sediment, 5 µm carbon, 0.2 µm membrane for balanced removal.

Maintenance Considerations

Fine pores demand extra care:

  • Watch pressure differential to catch clogs early
  • Log replacement dates and water test results
  • Flush new cartridges 5 minutes before use to clear fines

Prioritizing Safety And Throughput

For microbial removal, go absolute-rated at 0.2 µm or tighter. Protect fine media with a nominal sediment pre-filter, then add a UV stage for extra disinfection.

Cross References For Deep Dive

  • How Micron Ratings Work – Nominal vs. absolute definitions and test protocols
  • Comparing Filter Media Types – Pore ranges and real use cases
  • How To Choose Replacement Cartridges – Dimensions, connections, compatibility

With the micron filtration chart, you’ll fine-tune your home system for safety, flow and peace of mind.

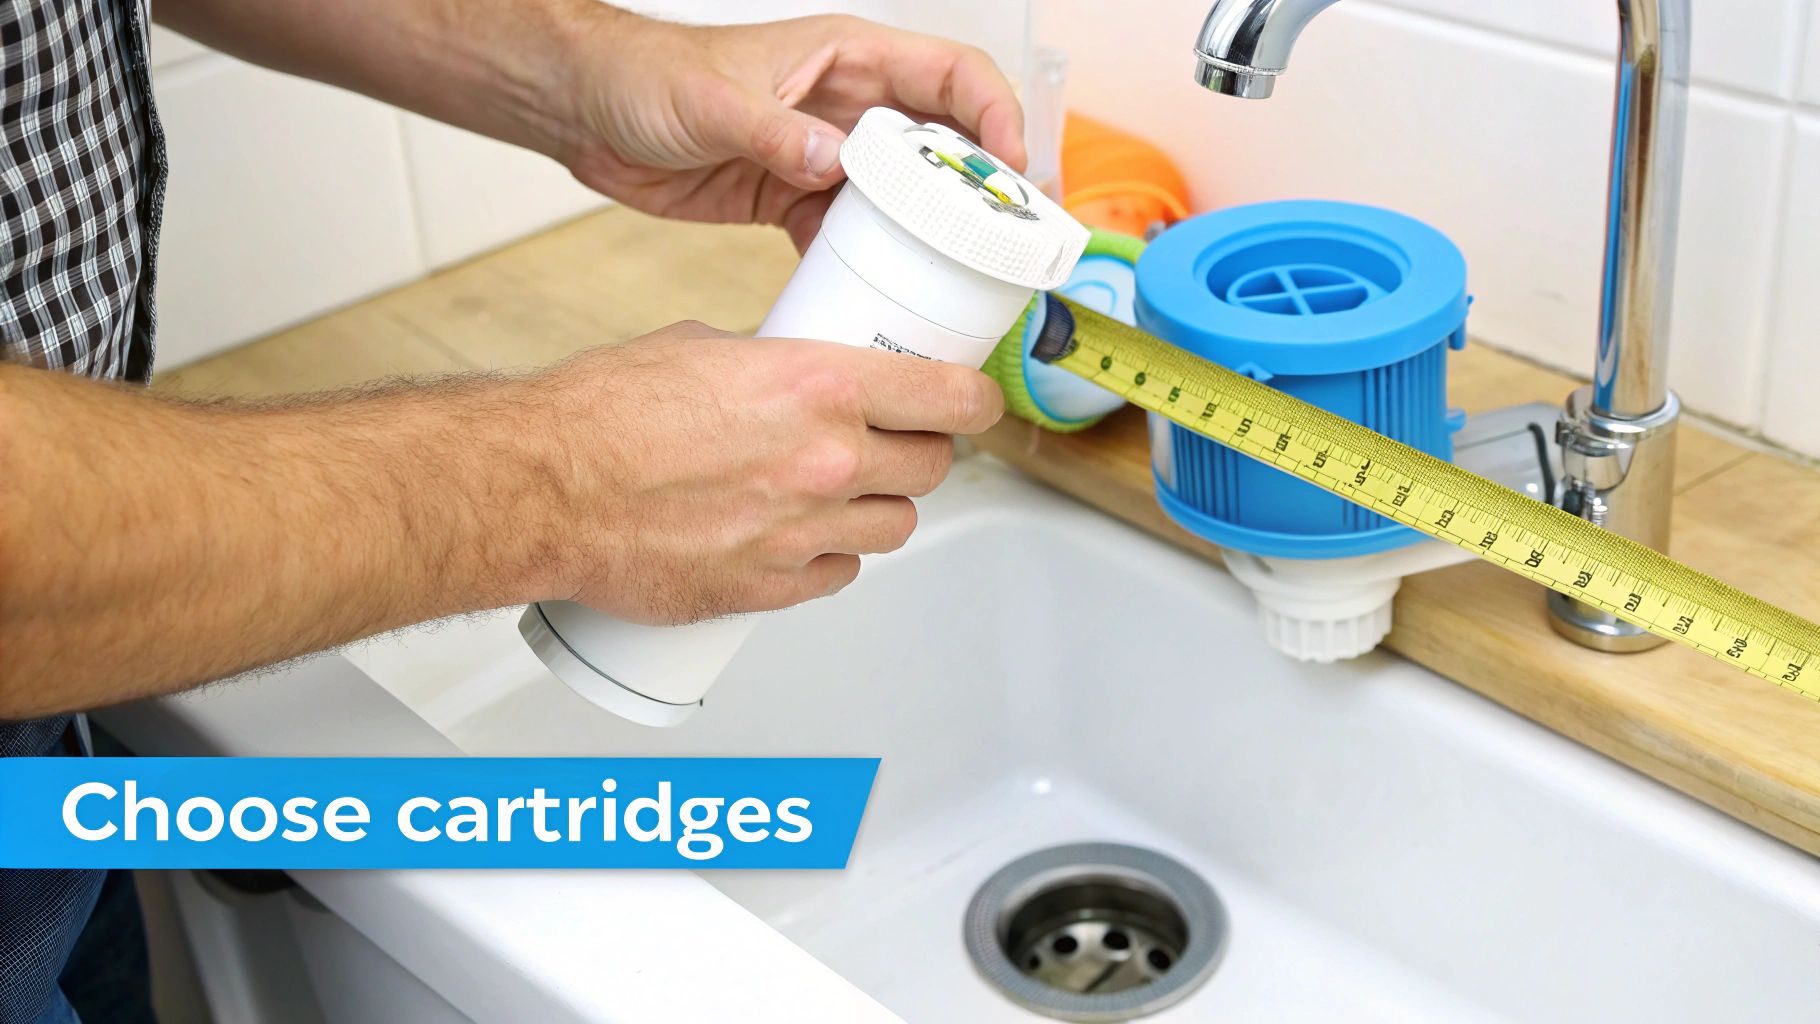
How To Choose Replacement Cartridges

Zero in on your water woes—cloudy tap, metallic tang, or residual chlorine? Match the symptom to your micron filtration chart to land the ideal cartridge.

Replacement filter cartridges and tools

Matching Micron Ratings To Issues

  • Sand & Silt: 5–20 µm Pre-Filter
  • Rust & Large Particles: 5 µm Sediment Filter
  • Chlorine Taste & VOCs: 1 µm Carbon Block
  • Heavy Metals & Fine Particulates: 0.5–1 µm Membrane
  • Bacteria & Protozoa: 0.2 µm Microbial Barrier

See the full specs at filter pack details.

Measuring And Checking Fit

  1. Remove old filter; measure its length and diameter
  2. Note inlet/outlet thread or quick-connect style
  3. Confirm system flow rate (gpm) to prevent bottlenecks

Bulk bundles and subscriptions often save up to 20% per cartridge.

Regular pressure and flow checks prevent nasty surprises.

Watch for end-of-life signs:

  • Pressure drop over 15 psi
  • Noticeable slow-down
  • Return of bad odor or discoloration

Example Scenarios And Tips

  1. Hard Water Scale
    • Pair a 1 µm carbon block with a 0.5 µm membrane for minerals and taste.
  2. Urban Chlorine
    • A 1 µm granular activated carbon block removes VOCs.
  3. Turbid Well Water
    • Stage a 20 µm pre-filter before a 5 µm sediment filter.

Log each swap date and flow rate in a binder or spreadsheet for pattern spotting. For more maintenance how-tos, explore our advice section.

Bulk Buying And Subscriptions

  • Compare cartridge costs across pack sizes
  • Sign up for subscriptions to lock in deliveries
  • Store unopened filters in a cool, dry spot (shelf life 12–24 months)

These best practices keep your system running and never leave you high and dry.

Micron Filtration Chart FAQ

Micron ratings might look like alphabet soup, but they’re straightforward. Nominal means about 85% capture; absolute means 99.9% or more—essential for microbes and metals.

How To Read The Chart

  1. Identify sediment, chemical or microbial issue
  2. Match micron size in the chart
  3. Cross-reference media types for multi-concerns
  4. Weigh flow vs. removal efficiency in tradeoff tables

See Quick Guide for an overview and Combining Filter Media Types for example setups to avoid under- or over-filtering.

When To Use Multi-Stage Setups

Multi-stage tackles mixed problems:

  • 5–20 µm pre-filter for sediment
  • 1 µm (or finer) stage for taste, chemicals, microbes

This extends cartridge life and boosts efficiency—check Tradeoffs Of Filter Media for real-life case studies.

Why Flow Drops After A Cartridge Change

New cartridges clamp down until rinsed. Run water for 5–10 minutes, then test again. Persistently low flow? Check for:

  • Housing-cartridge mismatch
  • High pressure differential

Refer to How Micron Ratings Work for pressure guidelines.

Troubleshooting Low Flow

  1. Verify housing threads and cartridge dimensions
  2. Measure inlet pressure against specs
  3. Flush new cartridges fully before testing

Record date, model and flow in your filter binder. Patterns emerge, and you stay ahead of issues.

Ready to dial in your home water treatment? For side-by-side comparisons and pro tips, visit Water Filter Advisor.