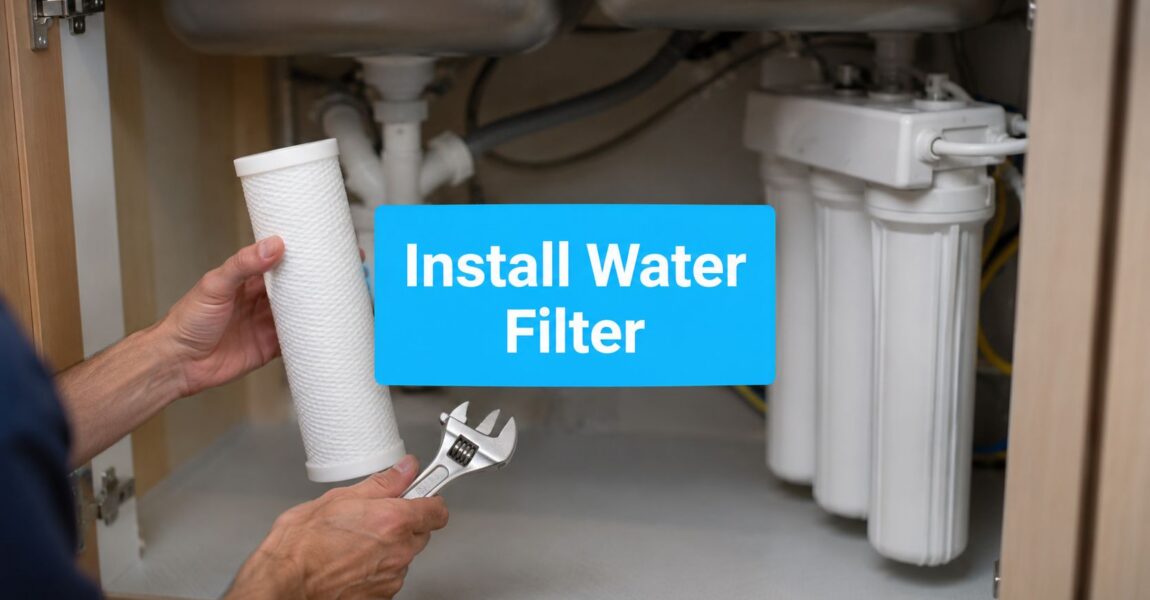
You've got the box open, the parts are spread across the counter, and the cabinet under the sink already looks smaller than it did an hour ago. That's normal. A lot of people stop right there because the job feels like plumbing, clutter, and guesswork all at once, but an under-sink filter install is usually a straightforward cabinet project once you know where the obstacles live and what matters at startup.
The question isn't whether you can do it. It's whether your cabinet has room for the system you bought, whether the cold shutoff is reachable, and whether you're dealing with a simple carbon block or a more involved reverse osmosis setup. Independent testing found install times of under 10 minutes for some basic models like the Waterdrop 15UA and Frizzlife MK99, and about 45 minutes for reverse osmosis systems, with the biggest time drivers being whether a dedicated faucet hole and drain line are required (Quality Water Lab). That's why the difference between “easy” and “annoying” usually comes down to cabinet layout, not plumbing skill.
If you're comparing point-of-use filtration with broader home protection, the bigger picture helps too. A useful overview of household filtration trade-offs is the guide on benefits of whole home water filtration, especially if you're deciding whether this sink install is the right first move or part of a larger water plan.
What you finish with is simple and valuable, filtered water on demand, less dependence on bottled water, and a system you can service yourself. The rest is mostly about avoiding the common mistakes that waste time, crack fittings, or trap you in a cabinet you can't maintain later. Start with the tools and parts, then check the cabinet like an installer, then make the plumbing connections, and only then move into pressurizing and flushing.
Why Installing an Under Sink Filter Is Easier Than You Think
A filter install might seem like a small remodel, but it usually isn't. For a basic carbon-block system, the job can be quick because the plumbing stays simple, the box usually includes the needed hardware, and basic tools are enough to get through it cleanly (Quality Water Lab).
The job is smaller than it looks
The intimidation comes from working upside down in a cramped cabinet, not from the plumbing itself. The standard sequence is predictable, shut off the cold line, split that line with a tee, mount the housing, and connect the outlet to a dedicated faucet or existing tap. Once you understand that pattern, most of the stress disappears.
The only installs that really change the pace are the ones that need extra components. Reverse osmosis systems add a storage tank and a drain connection, so they're naturally more involved than a simple single-cartridge setup (Quality Water Lab). That's also why a lot of homeowners choose a simpler under-sink unit first, then step up later if their water needs demand it.
What you get at the end
The payoff isn't abstract. You get filtered water at the tap, less chlorine taste, and a setup that stays hidden under the cabinet instead of taking over your counter. You also get the quieter satisfaction of solving a real household problem yourself.
If you already buy bottled water or rely on pitchers, the under-sink route usually feels like the better daily habit because it's always there when you need it. The right system also supports a cleaner kitchen routine since you're not constantly refilling containers or waiting for gravity-fed filters to do their work.
Practical rule: if the cabinet is cramped but the cold shutoff is accessible, the install is usually still worth doing. If the cabinet is crowded and the system needs a drain line, plan the layout first and don't force the fit.
Tools, Parts, and Pre-Install Checklist
Clear the cabinet before you start. A job that looks simple on the counter gets slow fast once you are crouched under a sink, reaching past a disposal, a pull-out sprayer hose, and a bundle of lines that all want the same space.
What you need before you start
| Category | Items | Why It Matters |
|---|---|---|
| Tools | Adjustable wrench, Phillips and flathead drivers, drill with the right bits, tube cutter, flashlight, towel | These cover the common fastening, drilling, cutting, and cleanup steps |
| Box parts | Filter housings, cartridges, mounting bracket, screws, T-valve or feed valve, color-coded tubing, faucet, hardware bag, instructions | These are the pieces that make the system work |
| Optional helpers | Basin wrench, bucket, plumber's tape, leak-detection paste | These help in tight cabinets, catch leftover water, and check problem fittings |
An adjustable wrench and a couple of screwdrivers handle most of the common fasteners. A tube cutter matters because a clean square cut seals better than a crushed or ragged end. A flashlight sounds basic, but under-sink work usually happens in the darkest part of the kitchen, right behind the P-trap and disposal. Keep a towel there from the start, not after the first drip.
Open the box before the water gets shut off. Confirm that the bracket, screws, tubing, and faucet are in the kit, and check that the feed valve or T-valve matches the supply line you have in the cabinet. If the layout is unclear, the practical notes at Water Filter Advisor's installation advice are a sensible place to confirm the basics before you cut anything.
For older cabinets or cramped corners, a basin wrench can save a lot of time on awkward connections. A bucket catches the water left in the line after shutoff, and plumber's tape or leak-detection paste helps only where the fitting type calls for it.
Before you turn the water back on, check the line with our top pressure testing tips. Shut off the correct valve, put the towel down first, and protect the cabinet floor before you open anything.
Reading Your Cabinet Before You Drill Anything
This is the part most guides skip, and it's the part that usually decides whether the job feels easy or miserable. Before you mount a bracket or drill a faucet hole, look at the cabinet like a puzzle, not a blank space.
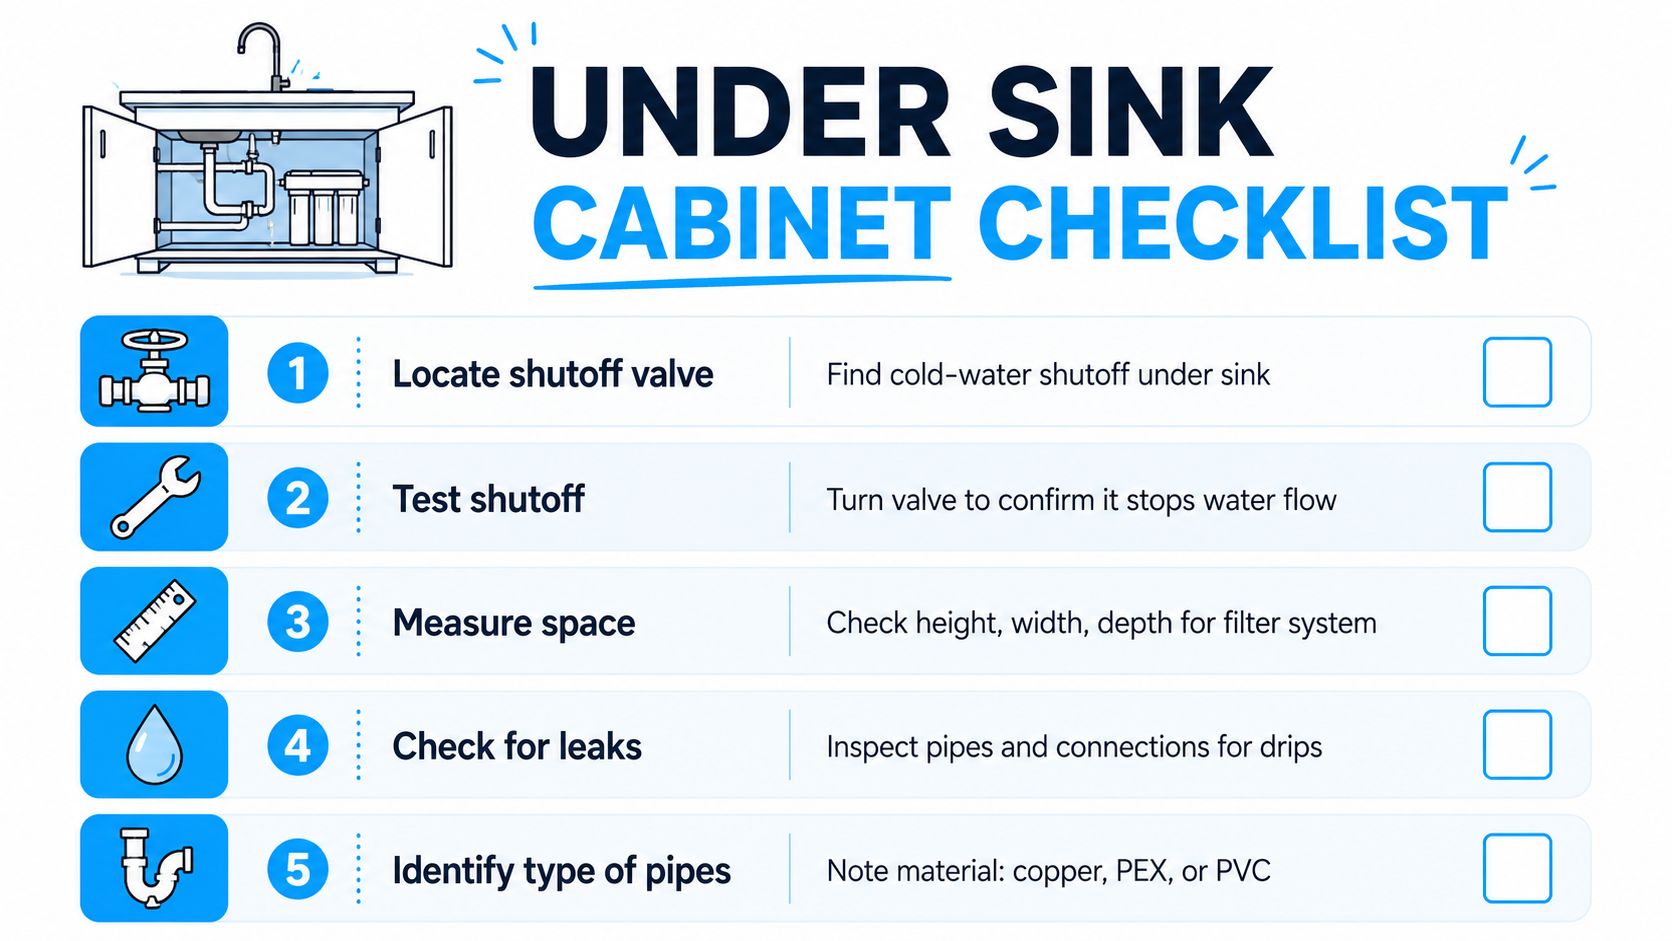
Find the shutoff, then prove it works
Locate the cold-water shutoff and test it. Turn it off, open the kitchen faucet, and make sure the flow stops. A valve that looks right but still passes water will ruin the rest of the install.
Measure the space below the shutoff and around the sink base. You need enough room for the housing, tubing bends, and cartridge changes later. One installation guide places the bracket on the side wall of the cabinet, not the back wall, and says to allow at least 4 inches of clearance below the bracket because many housings hang 10 to 14 inches beneath it when mounted (Filter Tested). That clearance is often underestimated, because a filter that barely fits today can become a cartridge-change headache next month.
Watch for the things that steal space
Garbage disposals, pull-out sprayer hoses, water softener loops, and electrical outlets all compete for the same cabinet real estate. Fresh Water Systems points out that the hard part is often deciding where the system can physically live, especially in nonstandard cabinets where the usual install sequence doesn't solve the space problem (Fresh Water Systems).
If your sink deck already has a spare hole, that saves time. If it doesn't, you need to decide whether drilling makes sense for your countertop material and faucet style. Sometimes the cleaner answer is a brushed-nickel air-gap faucet or another non-drilling adapter setup, especially when the cabinet is crowded and the sink deck shouldn't be modified.
Keep the filter where you can service it later. A tight fit that blocks cartridge access is a bad install, even if it looks neat on day one.
Renters and older homes create the most awkward layouts. Limited clearance, odd plumbing runs, and shared cabinet space usually mean you have to choose the mounting location first and the product second. That's not a failure, it's good planning.
The Actual Install From Shutoff to Faucet
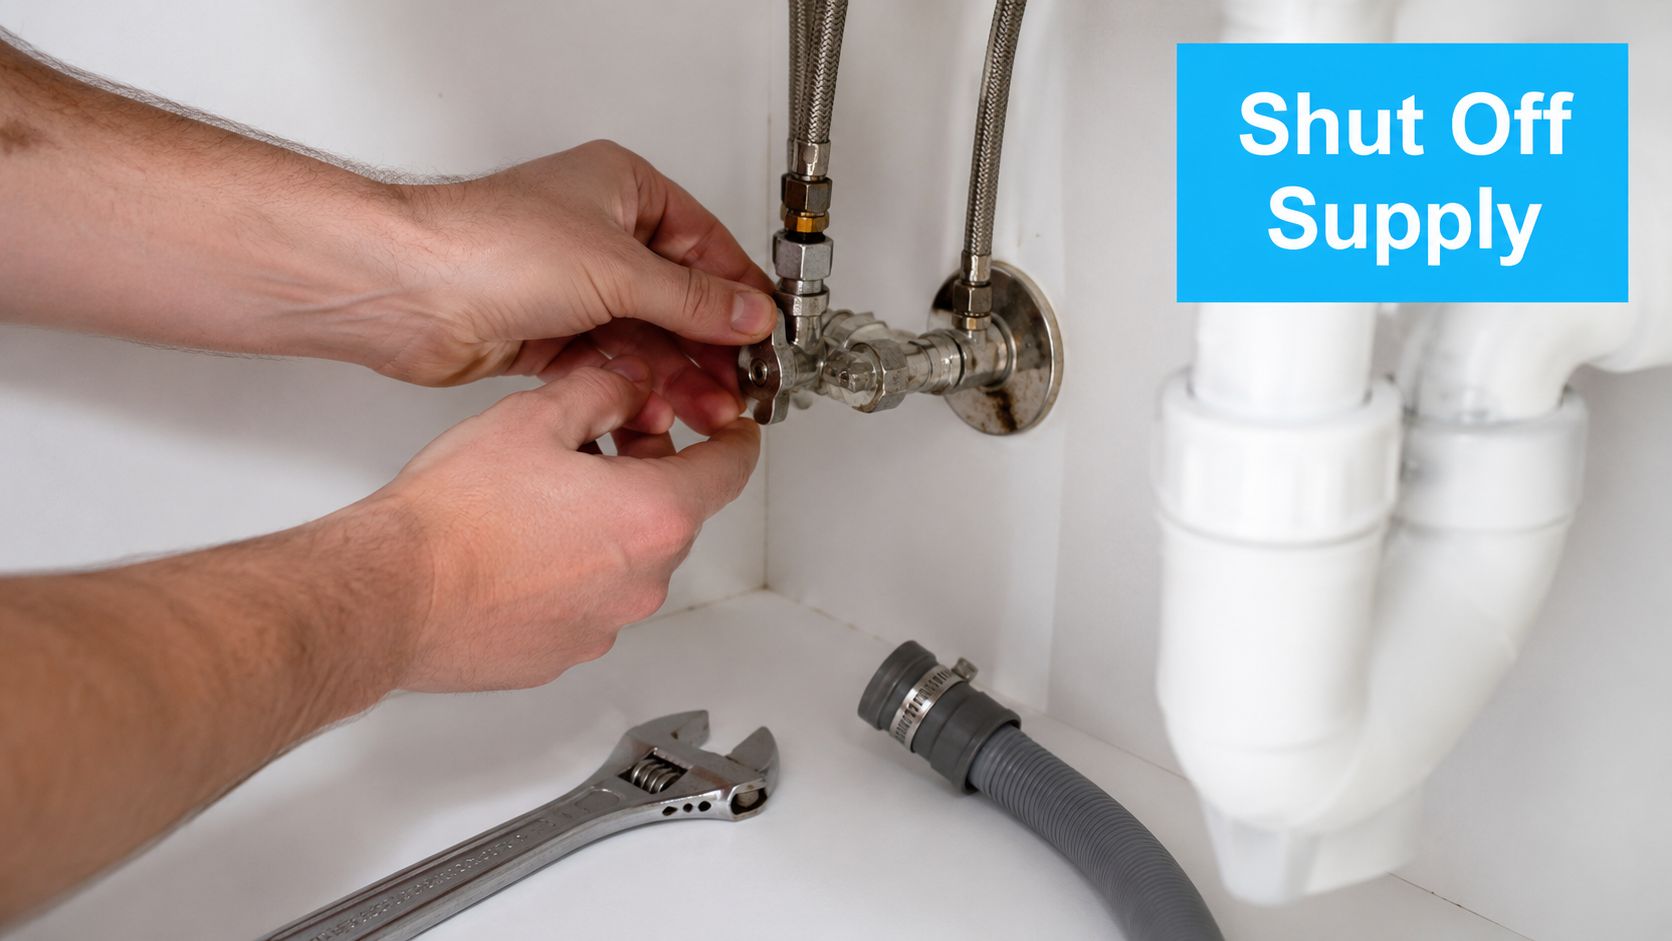
Close the cold-water shutoff first, then open the kitchen faucet to bleed off pressure. That keeps the line from pushing back when you disconnect it. A standard under-sink install starts by separating the cold line and adding a tee or adapter so water can feed both the main faucet and the filter system, which is the core plumbing move in this job (YouTube guide).
Build the feed side first
Install the T-valve or feed adapter at the cold shutoff. On the usual setup, the cold line still feeds the faucet and also sends water into the filter inlet. Keep the tubing short and direct, and use gentle curves instead of sharp bends, because a kink will choke flow later.
Mount the filter housing to the cabinet wall or another solid surface you already checked for clearance. Set the bracket low enough that you can change the cartridge later without fighting the cabinet floor, but not so low that the canister drags or knocks against stored items. If there is a garbage disposal under the sink, leave space for vibration and keep the drain plumbing easy to reach.
Run the inlet tubing from the feed valve to the filter housing, then connect the outlet tubing to the dedicated faucet or integrated tap. Every compression-style fitting should be hand-tight plus a quarter turn, nothing more. Plastic parts crack when people force them, and ferrules deform fast if they are overtightened.
Finish the faucet and RO hardware
If your system uses a dedicated faucet, install it through the sink deck or the existing hole you already picked. If the setup is reverse osmosis, mount the storage tank, run the drain saddle to the sink drain tailpiece, and connect the RO manifold. That extra drain work is one reason RO takes longer than a basic filter install, as shown in Quality Water Lab.
A crowded cabinet gets harder to live with after the plumbing is in. If the garbage disposal switch layout is already awkward, an upgrade to an air switch can clear space and reduce one more thing competing for the same underside of the sink.
The flush step comes after the hardware is in place. One guide recommends flushing new systems before drinking, and another recommends running water in 5 to 10 minute increments to activate the carbon and clear the line (YouTube flush guide). Do not skip that step. New carbon dust and trapped air are normal, drinking them is not the goal.
Pressurizing, Leak Checking, and Flushing the System
This is the moment that tells you whether the install is done or only looks done. Bring the water back slowly, because a rushed startup hides leaks and makes tiny problems harder to catch.
Open the cold shutoff gradually and watch each connection with a dry towel. A dry towel shows moisture fast, and it tells you exactly which fitting needs attention. After that, open the filtered-water faucet and let the air and carbon fines purge for 5 to 10 minutes (This Old House).
Check twice, not once
Slow leaks don't always show up immediately. A fitting can stay dry for the first minute and still start sweating later as pressure settles, so check again after the system has run for a bit and once more after it sits overnight. Tighten only as needed, and if a compression fitting still drips, the ferrule is often the part that needs attention, not just the nut.
For reverse osmosis systems, the startup is a little longer because the tank has to pressurize and the membrane needs a proper initial flush. Expect the system to send water to waste during that break-in period. The exact amount varies by setup, but the important part is to let the tank and line clear before anyone drinks from the faucet.
A small wet spot under the cabinet today can become a swollen cabinet tomorrow.
If you hear hiss, see a bead of water, or smell damp wood, stop and correct the connection before moving on. A leak that looks tiny above the shelf often becomes a stain or warped particleboard below it. Once the cabinet floor swells, the repair is much bigger than the filter job.
Single Cartridge vs Multi-Stage vs Reverse Osmosis
The right system is the one that fits your cabinet, your water, and your patience for maintenance. That choice changes the install more than the brand does.
What the three styles feel like in real cabinets
| System type | Best fit | Install feel | Cabinet demands |
|---|---|---|---|
| Single cartridge | Tight cabinets, renters, fast DIY jobs | Simple, quick, low-fuss | Small footprint, fewer plumbing changes |
| Multi-stage | Families wanting broader treatment | Moderate, still manageable | More housing space, more components |
| Reverse osmosis | Broadest contaminant reduction goals | Most involved | Tank, drain line, and extra fittings |
A single-cartridge carbon block is the easiest yes when the cabinet is cramped or the goal is mainly taste improvement and basic filtration. It usually avoids the extra drain work that makes a cabinet feel packed, and it's the most forgiving choice for renters who can't modify the sink deck.
Multi-stage systems make sense when the water quality goal is broader and the cabinet can handle a little more hardware. They're still point-of-use systems, but they take more space and more attention during filter changes. If you're comfortable working a little slower and want a more layered setup, this is often the middle ground.
Reverse osmosis is the heaviest lift, but it's also the format people choose when they want the most complete under-sink treatment and are willing to accept a storage tank and drain connection. The trade-off is obvious in the cabinet and at install time. It's not the right answer for every kitchen, but it is the right answer when the water problem is serious enough that a simpler cartridge system won't satisfy you.
Maintenance Schedule and Troubleshooting the Common Issues
A good install should fade into the background after day one. If the filter keeps calling attention to itself, the problem is usually maintenance, flow, or a fitting that was not seated cleanly the first time.
The service rhythm
Carbon cartridges are commonly replaced every 6 to 12 months, and RO membranes can last up to about 2 years depending on water quality and use. For homeowners choosing certified filters, NSF/ANSI 42, 53, or 401 are common certification targets for verified contaminant reduction (PurePlus Filter).
Give the tubing and fittings a quick annual inspection. Check for hardening, kinks, discoloration, or any sign that a connection has been nudged loose by cabinet movement. On well water, sediment stages usually need closer attention because they take the first hit.
Common problems and the real fix
- Flow suddenly drops. A clogged cartridge or a kinked tube is usually behind it. Open the cabinet, trace the line, and make sure nothing is pinched behind the canister, a drawer rail, or nearby hardware.
- The faucet spits and sputters. Air is often trapped in the line after service or after the first startup. Re-flush the system and let it purge until the flow settles.
- A compression fitting drips. Stop tightening the nut. Check the ferrule and reseat the connection if needed, especially if the tubing shifted while you were closing the cabinet.
- A sulfur or rotten-egg smell shows up in RO water. Stagnant water in the tank is a common cause, so flush the tank and let fresh water cycle through before judging the system.
- Cloudy water in the first minute. That is usually harmless air microbubbles, especially right after startup or cartridge changes.
The point of maintenance is not to babysit the filter. It is to keep clean, better-tasting water on tap without thinking about it every day.
If you stay on the service schedule and catch the small issues early, the filter stays invisible in the best possible way. That is the job, good water at the sink, no drama under the cabinet.
- July 24, 2026
- Uncategorized
