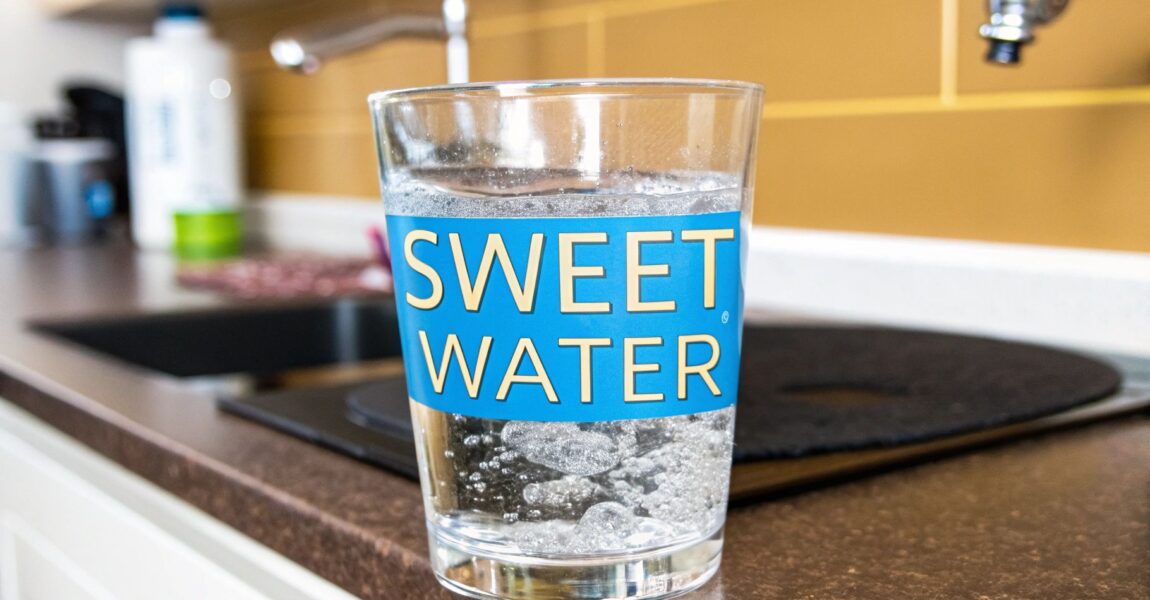
Is Your Tap Water *Really* Clean? The Filtered Truth
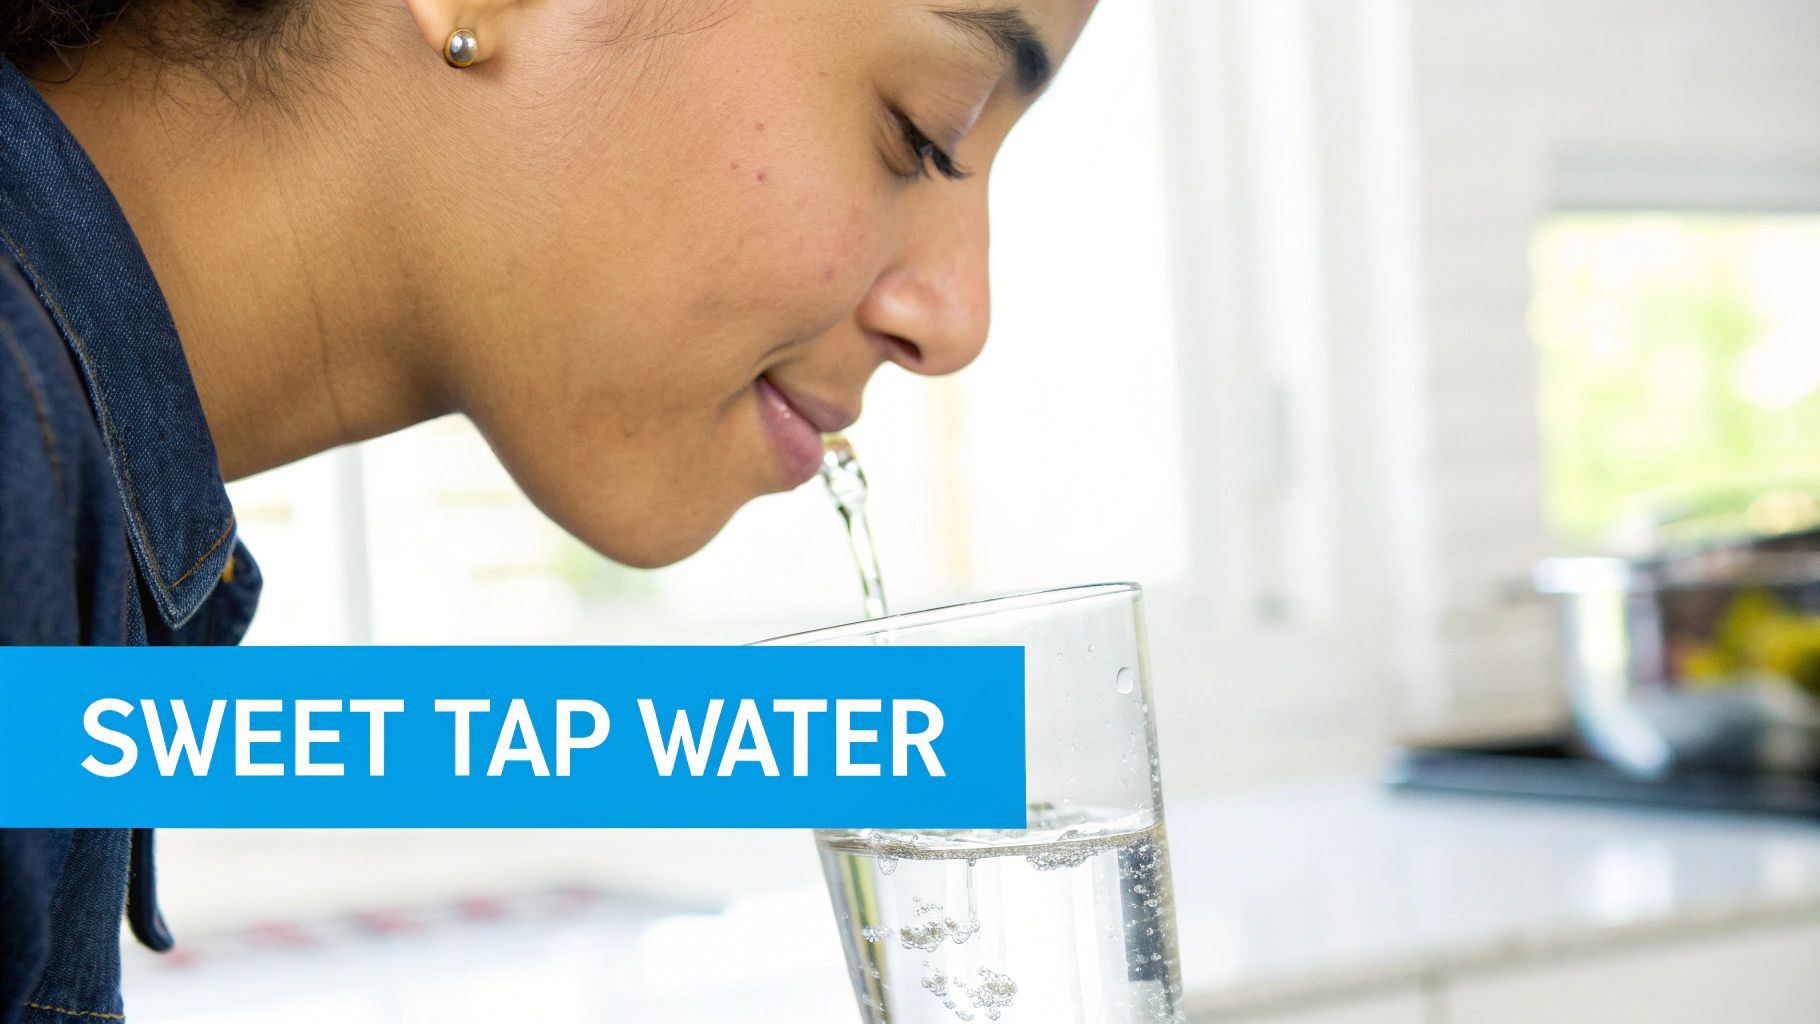
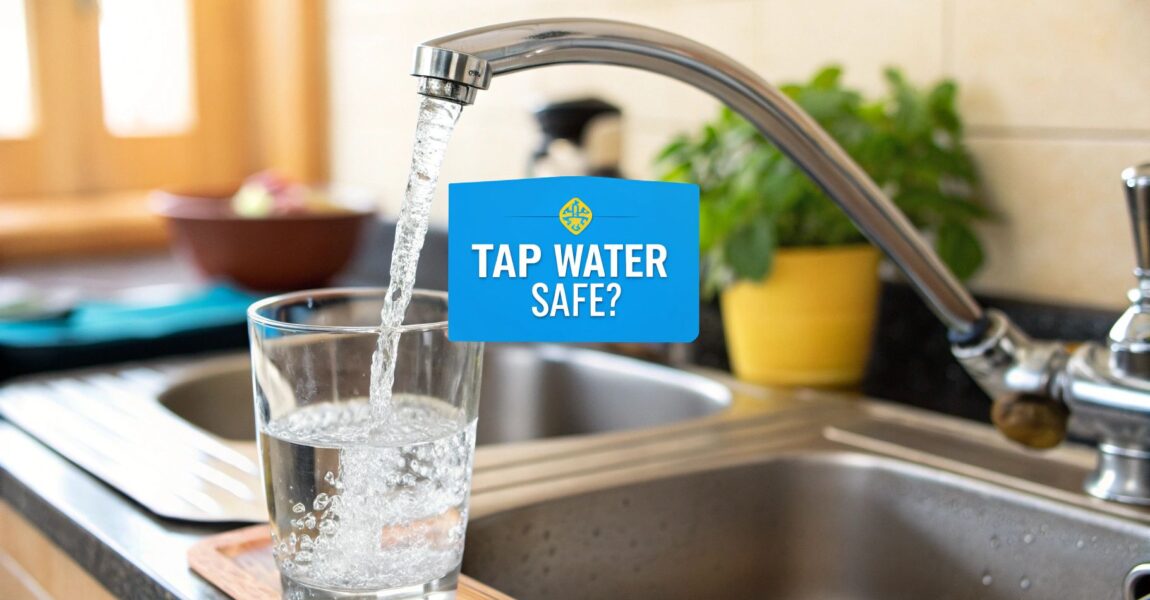
We’ve all been there—holding a glass under the tap, pausing for a split second, and wondering, is this stuff actually safe to drink? That moment of hesitation is more common than you think. While our cities do a pretty good job treating our water, what they consider "safe" might not line up with what you consider ideal for your family. Think of municipal treatment as the first draft. A home water filter? That's your final, polished edit.
This guide is all about taking back control. We’re going to dive into why home filtration isn't just a luxury—it's the crucial last step to ensuring the water in your glass is as pure as it can possibly be.
The Unfiltered Truth About Your Tap Water
Imagine your water is a VIP guest traveling to a gala (your faucet). It leaves the treatment plant looking sharp and clean. But then it has to navigate miles of old, sometimes ancient, underground pipes. Along the way, it can pick up some rather unsavory party crashers.
This is the "last mile" problem. The water was clean when it started its journey, but the trip itself can introduce a whole host of contaminants. That's where a home filtration system steps in, acting like a personal bouncer at your kitchen sink, ensuring only the invited guest—pure water—gets through.
Why Municipal Treatment Is Only Half the Story
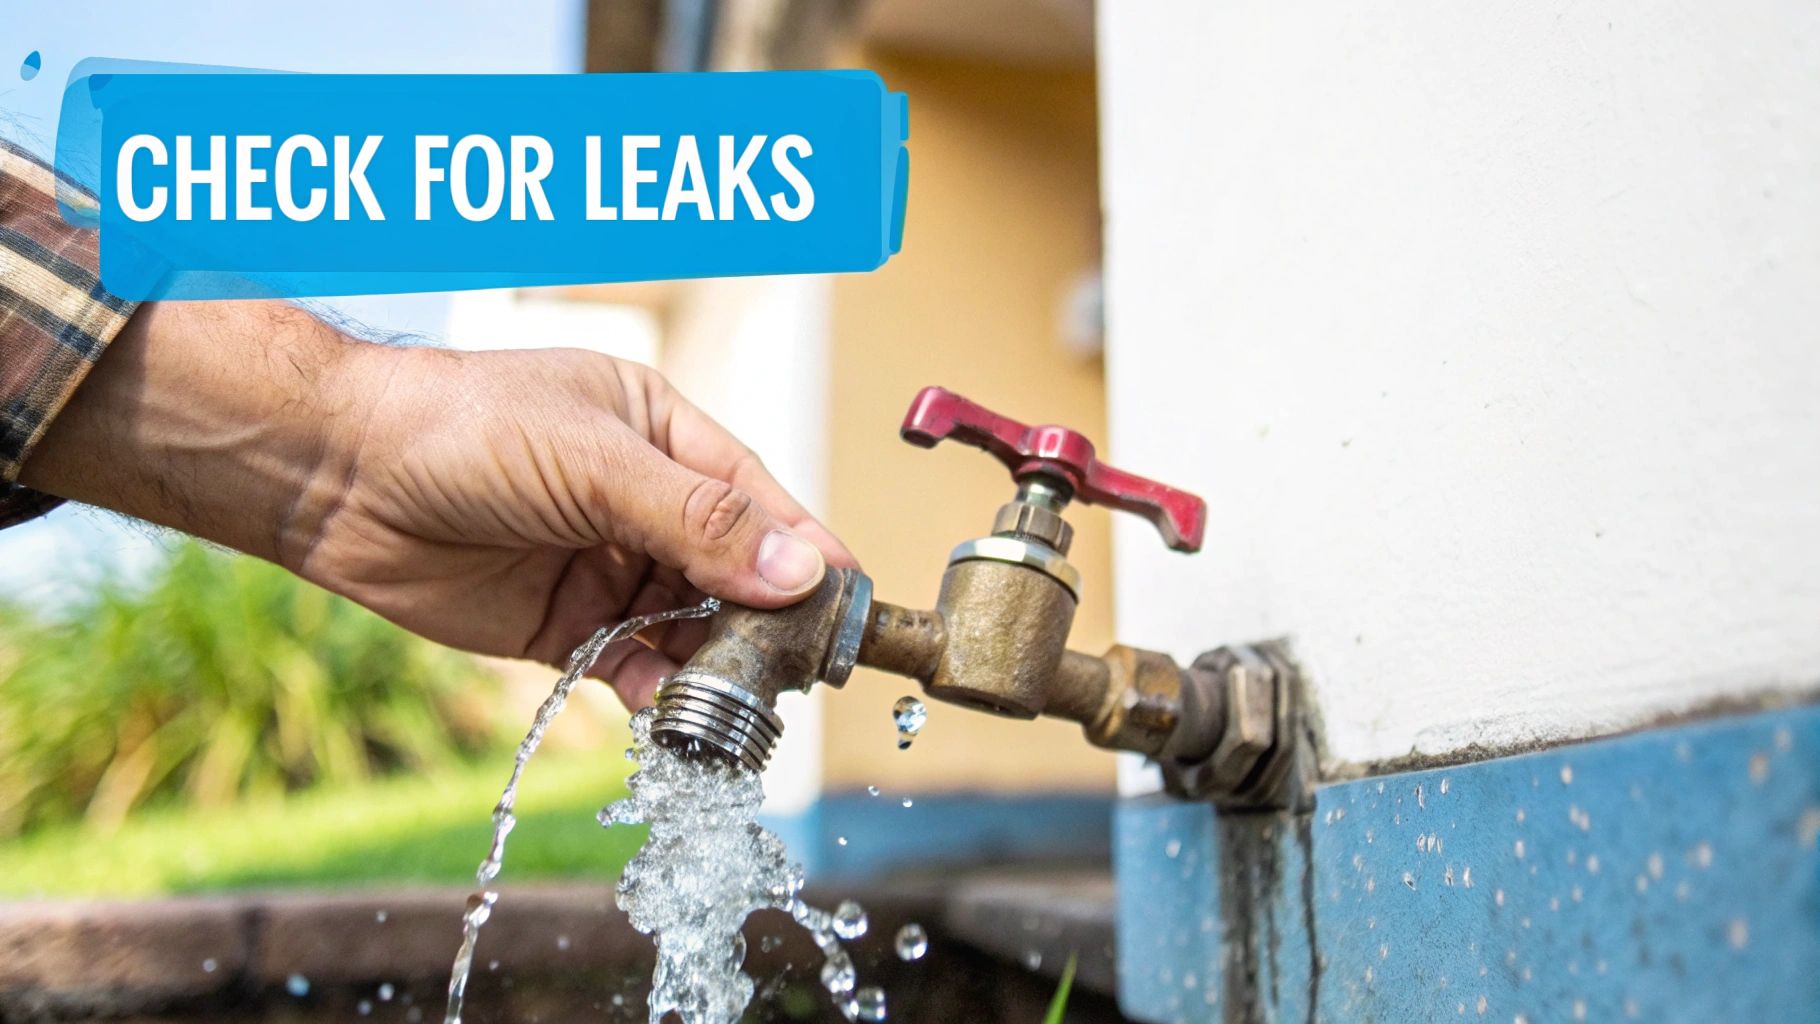
Your local water utility is fighting the big battles, neutralizing major threats before they send water into the system. But they can't control the unique conditions of every pipe between their plant and your home. Things like local plumbing integrity and even things like backflow prevention device inspections play a role. A home filter closes that gap.
Think of a home filtration system as your personal quality control manager. It's the final checkpoint that guarantees the water making it into your coffee, your soup, and your drinking glass is nothing but the best.
A Global Thirst for Purity
This isn't just about what's happening in your town. Globally, the quest for clean water is a massive challenge. In 2022, a report from WHO and UNICEF revealed that 1.7 billion people were using drinking water sources contaminated with feces. Even in developed countries, the journey through aging infrastructure means risks remain. It's a powerful reminder that the final say on water quality should happen right at your tap.
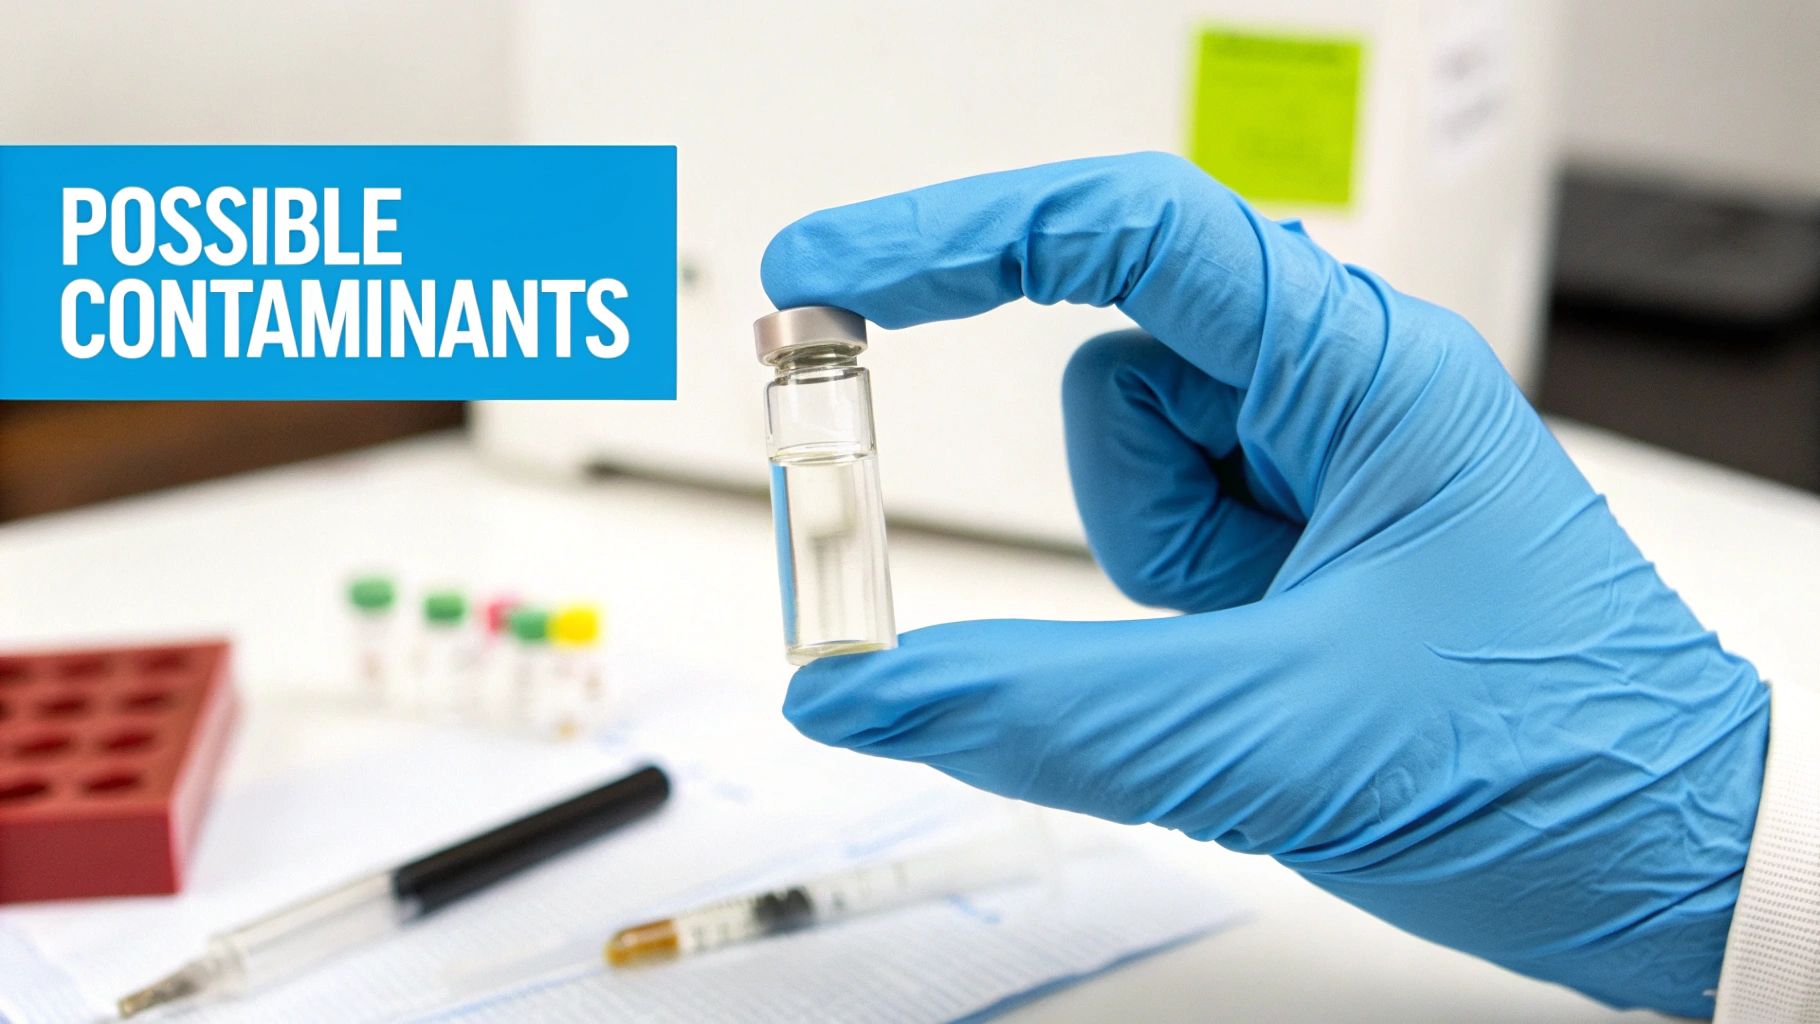
What Party Crashers Are Hiding in Your Water?
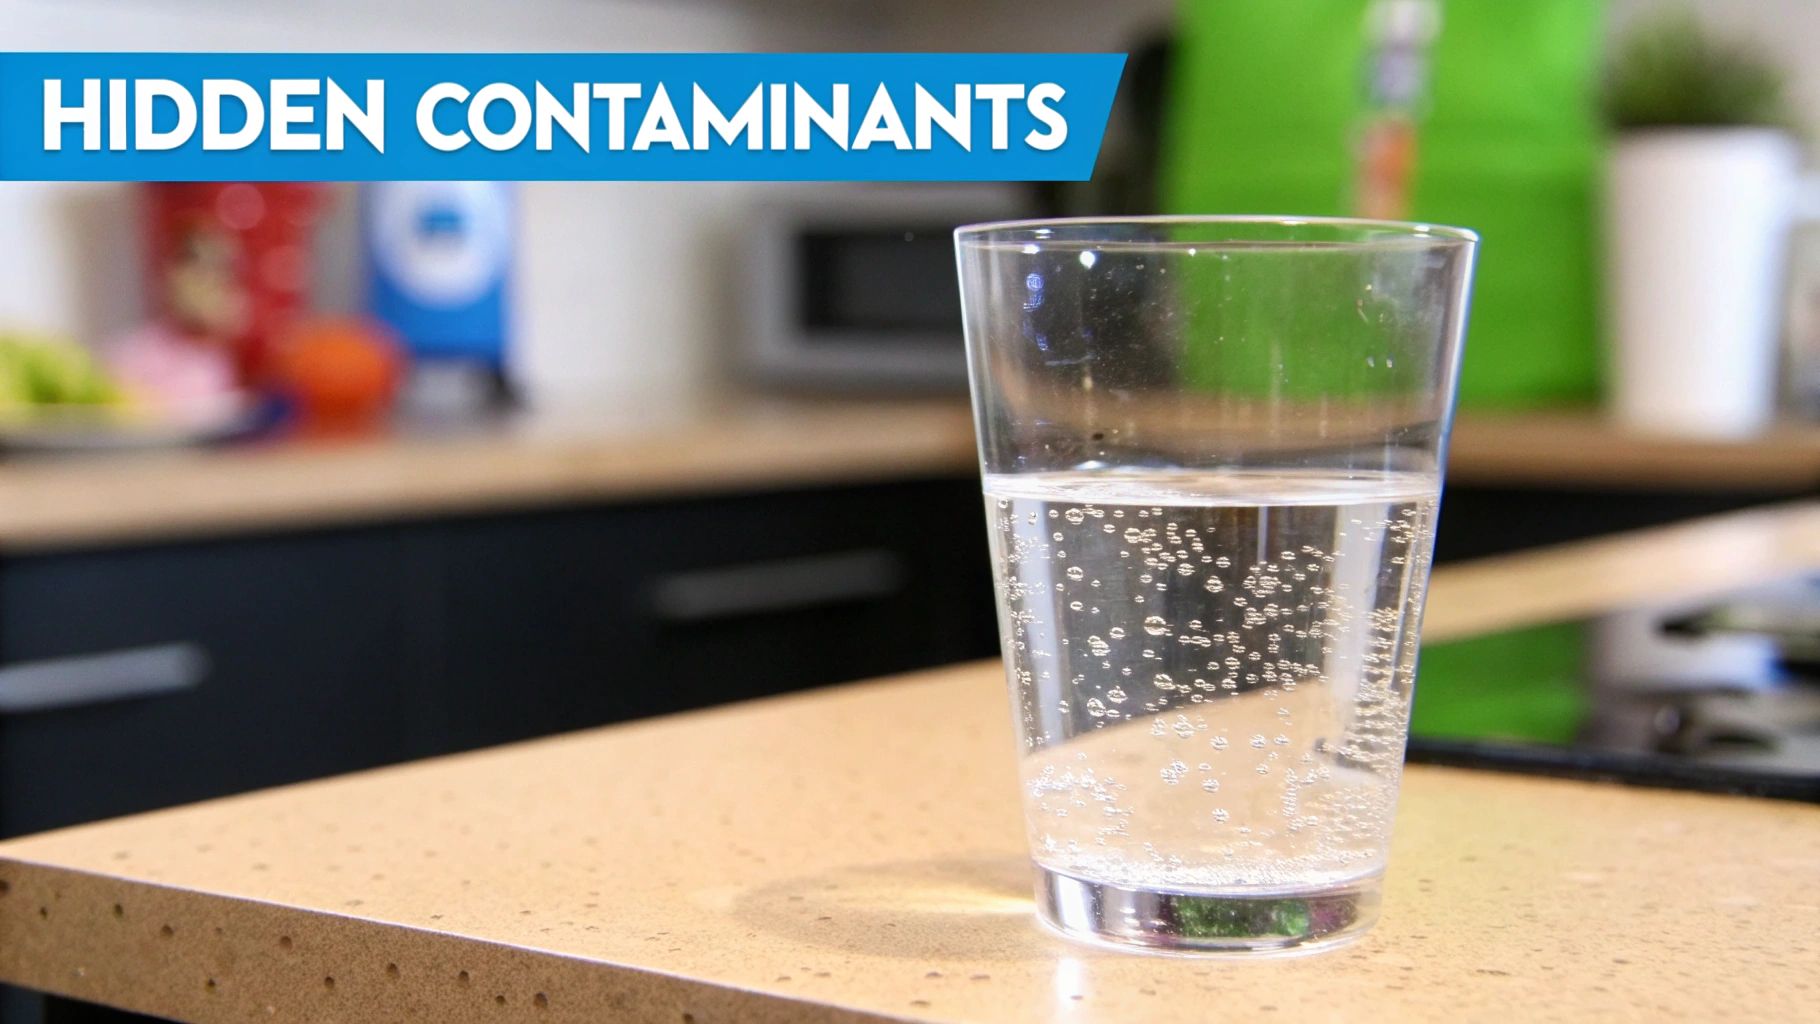
Even crystal-clear water can be a crowded party of invisible gatecrashers. Let's meet the usual suspects that your personal filter-bouncer might need to show the door.
Without a filter, you’re essentially trusting that none of these troublemakers hitched a ride into your home. A good filter lets you stop trusting and start knowing.
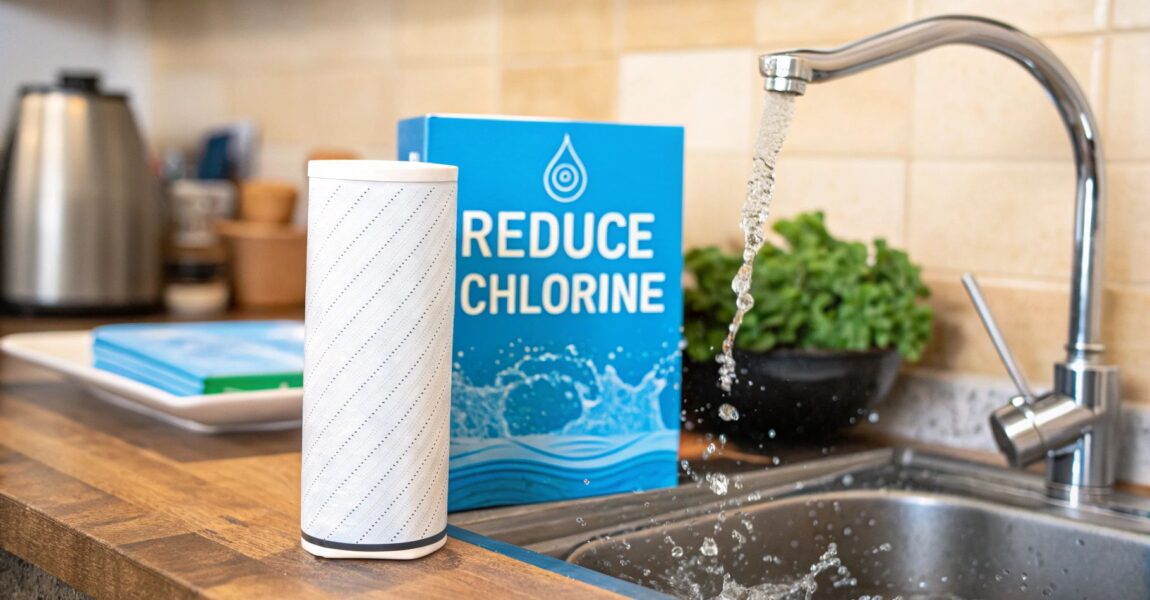
The Chemical Crew
The most famous member of this group is chlorine. It’s the chemical bouncer hired by the city to kill off dangerous bacteria. It does its job, but it has a bad habit of lingering, leaving behind that "public pool" taste and smell. A simple carbon filter can politely ask it to leave.
But some uninvited chemical guests are far more sinister. Lead is a major villain, often leaching from old pipes and solder. The scary part? There is no safe level of lead exposure. This makes a filter that specifically targets lead an absolute must-have for many homes.
Then there are the stealthier chemicals: pesticides from farm runoff, herbicides, and industrial chemicals known as volatile organic compounds (VOCs). They're the shadowy figures in the corner you definitely don't want sticking around.
Even after a major disaster like a wildfire, toxic chemicals from burnt infrastructure can contaminate the underground pipe network. This can introduce dangerous compounds like benzene into the water supply, posing serious health risks long after the event.
The Gritty Gang
Next up are the physical particles that make your water less than perfect. They might not be a direct health threat, but they're certainly not welcome.
- Sediment, Silt, and Rust: These are the clumsy party guests who knock things over. They come from old pipes and can make your water cloudy, taste metallic, and even stain your sinks and clothes.
- Microplastics: This is a growing problem. Tiny plastic fragments from countless sources are now found in tap water around the world. We're still learning about the long-term health effects, but who wants to be a guinea pig? A quality filter is your best bet for keeping them out.
The Biological Bugs
Even with city-level disinfection, there's always a tiny chance of biological contaminants showing up, especially if a pipe breaks. These are the microscopic menaces a filter can stop dead in their tracks.
- Bacteria and Viruses: Pathogens that can cause nasty, immediate stomach issues.
- Cysts: Think of these as microbial tanks. Hardy parasites like Giardia and Cryptosporidium are resistant to chlorine and can make you seriously ill.
This rogue's gallery shows why a multi-talented filtration system is so important.
Common Tap Water Contaminants and Their Sources
| Contaminant | Common Source | Potential Impact |
|---|---|---|
| Lead | Leaching from old pipes, solder, and fixtures | Developmental issues, neurological damage |
| Chlorine | Municipal water treatment disinfectant | Unpleasant taste and odor |
| Pesticides/Herbicides | Agricultural and urban runoff | Potential long-term health risks |
| VOCs (e.g., Benzene) | Industrial pollution, fuel spills, solvents | Can increase cancer risk; liver/kidney damage |
| Sediment/Rust | Corrosion of old water mains and plumbing | Cloudy water, poor taste, stains fixtures |
| Microplastics | Breakdown of plastic waste, synthetic fibers | Health effects are still being studied |
| Bacteria/Viruses | Contamination from sewage or animal waste | Gastrointestinal illness (e.g., E. coli) |
| Cysts (Giardia) | Contamination from human/animal feces | Severe diarrheal disease ("Beaver Fever") |
A home water filter isn't just an appliance; it's a personalized security detail for your drinking water, ensuring it's pure the moment it hits your glass.
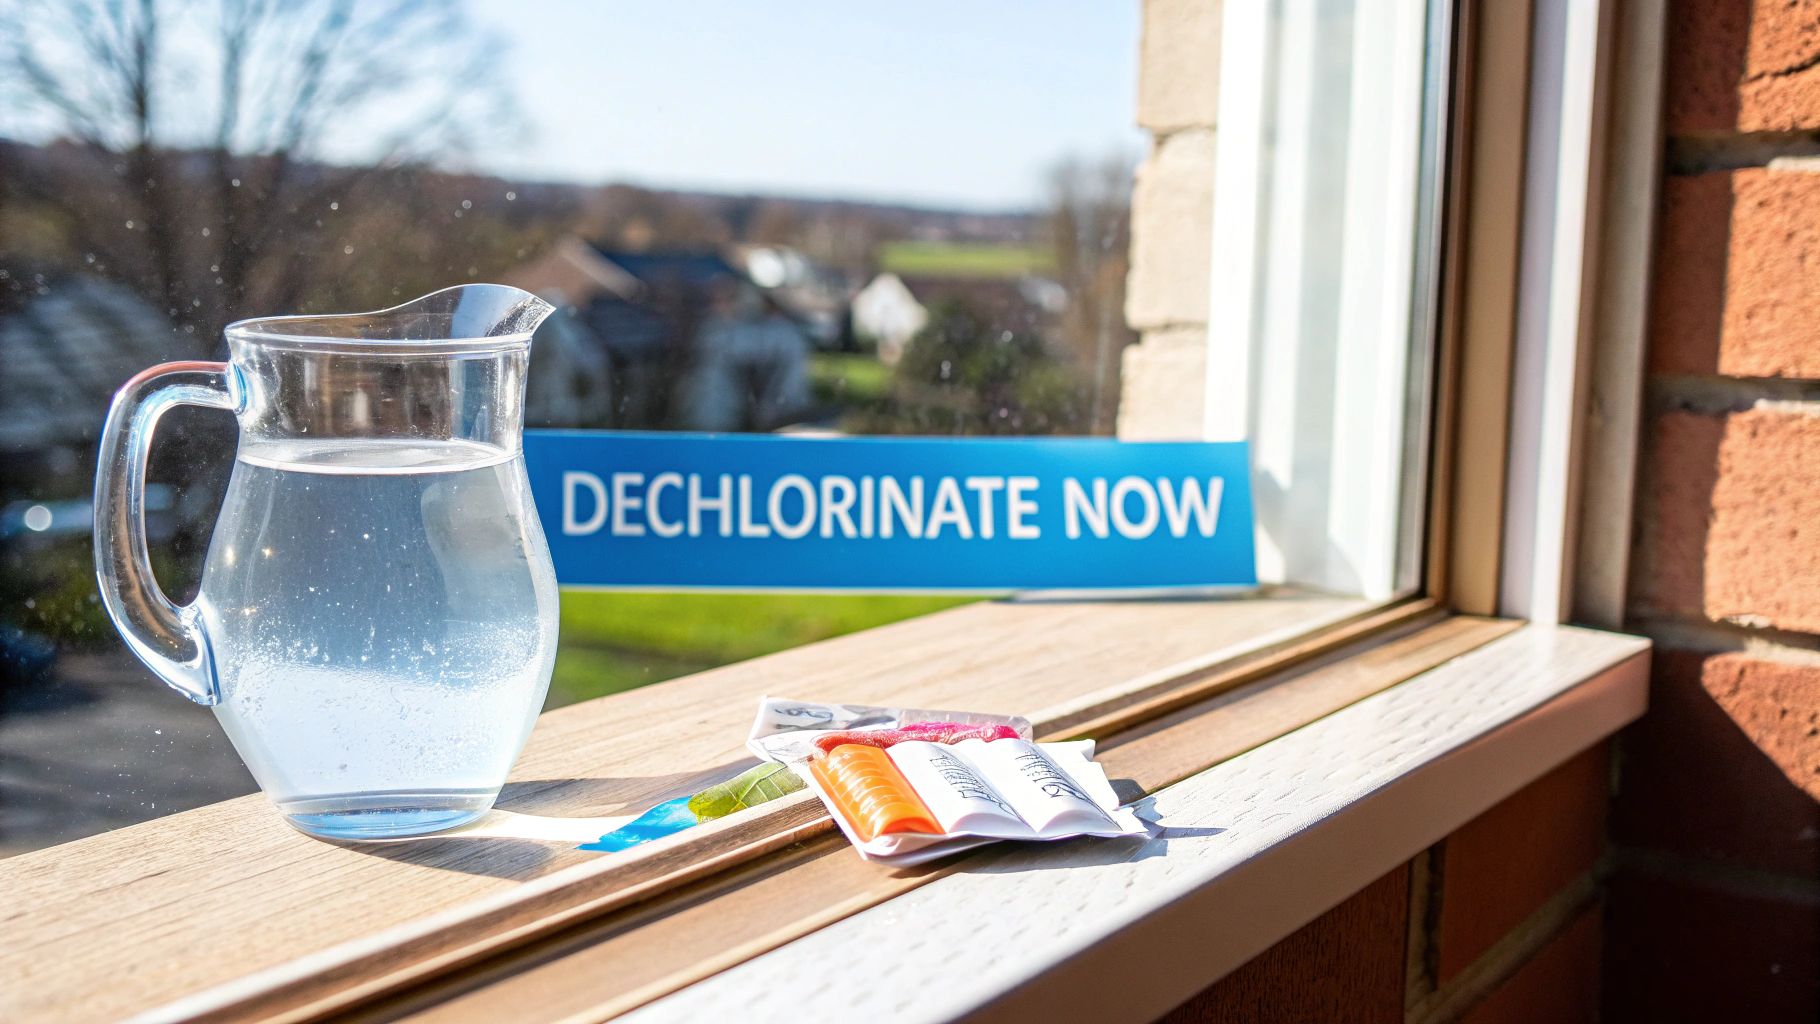
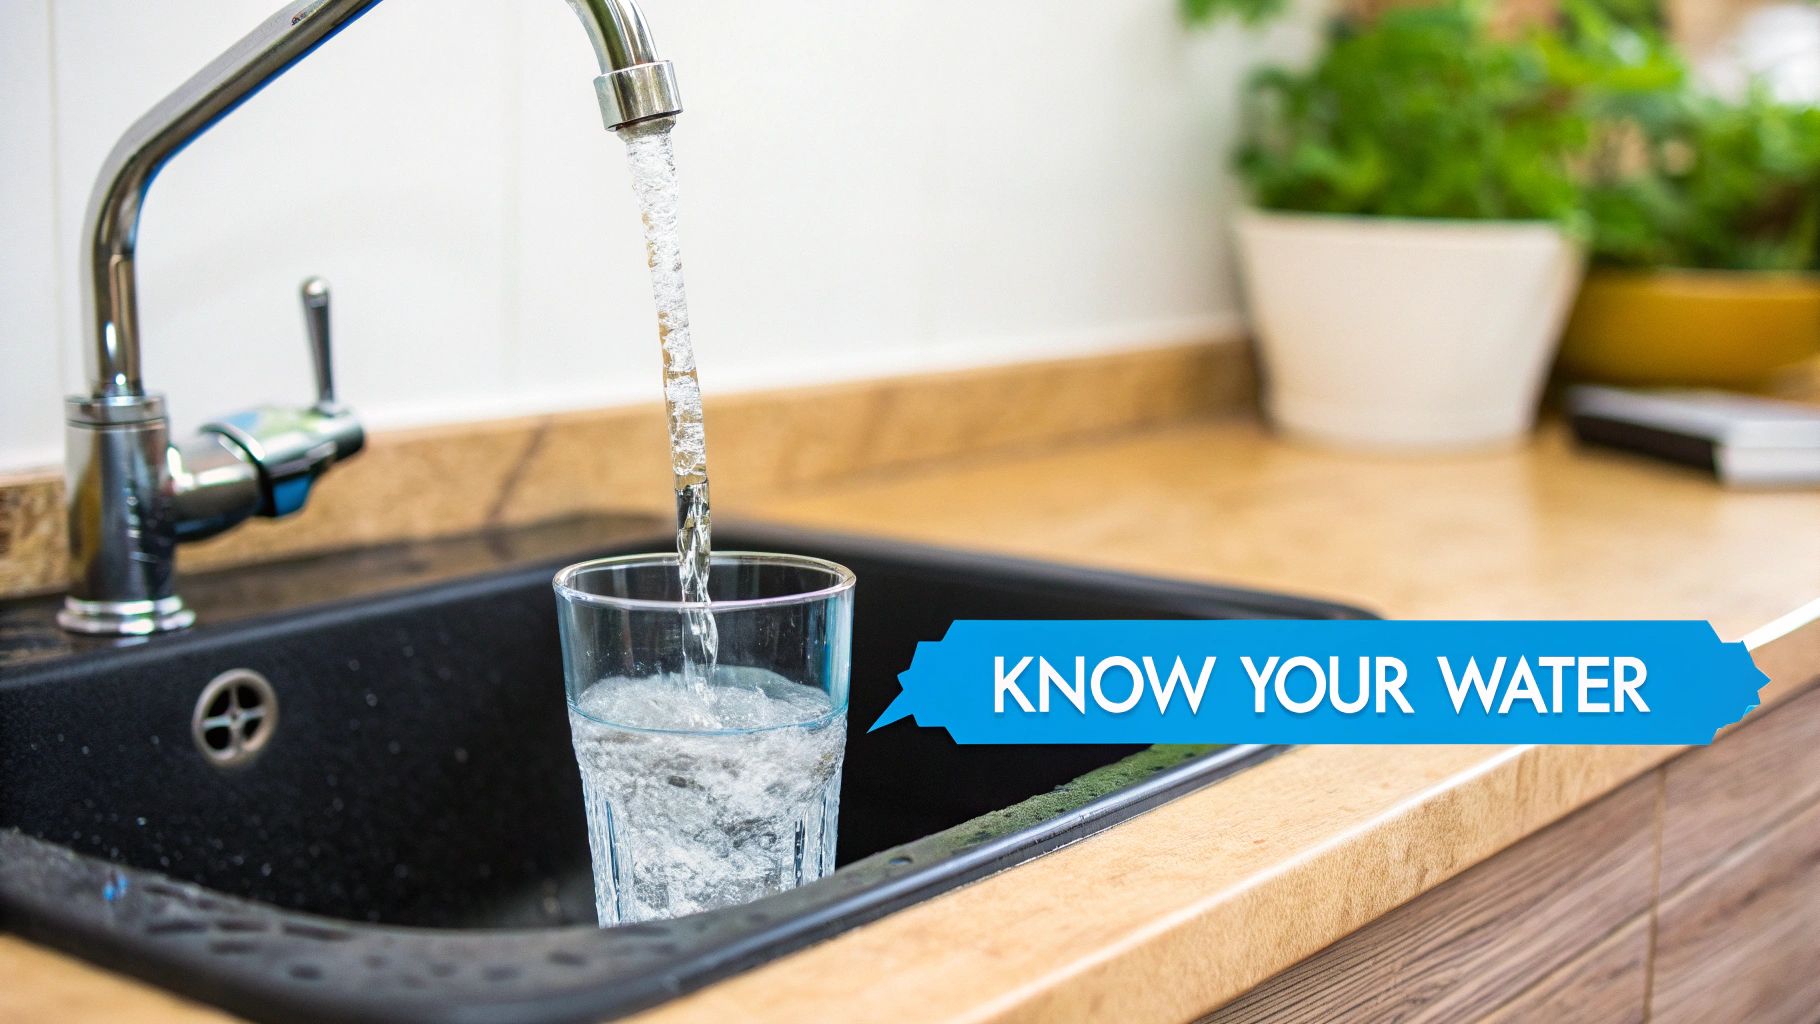
How to Decode Your Local Water Quality Report
Every year, your water utility releases a document called a Consumer Confidence Report (CCR). Let's be real: it often looks like a rejected script from a science show, filled with charts and jargon.
But don't throw it away! This report is your secret weapon. It's a report card that tells you exactly what contaminants were found in your water over the past year. You can find it on your utility's website or by searching for "[Your City Name] water quality report."
Translating the Geek-Speak
Once you have the report, you need to know two key terms:
- Maximum Contaminant Level (MCL): This is the legal limit. It's the highest amount of a substance allowed in drinking water.
- Maximum Contaminant Level Goal (MCLG): This is the health goal. It's the level where there's no known health risk. This is the perfect-world number.
The most eye-opening part is the gap between the MCL (legal) and the MCLG (ideal). For nasty stuff like lead, the health goal (MCLG) is zero. But the legal limit (MCL) is higher. This creates a "legally acceptable" risk that you might not find acceptable at all.
From Report to Filter: Connecting the Dots
This is where you become the hero of your home's water story. Scan your report for any contaminant with a level above the MCLG, even if it’s below the legal MCL. Those are the specific party crashers that made it past the city's security.
Your report might show trace amounts of lead, pesticides, or disinfection byproducts. Now, the question isn't a vague "is my water safe?" It's a laser-focused "how do I get rid of these specific things?" This insight lets you choose a filter that’s a sharpshooter, targeting your water’s unique problems.
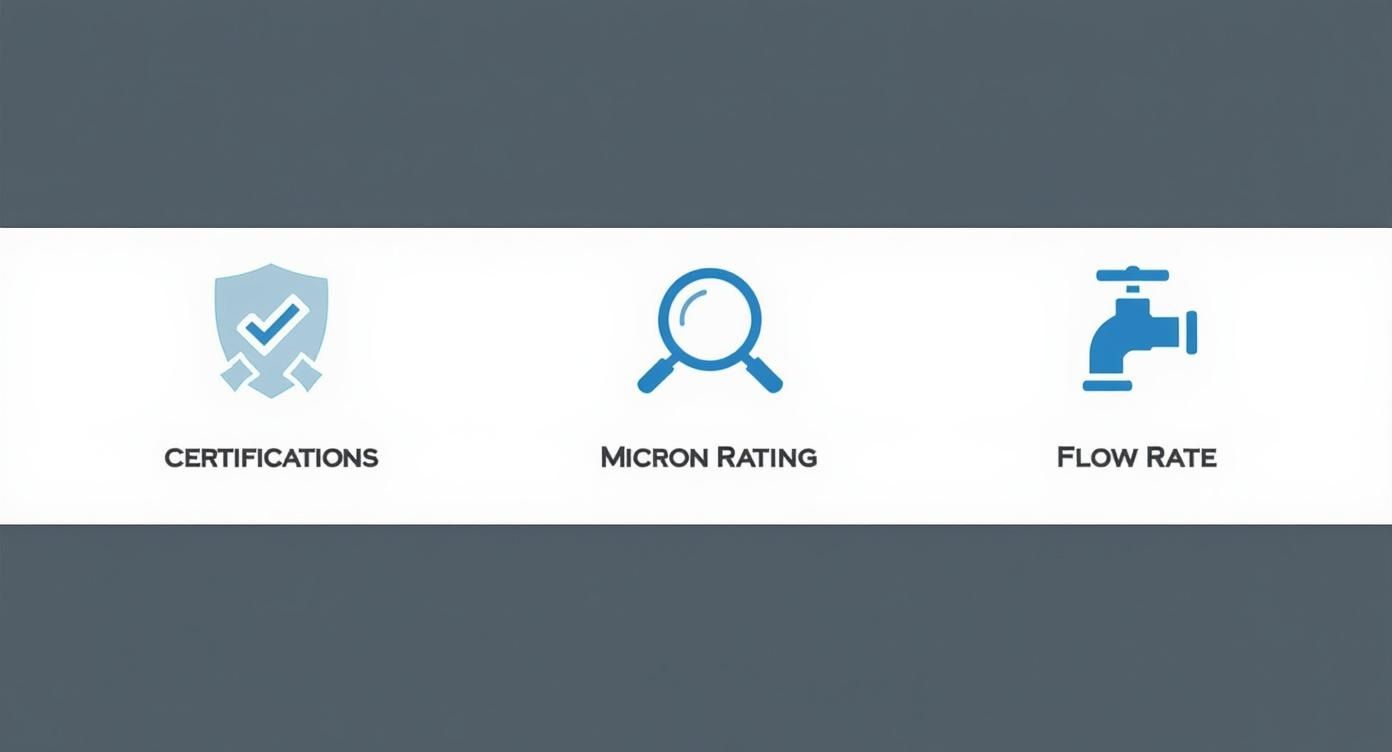
Choosing Your Filtration Champion
Alright, you've unmasked the villains in your water report. Now it's time to choose your champion—the right home water filter for the job. It sounds daunting, but it’s really about matching the filter's superpower to the specific contaminant you want to defeat.
You wouldn't hire a bodyguard who's great at spotting pickpockets if your main threat is a cyber-attack. The same logic applies here. Match the tool to the task.
From Bouncer to Fortress: Know Your Tech
Let's meet the main players. First up, activated carbon filters. These are the friendly bouncers at the door. You’ll find them in pitchers and faucet-mounted filters. They excel at grabbing chlorine, which instantly makes your water taste and smell fantastic. They're an affordable and effective first line of defense.
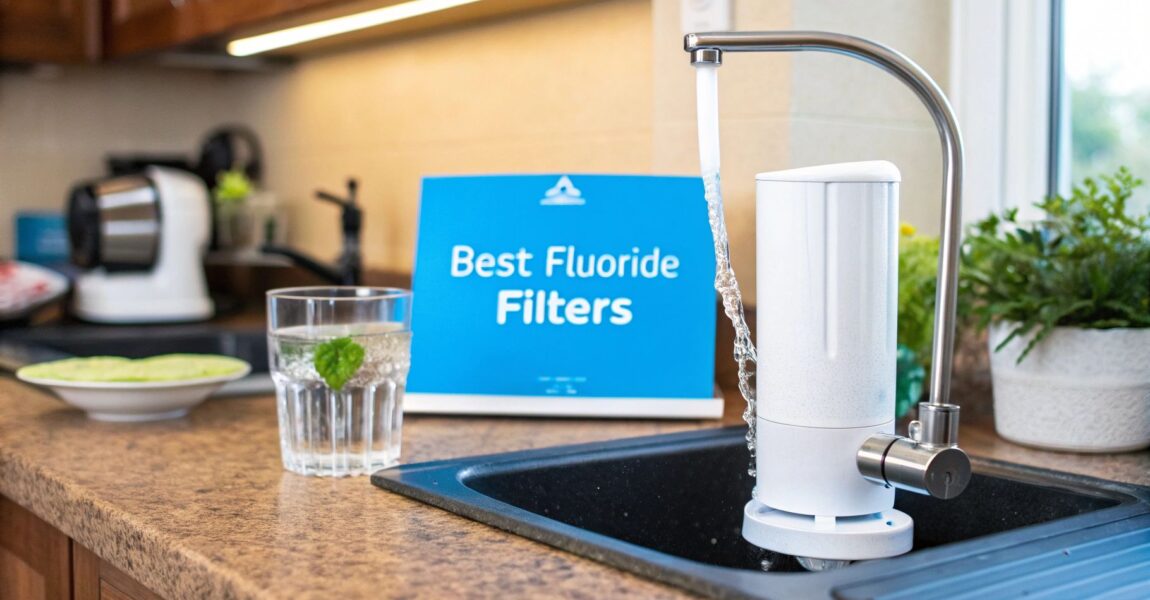
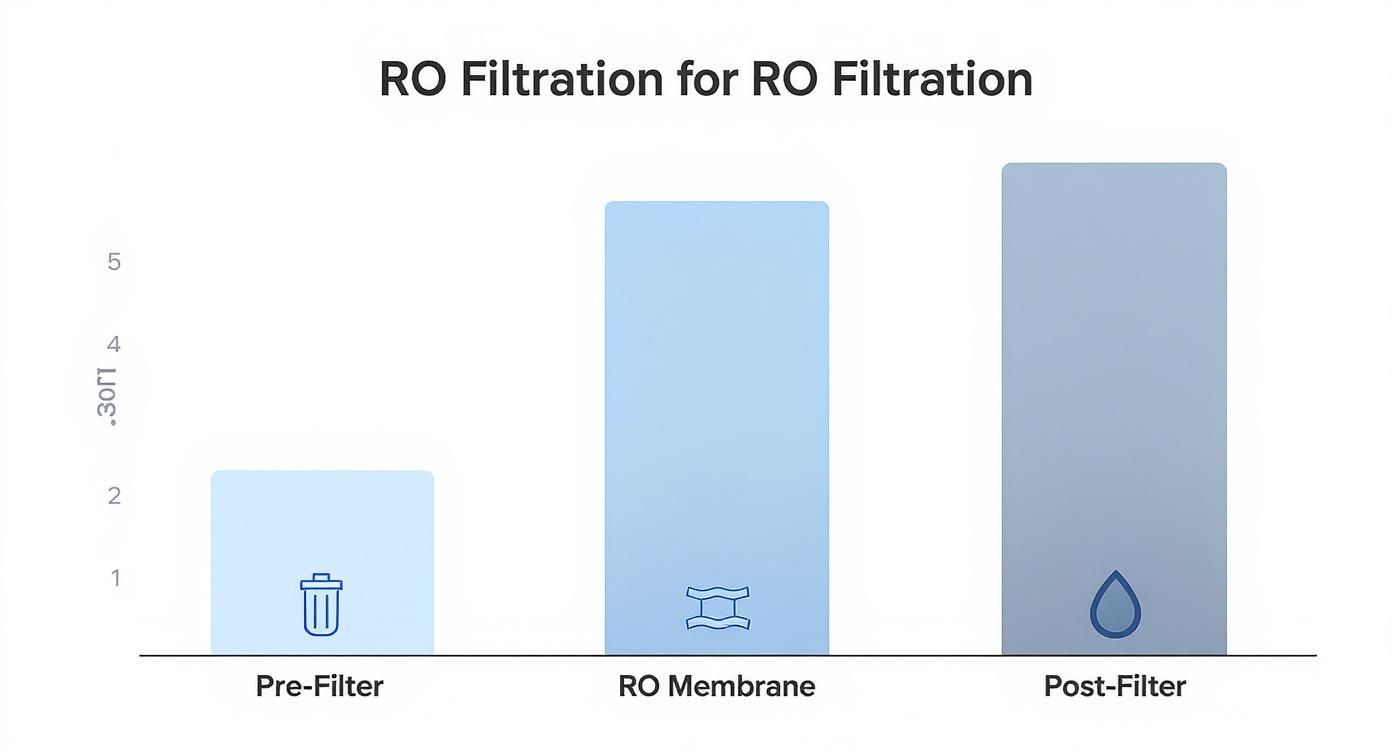
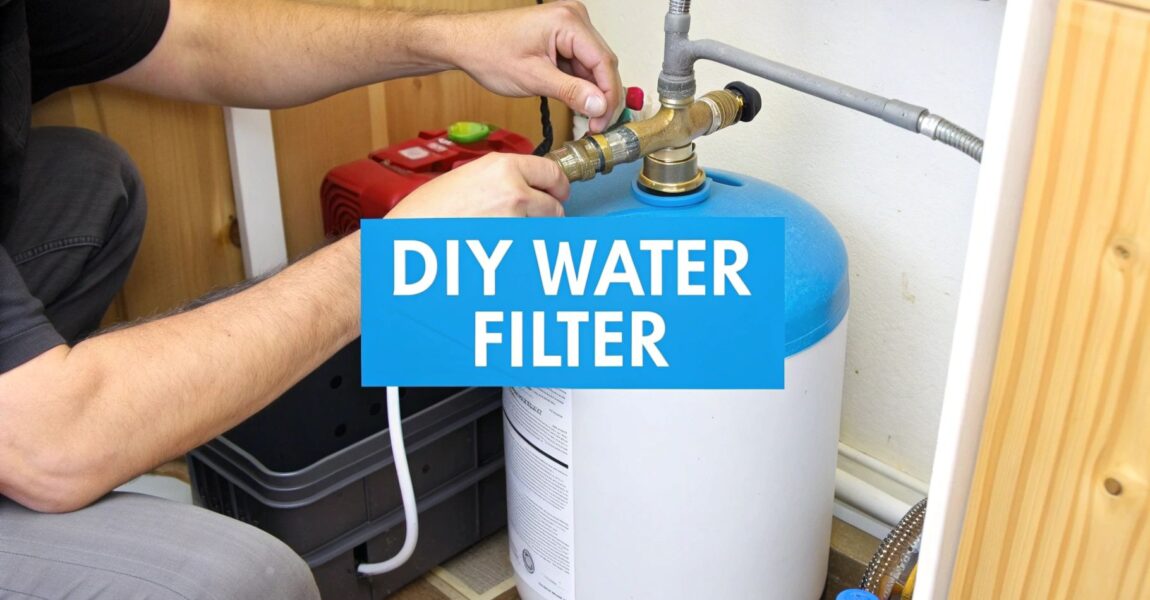
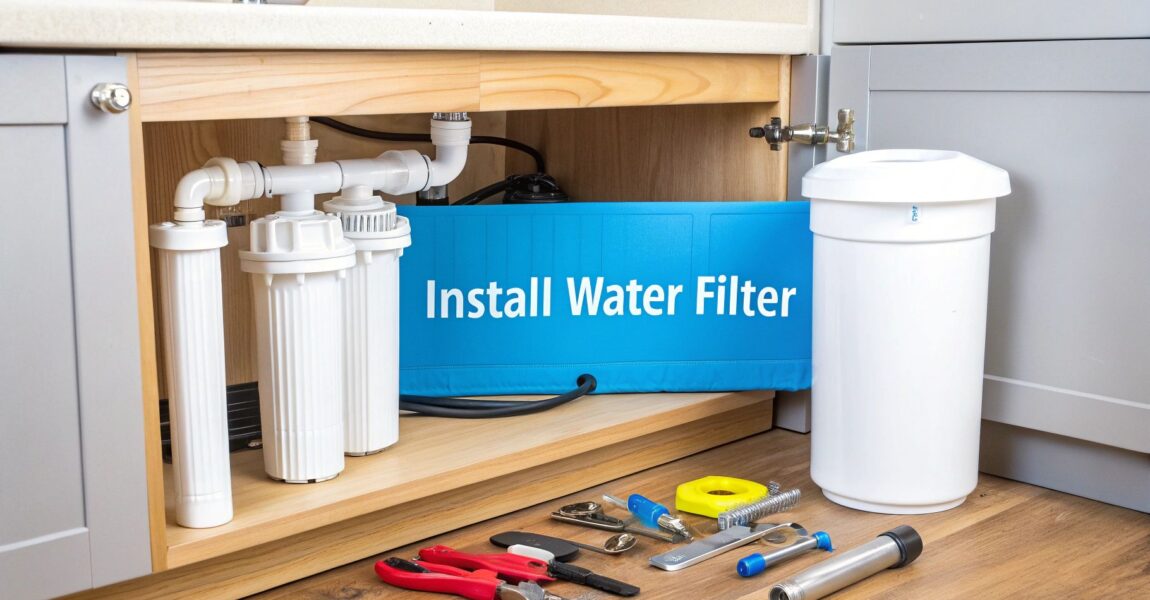
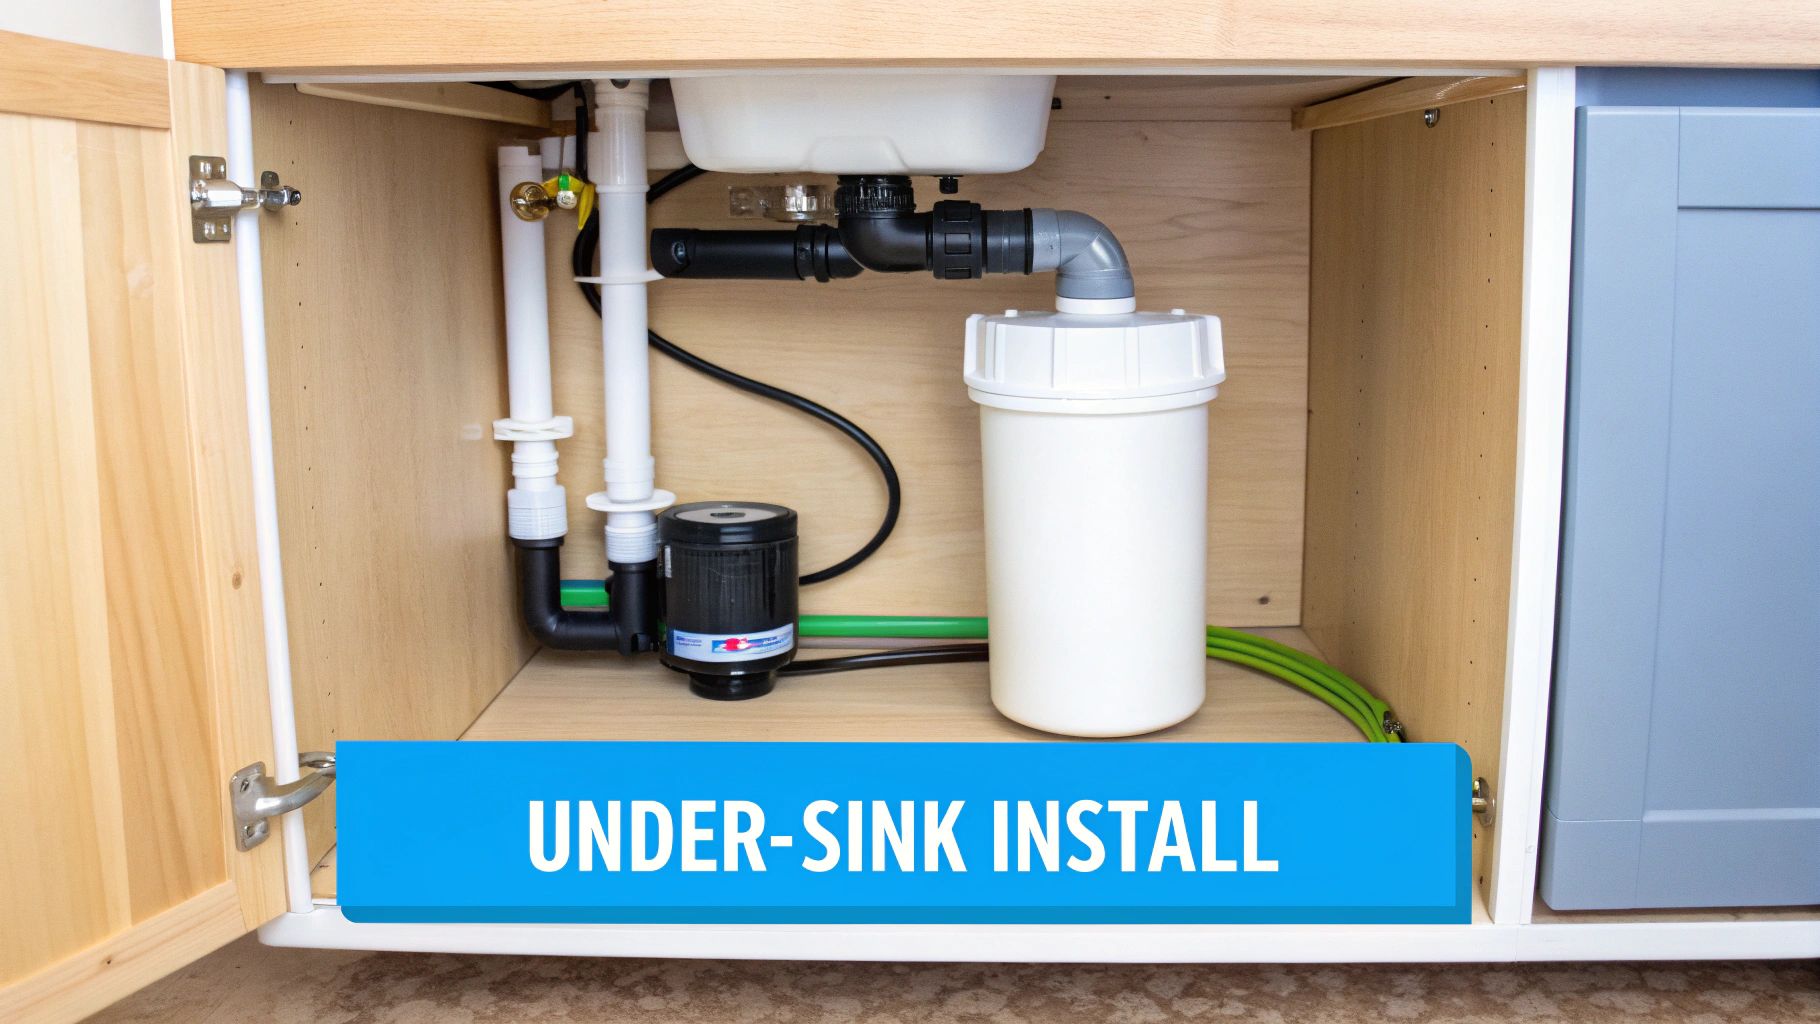
On the other end of the spectrum is Reverse Osmosis (RO). This is your impenetrable fortress. An RO system, usually installed under the sink, uses a semi-permeable membrane to muscle out nearly everything that isn't pure water. It's a beast, wiping out tough contaminants like lead, arsenic, fluoride, and countless other dissolved solids.
This chart is your treasure map, guiding you from your water report to the right filtration system.

The key takeaway? Your water report empowers you to make an informed choice, not a wild guess.
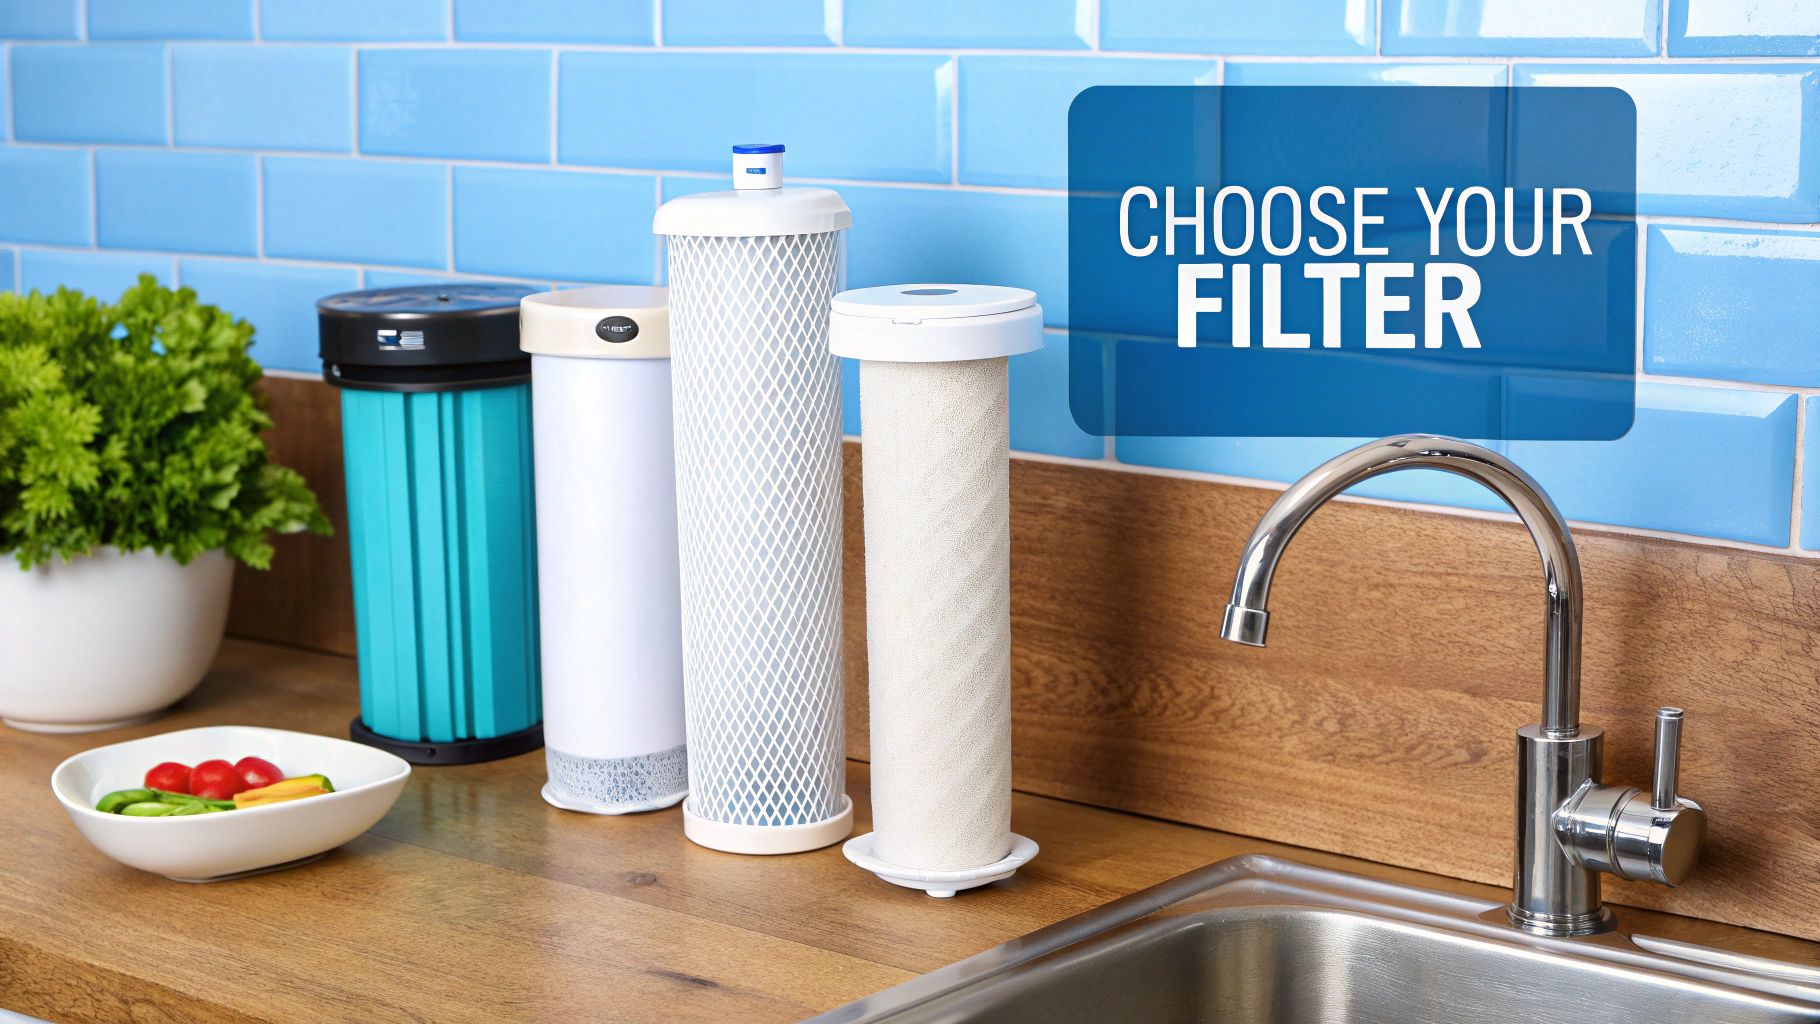
The Full Spectrum of Water Warriors
There’s a whole world of options between a simple pitcher and a full-blown RO system. Getting to know them helps you pick the perfect ally for your home.
This table breaks down the most popular filtration technologies, showing what they're best at, what they cost, and how much upkeep they need.
Comparing Home Water Filter Technologies
| Filtration Type | Best For Removing | Average Cost | Maintenance Level |
|---|---|---|---|
| Pitcher/Dispenser Filters | Chlorine, taste, odor | $20 – $70 | High (frequent filter changes) |
| Faucet-Mounted Filters | Chlorine, some lead, VOCs | $30 – $100 | Moderate (replace every 2-3 months) |
| Countertop Filters | Wider range of contaminants than pitchers | $50 – $300 | Moderate (replace every 6-12 months) |
| Under-Sink Filters | Lead, cysts, chlorine, VOCs, sediment | $100 – $500+ | Low (replace annually) |
| Reverse Osmosis (RO) | Lead, arsenic, fluoride, TDS, nitrates | $200 – $1,000+ | Moderate (multiple filters/membrane) |
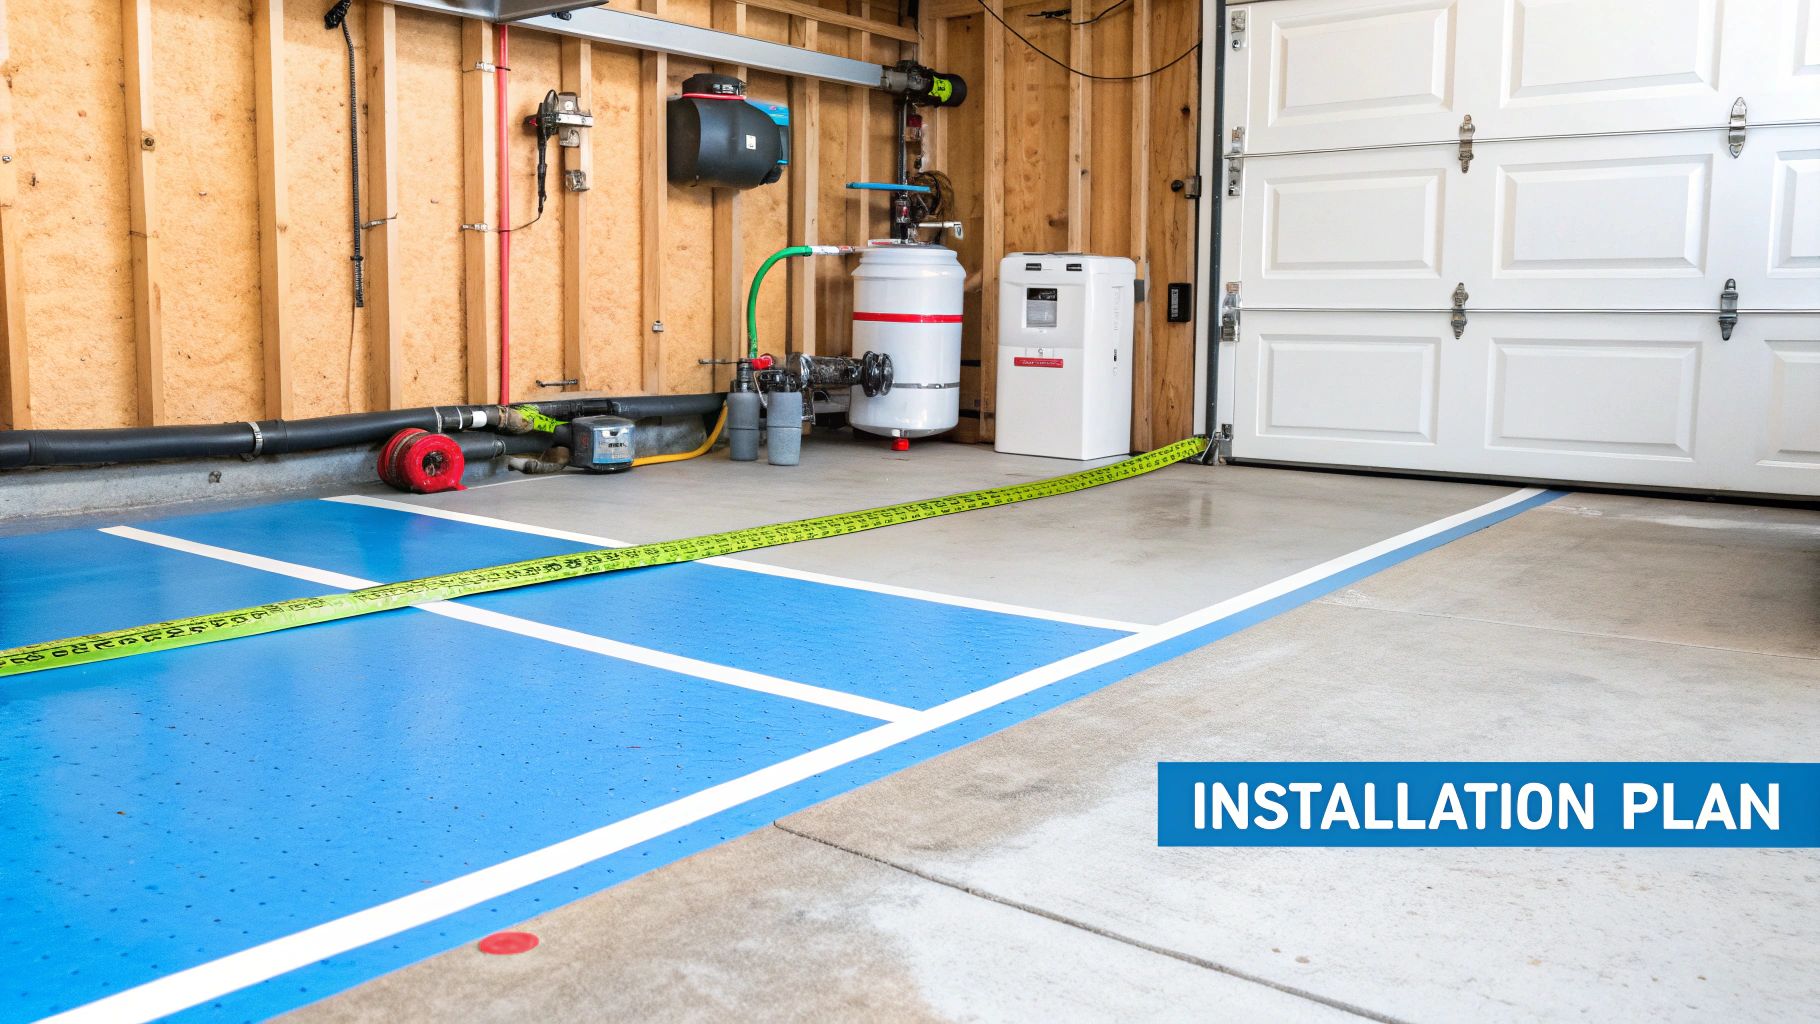
| Whole-House Systems | Sediment, chlorine, hard water minerals | $500 – $3,000+ | Low to Moderate (depends on system) |
The perfect filter for you is one that balances powerful performance with a price and maintenance schedule you can live with.
Matching Your Filter to Your Foe
So how do you make the final decision? Just line up the problem from your water report with a filter's known strengths. Here are a few scenarios:
-
Foe: Your water tastes like it came from a swimming pool.
- Champion: An activated carbon filter (pitcher, faucet, or under-sink) is the perfect, budget-friendly hero.
-
Foe: Your report shows lead levels are above the zero-tolerance health goal.
- Champion: A Reverse Osmosis (RO) system is your super-soldier. It offers the highest level of protection against lead.
-
Foe: You have hard water leaving crusty deposits everywhere, and your water is full of sediment.
- Champion: A whole-house filtration system, often paired with a water softener, is your all-in-one solution. It protects every tap and appliance in your home.
Choosing a filter is a big deal, but it becomes simple when you focus on solving a specific problem. For a deep dive into models and brands, check out this extensive collection of water filter advice. It’s a fantastic resource for finding the perfect filtration partner for your home.
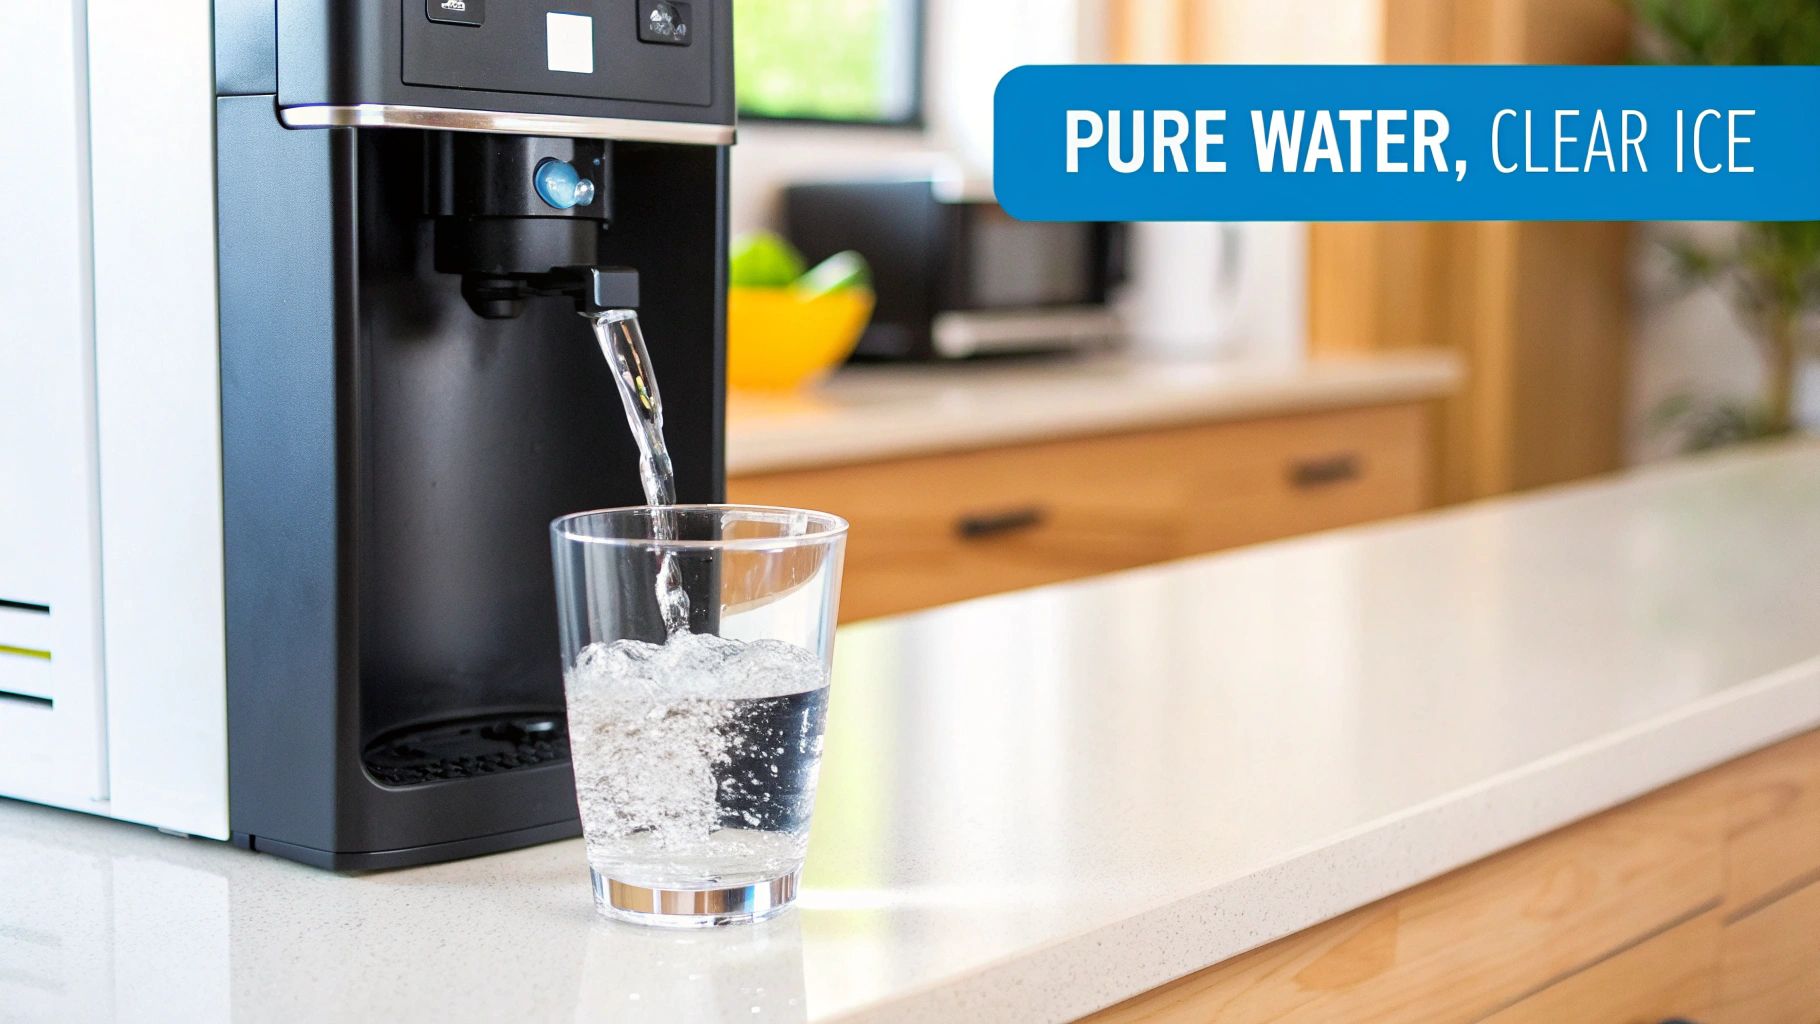
The Everyday Perks of Filtered Water
Switching to a home water filter does more than just banish invisible contaminants—it delivers an immediate, noticeable upgrade to your daily life. The first thing you'll experience is the taste. It's like switching from standard definition to 4K for your taste buds.
This simple upgrade creates a ripple effect. Your morning coffee is suddenly richer. Your tea is cleaner and brighter. Even simple foods like pasta and steamed vegetables taste purer, free from that subtle chemical background noise you didn't even know was there.
Beyond a Better-Tasting Brew
The benefits go far beyond flavor. By consistently filtering out contaminants like lead, VOCs, and disinfection byproducts, you reduce your family's daily exposure to substances linked to long-term health issues.
It's a proactive health investment. Every glass of filtered water you drink is a small, positive step toward long-term wellness, giving you priceless peace of mind.
It's easy to take clean water for granted. But a staggering 2.1 billion people worldwide still lack access to safely managed drinking water. You can learn more about this global challenge in a report from WHO and UNICEF.
A Win for Your Wallet and the Planet
Let's talk dollars and sense. Yes, there's an upfront cost for a filtration system. But it pays for itself surprisingly quickly once you break free from the endless cycle of buying bottled water.
And the environmental win is huge. Every time you refill a glass from your tap, you're preventing another plastic bottle from ending up in a landfill or the ocean. Filtering at home is a triple win:
- For Your Health: You're in complete control of your water quality.
- For Your Wallet: You stop renting your water from beverage companies.
- For The Planet: You dramatically reduce your plastic waste.
Common Questions About Water Filtration
Even when you're convinced, a few nagging questions can pop up before you pull the trigger on a filtration system. Let's clear the air and tackle the most common concerns.
Getting straight answers is the final step to feeling confident that your tap water isn't just okay—it's awesome.
If My Water Tastes Fine, Do I Really Need a Filter?
This is the biggest myth in the world of water. Great taste is not a guarantee of safety. Many of the most dangerous contaminants—lead, arsenic, pesticides, and VOCs—are completely tasteless, odorless, and invisible.
A filter acts as a safety net, catching the threats you can't detect with your senses. Your taste buds are great, but they're not a science lab.
The only way to know for sure what's in your water is by looking up your local water quality report or having it tested yourself. A filter ensures that even if contaminants are lurking at low levels, they won't end up in your glass.
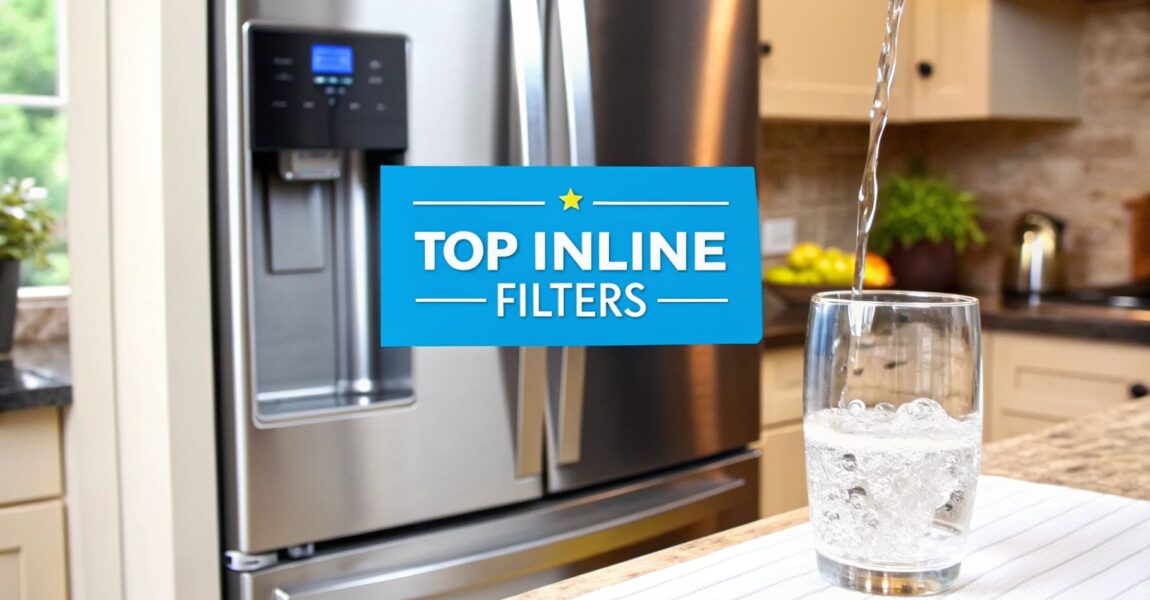
Are Pitcher Filters Just as Good as Under-Sink Filters?
They're different tools for different jobs. A pitcher filter is a fantastic starting point. It's affordable, portable, and does an excellent job removing chlorine to improve taste and smell.
An under-sink system, however, is a major upgrade. These systems, especially Reverse Osmosis (RO) units, are certified to remove a much longer list of serious contaminants like lead, fluoride, nitrates, and dissolved solids. If your water report shows any of those red flags, an under-sink system is the more powerful and reliable choice.
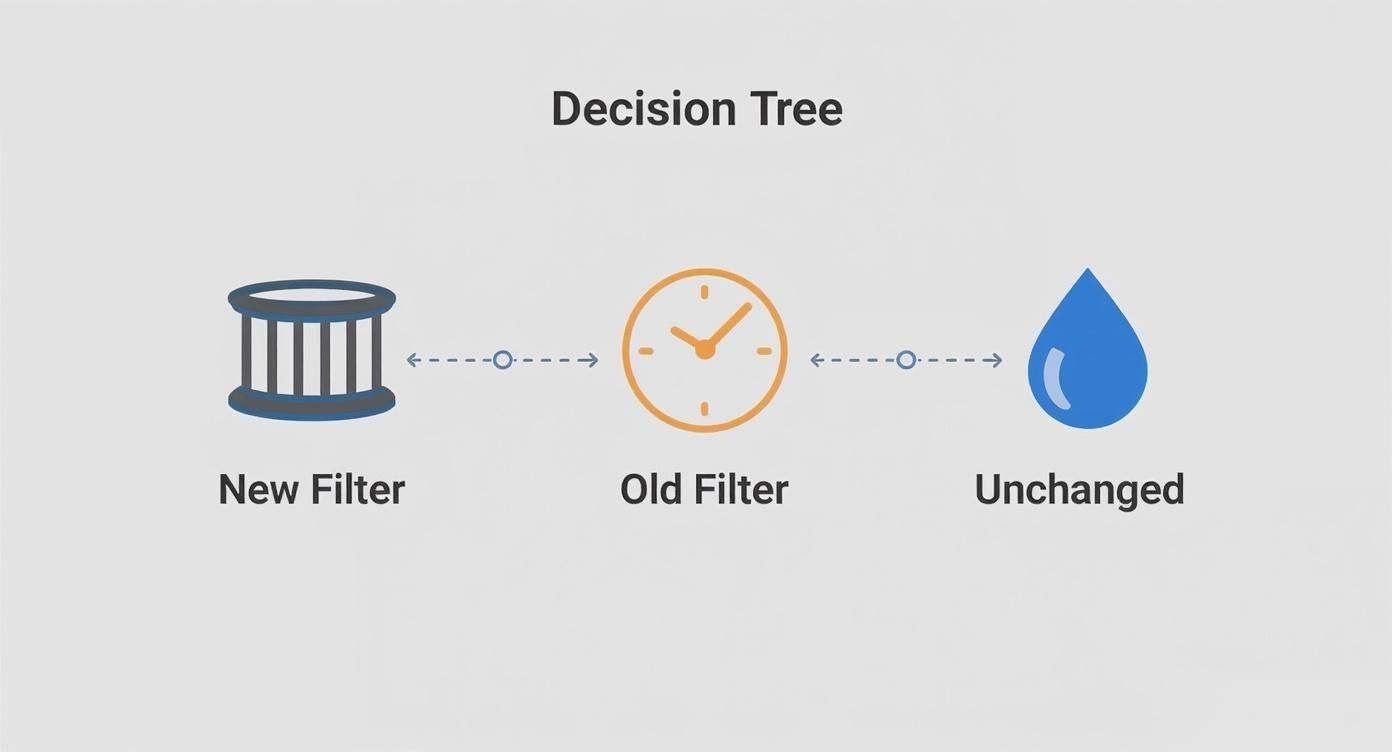
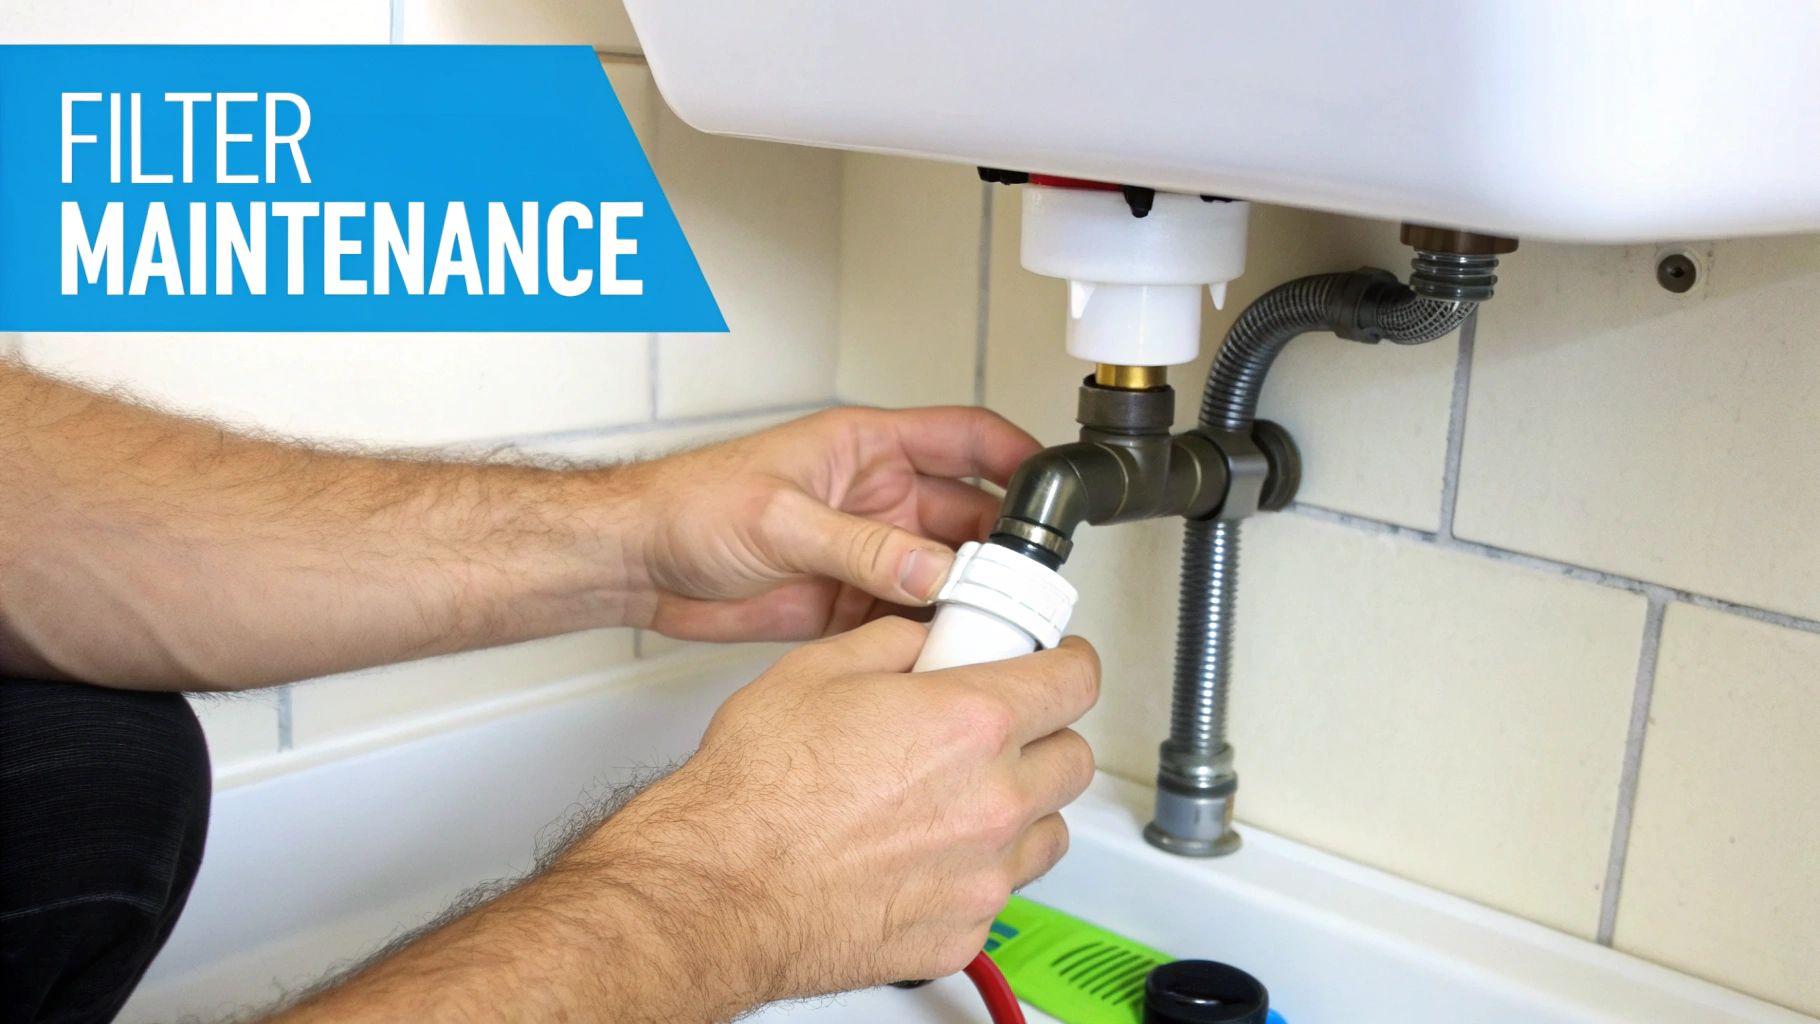
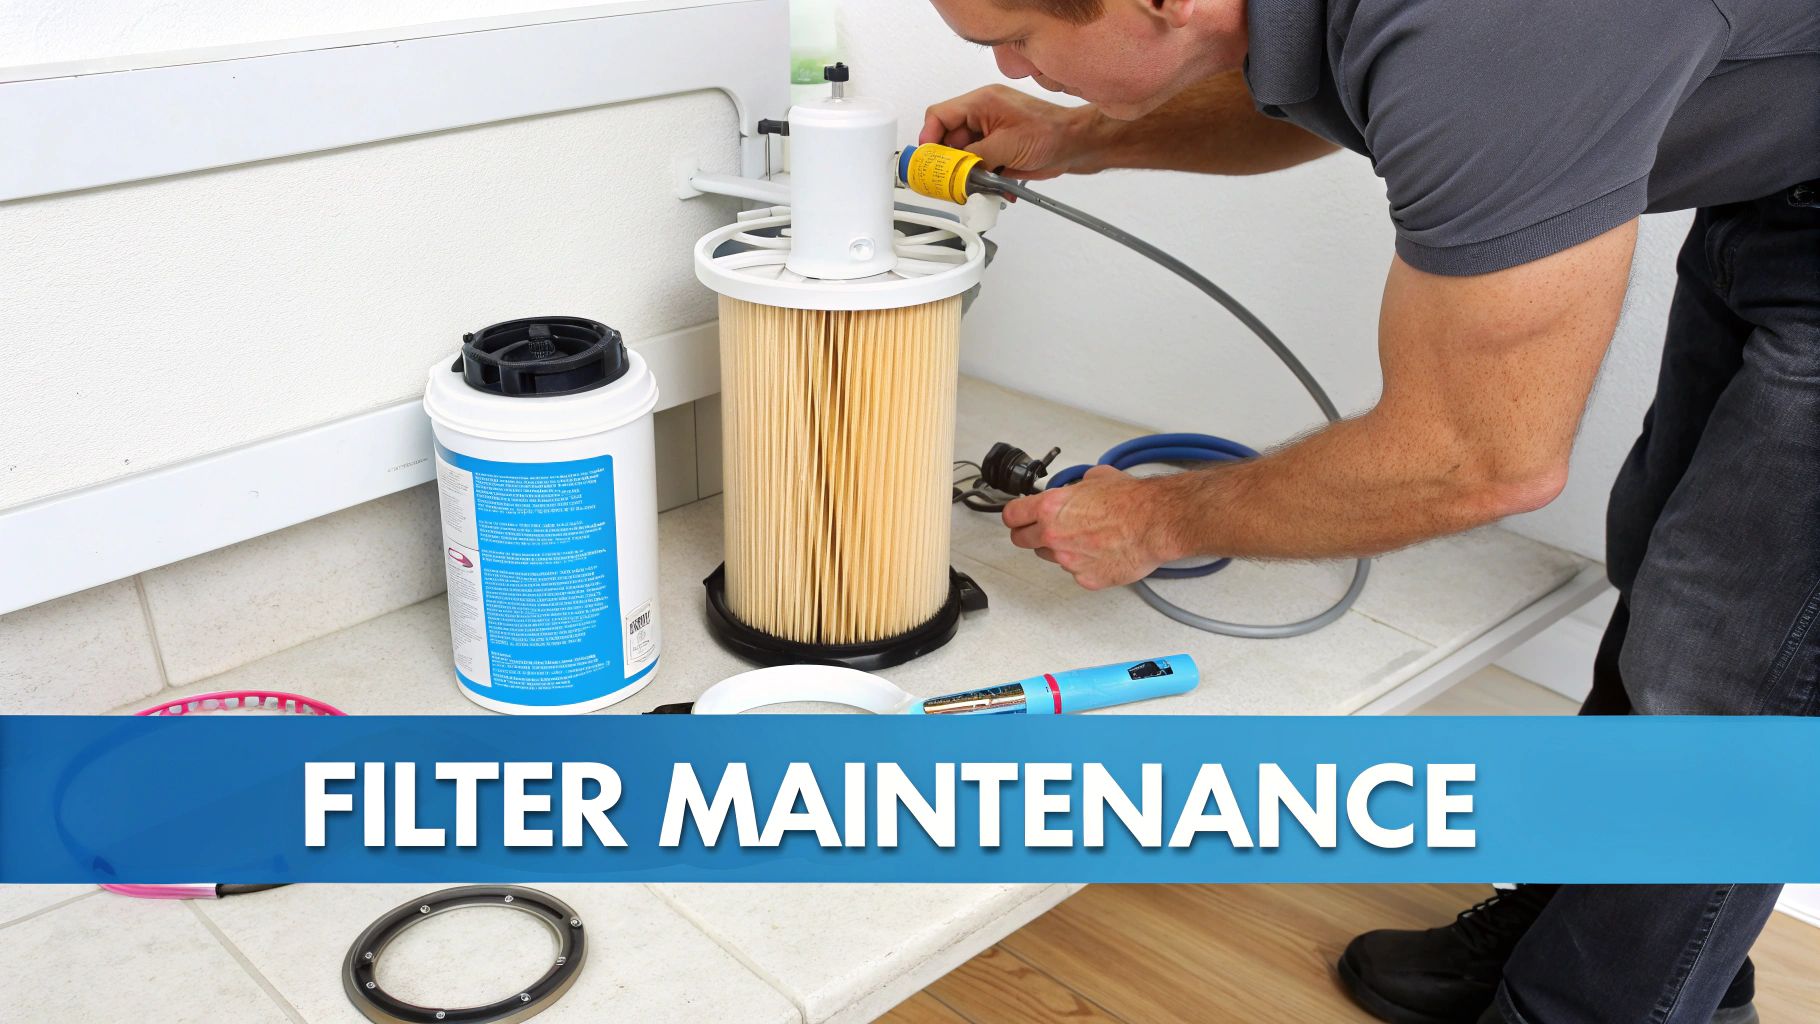
How Often Do I Actually Have to Change My Filter?
This is non-negotiable. Following the manufacturer's replacement schedule is crucial. An old, clogged filter doesn't just stop working; it can become a breeding ground for bacteria. A neglected filter can actually make your water quality worse than unfiltered tap water.
Here's a quick cheat sheet:
- Pitcher Filters: Every 2 months or after 40 gallons.
- Faucet Filters: About every 3 months.
- Under-Sink & Whole-House Filters: Anywhere from 6 months to a year or more.
Always read the manual for your specific model. It’s the only way to ensure your filter continues to be your champion, protecting you with every drop.
At Water Filter Advisor, our goal is to help you find the right filtration system for your home. Our detailed guides and honest reviews are here to help you protect your family and enjoy cleaner, safer water. Find out more at https://www.waterfilteradvisor.com.