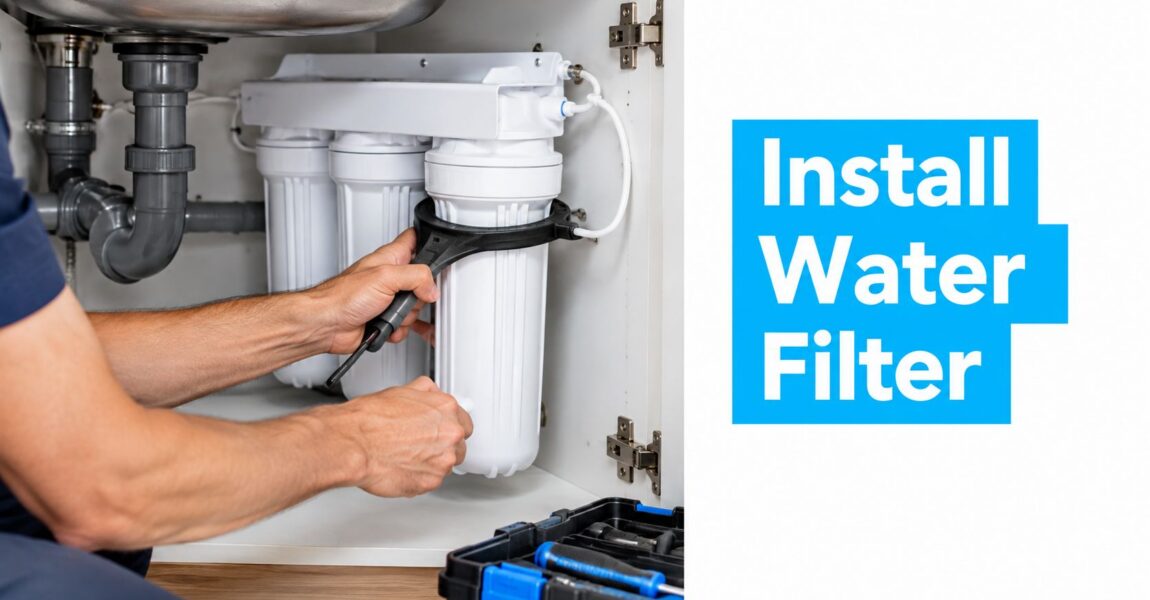
You turn on the kitchen tap and the water looks slightly cloudy. The smell is stronger than usual, or the first glass tastes faintly of chlorine. A filter seems like the obvious answer, but the hardest part of installing a home water filter system isn't cutting the pipe. It's choosing the right treatment point, sizing the system for real household demand, and making sure the plumbing can support it without leaks or pressure loss.
Home filtration can be simple, but it shouldn't be treated casually. A pitcher, refrigerator filter, under-sink cartridge, and whole-house system solve different problems. The right installation starts with your water goal and ends with a pressure test, a careful flush, and a maintenance plan you'll follow.
Why Installing a Home Water Filter Matters Now
A homeowner with unpleasant tap water usually starts with a taste problem. The kitchen water may smell of chlorine, leave sediment in a glass, or taste different after plumbing work or seasonal treatment changes. A drinking-water filter can make that water more appealing, but a filter under the sink won't treat the water entering the shower, washing machine, or water heater.
That distinction matters because home filtration has become common rather than unusual. A March 2022 U.S. survey of 2,246 adults found that 77% used a water filter at home, compared with 73% in 2020, described as an all-time high for that annual survey. A separate U.S. study found that 36.0% of adults reported using a filter specifically for drinking tap water at home, which shows that adoption varies depending on how researchers phrase the question. You can review the survey context in this analysis of home water-filter use.
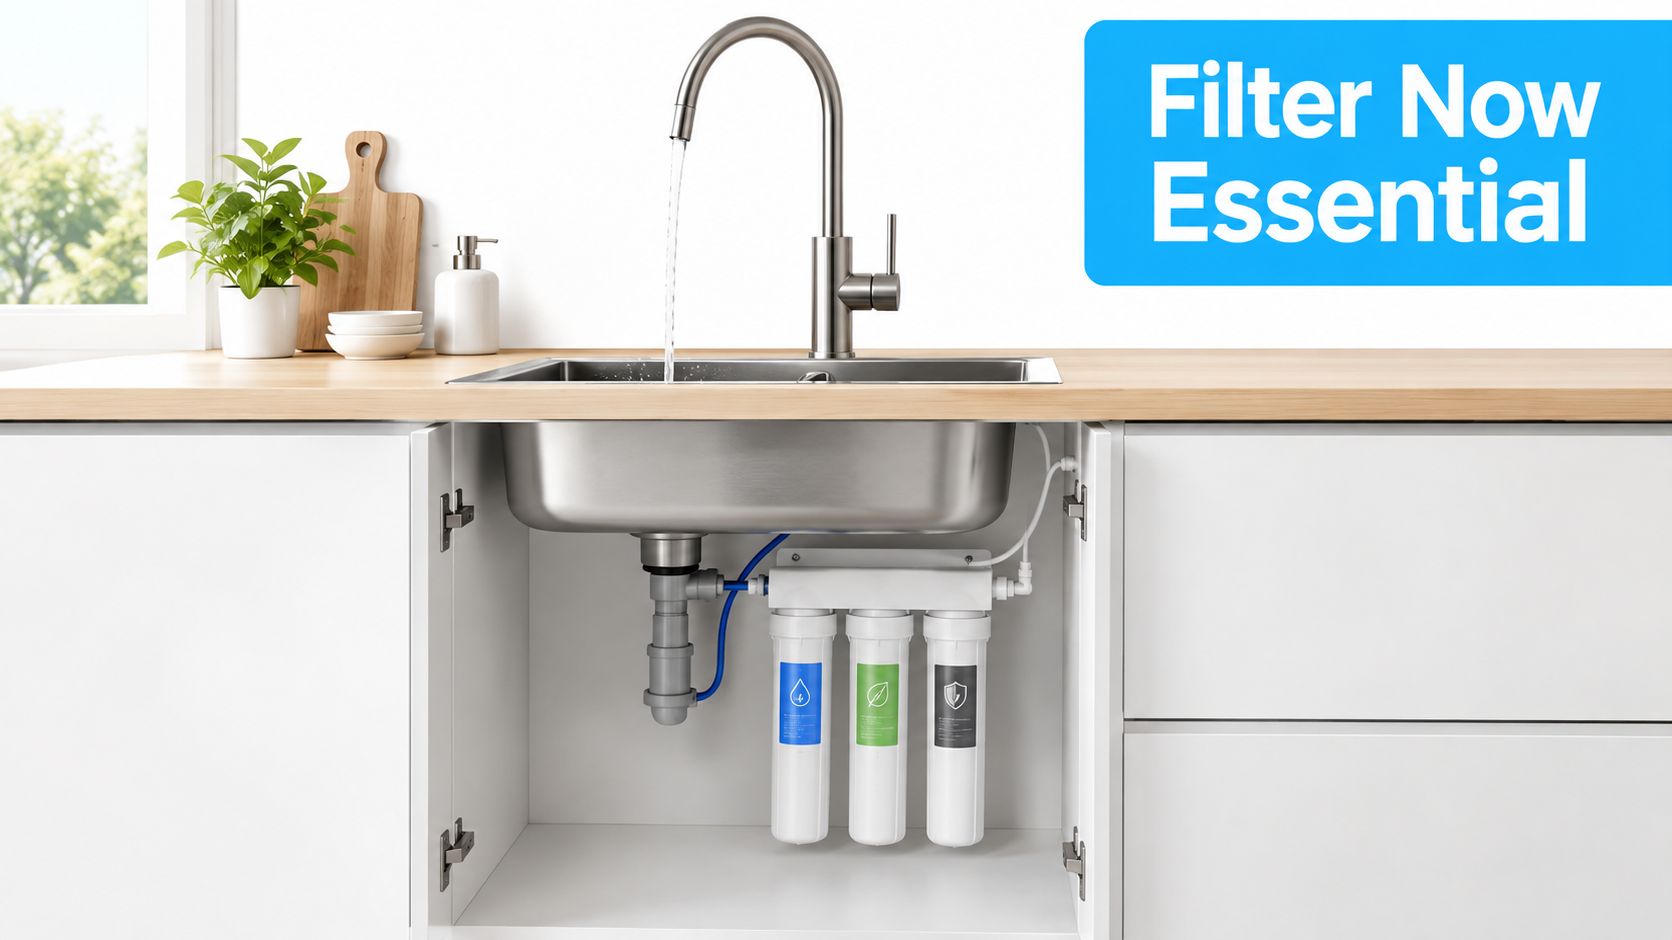
Start with the household goal
The first question isn't “Which cartridge has the smallest micron rating?” It's “Which water do I want to improve?”
- Better taste and odor: An under-sink, faucet, refrigerator, or whole-house carbon system may be appropriate, depending on where the problem occurs.
- A specific health-related contaminant: Choose a product with a certification and performance claim that address that contaminant. A general taste filter shouldn't be treated as a universal health-protection device.
- Water quality throughout the house: A point-of-entry system treats water as it enters the home, so showers and appliances receive filtered water as well.
- Limited plumbing access or rental restrictions: A faucet, pitcher, or refrigerator filter avoids cutting into the main line.
The underlying idea is old. A peer-reviewed review traces water purification references to ancient Sanskrit and Egyptian writings, notes that Hippocrates described filtering water through cloth around 500 BC, and identifies the first modern sand filters in 1804. London's Metropolis Water Act in 1852 required sand filters in part of the city. Modern systems use certified media, staged cartridges, and whole-house configurations, but the basic purpose remains familiar: remove unwanted material and improve water at the point where people use it. The historical development is outlined in this peer-reviewed review of water purification.
A good installation solves a defined water problem. It doesn't add equipment because a product label promises “cleaner” water.
Choosing the Right System for Your Home and Water
The most expensive filtration mistake is installing a technically impressive system that doesn't match the water you drink or the flow your home needs. A reverse osmosis unit under the kitchen sink can be useful for a targeted drinking-water goal, but it won't filter the water used in the bathroom. A whole-house cartridge can treat every fixture, but it may be unnecessary if taste is the only complaint at one tap.
Compare the common installation points
| System Type | Best For | Install Location | Certification Focus |
|---|---|---|---|
| Whole-house | Homes seeking treatment at multiple fixtures | Main incoming water line | Claims appropriate to the media and contaminant |
| Under-sink | Dedicated drinking and cooking water | Cold-water line below the sink | NSF/ANSI 42 for aesthetic effects, NSF/ANSI 53 for health-related claims |
| Faucet | Renters or quick point-of-use treatment | Kitchen faucet connection | Certification matched to the stated reduction claim |
| Refrigerator | Filtered refrigerator water and ice | Refrigerator supply line or built-in compartment | Certification matched to the stated reduction claim |
NSF distinguishes point-of-use systems, including under-sink units and pitchers, from point-of-entry systems, including whole-house treatment. Its consumer guidance explains that NSF/ANSI 42 covers aesthetic effects such as chlorine taste and odor, while NSF/ANSI 53 is associated with health-related contaminant reduction claims. Those standards don't mean every product removes every contaminant. Read the specific product claim, not just the standard number, using this NSF guide to water-treatment standards.
For lead concerns, certification deserves particular attention. The EPA advises consumers to look for point-of-use or pitcher filters evaluated to reduce lead to 5 ppb or less, and directs shoppers toward certification against NSF/ANSI 53 and 42 for lead and particulate reduction. The EPA's consumer tool for identifying lead-certified filters is more useful than relying on a broad “purifies water” statement.
Match treatment to the test
Start with a water report or an appropriate test, especially on well water. Taste and odor can guide a purchase, but they can't identify every contaminant. A family concerned about lead needs a different performance claim from a household trying to reduce chlorine taste, and a whole-house sediment problem may require pre-filtration before carbon treatment.
The system also has to fit the house physically. Check the pipe material, available clearance, cartridge access, electrical requirements for powered equipment, and whether the chosen unit needs a drain connection or dedicated faucet. For more help comparing treatment goals, cartridge types, and installation locations, use the practical water filtration advice from Water Filter Advisor.
A short list is ready when you can answer three questions: what water needs treatment, which contaminant or aesthetic issue matters, and what certified claim supports that choice.
What to Check and Gather Before You Cut Any Pipe
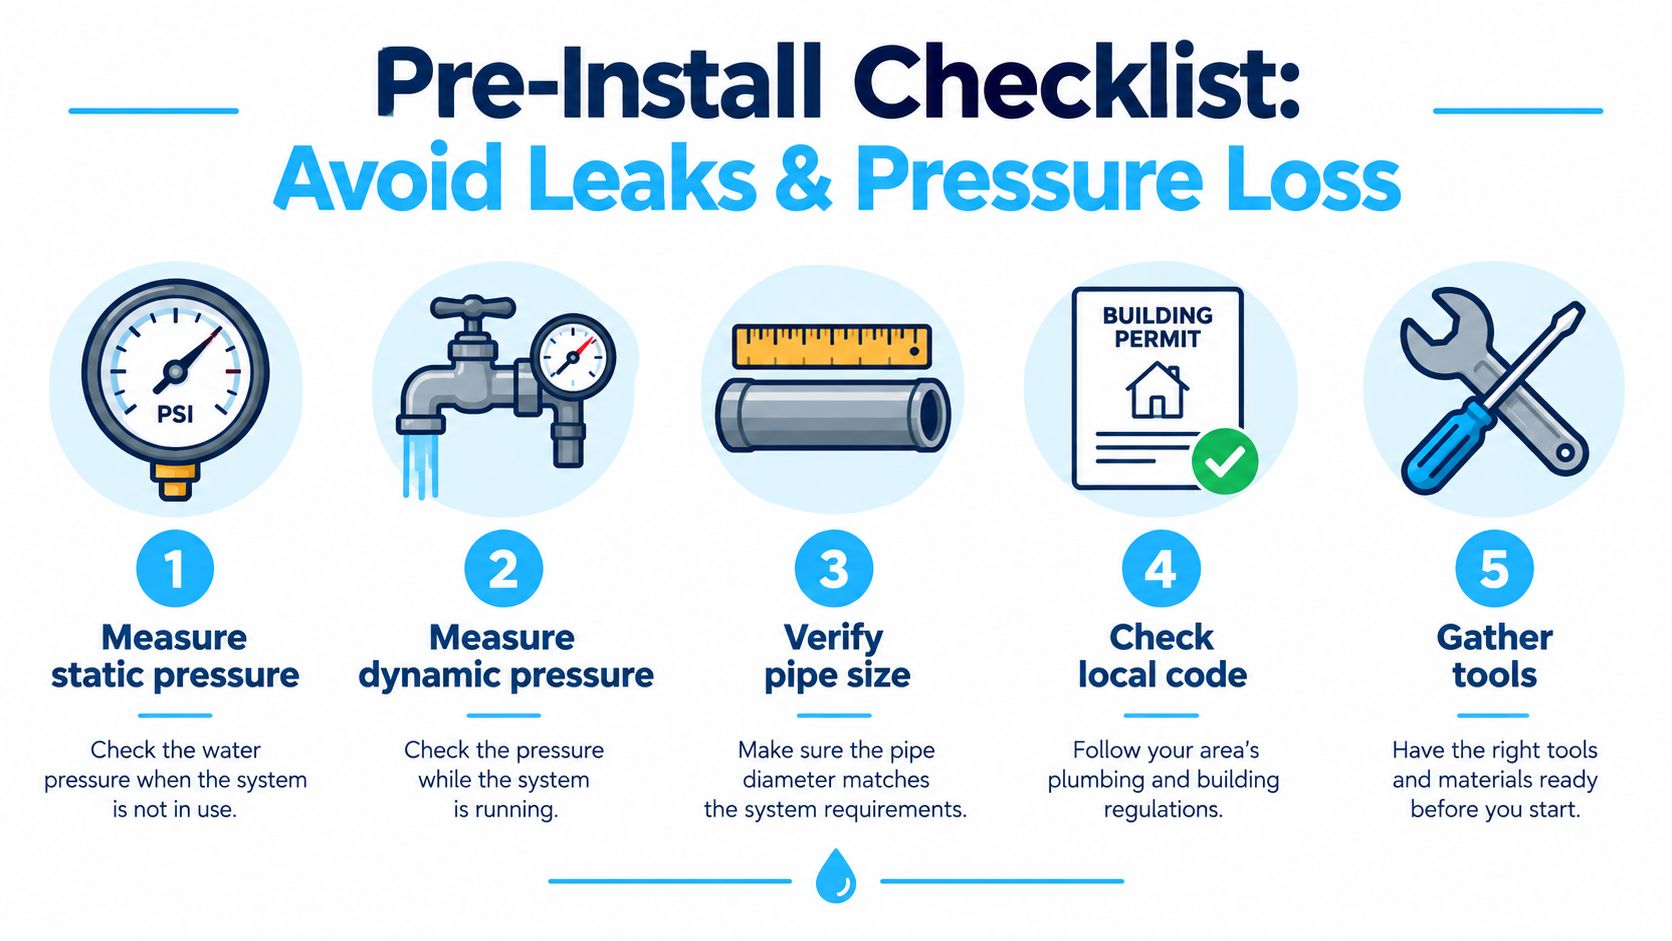
A filter can be installed without a visible leak and still leave the shower weak. The usual causes are marginal house pressure, an undersized port, or a cartridge whose rated flow cannot meet demand. Measure first, then decide where the pipe can be cut.
Measure pressure in two conditions
Fit a pressure gauge to a hose bib. With every fixture closed, record static pressure. Then open more than one fixture and record dynamic pressure. That second reading shows how much pressure the plumbing can deliver while the household is using water.
Whole-house manuals commonly set a maximum operating pressure around 90 PSI, while some broader-rated units list 20–120 PSI. If the home's pressure exceeds the filter's limit, verify or install a pressure-reducing valve before the filter. The practical sequence for static and dynamic checks appears in this whole-house sizing and maintenance guidance.
Size for the busiest ordinary moment
A three-bathroom home with a kitchen commonly reaches 6–10 GPM at peak demand. That can be a shower running while a toilet refills and a kitchen tap opens. Compare the filter's rated flow at an acceptable pressure drop, rather than relying on cartridge size or a large marketing claim. A clean pressure drop around 2–5 PSI at expected flow is a practical target. A sustained 10–15 PSI differential points to restriction or undersizing. Use this technical filter-sizing reference for flow and pressure-drop benchmarks.
Before cutting, confirm these points:
- Main shutoff: Confirm that it closes fully, then identify a downstream faucet for relieving pressure.
- Bypass arrangement: Plan inlet and outlet shutoffs, or a bypass loop, so cartridge service does not shut down the whole home.
- Port and pipe size: Compare housing ports with the existing supply line and fittings. A narrow connection can restrict flow even with a large cartridge.
- Mounting support: A filled housing is heavy. Choose a stud, masonry surface, or other structural support instead of hanging it from unsupported pipe.
- Code and permits: Ask the local building department whether the work needs a permit or licensed plumber. Rules vary with the location and with changes to the main line, drain, or electrical equipment.
- Grounding and bonding: In older homes, copper water piping may form part of the electrical grounding path. Cutting it can interrupt continuity, so arrange a qualified electrical check and suitable bonding first.
Gather a pipe cutter suited to the pipe material, correctly sized fittings, adjustable wrenches, potable-water-rated thread sealant, a bucket, towels, a flashlight, a pressure gauge, and the manufacturer's filter wrench. Do not force a fitting just because its threads seem to match. Different thread standards can feel compatible until the joint leaks or cracks.
Practical rule: If you cannot identify the shutoff, verify pressure, and explain the bypass plan, wait before making the first cut.
How to Install Each Home Water Filter System Without Leaks
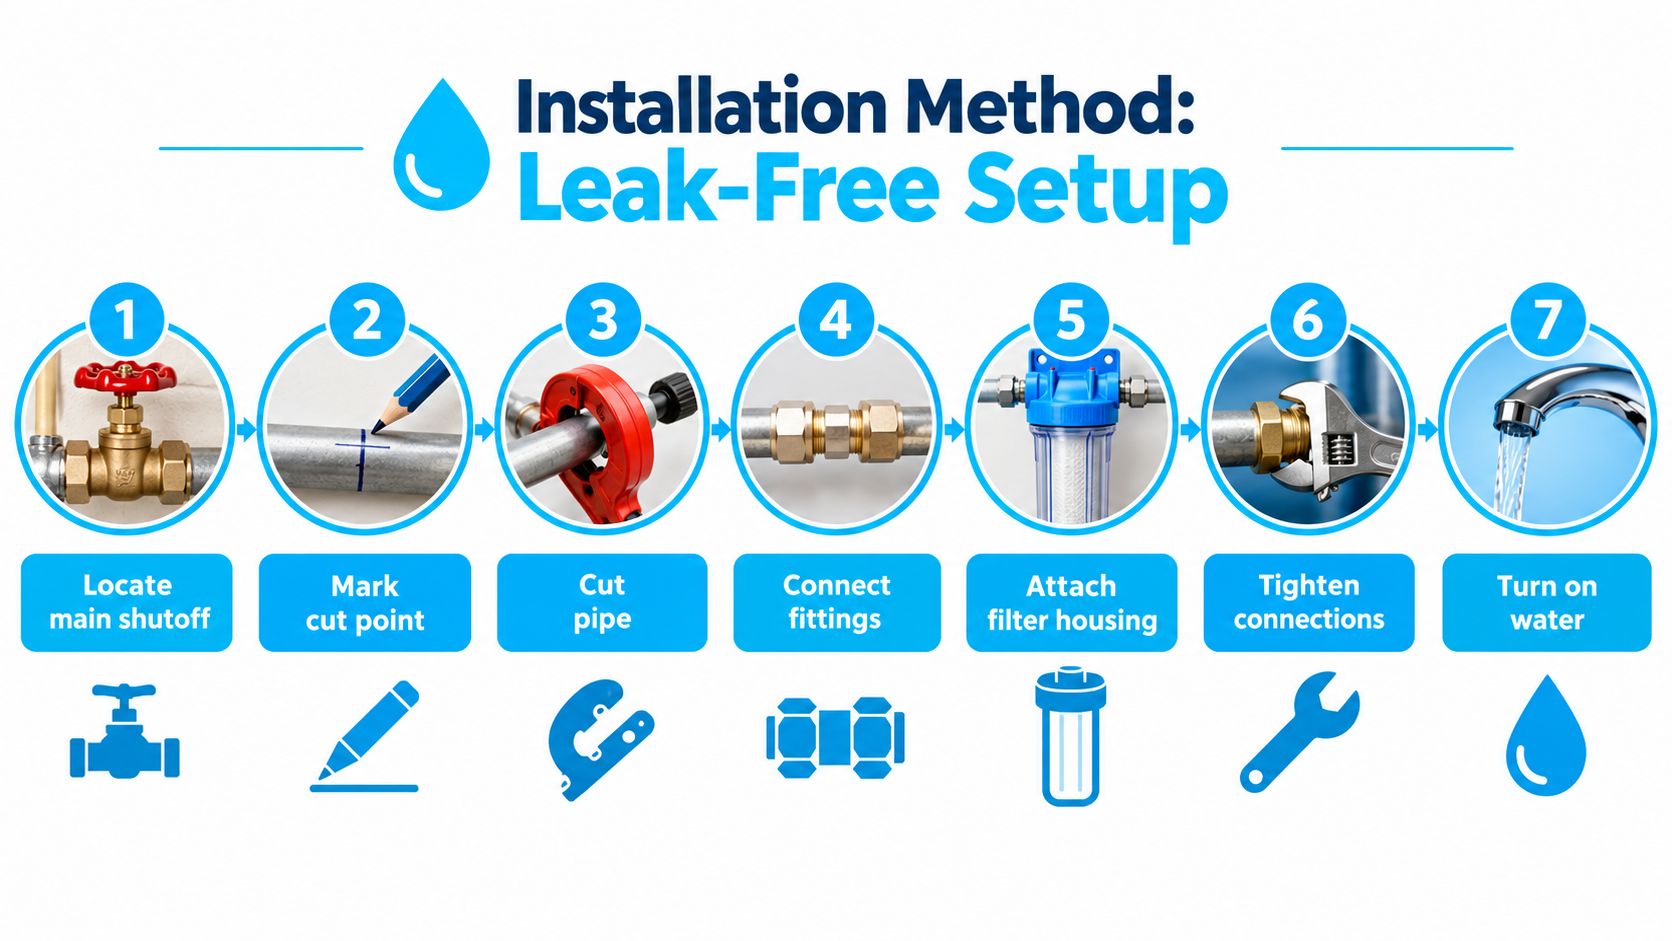
The reliable method is controlled isolation, clean connections, supported equipment, slow pressurization, and a full flush. Most leaks I see come from rushed preparation, cross-threaded plastic fittings, unsupported housings, damaged O-rings, or overtightened connections.
Whole-house systems
Place a point-of-entry filter after the main shutoff and before branch lines and the water heater, following the manufacturer's layout. Leave enough clearance to remove the sump and cartridge. Shut off the supply, open a downstream cold tap to release pressure, and drain the section into a bucket before marking the cut.
Make a square cut with the correct pipe cutter. A crooked or crushed pipe end makes compression and push-fit connections unreliable. Install the inlet and outlet fittings without forcing the threads. Use potable-water-rated thread sealant where the fitting design calls for it, keep sealant off the first thread, and hand-tighten plastic components before giving them only a modest wrench snug. Plastic housings crack when an installer tries to compensate for a poorly aligned fitting with extra torque.
Mount the housing bracket to structural support. Don't let the pipe carry the weight of a full sump. Load cartridges in the specified order, confirm the O-ring is clean and seated, and apply only the lubricant recommended by the manufacturer. A pinched O-ring can leak immediately, while a dry or twisted one may seep after the system cycles.
Under-sink systems
Under-sink installation usually connects to the cold-water line, not the hot side. Shut off the cold-water valve, open the faucet to release pressure, disconnect the cold-water tubing, and install the supplied adapter without cross-threading it. Route hoses with gentle bends, avoid sharp kinks, and mount the unit so it can support its operating weight.
Residential installation instructions commonly specify vertical mounting with the cartridge hanging down. After connecting the hoses, turn the supply on slowly and inspect every joint. Flush the system before drinking. One manufacturer's instructions call for running water for 10 minutes to purge air and fine carbon particles, so follow the product's stated flush time rather than guessing. The manufacturer's under-sink installation guidance illustrates the sequence.
A faucet filter generally attaches at the faucet outlet or replaces the aerator, depending on the design. Keep the diverter aligned and avoid hanging the filter body from a fragile faucet connection. A refrigerator filter may connect at the appliance, inside its filter compartment, or along the supply line. Push quick-connect tubing fully into its fitting, then pull gently to confirm it has locked. Turn off the refrigerator water supply before disconnecting an existing line.
For readers comparing fine filtration claims before choosing a cartridge, this explanation of what a 0.2 micron filter removes gives useful context. A micron rating alone still doesn't tell you which dissolved contaminants a filter reduces, so pair it with the certified performance claim.
A visual walkthrough can help you identify the sequence before working on your own plumbing:
Testing and Troubleshooting After Installation
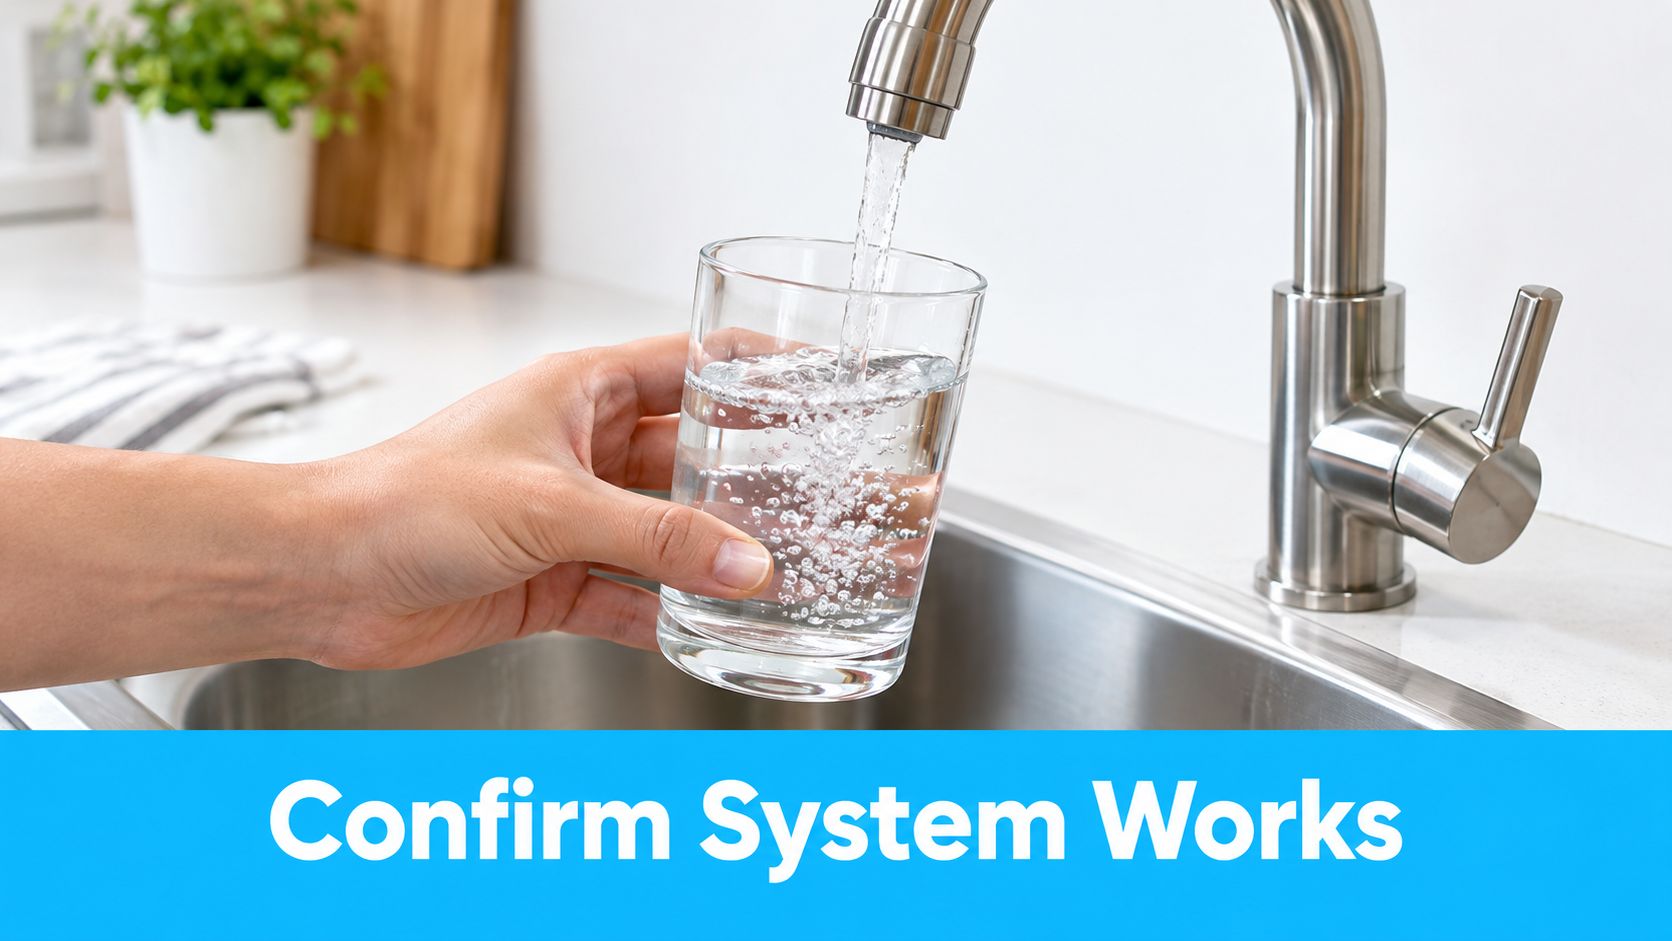
A tight fitting does not confirm a successful installation. The system must fill without leaks, maintain usable flow at several fixtures, and deliver clear water after the specified flush.
Open the inlet valve slowly so the housing fills without a pressure shock against an empty cartridge. Check the cap, sump, threaded adapters, compression nuts, push-fit connectors, and nearby shutoff valves. Wrap each joint with a dry towel. A small leak shows on the towel before it becomes a wet cabinet or floor.
Flush before judging taste
Carbon cartridges can release fine particles and trapped air during startup. Run treated cold water to waste for the manufacturer's stated time, then check clarity, odor, and taste. The first glass is not a reliable performance test.
Test the filter under realistic demand. Run a shower or bath faucet, then open a kitchen cold tap, and watch for a sharp flow change. If pressure drops throughout the house, measure it upstream and downstream of the filter. A clean system should show only a modest pressure loss at its expected flow. A large or rising differential points to restriction, a blocked pre-filter, undersized plumbing, or excessive demand. Compare the result with the system's flow-sizing requirements, as noted earlier.
Read pressure loss as a maintenance signal
Poor flow immediately after installation usually comes from incorrect sizing, a closed valve, a blocked pre-filter, reversed flow direction, or a pressure-reducing valve that was missed during the inspection. A system that starts normally and deteriorates later more often has a loaded sediment cartridge, high turbidity, or media that does not suit the available flow.
Record the clean baseline after installation. Note pressure with one fixture open and again with several fixtures running. Later readings only mean something when compared with those conditions. A noticeable rise above the baseline is a practical signal to inspect or replace the cartridge before the restriction affects the whole house.
Taste improvement does not prove contaminant reduction. For a health-related concern, confirm the product's specific certification and performance claim. Cloudy water after the proper flush calls for isolation and inspection of cartridge seating, flow direction, upstream sediment, and plumbing debris. Persistent leakage or pressure loss after those checks warrants a plumber's assessment. Repeatedly tightening plastic fittings can crack the housing or distort the seal.
Keeping Your Filter Performing Year After Year
A filter system earns its place in the house through maintenance, not installation day. Set a calendar reminder, keep a spare cartridge available, and write the installation date and baseline pressure on the housing or service label.
Residential maintenance guidance commonly centers on cartridge replacement around 6 to 12 months, although turbid water can shorten the interval for sediment cartridges. A useful planning method is to divide the cartridge's rated capacity in gallons by the household's daily water use. The resulting estimate helps you compare cartridge capacity with actual consumption, as described in this cartridge replacement guidance.
Use evidence instead of the calendar alone
Watch for reduced flow, renewed sediment, a return of chlorine taste or odor, and a rising pressure differential. A household on well water may load sediment media faster than a home supplied by relatively clear municipal water. A calendar reminder is still valuable, but it should support pressure and water-quality observations rather than replace them.
Keep the service routine simple:
- Record the baseline: Note pressure and flow after a fresh cartridge.
- Inspect during replacement: Check the sump, O-ring, bracket, fittings, and cartridge seating.
- Protect the carbon stage: Replace a loaded sediment pre-filter before it restricts flow or exposes later stages to unnecessary debris.
- Plan around access: Leave enough clearance to remove housings without moving appliances or cutting new plumbing.
- Review the system when goals change: A new water test, renovation, larger household, or added bathroom may justify different media or a larger flow rating.
Connected monitoring can make sense for busy households that won't remember manual checks, but it doesn't eliminate the need to choose suitable media or replace cartridges. Centralized treatment may be appropriate when the entire home has a consistent water-quality problem. For one drinking tap, a point-of-use system is usually the more focused solution.
The cost-saving habit is straightforward: size the system correctly, protect it with suitable pre-filtration, measure pressure before and after service, and replace cartridges before restriction affects the plumbing.
If you're ready to choose a system or verify an installation plan, visit Water Filter Advisor for practical guidance on whole-house, under-sink, faucet, refrigerator, replacement, certification, and water-testing options. Use the site to compare your water-quality goal with the right filter location before you cut into the supply line.
- September 18, 2026
- Uncategorized
