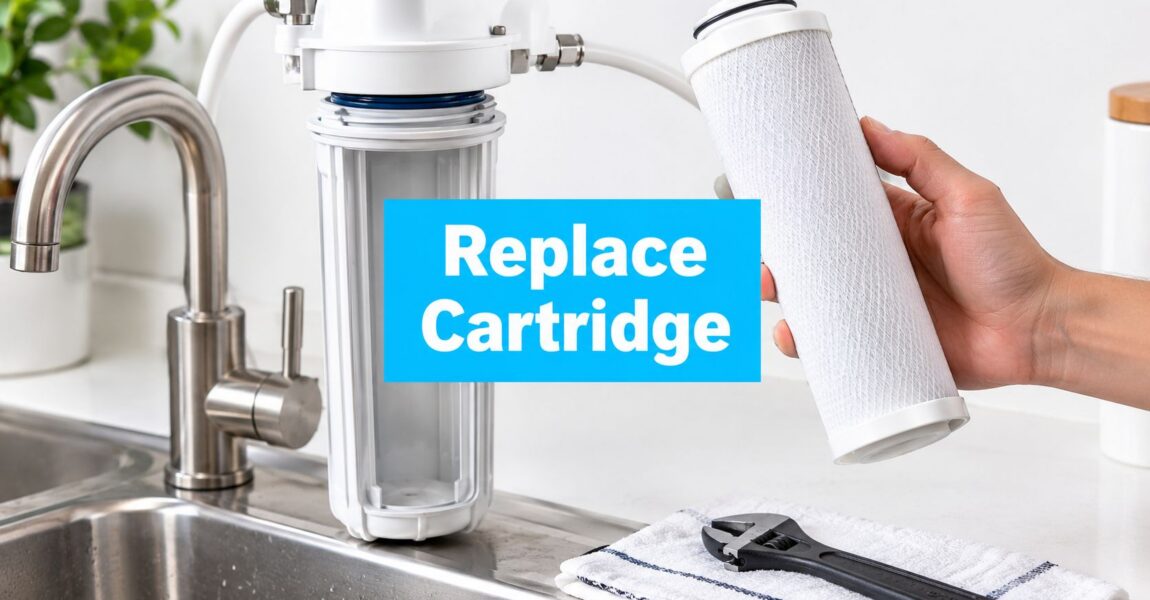
You turn on the kitchen faucet and the stream looks weaker than usual. Maybe the chlorine taste has returned, or the refrigerator dispenser takes noticeably longer to fill a glass. The cartridge may still look clean, but that doesn't mean it still has useful capacity.
Knowing how to replace cartridge correctly means more than pulling out the old filter and pushing in a new one. You need the right replacement, a sound seal, controlled water pressure, and a proper flush. The process changes slightly between a pitcher, refrigerator, under-sink housing, and whole-house system, but the leak-safe fundamentals remain consistent.
Why Replacing Your Water Filter Cartridge Matters Now
The faucet still runs clear, yet the water tastes faintly of chlorine again. That combination often means the cartridge has reached its working limit, not that the housing needs cleaning. Clear water is not proof that a cartridge is still doing its job. Activated carbon can lose adsorption capacity without an obvious change in appearance or odor, while other media may restrict flow as sediment accumulates.
Use the cartridge's rated capacity and the manufacturer's replacement guidance rather than guessing from appearance. Capacity-based tracking gives a better signal than waiting for a calendar reminder, particularly when usage changes between households.
A slow stream is a useful warning. Sediment can clog the media and reduce flow, while a carbon cartridge may continue passing clear water after its useful capacity is gone. Returning chlorine taste, an unusual odor, or falling pressure should prompt a check. No noticeable symptom, however, confirms that contaminant reduction remains effective.
Practical rule: Treat replacement as performance maintenance, not a cosmetic cleanup.
The housing type determines the awkward parts of the job. A pitcher cartridge needs correct soaking and seating. A refrigerator model may stick in its port or release with a twist or button. An under-sink or whole-house housing holds residual water and needs pressure relief, O-ring inspection, and controlled repressurization before the supply is fully reopened.
The safest sequence stays consistent: identify the matching cartridge, shut off or isolate the water, relieve pressure, remove the old cartridge without damaging the seal, clean the contact surfaces, install the new one, then reopen the supply slowly. Flush until carbon fines clear, and inspect every connection while the system is under pressure.
Skipping those steps can leave a cabinet damp, a sump cross-threaded, flow reduced, or the first glasses tasting dusty. Track the cartridge model, installation point, and rated capacity so the next change follows actual use rather than calendar guessing.
What to Gather Before You Start
Start with the cartridge specification, not the shopping cart. Match the model, physical dimensions, media type, micron rating, flow direction, and certification to your housing and water problem. A standard-size cartridge may fit the opening but still be wrong for chlorine, sediment, or lead reduction. The compatibility guidance from H2O Distributors on cartridge selection explains why physical fit alone isn't enough, particularly when a proprietary appliance cartridge is involved.
Put the following within reach:
- The exact replacement cartridge: Confirm the housing model and the contaminant claim before opening the sump.
- The housing wrench: Use the wrench supplied for the housing rather than gripping the plastic sump with adjustable pliers, which can damage or distort it.
- A bucket and several towels: Residual water remains inside the housing even after pressure is relieved.
- Food-grade silicone lubricant: A light coating helps the clean O-ring seat without twisting. Don't use petroleum grease on drinking-water seals.
- A soft brush or clean cloth: Wash sediment and residue from the sump without scratching the sealing surface.
- A flashlight: Cabinet interiors and whole-house filter heads often hide a pinched O-ring or a hairline drip.
- A marker or phone note: Record the installation date, cartridge model, and meter reading if the system tracks gallons.

Before loosening the housing, locate the supply shutoff. For an under-sink filter, it may be a small valve on the feed line. A whole-house system may have a dedicated inlet valve and a bypass. Shut off the water, then open a downstream cold faucet so trapped pressure can escape. If the housing still resists strongly, stop and look for another closed valve or a pressure-relief button on the filter head.
Check the O-ring before you discard the old cartridge. It should be clean, flexible, and free of cuts, flattening, grit, or twists. Replacement guidance and maintenance resources are also available through the Water Filter Advisor advice library, which can help when the cartridge label or housing design is unclear.
A short visual demonstration can reinforce the order of operations, but don't skip the model-specific manual or rated capacity.
The Leak Safe Way to Swap Any Cartridge
Turn off the supply before touching the housing. Open the nearest downstream cold faucet and let it run until the flow stops or becomes only a weak trickle. This relieves pressure and keeps the sump from acting like a pressurized container when you loosen it.
Place the bucket beneath the housing and spread towels around the fittings. Use the housing wrench to turn the sump. If it won't move, check that the supply really is closed and the pressure has been released. Leaning harder on a plastic sump often creates a cracked housing or damaged threads, which is a much bigger problem than a stubborn cartridge.
Remove the sump slowly and support its weight. Pour out the old water, lift out the spent cartridge, and inspect the inside for sediment, slime, discoloration, or loose media. Wash the sump with clean water and a soft cloth, paying special attention to the groove where the O-ring sits. A grain of grit in that groove can create a slow leak after everything appears tight.
The seal deserves more attention than the threads
Remove the O-ring and inspect it under good light. If it's stretched, nicked, brittle, flattened, or permanently distorted, replace it with the correct seal. If it remains serviceable, clean it, apply a very light film of food-grade silicone lubricant, and press it evenly into its groove. Don't leave it riding on the housing threads, and don't allow it to twist.
Install the new cartridge in the correct orientation. Some cartridges have a cap, stem, spring, or flow-direction arrow that must align with the housing. A cartridge that looks seated but is upside down can restrict flow, bypass the intended seal, or prevent the sump from closing correctly.
Set the sump beneath the head and turn it by hand first. The threads should engage smoothly. If the sump feels crooked or binds immediately, back it off and realign it. Hand-tighten until the seal is compressed. The wrench is for initial opening and minor assistance when specified by the manufacturer, not for forcing a plastic housing tighter and tighter.
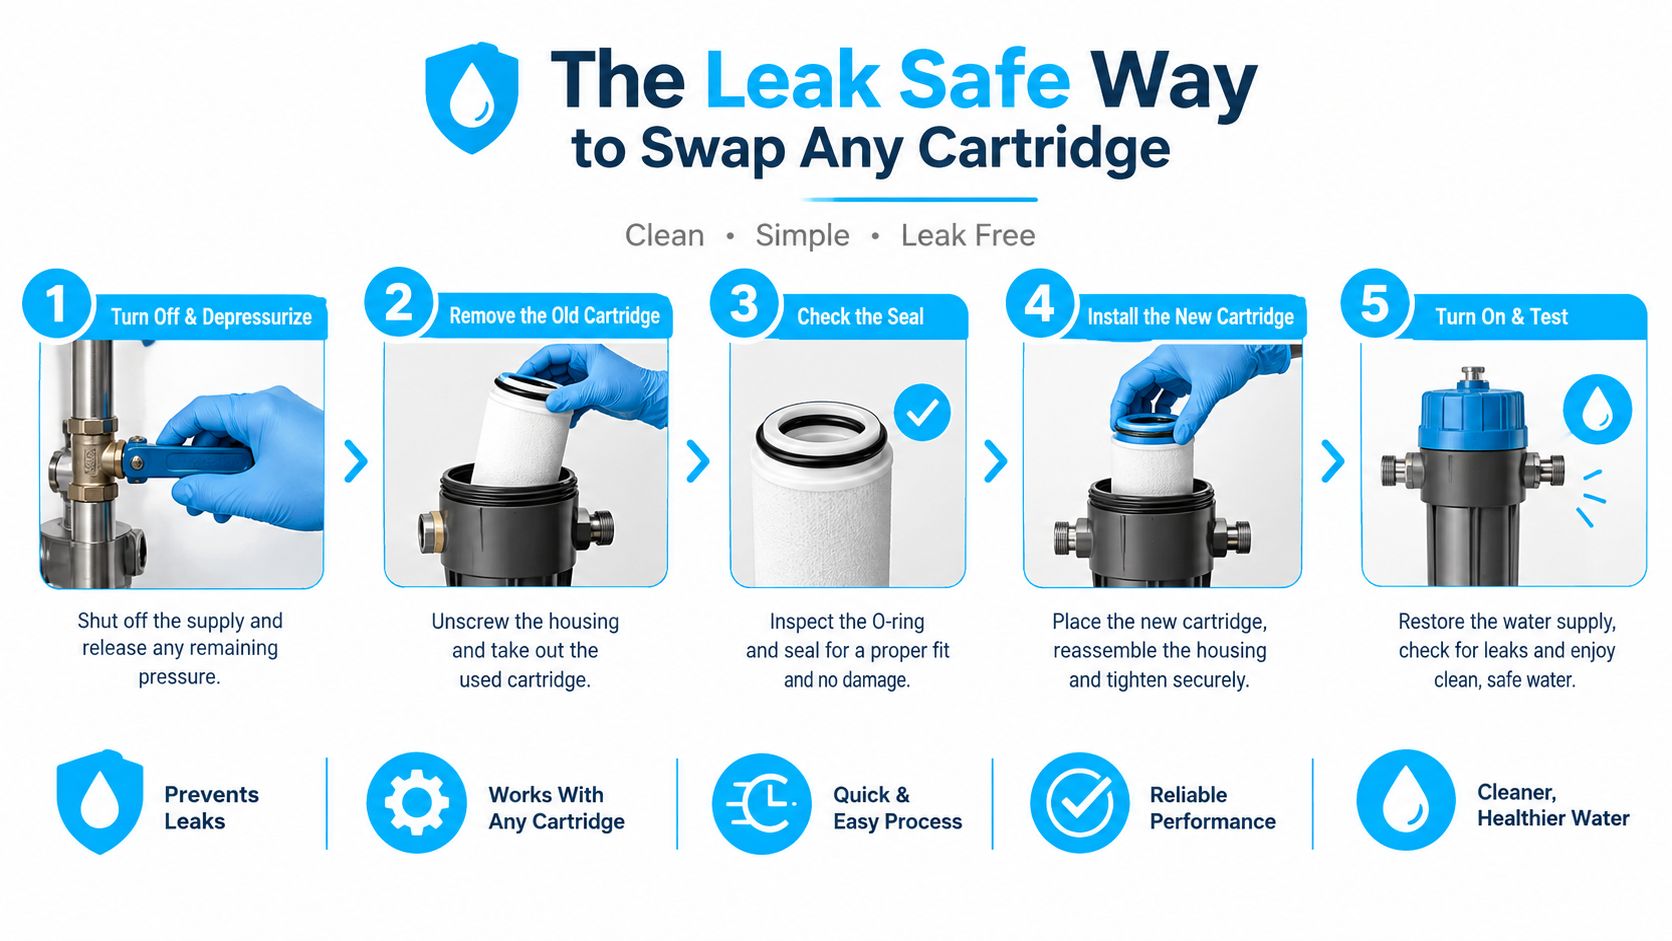
Restore water slowly. Watch the housing, head, fittings, and nearby tubing as pressure returns. A slow opening gives the O-ring time to settle and makes it easier to catch a seep before it becomes a spray. If water appears around the sump, shut the supply again, relieve pressure, and inspect the seal instead of tightening blindly.
Flush the new cartridge through a cold-water outlet. Carbon cartridges can release fine black particles, often called carbon fines, during the first use. One Pentair guide specifies flushing at full flow for about 5 minutes, while another replacement guide describes 2 to 5 gallons as typical before the water clears. Follow the cartridge manufacturer's instruction when it differs. The Pentair cartridge data sheet provides a manufacturer example of the flush requirement.
Keep the faucet open while flushing and watch for sputtering, discoloration, or an unusual taste. Once the water runs clear, close the faucet and inspect every connection again. A dry paper towel placed beneath the housing can reveal a small drip that isn't obvious by sight.
How Housing Types Change the Process
The universal sequence works because it protects the seal and controls pressure, but the hands-on experience varies considerably by housing. A pitcher is simple and portable. A whole-house sump can be awkward, heavy, and full of water. Refrigerator and under-sink systems sit between those extremes, with their own release mechanisms and clearance problems.
| Housing Type | Release Method | Key Nuance | Flush Guidance |
|---|---|---|---|
| Pitcher | Lift out the cartridge or reservoir insert | Soak or prime the new cartridge as directed, then seat it firmly | Discard initial batches until water runs clear and tastes normal |
| Refrigerator | Twist-in, push-button, or pull-out release | Match the exact appliance cartridge and reset the indicator | Run the dispenser until air and carbon fines clear |
| Under-sink | Shutoff valve and threaded housing, or enclosed quick-change head | Cabinet access makes bucket placement and O-ring inspection easy to overlook | Flush through the dedicated faucet before drinking |
| Whole-house | Inlet shutoff, bypass, pressure relief, and housing wrench | Support the water-filled sump and restore pressure gradually | Flush with cold water through a nearby outlet and check multiple fixtures |
Pitchers and countertop units
Remove the reservoir so you can work over a sink rather than a countertop. Prime the cartridge according to its instructions, seat it squarely, and confirm that water isn't bypassing the cartridge around an imperfect fit. If the first water looks gray or carries a carbon taste, continue flushing rather than serving it.
Refrigerator filters
Refrigerator releases vary. Some cartridges twist into the filter head, while others release with a push button or pull tab. Don't force a cartridge that won't turn. A pressure condition, misaligned locking mechanism, or incorrect model can make removal feel stuck. After installation, run the dispenser until air sputtering and carbon fines have cleared, then reset the filter indicator if the appliance uses one.
A GE Appliances refrigerator cartridge illustrates why model instructions matter. Its specified limit is every 6 months, earlier after 170 gallons, or when dispenser or icemaker flow decreases. The GE refrigerator filter specification uses both time and volume triggers.
Under-sink and whole-house housings
Under-sink work is mostly a clearance battle. Put the bucket where the sump will drop, protect the cabinet base, and check that the shutoff valve stops flow before loosening anything. Two-stage systems may have different cartridges in sequence, so match each replacement to its position rather than treating both housings as interchangeable.
Whole-house systems demand more physical control. Use the bypass when the plumbing layout provides one, support the sump as it comes free, and restore the main supply gradually. A filter that is too restrictive for the home's demand can produce low flow even when the installation is otherwise correct.
When to Replace and Why Looks Can Mislead
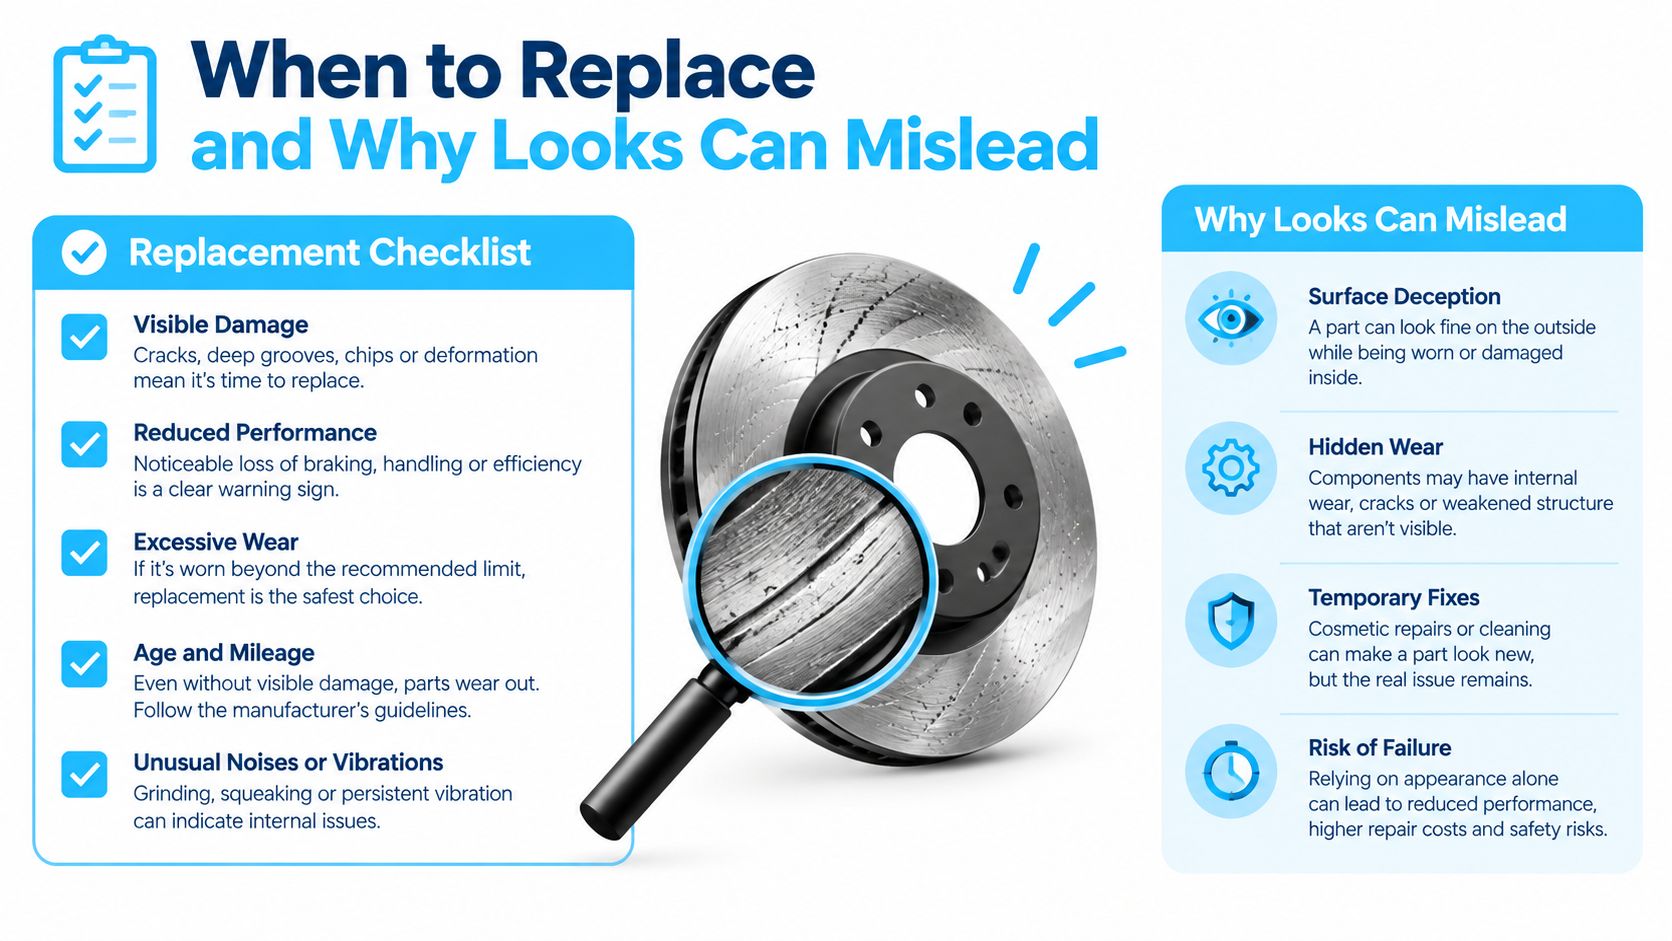
A cartridge can look almost new when its useful capacity is already gone. Water clarity is a poor replacement test for activated carbon, since carbon can exhaust without changing the water's appearance. Taste and odor may also seem normal near the end of service life. Use the manufacturer's rated gallons or months as the main reference, rather than judging the cartridge by sight, as noted in NSF's consumer guidance on filter replacement.
Capacity should lead the schedule, while performance changes provide an early warning. Industry guidance places many sediment cartridge schedules around 2 to 3 months, activated carbon around 6 to 12 months, and reverse osmosis membranes around 2 to 5 years. Actual service life depends on cartridge type, water quality, household usage, and rated capacity. Typical rated capacities include roughly 500 to 2,000 gallons for sediment cartridges, 500 to 1,000 gallons for carbon block cartridges, and 10,000 to 75,000 gallons for RO membranes, according to industry cartridge replacement guidance.
Use capacity and pressure together
Calendar timing helps when the system has no meter, but it should not be the only check. Record the installation date and track gallons when the equipment provides that information. A clear drop in flow, or pressure below about 10 psi, can indicate pore loading and reduced effective capacity, based on replacement schedule guidance for water filter cartridges.
For reverse osmosis, check TDS rejection as another diagnostic. A drop below about 85% TDS rejection is a replacement signal for an RO membrane. Do not wait for an unpleasant taste when the cartridge is intended to reduce a health-related contaminant.
Certification also needs to match the job. Standard 42 covers aesthetic concerns such as taste and odor, Standard 53 covers health-related contaminants such as lead, and Standard 58 covers reverse osmosis systems, as explained in cartridge type and certification guidance.
Lead-reduction cartridges are not a wait-and-see product. Replace them at the manufacturer's rated capacity. Breakthrough can occur after capacity is exhausted even when the water still looks and tastes normal.
Label the housing with the installation date and rated gallons. If the system has a meter, record its reading at installation and during service checks. The same habit of matching a symptom to the correct component applies when you replace bathroom tap washers, but faucet repair parts and drinking-water cartridges have different jobs and replacement triggers.
Finishing Touches Troubleshooting and Responsible Disposal
A successful swap ends with verification, not with the moment the housing feels tight. Flush the cartridge, run cold water until it clears, and check the sump, fittings, tubing, and faucet connection with a dry towel. Purge trapped air if the faucet sputters, then reset the refrigerator or system indicator light if one is installed.
Common problems usually point to one missed detail:
- A drip at the housing: Shut off the supply and inspect for a pinched, twisted, dirty, or damaged O-ring.
- Black particles or lingering taste: Continue the recommended carbon flush. If the issue persists, verify that the cartridge is genuine and correctly installed.
- Low flow immediately after replacement: Check cartridge orientation, the micron rating, open valves, and whether the cartridge is seated evenly.
- A persistent odor: Confirm that the cartridge matches the contaminant concern and hasn't exceeded its rated capacity.
Keep the spent cartridge in a bag while it drains. Recycling depends on the manufacturer and local program, so check the cartridge packaging or contact the maker before placing it in household recycling. Don't assume a mixed-media cartridge belongs in the recycling bin just because its plastic shell looks recyclable.
A spare certified cartridge prevents rushed substitutions, but store it sealed, dry, and away from chemicals. Record the model and capacity beside the installation date so the next change is based on evidence rather than memory.
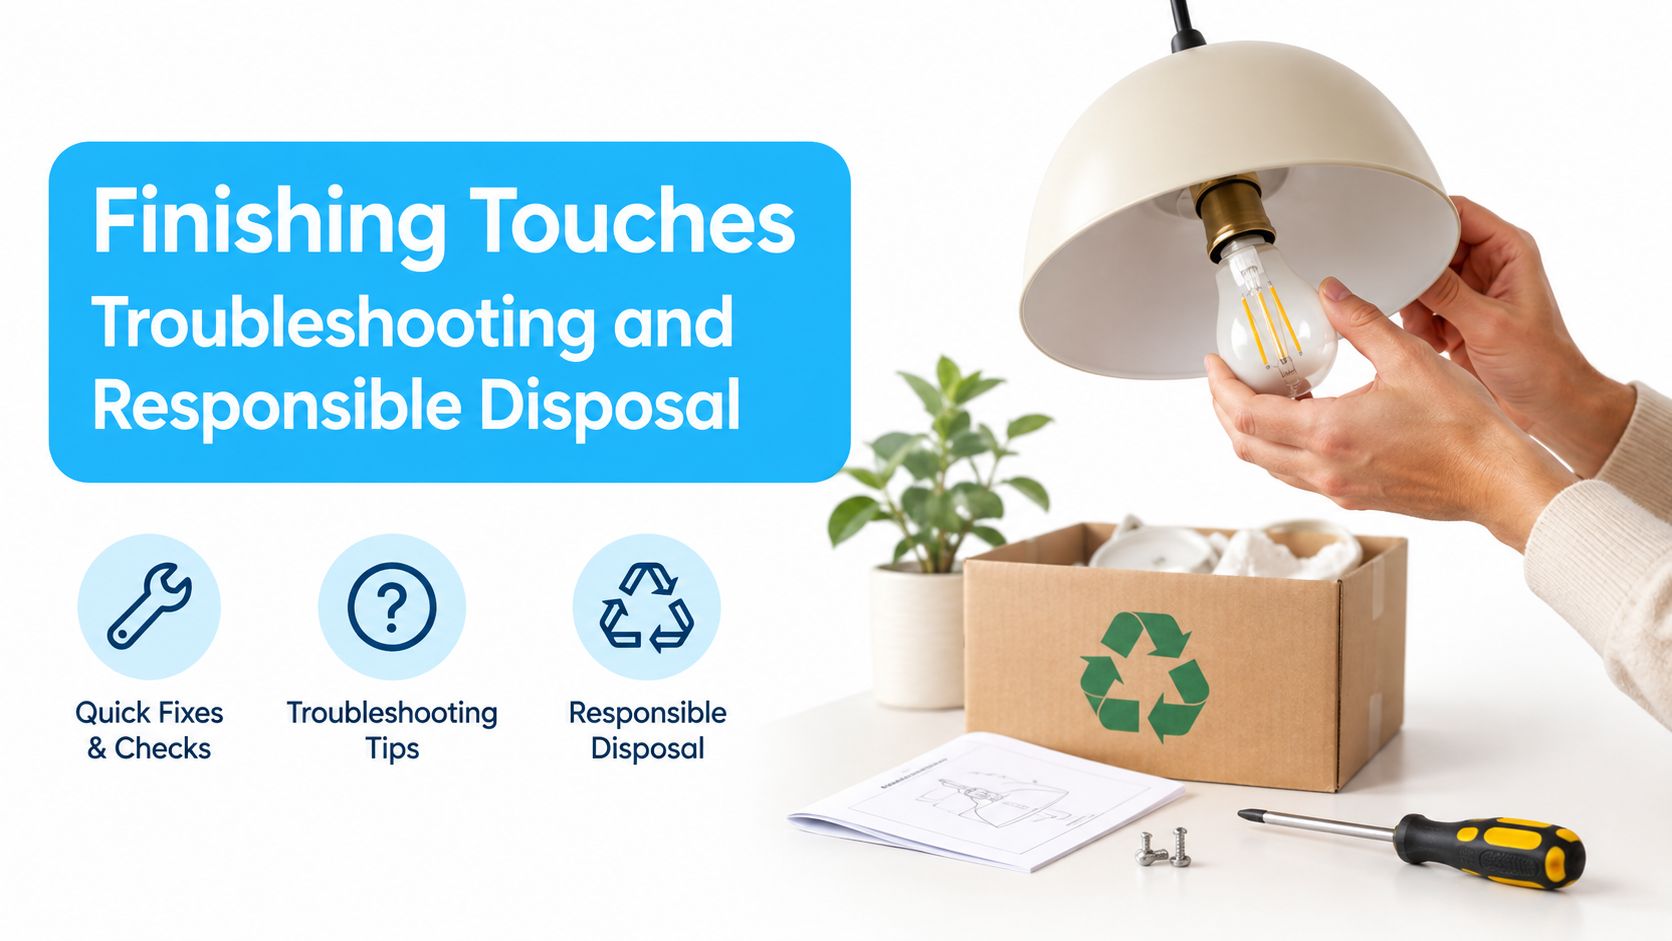
The reliable routine is simple: match the cartridge, protect the O-ring, restore pressure slowly, flush fully, and log the change.
Water Filter Advisor offers practical buying guides and maintenance advice for whole-house, under-sink, refrigerator, faucet, shower, and portable filtration systems. Visit Water Filter Advisor to compare cartridge options, check certification details, and choose a replacement that matches your housing and water concerns.
- September 14, 2026
- Uncategorized
