
A sediment filter for well water is your home's bouncer. It stands at the door and stops all the riff-raff—grit, sand, silt, rust—from crashing your plumbing party. Its one and only job is to physically block these unwelcome guests, protecting your pipes, faucets, and expensive appliances from getting clogged and destroyed. If you're on a private well, it's the most critical first step you can take to get clean, clear water from every tap.
Why Your Well Water Looks Like Swamp Tea
Ever fill a glass from your tap and notice it's cloudy, gritty, or has that sad, brownish tint? That’s sediment, the number one headache for well owners. Your well pulls water directly from underground aquifers, and on its journey up, that water naturally grabs tiny bits of sand, clay, and rust from the surrounding rock and soil.
Think of your well as a giant milkshake straw stuck in the ground. It’s meant to suck up water, but it's going to pull in some of the surrounding dirt, too. Without a filter in place, all that grit flows straight into your house, ready to cause chaos.
The Hidden Costs of Gritty Water
A little cloudiness might not seem like a big deal, but those tiny, abrasive particles are like liquid sandpaper tearing through your home's plumbing. Over time, the wear and tear really adds up, leading to some truly eye-watering repair bills.
This isn't a rare problem. Roughly 23 million households in the US depend on private wells, and sediment is one of the most common complaints. This grit is famous for clogging pipes and wrecking appliances, costing homeowners an average of $1,500 a year in repairs. You can read more about the future trends in the water filter market that underscore this very issue.
So, what's actually at risk?
- Appliances: The small, delicate valves and pumps in your dishwasher, washing machine, and ice maker get clogged easily. That means expensive service calls or having to replace them years before you should.
- Faucets and Showerheads: Sediment builds up in the aerators and nozzles, slowing your water flow down to a pathetic trickle. Say goodbye to satisfying showers.
- Hot Water Heaters: Grit settles at the bottom of the tank, forming a thick, energy-sucking blanket. This forces the heater to work harder just to heat the water, wasting energy and eventually burning out the heating element.
- Other Water Filters: If you have a water softener or a UV purifier, sediment will absolutely destroy them. It clogs the sensitive resin beads in a softener and coats the quartz sleeve of a UV lamp, making it completely ineffective.
A sediment filter for well water is like the bouncer for your home's plumbing. Its sole job is to stop troublemakers like sand and silt at the door, preventing them from crashing the party and wrecking your expensive appliances. This simple, first line of defense is non-negotiable for protecting your investment.
Choosing Your Well's First Line of Defense
Picking the right sediment filter for your well isn't a one-size-fits-all deal. Every well has its own personality—some cough up sand and grit, while others are full of fine, cloudy silt. Getting this choice right is the key to clear water without the headache of constant filter changes.
It's like picking the right tool for the job. You wouldn't use a sledgehammer to hang a picture, right? The same logic applies here. Your filter needs to match the kind of sediment your well is kicking out.
This simple chart shows the first step in figuring out what's going on with your water.
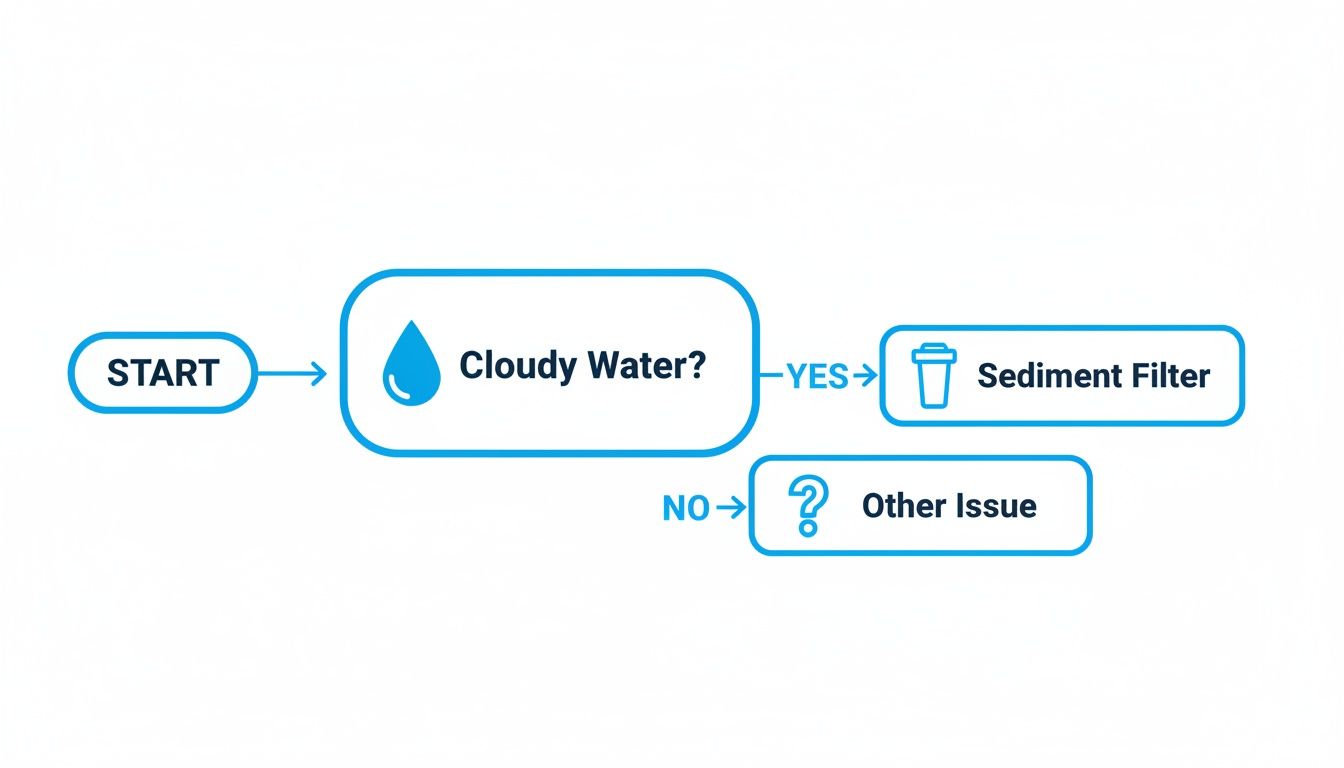
If your water is cloudy, a sediment filter is the first logical place to start. Let's dive into the main types you'll be looking at.
The Heavy-Hitting Spin-Down Filters
If you can actually see sand or grit in your water, you need a spin-down filter. These are the workhorses for heavy-duty sediment. They use centrifugal force to literally spin the grit right out of your water, collecting it at the bottom of a clear bowl.
The best part? Maintenance is incredibly simple. No swapping cartridges. Just open a little valve at the bottom to flush all the gunk out. It takes seconds and you don't need any tools.
- Best For: Wells with a lot of sand, grit, or other big, visible particles.
- Pros: They're reusable, a breeze to clean, and the clear housing lets you see exactly what you've caught.
- Cons: They won't catch the super-fine stuff. Think of them as a pre-filter, not a fine polisher, as they struggle with anything below 40-50 microns.
The Detail-Oriented Pleated Cartridges
For that hazy, cloudy look caused by much finer particles, a pleated cartridge filter is what you want. Picture an accordion-style design. All those pleats create a massive surface area to trap a ton of fine sediment without killing your water pressure.
These are the finishers, catching the tiny particles that a spin-down might miss. Most are made from polyester, so you can often rinse and reuse them a few times before they need to be replaced, which is a great value.
When you're trying to improve your well water, a good sediment water filter is the foundation, and pleated cartridges are a popular and solid choice. They work great on their own for cleaner wells or as a second-stage filter after a spin-down for total sediment removal.
The Depth-Specialist Filters
Last up are the string-wound and spun-polypropylene filters, often just called depth filters. These are specialists designed to trap particles of all different sizes through the entire thickness of the filter, not just on the outside surface.
Think of a depth filter like a dense thicket of bushes. The big stuff gets caught on the outer branches, while smaller particles work their way deeper before getting snagged. This design keeps the filter from clogging up on the surface and gives it a much longer life.
- String-Wound Filters: Use tightly wound cords (like cotton or polypropylene) to create a web that gets denser toward the core.
- Spun Filters: Are made by melting and blowing polypropylene fibers into a cylinder, creating a similar graded density.
Because these filters trap gunk all the way through, you can't clean them. Once they're full, you just toss them and put a new one in. Their incredible dirt-holding capacity makes them a go-to for wells where the sediment is all over the place in terms of size.
For a deeper dive into all your filtration options, you can check out our general water filter advice to help make the right choice for your home.
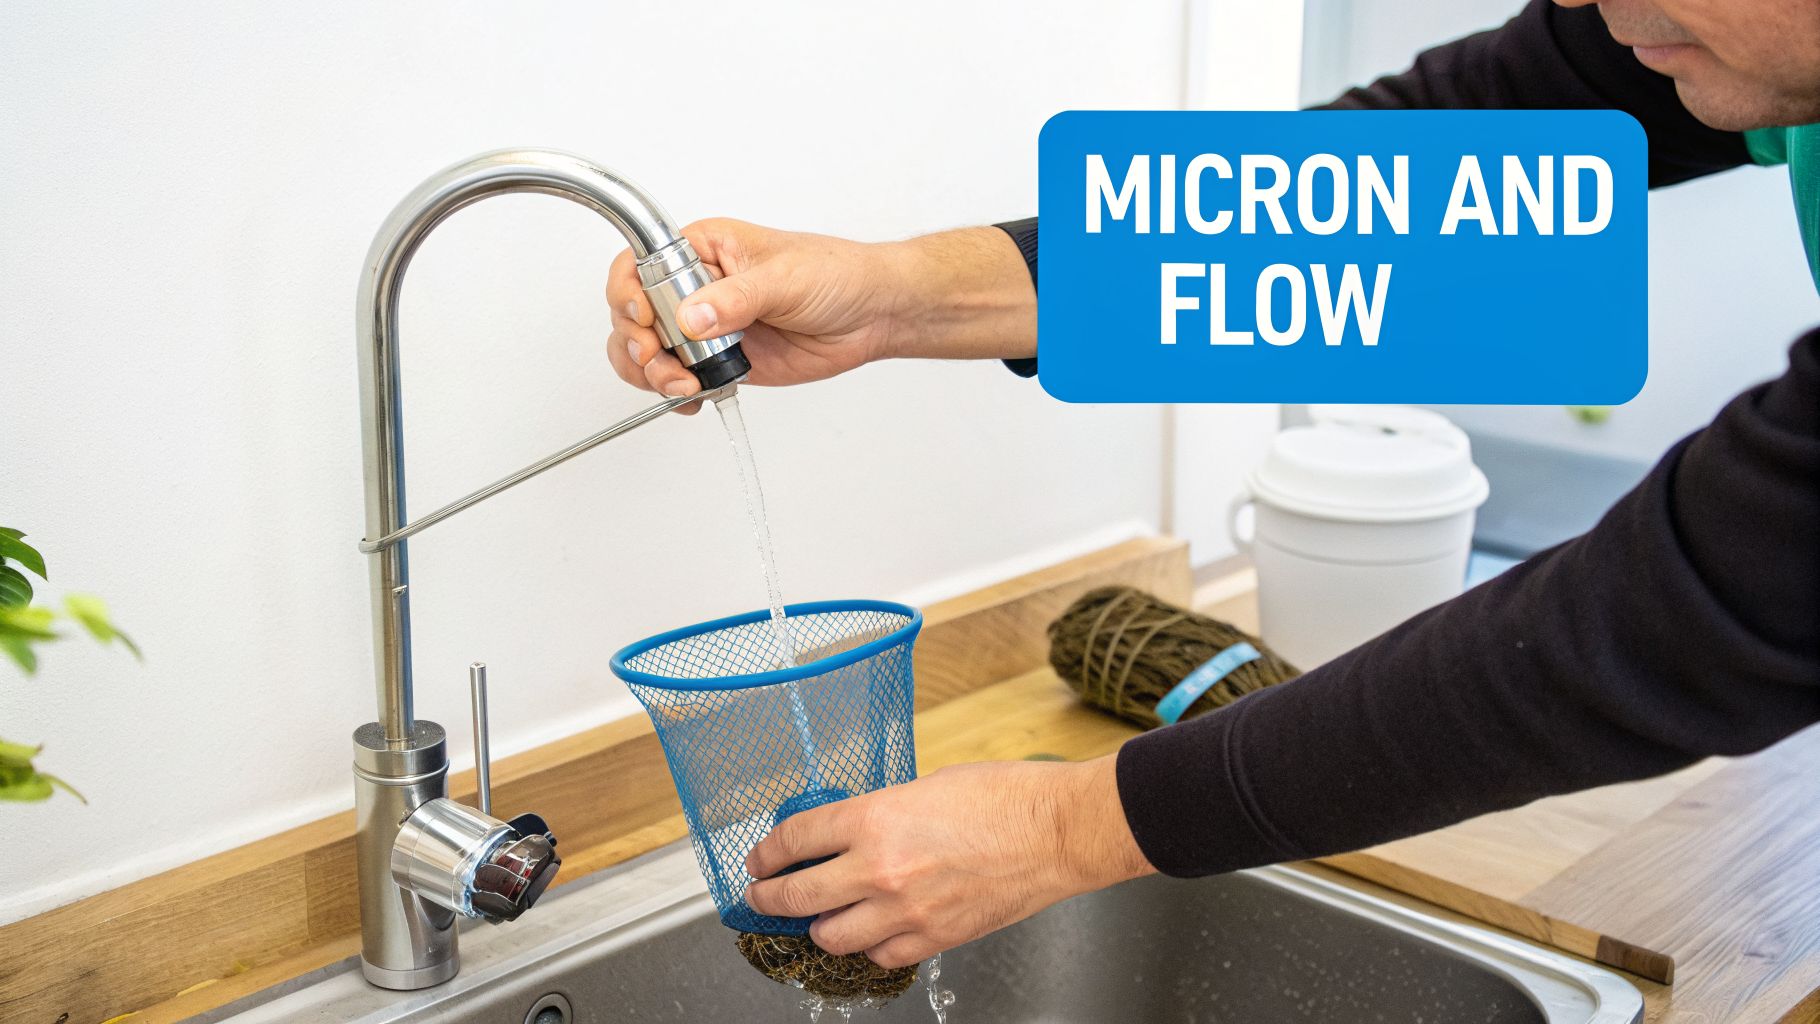
Matching Your Filter to Your Water Flow
Picking the right sediment filter isn't just about grabbing one off the shelf. You need to match it perfectly to your well's unique conditions. Getting this wrong means you'll either get cloudy water or a frustrating trickle from your taps.
Two numbers are key: the micron rating and the flow rate (GPM). Nailing these two is the secret to a system that just works.
What's a Micron Rating?
The micron rating simply tells you how small of a particle the filter can stop. A micron (µm) is tiny—one-millionth of a meter. For perspective, a single human hair is about 50-70 microns thick, and the smallest speck you can see is around 40 microns.
Think of it like fishing. A wide net catches the big fish but lets the little ones slip through. A fine-mesh net catches everything. Sediment filters are the same way.
- Higher micron ratings (like 50 microns) are your wide net. They're great for catching big stuff you can see, like sand and bits of rust.
- Lower micron ratings (like 5 microns) are the fine-mesh net. They grab the tiny, invisible particles like silt and clay that make your water look murky.
A common mistake is going too fine, too fast. If your well water is full of sand, a 1-micron filter will clog in no time. It's almost always better to start with a larger rating, like 20-50 microns, and see if that clears things up.
The right micron rating depends entirely on what kind of gunk is in your water. This is especially true for wells, where sediment can change from day to day.
Here's a quick guide to help you match your filter to the problem.
Matching Micron Rating to Sediment Type
| Sediment Type | Common Appearance | Recommended Micron Rating |
|---|---|---|
| Sand & Grit | Visible particles that settle quickly | 25-100 microns |
| Silt | Fine, silky particles causing cloudiness | 5-20 microns |
| Clay | Extremely fine particles; water looks murky | 1-5 microns |
This table should get you in the right ballpark. If your water looks like it has a mix, you might need a multi-stage approach, but starting with the right primary filter is the most important step.
Sizing Your Filter for Your Home's Flow Rate
The other critical number is flow rate, measured in gallons per minute (GPM). This is all about how much water can move through the filter without losing pressure.
If the filter's GPM is too low for your home, you'll feel it immediately. It’s like trying to push a river through a skinny garden hose—the pressure plummets. Your shower will turn into a sad dribble the moment someone flushes a toilet.
This is a massive issue for well owners. USGS data shows that a staggering 43% of private wells in the US have high turbidity. After a heavy rain, sediment can spike by 300%. All that grit chews up well pumps, causing them to fail 25% faster and leading to $500 million in replacement costs every year in the US. You can discover more insights about the commercial water filtration market to see just how common this problem is.
To keep your water pressure strong, your filter's GPM must be higher than your home's peak demand. Here’s a quick way to figure that out:
- Count your fixtures: Tally up every sink, shower, toilet, dishwasher, and washing machine.
- Use standard GPM values:
- Shower/Bathtub: 2.5 GPM
- Toilet: 1.6 GPM
- Kitchen/Bathroom Faucet: 1.5 GPM
- Dishwasher: 1.5 GPM
- Washing Machine: 2.0 GPM
- Add it up: Think about a busy morning. A shower (2.5), a toilet flush (1.6), and the dishwasher running (1.5) all at once is a peak demand of 5.6 GPM.
For that family, a filter rated for at least 6 GPM is the bare minimum. To be safe, I always recommend a filter rated for 10-15 GPM. This gives you a nice buffer so you never have to think about losing water pressure again.
Installing Your Filter for Maximum Protection
Picking the right sediment filter for well water is half the battle. Where you put it is the other half, and it's just as important. Think of your water system as an assembly line—you have to get the first step right for everything else to work.
Here’s the single most important rule for well water filtration: the sediment filter always goes first. It needs to be the very first thing your water hits after leaving the pressure tank. No exceptions.
This isn't just a friendly suggestion. Placing your sediment filter at the front of the line is the foundation for a system that actually works and doesn't break down on you.
The Gatekeeper for Your Entire System
Imagine throwing a handful of sand into the gears of a complex machine. That’s what you're doing if you install other filters before the sediment filter. That abrasive grit will clog up sensitive valves, ruin expensive filter media, and cause all sorts of headaches.
The sediment filter’s main job is to be the bodyguard for your more expensive, specialized equipment. It’s designed to take the hits so the rest of your system doesn't have to.
Here’s a look at what your sediment filter is protecting:
- Water Softeners: The resin beads inside a softener are tiny and delicate. Sand and silt will foul them up in no time, making your softener completely useless. Protecting that resin is the key to keeping your water soft and your unit alive.
- Carbon Filters: Carbon blocks are amazing for removing chemicals, but they clog easily with sediment. This creates "channeling," where water just finds a path around the carbon, leaving contaminants in your water.
- UV Purifiers: A UV system needs clear water to work. If the quartz sleeve protecting the UV lamp gets coated with a film of sediment, that light can't zap the bacteria. The whole system becomes ineffective.
Strategic placement is non-negotiable. Installing your sediment filter first prevents the premature failure of other filters and appliances, saving you hundreds, if not thousands, of dollars in replacement costs and service calls down the road.
Maximizing Efficiency and Saving Money
Getting the placement right isn't just about protection; it's about making sure the whole system runs like a well-oiled machine. When your other filters aren't constantly fighting a battle against grit and sand, they can do the jobs they were designed for.
Better efficiency means you save real money. A good multi-layer sediment filter can achieve 99.9% removal of particles down to 5 microns at flow rates up to 30 GPM. For well owners, this simple step can extend the media life of a water softener by up to 40%. You can learn more about global water purifier trends to see how technology is advancing.
Putting your sediment filter first isn't just about catching dirt. It's a smart investment in the health of your entire water system. It’s the one move that ensures every other part works better, lasts longer, and delivers the clean, safe water your family deserves.
A DIY Guide to Filter Installation and Care
Installing and maintaining your own sediment filter is a manageable DIY job. With the right tools and some planning, you can get your system running perfectly, save a few hundred dollars on a plumber, and get to know your home's water system inside and out.
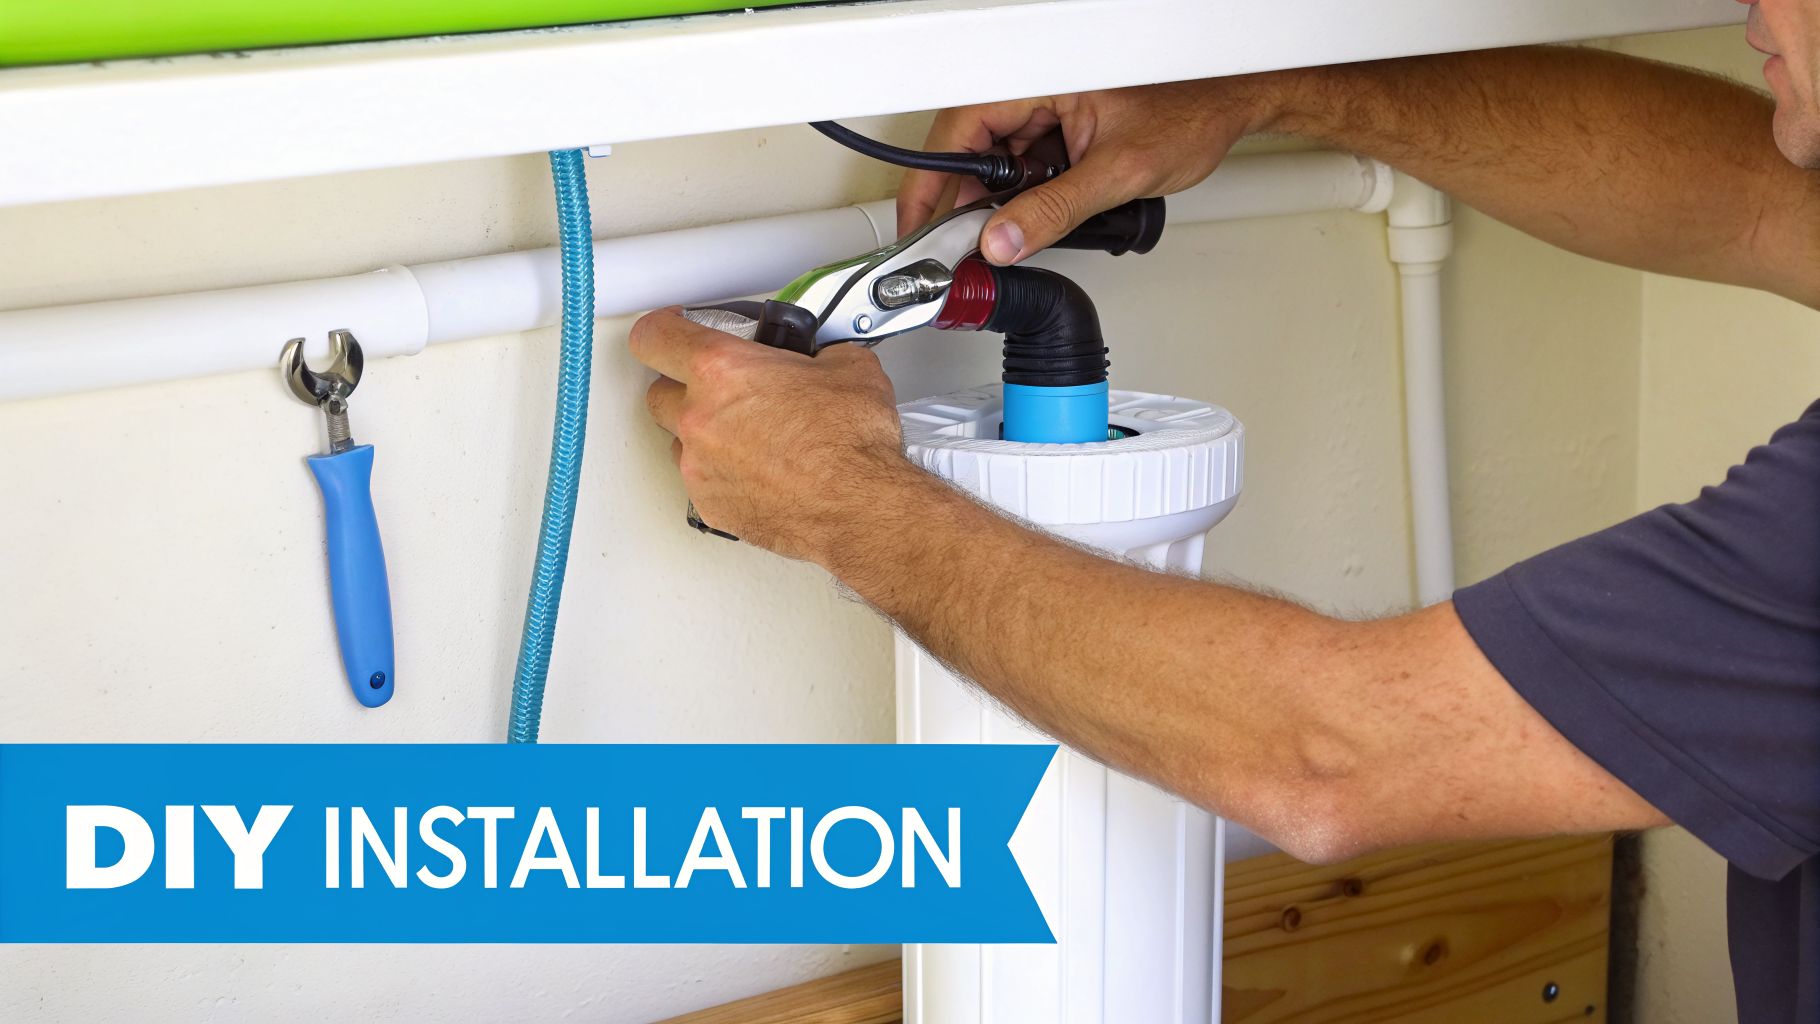
This guide will walk you through the installation and then cover the simple, regular tasks needed to keep your water clean. Let's get to it.
Step-by-Step Installation Checklist
Before you start, get your tools and parts together. You'll need the filter housing, mounting bracket, a filter cartridge, pipe cutters, two shut-off valves, and the right fittings for your plumbing (PEX, copper, etc.). Always double-check the manufacturer's guide, but these are the universal steps.
Shut Off the Water: This is the most important step. Find your main shut-off valve—it's usually near the pressure tank—and close it. Open a faucet somewhere else in the house to drain the lines.
Choose the Location: The sediment filter for well water is always installed right after the pressure tank. Pick a spot on the pipe where you'll have enough room to mount the unit and, more importantly, to swap out the filter later.
Cut the Pipe: Measure the total width of your filter assembly with the shut-off valves attached. Mark this length on the pipe and use a pipe cutter to make two clean, straight cuts.
Install Shut-Off Valves: Add a shut-off valve to each end of the pipe you just cut. You'll thank yourself later—these let you isolate the filter for maintenance without turning off water to the entire house.
Mount the Filter: Screw the mounting bracket securely to a wall stud. Attach the filter housing to the bracket. Pay close attention to the "IN" and "OUT" arrows to make sure it's aligned with the water flow from the well.
Connect the Plumbing: Use your fittings to connect the shut-off valves to the filter's "IN" and "OUT" ports. Use Teflon tape on the threads to get a good seal, but be careful not to overtighten plastic fittings, which can crack.
Turn Water On & Check for Leaks: Slowly open the main water valve. Next, open the inlet valve to the filter and let the housing fill up. Press the red pressure-relief button on top of the housing to bleed out the air. Once water starts to spurt out, open the outlet valve. Now, carefully check every single connection for drips.
Smart Maintenance for Lasting Performance
Installation is a one-time thing. The real key to clean water is knowing when to do maintenance.
The pro trick for filter maintenance is to use pressure gauges. Install one gauge before the filter and another right after it. A new filter should only cause a pressure drop of 1-2 PSI. When you see that drop increase to 8-10 PSI, the filter is clogged. It's time for a change—no more guesswork.
This method is way better than just following a calendar. A big rainstorm can stir up sediment in your well, clogging a filter in a few weeks that might have lasted for months otherwise.
A Simple Maintenance Schedule
Your routine depends on the type of filter you have. A basic schedule will keep things running smoothly.
For Cartridge Filters:
- Monthly: Give the housing a quick visual check for any leaks.
- As Needed: When your pressure gauge tells you it's time, replace the cartridge. Turn off the in/out valves, hit the relief button, and unscrew the housing. Swap the old filter for a new one, check that the O-ring is in good shape, and screw it all back together.
For Spin-Down Filters:
- Weekly: Look at the clear bowl. If you can see sediment building up, it's time for a flush.
- To Flush: Just open the purge valve at the bottom for about 30 seconds. The water pressure will shoot all the gunk out. That’s it. No tools needed.
Common Questions About Well Sediment Filters
Once your filter is in, you can finally enjoy clean, clear water. But it's normal for a few questions to pop up as you get used to the new system. We’ll cover the most common ones that people ask after the installation is done.
Getting these details right will help you keep your system running perfectly for years.
How Often Should I Really Replace My Sediment Filter Cartridge?
This is the big one. The honest answer? It depends. That "3-6 months" on the box is just a wild guess. The real timeline is set by your specific well's water quality and how much water your family uses.
A well with lots of sediment might need a new filter every month. A cleaner well might go for a year. Instead of guessing, here’s how to know for sure:
- Install Pressure Gauges: This is the best way. Put one gauge on the pipe right before the filter housing and one right after. A new filter will have a tiny pressure drop, maybe 1-2 PSI.
- Watch the Drop: As the filter clogs with dirt, that pressure drop gets bigger. Once the difference between the two gauges hits 8-10 PSI, the filter is full. Time to change it.
Using pressure gauges takes all the guesswork out of maintenance. You change filters based on real data, not a random date on the calendar. You won't waste money changing them too soon or strain your pump by waiting too long.
Can a Sediment Filter Remove Iron or Sulfur Smells?
Nope. A sediment filter for well water has one job: removing physical bits of sand, dirt, and rust. It can't touch dissolved contaminants that cause stains and bad smells.
Think of it like a screen door. It stops bugs (sediment) from getting in, but it can't stop smells (dissolved gases) from drifting through.
- Iron Staining: Those orange stains in your sinks are from dissolved ferrous iron. A sediment filter only catches solid rust particles, not the dissolved iron that causes the stains. You’ll need a dedicated iron filter installed after the sediment filter to handle that.
- "Rotten Egg" Smell: That nasty sulfur smell comes from hydrogen sulfide gas dissolved in the water. It sails right through a sediment filter. An aeration system or a carbon filter is what you need to fix that problem.
Will a Sediment Filter Tank My Water Pressure?
A correctly sized filter won't cause a noticeable drop in pressure. If your water pressure plummets right after you install one, something is wrong.
The most common problem is that the filter is too small for your home's flow rate (GPM). It’s like trying to fight a fire with a garden hose—the equipment just can't keep up. This is why the "Big Blue" 4.5-inch diameter filters are so popular for whole-house systems; they have a larger surface area that can handle higher flow rates without choking your pressure.
The other possibility is the filter clogged up fast. A big storm can churn up sediment in your well, sending a huge slug of dirt into your pipes that can clog a new filter in a matter of hours.
What Is the Difference Between Pleated and Spun Filters?
Pleated and spun filters look similar, but they work very differently. The right one for you depends on what kind of sediment is in your well water.
Pleated Filters:
Think of an accordion. The folds give a pleated filter a huge amount of surface area to catch particles. They are best at grabbing sediment where all the particles are about the same size.
- Best For: Water with uniform-sized sediment.
- Key Feature: Some can be rinsed and reused a few times, which can save money.
Spun (or Depth) Filters:
These are built more like a dense bundle of fibers, looser on the outside and tighter toward the middle. This design lets them trap big particles on the outer layers and finer silt deeper inside.
- Best For: Well water that has a mix of different-sized particles.
- Key Feature: They can hold a lot more dirt than pleated filters before they clog, but they are single-use and can't be cleaned.
For most wells, where the sediment can change from one day to the next, a spun depth filter is usually the most reliable choice. It's built to handle whatever the well throws at it.
At Water Filter Advisor, we're dedicated to helping you achieve the best possible water quality for your home. We provide the resources and expert guidance you need to choose, install, and maintain the perfect filtration system for your well. Explore our comprehensive buying guides and reviews to make a confident decision for your family's health and comfort at https://www.waterfilteradvisor.com.
- March 18, 2026
- 0
- Uncategorized