Alkaline Ionized Water Filters: A Homeowner’s Guide 2026
You've probably seen this happen. A friend buys a sleek countertop machine, starts talking about “ionized” water, and suddenly your plain tap filter looks old-fashioned. Then the ads start following you around. They promise cleaner water, higher pH, better hydration, and a long list of benefits that sound half science lesson, half wellness sermon.
That's where many homeowners get stuck. The words alkaline, ionized, filtered, and purified get mixed together so often that it becomes hard to tell what the machine does. And if you're spending serious money for something that sits under your sink or on your counter every day, the key questions aren't glamorous. You want to know whether it removes contaminants, whether it works with your local water, and what it will cost to keep running.
Alkaline ionized water filters require a more grounded explanation. The useful way to evaluate them isn't to start with hype. It's to start with the basics of water treatment in a home.
The Buzz About Alkaline Water
A lot of people first hear about alkaline water the same way. Someone says their water tastes smoother. An influencer says acidity is the problem. A product page shows glowing blue lights, molecular diagrams, and a list of features that makes the machine sound like a tiny lab.
That mix of marketing and partial science creates confusion fast. Some products are simple filters that add minerals. Some are electric appliances that use charged plates. Some do both. Many are sold with strong health messaging, even when the most important homeowner questions are much more practical.
The practical questions are less exciting, but they matter more:
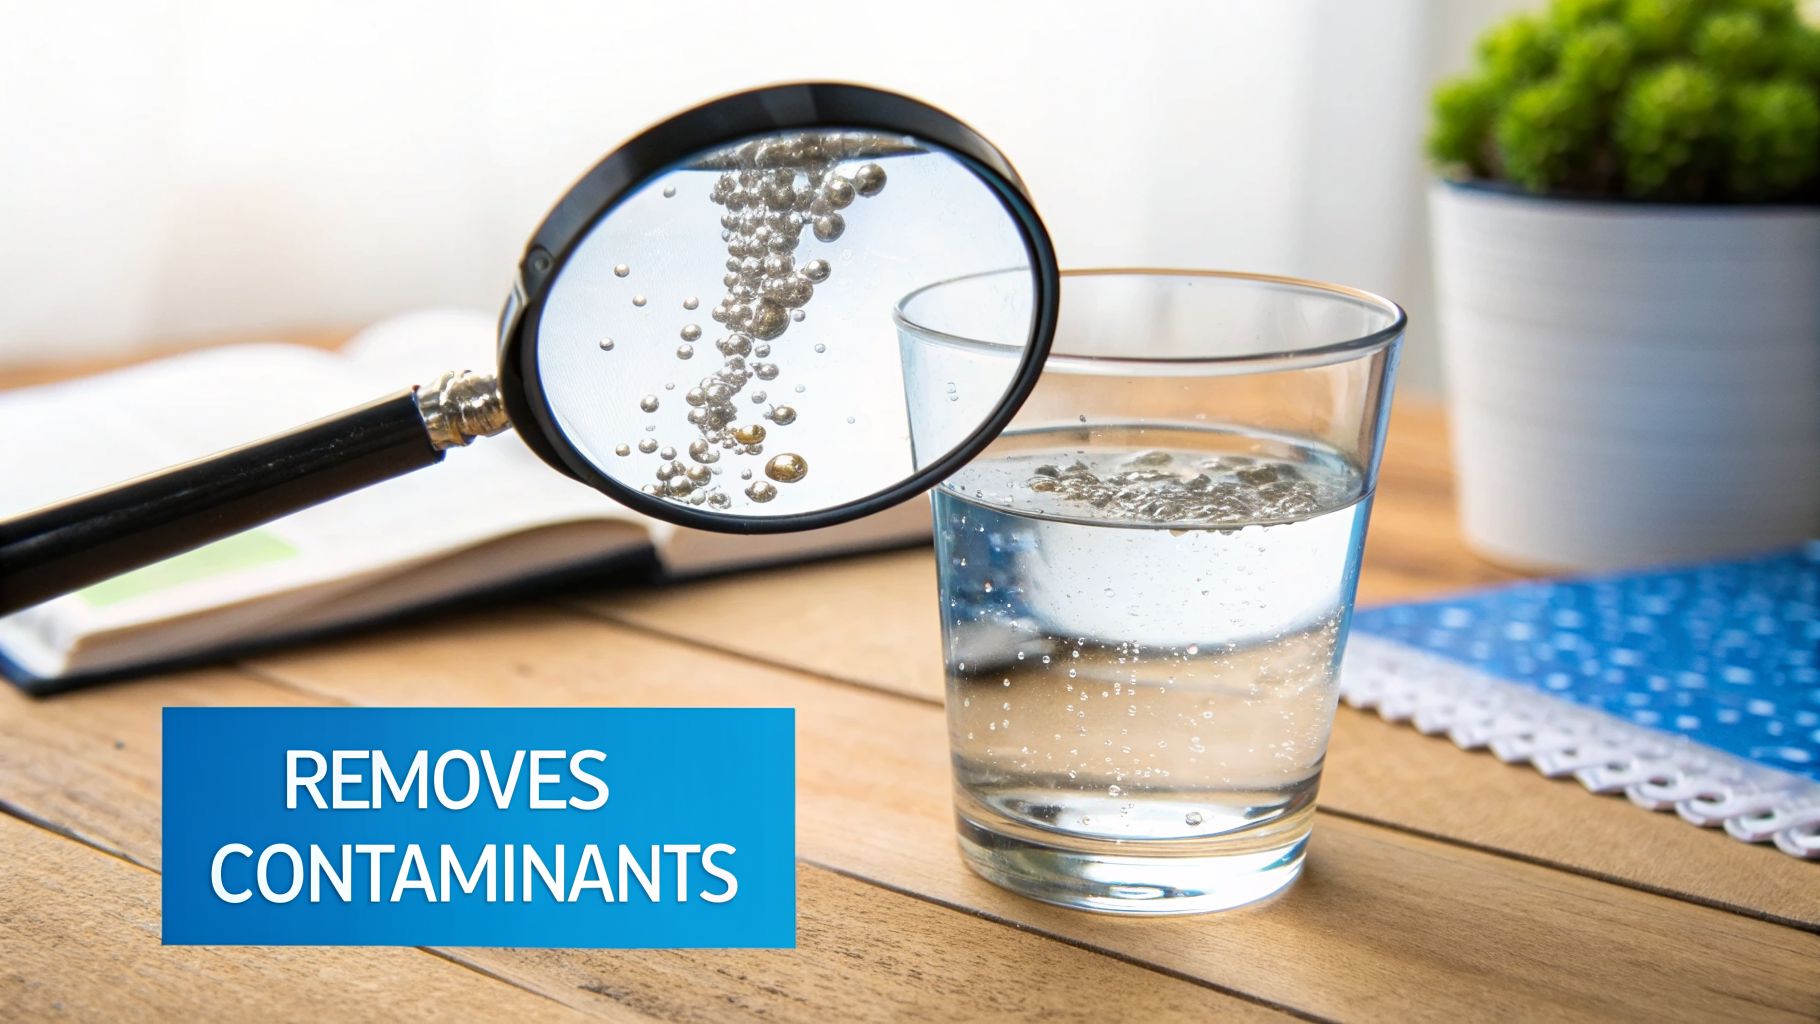
- Safety first: Does the system improve the water you drink every day?
- Filtration reality: What contaminants does it reduce, and what does it leave behind?
- Ownership cost: What happens after the first week, when filters age and parts need cleaning?
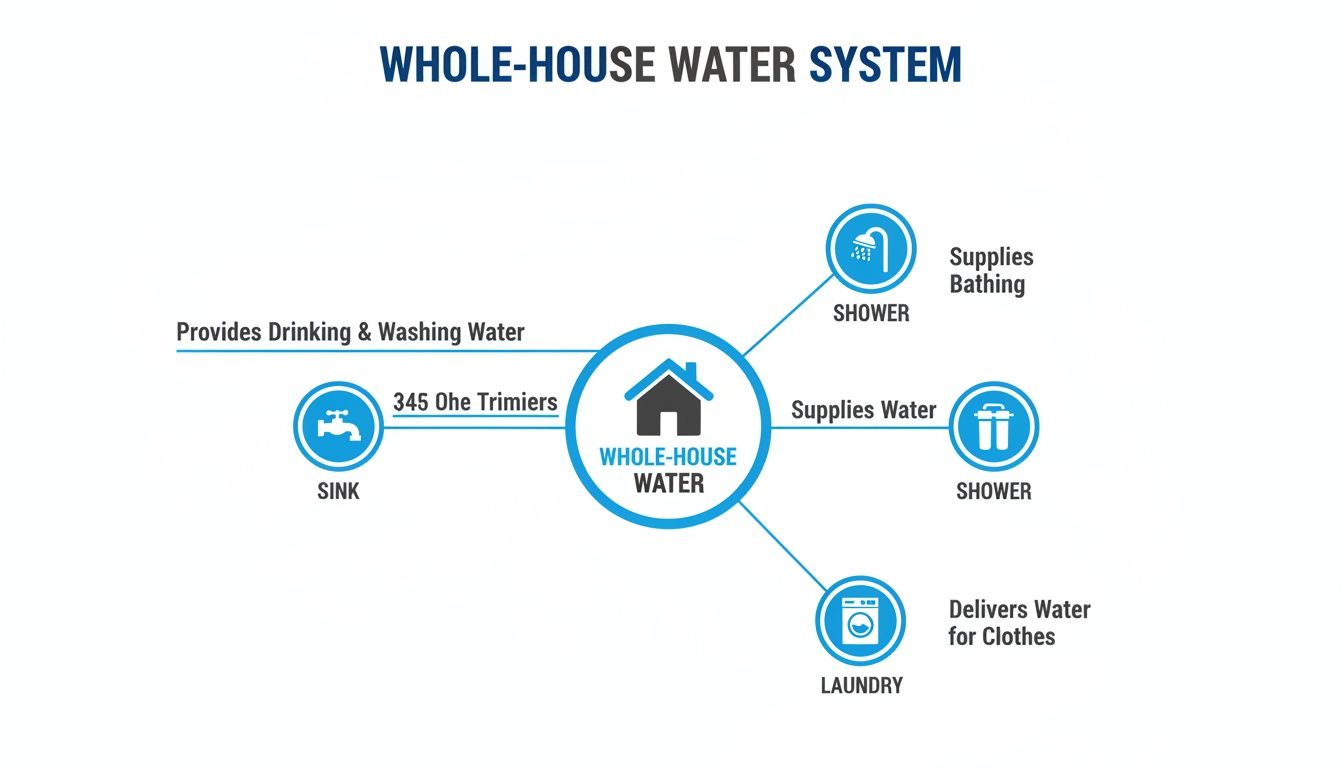
- Fit for your water: Will it perform the same on city water, well water, softened water, or water from a reverse osmosis system?
Most confusion starts when buyers treat “alkaline” and “filtered” as if they mean the same thing. They don't.
That's the key mindset shift. Water chemistry and water purification are related, but they are not identical. A machine can raise pH without being the best filter in the room. A strong filtration system can remove a wide range of contaminants without producing alkaline water at all.
Once you separate those ideas, alkaline ionized water filters become much easier to judge. You stop asking whether the claims sound impressive and start asking whether the system makes sense for your home.
What Are Alkaline Ionized Water Filters Anyway
The term alkaline ionized water filters sounds like one category. In practice, homeowners usually run into two very different products.
Two main categories:
Mineralizing alkaline filters raise pH by adding minerals.
Electric water ionizers use electrolysis to split water into alkaline and acidic streams.
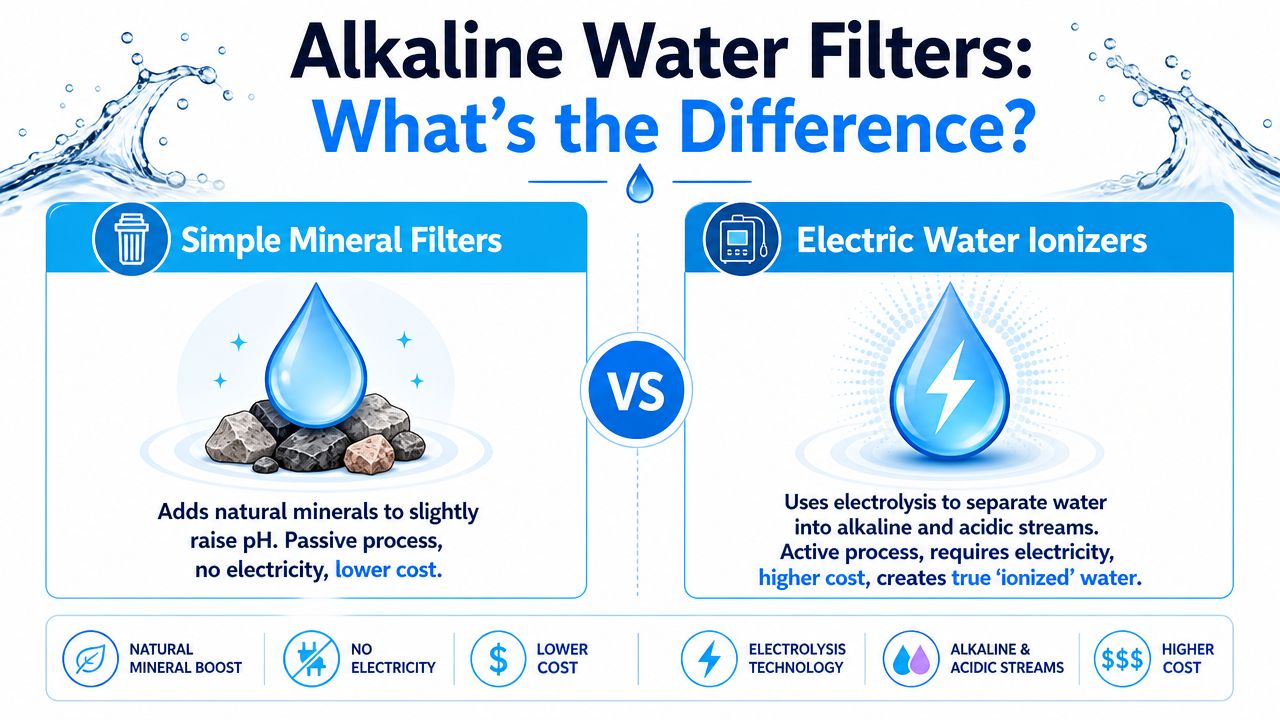
Independent explanations note that alkaline filters typically raise pH by adding minerals such as calcium carbonate, calcium, magnesium, or potassium, while ionizers use electrolysis. They also sit in very different price bands, with alkaline filters often estimated at about $30 to $200 and ionizers at about $500 to $5,000, according to this comparison of water ionizers and alkaline water filters.
Mineral filters are the simple version
A mineralizing alkaline filter is the easier one to understand. Water passes through filter media, then through a mineral stage that adds compounds which nudge the pH upward. It's similar to seasoning soup. You're not rebuilding the soup from scratch. You're adding a little of something that changes the final result.
These systems are usually passive. No power cord. No electrodes. No separate acidic stream. For many homes, that simplicity is the biggest advantage.
That doesn't make them superior in every case. It just means what they do is easier to understand and maintain.
Ionizers are appliances, not just filters
An electric ionizer is closer to a water-treatment appliance. Water flows through a prefilter stage, then enters an electrolysis chamber with charged plates. The machine uses electricity to create separate output streams.
That's why the word ionized matters. It points to a process, not just a taste or pH result.
Here's where buyers often get tripped up:
- A higher pH result doesn't tell you how the machine got there.
- “Alkaline” on the label doesn't guarantee strong contaminant removal.
- The more complex the machine, the more maintenance questions you should ask.
Why this distinction matters at home
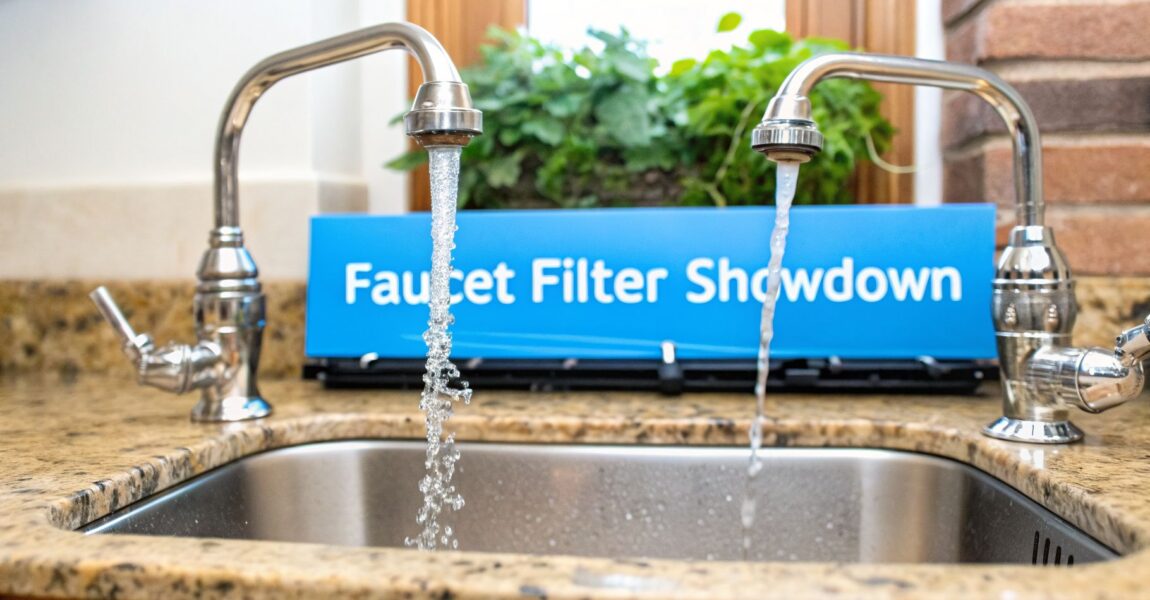
If your main goal is reducing common contaminants and improving taste, a simpler under-sink filter may be the better fit. If you specifically want electrolysis and adjustable output, you're in ionizer territory.
That's a big difference in cost, installation style, and upkeep. It's also why shopping by marketing phrases alone is risky. A countertop mineral pitcher and a hardwired electric ionizer can both be sold under the same broad alkaline language, even though they behave like completely different products in daily use.
How Electrolysis Creates Ionized Water
Electrolysis sounds complicated, but the basic picture is manageable. Water enters the machine, passes over electrically charged plates, and the system separates output into different streams.
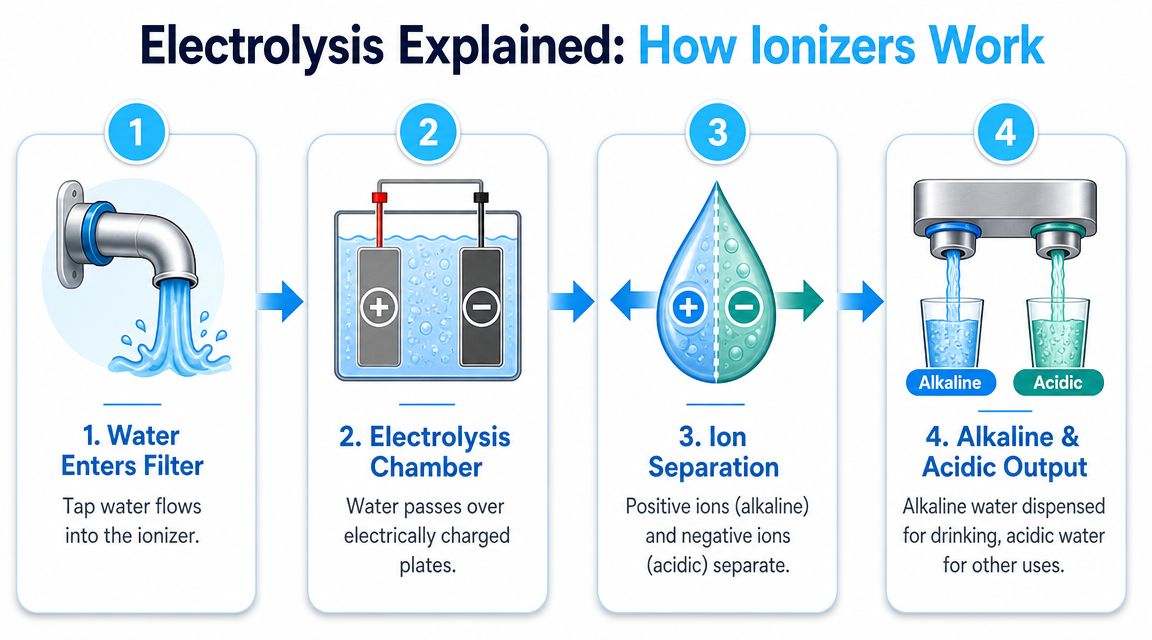
A simple mental model
Imagine sorting mixed marbles with magnets and channels. You pour everything into one tray, then a machine guides different pieces in different directions based on electrical behavior. An ionizer does something similar with water and dissolved minerals.
The machine doesn't create minerals from nothing. It works with what's already in the incoming water. That point matters a lot later when you start asking whether the machine will perform well on very low-mineral water.
What pH means in plain English
pH is a measure of how acidic or alkaline water is. If a system produces water with a higher pH, the water is more alkaline on that scale.
For products sold in this category, vendor specifications commonly place mineral-cartridge designs around pH 8.0 to 9.5, while ionizer systems are often advertised with adjustable settings around pH 7.5 to 10.5. Some also make negative ORP claims as low as -200 mV to -800 mV, according to these alkaline ionized water filter specifications.
What ORP means and why homeowners get confused
ORP stands for oxidation reduction potential. You'll often see it in sales pages because it sounds technical and impressive. In simple terms, it's a measurement related to electron activity in water.
That's not the same as proving a health outcome. It's just a measurement the machine can advertise.
Practical rule: Treat pH and ORP as machine output metrics, not as proof that the water is safer or healthier for your household.
The engineering catch
Ionizers depend on the condition of their electrodes and the chemistry of the incoming water. A mineral cartridge depends more on how quickly the media gets used up and how long the water stays in contact with it.
For a homeowner, that difference matters more than the brochure language. One system asks, “How are the plates holding up?” The other asks, “How exhausted is the media?” Both can drift over time. Neither should be judged by day-one marketing alone.
The Health Claims Versus Scientific Evidence
The strongest marketing around alkaline ionized water filters usually isn't about filtration. It's about what the water is supposed to do for your body.
You'll see claims about balancing acidity, supporting hydration, improving wellness, or making ordinary water somehow more biologically useful. Some of those claims are presented cautiously. Others are far more dramatic.
A careful homeowner should separate three different ideas:
- Taste and preference: Some people prefer the taste of mineralized or alkaline water.
- Water chemistry: A machine can absolutely change pH and mineral profile.
- Health outcomes: That's where the debate gets much less settled.
Where the evidence gets shaky
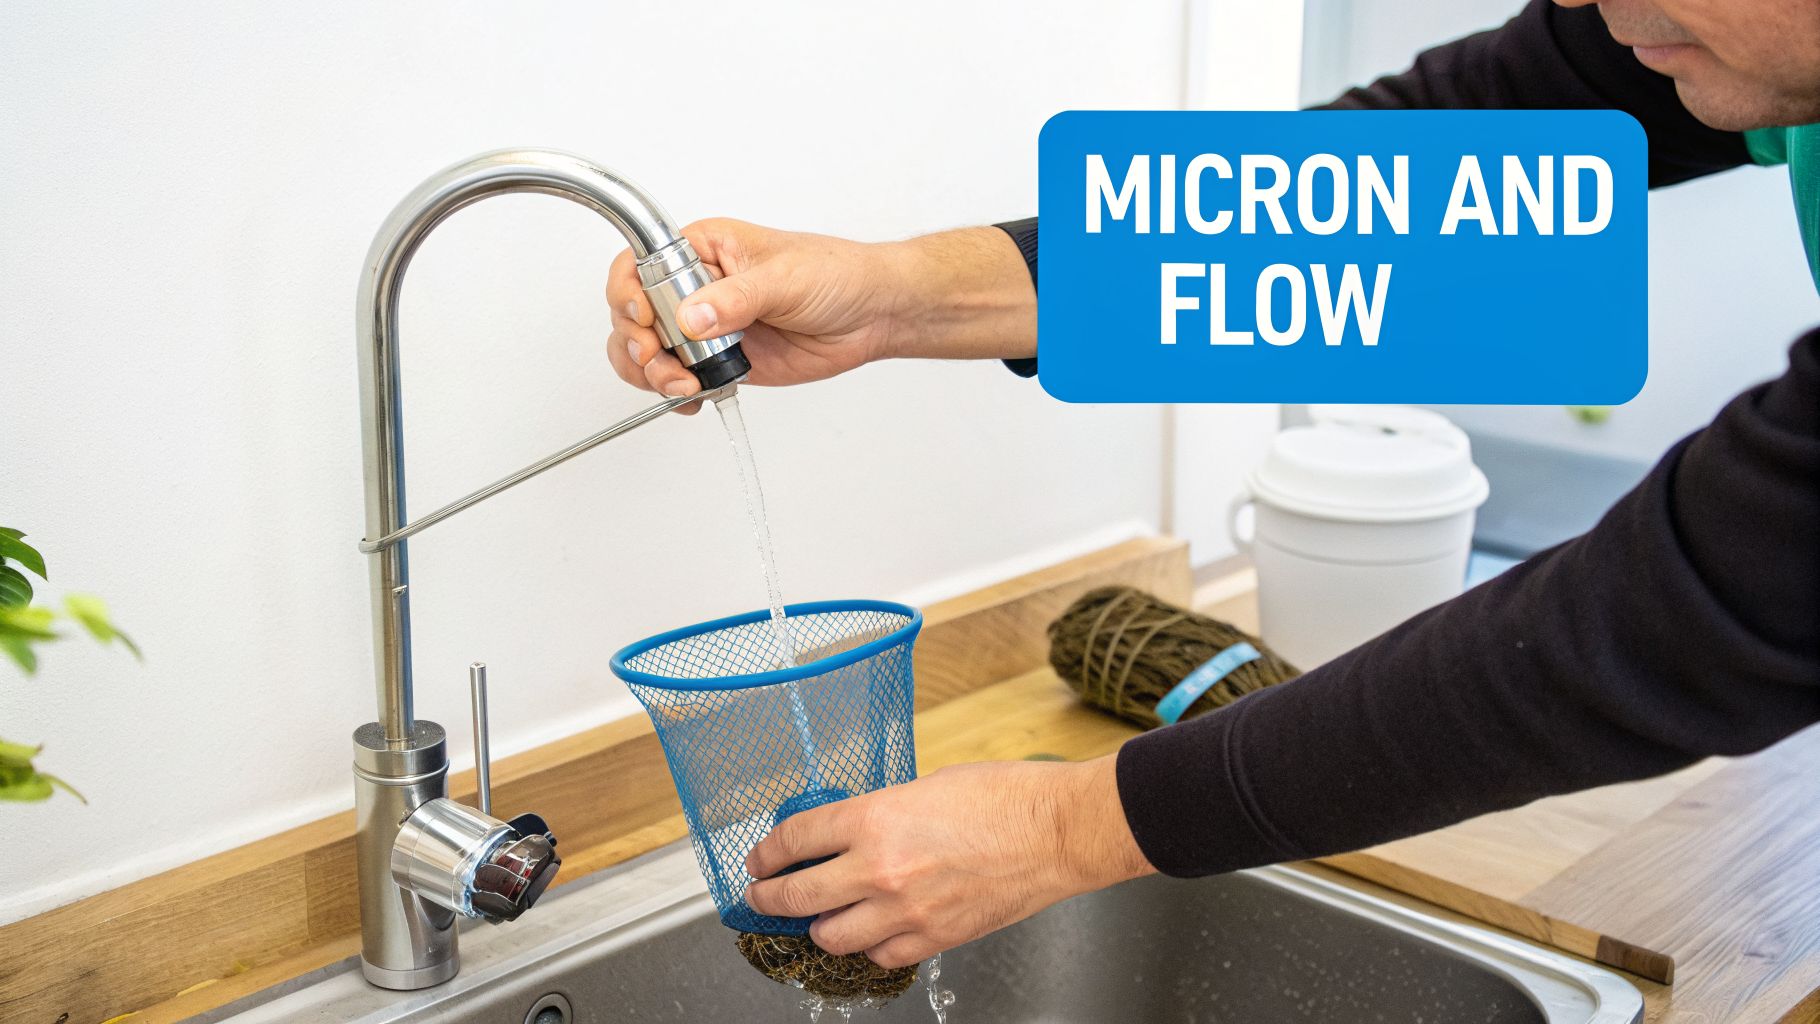
One major issue is that ionizers are often sold as if they're a universal upgrade for any kitchen. That leaves out an important technical limitation. Electrolysis depends on the mineral content and conductivity of the incoming water.
Hydroviv argues that ionizers sold on health claims lack conclusive clinical evidence, and it also notes that low-mineral water conducts electricity poorly, which makes performance highly dependent on source water quality in the first place. That concern is especially relevant for homes using very soft water or water treated by reverse osmosis, as discussed in Hydroviv's review of ionized alkaline water claims.
In plain language, the machine may still produce a higher pH reading, but that doesn't automatically mean it's delivering the meaningful result many buyers think they're paying for.
What that means for a homeowner
If your local water is already low in dissolved minerals, an ionizer may have less to work with. If your home uses RO water, the machine may not behave the way the sales demo suggests.
That's why “Does it alkalize?” isn't the best first question. Better questions are:
- What is my source water like?
- What filtration happens before electrolysis?
- Will this system still perform as advertised on my actual water?
The video below gives a broader look at how these systems are discussed and debated.
A balanced way to think about the claims
You don't have to swing to either extreme. You don't need to believe every wellness promise, and you also don't need to assume every user experience is imaginary.
A reasonable middle position is this: some people like the taste, some like the convenience of getting treated water at the sink, and some value the adjustable output. But strong health claims deserve caution, especially when the better-supported homeowner concerns are filtration quality, input water compatibility, and long-term performance.
If a company spends more time talking about your body's pH than your home's water contaminants, you're probably looking at marketing first and filtration second.
That's the lens worth keeping.
Filtration What Gets Removed and What Stays
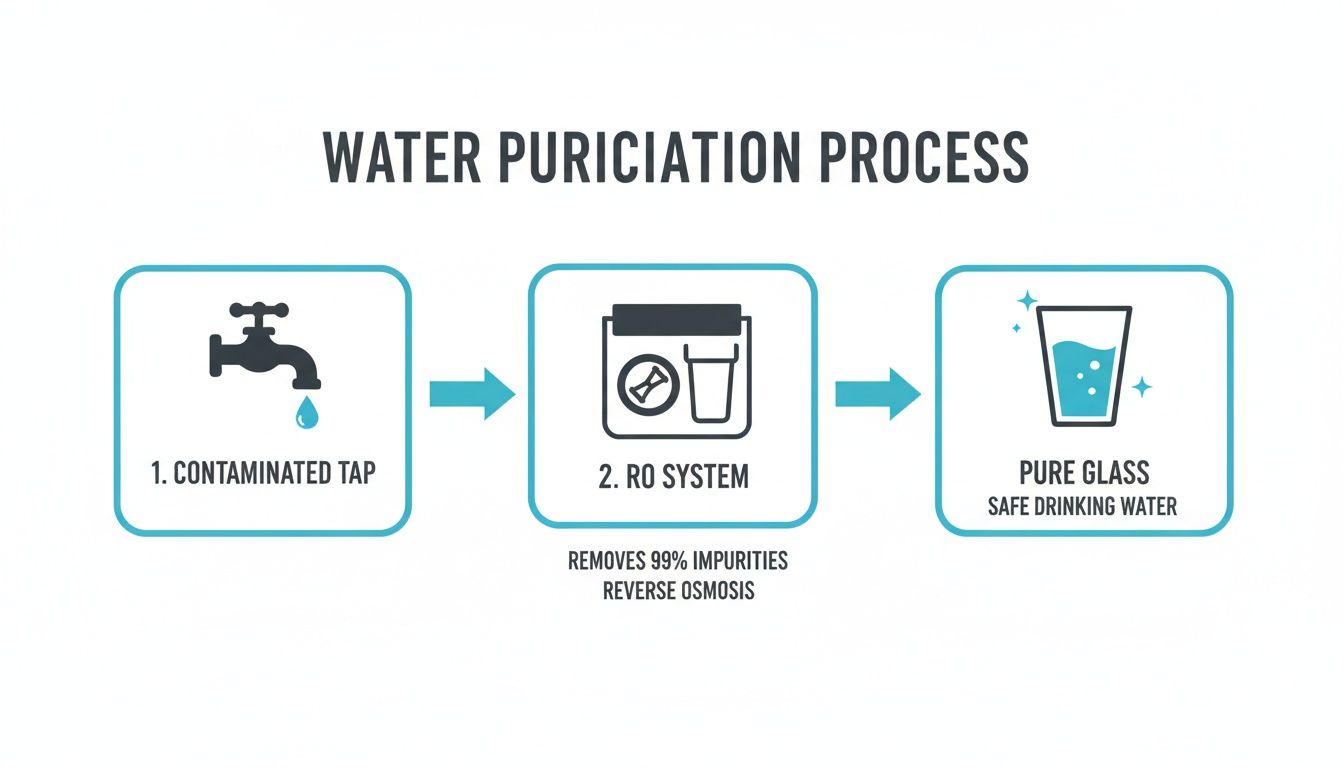
This is the part many buyers skip, and it's the part that matters most if your goal is safer tap water. A water ionizer may include a filter, but the machine's headline feature is usually electrolysis, not deep contaminant reduction.
That distinction matters because homeowners often assume an alkaline ionizer is automatically a high-performance purifier. Sometimes it isn't. Many models use prefiltration that can help with taste and common aesthetic issues, but that doesn't mean the system matches a dedicated reverse osmosis unit or a carefully selected multi-stage filter for broad contaminant reduction.
pH is not a contaminant test
If a machine can raise pH, that tells you something about water chemistry. It does not tell you what it removed.
A better way to shop is to ask for performance details on the actual filter stage. Does it address chlorine? Chloramine? Lead? Cysts? Emerging contaminants? If those answers are vague, the machine may be selling an experience rather than a filtration result.
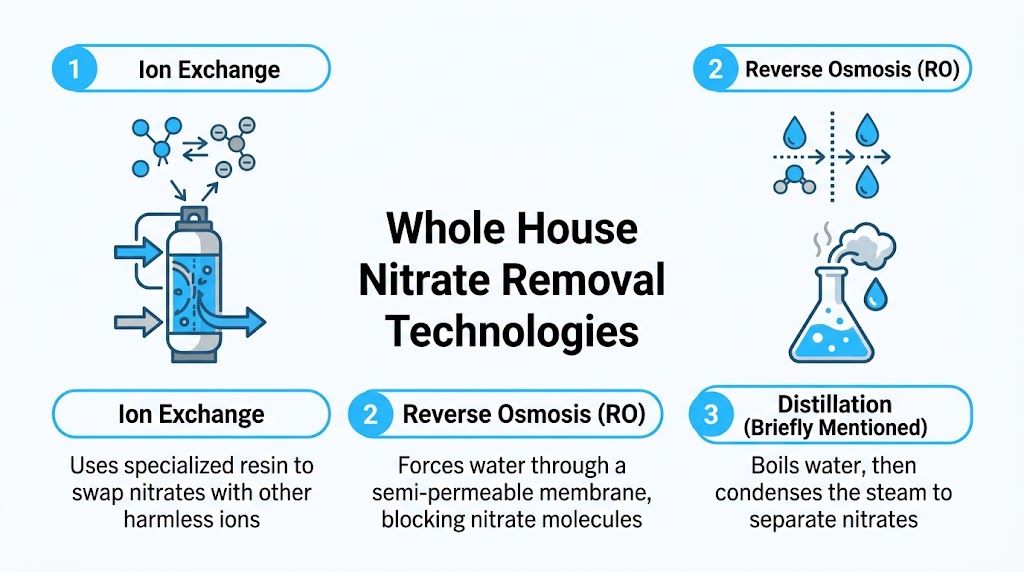
Contaminant removal ionizers vs other systems
| Contaminant | Typical Water Ionizer | Activated Carbon Filter | Reverse Osmosis System |
|---|---|---|---|
| Chlorine taste and odor | Often addressed if the unit includes a carbon prefilter | Commonly addressed | Commonly addressed |
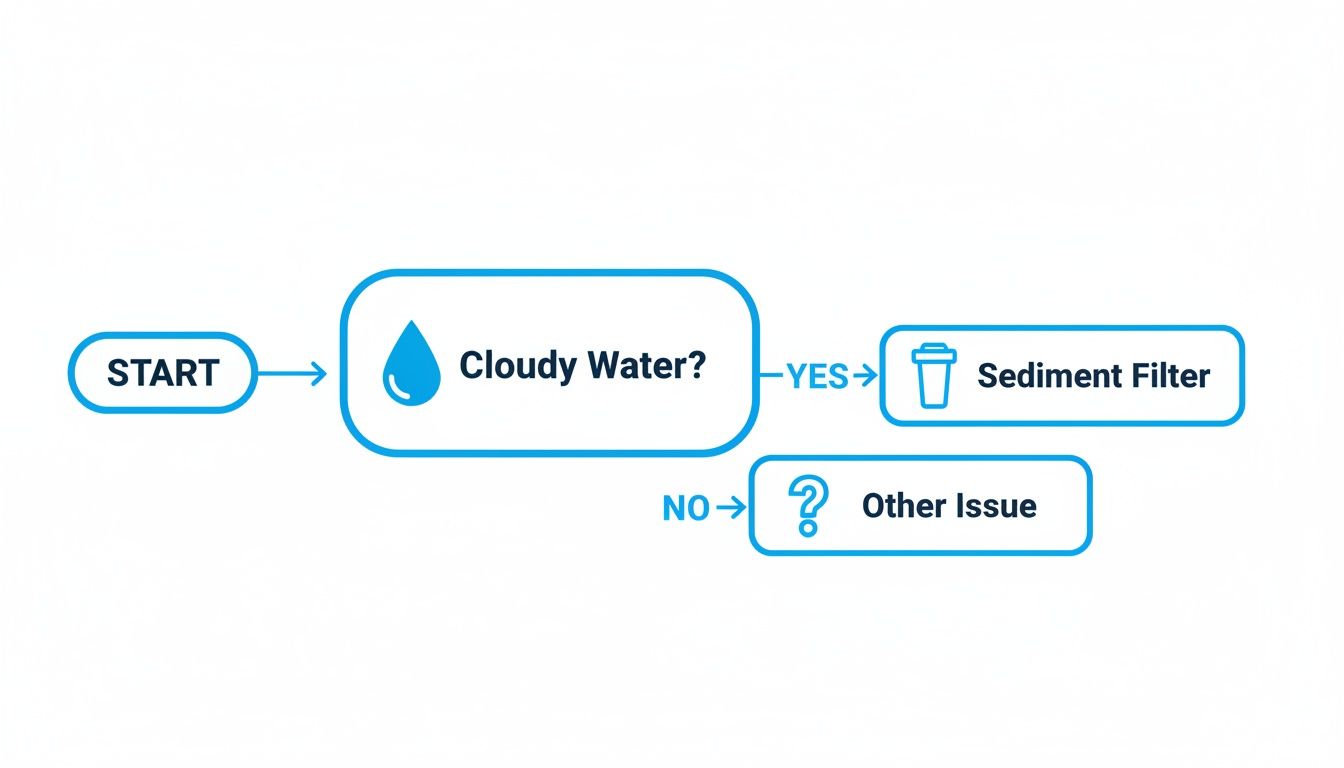
| Sediment | May be partly addressed, depending on prefiltration | Often addressed with the right stage | Commonly addressed with prefilters |
| Lead | Varies by filter design and certification | Some models are designed for this, but not all | Often a stronger choice when properly certified |
| Chloramine | Often limited unless the filter is specifically built for it | Some specialty carbon systems target it better | Can address it when paired with appropriate stages |
| Dissolved solids | Usually not the main strength | Not the main strength | Commonly a core strength |
| Broad contaminant reduction | Depends heavily on the built-in filter, not the ionizing function | Moderate to strong, depending on media and certification | Often the most comprehensive household option |
That table points to the big takeaway. The ionizing function and the filtering function are not the same thing.
Why filter media still matters
If you've ever looked at aquarium filtration media, you've seen a useful reminder that all filtration depends on the specific media doing the job. Water treatment is never magic. Different materials target different problems. Home drinking water systems work the same way. Carbon, resin, membrane stages, and mineral media each play different roles.
So when a product page says “multi-stage filtration,” don't stop there. Ask what each stage does. A short ingredient list for the filter media can tell you more than a page of wellness copy.
For many homes, the smartest setup is to prioritize contaminant reduction first, then decide whether adding alkalinity is still important after that.
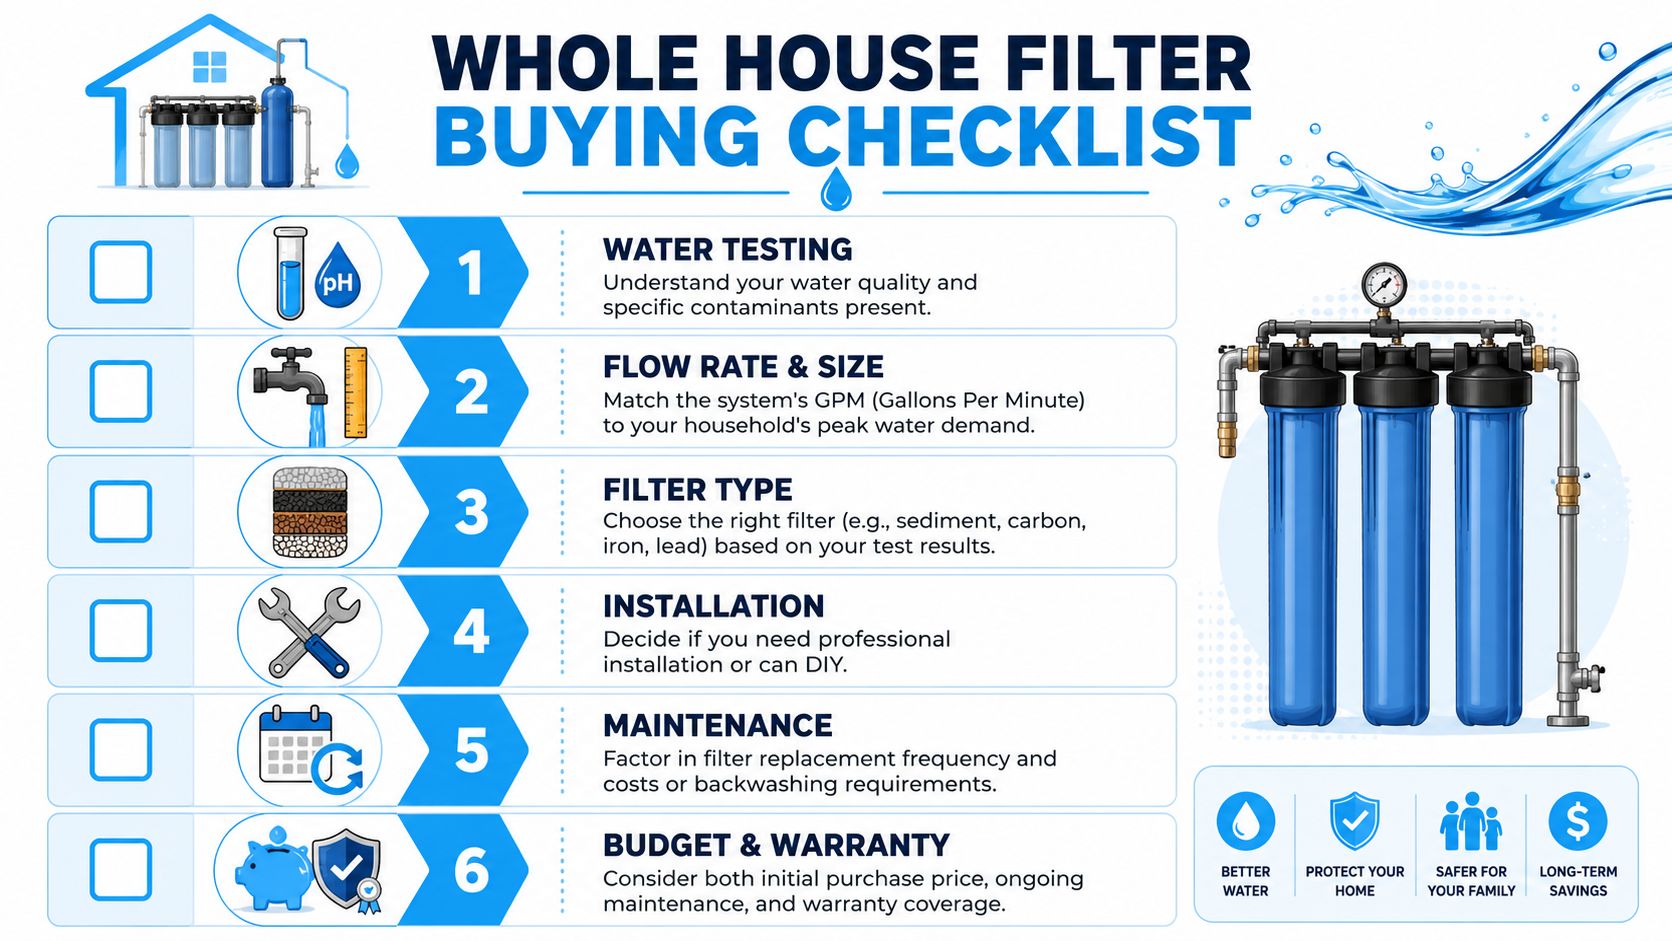
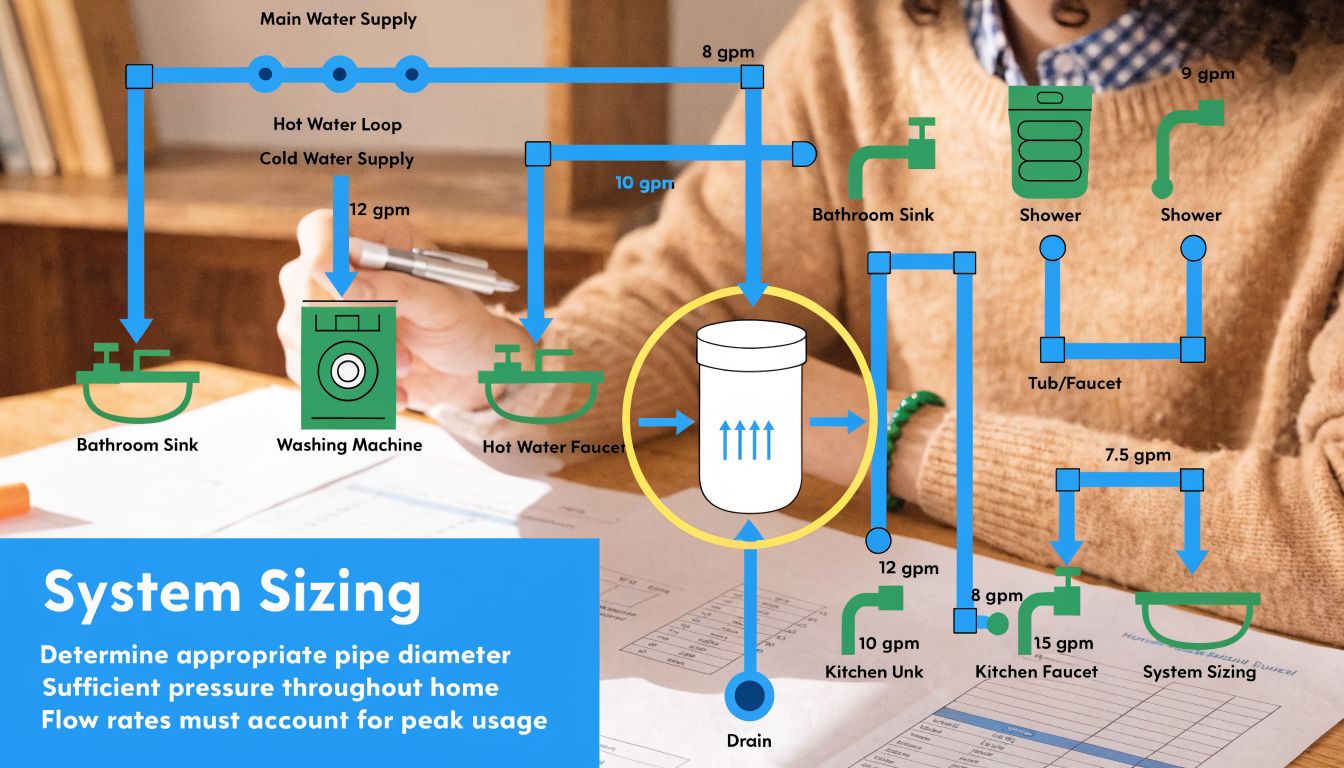
A Practical Buyer's Guide for Homeowners
Buying one of these systems gets easier when you stop treating it like a wellness gadget and start treating it like a kitchen appliance tied to your water quality.
The biggest mistake is focusing on the highest pH setting. That's like buying a furnace based only on how hot it can get, without asking how efficient it is, how often it needs service, or whether it fits your house.
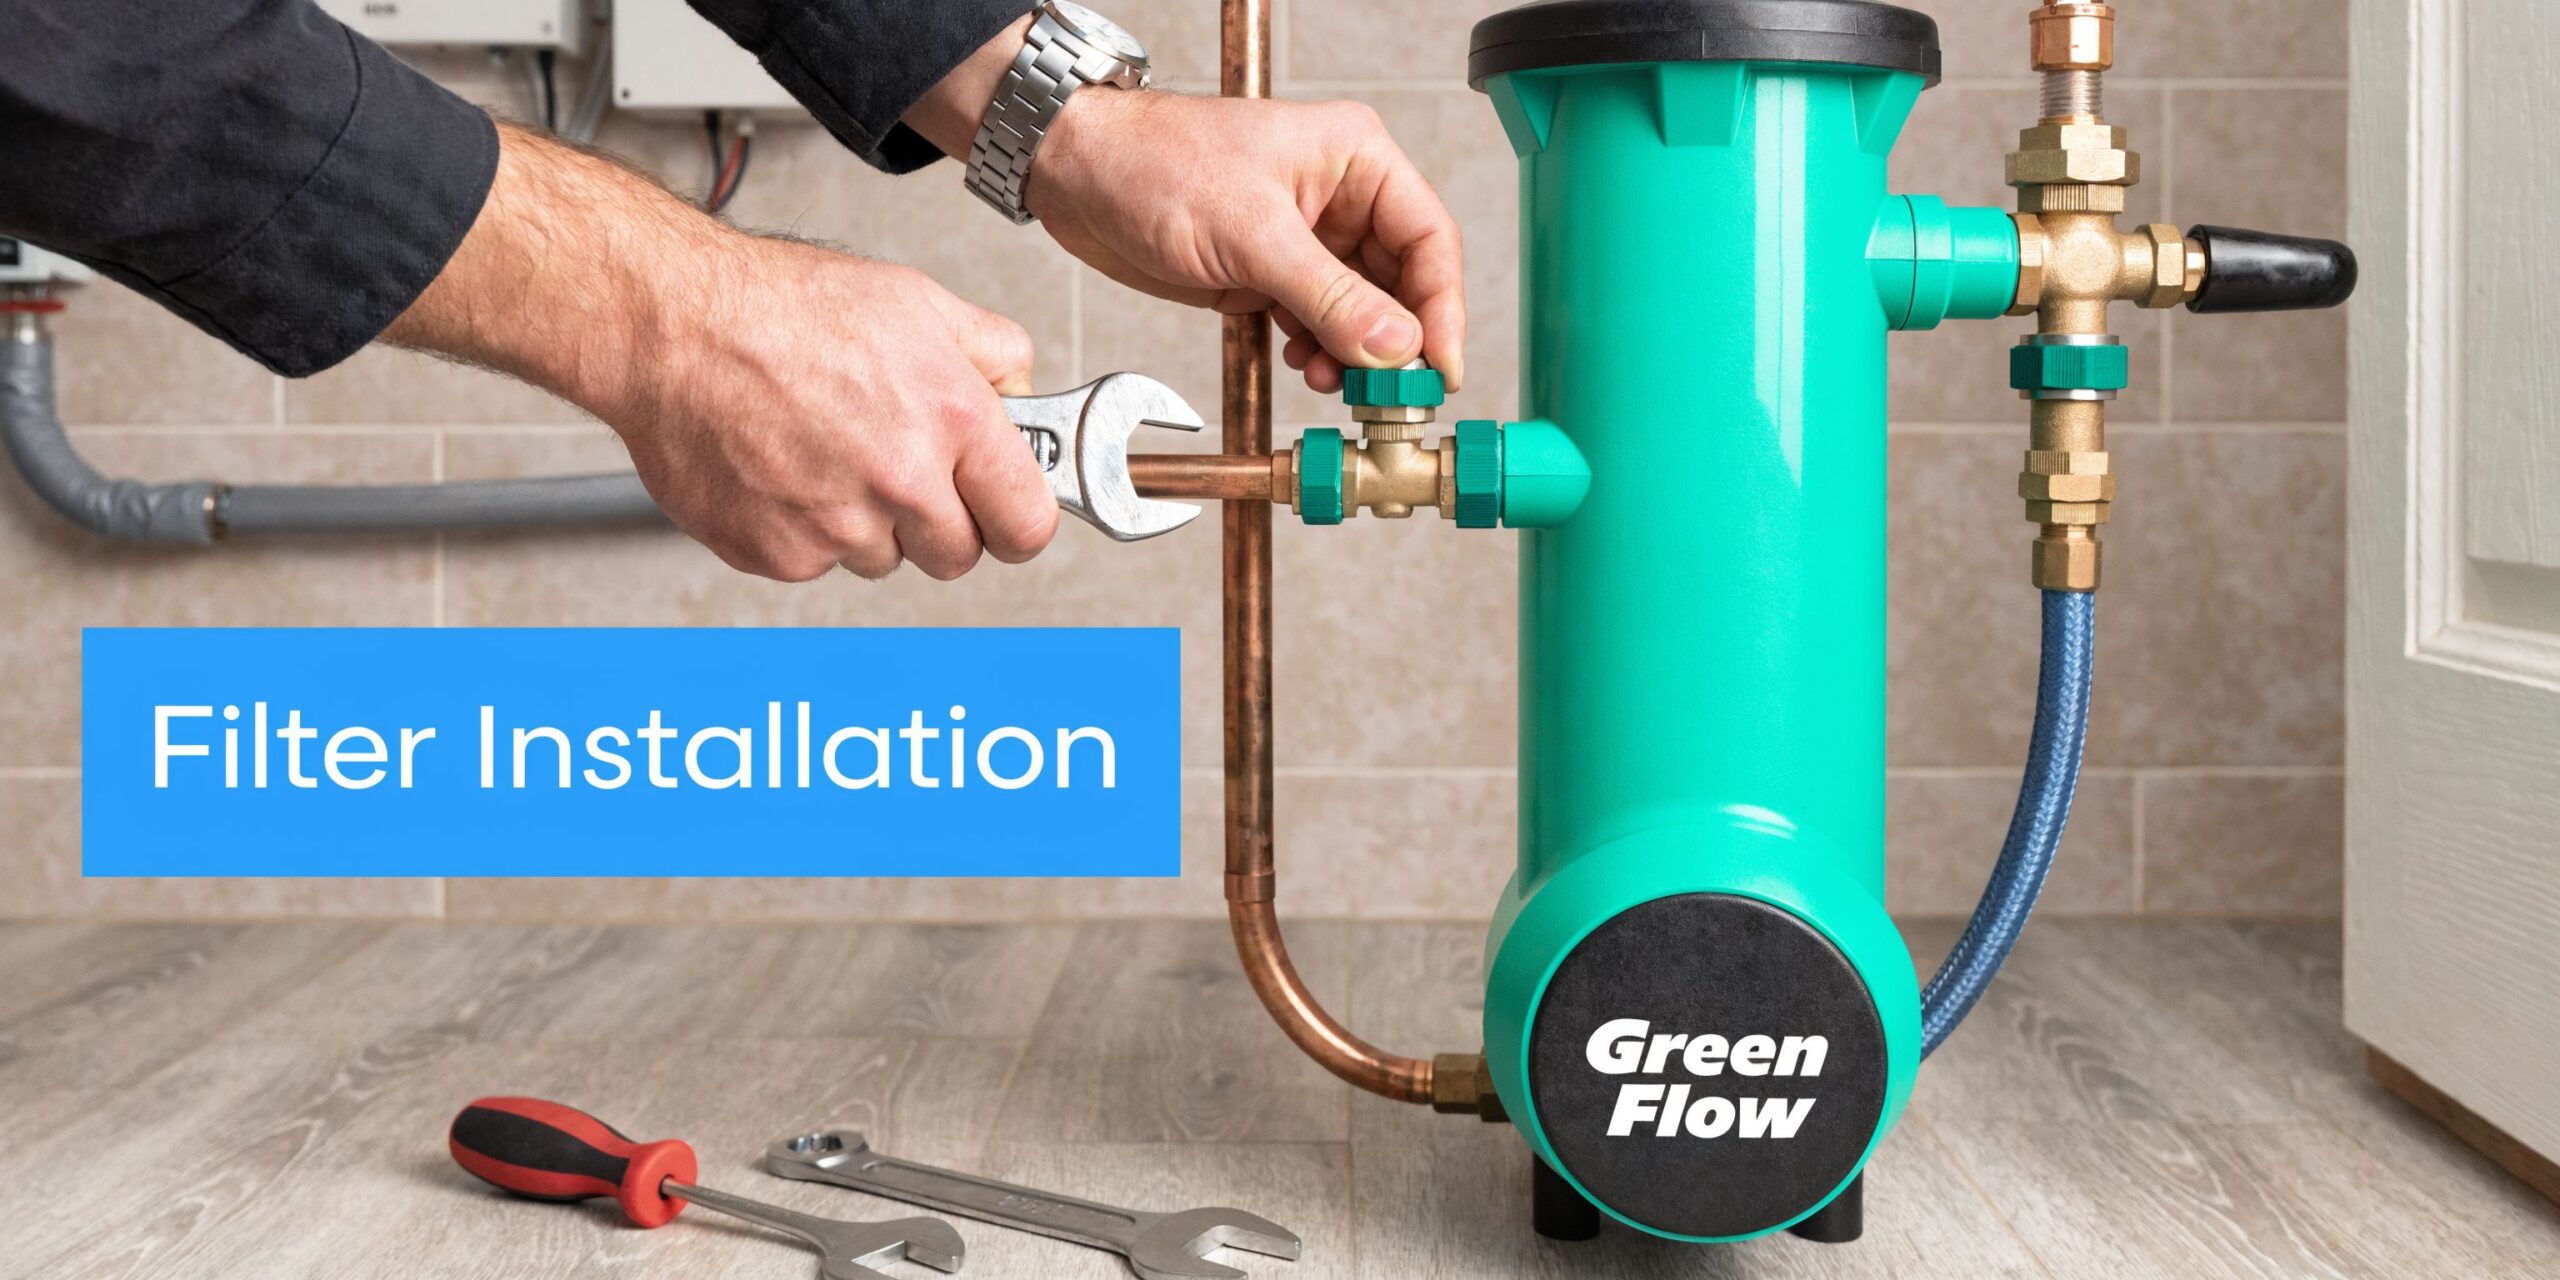
Questions worth asking before you buy
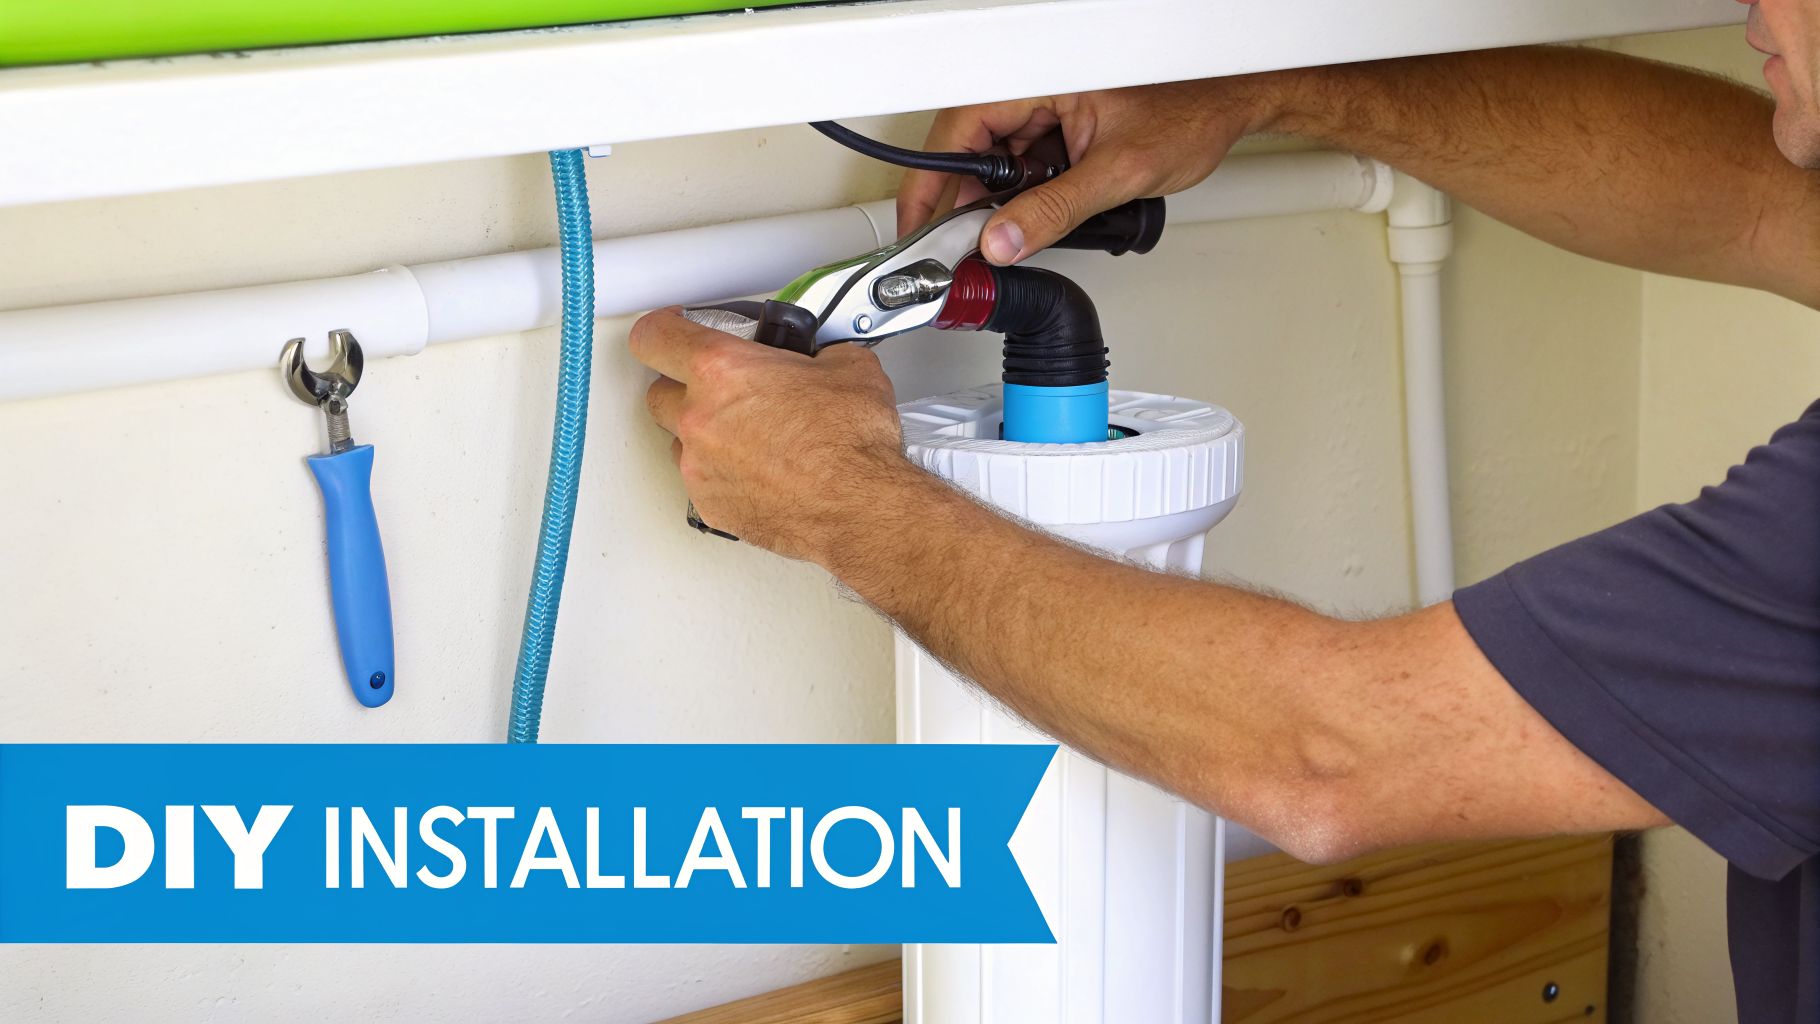
Promotional pages often highlight adjustable pH, multi-stage filtration, and simple installation, but they frequently leave out replacement cadence, scaling on electrodes, warranty limits, and the cost of keeping output stable over time. That practical concern is captured well in this discussion of long-term performance and ownership questions.
Use this checklist when comparing systems:
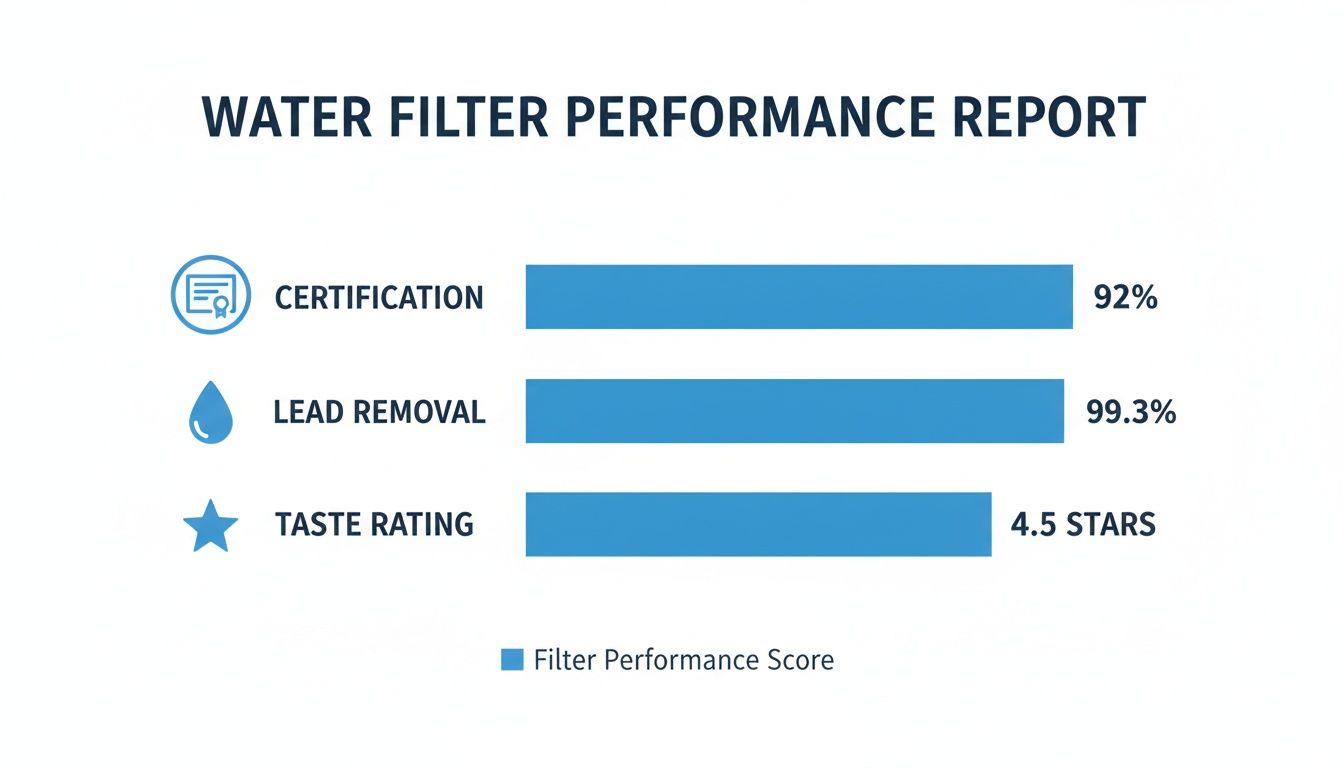
- Certification details: Look for filtration certifications or clearly stated reduction claims for contaminants. Health language is not the same as filtration verification.
- Source water fit: Ask whether the unit is suitable for your exact water supply, especially if you have softened water, well water, or RO water.
- Filter replacement plan: Find out how often cartridges need attention under normal household use.
- Cleaning demands: Ionizers can develop scale on internal parts. If the maintenance process sounds vague, that's a warning sign.
- Warranty limitations: Read what the warranty excludes. Water quality conditions sometimes affect coverage.
- Annual ownership reality: Try to estimate how much usable filtered water you'll get and what it will cost to maintain performance.
Red flags in marketing
Some product pages make it sound as if more settings always mean a better machine. That isn't necessarily true. You're looking for a system that works consistently on your water, not one with the longest feature list.
Watch for these warning signs:
- Health-first sales pages that barely discuss contaminant reduction.
- Vague filter descriptions with no clear explanation of what each stage does.
- No maintenance detail beyond “easy to use.”
- No discussion of scaling or source water compatibility.
A serious filtration product should tell you how it behaves after months of use, not just how it performs on day one.
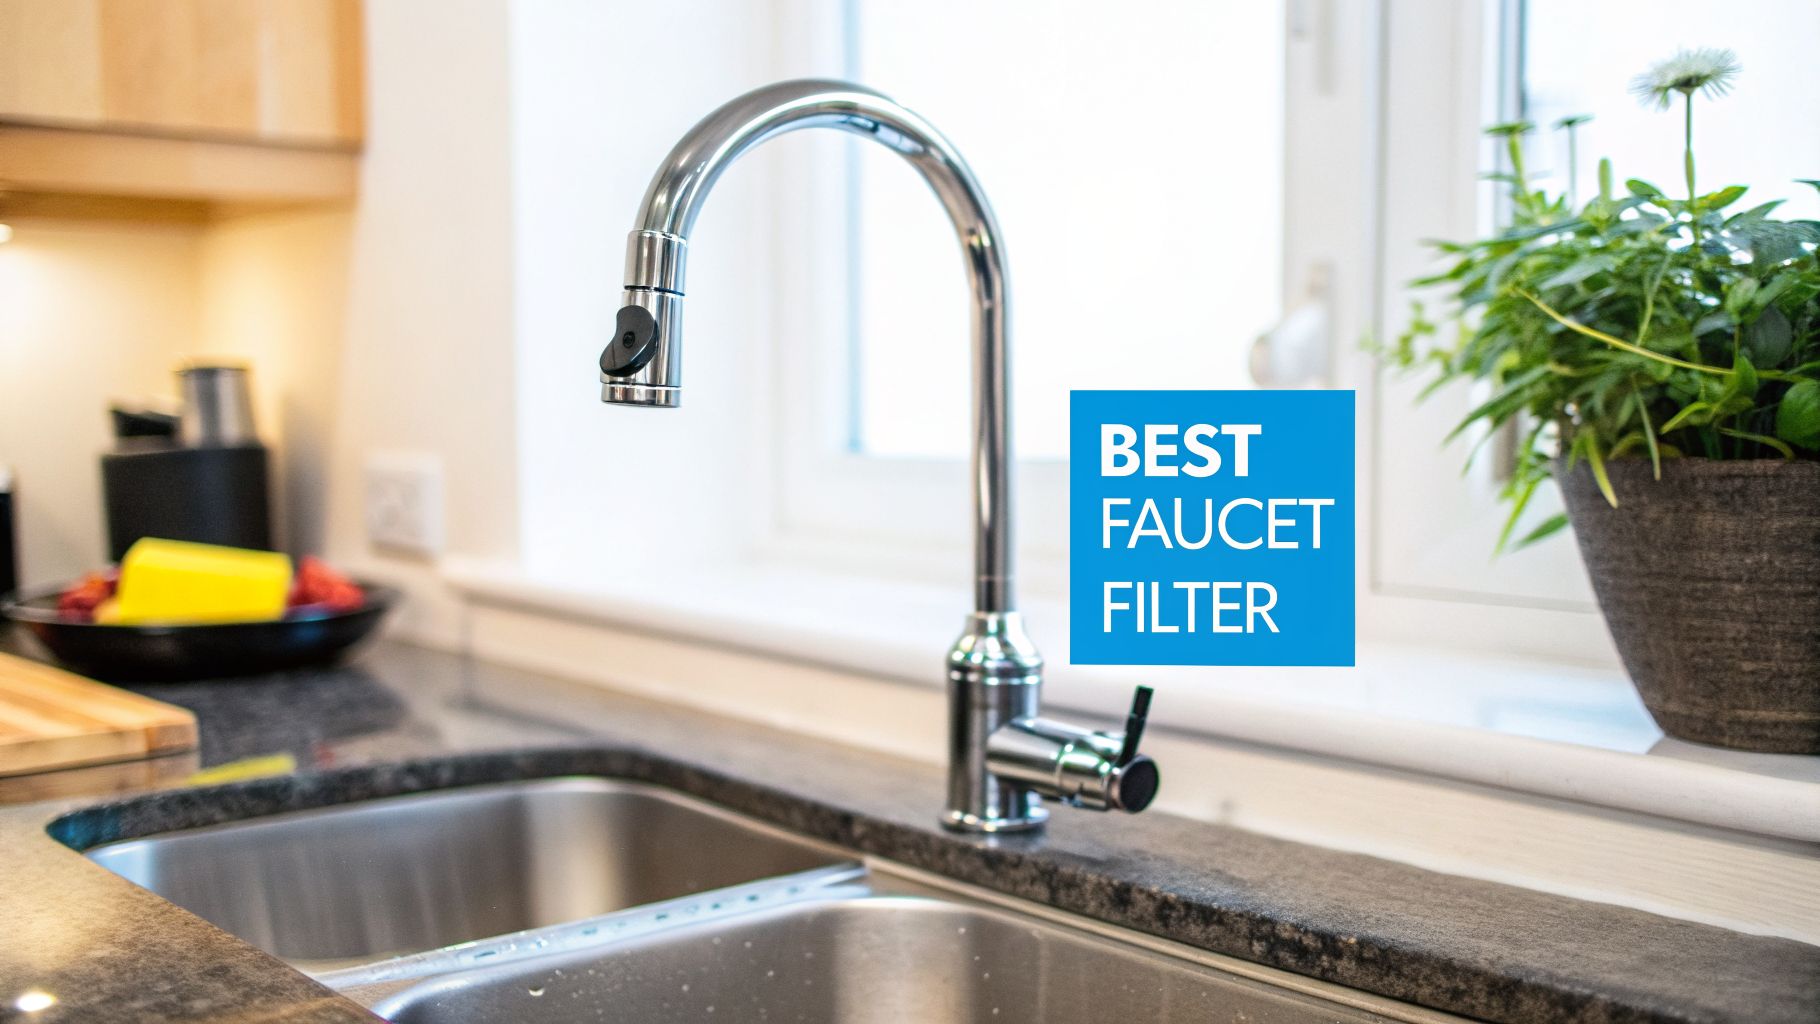
A better shopping process
It helps to compare alkaline ionized water filters alongside more conventional systems before deciding. Resources such as Water Filter Advisor's advice library can help you compare under-sink filters, carbon systems, RO units, and maintenance expectations using the same practical lens.
That comparison often leads homeowners to one of three conclusions. Some decide they only need a strong conventional filter. Some want RO with remineralization. Others still want an ionizer, but they buy it with more realistic expectations about filtration and upkeep.
Frequently Asked Questions
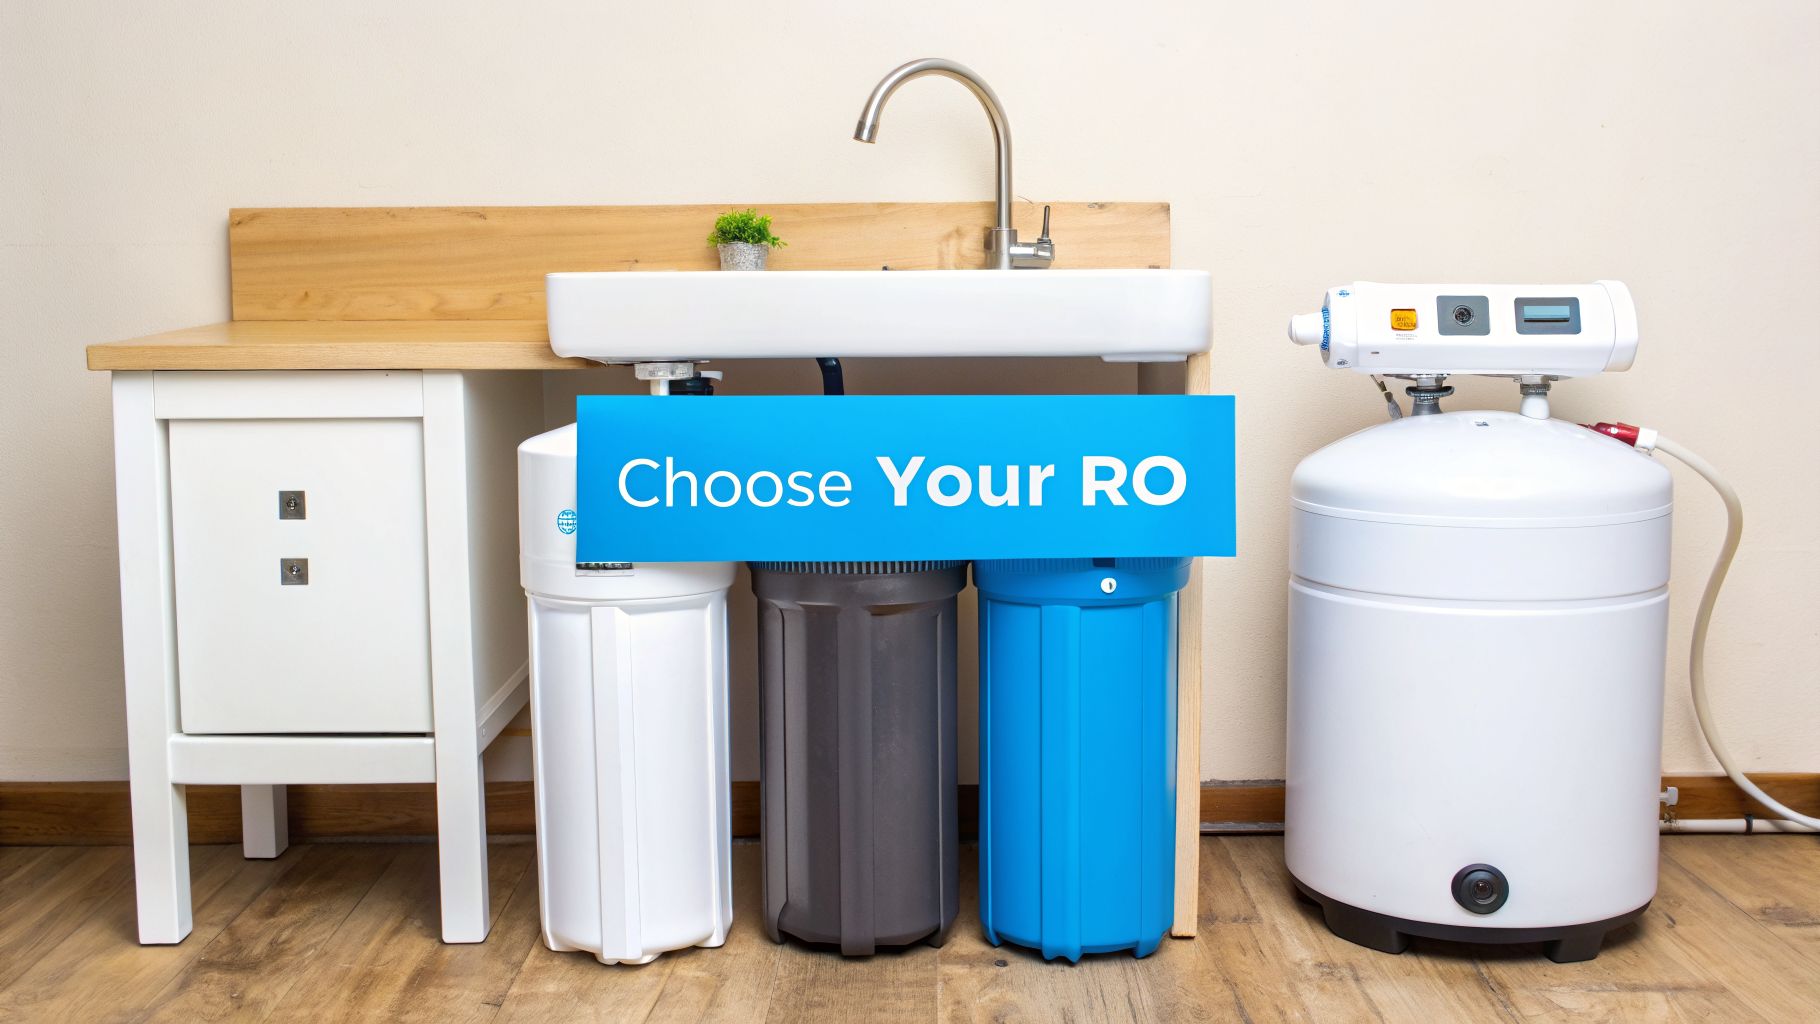
Can I use a water ionizer with reverse osmosis water
Usually, people encounter trouble concerning system integration. Ionizers rely on mineral content and conductivity in the incoming water. RO systems remove a large share of dissolved material, so the ionizer may have less to work with. If someone wants both purification and alkalinity, they need to think carefully about system design rather than assuming any two machines will pair well.
Are alkaline ionized water filters good for well water
They can be, but only after you understand the well water itself. Well water can vary widely in hardness, iron, sulfur odor, sediment, and other issues. In many homes, pretreatment matters more than the ionizer. A machine that performs nicely on treated municipal water may struggle if the incoming well water is inconsistent or causes scaling.
Do these systems actually filter dangerous contaminants
Some do part of the job, but that depends on the filter stage, not the word “ionized.” If contaminant removal is your top priority, ask what the system is specifically designed and certified to reduce. Don't assume the alkaline feature means complete purification.
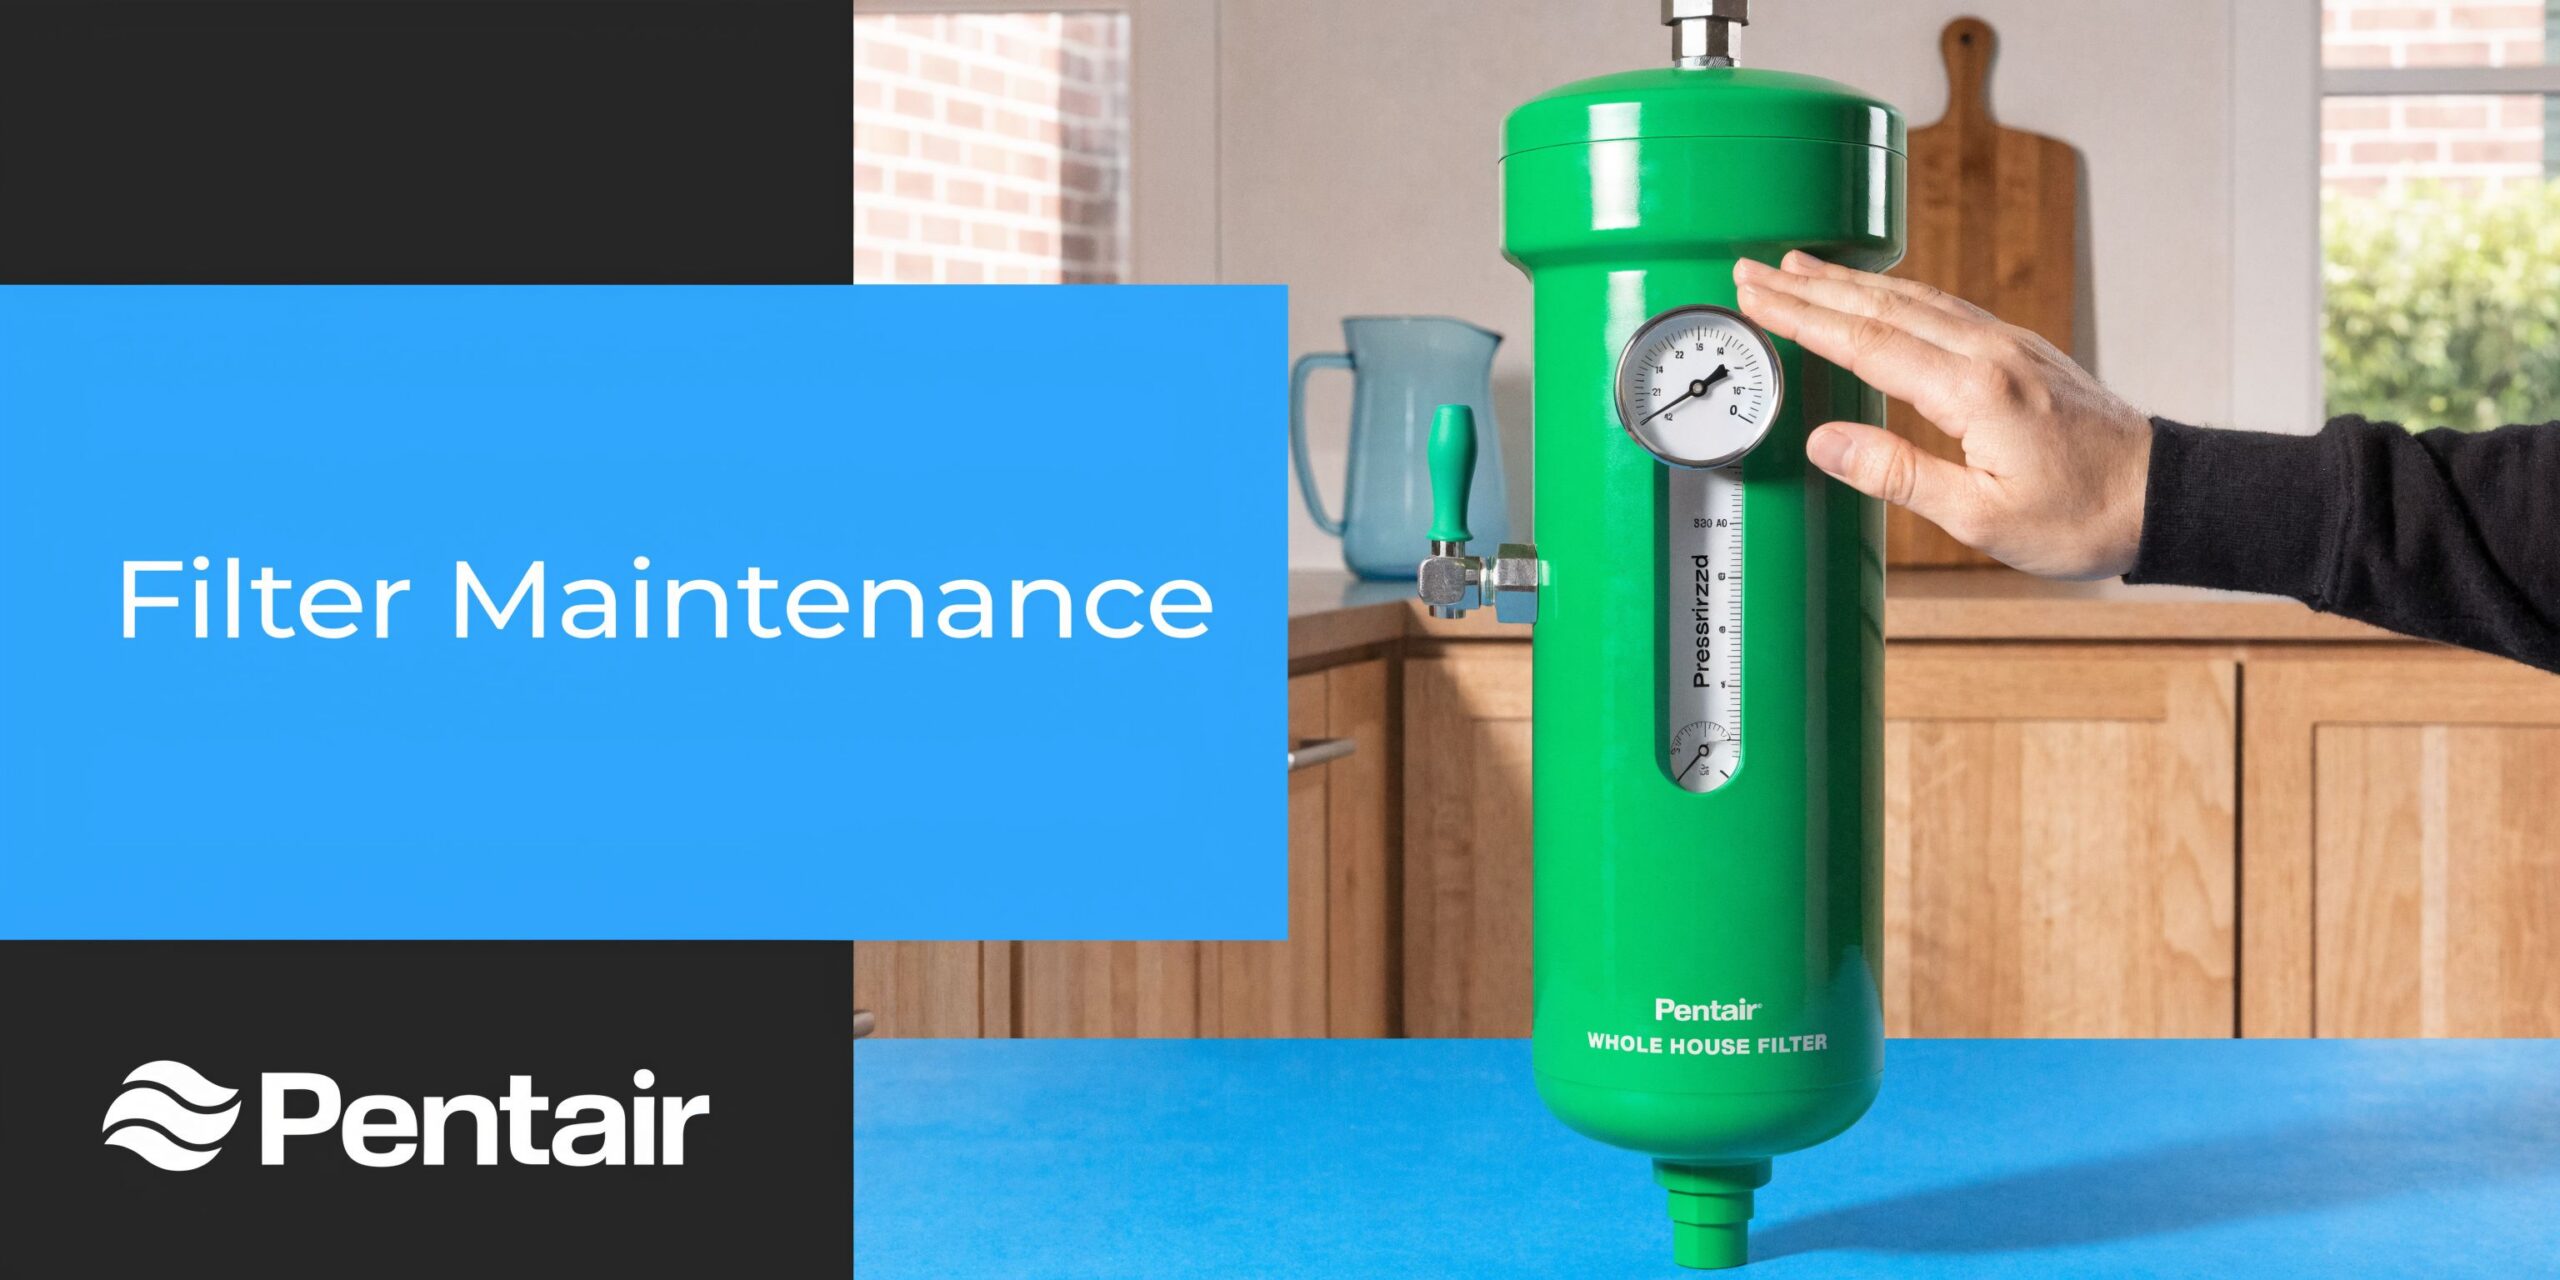
Are they hard to maintain
They can be more demanding than buyers expect. Electric ionizers are appliances with internal components, filter cartridges, and possible scale buildup. Simpler alkaline mineral filters are usually easier to live with. The more moving parts and performance claims a unit has, the more important routine care becomes.
Why are so many companies selling them now
Because demand has grown. A 2025 industry guide cites the global alkaline water filters market at about $1.2 billion in 2023/2024, with projections of roughly $3.1 billion by 2032, implying about 7% to 8.9% CAGR across 2025 to 2033, according to this alkaline water filtration market guide. More products on the market means more choice, but it also means more noise.
What's the smartest way to decide
Start with your actual water. Then decide what problem you're trying to solve.
If you want broad contaminant reduction, start there. If you also want alkaline output and accept the extra maintenance, then compare ionizers carefully. If you mainly want better taste and a slight pH increase, a simpler mineralizing filter may be the more rational option.
If you're sorting through home water treatment options and want clear, practical guidance without the hype, Water Filter Advisor is a useful place to compare filtration types, maintenance tradeoffs, and buying factors before you commit to a system.