You top off the salt, close the lid, and expect the softener to handle the rest. Then the soap stops lathering the way it used to. Glassware comes out with a faint haze. The shower door starts collecting spots again. That's usually the moment homeowners realize a water softener doesn't stay dialed in forever.
A proper water softener tune up is part cleaning job, part inspection, and part calibration. The cleaning matters. So does the salt. But an important aspect that is often overlooked is whether the softener is set to match the water coming into the house. If the settings are off, a clean machine can still give you hard water, waste salt, or hide a deeper problem in the resin bed.
Why Your Softener Needs More Than Just Salt
If hard water signs are creeping back in, adding another bag of pellets might help for a weekend, but it won't fix the reason the softener is underperforming. A softener works when three things line up: the brine system is clean, the resin is still healthy, and the controller is programmed for your water.
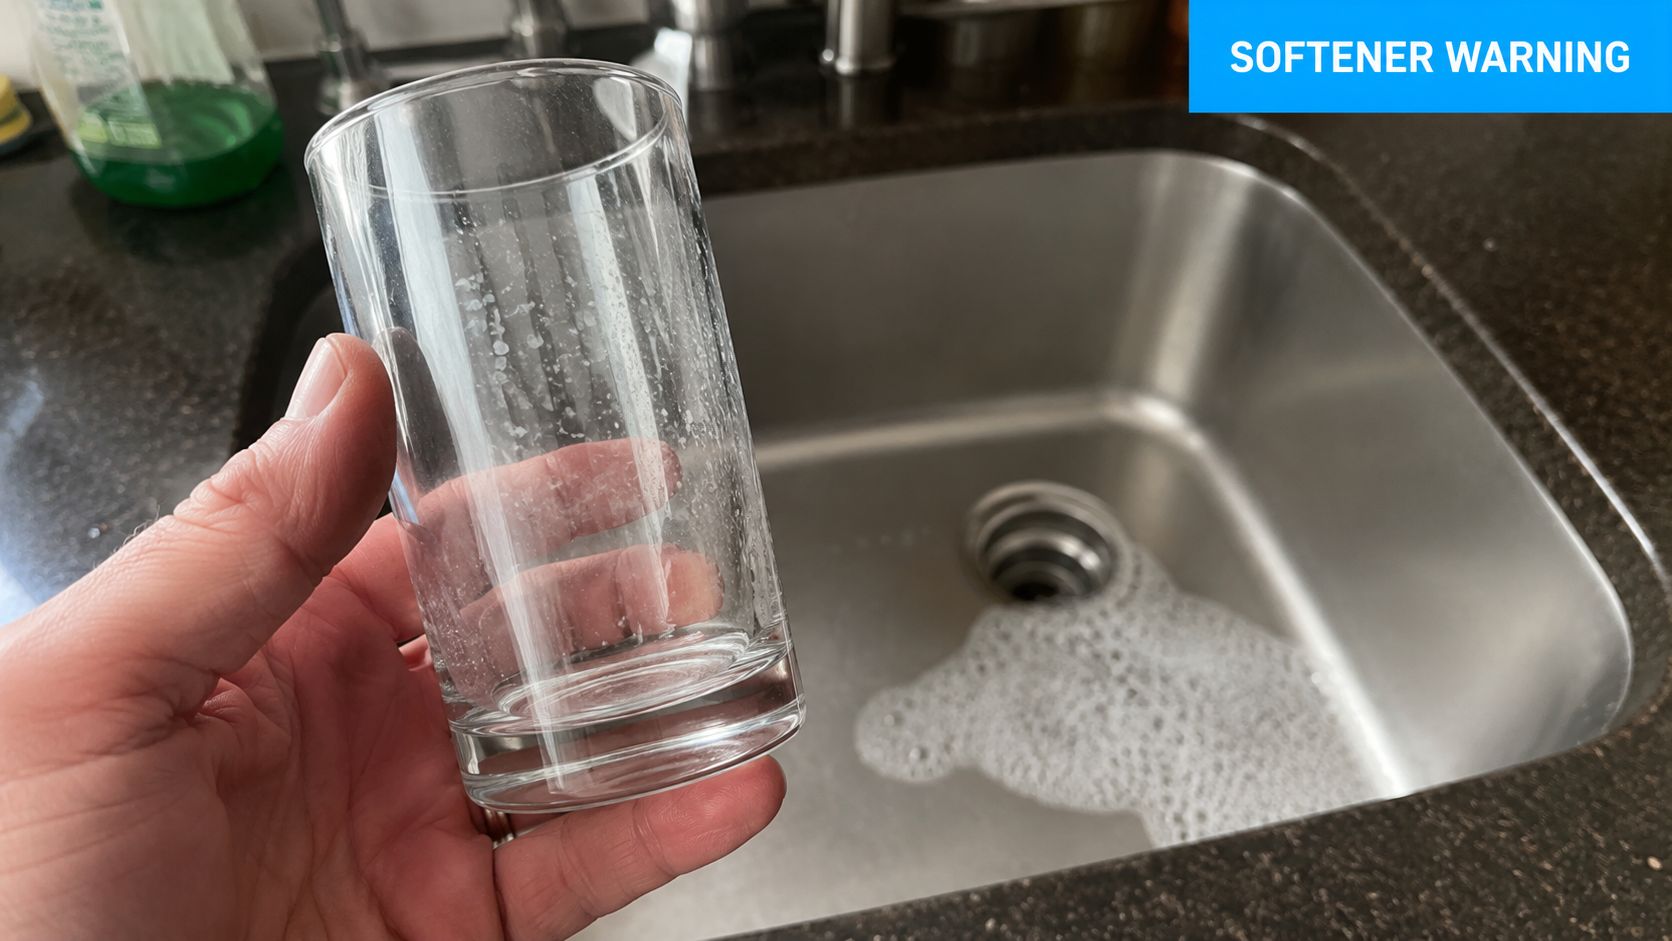
A lot of homeowner advice stops at “check salt, clean tank, done.” That's why people get fooled by partial performance. Existing homeowner guides often miss that users don't know how to adjust the hardness setting to match real-time conditions, which can lead to wasted salt or hard water breakthrough, a gap noted in this water softener maintenance guide.
What a real tune up solves
A true tune up checks whether the softener is:
- Removing hardness all the way through the cycle: Not just right after regeneration.
- Regenerating on a sensible schedule: A properly tuned and maintained softener should regenerate every 4 to 7 days in a typical home, with demand systems adjusting based on use, according to Culligan's maintenance guidance.
- Using salt and water efficiently: Regenerating too often can waste resources without making the water any softer.
- Masking a deeper issue: A dirty tank and a dead resin bed can produce some of the same symptoms.
Practical rule: If your softener is clean but your dishes still spot and your tap water still tests hard, the next suspect is usually the settings, not the salt level.
That's the angle most DIY articles skip. Cleaning is the easy part. Calibration is what turns maintenance into actual performance. If scale control elsewhere in the home matters to you too, this guide to effective scale prevention gives useful context on how mineral buildup behaves in water systems.
Gathering Your Tools and Pre-Tune-Up Diagnostics
Before opening anything, get your tools in one place and establish a baseline. The single smartest move in a weekend water softener tune up is testing your water before you start. Without that, you're guessing whether the work helped.
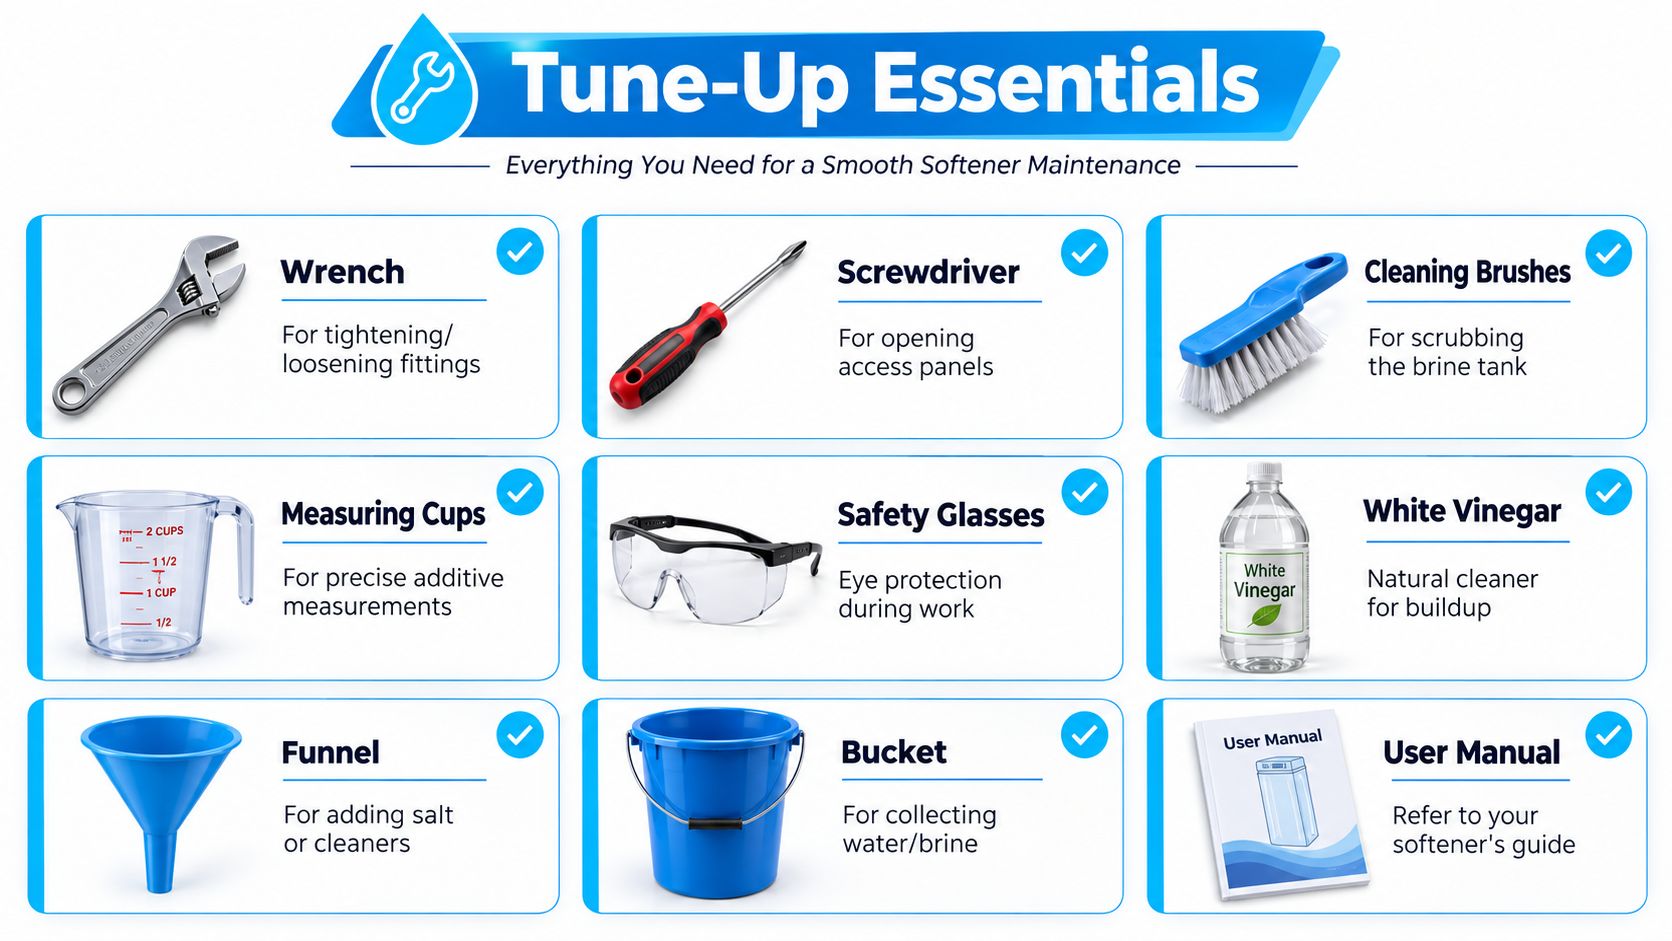
Tune up essentials
Keep the setup simple and practical:
- Wrench and screwdriver: For covers, hose clamps, and access panels.
- Bucket and scoop: To remove old salt, sludge, and standing brine.
- Cleaning brushes and rags: A long-handled brush helps inside the brine tank.
- Safety glasses and gloves: Brine splash in the eyes is no fun.
- White vinegar: Useful for mild mineral film on removable parts.
- Funnel and measuring cup: Helpful when adding resin cleaner neatly.
- Silicone grease: For O-rings if your manual calls for it.
- User manual: Every control head labels things a little differently.
- Hardness test kit or strips: This is the key diagnostic tool.
If you want broader background on home treatment maintenance, the practical articles at Water Filter Advisor's advice library are worth bookmarking.
Test before you touch anything
Take two water samples if you can:
- Raw water sample from a spigot before the softener, if one is available.
- Softened water sample from the kitchen cold tap.
Write down what you find. Also note whether the softener just regenerated or is near the end of its cycle. A softener can look fine right after a recharge and fail later when the resin starts to exhaust.
Quick visual checks before disassembly
Don't start cleaning until you've looked for obvious clues.
| Check | What you're looking for | Why it matters |
|---|---|---|
| Salt surface | Hollow spot, crust, or hard cap | Can indicate a salt bridge |
| Water level in brine tank | Unusually high or oddly low | Points to draw or refill issues |
| Around fittings | Damp spots or dried salt trails | Small leaks often show here first |
| Drain line | Kinks or loose connection | A blocked drain can ruin regeneration |
| Controller display | Error message, wrong time, odd settings | Programming problems can mimic hardware failure |
Test first, clean second. If you skip the baseline, you won't know whether the tune up fixed the issue or just made the tank look better.
Deep Cleaning the Brine Tank and Resin Bed
A lot of weekend tune ups stall right here. The owner breaks up a salt bridge, dumps in fresh pellets, and expects soft water by dinner. Then the shower still feels hard because the underlying problem is lower in the tank, or inside the resin where you cannot see it from the lid.
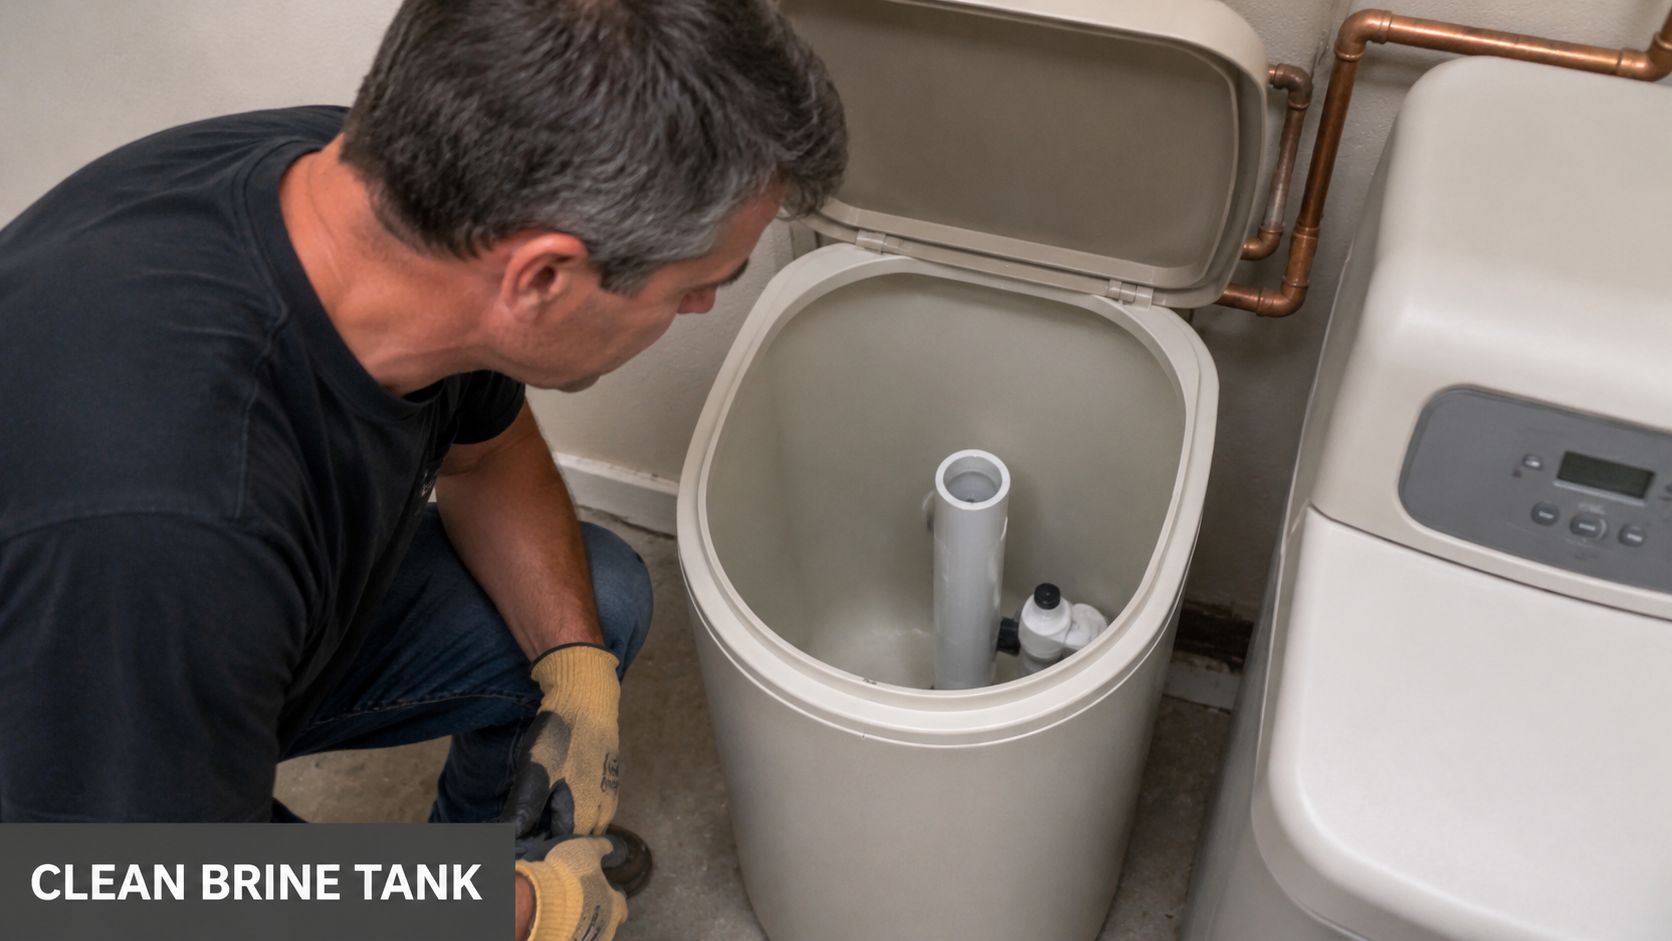
Cleaning the brine tank without making a mess
Put the softener in bypass first if your plumbing setup allows it. Shut off power if your manufacturer calls for that before service. Then scoop usable salt into a clean bucket and remove the rest of the mush, loose sludge, and old brine.
Check for a salt bridge as you empty the tank. It can feel solid across the top with a hollow pocket under it, so the tank looks full while the system cannot make proper brine. Break it up with a blunt tool such as a broom handle. Do not strike the tank walls. Brine tanks crack more often than homeowners expect, especially in cold garages or basements.
Once the tank is empty, wash the interior with warm water and a brush. Mild dish soap is usually enough. Rinse until there is no cleaner left behind, because soap residue can cause foaming and interfere with brine draw on some units.
If your model lets you remove the brine well cap, float assembly, or injector-related parts, clean them one at a time and set them out in order. Photos help during reassembly. A float set too high or a blocked air check can make a clean tank act like a broken softener.
What to look for while the tank is empty
This is the best time to inspect parts that are usually buried.
- Sludge at the bottom: Brown or gray paste often points to dirt in the salt, iron fouling, or long periods without cleaning.
- Crusted salt on the walls: That buildup encourages future bridging and mushing.
- Float movement: The float should move freely, without sticking or rubbing the brine well.
- Brine line condition: Look for kinks, brittle tubing, or salt creep around fittings.
- Strong rotten-egg or swampy odor: That can signal bacterial contamination in the tank or raw water that needs more than a simple cleanup.
The Water Quality Association advises using high-purity salt to reduce insoluble buildup in the brine tank, a practical step that cuts down on sludge and service issues over time, as noted in its consumer guidance on water softener salt and maintenance.
A light tank cleaning every year is good preventive maintenance. A heavier cleanout matters when you find sludge, repeated bridging, or draw problems. If the tank keeps fouling quickly, stop treating it like a housekeeping issue and look at the water itself. High iron, sediment, or poor salt quality will keep recreating the same mess.
Cleaning the resin bed
The resin bed does the actual ion exchange. If the beads are coated with iron, manganese, organics, or bacterial film, the softener may regenerate on schedule and still leak hardness. That is why a tune up that stops at the brine tank can look successful for a day or two and then fail again.
Use a resin cleaner that matches the fouling you suspect and your softener manufacturer allows. Iron cleaner is common for wells with iron staining. Follow the product label exactly, including dose and where to add it. Some cleaners go into the brine well. Others are added during a specific regeneration step.
A full manual resin-bed cleaning is not always a homeowner job. If the resin is old, badly fouled, or physically damaged, cleaner may only give partial improvement. The National Sanitation Foundation notes that treatment systems need maintenance and periodic component replacement to keep performing as certified, which is a useful reminder that cleaning cannot restore worn-out media indefinitely, as explained on NSF's home water treatment maintenance guidance.
Here's a visual walkthrough many homeowners find helpful before they start the dirty part:
A clean brine tank does not confirm a successful water softener tune up. It only removes one possible cause.
Refill the tank with clean salt after everything is back together. Do not pack it to the top. Keep enough salt in the tank to cover the water level, but leave room to monitor bridging and mushing. If the tank was nearly empty, knock loose any crust stuck to the walls before you refill.
One last practical check matters here. If you clean the tank, run resin cleaner, and still test hard water after a proper regeneration, the problem may be resin degradation or incorrect settings rather than dirt alone. That is the point of this tune up. Clean the system, then verify that it can still do the job.
Calibrating Your System for Peak Performance
You finish cleaning the softener, add fresh salt, run a regeneration, and the shower still leaves soap scum. That usually means the problem is in the settings, not the cleanup. Calibration is the part that tells you whether the unit is matched to your water, or whether cleaning only covered up a sizing, programming, or resin problem.
Start with the water, not the controller
Do not program anything until you know your raw water hardness. Use a current test result from a water report or a reliable hardness test kit. If your water also contains iron or manganese, use the compensated hardness number your valve manufacturer calls for, not just the plain hardness reading.
Many control valves use a compensation rule that adds hardness for iron and manganese because those contaminants consume exchange capacity too. The exact formula varies by brand, so check your manual first. If you enter the raw hardness number when iron is present, the softener can appear to work for a day or two, then leak hardness before the next regeneration.
That is a common homeowner mistake.
What to adjust
Open the manual and find the settings that control how much work the unit thinks it can do before it needs to recharge:
- Hardness
- Capacity
- Salt dose
- Reserve or safety factor
- Calendar override or day override
- Regeneration time
Those settings work together. Raising hardness without checking capacity and salt dose can make the unit regenerate too often. Lowering salt dose without enough real capacity can save salt on paper and leave hard water in the house by the end of the cycle.
Set regeneration based on use, not guesswork
A properly tuned softener should regenerate often enough to keep hardness out of the tap, but not so often that it burns through salt and water early. In the field, the sweet spot for many homes is driven by two things: actual water hardness and actual daily water use.
A simple way to check your programming is to estimate daily demand. Multiply the number of people in the house by typical daily gallons per person, then multiply that by hardness in grains per gallon. Compare that demand to the softener's usable capacity at the current salt setting. If the math says the unit should last about five days and it is regenerating every two, the settings are likely wasteful. If the math says five days and hard water shows up on day three, suspect under-programming, unexpected water use, channeling, or tired resin.
Set the regeneration time for a period when no one needs water, usually overnight. That part is simple. Getting the hardness, capacity, and reserve lined up with real household demand is what makes the tune-up stick.
A practical calibration workflow
- Test untreated water for hardness. Use your most current iron and manganese results too if those are present.
- Check the manual's compensation method and calculate the hardness number the controller should use.
- Confirm the salt dose and capacity pairing in the manual. Do not assume the highest capacity setting is the best setting.
- Review recent water use if you have it from utility bills or a smart meter. Big changes in occupancy matter.
- Set reserve or day override conservatively so the unit does not run out of soft water before the next cycle, but does not regenerate on an overly short timer.
- Run a manual regeneration after programming changes.
- Test softened water after the cycle finishes. If hardness is still getting through right away, the issue may be mechanical, not calibration.
Calibration takeaway: A successful water softener tune up ends with verified soft water at the tap, not just cleaner parts and new settings on the screen.
One more trade-off matters here. Programming hardness a little high can protect against breakthrough if your source water fluctuates, but setting it far too high wastes salt and water. Programming too low does the opposite. It stretches each cycle until the softener is spent early. If you have to push the settings hard just to get acceptable water, that is a warning sign. The resin bed may be fouled, aged, or no longer delivering its rated capacity.
Final Inspection and Common Troubleshooting
After cleaning and programming, don't just close the lid and walk away. Give the system one complete quality check.
Final inspection checklist
Use this short punch list:
- Check every fitting you touched: Look for drips at bypass valves, brine connections, and drain fittings.
- Confirm the brine line is seated properly: A loose pickup line can cause weak or failed regeneration.
- Verify the float moves freely: If it sticks, refill volume can go wrong.
- Make sure the drain line is secure: A drain line that slips loose can make a spectacular mess.
- Reset the clock if needed: A power interruption often wipes the time setting.
Then trigger a manual regeneration. Listen for normal valve movement. Watch for water moving to drain when the cycle reaches that stage. You don't need to stare at it for an hour, but the first few minutes tell you a lot.
If something still seems off
Some common post-tune-up complaints are easy to sort out.
Water tastes salty.
That usually points to incomplete rinsing after regeneration, too much salt setting, or a brine draw issue. Run another regeneration if your manual allows it, then retest.
Water pressure seems lower.
Check whether the unit is fully out of bypass and whether a screen, venturi, or line was reassembled incorrectly. If your flow is poor only when the softener is in service, compare it to bypass mode.
You still get spots after the tune up.
Don't assume the whole job failed. Test the softened water again. If hardness is still present, the issue is likely programming, poor brine draw, or worn resin.
If bypass mode restores good flow but service mode does not, the softener itself is the restriction. That narrows the problem fast.
The brine tank fills oddly or not at all.
Recheck the float assembly and tubing routing. One mis-seated part can upset the whole cycle.
Your Maintenance Blueprint and When to Call a Pro
A good tune up earns its keep over the next few months, not just on the day you clean the tank. The ultimate test is whether the softener still matches your water. Municipal supply can shift. Well water can drift with seasons. If hardness at the tap starts climbing while your settings stay the same, the schedule needs attention, not more salt.
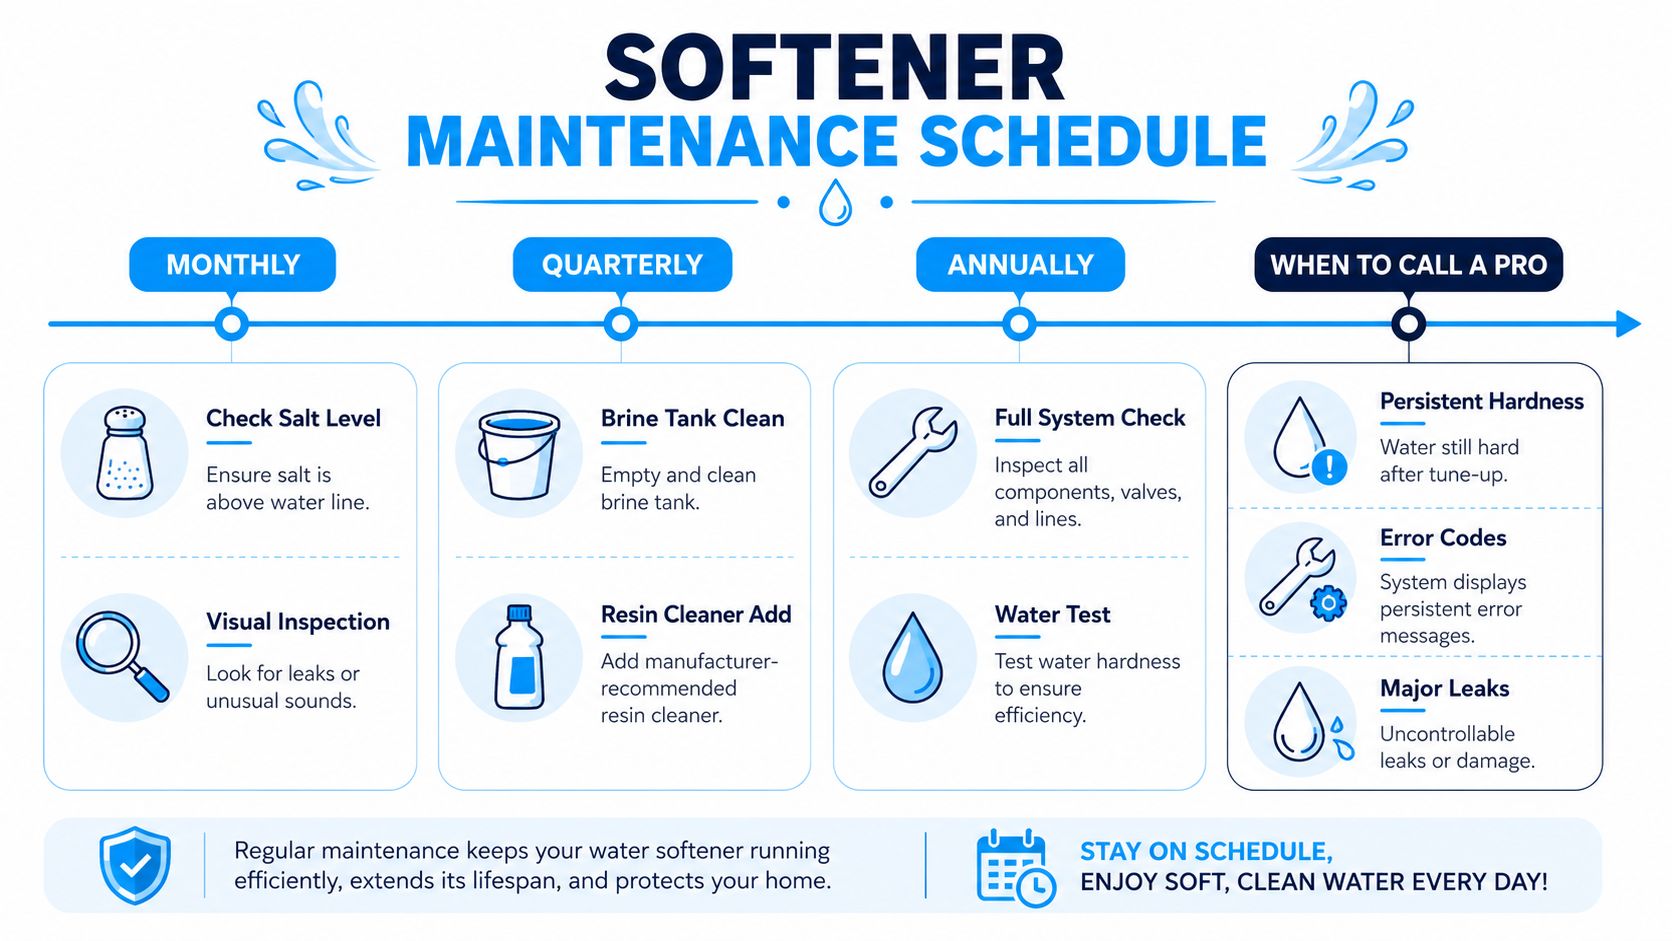
A practical maintenance rhythm
Use a simple log. Write down raw water hardness, softened water hardness, salt use, and any setting changes. That one habit makes troubleshooting much faster because you can see whether performance drifted slowly or failed all at once.
- Monthly: Check salt level, break up any bridge, and note whether salt use looks normal for your household. A sudden drop in salt use can mean the unit is not regenerating correctly. A sudden jump can mean the settings are off.
- Seasonally: Test both untreated water and softened water, then compare those results to the hardness setting and regeneration frequency you programmed during the tune up. If incoming hardness changed, recalibrate the unit so capacity and refill settings still fit the water you have.
- Annually: Clean the brine side, inspect parts that meter or move water, and evaluate resin performance instead of assuming it is fine. If softened water hardness keeps creeping up even after correct programming and a clean regeneration, the resin bed may be fouled or worn.
That seasonal check is where many tune ups succeed or fail. A softener can look clean and still perform poorly if it is set for water conditions from a year ago.
Resin also has a service life. If your unit has been in place for years and needs frequent corrections to maintain soft water, stop treating every symptom as a cleaning problem. Physical wear, iron fouling, chlorine damage, and channeling inside the resin bed can all reduce exchange capacity.
When a tune up stops being the right fix
Call a pro if testing and calibration no longer agree with the results at the tap.
That usually shows up in a few specific ways:
- Persistent hardness after you verified settings and retested: The softener may have worn resin, a valve problem, or an internal leak that lets hard water pass through.
- Soft water only right after regeneration, then hardness returns too quickly: Capacity is likely lower than programmed, which points to resin condition, brine draw problems, or a control issue.
- Heavy iron, sulfur, or sediment in the water: Those conditions can foul resin fast and can make a softener look faulty when the actual problem starts upstream.
- Visible leaks, cracked fittings, or tank damage: Pressurized water finds weak points quickly. Guessing here often turns a manageable repair into water damage.
- You are coordinating larger plumbing upgrades: If the softener work overlaps with heater or supply-line changes, it helps to plan the system as a whole. Homeowners comparing related projects may find this overview of hot water system installation in Melbourne useful for understanding how pros scope connected water system work.
Here is the practical line I use in the field. If testing shows the settings are wrong, recalibrate. If testing shows the settings are right but the water is still hard, start looking for a failed component or spent resin.
A tune up works best when it includes both cleaning and proof. Test the water, compare it to your programmed settings, and keep a short record. That is how you catch a drifting water source early and avoid wasting time on a softener that needs repair, not another bag of salt.
If you want clear, no-hype help choosing test kits, comparing filtration options, or maintaining the rest of your home water setup, visit Water Filter Advisor. It's a solid resource for homeowners who want better water without guessing.
- July 20, 2026
- Uncategorized
