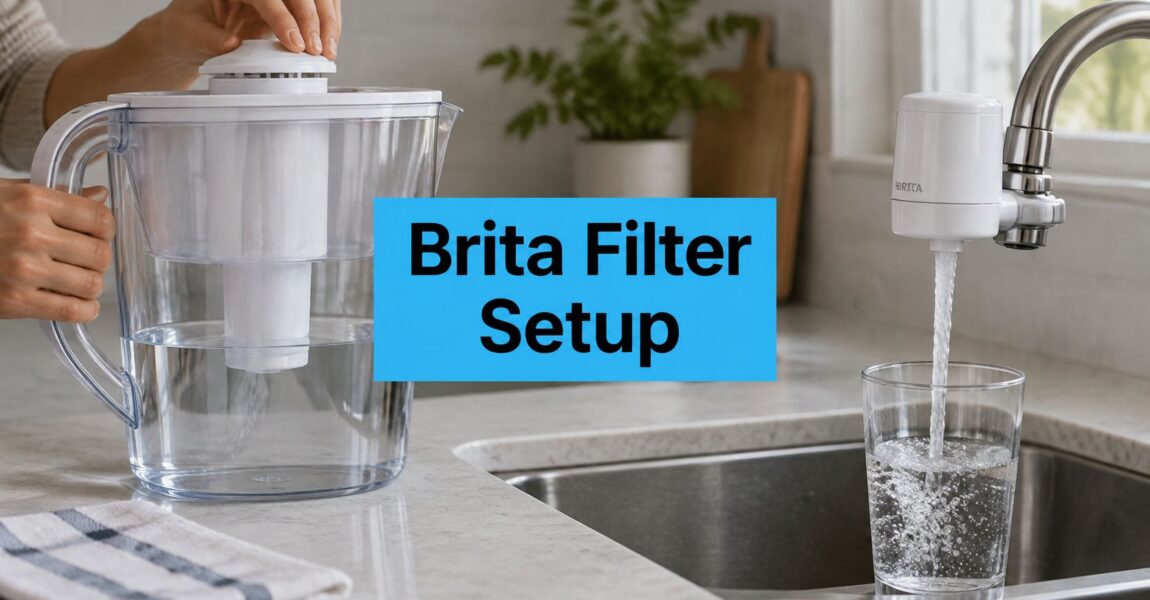
The new pitcher is on the counter, the cartridge is still in its wrapper, and the sink is the only tool you trust. You are about half a minute from either a clean first glass or a cloudy mess you will blame on the filter. How to set up a Brita filter comes down to one habit: match the cartridge in your hand to its row, then follow only that row. A soak that helps an old Original filter can ruin the routine for a faucet cartridge, and a skipped flush is why the first pour tastes like a pencil.
Which Brita Setup Applies to Your Model
Two cartridges can look identical in the hand and behave nothing alike. The label on the wrapper is the only thing that separates them, and that label decides whether you rinse, whether you soak, and how much water goes down the drain before the first glass.
Brita's replacement-filter guidance splits preparation by cartridge, and a faucet cartridge's 100-gallon life begins only after its flush, not when you tear the box.
| Cartridge type | Before installing | Flush or soak | Indicator |
|---|---|---|---|
| Standard pitcher cartridge | Rinse under cold water for 15 seconds | Do not soak; discard first 3 full pitchers | Hold RESET until the green light blinks |
| Elite pitcher cartridge | No rinse step required | Discard first 3 full pitchers | Check box or label |
| Older Original pitcher cartridge (stored) | Pre-soak for 15 minutes | Discard first 3 full pitchers | Check box or label |
| Faucet cartridge | Do not soak | Flush 5 minutes with cold water in filtered mode | Usually resets automatically on insertion |
Read the name on the box or the wrapper, not the shape of the plastic. Standard, Elite, and Original are different media packs even when they drop into the same reservoir. A cartridge that has sat in a cupboard for years is often an older Original, and that is the one case where a 15-minute pre-soak still belongs in the routine. Blanket "soak every filter" advice is why people return perfectly good cartridges or toss them after one odd-looking pour.
Set out cold tap water, a clean sink, the new cartridge, and a jug for the first water. That jug can go on houseplants. I would not drink from it.
If you bought the pitcher for lead, the word "filtered" on the lid is not the claim you need. NSF's lead-reduction listings rate certified systems against water dosed with 150 parts per billion of lead, so the box has to name the lead claim and the NSF/ANSI 53 standard before the pitcher counts as protection. That rating holds only if you replace the cartridge on the maker's schedule.
Let the label put you in the right row, and check the lead line on the box before you treat the pitcher as protection.
How to Set Up a Brita Pitcher Step by Step
This walk-through is the standard pitcher cartridge. If your row said Elite or a stored Original, keep that row's prep and use the seating and cold-water steps below.
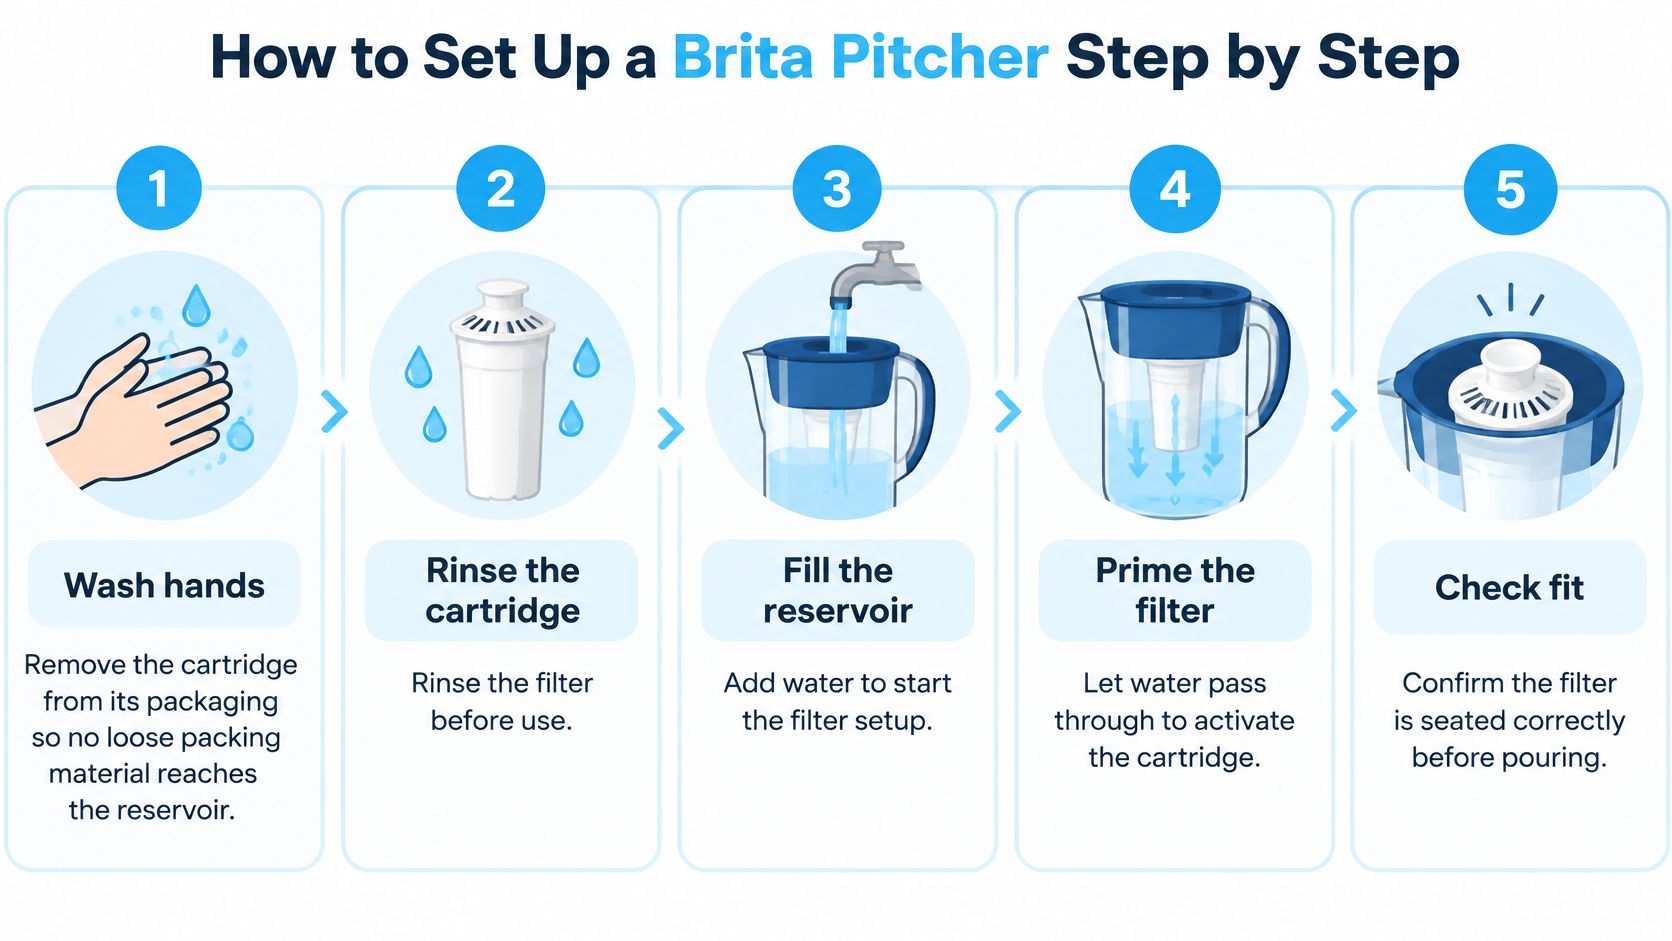
- Wash your hands, then take the cartridge out of the wrapper and the little plastic bag. Loose film in the reservoir becomes a leak you will chase for ten minutes.
- Hold the cartridge under cold running water for 15 seconds. Brita's pitcher FAQ treats that short rinse as the way to shed loose carbon before the cartridge ever sees the reservoir.
- Line the groove on the cartridge up with the ridge or notch in the reservoir and press until it sits tight. A gap at the rim lets tap water slip around the media, so the pitcher looks busy while nothing is filtered.
- Look at the seat from above. The top should be flat, with no daylight at the sides. If it rocks, pull it and seat it again. Angled cartridges are the usual bypass.
- Fill with cold tap water only. Hot water can damage activated carbon or cut how well it works, so the kettle and the hot tap stay out of this job.
- Stop at the maximum line. Water above that line climbs the lid and drips down the outside, which feels like a cracked pitcher when it is only an overfill.
- Put the lid on and let the first batch drop into the base. Set that water aside. Do not drink it. You are wetting the media, not pouring a glass.
Three slips cause most bad first days: hot water, a skipped rinse on a standard cartridge, and a cartridge pressed in at a tilt.
A correct first fill moves through the cartridge, not around it. A few black specks in that early water are carbon dust. Brita calls that normal during commissioning, so specks alone are not a failed cartridge.
How to Install and Flush a Brita Faucet Filter
A faucet filter does not use the pitcher reservoir at all. You are adding a head to the spout, and the prep is a timed cold flush, never a soak.
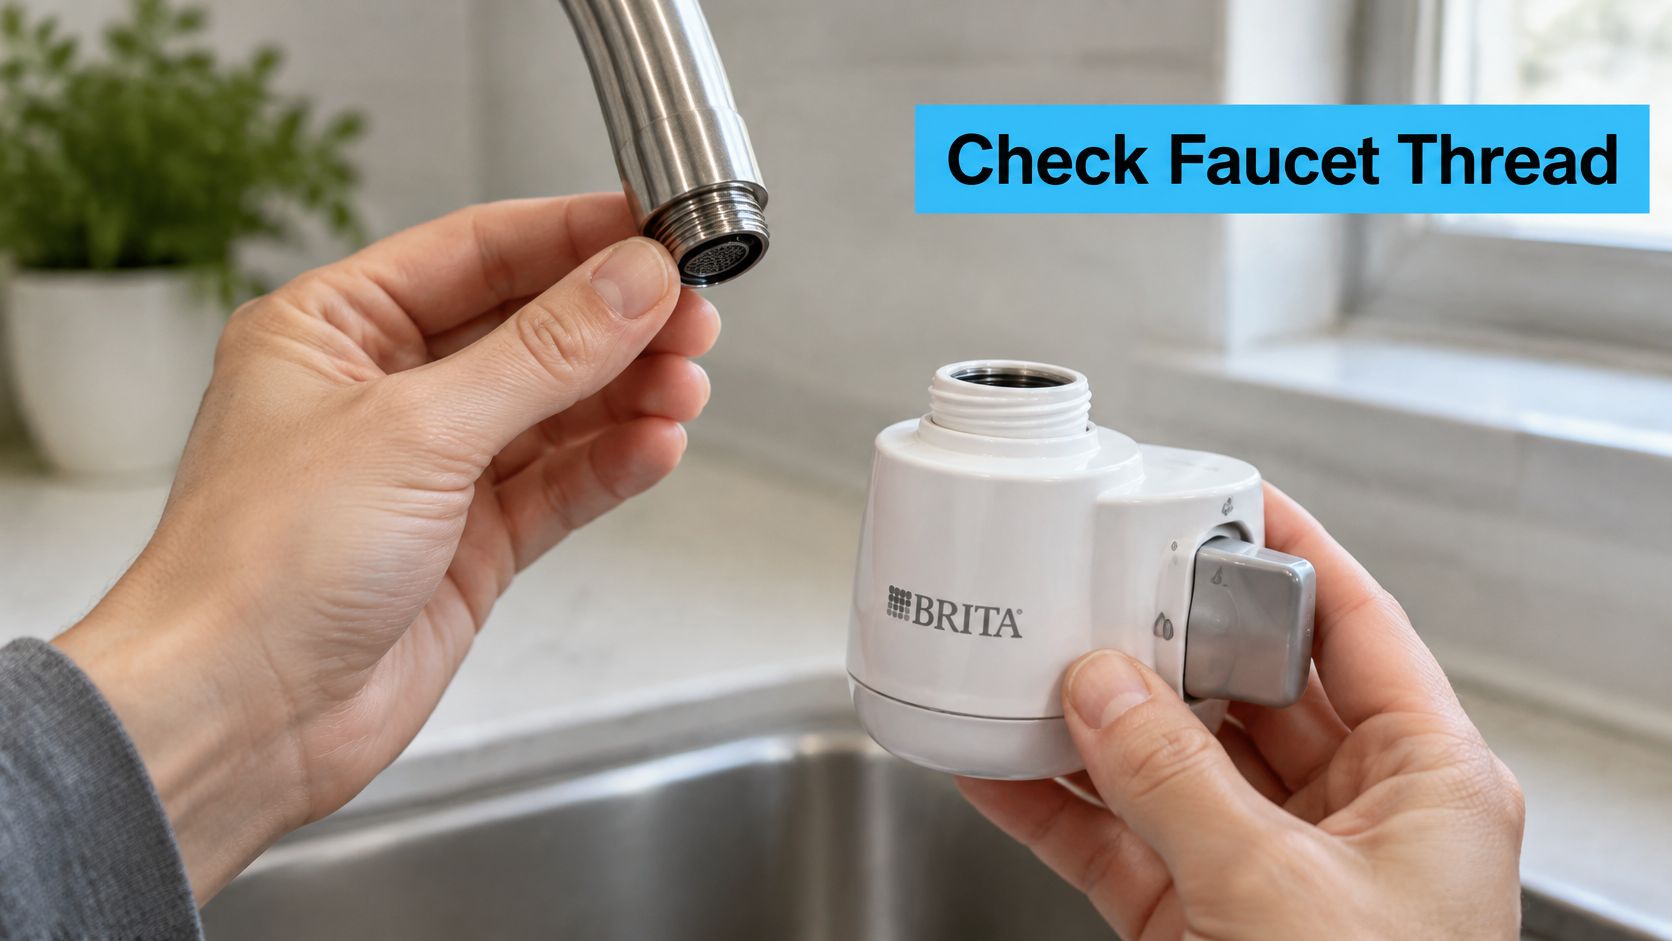
- Check the spout threads and whether the aerator unscrews. If you rent, ask the landlord before you take any part off. Some finishes stain or strip if you force them.
- Unscrew the aerator and put it in a labelled dish. You will want it back if you move.
- Thread the adapter onto the spout by hand, then snug it with a cloth. Over-tightening cracks plastic threads.
- Slide the cartridge into the head with the indicator facing the way the head expects, then lock the head onto the adapter.
- Move the lever or switch to filtered mode. Unfiltered mode bypasses the cartridge on purpose.
- Run cold water for 5 minutes. In 2025, Brita's faucet-system instructions told users to do that flush to activate the media and clear carbon dust.
- Watch the adapter joint and the cartridge joint while the water runs. A drip there is a loose thread, not a bad cartridge.
When the stream is weak
Faucet cartridges are never soaked because the five-minute cold run does the job a pitcher pre-rinse does. If flow is weak right after installation, check two things before you assume a clog: the lever must be fully in filtered mode, and the cartridge must be pushed home in the head. A half-seated cartridge chokes the stream and can leak at the collar.
Flip the lever back to unfiltered when you want water for washing pans or filling a mop bucket. Filtering every chore only spends capacity you wanted for drinking.
Flushing, Resetting and Fixing First-Use Problems
Your first glass is not a taste test. It is a debris check, and what you discard depends on which row of the setup table your cartridge landed in. Pitchers shed carbon fines into the reservoir. Faucet cartridges push them straight through the spout. Both need flushing, and neither problem comes from your tap water.
The first water looks wrong because the cartridge is shedding fines and wetting dry carbon. Cloudy or grey water at this stage is loose carbon, not dirt from the tap. Brita's pitcher support page says to discard the first three pitchers of filtered water, or use that water on plants.
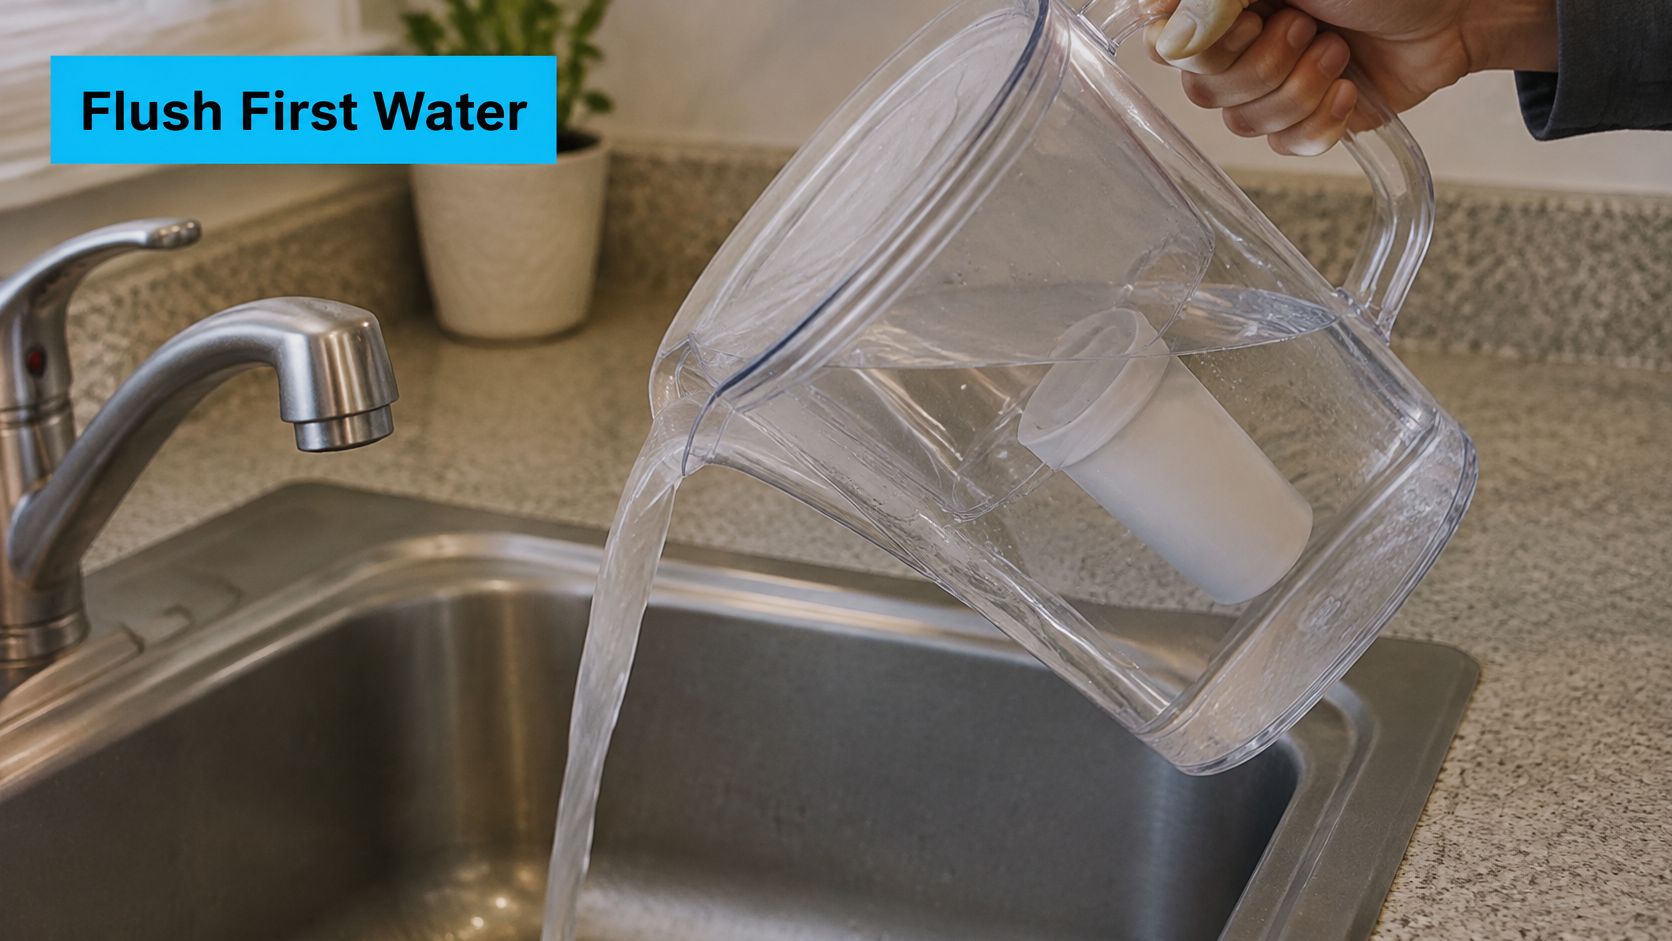
A batch is finished when the water runs clear and tastes neutral, not sweet, not like charcoal. If batch three is still grey, do not test it in a glass. Keep flushing. Two more fills cost you a litre of tap water and nothing else.
Reset the indicator
Pitcher lids with a button arm the light the moment you press it, and the button sequence differs from model to model, so follow the card in the box rather than a memorised hold time. Faucet cartridges usually reset when you seat them, so do not hunt for a button if the head already shows a fresh life.
Stagnant water is a separate problem. If the tap has sat overnight, run it cold for a minute before you fill the reservoir, so the filter is not asked to absorb whatever collected in the pipes. Then fill the pitcher or switch the faucet to filtered mode. The filter should never be your pipe flush.
If the light will not arm, the button sequence is covered in our note on how to reset a Brita filter.
| Symptom | Likely cause | Fix |
|---|---|---|
| Water leaks from the lid or base | Cartridge not seated, or reservoir overfilled | Re-seat the cartridge until it sits flat; empty and refill below the maximum line |
| Water passes the cartridge unfiltered | Cartridge misaligned, so water bypasses the media | Remove, realign the groove with the notch, press firmly, then flush again |
| Black specks in the first fills | Carbon dust from a new cartridge | Normal; keep discarding batches until the water runs clear |
| Cloudy water that will not clear | Insufficient flushing or a loose seat | Refill with cold water, flush the full discard volume, then re-check the seat |
| Slow flow after weeks of use | Sediment-heavy water or cartridge past its rated life | Check the replacement date; replace the cartridge if it is due |
| Carbon taste after setup | Batches not discarded | Discard more batches; if the taste persists, replace the cartridge |
| Warm water used during filling | Heat damage to carbon media | Replace the cartridge and fill with cold tap water only |
How to sort specks from a real fault
Specks in the first fills are normal carbon dust. Keep discarding. Cloudiness that is still there after the full discard volume points at seating, not at a bad batch of carbon. Pull the cartridge, press it flat, and flush again with cold water.
Practical rule: Pour a cup of cold water into the empty pitcher and watch. The drip shows you whether the leak is the reservoir seam, the lid, or the cartridge collar.
Slow flow after weeks of ordinary use is not fixed by another rinse. The media is loaded or the cartridge is past its rated life, so replace it. A cracked reservoir or a cartridge that saw hot water should be replaced, not coaxed. Write the start date on the lid in marker, or drop it in a phone note, the same day the indicator is armed.
Cartridge Life and When to Replace It
A missed replacement is the quiet failure. The water can still taste fine while the cartridge is done.
| Filter type | Rated life | Replace when | How to track it |
|---|---|---|---|
| Faucet cartridge | 100 gallons | 100 gallons used, or the indicator says so | Start date logged after the 5-minute flush |
| Standard pitcher cartridge | Read the gallon rating on the box | Rating on the box, or the indicator | Indicator reset plus a calendar reminder |
| Elite pitcher cartridge | Read the gallon rating on the box | Rating on the box, or the indicator | Check box or label |
| Pitcher with no working indicator | Follow the cartridge box | Gallon count or reminder date, whichever comes first | Written start date on the lid or in a phone note |
There is no single hidden gallon number that fits every pitcher cartridge. Read the rating printed for the exact pack you bought. If the pitcher has no working light, count gallons or days and set a reminder. EPA guidance on PFAS-certified filters makes the same point for certified filters generally: they have limited capacity and work only when you keep the maker's service life. Flow, volume, incoming water, and the contaminant you care about all move that date.
The indicator is a timer. It is not proof that lead, chlorine taste, or anything else is still being reduced. Replace on the schedule even when the water tastes ordinary. For a wider look at what a home filter can and cannot catch, including tiny plastic particles, Everti's piece on choosing cleaner drinking water for families is a useful companion to the gallon count on your box. Our own page on how often to replace a water filter is the place to set that interval before the light goes amber.
Hands, soap, and who changes it
Hand-wash the pitcher now and then with mild dish soap, rinse it well, and skip scouring pads. Leave it out of the dishwasher unless that model's sheet says the plastic can take it.
The CDC's home water guidance says to maintain and replace pitcher, faucet, and similar filters on the manufacturer's instructions, because an overdue cartridge can lose treatment performance and may let germs grow in the unit. Wear gloves when you change it, then wash your hands. If someone in the house has a weakened immune system, that person should not change the cartridge. The used pack can hold trapped germs or chemicals.
Name one person who owns the reminder. A shared pitcher with nobody on the hook is how a “two-month” cartridge becomes a six-month one.
Confirm Your Setup Before Your First Glass
Run this list before anyone drinks.
- Right row: The cartridge name matches the setup you followed.
- Flush done: The full discard or the timed cold flush is finished, and the water you kept is clear.
- Indicator armed: The light blinked on reset, or the faucet head reset when the cartridge went in.
- No drips: A full refill sits without leaks at the lid, base, or faucet joints.
- Date logged: The start date is on the lid or in your phone, with the replacement date beside it.
If the household needs lead reduction, buy the cartridge whose box names lead under NSF/ANSI 53, and change it on schedule. A plain “filtered” label does not carry that claim. If you mainly want chlorine taste and odour gone, a cartridge certified under NSF/ANSI 42 for aesthetic effects can be enough. NSF's overview of water-treatment standards separates those aesthetic claims from health-related ones, and certification does not mean the pitcher removes pathogens, nitrate, hardness, or every metal.
Test the tap first so the box matches what is in your water. Our Choosing a Water Filter guide walks through how to pick a system, and we link readers to water test kits so you can check the supply at home before you commit to a cartridge claim.
Finish the list today and write the replacement date on the lid. That mark is what keeps the setup you just did from going stale in the fridge door.
Water Filter Advisor has compared home filtration options since 2007, including pitcher and faucet setups, replacement timing, and what a certification on the box covers. If you are deciding whether this Brita cartridge is the right match for your tap, or you want a maintenance rhythm that survives a busy week, visit Water Filter Advisor and use the guides and kit links to check your water before the next cartridge change.
- November 5, 2026
- Uncategorized
