The Best Filter to Remove Fluoride From Your Home Water
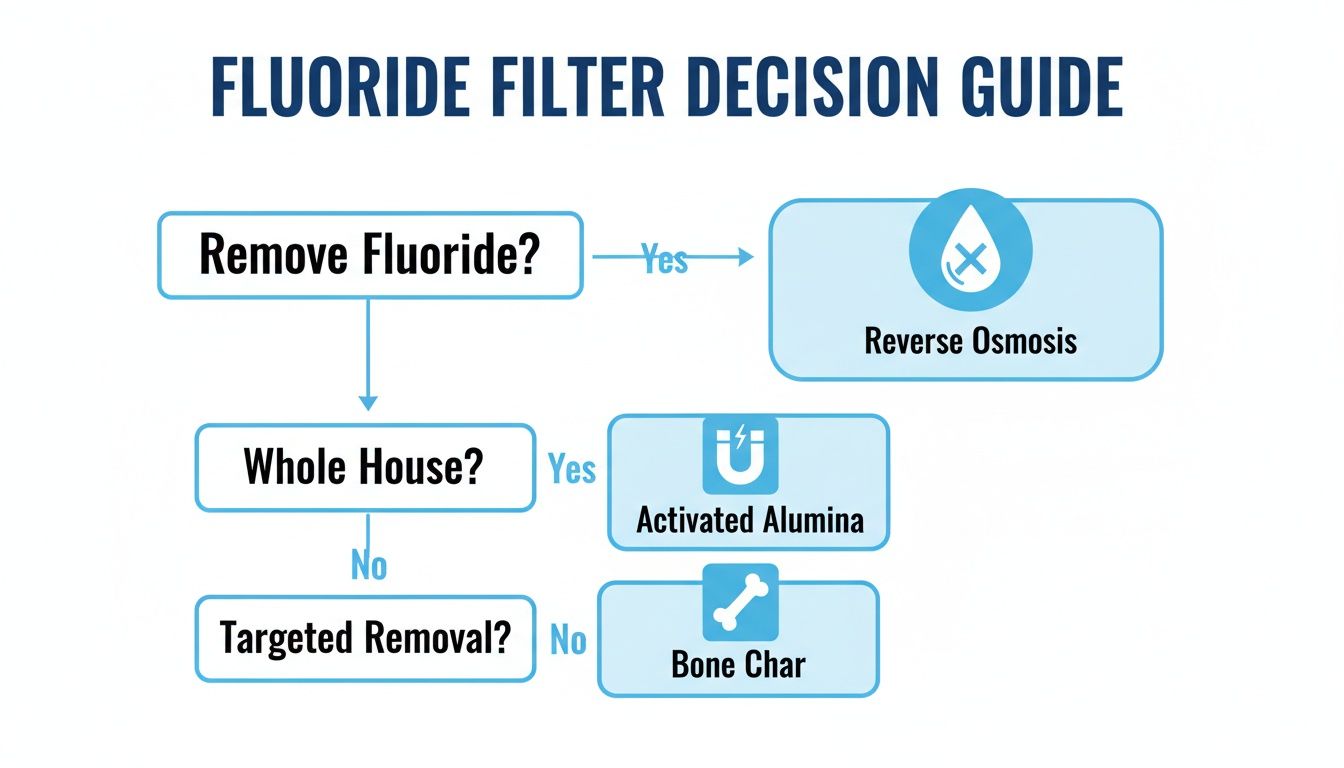
So, you're on a quest for the best filter to remove fluoride from your tap water? Welcome to the club! It’s a hot topic, and the answer isn't a one-size-fits-all solution. The undisputed champions in the fluoride-fighting arena are reverse osmosis, activated alumina, and bone char filters.
These systems are the special ops of water filtration, built specifically to target and capture fluoride molecules. Your standard pitcher filter, bless its heart, just isn't equipped for this kind of mission—it's like sending a rowboat into a storm.
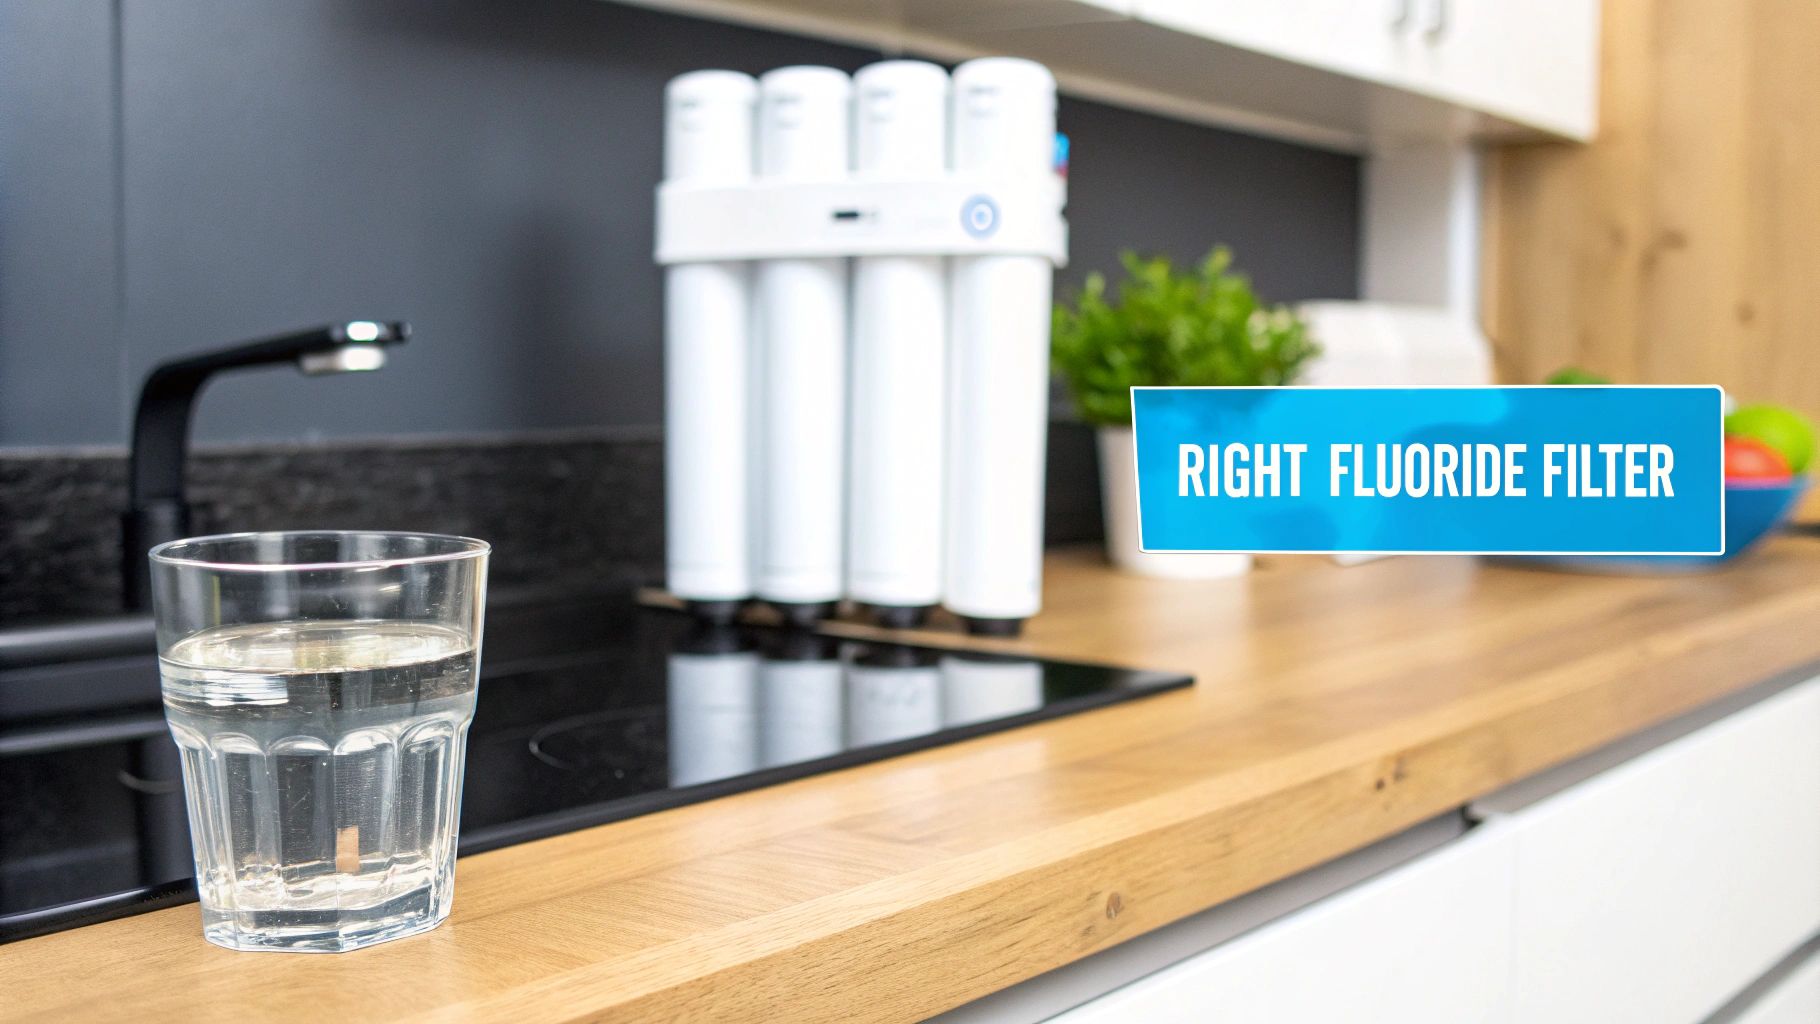
Finding the Best Fluoride Removal Filter
Choosing the right filter for your home can feel like you're trying to solve a Rubik's Cube in the dark, but it really just boils down to understanding a few key technologies.
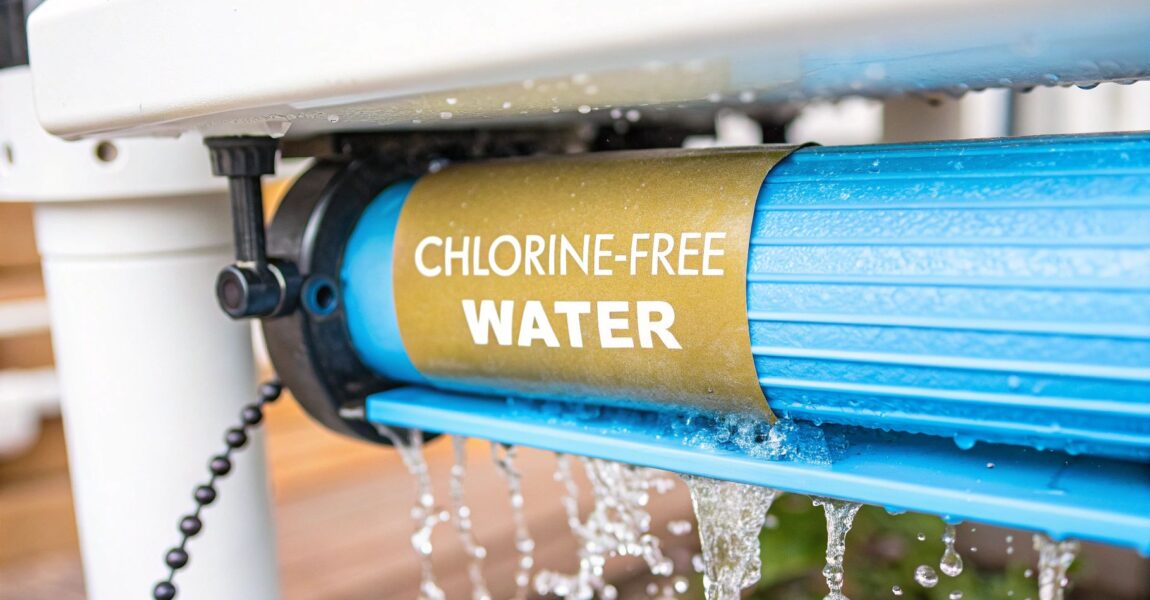
Unlike basic filters that are great at making your water taste less like a swimming pool by removing chlorine, a true fluoride filter uses a specialized process to zero in on this particular mineral. Think of it as using the right tool for the right job. You wouldn't use a butterfly net to catch a bowling ball, and you can't use a simple carbon filter to effectively snag fluoride ions.
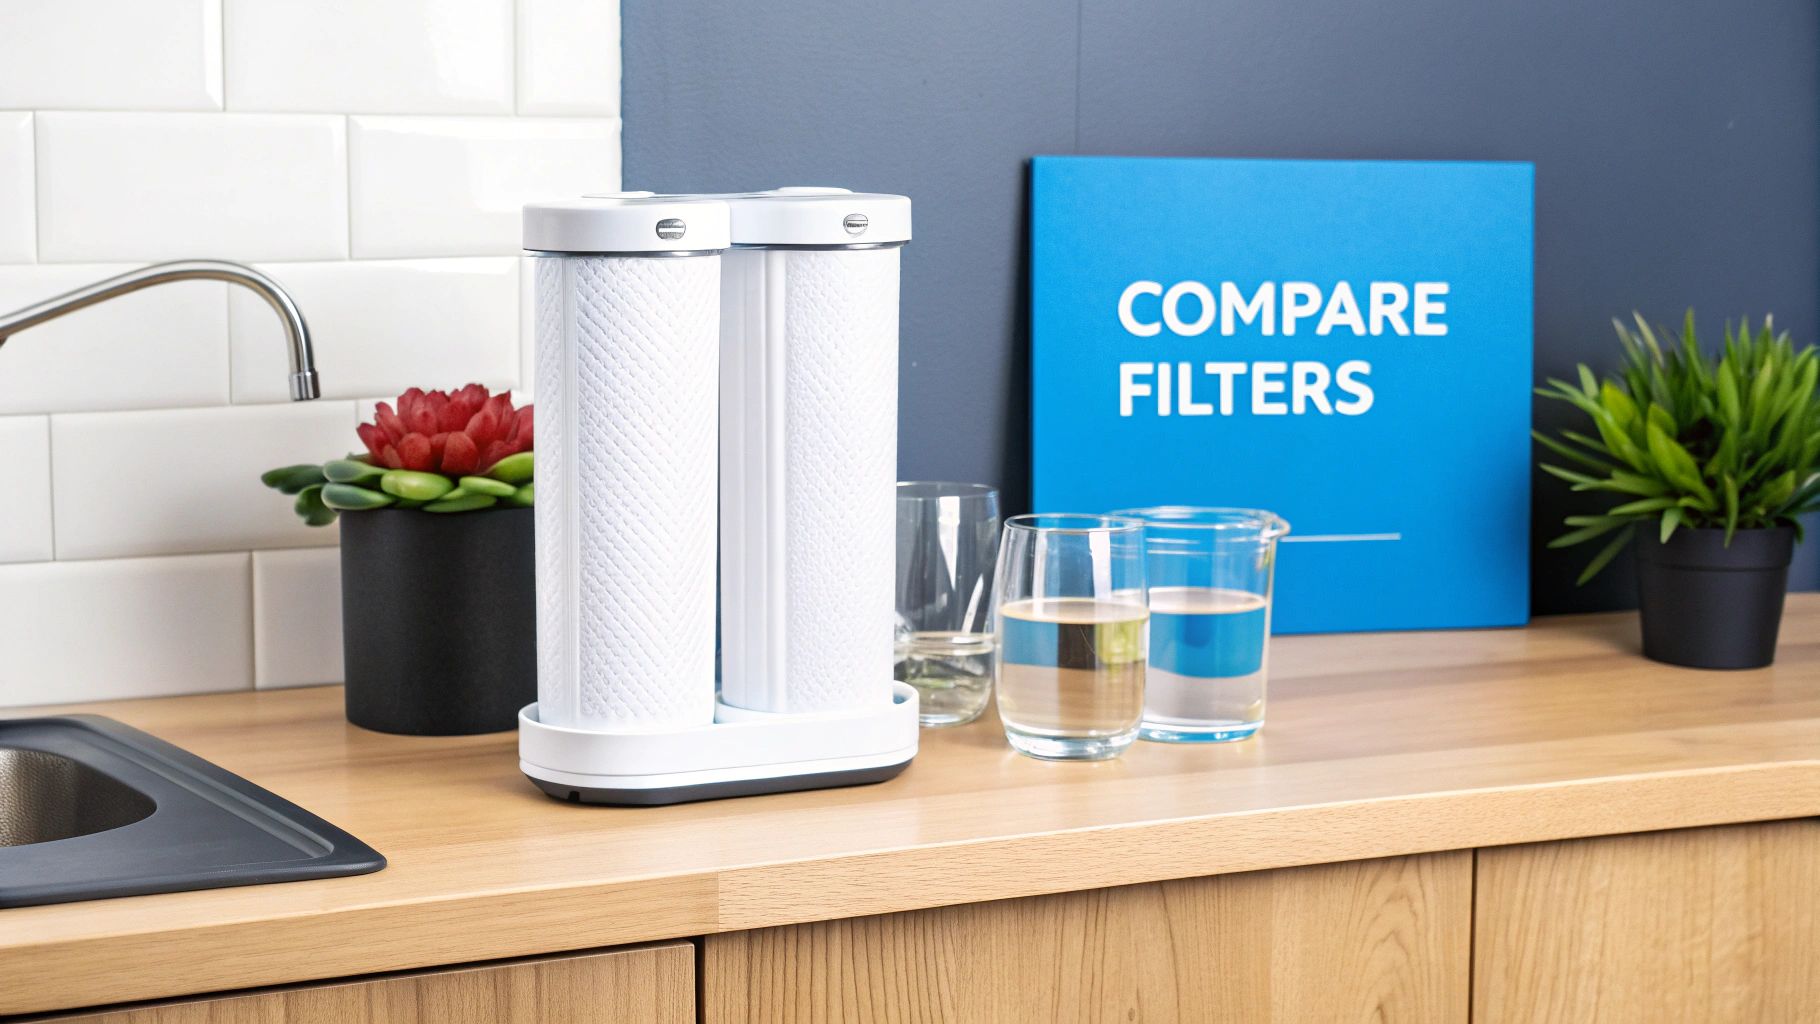
To cut through the noise, let's start with a head-to-head comparison. This table gives you a bird's-eye view of the most effective filtration methods, how well they perform, and what you can expect to spend. It’s a fantastic way to quickly see which approach fits your home's needs and your budget.
If you want more general advice on water treatment, we have plenty of guides to help you explore all the options for your home.
Comparing Top Fluoride Filtration Methods
Here’s a quick comparison of the most effective home water filtration technologies for removing fluoride to help you make a smart choice.
| Filtration Method | Fluoride Reduction Rate | Best For | Avg. Initial Cost |
|---|---|---|---|
| Reverse Osmosis (RO) | Up to 99% | Households wanting the most thorough purification for drinking water. | $250 – $600 |
| Activated Alumina | Up to 95% | Homes with high fluoride levels needing targeted removal. | $150 – $400 |
| Bone Char Carbon | Up to 90% | Those seeking a natural and effective fluoride reduction method. | $100 – $300 |
Key Takeaway: The powerhouse of the group, reverse osmosis, acts like a microscopic gatekeeper. It lets only pure water molecules squeeze through while blocking nearly everything else, including up to 99% of fluoride. Activated alumina and bone char work more like powerful magnets, attracting and holding onto fluoride ions as water passes by.
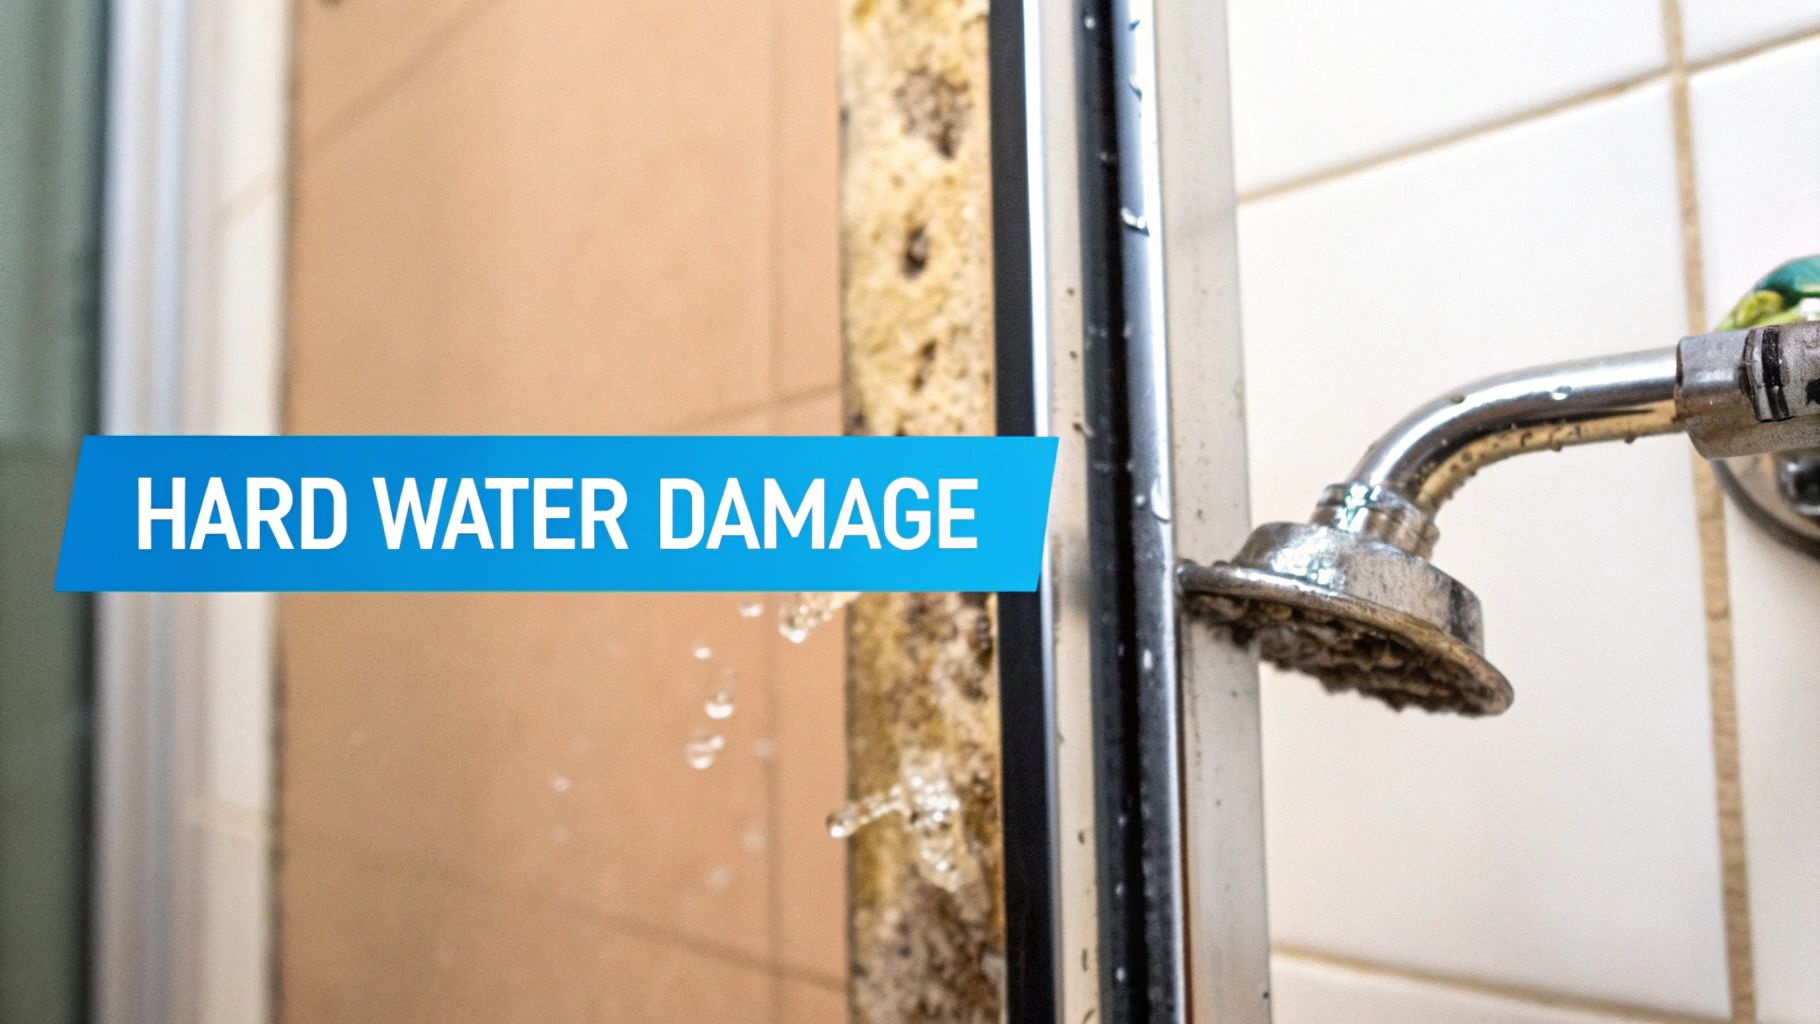
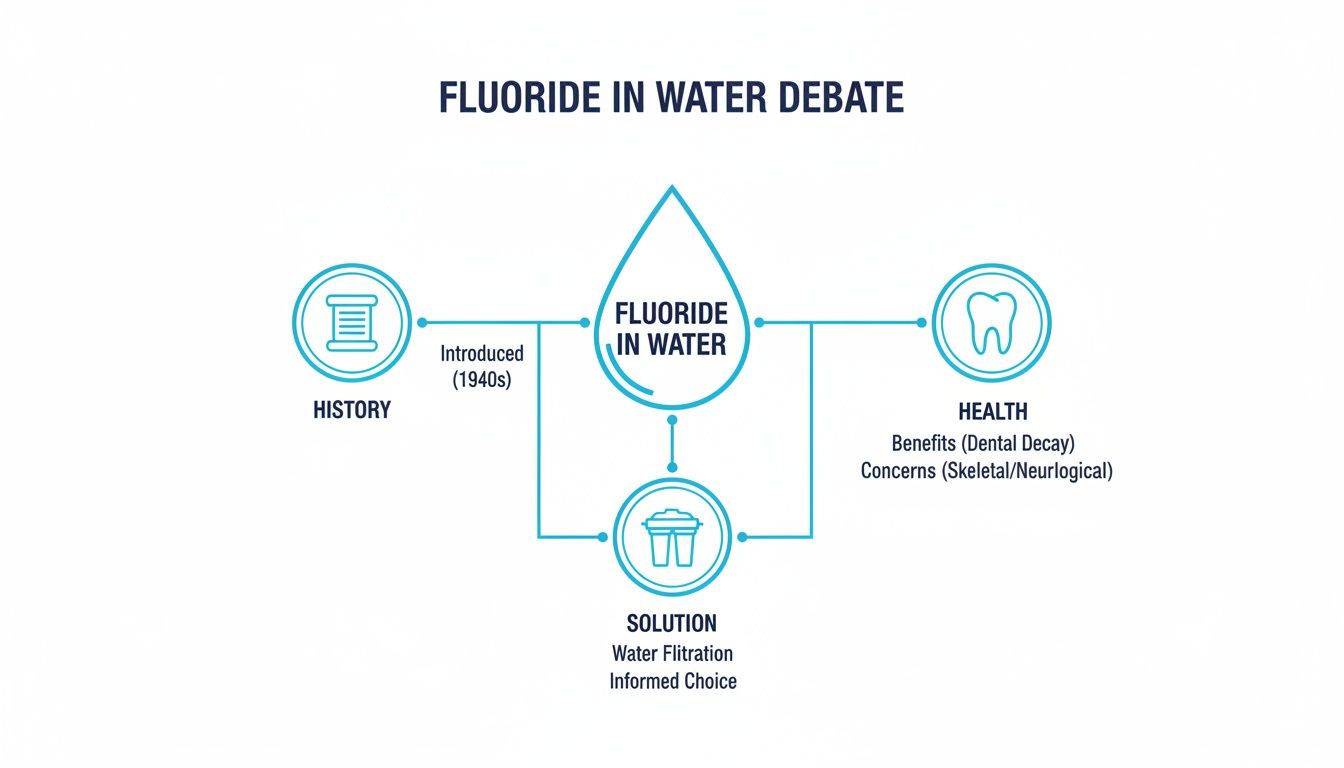
Why Is Fluoride in Your Tap Water Anyway?
Ever found yourself staring at a glass of tap water and wondering how fluoride got in there in the first place? It’s a great question, and the answer isn’t a single story—fluoride finds its way to your faucet through two very different routes, one natural and one man-made.
First off, Mother Nature has a hand in it. Fluoride is a mineral that’s naturally present in rocks and soil all over the world. When groundwater makes its long journey through underground aquifers, it's like a liquid magnet, dissolving minerals from the earth it passes through. In areas with fluoride-rich geology, this natural process can lead to significant levels of fluoride in the water supply without any human help at all.
Community Water Fluoridation: A Public Health Initiative
The more common reason you’ll find fluoride in your tap water, though, is a practice called community water fluoridation. This is when your local water utility intentionally adds a very precise amount of fluoride to the public water supply, aiming for a level proven to help prevent cavities.
You can think of it like fortifying milk with vitamin D or bread with folic acid. It's a public health strategy that has been around for decades, supported by health organizations as a cost-effective way to boost the dental health of an entire community. This is especially true for folks who might not have easy access to a dentist. Today, about 73% of the U.S. population on public water systems gets fluoridated water.
The whole idea kicked off back in the 1940s. Researchers noticed that people in towns with naturally higher fluoride levels in their water had way fewer cavities. So, the goal became to replicate that same protective effect for everyone.
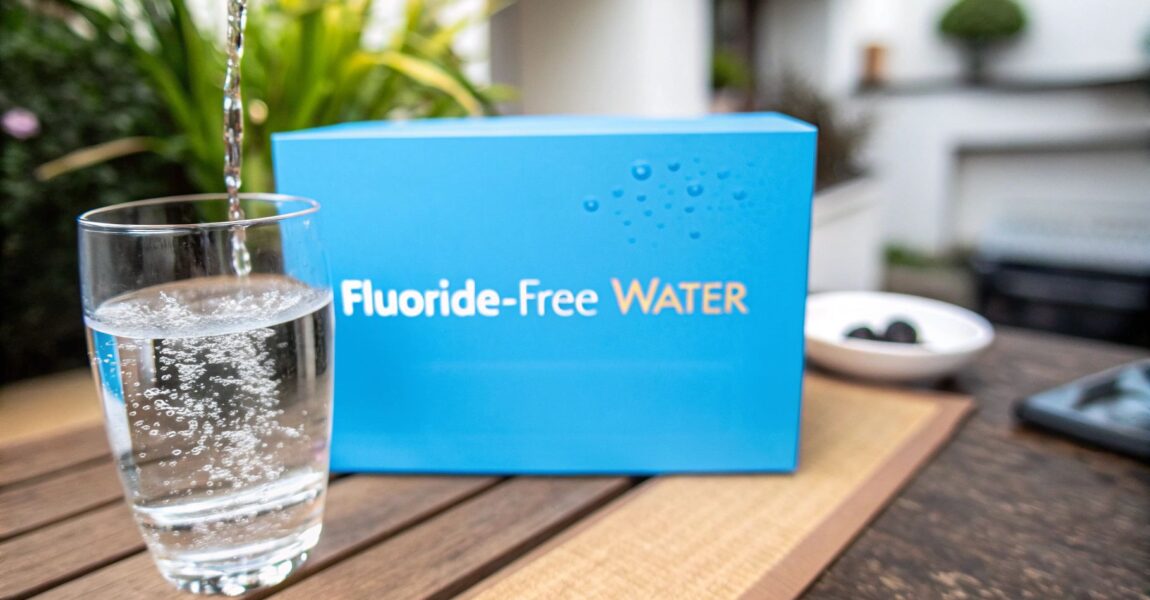
So, Why Would Anyone Want to Filter It Out?
If it's meant to be good for our teeth, why are so many people looking for a filter to remove fluoride? The reasons really come down to personal choice and a desire for more control over what we put in our bodies.
For some, it's about the total amount of fluoride they're exposed to from all sources—not just water, but also toothpaste, mouthwash, and even some processed foods and drinks. They'd rather start with fluoride-free water to manage their overall intake. For others, it’s a matter of principle; they simply believe that any additives, no matter how well-intentioned, should be a personal choice, not something that comes standard out of the tap.
Ultimately, deciding whether to filter fluoride is up to you. Now that you know how it gets there and why some people choose to take it out, you're in a much better position to figure out what makes the most sense for you and your family.
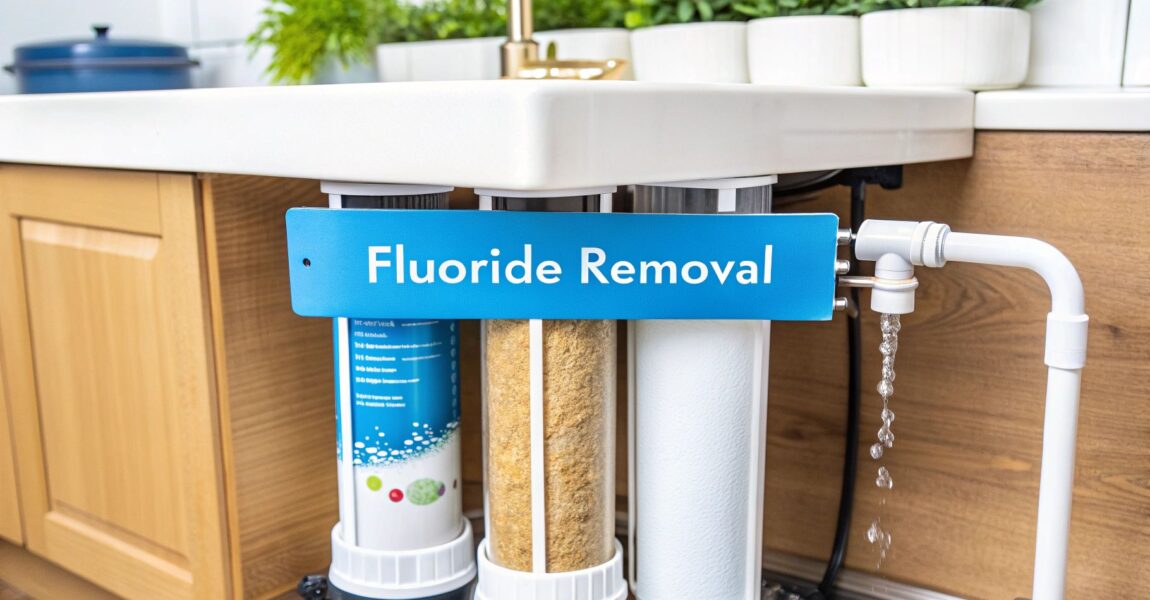
The Technologies That Actually Remove Fluoride
Not all water filters are created equal, especially when your goal is to get rid of fluoride. That standard pitcher filter you have is great for making water taste less like a swimming pool, but it won't touch the fluoride. For that job, you need a specialized filter to remove fluoride—one built with a specific technology designed to target this stubborn mineral.
Let's break down the heavy hitters of fluoride filtration. These are the systems with the power and precision to pull fluoride ions right out of your water, giving you total control over what's coming out of your tap. Each one works a bit differently, with its own set of pros and cons.
This simple flowchart shows the journey your water takes, from natural groundwater sources, through the municipal treatment plant, and finally to your home.
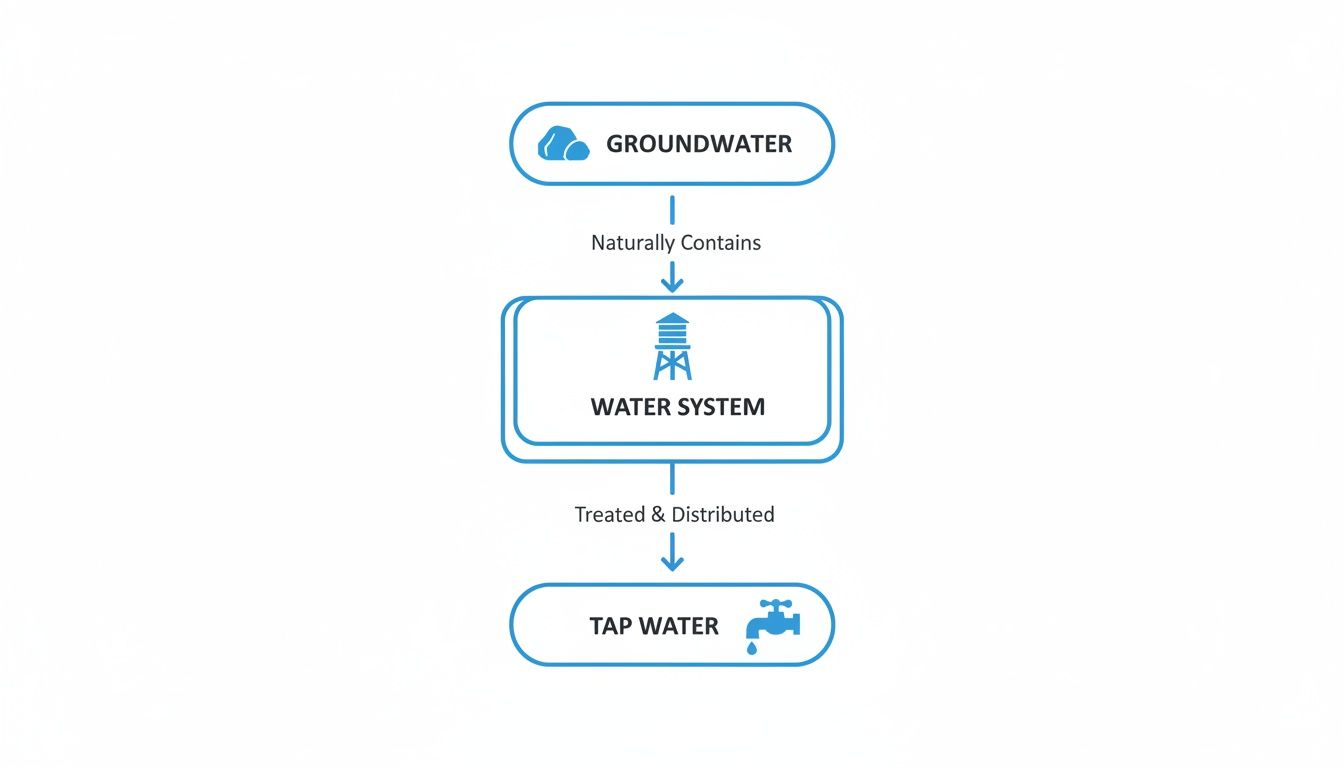
It’s a good visual reminder of the different stages where contaminants like fluoride can be introduced, which really highlights why targeted, in-home filtration is so important.
Reverse Osmosis: The Gold Standard
When people talk about serious water purification, Reverse Osmosis (RO) is almost always the first thing that comes up. It’s widely considered the best in the business. An RO system is basically the ultimate gatekeeper for your water, using a process that’s surprisingly simple in theory but incredibly powerful in practice.
Think of it like a bouncer at an exclusive club, but on a microscopic scale. This "bouncer" is a semi-permeable membrane—a special material with pores so tiny that only pure water molecules can squeeze through. Everything else—dissolved salts, heavy metals, bacteria, and yes, fluoride—gets turned away at the door.
Your home's water pressure forces the tap water against this membrane. The pure H₂O molecules pass through to the other side, ready for you to drink. The rejected contaminants get flushed down the drain along with some of the water.
This process is so effective that RO systems can remove up to 99% of fluoride from drinking water, along with a huge list of other unwanted stuff.
Globally, RO technology is the dominant force in the water filter market, capturing around 36% of the total market value as demand skyrockets in regions with poor groundwater quality. You can dig into the full global market analysis on water filters from Persistence Market Research for more details.
Pros and Cons of Reverse Osmosis
Of course, every technology has its trade-offs. Here’s a quick rundown of what makes RO great and what you need to know before buying:
- Pro: Unmatched Purity. No other home filtration method removes a wider spectrum of contaminants as effectively as reverse osmosis. It's your all-in-one solution for incredibly pure water.
- Pro: Great Taste. By stripping out minerals and chemicals, RO water has a crisp, clean taste that many people swear by for both drinking and cooking.
- Con: Water Waste. The process creates wastewater. For every gallon of purified water, several gallons are typically flushed away. Newer, more efficient models are getting much better at reducing this ratio, though.
- Con: Removes Healthy Minerals. That powerful membrane is so thorough it also removes beneficial minerals like calcium and magnesium. To fix this, many modern systems now include a remineralization filter to add these healthy minerals back in before the water hits your glass.
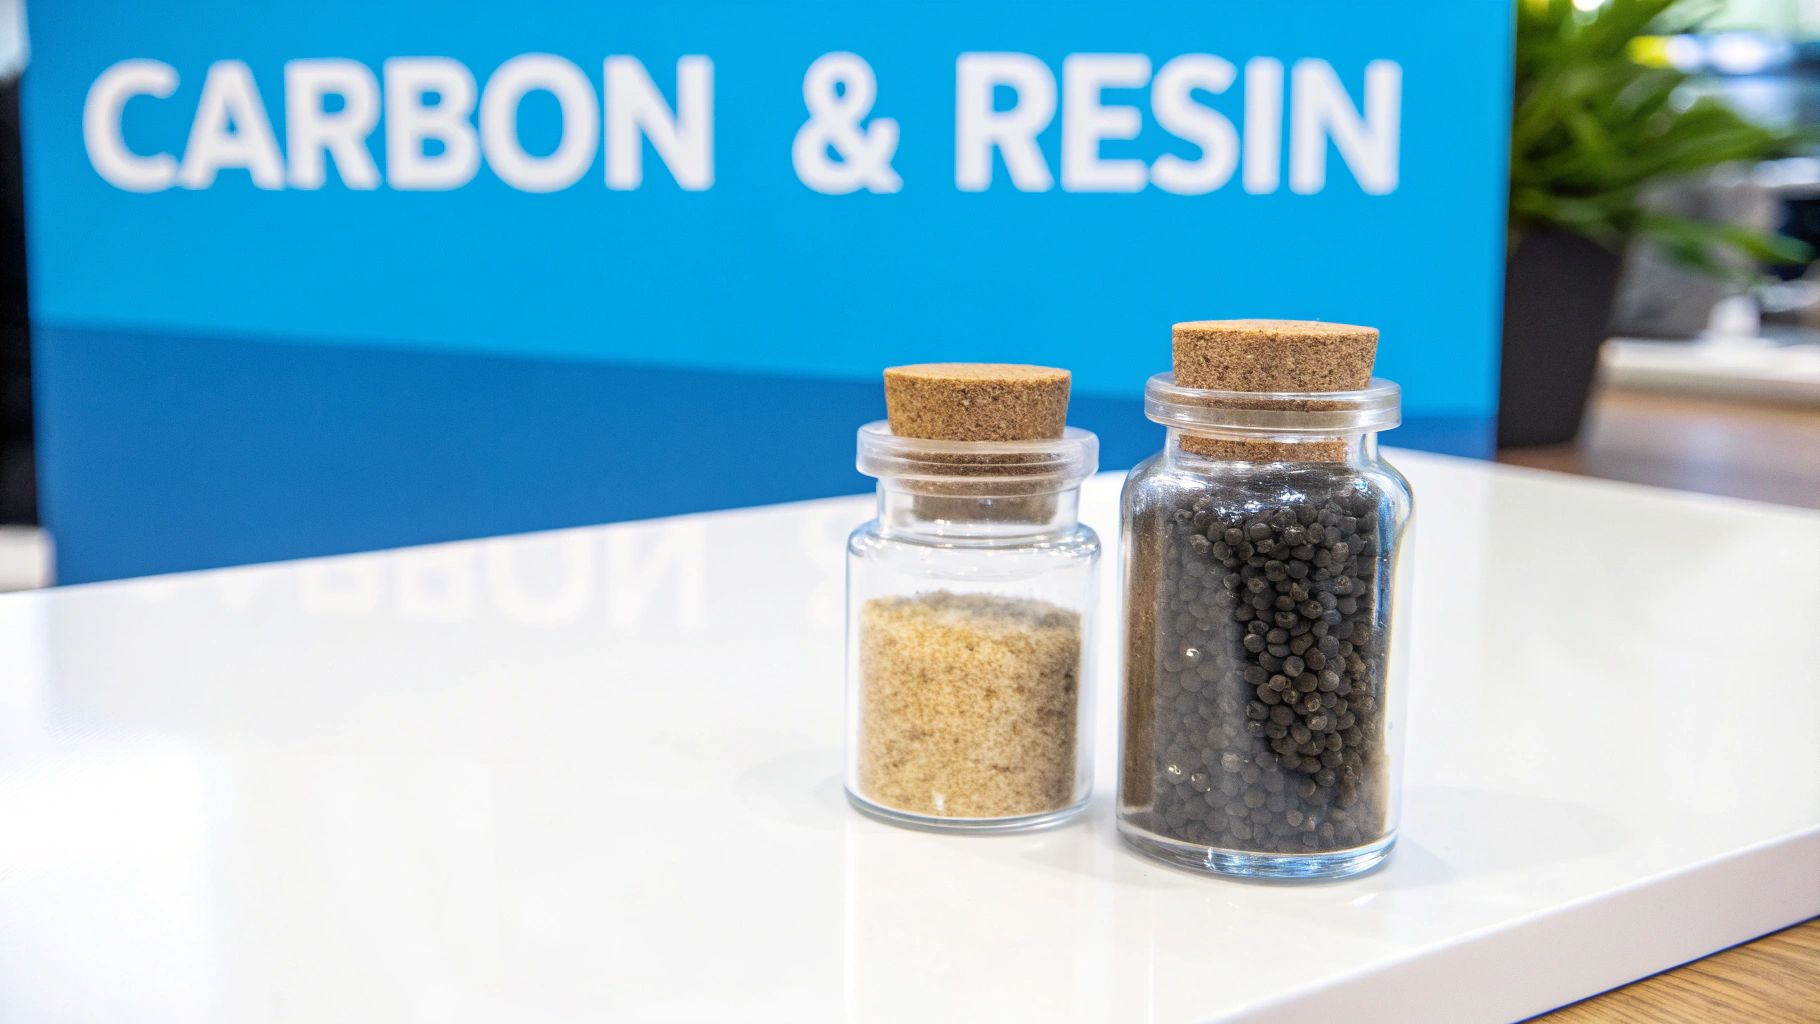
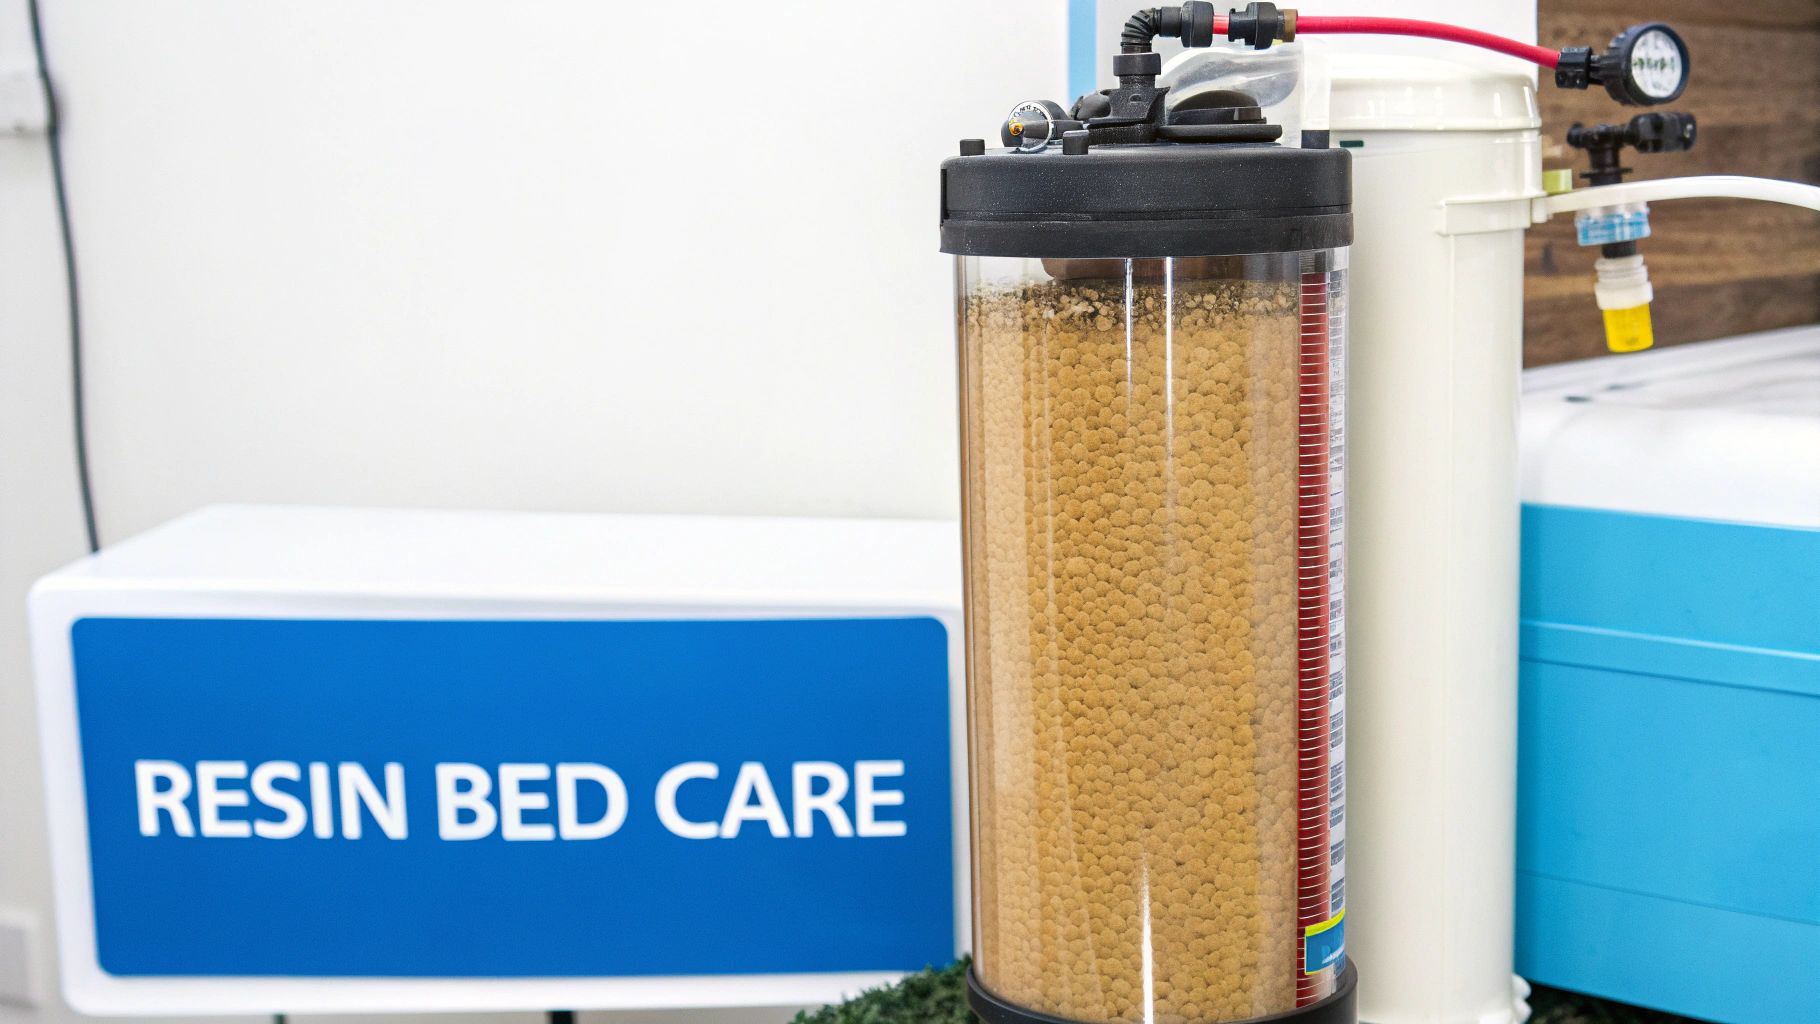
Activated Alumina: The Fluoride Magnet
Next on the list is Activated Alumina, a type of filter media specifically engineered to attract and capture fluoride. Don't let the name scare you; it’s a completely safe, porous form of aluminum oxide that has a natural affinity for fluoride, arsenic, and selenium.
Think of an activated alumina filter like a super-strong magnet. As water flows through the filter cartridge, the fluoride ions are chemically drawn to the surface of the alumina beads, where they stick and are pulled out of the water. This process is called adsorption, and it’s highly effective for targeted fluoride removal. These filters are a common choice in areas where the groundwater has naturally high fluoride levels.
Bone Char: A Natural Approach
Another surprisingly effective method is Bone Char filtration. It might sound a bit odd, but it's a natural and time-tested medium for purifying water. Bone char is created by charring animal bones in a low-oxygen environment, which results in a highly porous carbon material with a massive surface area.
Much like activated alumina, bone char works through adsorption. The key difference is that its structure contains something called hydroxylapatite, which is fantastic at binding with fluoride ions. It's one of the oldest known methods for fluoride removal and is still a popular choice for people looking for a more natural filtration medium. It also does a great job of removing heavy metals like lead and cadmium.
Trusting the Label: The Importance of NSF Certification
With a million filters on the market, how do you know if a product actually does what it says it does? That's where third-party certifications come in. When you're shopping for a filter to remove fluoride, keep an eye out for a certification from NSF International.
NSF is an independent organization that tests and certifies water filtration products to make sure they meet strict public health and safety standards.
For fluoride removal, the certification you really want to see is NSF/ANSI 58.
NSF/ANSI 58 is the certification standard specifically for reverse osmosis systems. If a system has this certification, it means it has been rigorously tested and proven to effectively reduce fluoride, along with a whole host of other contaminants like lead, arsenic, and nitrates.
Choosing a certified system gives you peace of mind. You know its performance claims have been independently verified by a trusted authority. It’s the best way to ensure your investment delivers the safe, clean water your family deserves.
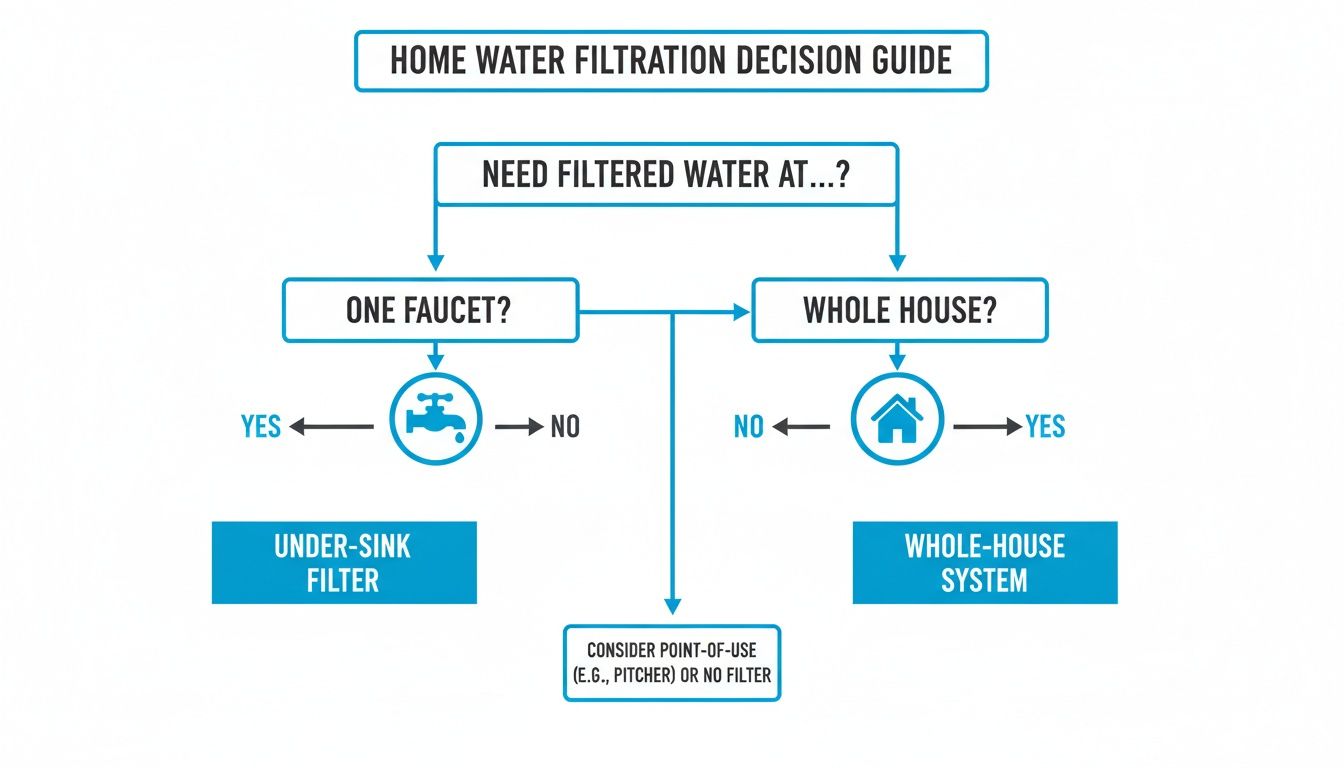
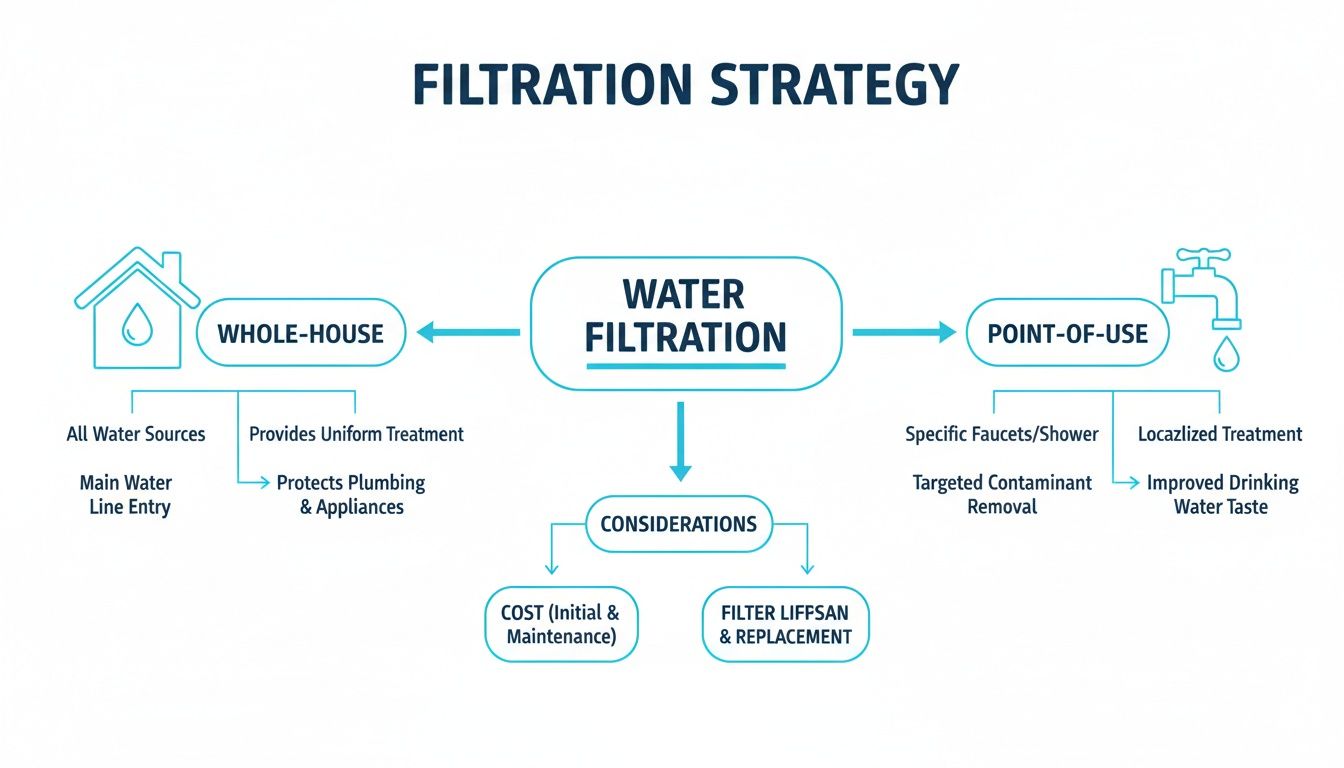
Choosing Your System: Whole-House vs. Under-Sink Filters
Alright, now that you’ve got a handle on the technologies that can actually pull fluoride out of your water, we need to tackle the next big question: where does the filter go? This is a huge decision, and it really comes down to a classic battle of comprehensive, whole-home treatment versus a more focused, targeted approach.
Think of it like this: do you want central air conditioning for the entire house, or a powerful window unit for the most important room?
Are you looking to get fluoride out of every single drop of water, from the shower to the laundry? Or is your main goal to stop drinking and cooking with it? There's no wrong answer here—it all boils down to your family's needs, your budget, and what you’re trying to accomplish.

Point-of-Entry: Whole-House Systems
A whole-house system, also known as a Point-of-Entry (POE) system, is the all-in-one, "set it and forget it" solution. It’s installed right where your main water line enters your home, acting as a gatekeeper that filters every gallon before it ever gets to your faucets, showers, or appliances.
With this setup, you’re bathing, washing your clothes, and brushing your teeth with fluoride-reduced water. If you want to minimize your family's fluoride exposure across the board—not just in what you drink—a POE system is really the only way to go. But this full-coverage approach comes with a bigger price tag and a more complicated installation that almost always requires a plumber.
If you’re leaning towards a comprehensive solution for your home, digging into guides on whole house water filtration systems can give you a much deeper understanding of what these big-league purifiers involve.
Point-of-Use: Under-Sink and Countertop Systems
On the flip side, you have Point-of-Use (POU) systems. These are smaller, more localized filters that treat water at a single spot, usually the kitchen sink. An under-sink reverse osmosis system is the perfect example—it works its magic quietly right where you get your water for drinking and cooking.
POU systems are much more affordable and way easier to install; many models are perfect for a confident DIYer. This is the ideal filter to remove fluoride if your main worry is consumption. If you’re mostly focused on the water you drink, use for coffee, or boil pasta in, a POU system is a smart and budget-friendly choice.
A Head-to-Head Comparison
To help you really see the trade-offs, let's put these two approaches side-by-side. The table below breaks down the practical differences in cost, installation, maintenance, and overall convenience.
Whole-House vs. Point-of-Use Fluoride Filters
This table will help you decide which filtration approach is the right fit for your home and lifestyle.
| Feature | Whole-House System (POE) | Point-of-Use System (POU) |
|---|---|---|
| Coverage | Filters water for the entire home, including showers and appliances. | Filters water at a single point, typically the kitchen sink. |
| Initial Cost | Significantly higher, often ranging from $1,000 to $4,000+. | More affordable, typically between $200 and $600. |
| Installation | Complex and usually requires a professional plumber. | Simpler installation, often manageable as a DIY project. |
| Maintenance | Less frequent but larger and more expensive filter changes. | More frequent filter changes, but cartridges are cheaper and easier to replace. |
| Best For | Homeowners wanting to reduce total fluoride exposure in bathing and laundry. | Renters and homeowners focused on purified drinking and cooking water. |
As you can see, the choice really hinges on that core trade-off. A whole-house filter gives you complete peace of mind but requires a serious upfront investment. A point-of-use filter, in contrast, delivers top-tier water right where you need it most, all for a fraction of the cost.
Ultimately, picking the right system is a personal call. By weighing the benefits of total-home coverage against the sheer practicality and affordability of targeted filtration, you can find the perfect filter to remove fluoride that truly fits your family’s health goals and your budget.
What to Expect After You Buy Your Filter
So you’ve done the research, weighed your options, and finally picked the right fluoride filter for your home. Clicking "buy" feels like the finish line, but it’s really just the beginning of your clean water journey. The real work starts when that box lands on your doorstep.
Let's get into the nitty-gritty—what actually happens after the purchase. This includes installation, ongoing upkeep, and the true long-term costs that aren't always obvious from the initial price tag. The sticker price is just part one; you have to factor in replacement cartridges and any professional help you might need to get the full picture.
Installation: DIY or Call a Pro?
Your first mission is to get the system up and running. If you bought an under-sink reverse osmosis system, you might be surprised at how manageable a DIY installation can be. Most kits are designed for homeowners, with clear instructions and color-coded tubing. If you’re comfortable with a drill and a wrench, you can probably get it done in an afternoon.
But let's be honest, not everyone enjoys crawling under a sink. If plumbing isn’t your thing, or if you’ve invested in a more complex whole-house system, calling a licensed plumber is the way to go. It adds an upfront cost, but the peace of mind knowing it’s installed correctly—with no leaks and optimal performance—is often worth every penny.
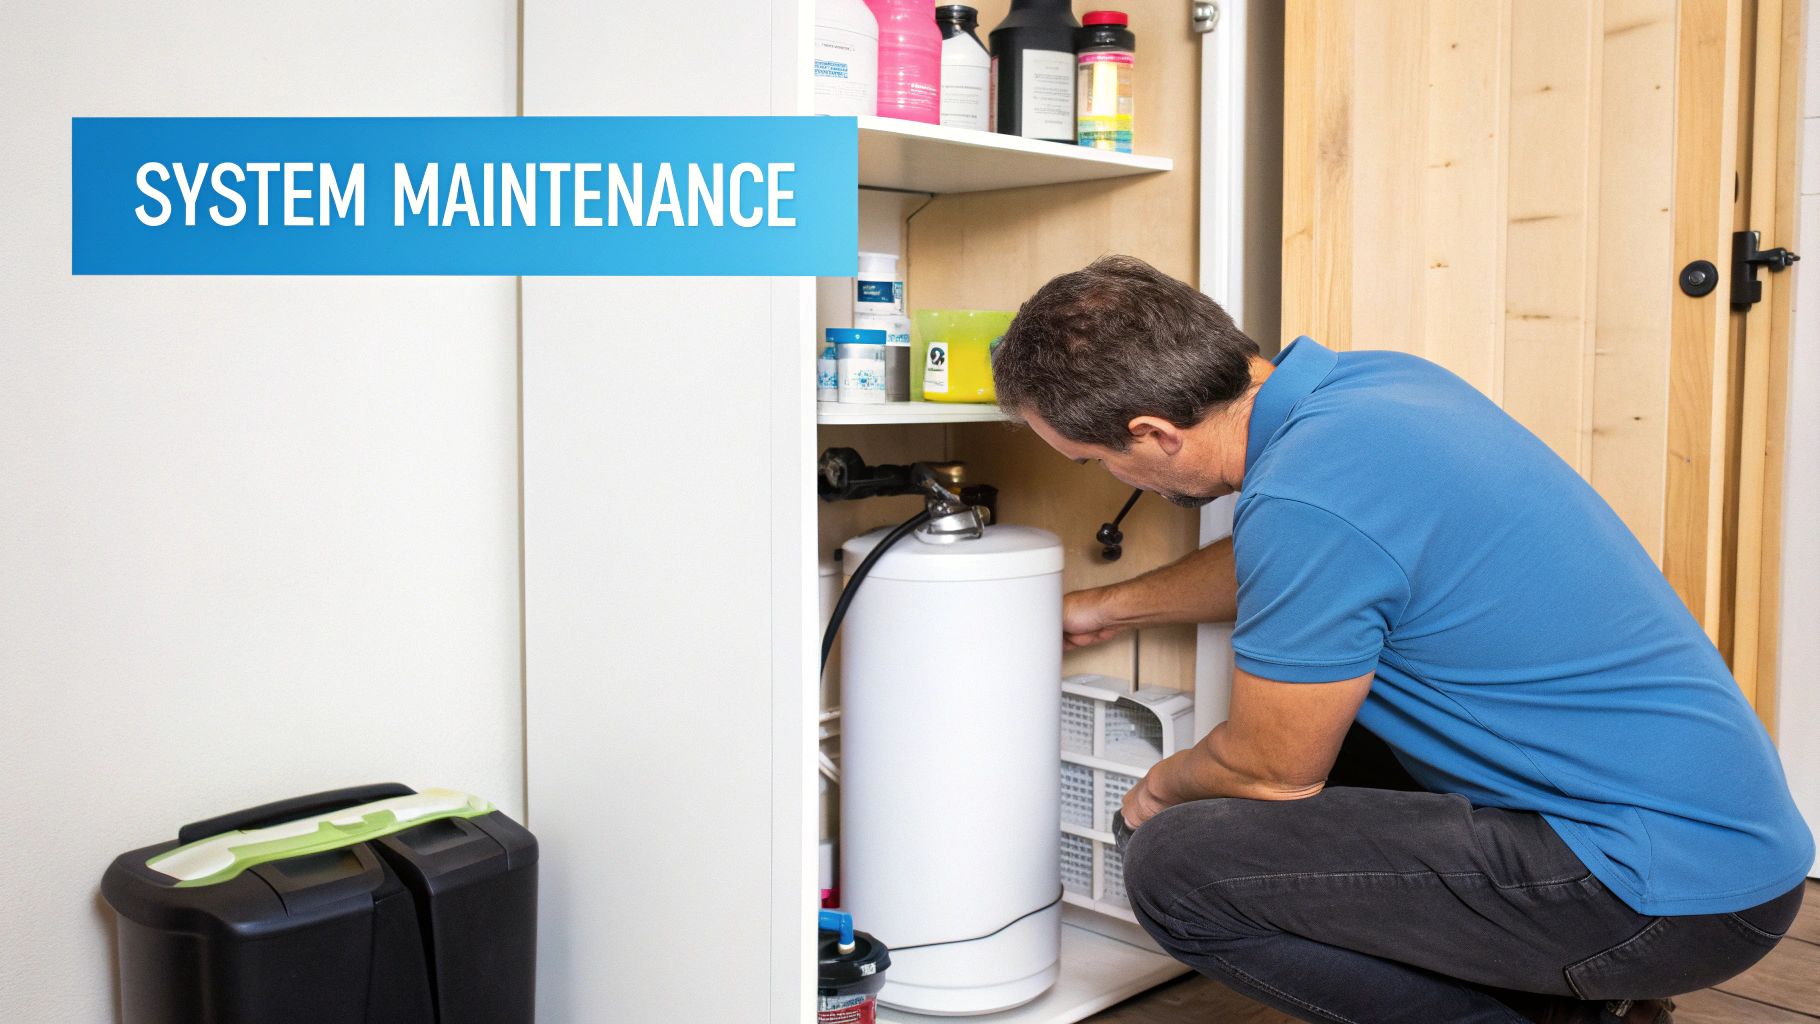
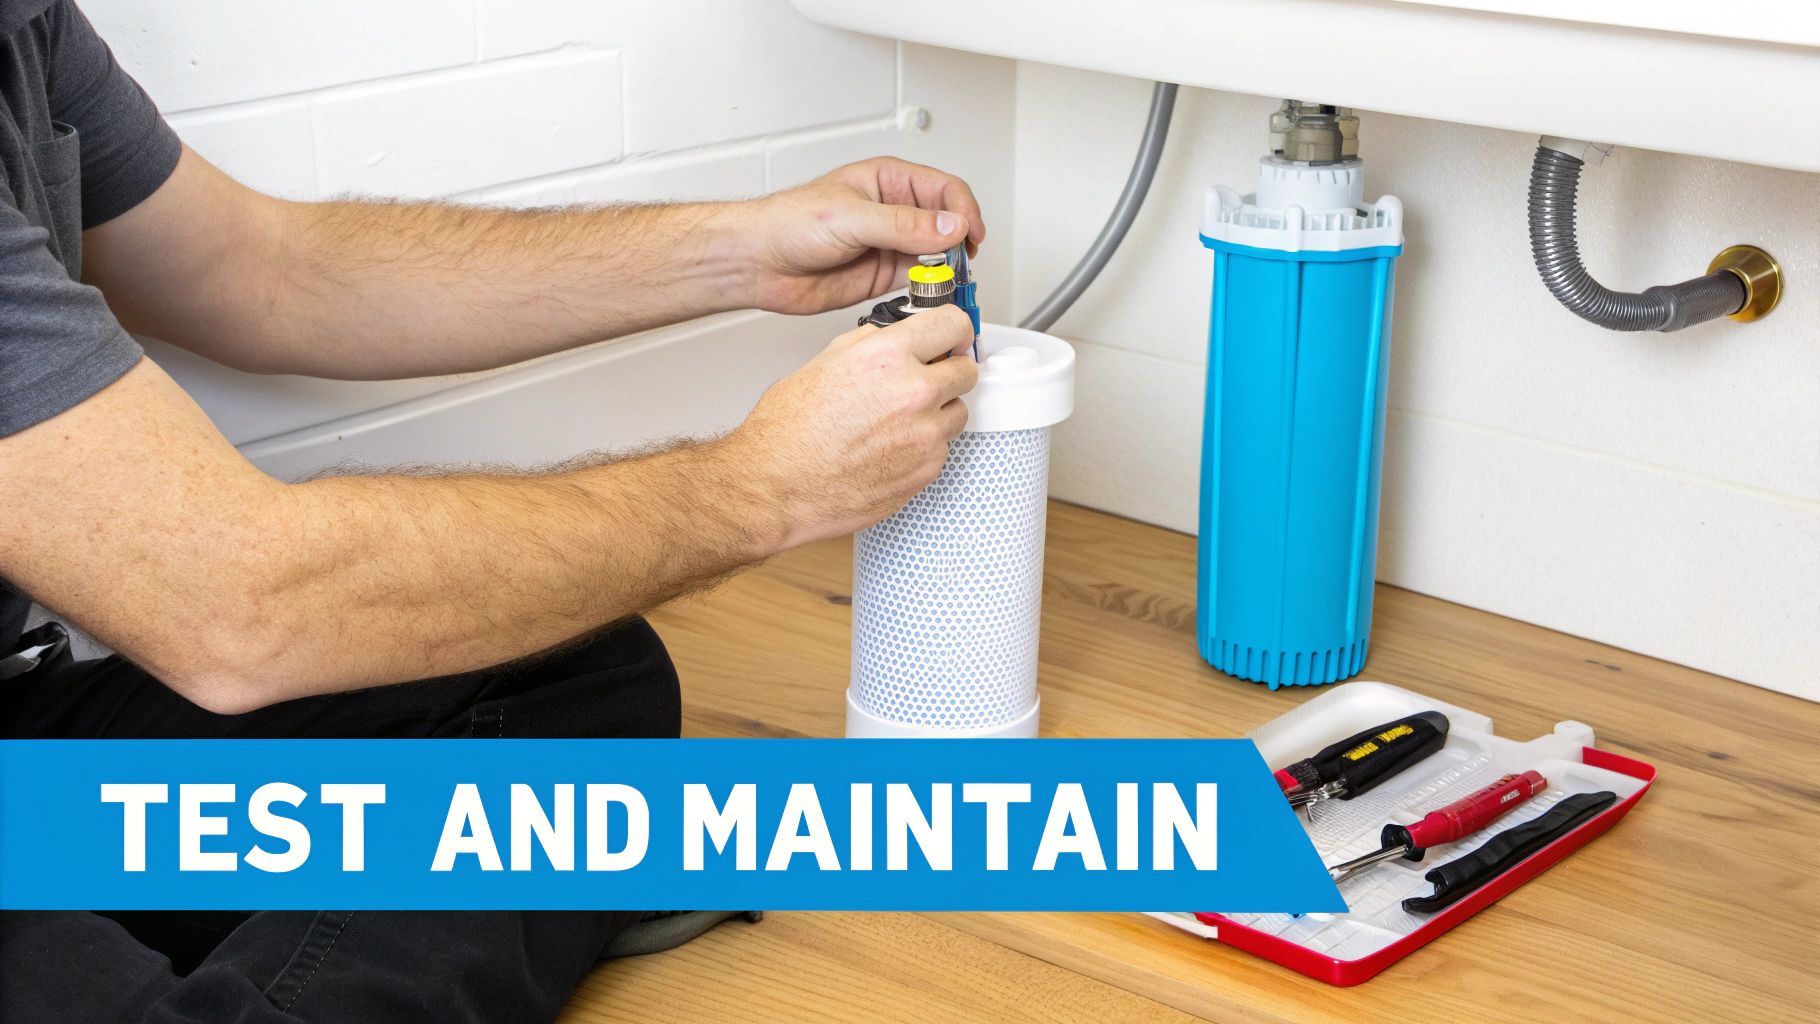
Ongoing Maintenance and Filter Changes
Once your filter is installed, your main job is maintenance. And for almost every system, that boils down to one simple but critical task: changing the filter cartridges on schedule. Think of it like changing the oil in your car. It’s not optional if you want the machine to keep doing its job effectively.
Putting it off doesn't just mean your filter stops removing fluoride as well. It can lead to clogs, a drop in water pressure, and even damage more expensive parts like the RO membrane.
Pro Tip: The moment you finish installation, pull out your phone and set a recurring calendar reminder for every filter change. It’s a simple two-minute task that protects your investment and ensures you always have clean water.
Calculating the True Cost of Ownership
To really see what your filter will cost over the years, let's break it down with a real-world example. Here’s a look at the estimated five-year cost for a standard under-sink reverse osmosis system, a popular choice for tackling fluoride.
Sample 5-Year Cost Breakdown for a Reverse Osmosis System
This is a pretty typical look at what you can expect to spend over the first five years with a mid-range RO system.
| Cost Component | Year 1 | Year 2 | Year 3 | Year 4 | Year 5 | 5-Year Total |
|---|---|---|---|---|---|---|
| Initial System Cost | $350 | – | – | – | – | $350 |
| Annual Pre/Post Filters | $60 | $60 | $60 | $60 | $60 | $300 |
| RO Membrane (Replace Yr 3) | – | – | $70 | – | – | $70 |
| Total Annual Cost | $410 | $60 | $130 | $60 | $60 | $720 |
As you can see, the maintenance costs over five years are nearly as much as the filter itself. Knowing this from the start helps you budget properly and avoids any surprises down the road.
Considering 74% of public water systems in the U.S. are fluoridated, a high-performance filter is a solid investment. With the residential sector accounting for 70% of the water purifier market—an industry expected to jump from USD 35.6 billion to USD 53.2 billion by 2032—it's clear that more and more people are taking control of their water quality. You can see more on the growing water purifier market and its latest trends.
Still Have Questions? Let’s Clear Things Up.
Even with all this information, you might still be wrestling with a few questions. That's perfectly normal. Making a change to your home's water is a big decision, and you want to get it right.
Think of this section as a final rapid-fire round to tackle the most common head-scratchers about fluoride filters. We’ll clear up any lingering confusion about popular filter types, minerals, testing, and how filtering stacks up against just buying bottled water.
Do Standard Pitcher Filters Like Brita or Pur Get Rid of Fluoride?
This is easily one of the most common questions we hear, and the short answer is no. Your standard Brita or Pur pitcher filter won't remove fluoride. They are designed with activated carbon, which does a great job of making your water taste and smell better by grabbing chlorine and other common chemicals.
But fluoride is a dissolved mineral, and it slips right past that standard carbon. The filter media just isn't designed to catch something that small.
If you're serious about reducing fluoride, you need a system that uses a specialized technology proven for the job. That means looking for one of these three methods:
- Reverse Osmosis (RO): A super-fine membrane physically blocks fluoride ions.
- Activated Alumina: This media acts like a magnet for fluoride, pulling it out of the water through adsorption.
- Bone Char: A natural alternative that also uses adsorption to capture fluoride.
The bottom line? Always check the filter's performance data sheet and look for an official NSF/ANSI certification that specifically lists fluoride reduction.
Will a Fluoride Filter Also Remove the Good Minerals?
Yes, it’s a definite possibility, especially with the most heavy-duty filters. Reverse osmosis, which is the top performer for fluoride removal, is so thorough that it strips out almost everything else, too. That includes beneficial minerals like calcium and magnesium.
This process leaves you with what's often called "demineralized" water. While we get most of our essential minerals from food, some people just don't like the idea or taste of water that's been stripped bare.
The good news is that many modern RO systems have solved this problem with a remineralization stage. It's a final filter cartridge that adds a healthy blend of minerals back into the water right before it hits your glass. This not only improves the taste but also raises the pH, giving you the best of both worlds: pure, fluoride-free water that still has the good stuff.
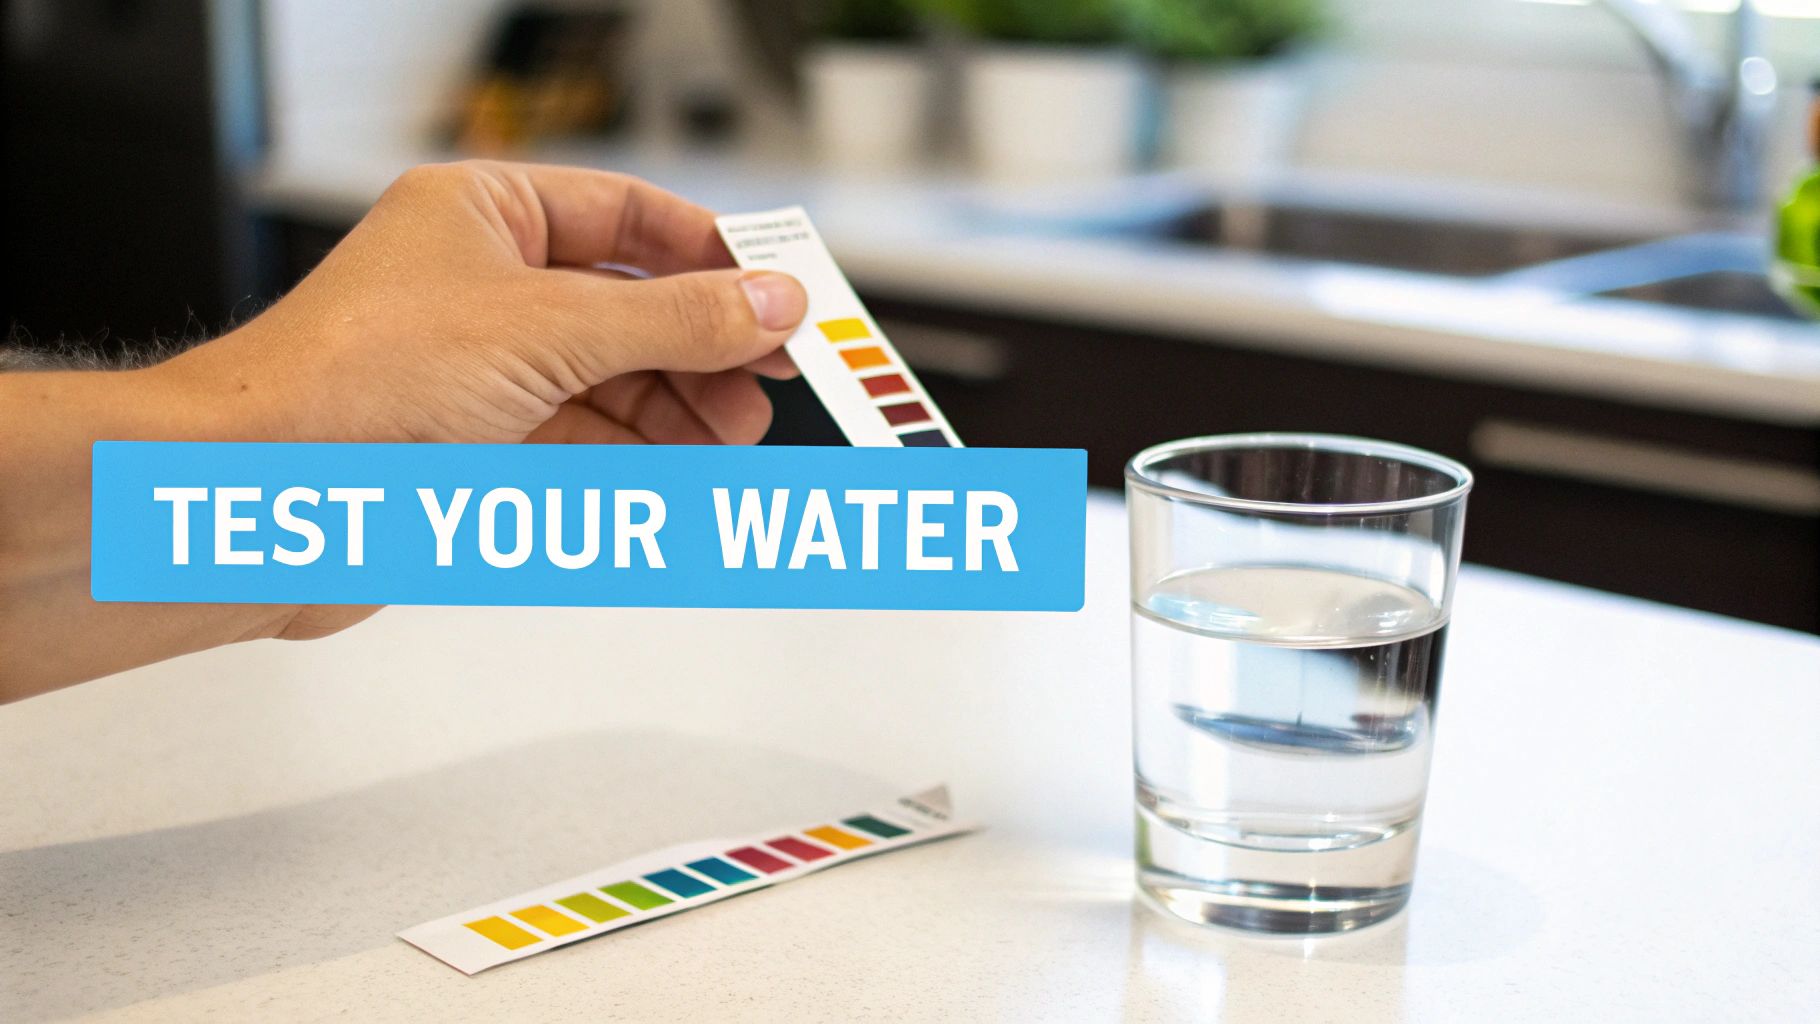
How Can I Check if My Fluoride Filter Is Actually Working?
It's one thing to install a filter; it's another to know for sure that it's doing its job. Since you can't see, taste, or smell fluoride, testing is the only way to get that peace of mind.
The most reliable way is to send a water sample to a professional lab. You can order a simple kit, take one sample from your regular tap and another from your filtered tap, and mail them in. They’ll send back a detailed report showing the exact fluoride levels, so you can see precisely how well your filter is performing.
For more frequent check-ins at home, you could get a handheld digital photometer made for fluoride testing. They aren't as spot-on as a lab analysis, but they're perfect for monitoring your filter's performance over time. If you start to see the numbers creep up, you'll know it's time for a cartridge change.
Is It Better to Use a Filter or Just Buy Bottled Water?
While it’s true that some bottled water is fluoride-free (especially brands that use reverse osmosis), relying on it full-time has some major drawbacks. First off, it gets expensive fast. The long-term cost of bottled water is way higher than filtering your own at home.
Then there's the environmental toll of all that plastic, not to mention the hassle of constantly lugging heavy cases of water from the store.
A one-time investment in a good home water filter gives you an endless supply of pure, fluoride-free water on tap for just pennies a gallon. It’s simply the more affordable, convenient, and eco-friendly choice in the long run.
At Water Filter Advisor, we're committed to helping you find the perfect filtration solution for your home. Explore our in-depth guides and reviews to make a confident choice for your family's health and well-being. https://www.waterfilteradvisor.com