
Is the water from your faucet slowing to a trickle? Does it have a slightly "off" taste? Congratulations, you've spotted the classic signs that your water filter is screaming for a little TLC.
Here's a little secret: the key to truly clean water isn't just swapping out the old filter cartridge. You need to get in there and thoroughly clean the housing and all the components. Think of it like this: you wouldn't put clean clothes in a dirty washing machine, right? This is the only way to banish nasty clogs, prevent a bacterial slumber party, and restore your water flow to its gushing glory.
Your Quest for Pure Water Starts with a Clean Filter
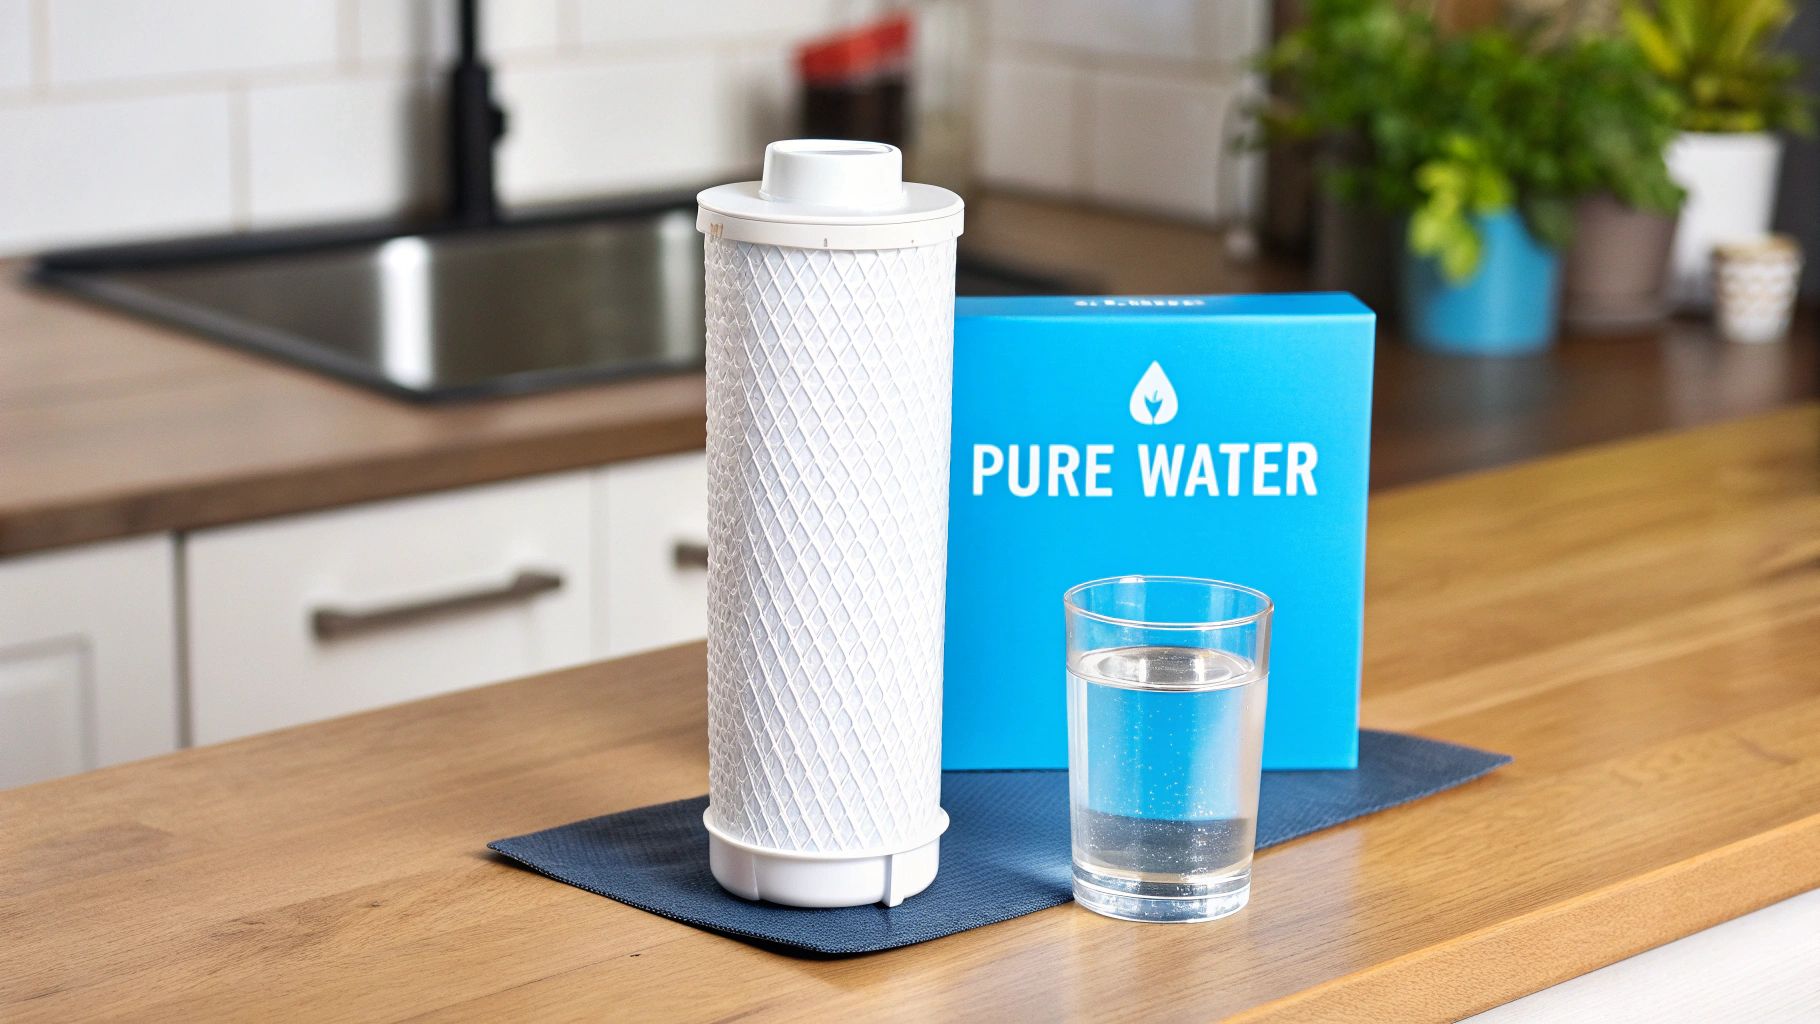
Popping in a new cartridge is a fantastic first step, but the filter's performance and your family's safety depend on cleaning the entire system. This guide will take you beyond the snooze-fest of the user manual, giving you practical, real-world advice on why a deep clean is completely non-negotiable for your water quality and the filter's lifespan.
When you neglect this simple chore, your filter can transform from a protective hero into a villain's lair—a breeding ground for bacteria and slimy biofilm. All the gunk it's supposed to trap just builds up, creating a hotspot that could potentially make your water even worse than what's coming straight from the tap.
Why a Clean Filter Matters More Than You Think
It's all about performance. A study on household water filter usage found that filters clogged with sediment can slash water flow by up to 30-40% in just three months. That’s a serious clog! This really shows how critical regular maintenance is to keep your system running at its best. You can find more insights on water filter performance over at https://www.waterfilteradvisor.com/advice/.
This performance drop hits every kind of home filtration system, so no one gets a pass:
- Water Pitchers: The reservoir can develop that gross, slimy film if you don't scrub it out regularly.
- Faucet Filters: Sediment is notorious for clogging the aerator, leading to that sad, weak stream pressure.
- Under-Sink Systems: The canister housing is a prime spot for buildup that a new cartridge simply can't fix on its own.
- Whole-House Filters: A clogged system puts a major strain on your home's entire plumbing network.
A clean water filter isn't just about better-tasting water; it's a fundamental part of home health and safety. The housing, lines, and spouts are just as important as the cartridge itself.
Think about the standards for commercial water filtration systems—the same principles of meticulous cleaning apply in your home, just on a smaller scale. Now, let's roll up our sleeves and get into the steps that will bring your filter back to full power.
Assembling Your Filter Cleaning Dream Team
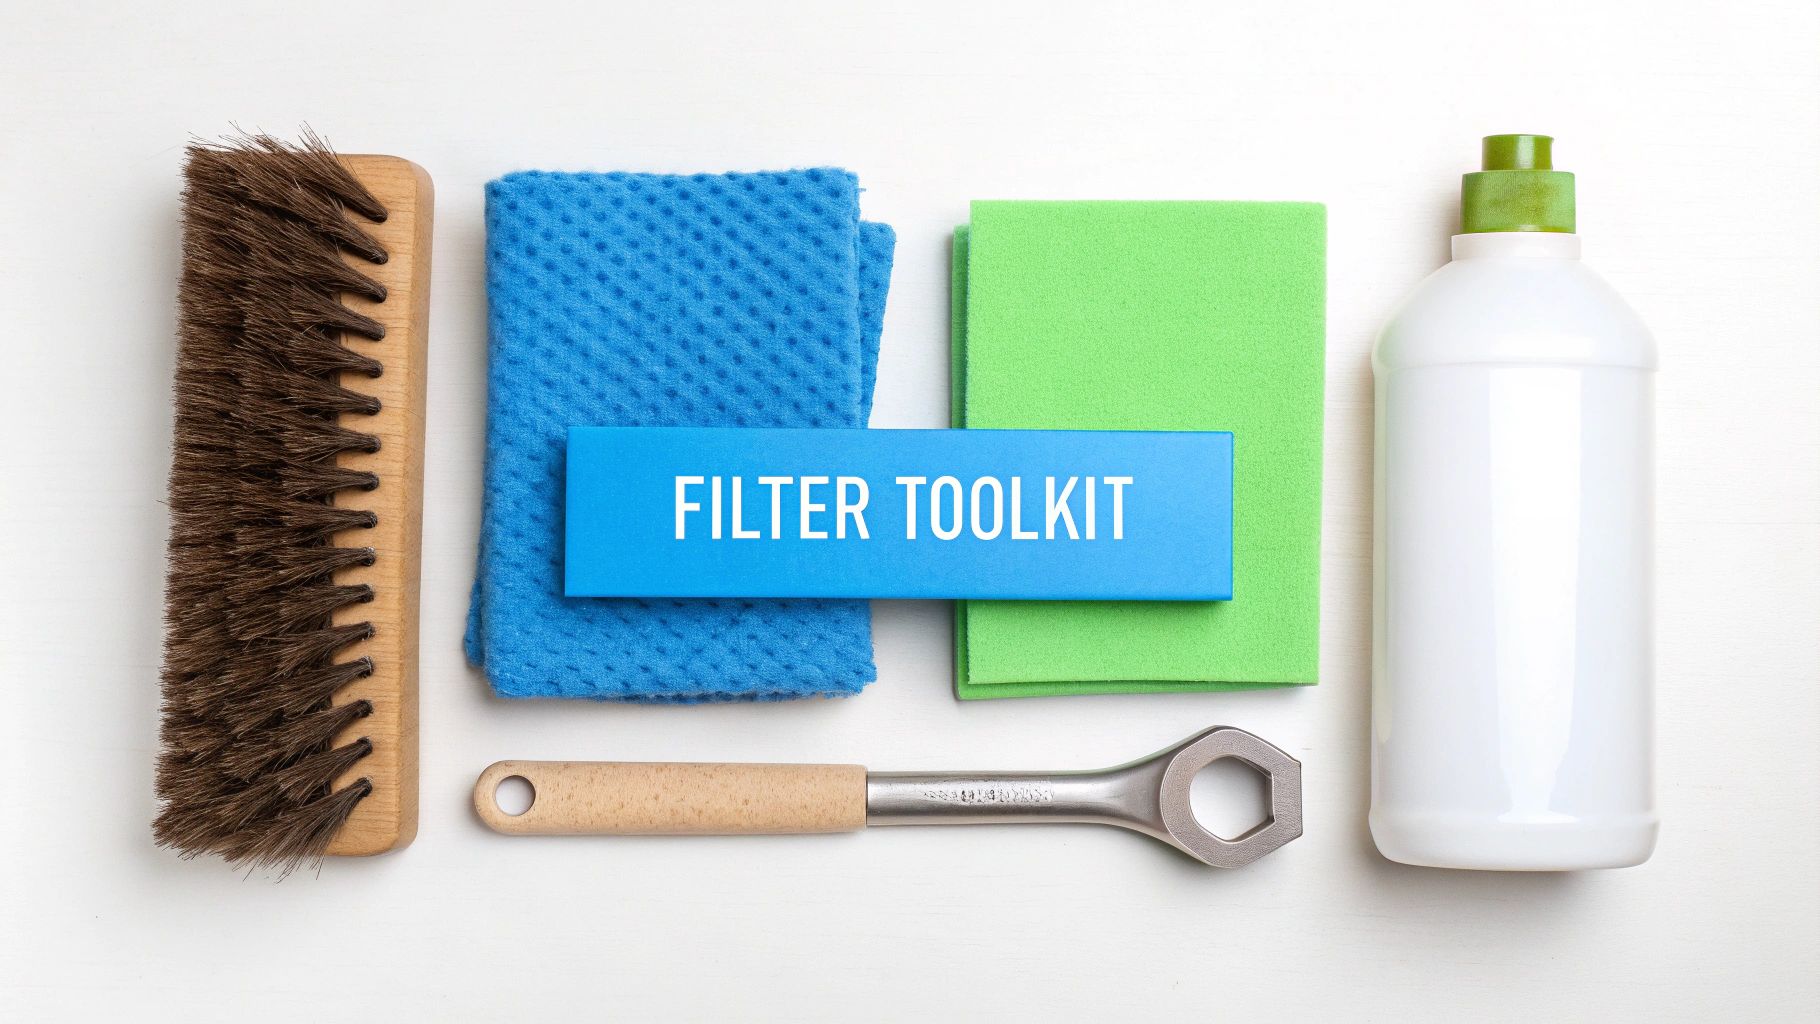
Before you even think about twisting a filter housing or taking apart your pitcher, it's a brilliant idea to get all your supplies in one place. Trust me, spending a few minutes on prep will make the whole process go a lot smoother.
The best part? You almost certainly have everything you need already lurking in a kitchen cabinet. Having it all laid out and ready to go means you won't be scrambling for a brush while holding a dripping filter canister. Think of it like a chef's mise en place—it just makes the job easier and keeps you from losing small parts like O-rings or gaskets.
Your Essential Cleaning Checklist
You don't need a high-tech lab to get the job done right. A few simple household items are all it takes to safely evict that gunk and buildup without causing any damage.
Here’s what I always have on hand:
- A Soft-Bristle Brush: An old toothbrush is perfect for this. It has just enough scrubbing power to get into tight spots without scratching the plastic.
- Unscented Dish Soap: This is a big one. You need a mild soap without any perfumes. Scented versions can leave behind a chemical residue that makes your water taste like a flower garden.
- White Vinegar: Your best friend for tackling hard water scale. If you see that chalky white buildup, a quick soak in vinegar will dissolve it right off.
- Lint-Free Cloths: Microfiber towels are great for this. You want to dry every part completely without leaving behind any tiny fibers that could clog your system.
Quick tip: Stay away from harsh chemicals. I can't stress this enough. Never use bleach, abrasive scouring pads, or steel wool on your filter components. They can permanently wreck the plastic, eat away at the rubber seals (hello, leaks!), and leave nasty residues in your drinking water.
Crucial Safety Preparations
Now, if you're working with any kind of installed system—like an under-sink or whole-house filter—safety is non-negotiable.
The absolute first thing you must do is shut off the water supply to the filter. It’s the only way to prevent a miniature flood in your kitchen.
Just find the shutoff valve, which is usually a small knob or lever on the pipe leading to the filter unit. Turn it off, then open the filter's dedicated faucet to let out any pressure still trapped in the line. Once the water stops, you're good to go.
Mastering Pitcher and Faucet Filter Cleaning
For most people, pitcher and faucet filters are their first foray into filtering their own water at home. They’re simple and convenient, but that simplicity also means they’re incredibly easy to forget about. And let's be honest, just swapping out the cartridge is only doing half the job.
If you want that consistently pure, crisp-tasting water, you’ve got to give the whole unit a proper cleaning. It's one of those tasks that's easy to push off, but if you let it go too long, you'll end up with bigger headaches. A neglected filter pitcher can get a nasty, slimy biofilm on the inside. A faucet filter? It can get so caked with hard water scale that your water flow slows down to a disappointing trickle.
Keeping Your Water Pitcher Pristine
A water pitcher seems straightforward, but there are a few different parts that need your attention. I'm talking about the reservoir, the lid, and especially the spout—all spots that get pretty grimy if you're only thinking about the cartridge. Getting into the habit of giving it a deep clean every time you change the filter (or at least once a month) is your best bet.
First, take the whole thing apart. Pop off the lid, pull out the reservoir where you pour the water, and set the old filter aside to be tossed. Now, just wash every single piece with warm water and a bit of unscented dish soap. Grab your soft-bristle brush and get into the corners of that reservoir. Pay extra attention to the inside of the spout; from my experience, that’s a favorite hiding spot for mildew.
Seeing those stubborn, chalky white stains from hard water? Don’t worry, a little white vinegar is your secret weapon.
- Make a simple solution: Just mix one part white vinegar with one part water.
- Let it soak: Fill the pitcher with the solution and let the reservoir and lid sit in it for about 20 minutes.
- Scrub and rinse away: After the soak, that scale should scrub right off with your brush. Make sure to rinse everything really well with cool water to get rid of any vinegar taste.
Let all the parts air dry completely before you put it back together with a new filter. This simple step prevents any trapped moisture, which is what causes that funky, musty smell.
Tackling Faucet-Mounted Filters
Your faucet-mounted filter takes a bit more of a beating from things like sediment and hard water minerals. You’ll want to clean the housing every single time you swap out the cartridge. Most of these units just twist or click right off the faucet adapter.
Once it's off, take out the old cartridge. Just like with the pitcher, scrub the inside and outside of the housing with your soft brush and some mild soap. Look closely at the small screen or aerator where the water comes out—sediment loves to get stuck there, which is a common cause of poor water pressure.
I’ve seen filters that have been forgotten for months, and the mineral buildup can be pretty intense. If soap and water aren't cutting it, a quick 15-minute soak in that same vinegar-water solution will dissolve most of the scale. It'll look and work like new again.
This need for regular maintenance is something more and more people are dealing with. The global market for water filtration systems is exploding and is expected to hit a massive $35 billion by 2034. But our habits haven't quite caught up. Surveys have shown that around 60% of urban households don't have a consistent schedule for cleaning their filters, which points to a real gap in knowing how to care for these things. You can explore more data on the growing importance of water filtration and market trends to see the bigger picture.
After a good cleaning, rinse the housing thoroughly, let it dry, and then pop in the new cartridge before reattaching it to your faucet. Just remember to run cold water through it for a few minutes to flush the new filter, and you're good to go.
A Practical Guide to Cleaning Under-Sink Systems
Jumping into the world of under-sink and whole-house filters might seem like a big job, but it's a lot more straightforward than you'd think. These systems are the real workhorses of home water filtration, and a little routine cleaning is all it takes to keep them running at peak performance. With a few simple moves, you can make sure they keep delivering that pure, clean water to every tap in your house.
The biggest difference between this and just cleaning a pitcher filter is that you have to shut off your water supply first. Don't let that scare you; it’s not nearly as complicated as it sounds. Once you get the hang of it, this kind of maintenance will feel like second nature, helping you prevent leaks and keep your system in top-notch condition.
Prepping for Success
Before you even think about unscrewing anything, the absolute first step is to shut off the water. Find the small valve on the cold water line that feeds into your filter system and give it a clockwise turn until it stops.
Next up, you have to get the pressure out of the lines. Just turn on the filter's dedicated faucet and let the water run. It'll eventually slow down to a small drip, and that's when you know the pressure is gone.
Now, grab a bucket or a couple of old towels and stick them right under the filter housing. This simple step will catch any water that spills out when you open it up. Trust me, having everything ready to go makes the whole job much cleaner and a lot less stressful.
Here's a quick visual that breaks down the main actions for cleaning the filter housing.
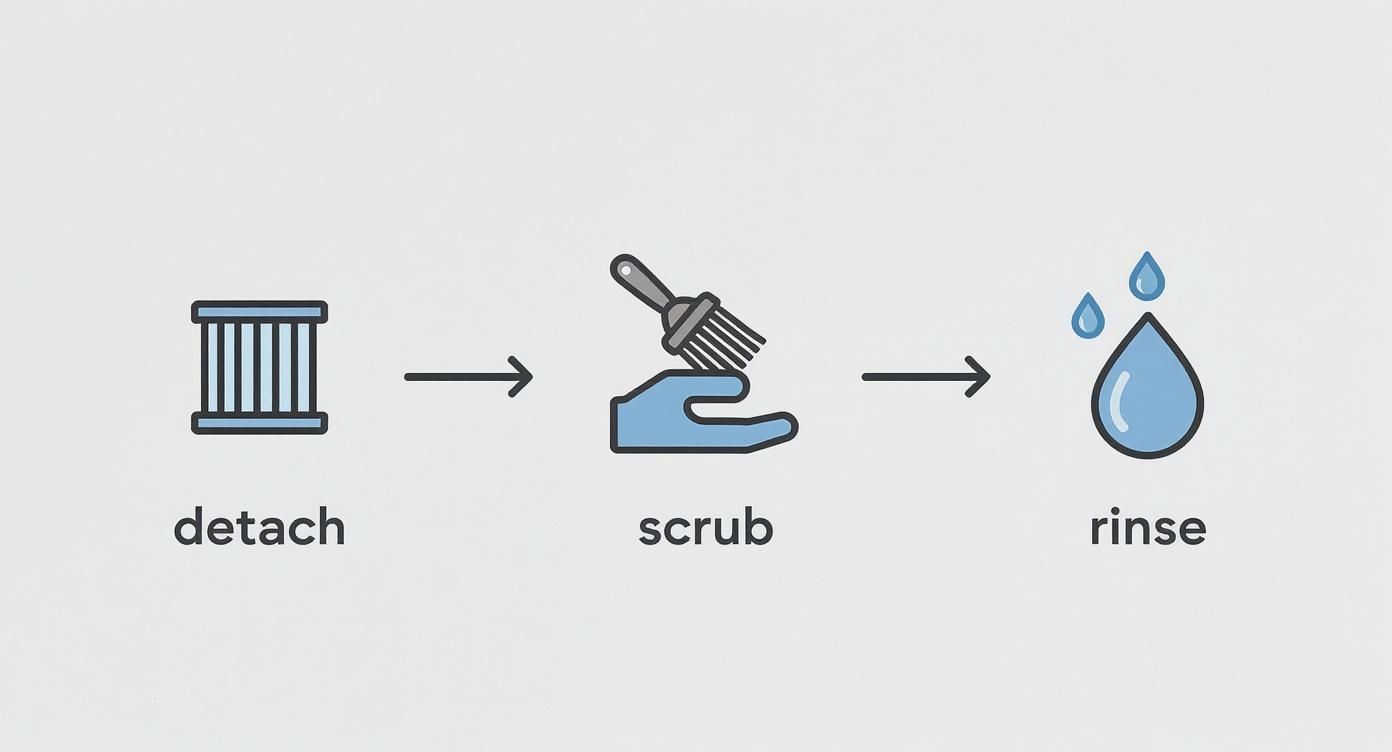
As you can see, it really boils down to three physical steps: taking the unit apart, scrubbing it clean, and giving it a good rinse before putting it all back together.
The Cleaning Process Unlocked
Okay, water's off and the pressure is relieved—it's time to open this thing up. Most of these systems come with a plastic filter wrench, which is specifically designed to give you the leverage you need to loosen the main canister (sometimes called the sump or housing).
Slide that wrench up onto the housing and turn it counter-clockwise. It might feel a bit tight, but some steady pressure is all you need. Once it breaks loose, you can usually unscrew it the rest of the way by hand.
Pro Tip: If that canister is really stuck, don't try to force it with anything other than the wrench it came with. Overtightening is a super common mistake. Instead, try running some warm water over the housing; the slight expansion of the plastic can sometimes be just enough to help it loosen up.
With the housing off, go ahead and dump out any water left inside and pull out the old filter cartridge. Now for the fun part: give the inside of that canister a really good scrub with warm water, a bit of unscented dish soap, and a soft-bristle brush.
The All-Important O-Ring Inspection
This is the step that so many people skip, but it is the absolute secret to a leak-free reinstallation.
Carefully pry out the large, black rubber O-ring that sits in the groove at the top of the housing. Wipe it down with a clean, lint-free cloth and take a close look at it. You're searching for any signs of damage—cracks, flat spots, or stretching.
If it looks worn out or damaged in any way, you must replace it. An old, compromised O-ring is the #1 cause of leaks after a filter change.
If it’s still in good shape, just apply a very thin layer of food-grade silicone grease to it. This helps create a perfect seal and, as a bonus, makes it way easier to unscrew the housing next time you do this.
- Sanitize the Housing: If you want an extra deep clean, you can mix one teaspoon of regular household bleach into a gallon of water. Swirl this solution around inside the canister, let it sit for about two minutes, and then rinse it out completely.
- Seat the New Filter: Pop your new filter cartridge into the sump. Make sure it's sitting nice and centered over the standpipe at the bottom.
- Reassemble with Care: Screw the housing back on by hand until it feels snug. Then, just give it a final quarter-turn with the wrench. That's it! Overtightening can actually damage the O-ring and make it a nightmare to remove later.
Last but not least, slowly turn the water back on. Keep an eye on the unit for a few minutes and watch for any drips. If you see a leak, turn the water back off and double-check that the O-ring is seated properly. Once you're confident it's leak-free, you are good to go.
Specialized Care for RO and Refrigerator Filters
Reverse Osmosis (RO) systems and that filter tucked away in your refrigerator are filtration powerhouses, but they need a unique kind of attention. Unlike a simple pitcher, these setups have multiple components and water lines where problems can hide. Proper care here is less about scrubbing and more about sanitizing and flushing the entire system correctly.
For these more complex units, learning how to clean the water filter system as a whole is crucial for both performance and health. If you neglect them, you don't just get bad-tasting water; you can compromise the very safety net you installed in the first place.
Sanitizing Your Reverse Osmosis System
Your RO system is a multi-stage marvel, but its storage tank and lines can become a breeding ground for biofilm if left alone for too long. An annual sanitization is the key to keeping it pristine. This isn't a quick scrub—it's a process of flushing the whole system to make sure every part is clean.
Most manufacturers recommend a dedicated sanitizing solution, usually a non-bleach, food-grade product. The process generally involves shutting off the water, draining the storage tank completely, and then introducing the sanitizing solution into the system before the membrane. You’ll let it sit for the recommended time to work its magic, cleaning the tank, lines, and filter housings.
The most important thing to remember with RO systems is that some parts are meant for replacement, not cleaning. You should never attempt to scrub the RO membrane itself. It's an incredibly delicate component, and any abrasive contact will permanently damage it, rendering your system useless.
Taming Your Refrigerator Filter
When it comes to your refrigerator's water dispenser, the focus shifts from the filter cartridge to the surrounding parts. The filter itself is a disposable component that should always be replaced, not cleaned. However, the housing where it sits and the water line it feeds are a different story.
After you twist out the old filter, take a moment to wipe down the inside of the filter housing with a soft cloth and a mild soap solution. This removes any potential gunk before you install the new one. The most critical step, however, comes right after you pop in the new cartridge.
You need to flush the line thoroughly. Run at least two gallons of water through the dispenser. This does two essential things:
- Clears Carbon Fines: New activated carbon filters often release harmless but unsightly black carbon particles. Flushing pushes them all out.
- Purges Trapped Air: Air pockets in the line are the number one cause of sputtering dispensers and strange humming noises after a filter change.
This flushing process ensures a smooth, quiet flow and crystal-clear water from the very first glass.
The importance of keeping these systems clean is backed by extensive data. Historical research shows a direct link between filter maintenance and health, with one major study reporting that consistent filter care can reduce certain waterborne gastrointestinal illnesses by up to 40%. You can learn more about the global impact of water filtration and its connection to public health.
Your Top Water Filter Cleaning Questions Answered
Even after going through the steps, you might still have a few questions rattling around. That’s perfectly normal. Let's dig into some of the most common things people ask, so you can feel totally confident tackling your filter maintenance.
Think of this as the final polish—clearing up any lingering confusion so you know the why just as well as the how.
How Can I Tell My Water Filter Needs Cleaning?
Your filter is pretty good at sending signals when it needs attention; you just have to know what to look for. The most glaring sign is a sudden drop in water pressure. If your kitchen faucet has gone from a steady stream to a disappointing trickle, a clogged filter is the likely culprit.
A change in your water's taste or smell is another huge giveaway. The moment that faint chlorine flavor comes back or you notice a musty odor, it’s a clear sign the activated carbon is maxed out and can no longer do its job. Some systems have indicator lights, which are nice, but nothing beats these real-world clues.
Is It Safe to Use Bleach on My Filter Housing?
I'd steer clear of bleach unless the manufacturer’s instructions explicitly give you the green light. Harsh chemicals like bleach can break down the plastic housing and rubber O-rings over time. That’s a fast track to cracks and annoying leaks down the road.
Even more critical, any bleach residue that gets left behind can end up in your drinking water. A much safer bet is a simple solution of unscented dish soap and warm water. For sanitizing, a diluted white vinegar mix works wonders. Just remember to rinse everything completely before you put it back together.
What Happens If I Don’t Clean My Water Filter?
Skipping a filter cleaning isn't a great idea and can cause a couple of big problems. First, the filter will eventually get so packed with sediment that your water flow will slow to a crawl, essentially making it useless. This added strain can also wear out the whole system faster.
Second, all that trapped organic gunk becomes a breeding ground for bacteria and mold. A slimy film, called a biofilm, can form inside the housing, meaning your filter could actually start adding contaminants back into your water. Beyond the filter itself, many people also wonder about their dispenser. You can find out how to clean a water dispenser to ensure your entire setup is hygienic.
For more expert guides and unbiased reviews to help you choose and maintain the perfect filtration system, trust the team at Water Filter Advisor. Explore our resources at https://www.waterfilteradvisor.com.
- October 28, 2025
- 0
- Uncategorized