How to Filter and Remove Fluoride from Your Water: A Homeowner’s Guide
Yes, the right filter can remove fluoride from your water, but here's the catch: your standard fridge filter or that basic pitcher in your kitchen probably won't cut it. To actually pull fluoride out, you need a system with technology specifically designed to capture tiny dissolved minerals like fluoride ions. Think of it as needing a specialist, not a general practitioner.
Your Quick Guide to Fluoride Filtration Methods
So, you're on a quest for the best way to remove fluoride from your home's drinking water? Fantastic! You've come to the right place. Most of us are familiar with filters that make water taste better by getting rid of chlorine, but taking out fluoride is a whole different ballgame. It's like going from playing checkers to playing chess.
The fluoride ion is incredibly small, which means it can zip right through the pores of a typical activated carbon filter. Imagine trying to catch sand with a fishing net—it just doesn't work. You need a much finer, more specialized tool for the job. Fortunately, several proven technologies are up to the task, each with its own clever approach.
The Four Main Technologies That Work
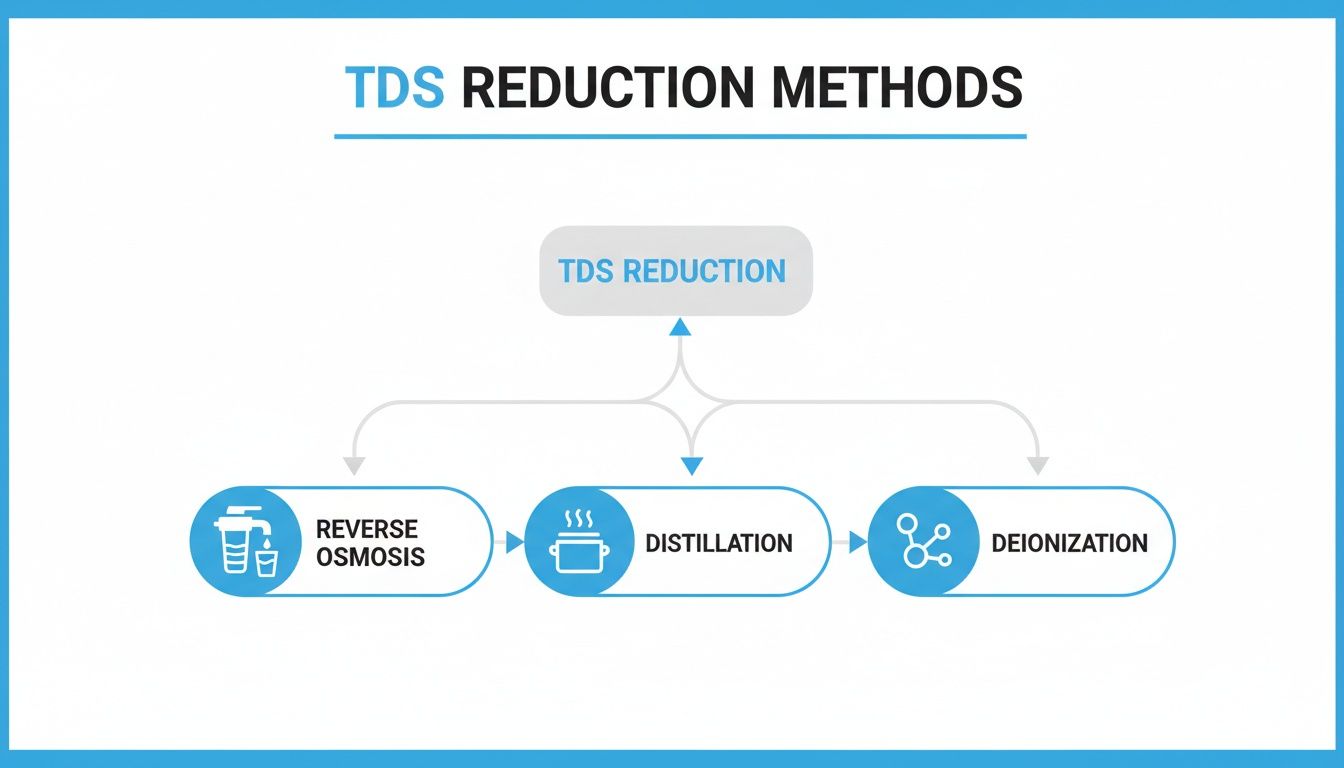
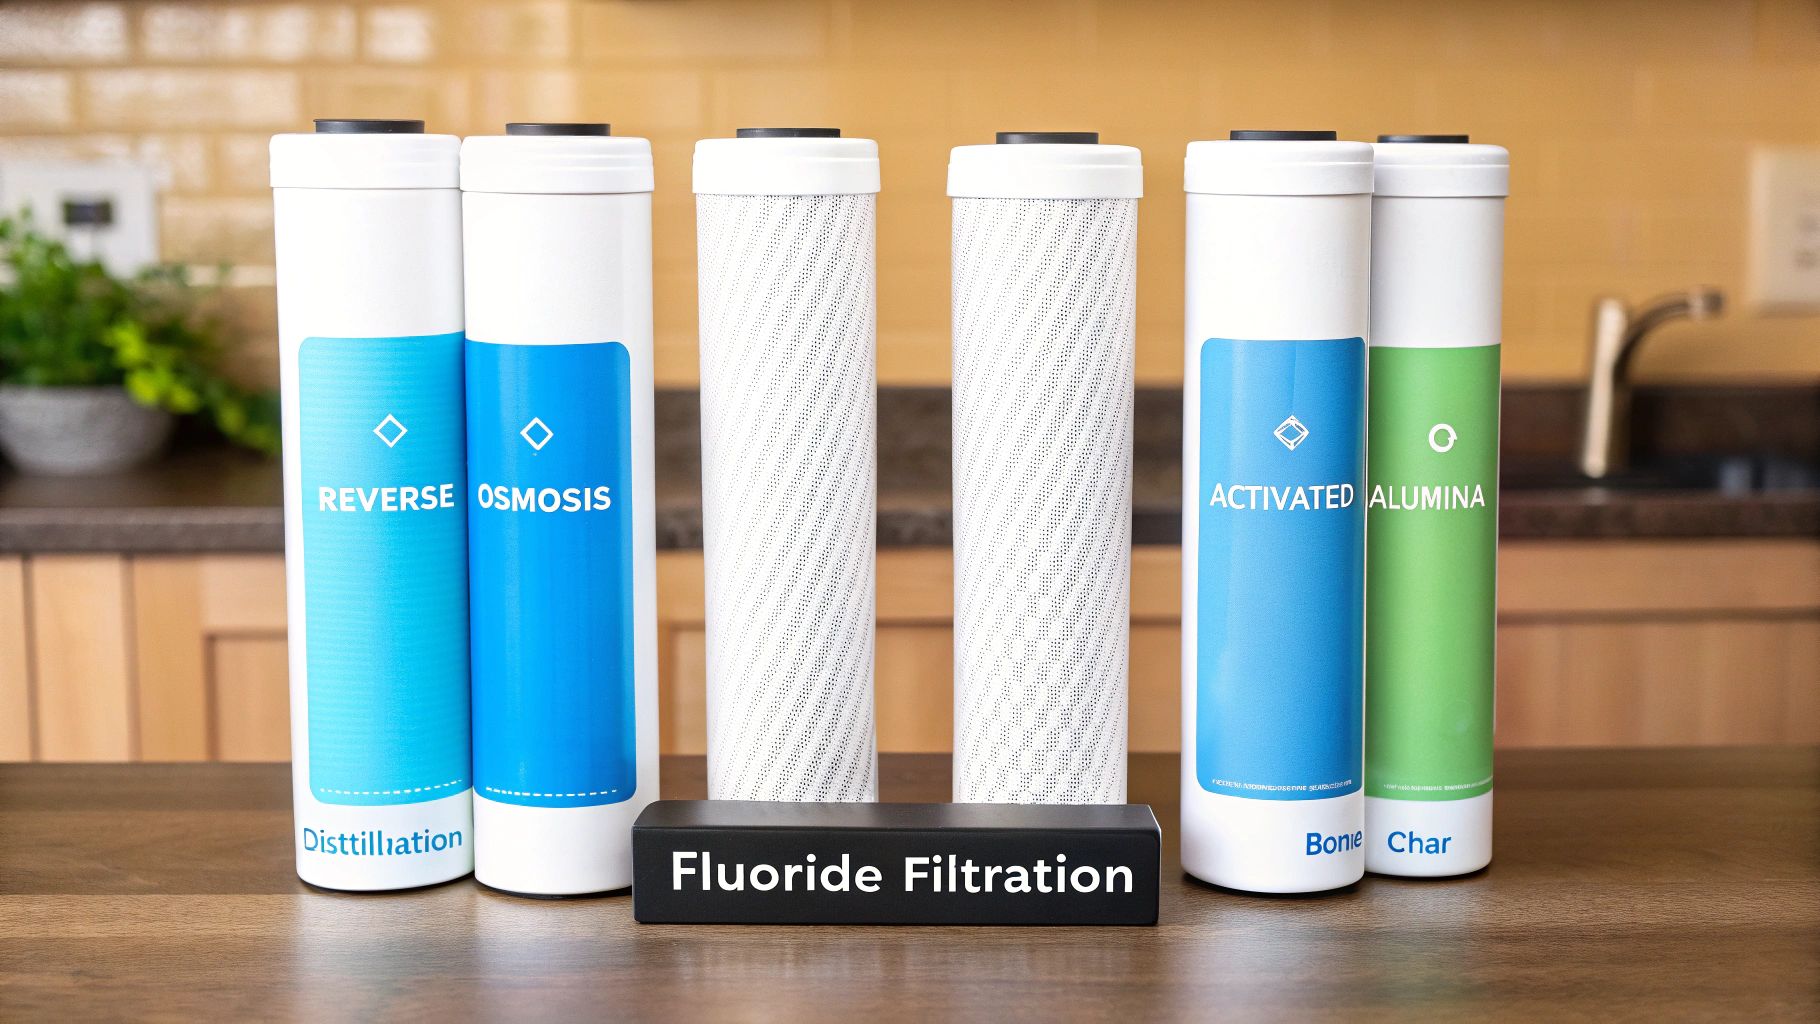
For homeowners serious about removing fluoride, it really boils down to four main technologies. Each one uses a different scientific principle to separate fluoride from your water, almost like a magic trick happening right under your sink.
- Reverse Osmosis (RO): This is the heavy hitter of water purification. An RO system uses high pressure to push water through a special membrane with microscopic pores. These pores are so small they block fluoride, lead, chlorine, and a whole host of other contaminants, letting only pure water molecules pass through. It's the bouncer of the filtration world, letting only the VIPs (water molecules) through the velvet rope.
- Activated Alumina (AA): This method works like a magnet for fluoride. The filter contains a porous material that chemically attracts and traps fluoride ions as water flows over it, effectively pulling them out of your drinking water.
- Bone Char (BC): This might sound old-school, but it's incredibly effective. Bone char is a type of porous carbon media made from animal bones, and its unique structure is naturally excellent at adsorbing fluoride. It's one of nature's original water filters.
- Distillation: This process is nature's own purification method, just done in a machine on your countertop. It works by boiling water to create steam, leaving fluoride and other heavy contaminants behind. The steam is then cooled and condensed back into pure, clean water.
Water fluoridation in the U.S. started way back in 1945 to help with dental health, and today, about 63% of Americans (that's over 200 million people) get fluoridated tap water.
Of all the options, reverse osmosis systems are a real standout. Independent lab tests for top brands show they can remove up to 99.9% of fluoride. If you want to dive deeper, you can explore more research on the water filtration market to see the performance data for yourself.
To help you get a clearer picture of which one might be right for you, here’s a quick rundown of how these technologies stack up.
Comparing Fluoride Filtration Technologies
This table offers a quick comparison of the most effective technologies for removing fluoride from your home's drinking water.
| Filtration Method | Fluoride Removal Rate | Best For | Pros | Cons |
|---|---|---|---|---|
| Reverse Osmosis | 90-99% | Under-sink systems | Highly effective; removes many other contaminants | Wastes some water; higher initial cost |
| Activated Alumina | 85-95% | Countertop & under-sink | Great for targeted fluoride removal | Media needs regular replacement |
| Bone Char | Up to 90% | Countertop & pitchers | Natural media; also removes other contaminants | Slower flow rate; less common |
| Distillation | 99%+ | Countertop units | Produces extremely pure water | Slow process; uses electricity |
As you can see, each method has its trade-offs. The best choice really depends on your budget, how much water you need, and your performance expectations.
Why Your Standard Water Filter Can't Remove Fluoride
It’s a common misconception, and a frustrating one for many homeowners. You buy that popular water pitcher or refrigerator filter, assuming it’s giving you pure, clean water. But when it comes to fluoride, that trusty filter is basically taking a nap. The reason is all about size and chemistry.
Your standard filter is great at its job, but its job description simply doesn't include catching something as tiny and slippery as a fluoride ion.
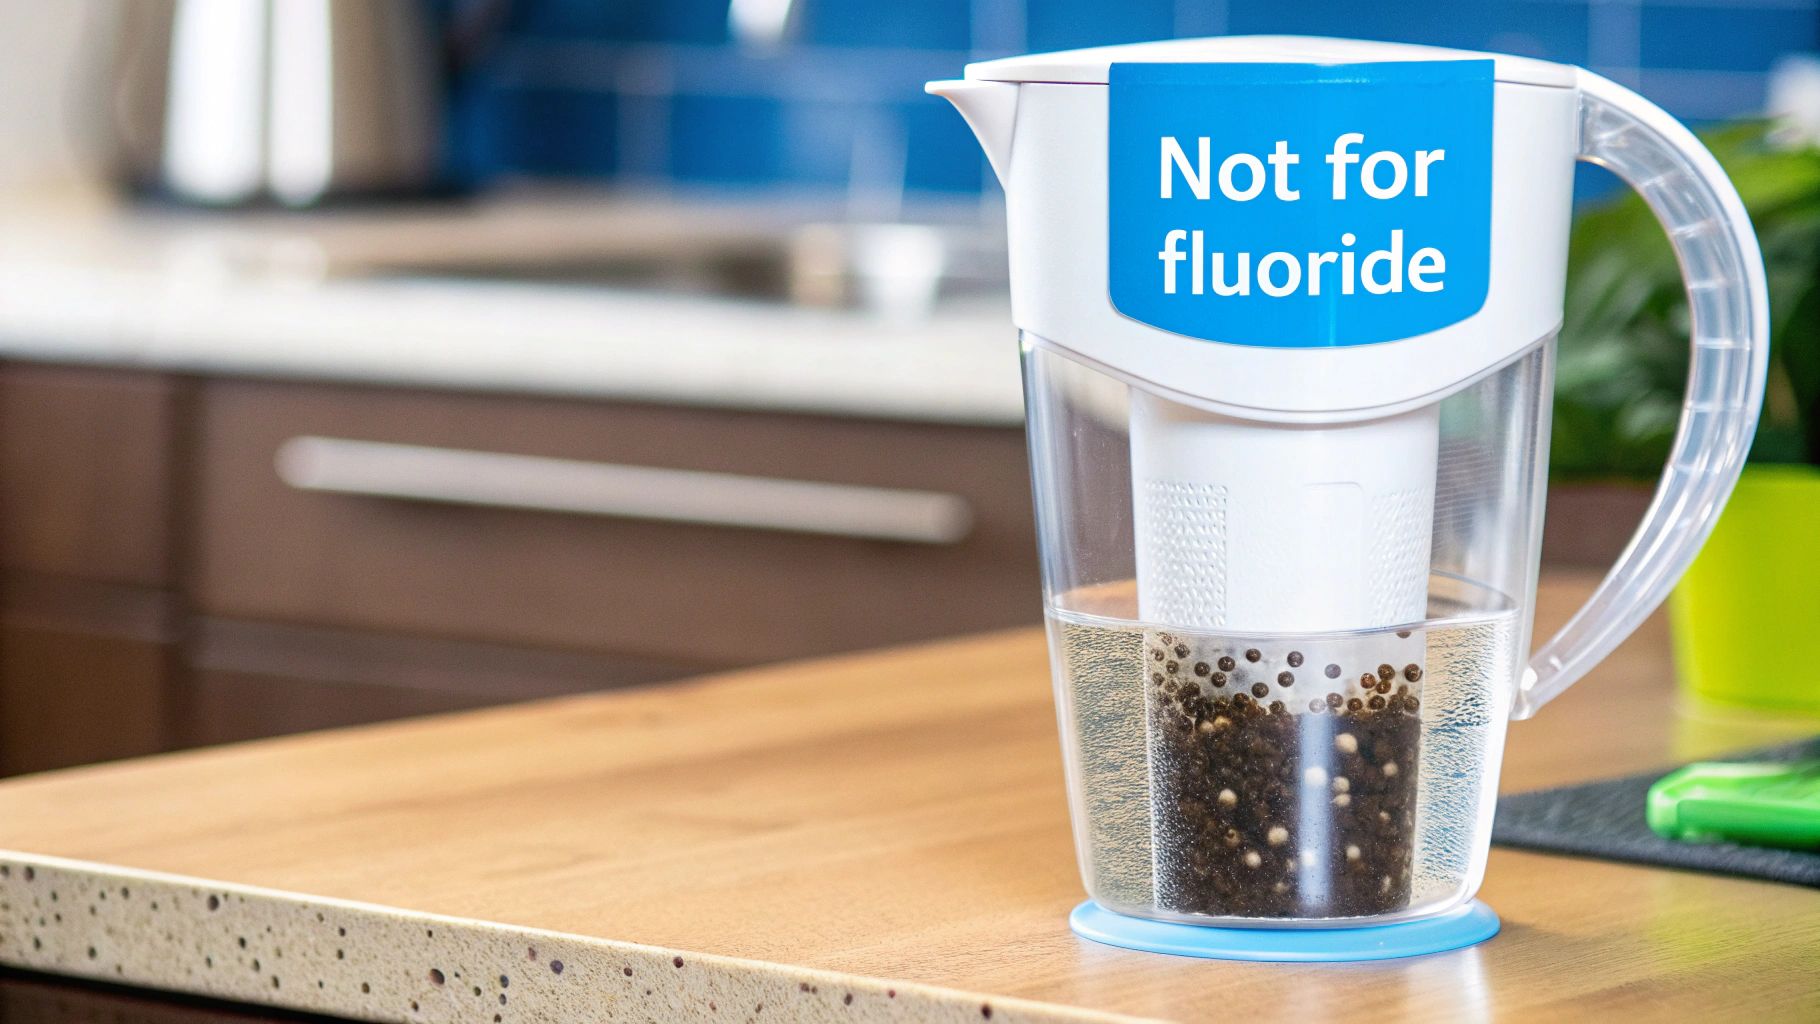
Think of it like trying to catch fine sand with a fishing net. The net is perfect for catching fish, but the sand will slip right through the holes. That’s exactly what’s happening inside your filter. Fluoride exists in water as dissolved ions, which are incredibly small particles. Most basic filters use activated carbon as their main tool.
What Activated Carbon Filters Are Good At
Let's be clear: activated carbon is a workhorse. Its surface is a maze of microscopic pores and crevices, which gives it an enormous surface area. This structure makes it a master of adsorption—a process where certain contaminants literally stick to the carbon's surface as water passes by.
This is why it's so effective at tackling the big stuff that makes your water taste and smell off. Activated carbon filters are champs at removing:
- Chlorine: This is their number one job. They excel at grabbing the chlorine used to treat city water, which is the main reason filtered water tastes so much cleaner and fresher.
- Volatile Organic Compounds (VOCs): This includes a range of industrial chemicals and solvents that can sometimes seep into water sources.
- Sediment and Particulates: They also trap larger bits of rust, silt, and sand that can make water cloudy.
The bottom line is that these filters are designed to improve the aesthetics of water by capturing large, clunky contaminants.
Activated carbon filters work by adsorption, where contaminants stick to the filter's surface. While this is great for chlorine and sediment, the fluoride ion is simply too small and not chemically attracted to the carbon in a way that allows for effective removal.
The Fluoride Filtration Challenge
Fluoride ions, however, play by a different set of rules. They are dissolved minerals, meaning they're completely integrated into the water at a molecular level. They are far too small to get physically trapped in the pores of a standard carbon filter.
On top of that, they don't have the right chemical charge to be "sticky" enough for the carbon to grab them. So, the fluoride ions just cruise right on through the filter along with the water molecules, completely untouched.
This is the fundamental mismatch. To pull something that small out of water, you need a totally different strategy. It requires more advanced technologies like reverse osmosis, activated alumina, or distillation, which are specifically engineered to separate these tiny dissolved solids—a task a standard carbon filter was never built to handle.
A Deep Dive into Effective Fluoride Filtration Technologies
So, you've figured out your standard carbon filter isn't going to cut it for fluoride. Now it's time to call in the specialists.
Think of it like this: your basic pitcher filter is a general practitioner, good for common stuff like chlorine. But for a specific issue like fluoride, you need an expert with the right tools. We’re talking about technologies designed from the ground up to pull dissolved minerals out of your water. These systems don’t just strain particles; they use some pretty cool science to get the job done.
We're going to break down the four heavy hitters in the fluoride removal game: Reverse Osmosis (RO), Activated Alumina, Bone Char, and Distillation. Each one works on a completely different principle, and each has its own set of pros and cons for your home.
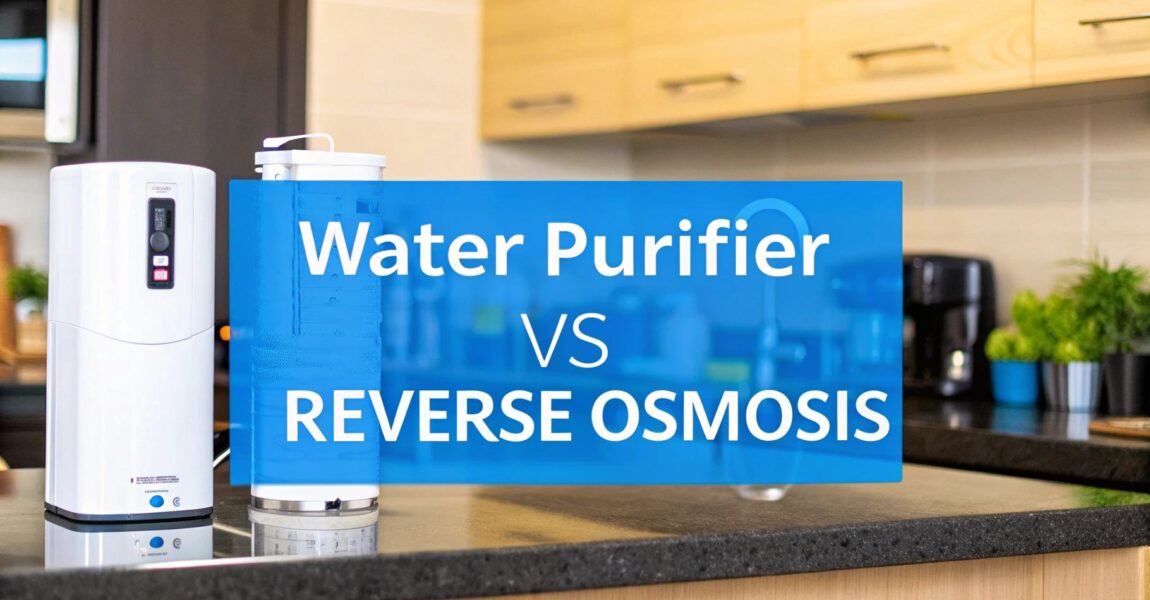
Reverse Osmosis: The Purity Powerhouse
Reverse osmosis, or RO, is pretty much the gold standard when you want everything gone.
Imagine a bouncer at an exclusive club, but for water molecules. This bouncer is a special semi-permeable membrane with microscopic pores so tiny that only pure H₂O can squeeze through. Your tap water is pushed against this membrane under pressure, and while the small water molecules make it to the other side, bigger molecules—like fluoride, lead, arsenic, and salts—get bounced and flushed down the drain.
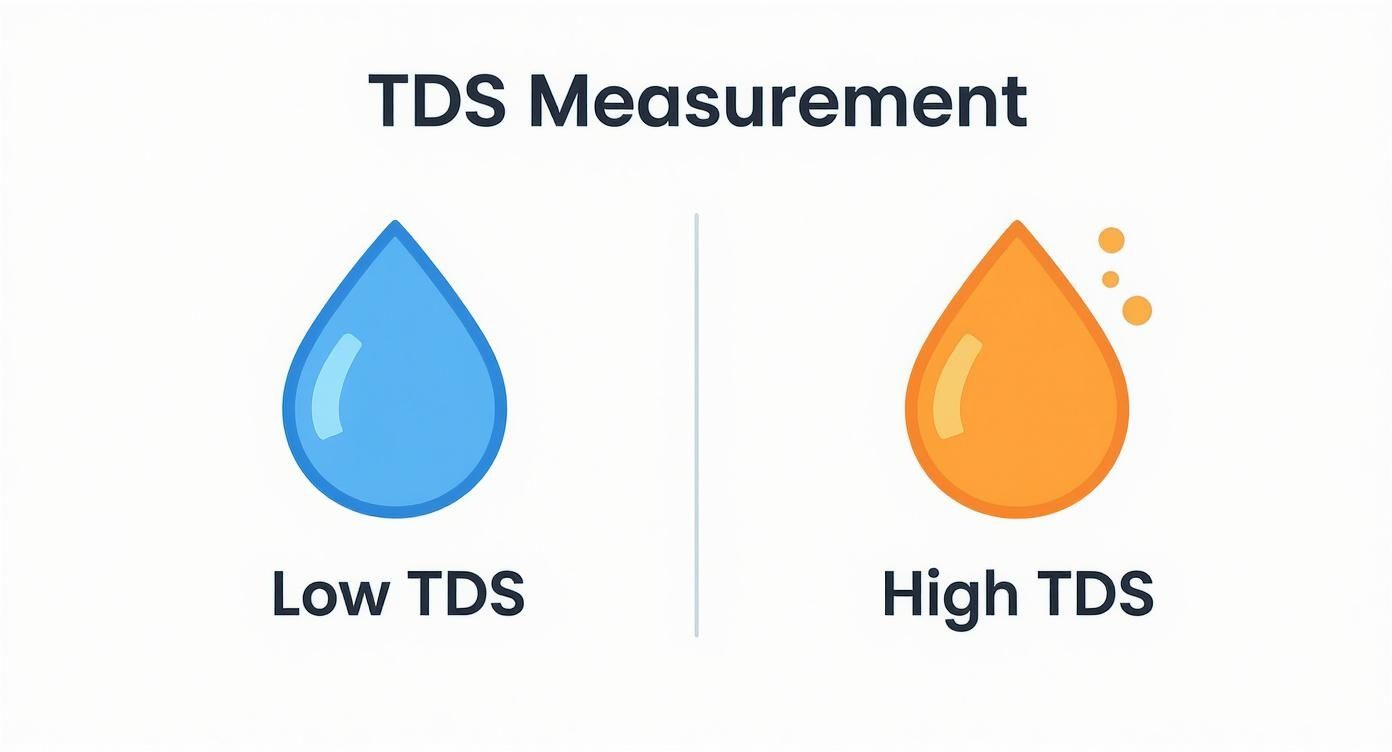
It’s a brute-force physical separation that’s incredibly effective. A good RO system will often strip out more than 90% of all total dissolved solids (TDS), making it the top pick if you're concerned about more than just fluoride.
Modern systems like reverse osmosis (RO), activated alumina, bone char, and ion exchange are game-changers, with RO leading at 99.9% removal efficiency in commercial tests. Take the Cloud RO: NSF-certified to standard 58, it erased 100% fluoride, chlorine, arsenic, and lead in rigorous trials, reducing TDS dramatically while remineralizing to a healthy pH of 9.7. Even pitcher options hold up—Clearly Filtered zapped fluoride from 2.18 mg/L to <0.01 mg/L (>99.54%), fluosilicate by 99.49%, and fluosilicic acid by 99.52%, tackling dental fluorosis head-on. You can discover more insights about these commercial fluoride removal systems to see the full scope of their capabilities.
Activated Alumina: The Fluoride Magnet
If RO is a bouncer, then Activated Alumina (AA) is a powerful magnet tuned specifically to grab fluoride. The filter media is made from aluminum oxide, which is loaded with tiny pores, giving it a massive surface area.
As your water flows through, fluoride ions are chemically drawn to the surface of the alumina and get stuck. This process is called adsorption—the contaminants literally stick to the outside of the filter material. It's a highly targeted approach that also works well on arsenic and selenium.
But there are a few catches with Activated Alumina:
- Water pH is Key: It performs best in slightly acidic water, ideally with a pH between 5.5 and 6.5.
- Slow and Steady: The water needs to hang out with the media long enough for the magic to happen. That means flow rates are typically on the slower side.
- Needs Swapping Out: Eventually, the alumina gets clogged with fluoride and stops working. You have to replace the cartridge regularly to keep it effective.
Bone Char: The Natural Adsorbent
Okay, bone char might sound a little weird, but it's one of the oldest tricks in the book for getting rid of fluoride. It’s made from charred animal bones and has a super porous structure that’s fantastic at grabbing fluoride and other heavy metals.
Just like activated alumina, bone char works through adsorption. Its secret weapon is a high concentration of hydroxylapatite, a calcium-phosphate compound that has a natural attraction to fluoride ions. When water passes through, the fluoride gets pulled out and locks onto the bone char.
Lots of people prefer this method because it's a natural material, not something cooked up in a lab. It's also pretty good at removing chlorine and lead, making it a solid, well-rounded option for generally better water quality.
Distillation: The Classic Purifier
Distillation is basically nature's water cycle in a box on your countertop. The concept is dead simple, but it works like a charm. You boil water to create steam, leaving almost all the impurities behind.
Here's the play-by-play:
- Boil: Water in the distiller heats up and turns to steam. All the heavy stuff—fluoride, salts, heavy metals—can't evaporate, so it gets left behind.
- Cool: The pure water vapor travels into a cooling coil.
- Collect: As the steam cools, it turns back into liquid water, which drips into a clean container.
The water you get is about as pure as it gets, with fluoride removal rates often topping 99%. The trade-off? It’s slow, it uses electricity, and it removes everything, including the good minerals. That's why you usually see distillers used for small batches of drinking water, not for an entire house.
Choosing the Right Fluoride Filter System for Your Home
Knowing the science behind a filter to remove fluoride is one thing. Picking the perfect system for your kitchen? That's the real challenge.
What works great for your neighbor might be a terrible fit for you. It really boils down to your kitchen space, how much water your family uses, and your budget. Let’s shift from the technical specs to the practical reality of your home and look at the most common options—from heavy-duty under-sink units to grab-and-go pitchers.
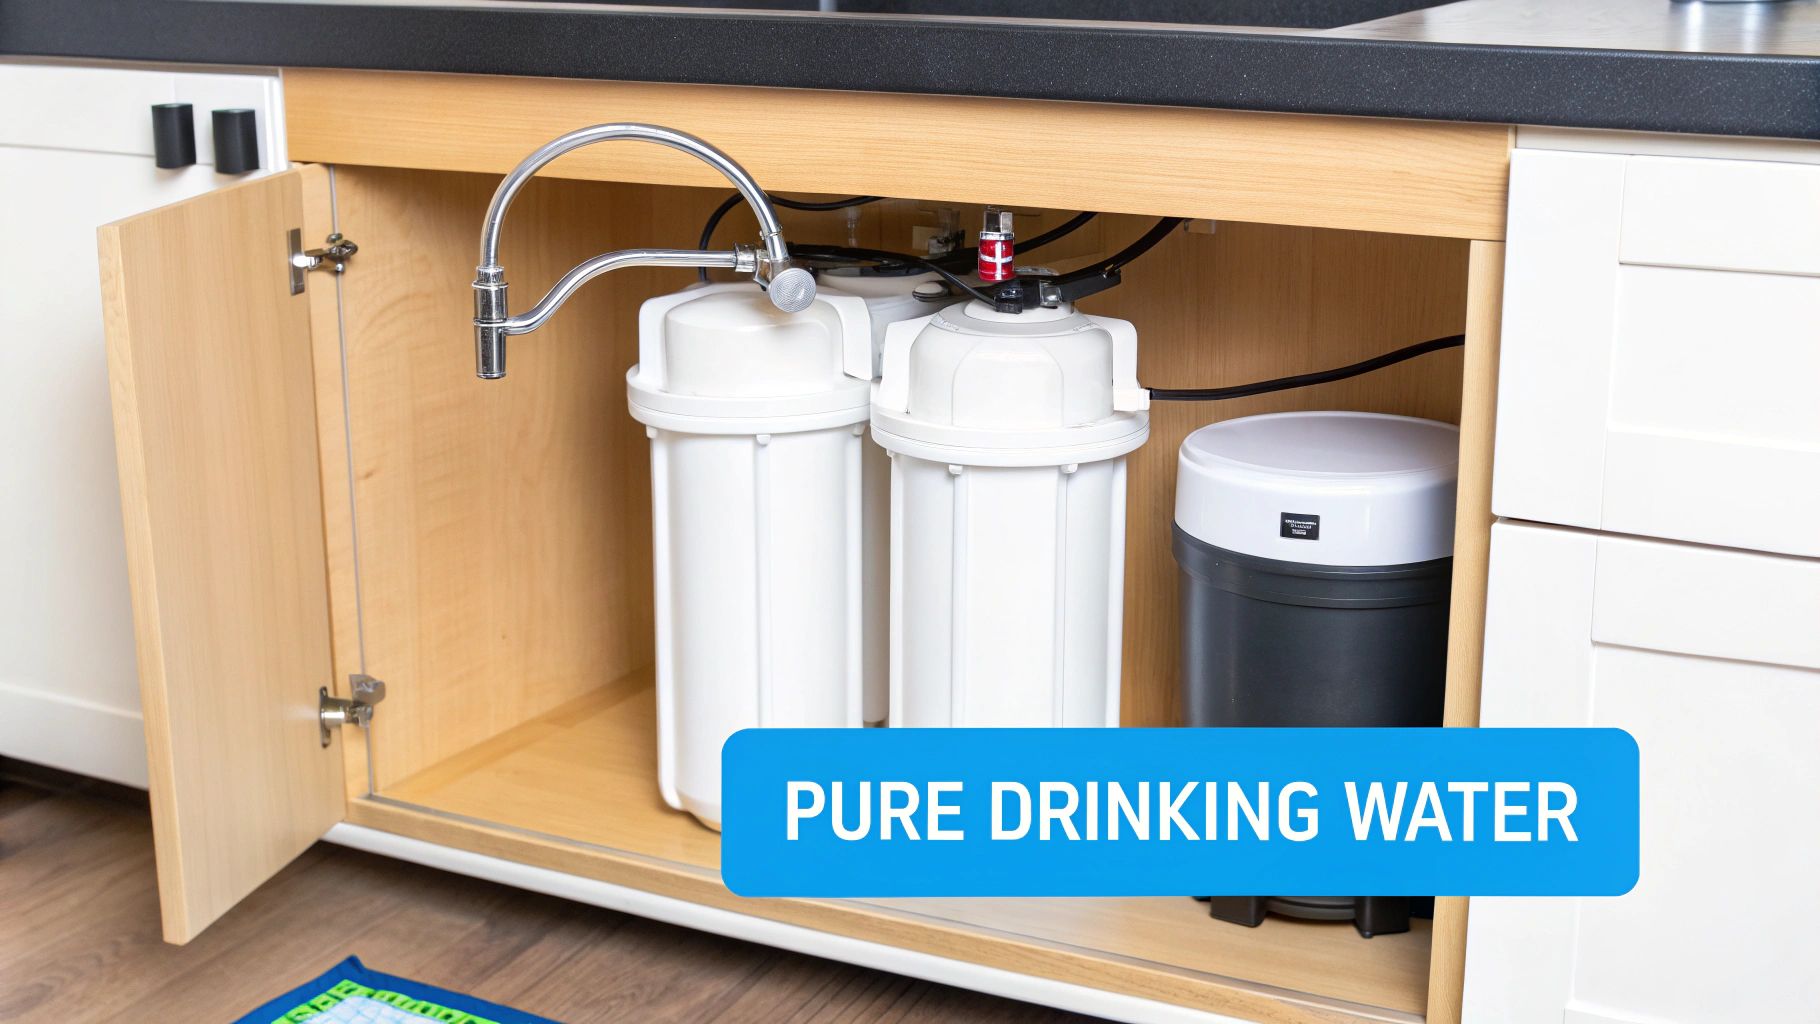
Under-Sink Systems: The Hidden Powerhouse
If you’re looking for top-tier fluoride removal without a machine cluttering up your counter, an under-sink reverse osmosis (RO) system is the gold standard. These systems are tucked away neatly in the cabinet right below your sink, connecting directly to the cold water line.
They usually come with their own dedicated, smaller faucet that sits on your sink, giving you a constant supply of purified water for drinking and cooking. This setup is perfect for families who go through a lot of water and want the best filtration possible without sacrificing counter space. Installation is a bit more involved, but the sheer convenience of having pure water on tap is hard to beat.
Countertop Units: Versatility and Ease
Renting your home? Or maybe you just don’t want a permanent installation? A countertop filter is an excellent choice. These units sit right next to your sink and connect to your faucet with a simple diverter valve. When you want filtered water, you just flip a switch; the rest of the time, your faucet works like normal.
Countertop systems hit that sweet spot between power and convenience. They often use multiple filter stages, including activated alumina or specialized carbon, to effectively get rid of fluoride. Since they don’t require any permanent plumbing changes, they’re ideal for apartments or smaller kitchens where under-sink real estate is at a premium.
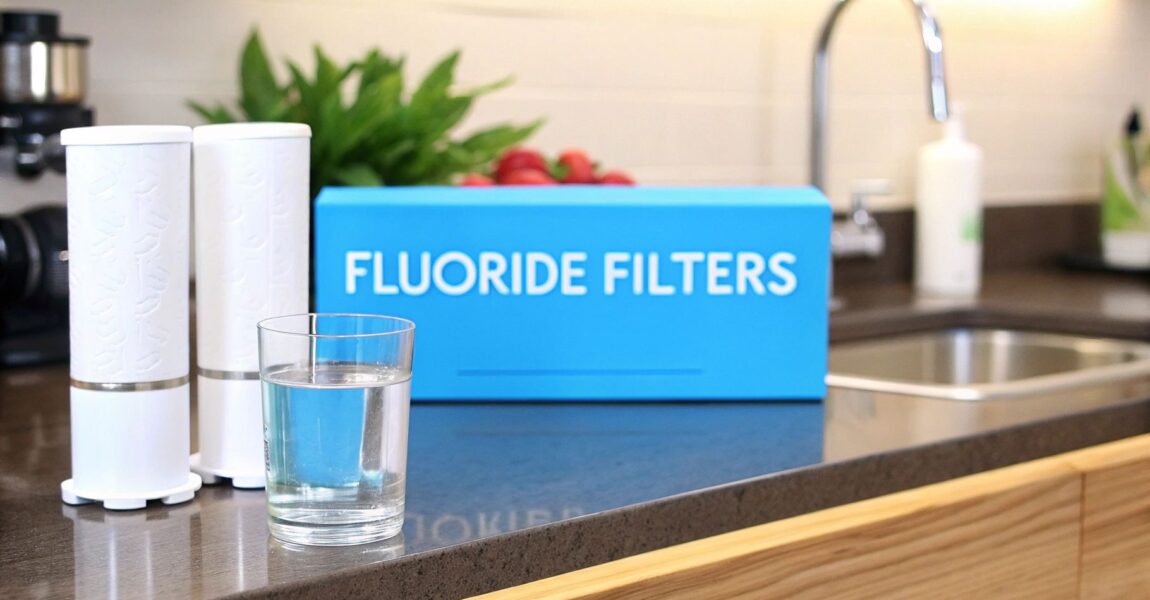
Specialized Pitchers: Portable and Practical
Don't expect your standard Brita to do the job here. While most pitchers won't touch fluoride, there are specialized models designed specifically for it. These pitchers use advanced media like bone char or ion-exchange resins to zero in on and capture fluoride ions.
They are by far the most affordable and portable option—great for a single person, a small household, or even for taking to the office. The trade-off is capacity and speed. You’ll be refilling the pitcher constantly, and it filters much slower than a larger system. But for low-volume needs, it’s a simple and effective solution.
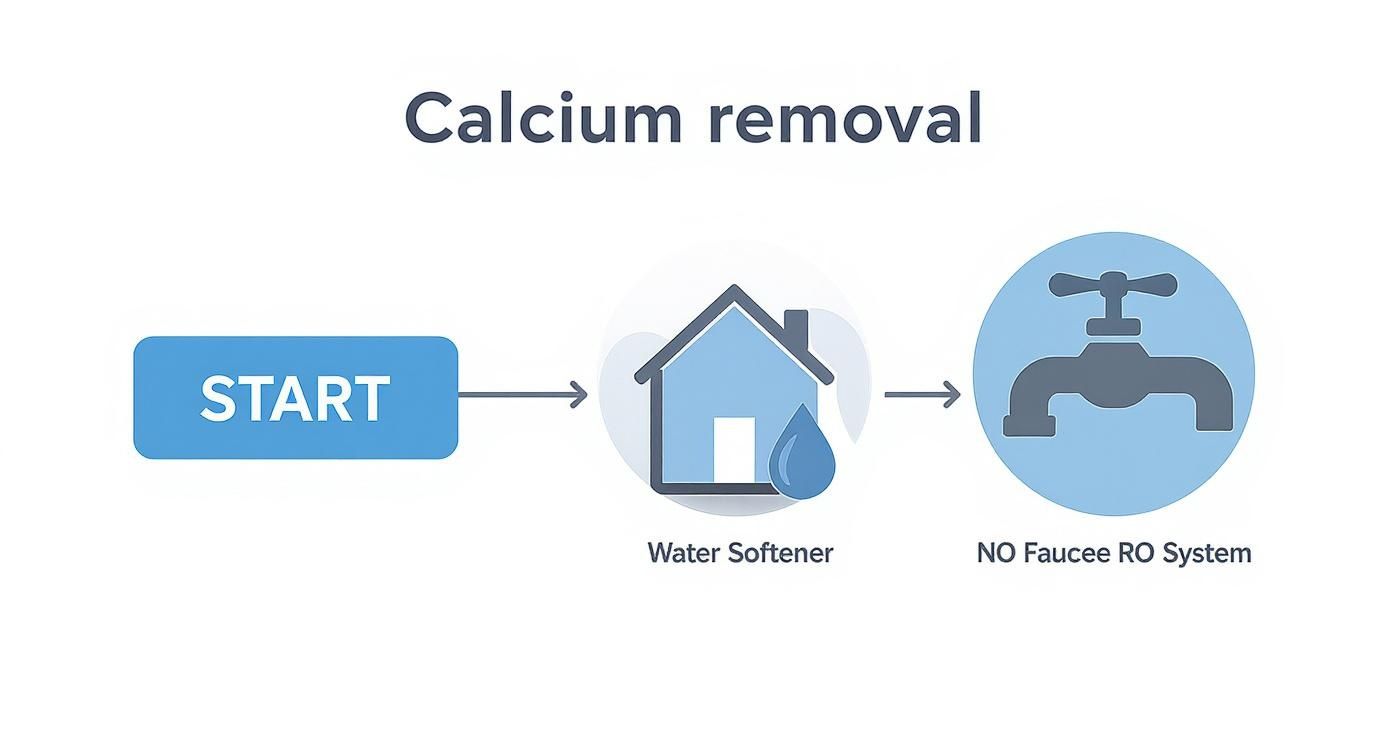
If you're trying to figure out which style fits your daily life, this decision tree can help point you in the right direction.

As the chart shows, if you need a lot of water, an under-sink system is your best bet. If you're on a budget or need something you can move around, a pitcher is the way to go. Countertop units fill that middle ground perfectly.
Why Whole-House Fluoride Filtration Is Rarely a Good Idea
You might be tempted to just filter all the water coming into your home, but this is one of those cases where going bigger isn't better. Whole-house fluoride filtration is incredibly expensive and usually impractical for a couple of big reasons.
The main reason to steer clear of whole-house systems is the massive cost and waste. An RO system big enough to handle an entire house is a huge investment, and it generates a ton of wastewater, which can send your water bill through the roof. On top of that, you'd lose the topical dental health benefits of fluoride when you shower.
For these reasons, your best bet is to stick with a point-of-use filter for the water you drink and cook with. It's the most sensible and cost-effective approach. For more help finding the perfect fit, our collection of expert water filtration advice can offer more guidance.
Independent reviews often praise RO systems like Aquatru, which scored a 9.59 for its 100% fluoride elimination and impressive performance against PFAS and chlorine. Lab data for pitchers from brands like Clearly Filtered shows they can remove over 99.54% of fluoride. However, commercial stress tests show RO maintains its high removal rate of 99.9%, while some pitchers can drop below 50%. This makes your choice of system absolutely critical. Learn more about the global market for these powerful water filters to see how different technologies stack up in the real world.
How to Verify a Filter's Fluoride Removal Claims
The water filter market is a noisy place, full of bold promises. With so many brands claiming their filter can remove fluoride, how do you cut through the marketing hype to find a product that actually works? The secret is looking for independent, third-party proof.
Think of it this way: buying a water filter is an investment in your family's health. You wouldn't make that kind of investment without doing a little homework first. Thankfully, trustworthy manufacturers make it easy by providing clear, verifiable data that shows their products deliver.

Look for Independent Certifications
The single most reliable way to confirm a filter's claims is to look for a seal of approval from an independent testing organization. These groups have no skin in the game; their only job is to put a product through its paces against tough industry standards.
In the world of water filtration, the most respected name out there is the NSF (National Sanitation Foundation). When a filter is NSF certified, it means it's been rigorously tested to meet strict public health and safety standards. And for fluoride removal, one specific certification is the one you really want to see.
NSF/ANSI 58: The Gold Standard for Fluoride Reduction
This certification is designed specifically for reverse osmosis (RO) systems and requires testing for fluoride reduction. If an RO system has that NSF/ANSI 58 seal, it’s been independently verified to do the job right.
When you spot that certification, you can feel confident that the product’s claims were proven in a lab, not just dreamed up by a marketing team. You can usually find the NSF seal right on the product packaging, the system itself, or on the manufacturer's official website.
How to Read a Performance Data Sheet
Beyond the official seals, any reputable manufacturer should also provide a Performance Data Sheet. This is basically a technical report card that breaks down exactly which contaminants the filter removes and by how much. Don't let the technical jargon scare you off—you only need to look for a couple of key things.
When you get your hands on a data sheet for a filter you think can remove fluoride, just follow these simple steps:
- Find the Fluoride Entry: Quickly scan the list of contaminants for "Fluoride." If you don't see it, the filter wasn't designed or tested to remove it. Simple as that.
- Check the Reduction Rate: Right next to the fluoride entry, there should be a percentage. This number tells you how much fluoride the filter successfully removed during testing. For real-world effectiveness, you want to see reduction rates of 90% or higher.
- Note the Testing Conditions: The sheet should also mention the conditions of the test, like water pressure and pH level. This gives you some context for how the filter is likely to perform with the water coming out of your own tap.
By learning to spot these key details, you can tune out all the noise and make a truly informed decision. Choosing a certified filter with a clear data sheet is the best way to ensure you're getting a system that delivers on its promise of cleaner, healthier water for your home.
Looking Beyond the Sticker Price: The True Cost of Fluoride Filtration
When you're shopping for a fluoride filter, it’s easy to get tunnel vision and focus only on the initial price tag. But that's just the beginning of the story. The real cost of any water filter system isn't what you pay on day one—it’s the total cost of ownership over months and years of use.
Think of it like buying a car. The upfront cost is a big deal, but so are the ongoing expenses for gas, oil changes, and new tires. Water filters are the same. You're not just buying a piece of hardware; you're committing to its upkeep to keep it running right.
The Hidden Costs: What You'll Really Be Paying For
That initial purchase price is just the down payment. To keep getting clean, fluoride-free water, you'll need to account for a few other things that will definitely add up.
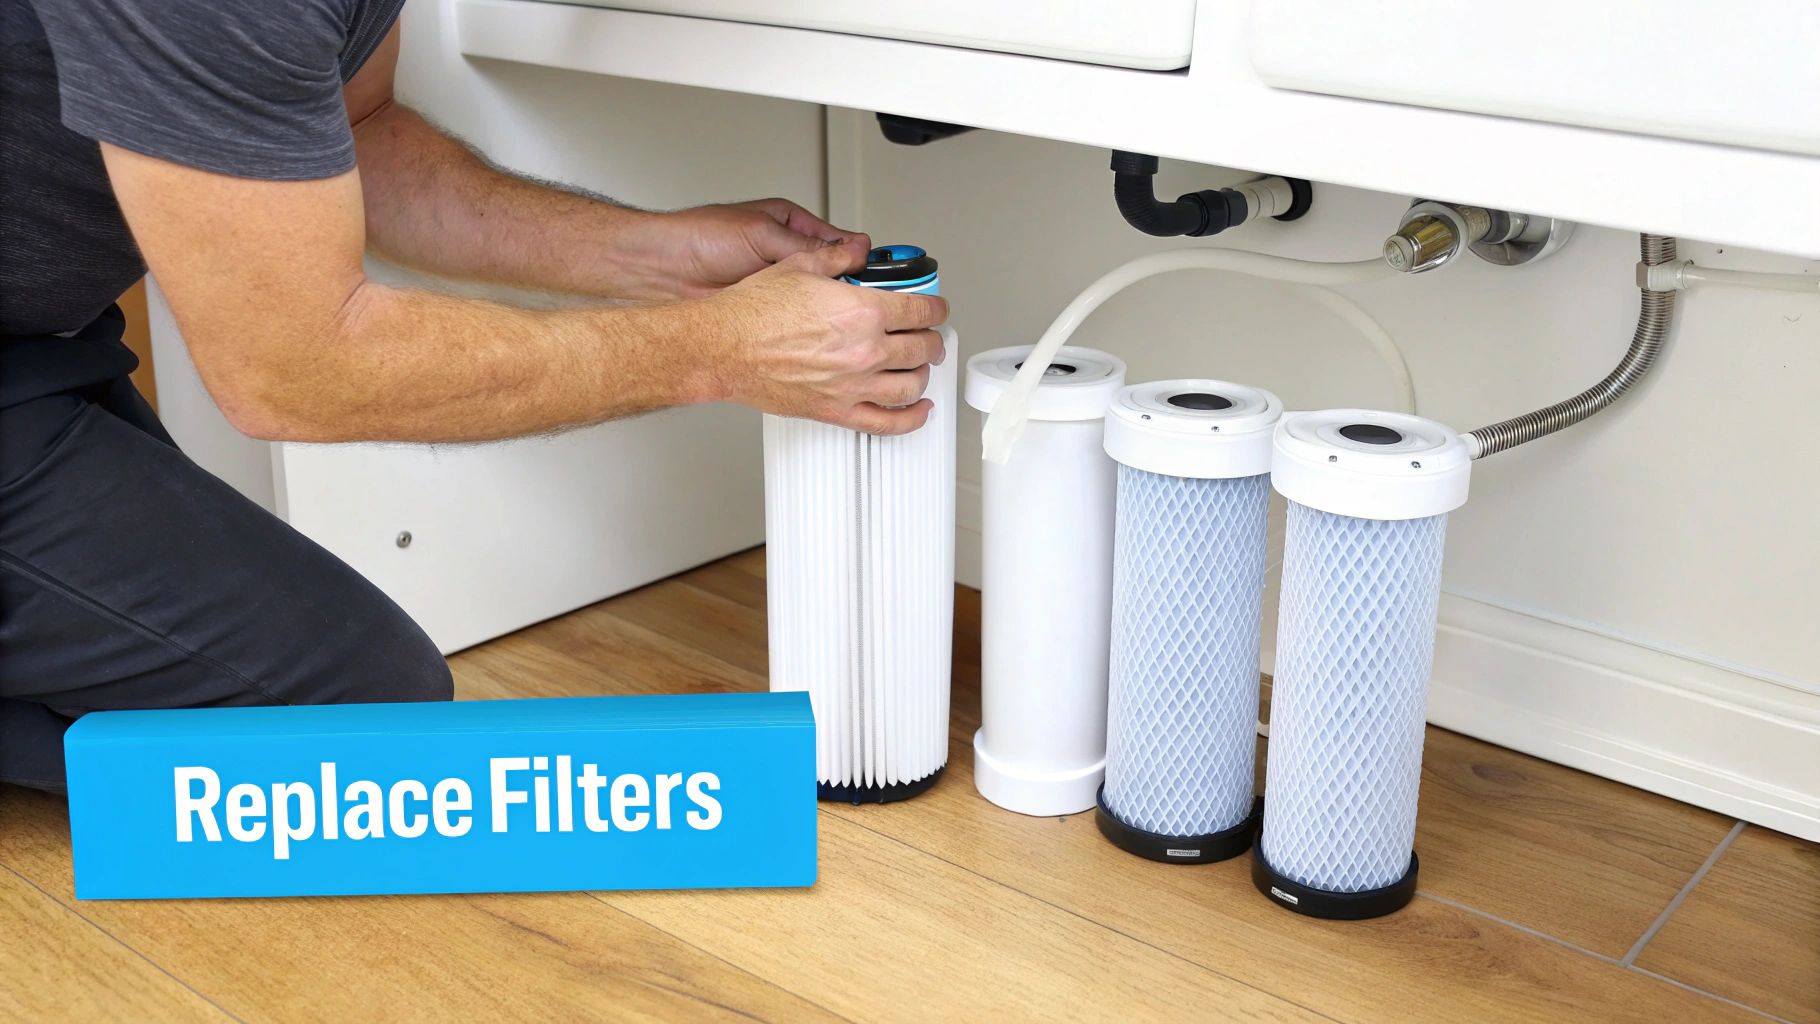
- Replacement Filter Cartridges: This is the big one. It's the most significant and consistent expense you'll have. Whether it's an activated alumina cartridge or a reverse osmosis membrane, these filters don't last forever. They need to be swapped out on schedule to keep doing their job.
- Your Utility Bills: Some systems use more resources than others. A water distiller, for example, has to boil water, which takes a fair amount of electricity and will show up on your power bill. Reverse osmosis systems are known for creating wastewater—for every one gallon of pure water you get, it might flush three to four gallons down the drain, slightly bumping up your water bill.
The single biggest long-term cost is almost always the replacement filters. If you put off changing them, you’re not just drinking lower-quality water; you could end up damaging the whole system and facing a much bigger repair bill.
A Five-Year Cost Showdown
Let's make this real. Here’s a look at how the costs stack up for two popular choices over a five-year stretch. It’s a perfect example of how a cheaper start doesn’t always mean you save money in the long run.
| Cost Component | Under-Sink Reverse Osmosis System | Specialized Fluoride-Removing Pitcher |
|---|---|---|
| Initial Purchase | $250 – $500 | $50 – $80 |
| Annual Filter Cost | $60 – $120 (for pre-filters & post-filters) | $120 – $180 (replacing every 2-3 months) |
| 5-Year Filter Total | $300 – $600 | $600 – $900 |
| Membrane Replacement | $50 – $100 (once every 2-4 years) | N/A |
| Estimated 5-Year Total | $600 – $1200 | $650 – $980 |
As you can see, that pitcher looks like a steal at first. But because you're replacing those filters so often, the total cost over five years can creep up to be nearly as much as a high-performance under-sink RO system. This is exactly why you have to look at the big picture before deciding.
Got Questions About Fluoride Removal? We Have Answers.
As you start looking into filters, you'll naturally run into some common questions. From kitchen myths to the practical side of testing, let's clear up the most frequent queries so you can move forward with confidence.
Will Boiling Water Get Rid of Fluoride?
This is a classic kitchen myth. While boiling is great for zapping bacteria and viruses, it actually works against you when it comes to fluoride.
When you boil a pot of water, pure H₂O escapes as steam, but the fluoride ions get left behind. This means the water left in the pot has an even higher concentration of fluoride than when you started. For removing fluoride, you need a filter, not heat.
Do Standard Brita Filters Remove Fluoride?
This is probably the biggest point of confusion out there, and the answer is a firm no. Your standard pitcher filter, like a Brita, uses activated carbon. That’s fantastic for making your water taste and smell better because it grabs onto things like chlorine.
But as we've covered, fluoride ions are tiny and just don't stick to regular carbon. They slip right through. So, while those pitchers are popular, they do not lower the fluoride level in your water. You absolutely need a specialized filter designed for the job.
The decision to remove fluoride is a personal one. It often comes down to your health philosophy, how much fluoride you get from other sources (like toothpaste), and the actual levels in your local water.
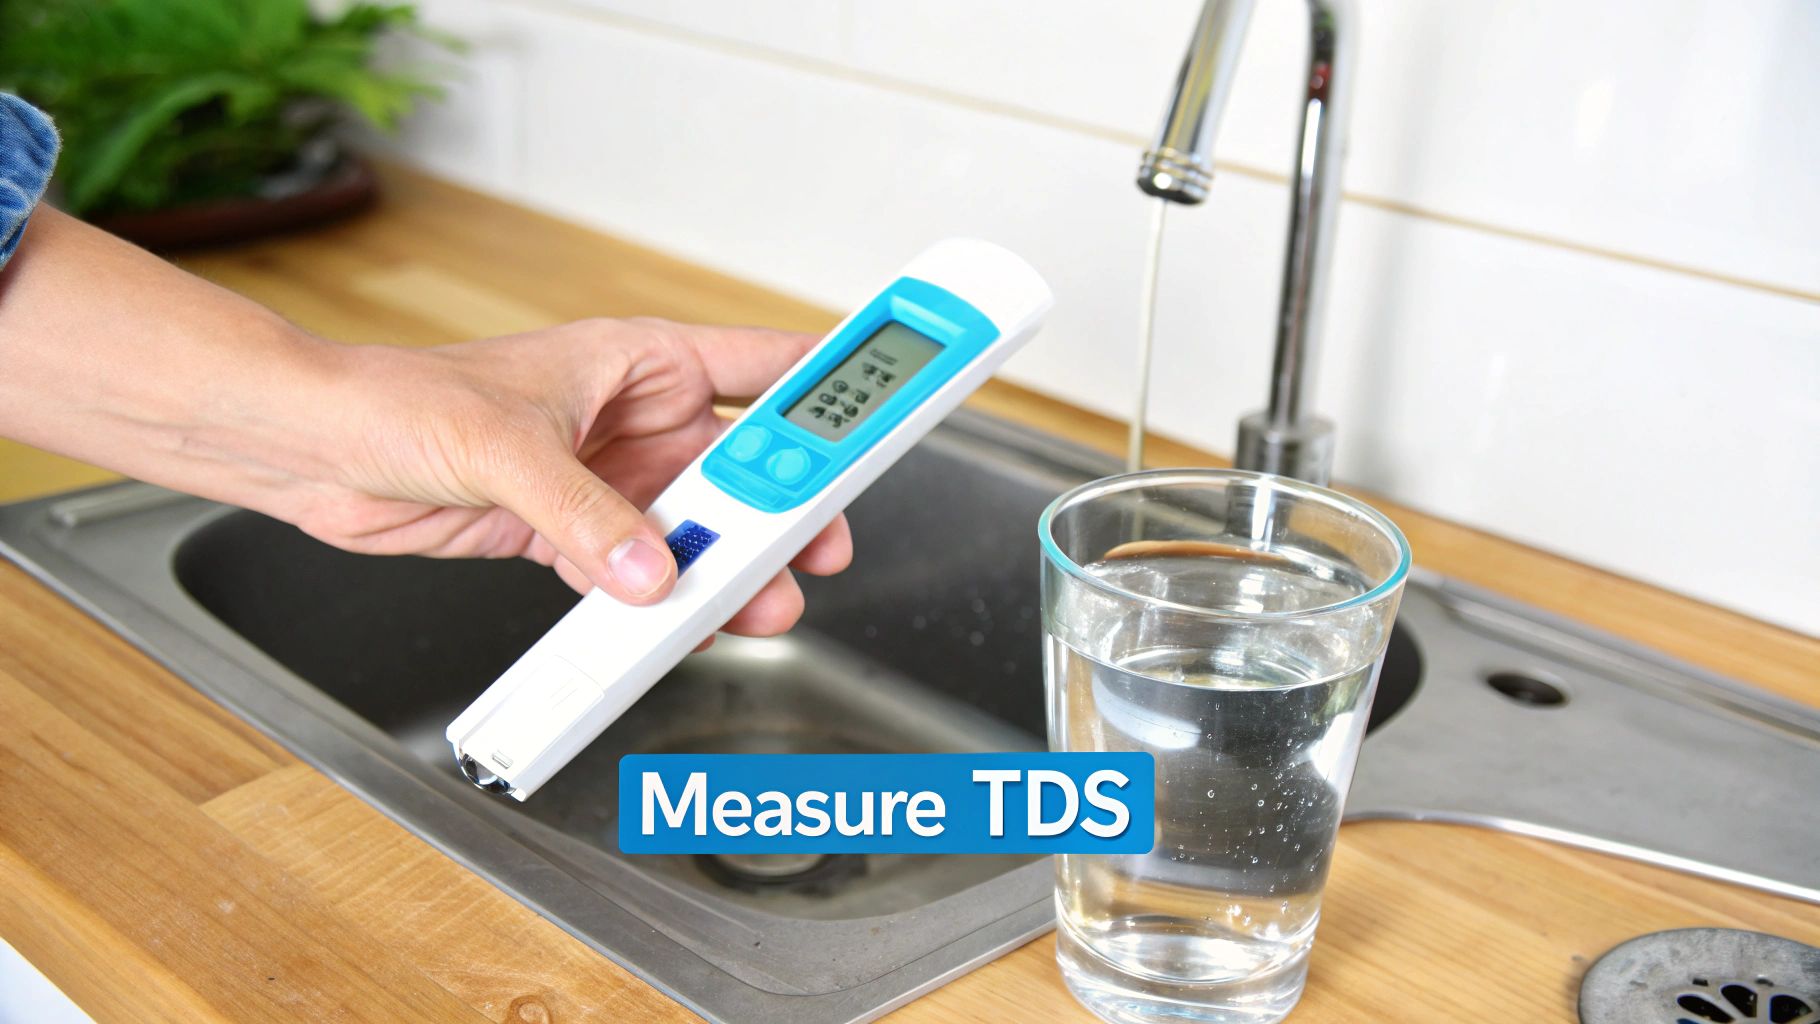
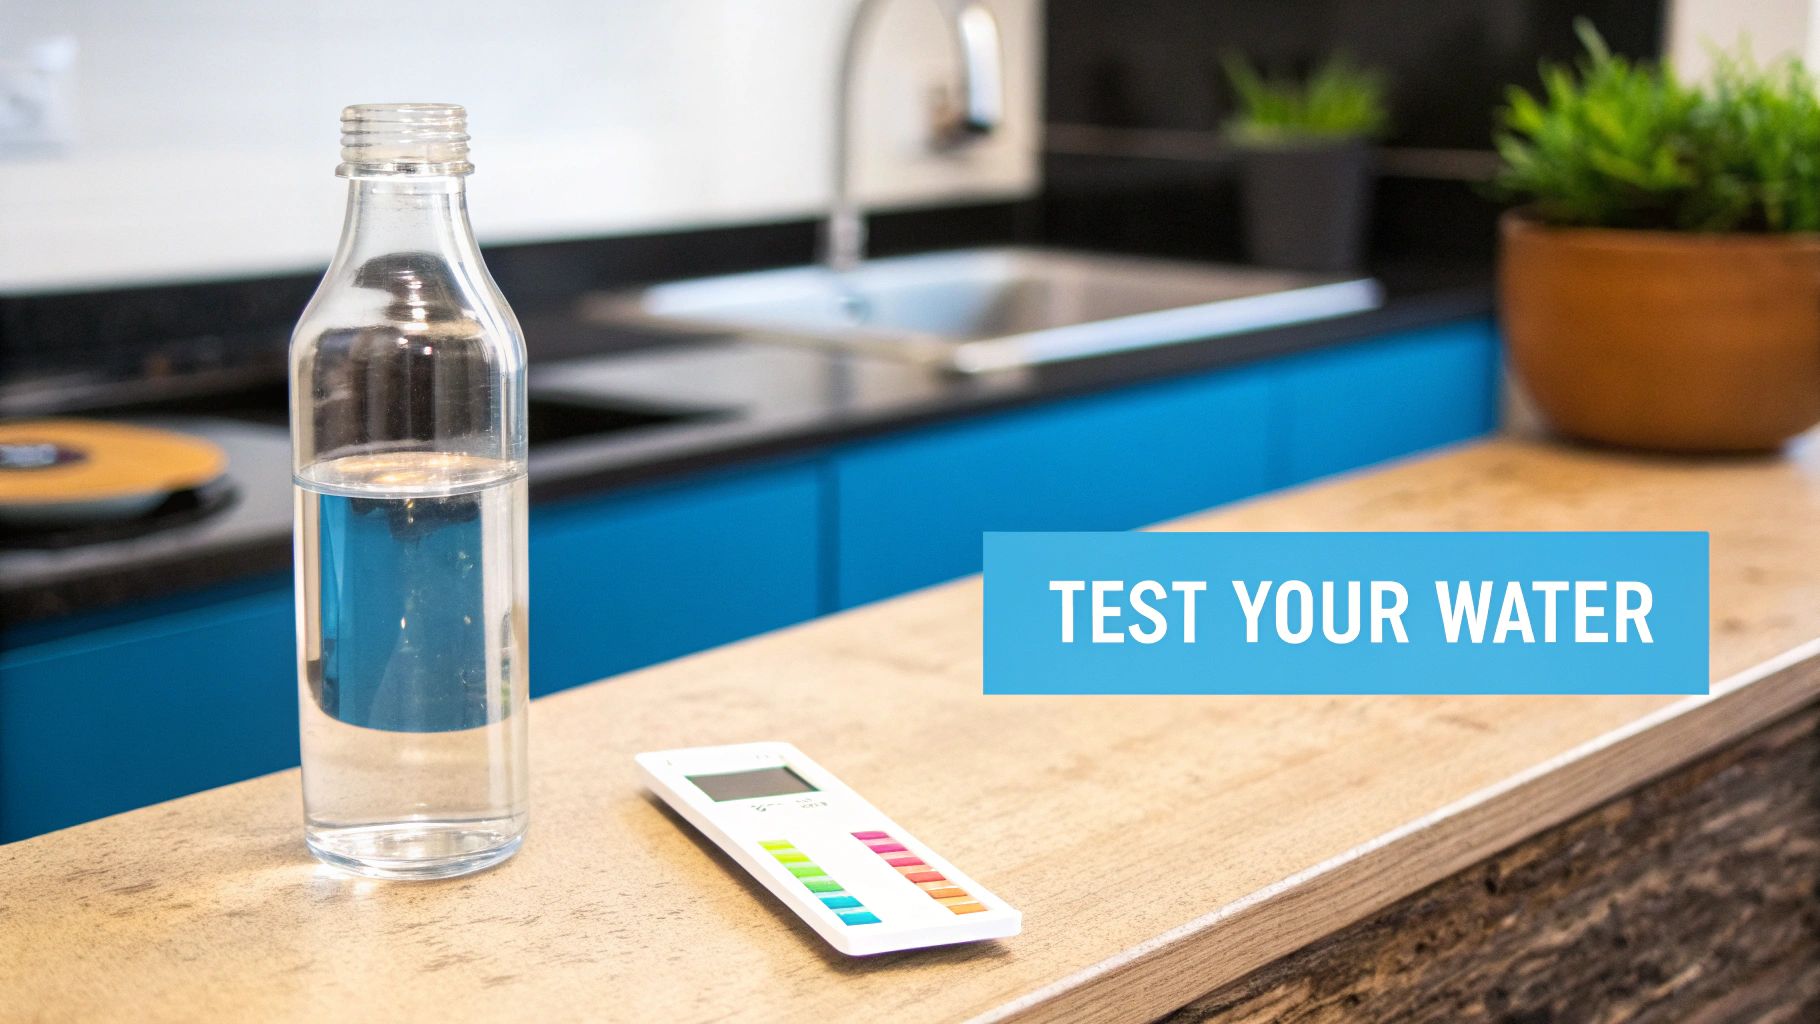
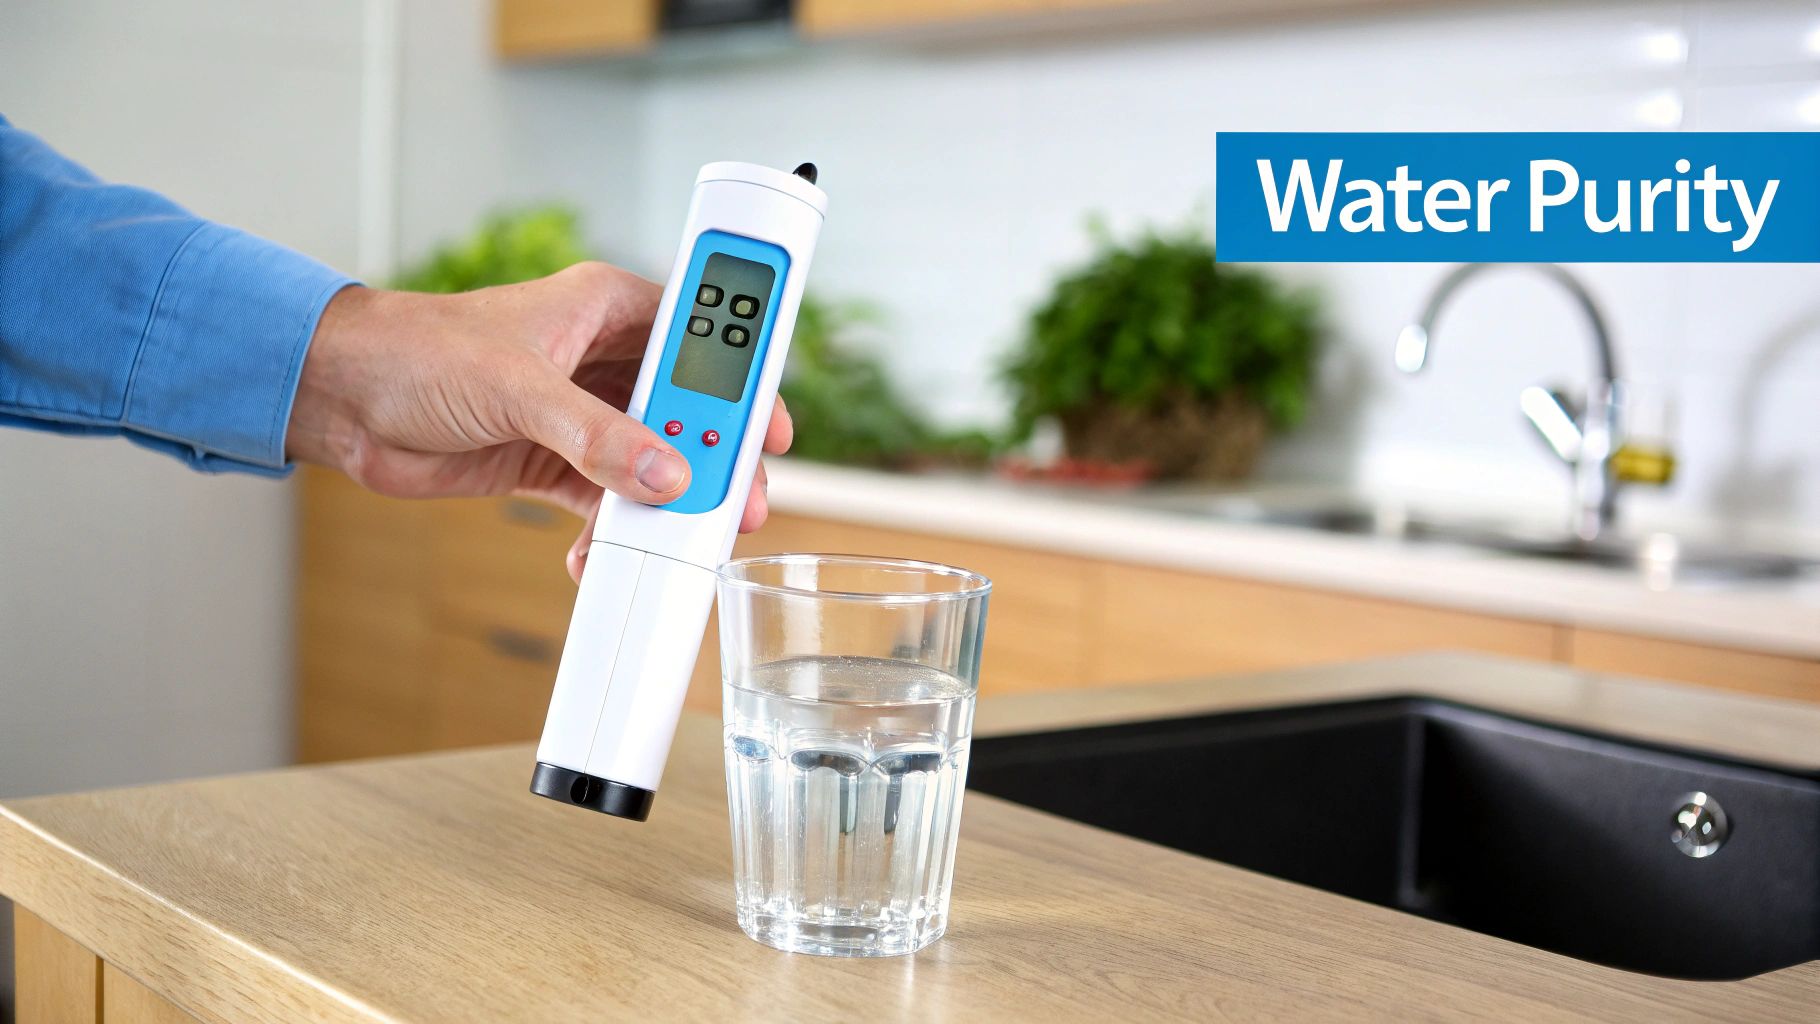
How Can I Test My Water for Fluoride?
You can't fix what you don't measure. Knowing your starting point is key. You've got two main ways to go about it:
- Home Test Kits: You can find test strips or digital meters online that give you a quick reading. They’re convenient for a ballpark figure, but their accuracy can be a bit hit-or-miss.
- Professional Lab Services: For a rock-solid, reliable number, you can send a water sample to a certified lab. Don't forget, your local water utility also publishes an annual report listing the average fluoride level in your city's supply.
Is It Healthy to Remove All Fluoride from Water?
This question gets right to the heart of a decades-long public health debate. For a long time, community water fluoridation has been praised for drastically cutting down on cavities. Supporters say removing it takes away a vital tool for public dental health.
On the other side of the coin, some people worry about their total fluoride exposure from all sources—water, food, dental products, you name it. They prefer to take control of their intake by using a filter to remove fluoride and relying on topical treatments like toothpaste for the dental benefits. At the end of the day, it's a personal call based on your own research and health priorities.
Here at Water Filter Advisor, we're all about giving you clear, research-backed advice to help you feel confident about your home's water quality. Dive into our in-depth guides and reviews to find the perfect filtration solution for your family at https://www.waterfilteradvisor.com.