Best Water Filter to Remove Fluoride and Chlorine
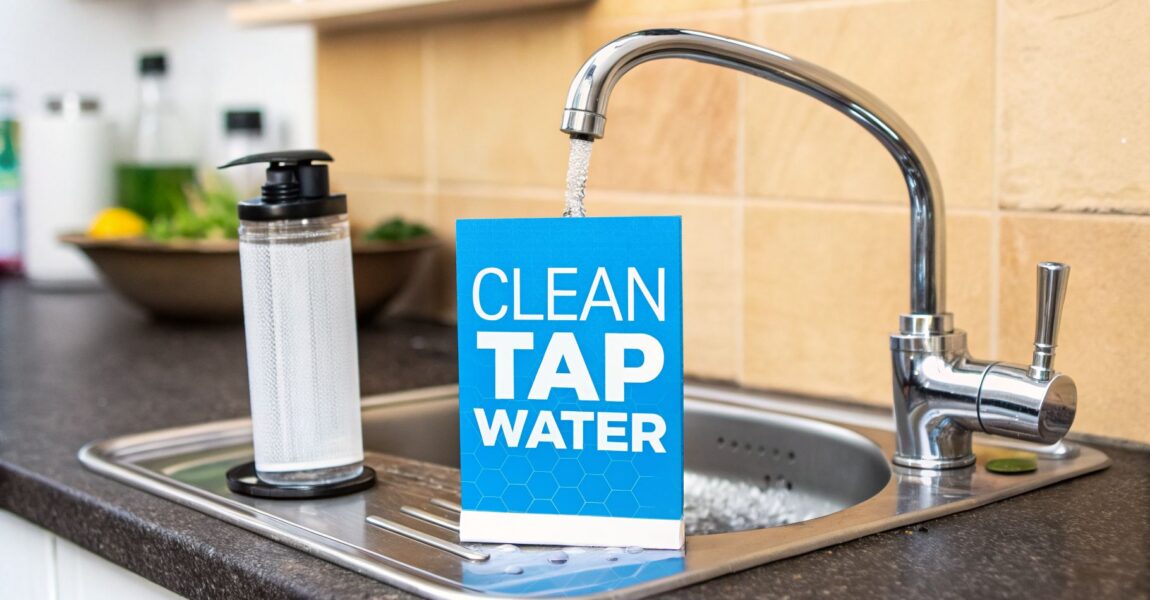
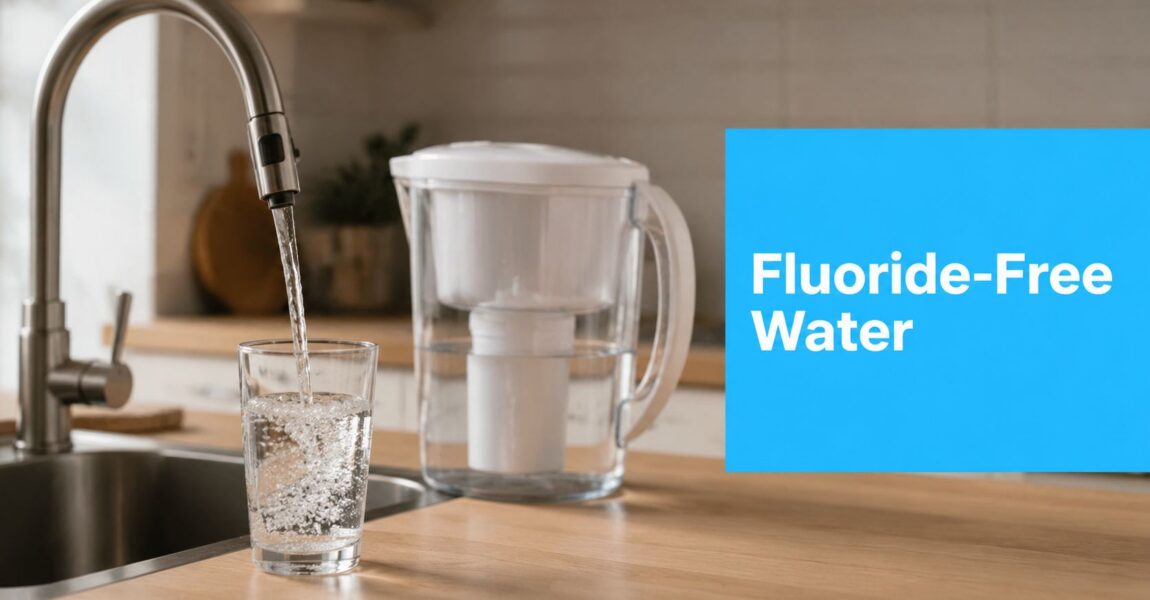
You fill a glass from the kitchen tap, take a sip, and notice the pool-water taste is finally gone. The new filter did its job, at least on the part you could taste. That's where a lot of homeowners stop, and it's also where confusion starts.
Chlorine is easy to notice because your mouth tells you it's there. Fluoride doesn't announce itself the same way. So people buy a pitcher, a faucet filter, or a refrigerator cartridge, the water tastes cleaner, and they assume everything they cared about is being handled by one device. In many homes, it isn't.
A good water filter to remove fluoride and chlorine has to solve two different chemistry problems at once. That matters, because the filter media that grabs chlorine well is often the same media that does almost nothing for fluoride. If you only shop by taste improvement, you can end up fixing half the issue and leaving the other half untouched.
Why Your Water Filter Might Only Be Doing Half the Job
A homeowner calls after installing a common carbon pitcher. The complaint is usually the same. “The water tastes much better, but I'm still not sure it's removing what I bought it for.” That's a fair question.
Chlorine gives quick feedback. When carbon removes it, the sharp smell drops off and the water becomes easier to drink. That immediate improvement makes the filter feel more capable than it may be.

The taste test misleads a lot of people
Most basic home filters are built around activated carbon. That's excellent for cleaning up chlorine taste and odor, which is why so many people feel instant relief after installing one. But a better taste isn't the same thing as broad contaminant removal.
I've seen plenty of setups where the owner believed the filter was “taking everything out” because the water smelled fresh. In practice, the unit was doing exactly what carbon does best and almost nothing beyond that in the fluoride department.
Practical rule: If a filter mainly advertises taste and odor improvement, assume it's targeting chlorine first, not fluoride.
Why this matters in real homes
This is especially common in city-water homes. Municipal water often arrives already disinfected, so chlorine is the first thing people want gone. They buy the easiest solution on the shelf and never realize that fluoride removal requires a different kind of tool.
The result is a mismatch between expectation and performance:
- Pitchers and faucet filters often make water taste better fast.
- Homeowners assume broad purification because the change is obvious.
- Fluoride remains the unanswered question unless the system uses specialized media or membrane technology.
That's the puzzle worth solving before you spend more money. If your goal is only better taste, a simple carbon filter may be enough. If your goal is to remove both chlorine and fluoride, you need to shop by filtration method, not by taste alone.
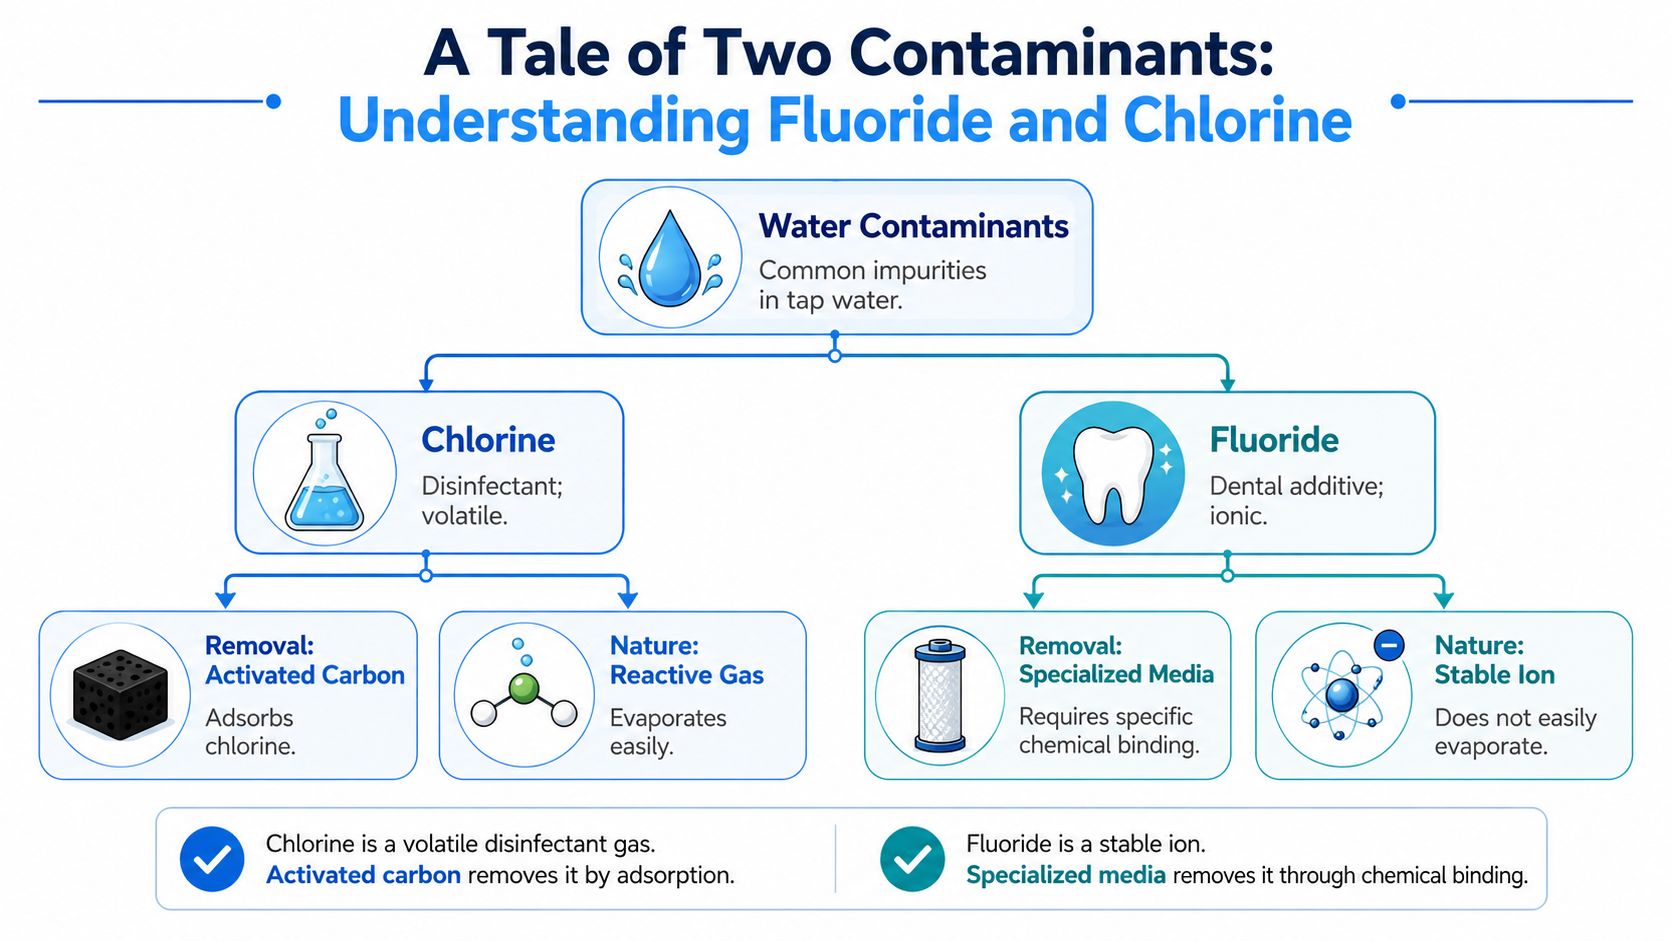
A Tale of Two Contaminants Understanding Fluoride and Chlorine
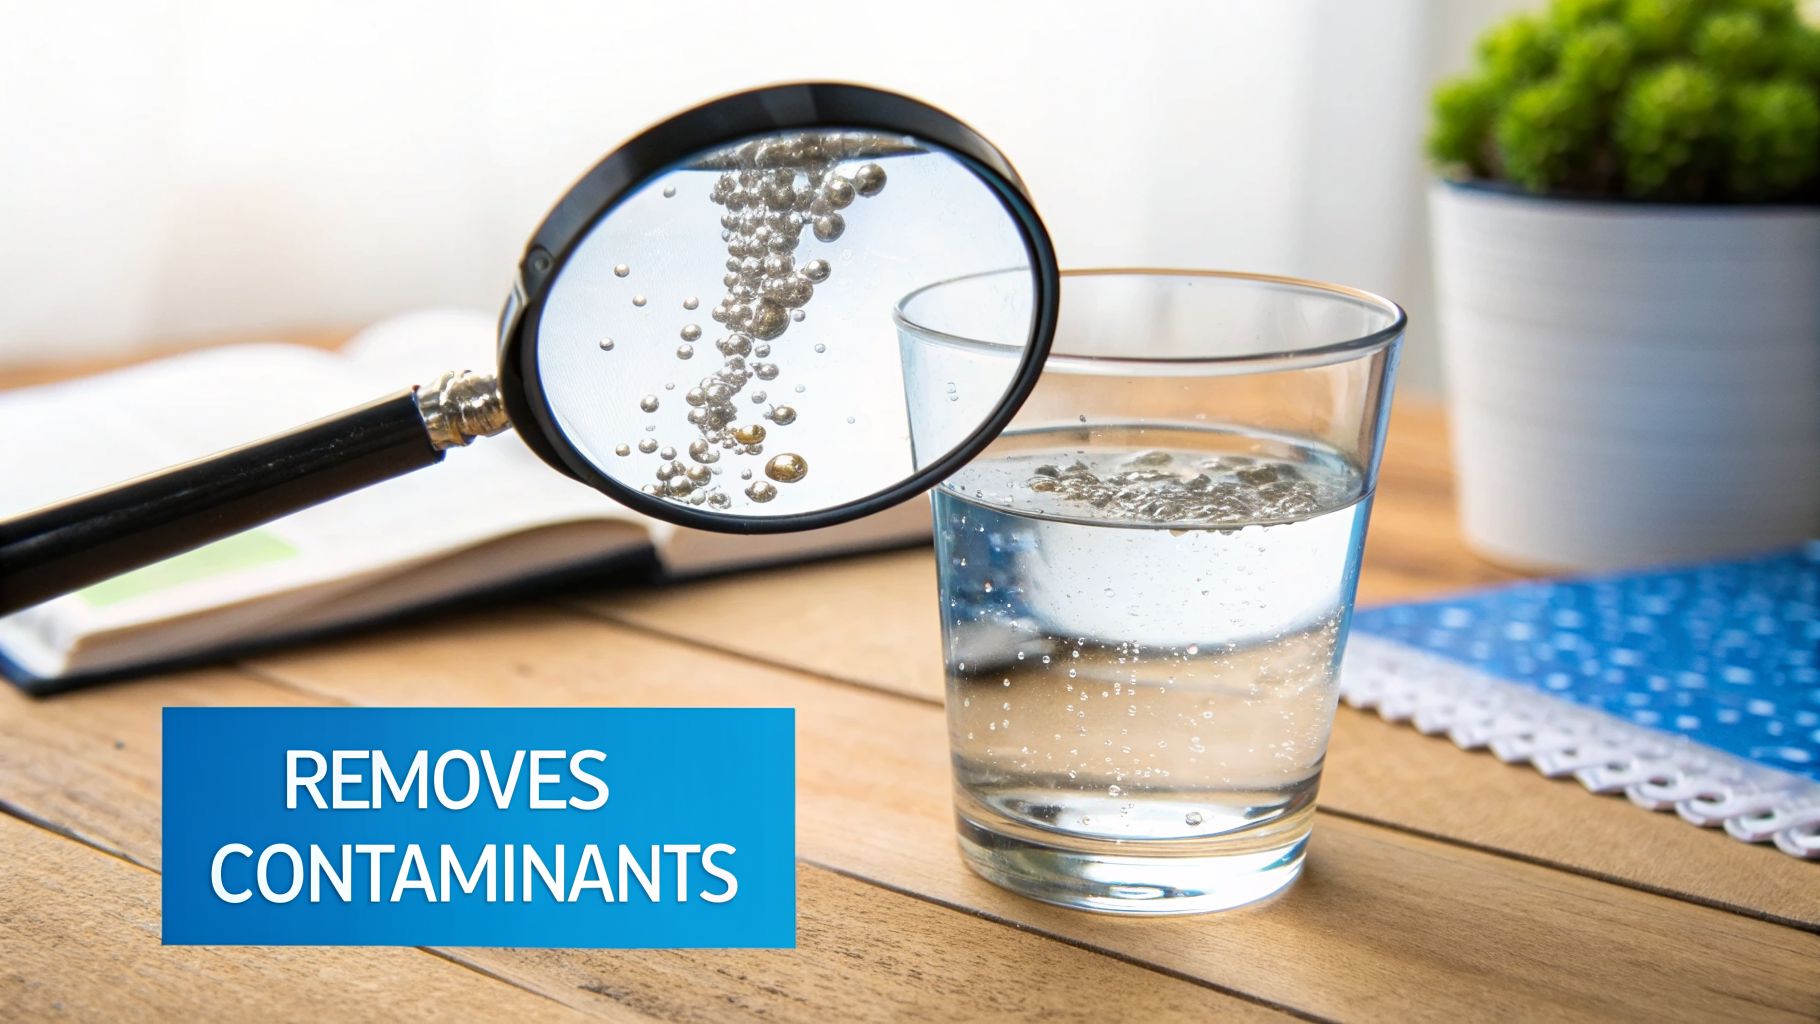
Chlorine and fluoride behave differently in water, and that difference determines how they must be filtered. Homeowners often notice chlorine first because it affects smell and taste right away. Fluoride is less obvious, but it is usually the harder contaminant to remove.
Chlorine is relatively easy work for activated carbon. Carbon removes it through adsorption and catalytic reduction at the media surface, which is why pitchers, faucet filters, and refrigerator cartridges do a good job improving taste and odor. If the goal is better coffee or tea, that can be enough. Anyone comparing options for appliance use can look at PureHQ coffee filter recommendations to see why chlorine reduction changes flavor so noticeably.
Why carbon wins on chlorine
Activated carbon has a huge internal surface area. As water passes through, chlorine reacts at that surface and gets removed efficiently. That is a good match between contaminant and media.
In the field, this is why simple carbon systems earn a solid reputation. They are affordable, easy to install, and they solve the problem people can smell at the sink.
Why fluoride needs a different tool
Fluoride is a dissolved ion, not a contaminant that standard carbon grabs well. In practical terms, it stays in solution unless the system uses a membrane or a media designed for ionic removal.
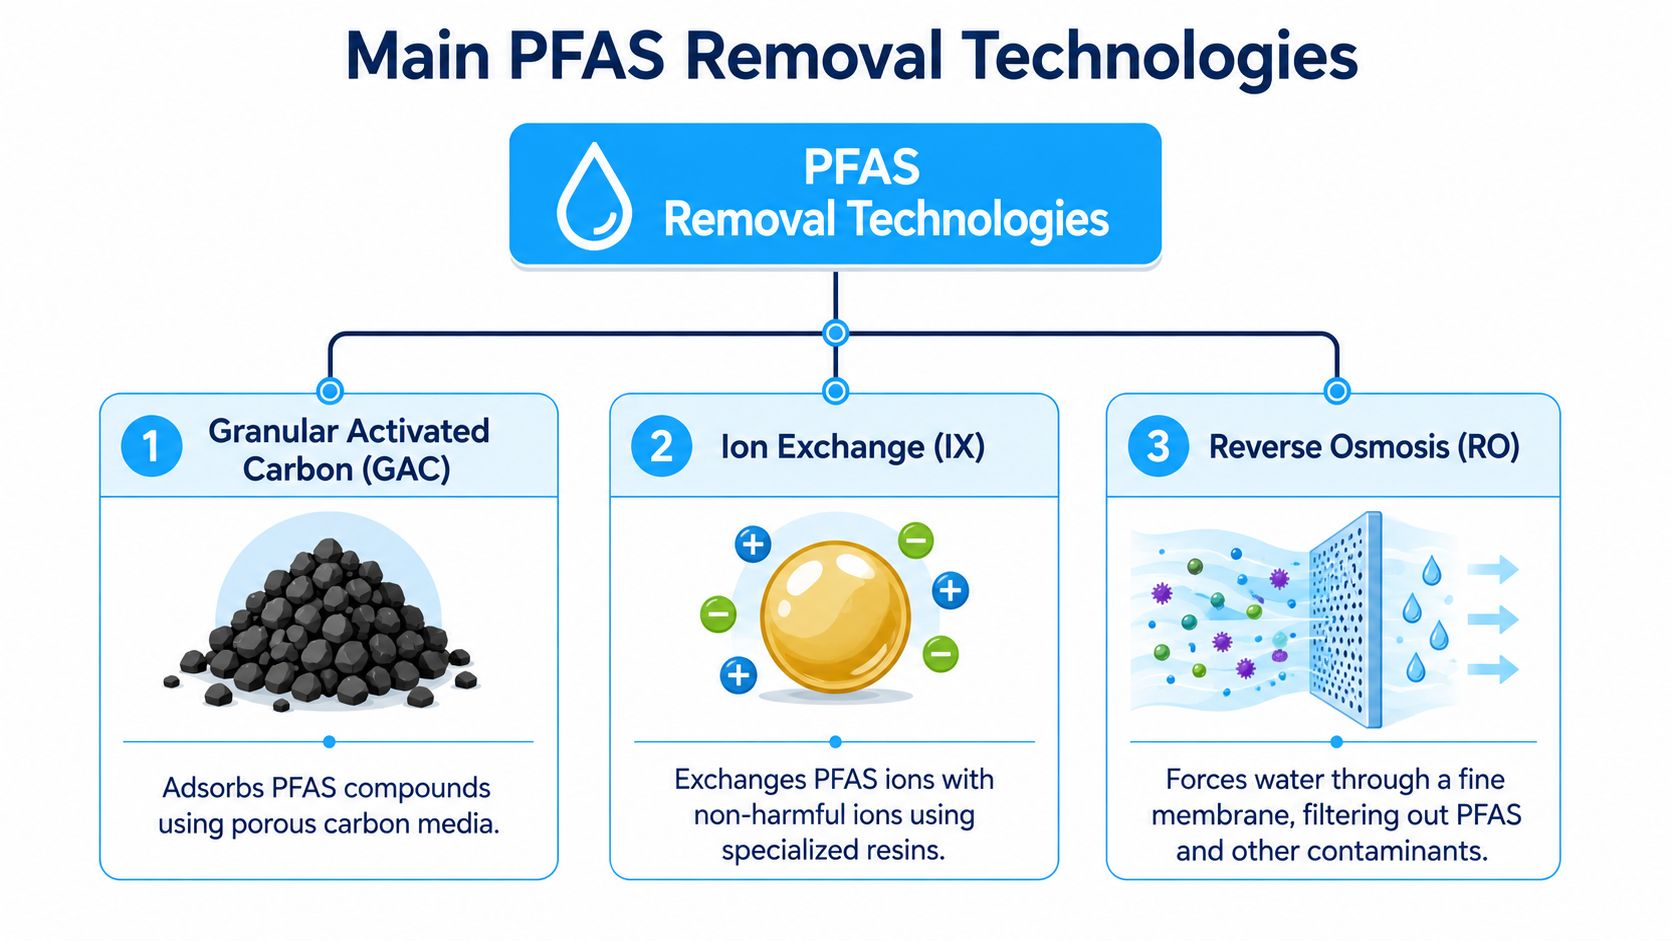
The Water Professor lab review notes that filters built to remove fluoride and chlorine often rely on specialist anion exchange resin because standard activated carbon is not effective at removing negatively charged fluoride ions. That design is still uncommon in many general-purpose household filters.
Chlorine reduction and fluoride reduction are separate performance claims. A filter can be excellent at one and do very little for the other.
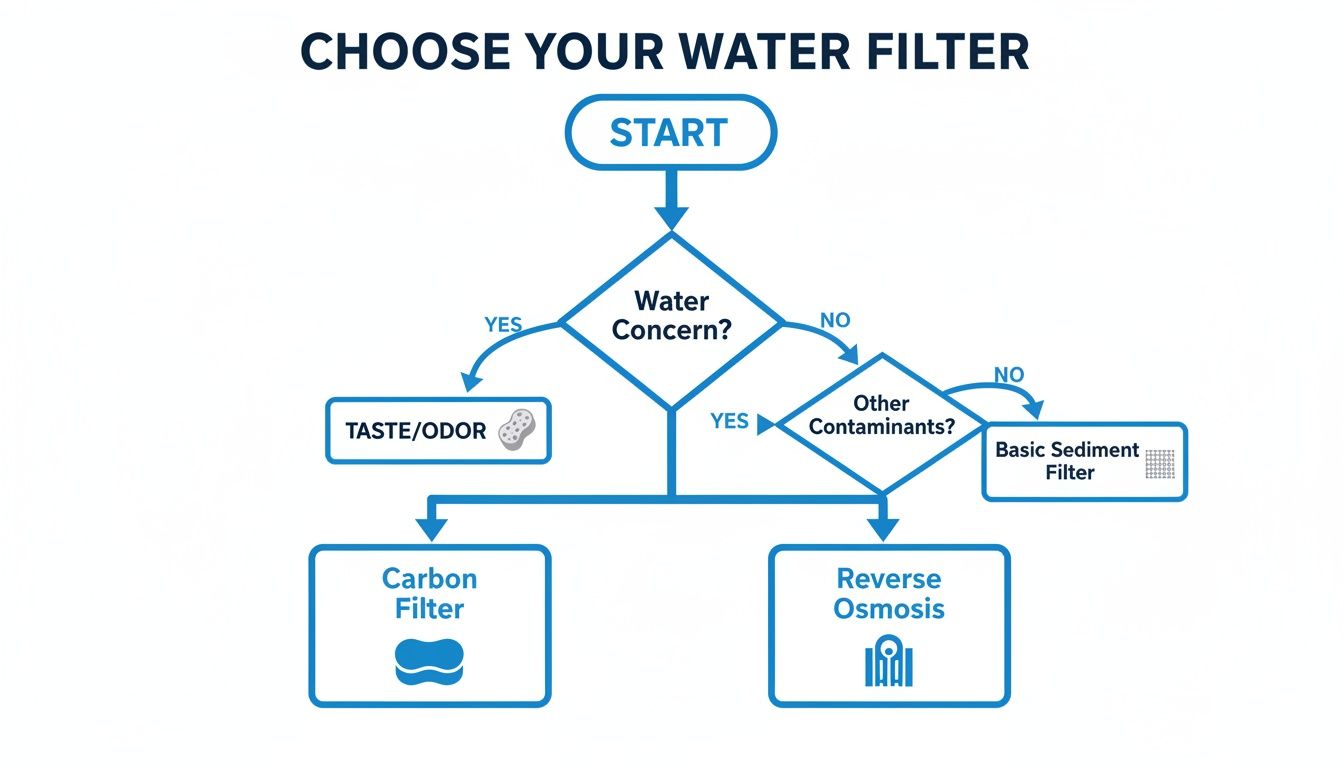
A simple way to evaluate any product is to ask what mechanism is doing the work. If the answer is only activated carbon, expect strong chlorine reduction and limited fluoride removal. If the system includes reverse osmosis, activated alumina, bone char, or specialty fluoride media, it is built for a different job.
This is the point many product labels blur. "Cleaner taste" usually signals chlorine treatment. Fluoride removal needs separate proof in the specifications, certifications, or test data. Without that, a filter may improve the water you notice while leaving the dissolved contaminant you set out to address.
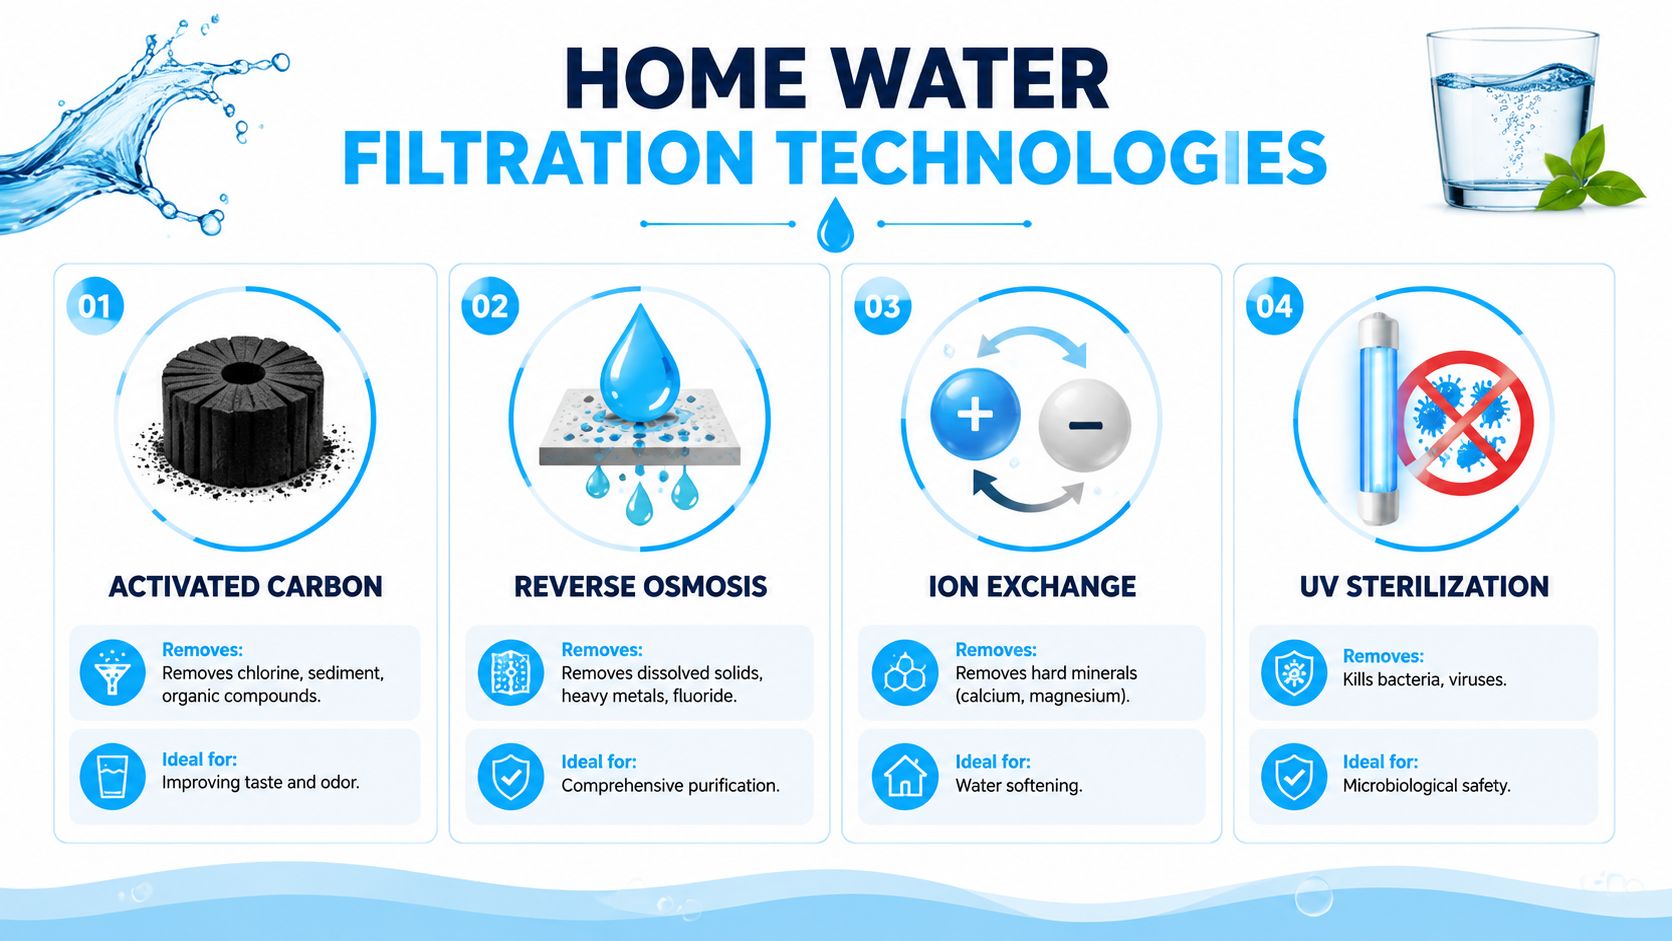
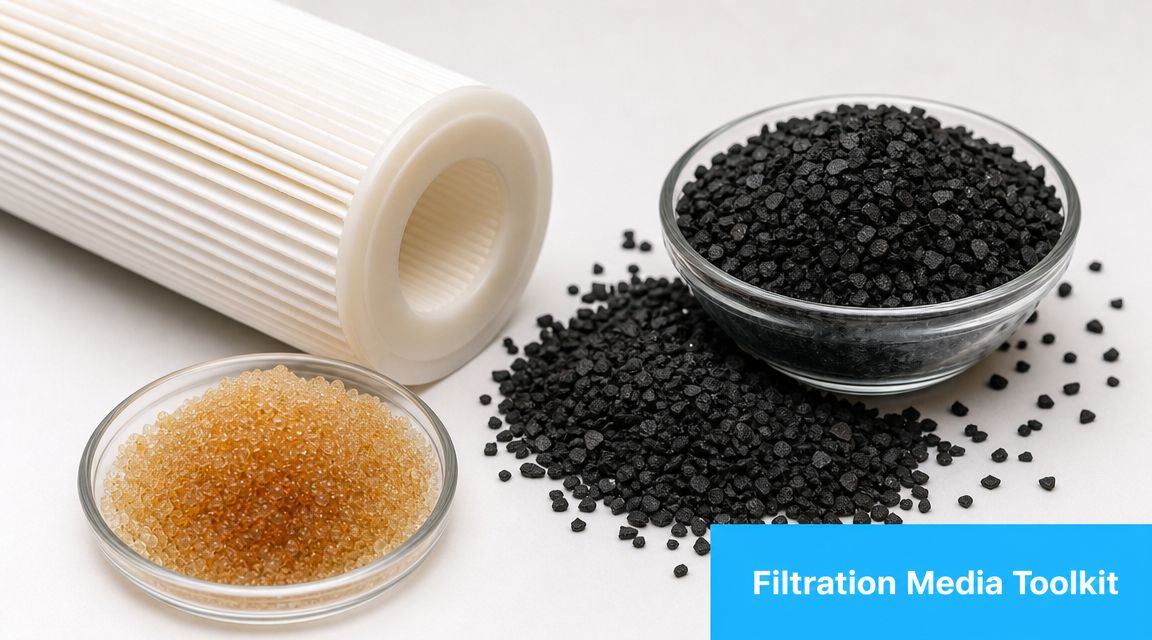
Your Filtration Toolkit for Fluoride and Chlorine
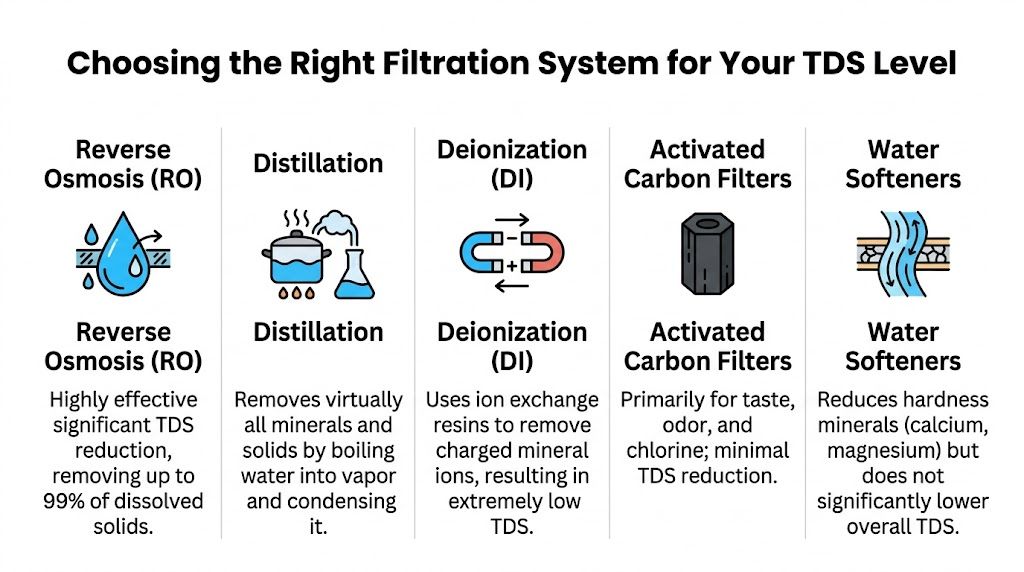
Once you know chlorine and fluoride need different treatment, the shortlist gets much clearer. For home use, the main tools are reverse osmosis, activated alumina, and bone char. Each solves a different part of the problem, and the best systems usually combine media instead of asking one filter to do every job.
Reverse osmosis as the main drinking-water solution
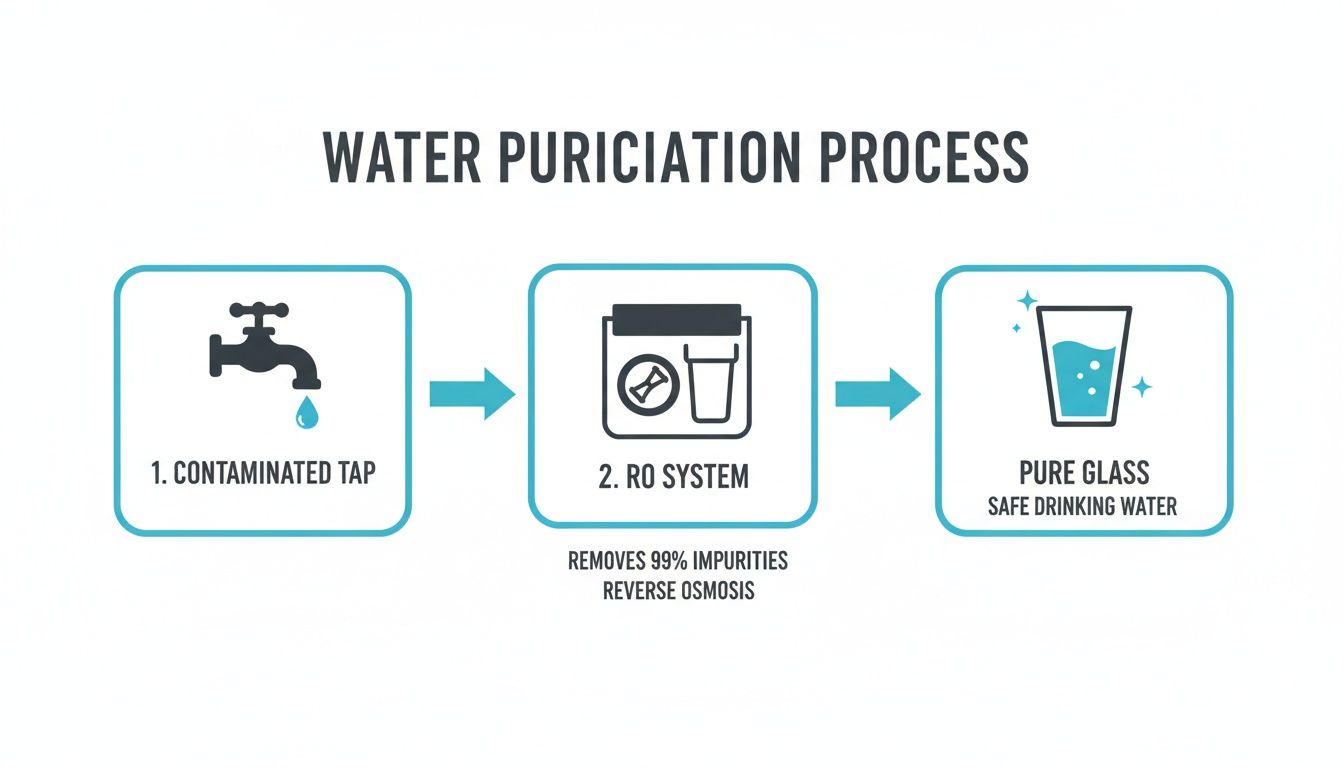
For a homeowner who wants one under-sink system to address both contaminants, reverse osmosis is usually the strongest fit. RO systems achieve fluoride removal rates between 90% and 95%, while also removing chlorine. By comparison, basic activated carbon filters show negligible fluoride reduction, typically 0% to 5%, despite removing over 90% of chlorine (Frizzlife fluoride filter guide).
That difference matters at the kitchen sink. Carbon is very good at handling chlorine taste and odor, but fluoride is dissolved in the water at the ionic level. An RO membrane is built for that finer job.
Most residential RO units are multi-stage systems for a reason. A carbon pre-filter reduces chlorine before the water reaches the membrane, which helps protect membrane life. Then the membrane handles fluoride and other dissolved contaminants. In practice, that stacked design is why RO remains the most common point-of-use answer for households trying to solve both problems with one system.
If you want a broader look at how these treatment methods compare across the home, Oxy Plus Water's purification guide is a useful companion read.
Activated alumina and bone char
Activated alumina and bone char are specialty fluoride media. They are not general-purpose taste filters. They are used because fluoride needs a surface or process designed to capture it.
Activated alumina can remove fluoride in the 70% to 90% range, and bone char can also reach the 70% to 90% range. As noted earlier from the Waterdrop fluoride filter guide, alumina performance is highly dependent on water pH, while bone char relies on adsorption and appears more often in niche or gravity-fed setups than in mainstream residential systems. That is the trade-off. These media can work well, but they ask for more attention to water chemistry, cartridge sizing, and replacement timing than a homeowner usually expects.
I tell homeowners to treat these media like a specialty tool in a toolbox. Useful in the right conditions. Less forgiving if the water is outside the range the media likes.
Filtration Technology Comparison
| Technology | Fluoride Removal | Chlorine Removal | Key Pro | Key Con |
|---|---|---|---|---|
| Reverse Osmosis | 90% to 95% | Removes chlorine | Strong all-in-one option for drinking water | More complex system and ongoing maintenance |
| Activated Alumina | 70% to 90% | Best used as part of a broader strategy | Targeted fluoride media | Performance depends heavily on pH |
| Bone Char | 70% to 90% | Can be paired with carbon stages for chlorine | Specialized fluoride adsorption | Less common in residential systems |
| Basic Activated Carbon | 0% to 5% | Over 90% | Great for taste and odor | Barely touches fluoride |
Real trade-offs homeowners should expect
No filter media is perfect in every house.
- RO works best for many households that want both contaminants addressed at one tap. It is usually the most complete point-of-use option.
- Activated alumina can make sense for targeted fluoride reduction. It works best when the water chemistry supports it.
- Bone char is a valid fluoride filter media, but it is less common. Product availability and homeowner preference often shape that choice.
- Basic carbon still has an important job. It just should not be mistaken for a fluoride solution.
The practical takeaway is simple. A water filter to remove fluoride and chlorine usually needs more than one method. If a product only lists carbon, expect good chlorine reduction and little fluoride removal. If it uses carbon plus RO, or carbon plus a fluoride-specific media, it is built to handle the full job instead of half of it.
From Faucets to Whole-House The Right System for You
The same filtration media can show up in very different system styles. That's where shopping gets practical. You're no longer choosing only between technologies. You're choosing where in the house the treatment happens and how much of your water you want covered.
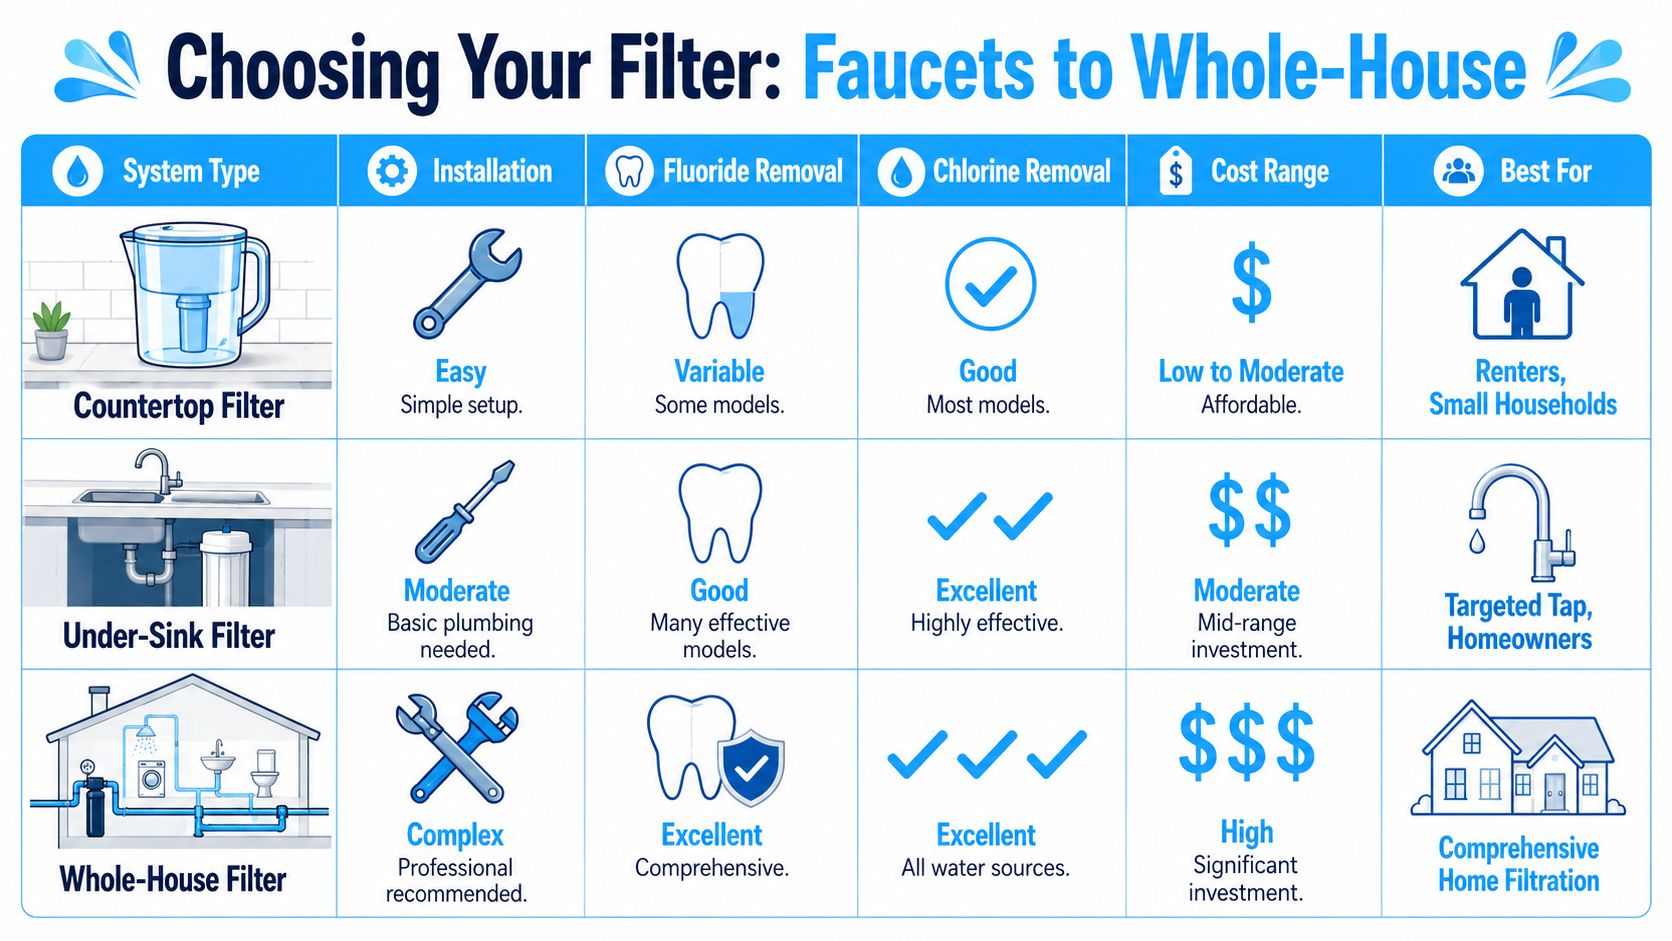
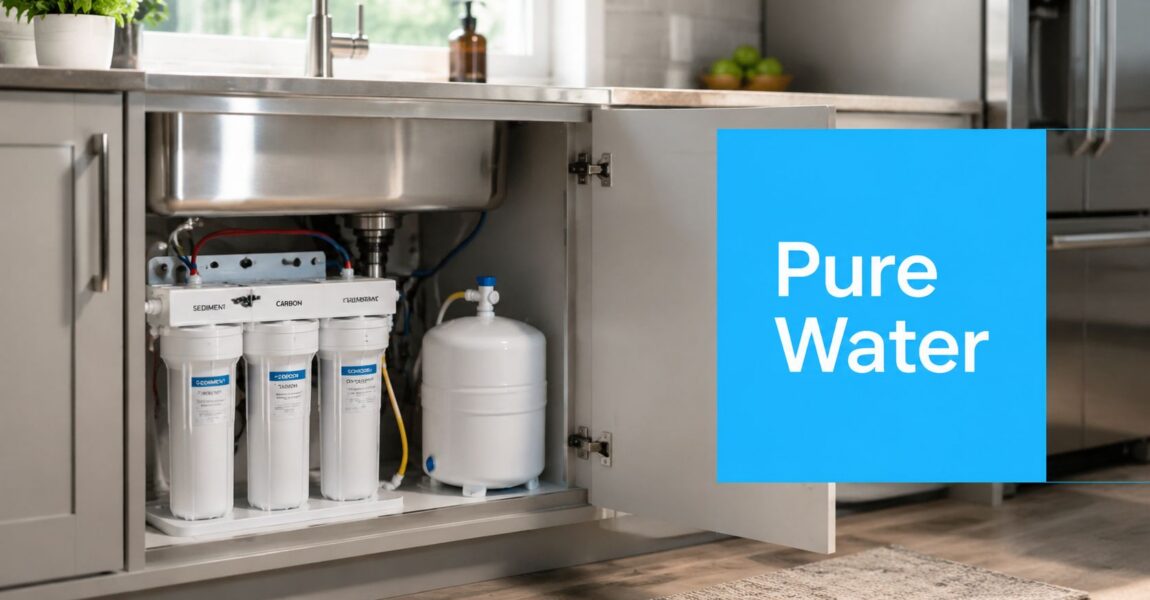
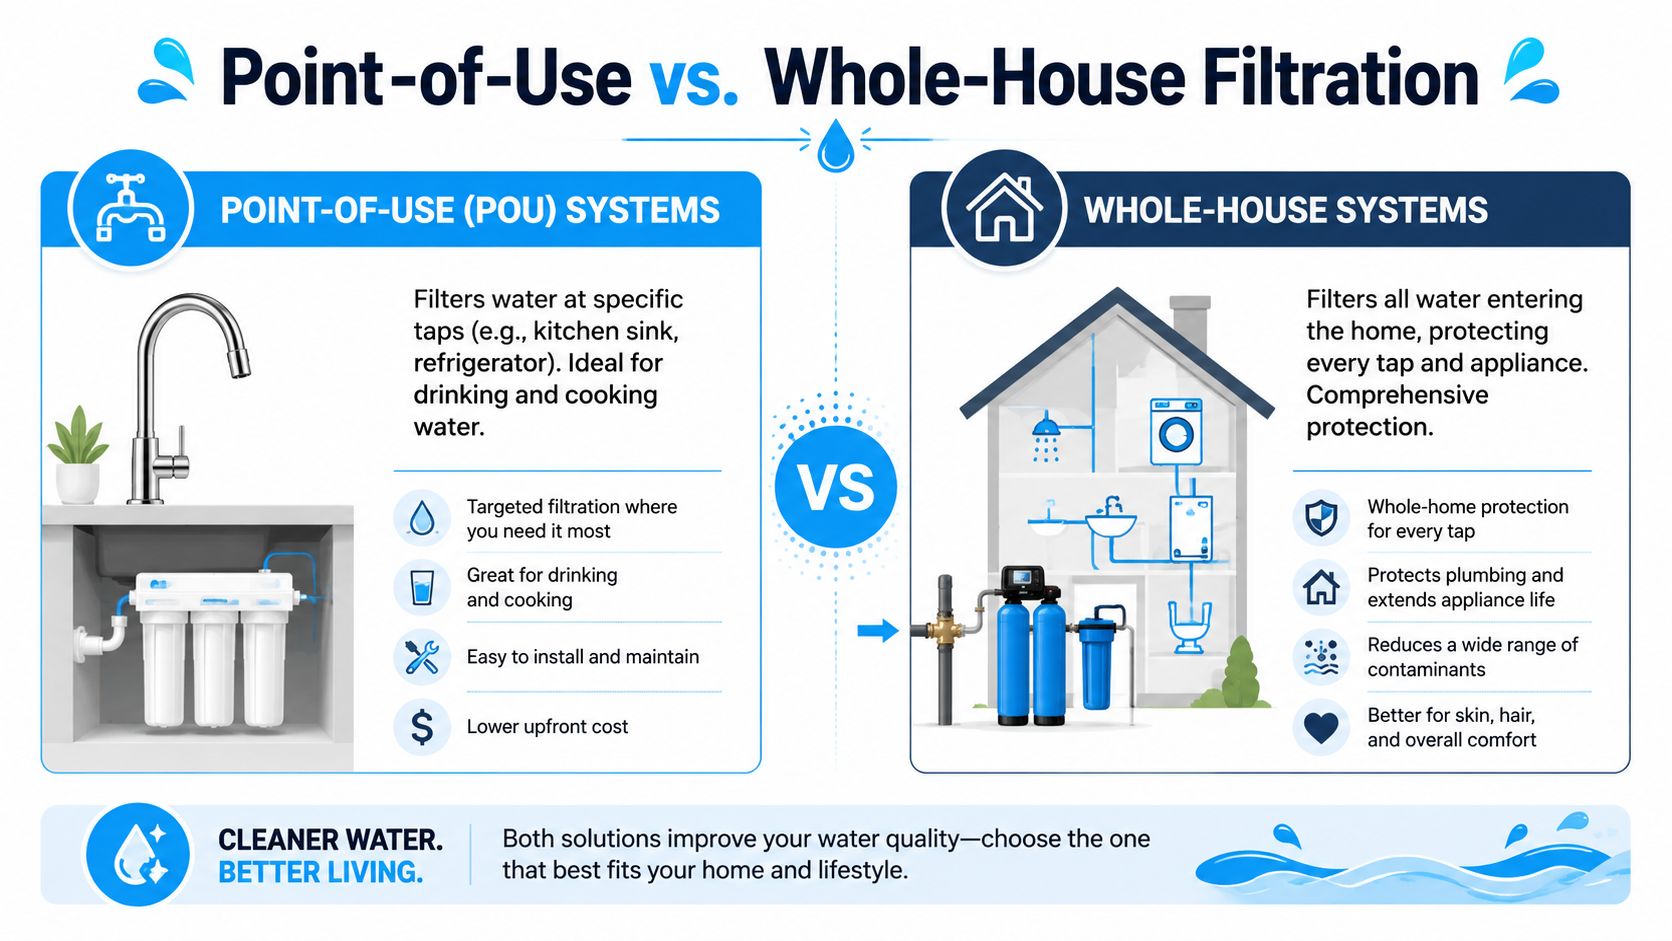
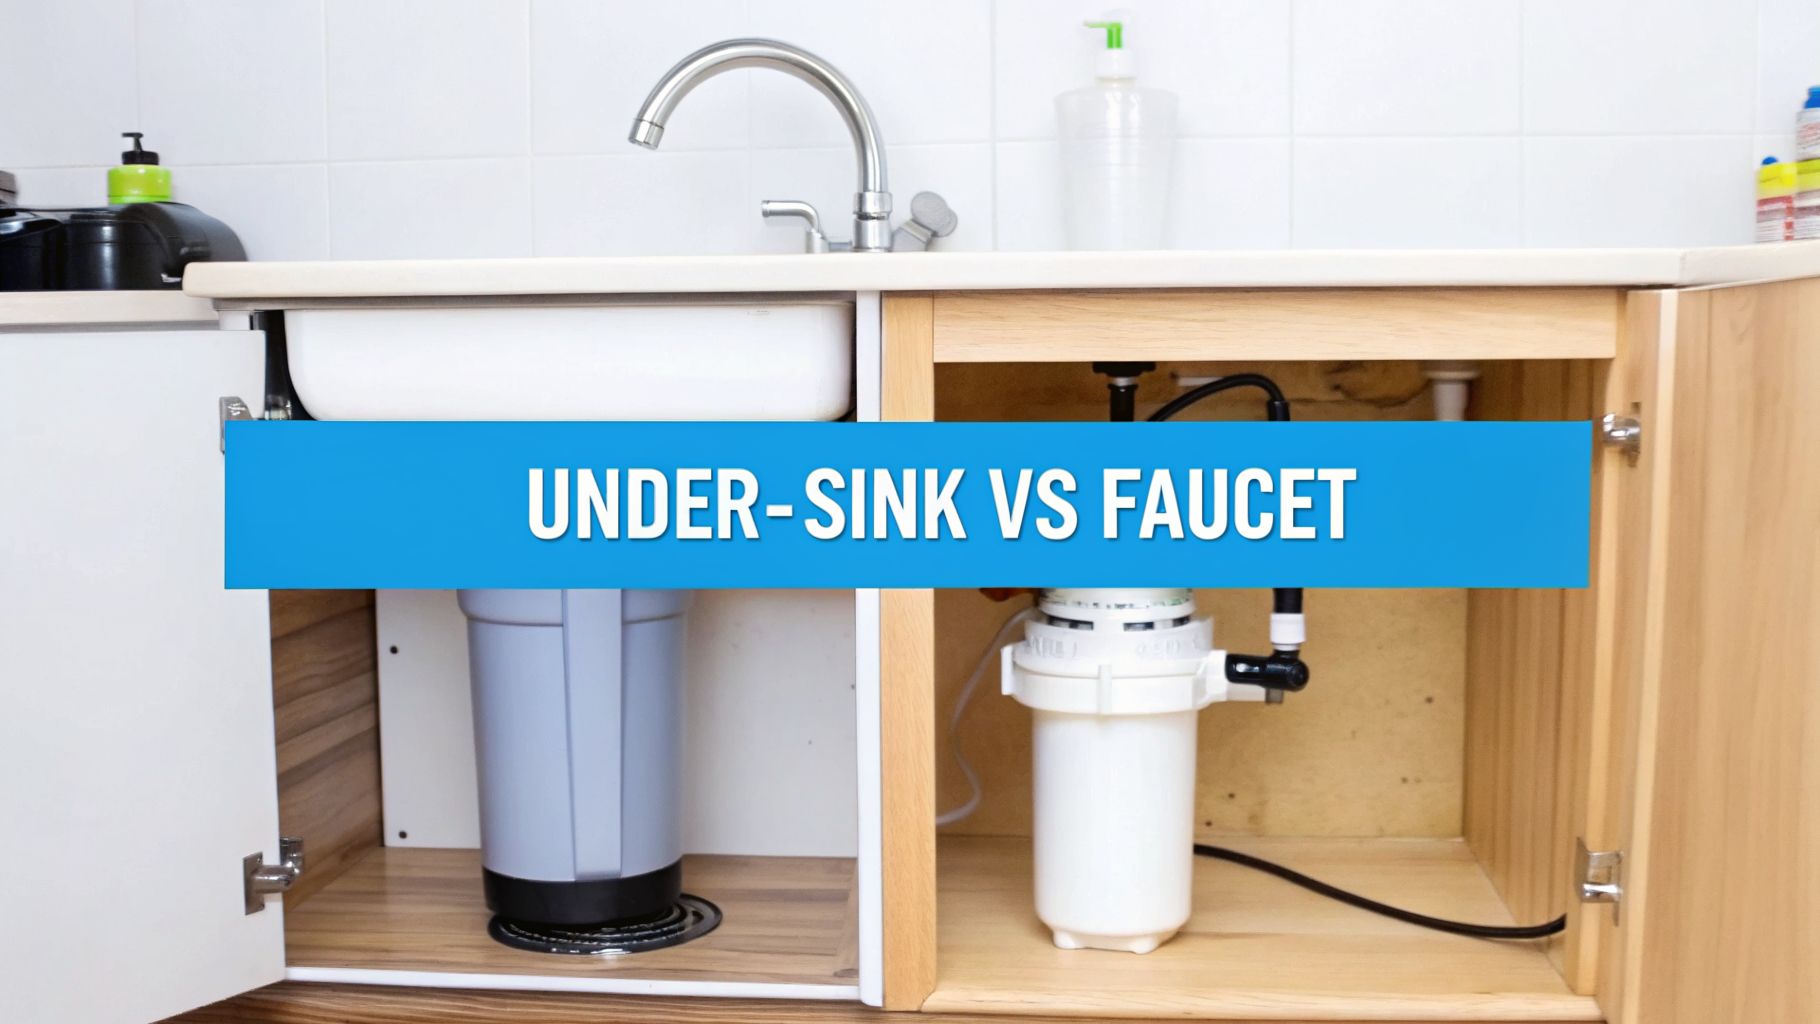
Countertop and under-sink systems
A countertop unit makes sense when drilling holes or modifying plumbing isn't realistic. Renters often go this route because they can install and remove the system with minimal fuss. The compromise is usually capacity, appearance, and fewer top-tier options for fluoride removal.
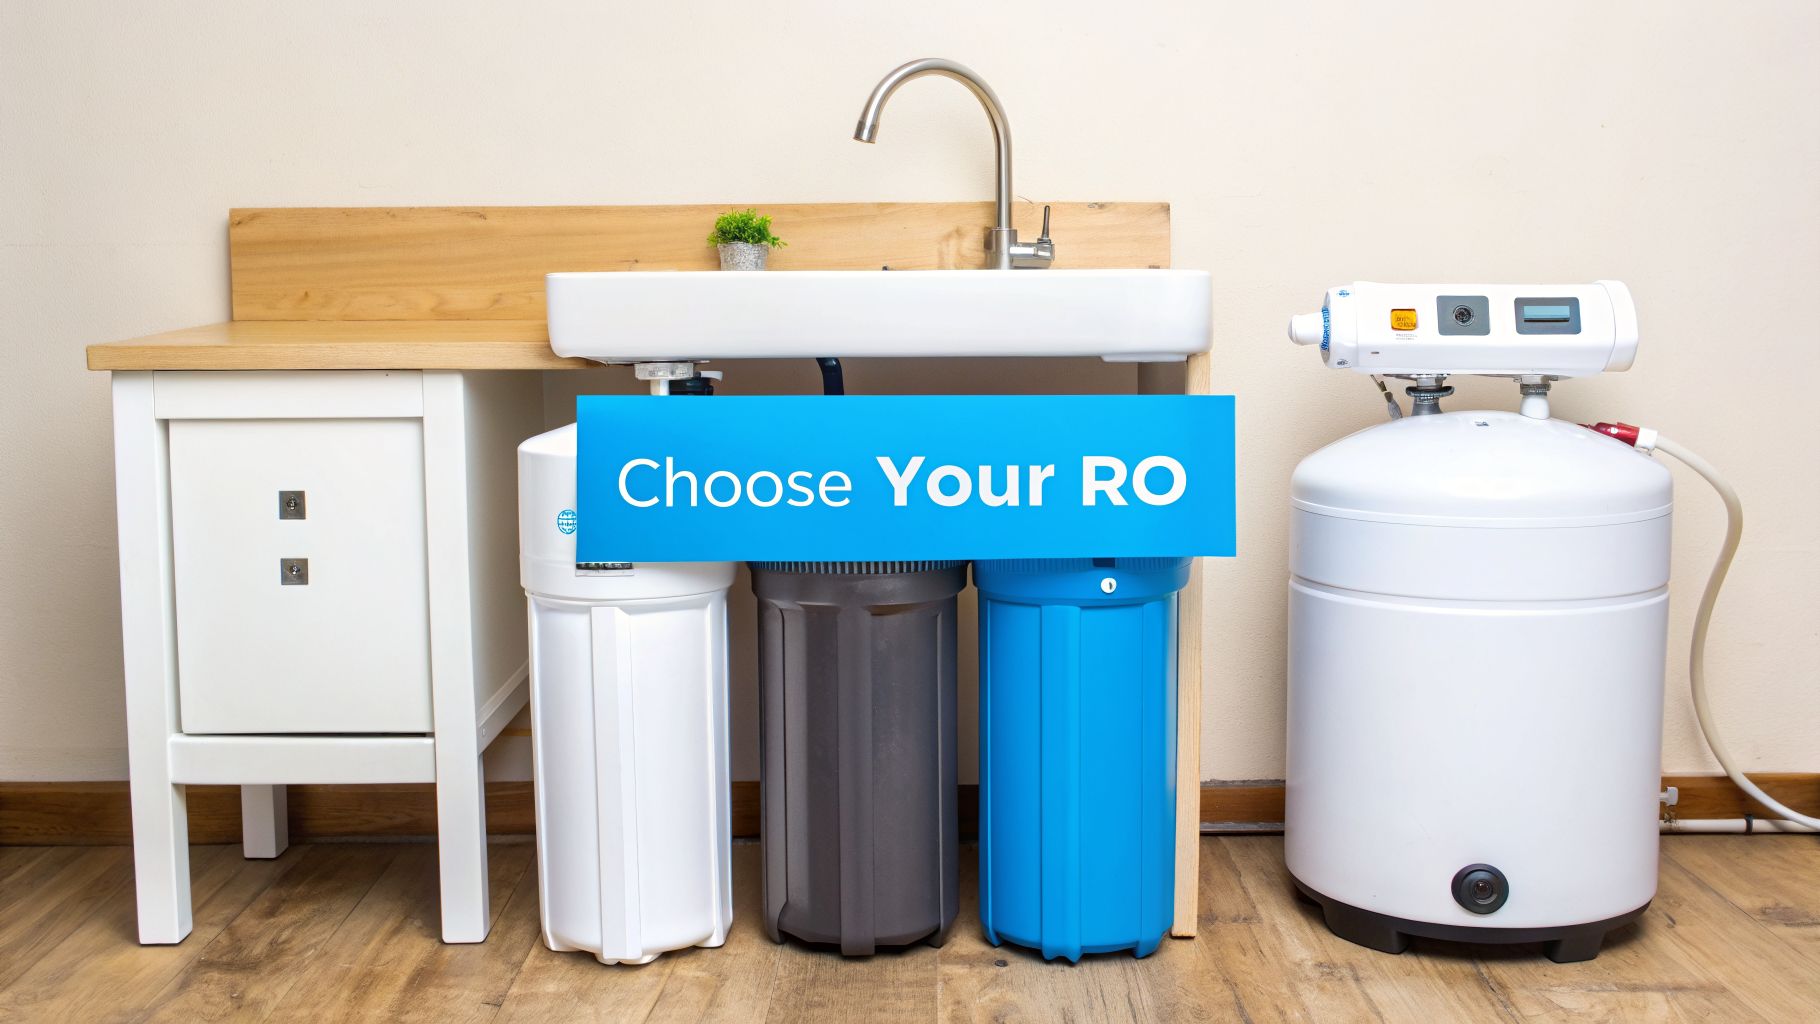
An under-sink system is the workhorse for homeowners. It stays out of sight, serves the kitchen tap where drinking and cooking happen, and gives you access to more serious filtration setups, especially reverse osmosis systems with multiple stages.
For many families, under-sink is the sweet spot. It treats the water you consume most without forcing you into a whole-home project.
Whole-house fluoride filtration is changing
For years, the standard advice was simple: if you want fluoride removal, use point-of-use RO at the kitchen sink and forget about whole-house options. That advice is getting less reliable.
Here's the claim that has changed the conversation: contrary to advice that dismisses whole-house fluoride removal as “cost-prohibitive,” emerging 2024 point-of-entry systems are now available for under $1,000 and show 100% fluoride elimination in independent lab tests, challenging the notion that point-of-use RO is the only option (video discussion of emerging whole-house fluoride systems).
That doesn't mean every whole-house unit on the market suddenly removes fluoride well. It means homeowners should stop assuming the category is impossible on principle. The market is moving, and some newer systems are aimed at families who want fluoride-reduced water not only for drinking, but also for bathing and general household use.
Later in the buying process, many homeowners also start thinking beyond water. If you're improving the quality of what runs through your house, it's common to look at indoor air next, and a good overview of a home air purifier can help frame that broader home-comfort conversation.
A quick product explainer can help visualize how system categories differ in real life:
Matching the system to the household
The best decision often comes down to:
Renter or frequent mover
A countertop fluoride-capable system is usually the most realistic choice.Homeowner focused on drinking and cooking water
An under-sink RO system is often the practical answer.Family wanting treatment at every tap
A whole-house system deserves a fresh look, especially if broad home coverage matters.Buyer with limited tolerance for ongoing adjustments
Simpler, more standardized systems tend to be easier to live with than highly conditional media setups.
Buying the right system is less about finding the “best filter” in the abstract and more about choosing the right location for treatment.
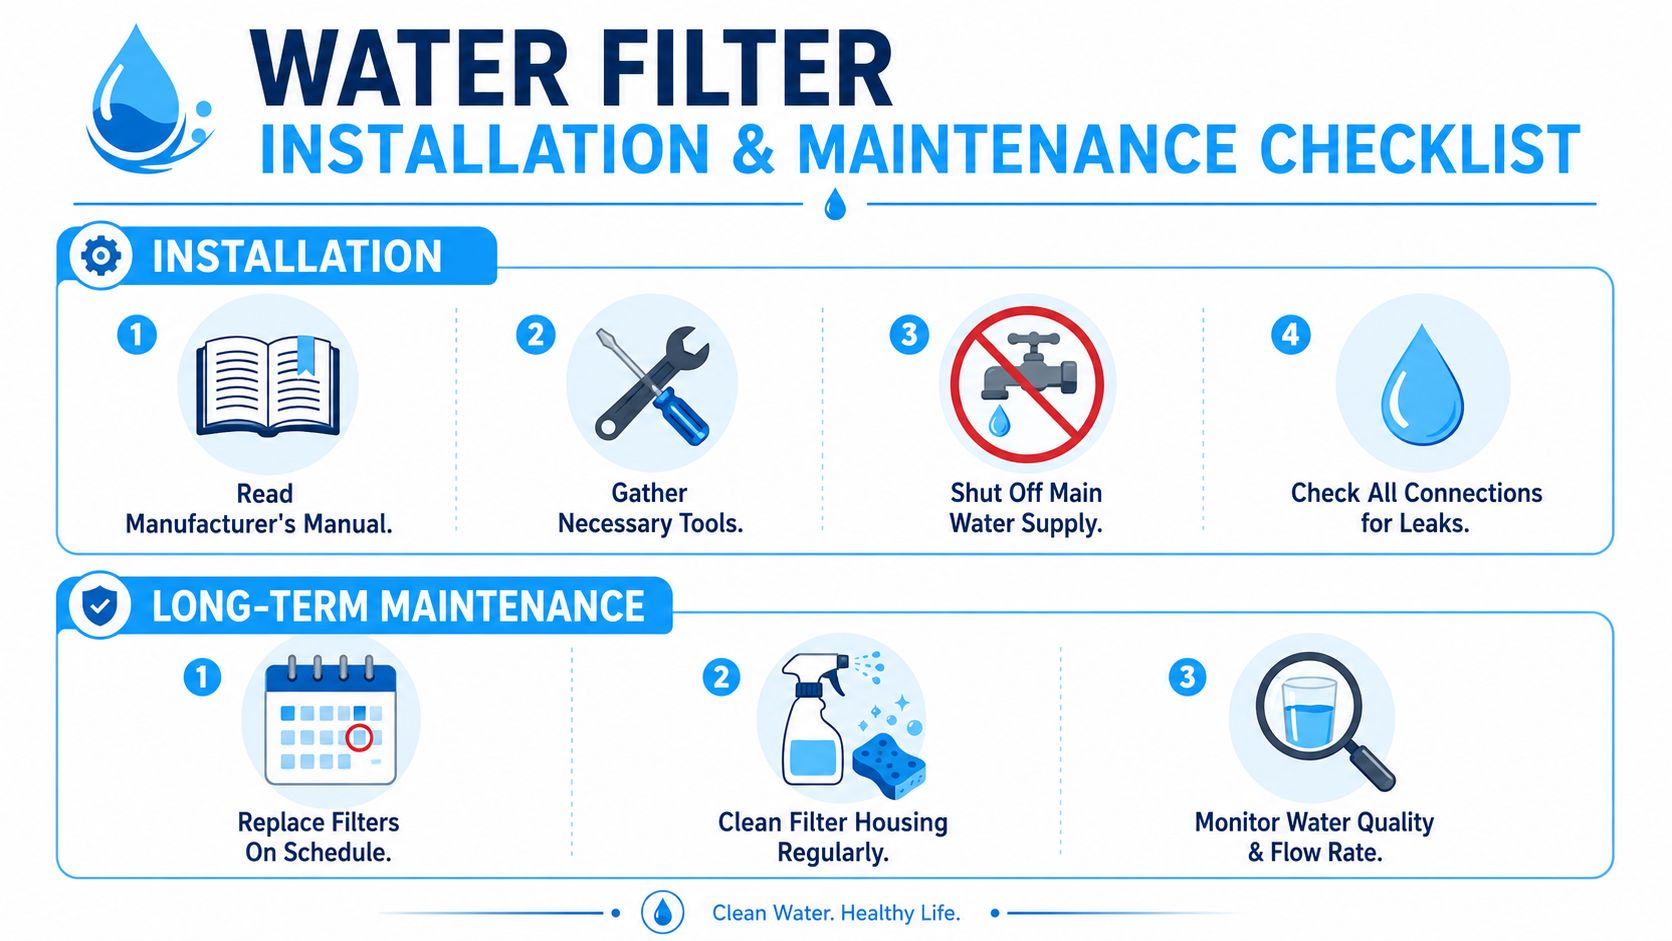
Keeping Your Water Pure Installation and Maintenance
A good system can disappoint fast if it's installed poorly or maintained casually. Water filtration is a lot like a furnace filter or a car oil filter. The equipment matters, but the schedule matters too.
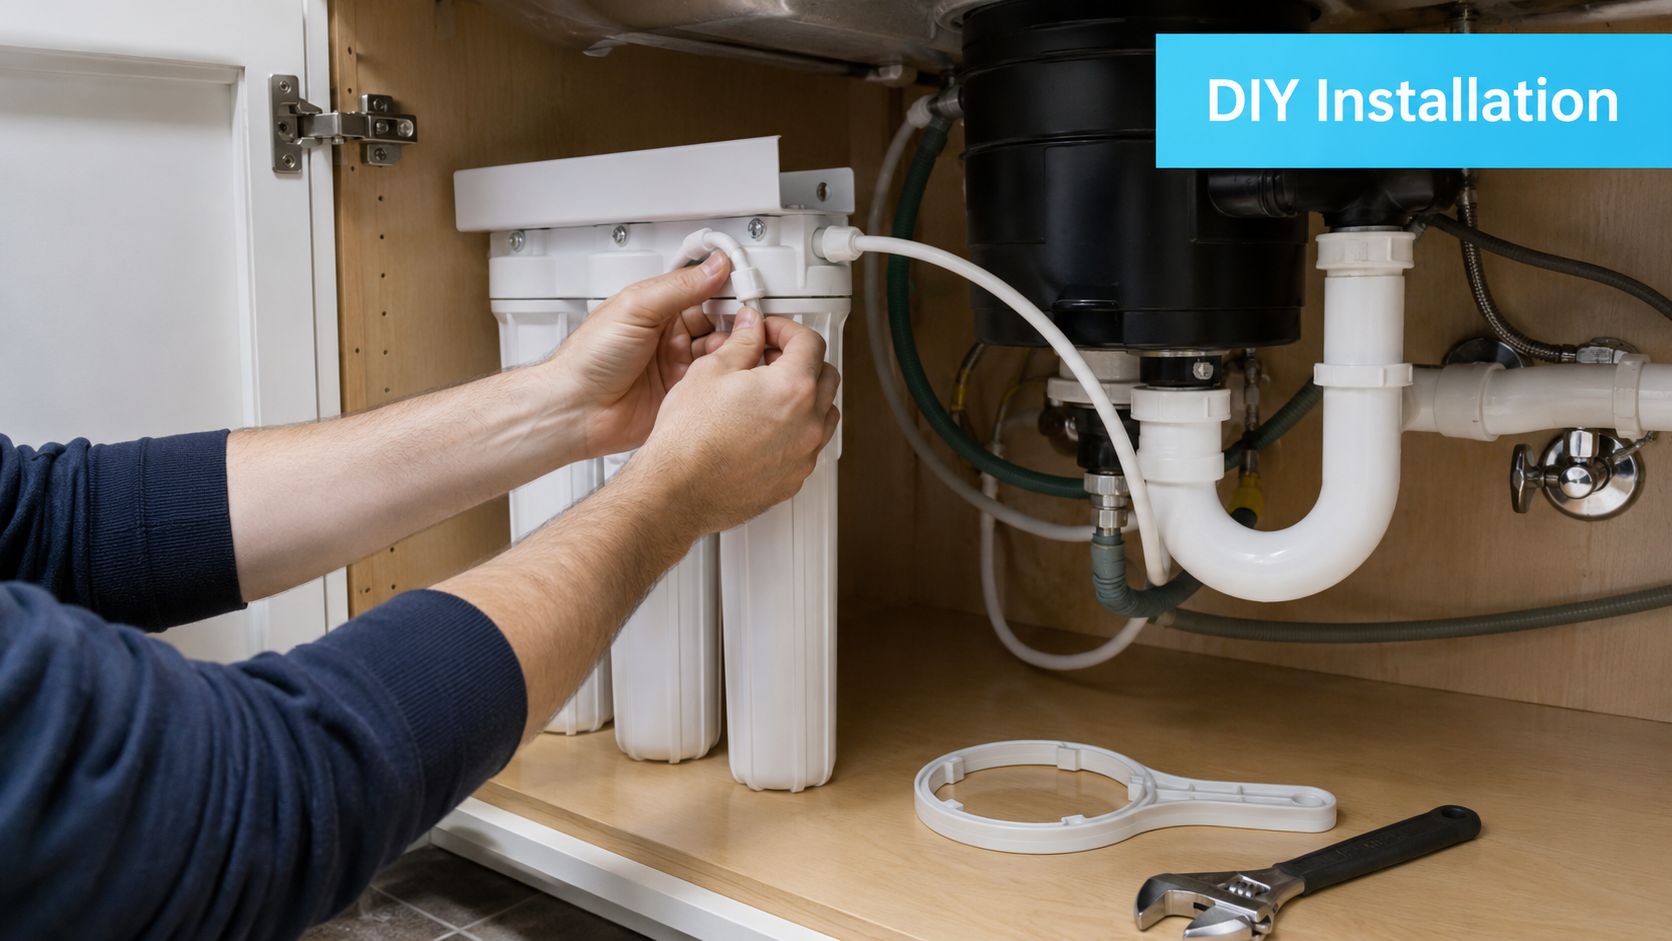
Installation needs to match the system
Countertop units are usually straightforward. Under-sink systems ask for more care because you're dealing with feed lines, drain connections, storage tanks in some models, and a dedicated faucet in many setups. Whole-house systems are another step up and often belong in the hands of a qualified installer.
That doesn't mean homeowners can't handle parts of the process. It means you should be honest about your skill level. A poorly seated fitting or a bypassed stage can undermine a very good system.
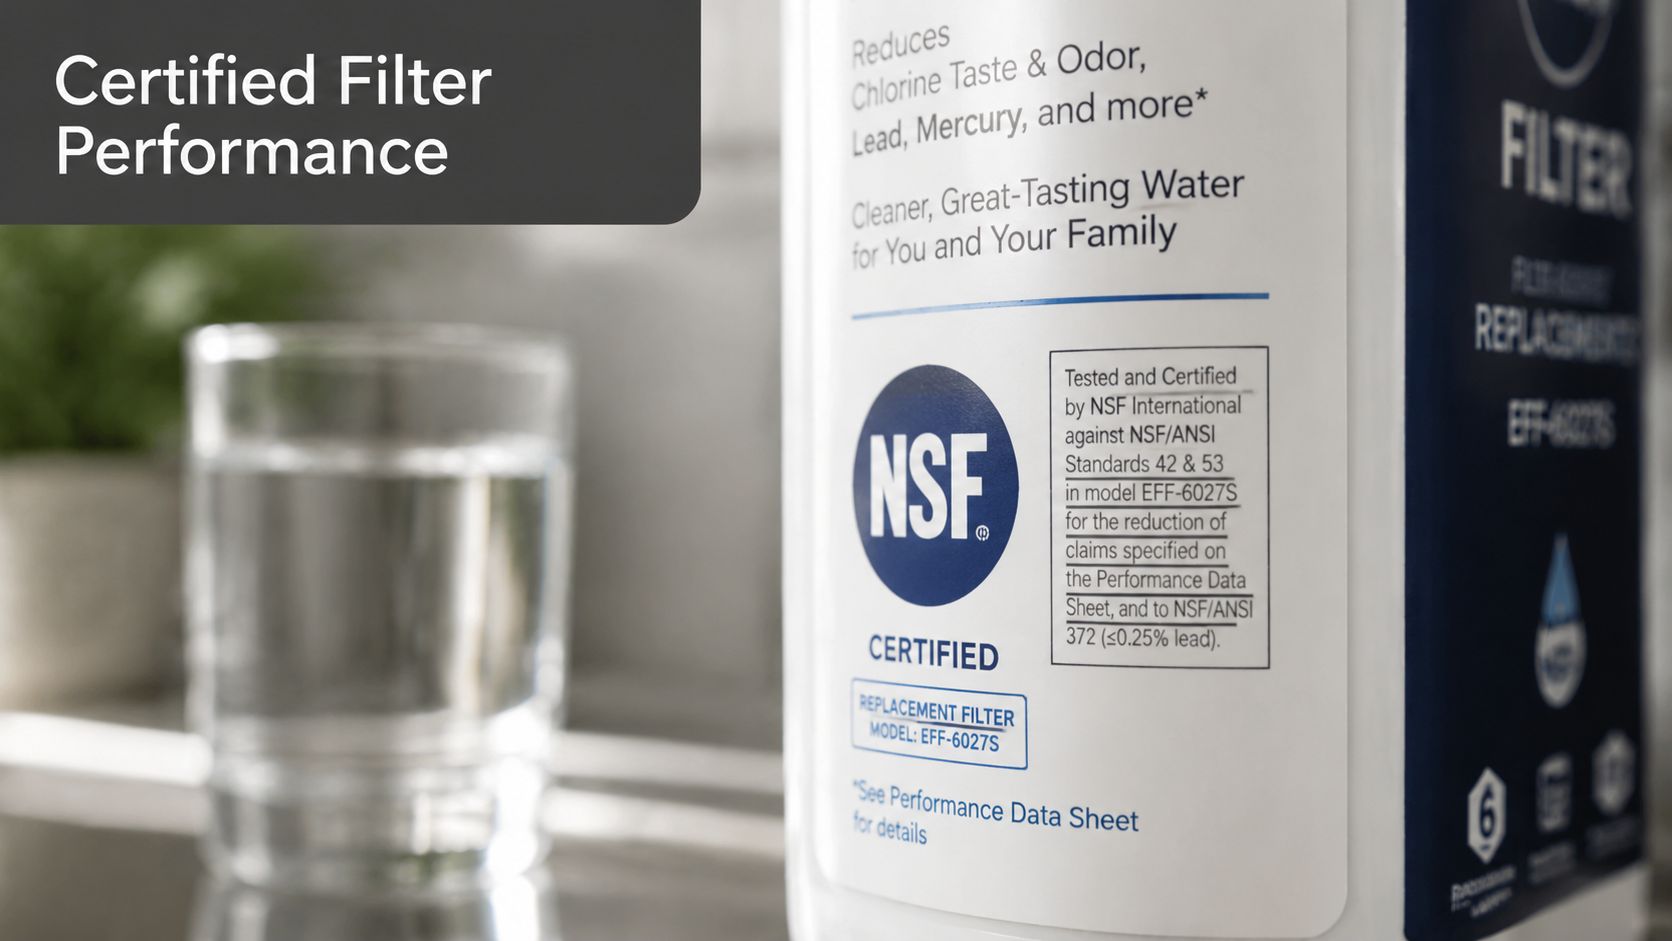
Certification is the trust marker to look for
For fluoride reduction, one standard matters more than marketing language. To ensure performance for fluoride removal, systems must be certified to NSF/ANSI Standard 58, the only standard specifically validating fluoride reduction alongside other health-affecting compounds like chlorine (Aquasana explanation of fluoride removal and Standard 58).
That's the benchmark I tell people to look for first when comparing RO systems. A box can say a lot. Certification gives you a harder reference point than advertising copy.
Maintenance is not optional
Once the system is installed, the homeowner's job is simple but important:
- Change pre-filters on schedule. In RO systems, those stages protect the membrane and help preserve overall performance.
- Replace specialty cartridges when they're due. Activated alumina, bone char, and combination filters lose effectiveness as media gets spent.
- Watch for taste changes or flow drops. Those are often the first clues that service is overdue.
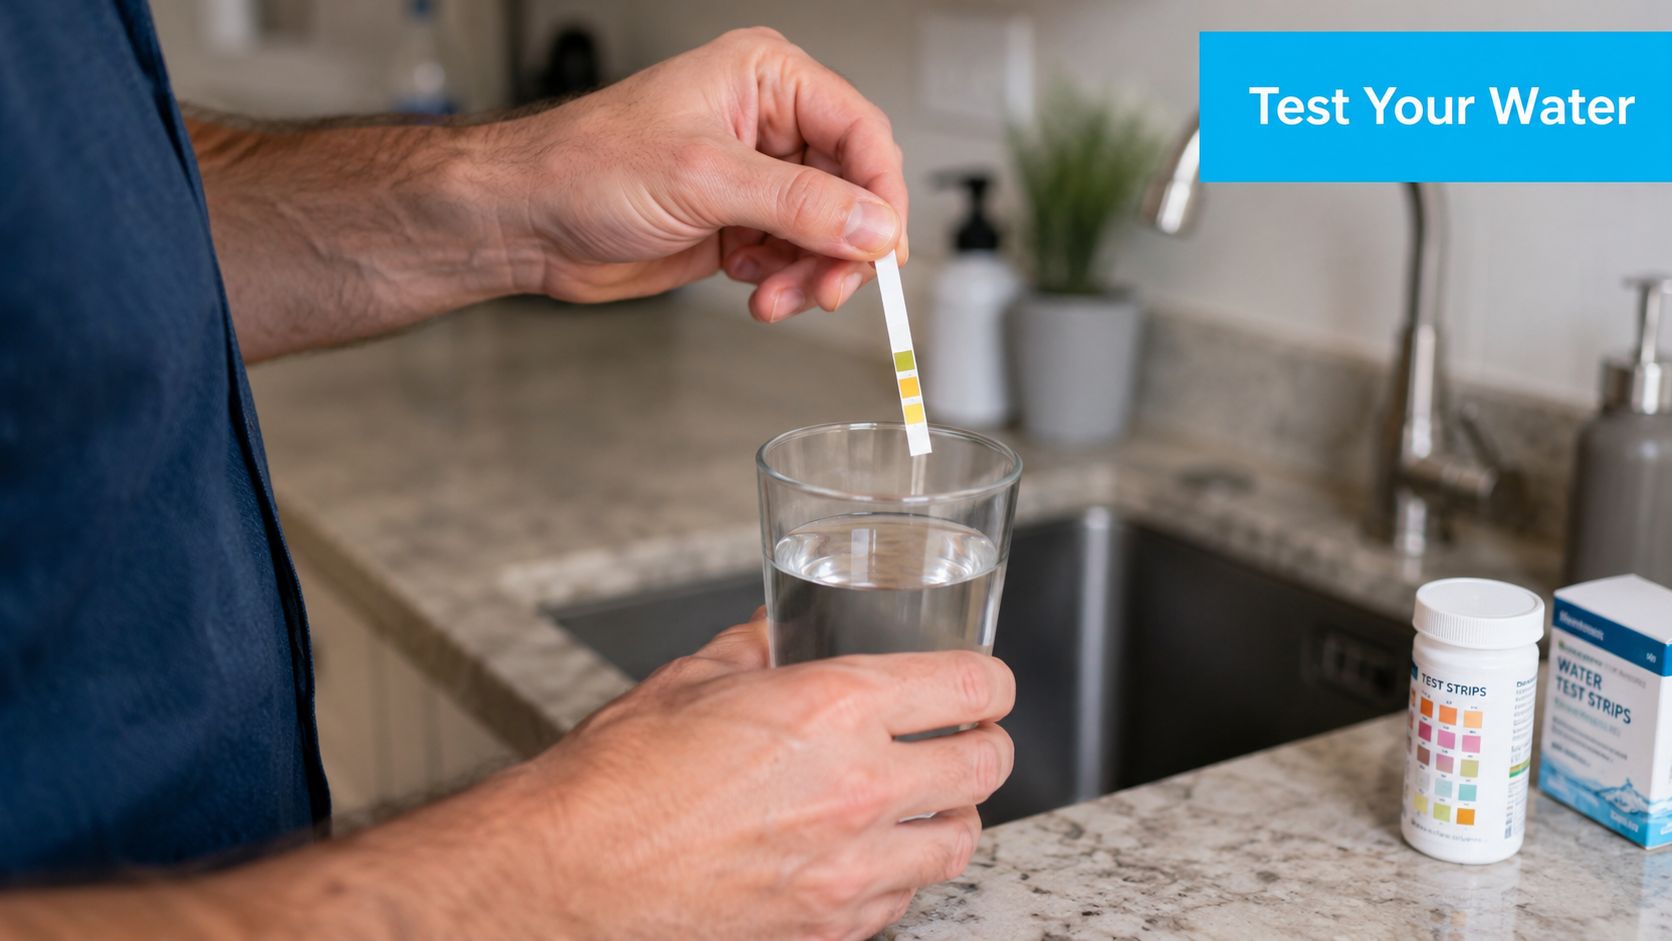
- Test when confidence matters. If fluoride removal is the reason you bought the system, periodic verification is worth doing.
A TDS meter can help you keep an eye on RO system behavior, but it doesn't directly confirm fluoride levels. For that, proper water testing is the better tool. If you want a broader maintenance and buying reference library, the guidance at Water Filter Advisor advice is a useful place to compare checklists and upkeep topics.
The best filter in the house is the one you maintain on time. A neglected premium system can underperform a well-kept basic one.
A Clear Look at Long-Term Costs and Benefits
A lot of homeowners learn the cost question the hard way. They buy a filter that handles chlorine because the water tastes better in a day or two, then realize later it does little for fluoride and end up buying a second system. Paying twice for partial treatment is where substantial waste starts.
Long-term value comes from matching the technology to the job from the start. Chlorine is usually the easy part. Carbon handles taste and odor well, and it does it at a reasonable cost. Fluoride is different. It usually calls for reverse osmosis or a specialty media stage, which raises the purchase price and adds maintenance. That extra cost is not padding. It reflects the fact that you are treating two contaminants that behave differently in water.
The benefits are uneven, but real. Chlorine reduction is obvious at the faucet because the smell and taste change quickly. Fluoride reduction is not something you can judge with your senses, which is exactly why buyers need to pay attention to system design, certification, and replacement schedules.
A concrete example helps. High-performance filters like the Home Master Jr. F2 CFF25-10 model can remove up to 93% of fluoride in addition to chlorine, VOCs, and pesticides (The Perfect Water product overview). The useful lesson is not the brand name alone. It is that effective dual-contaminant treatment usually means combining methods rather than relying on one basic filter stage.
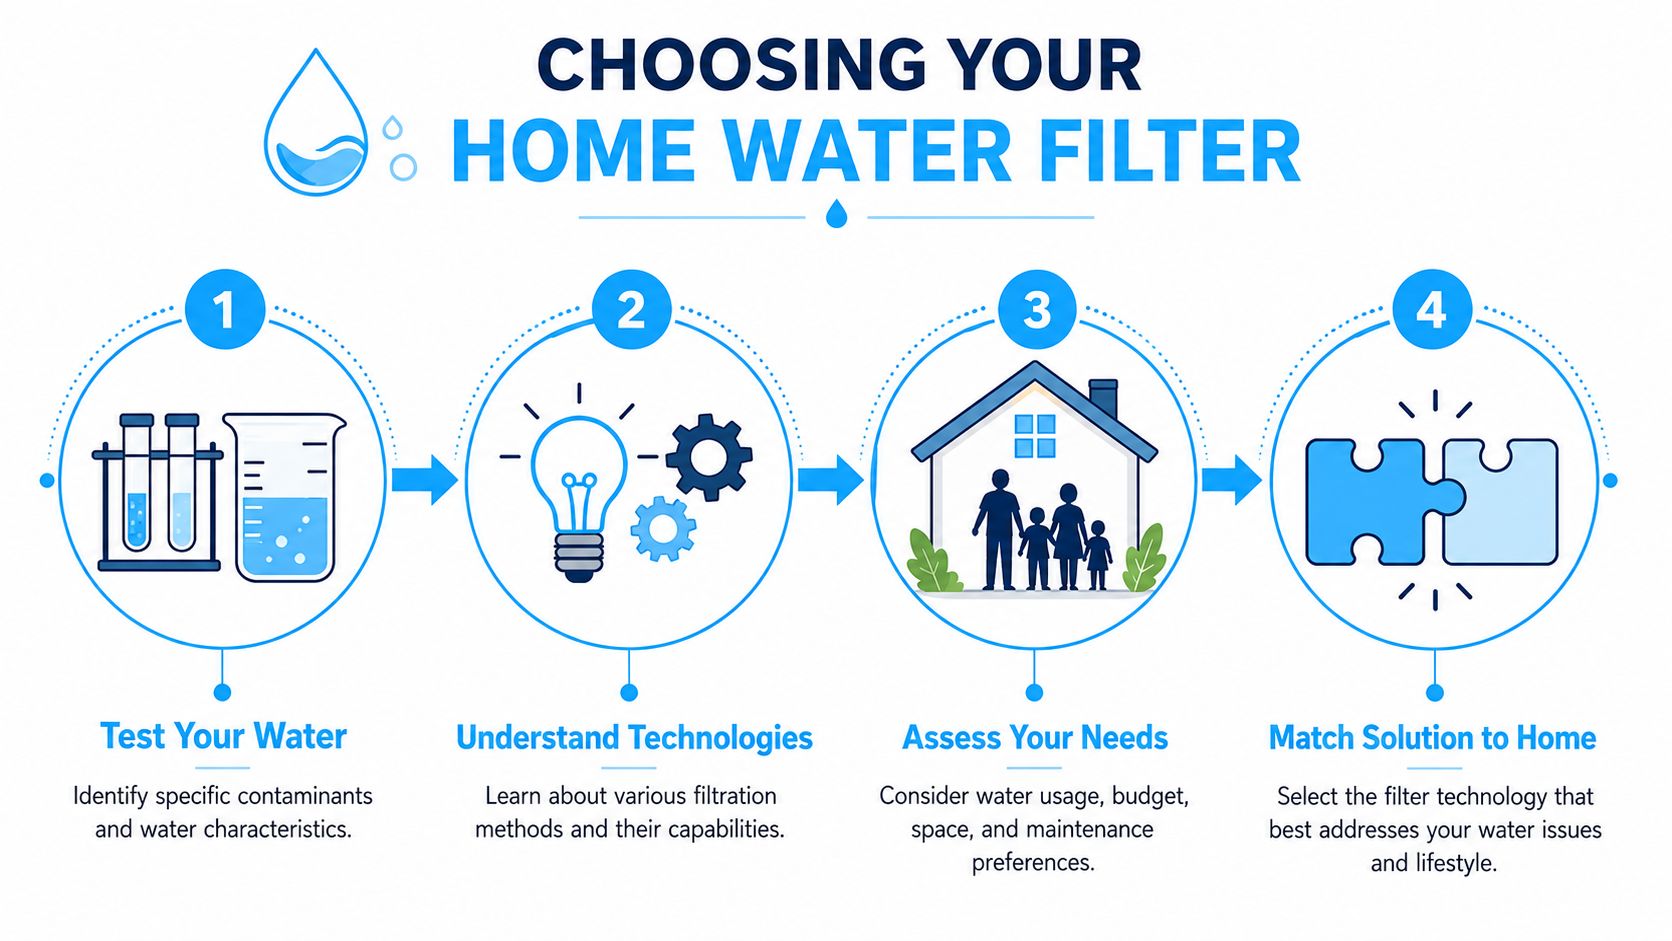
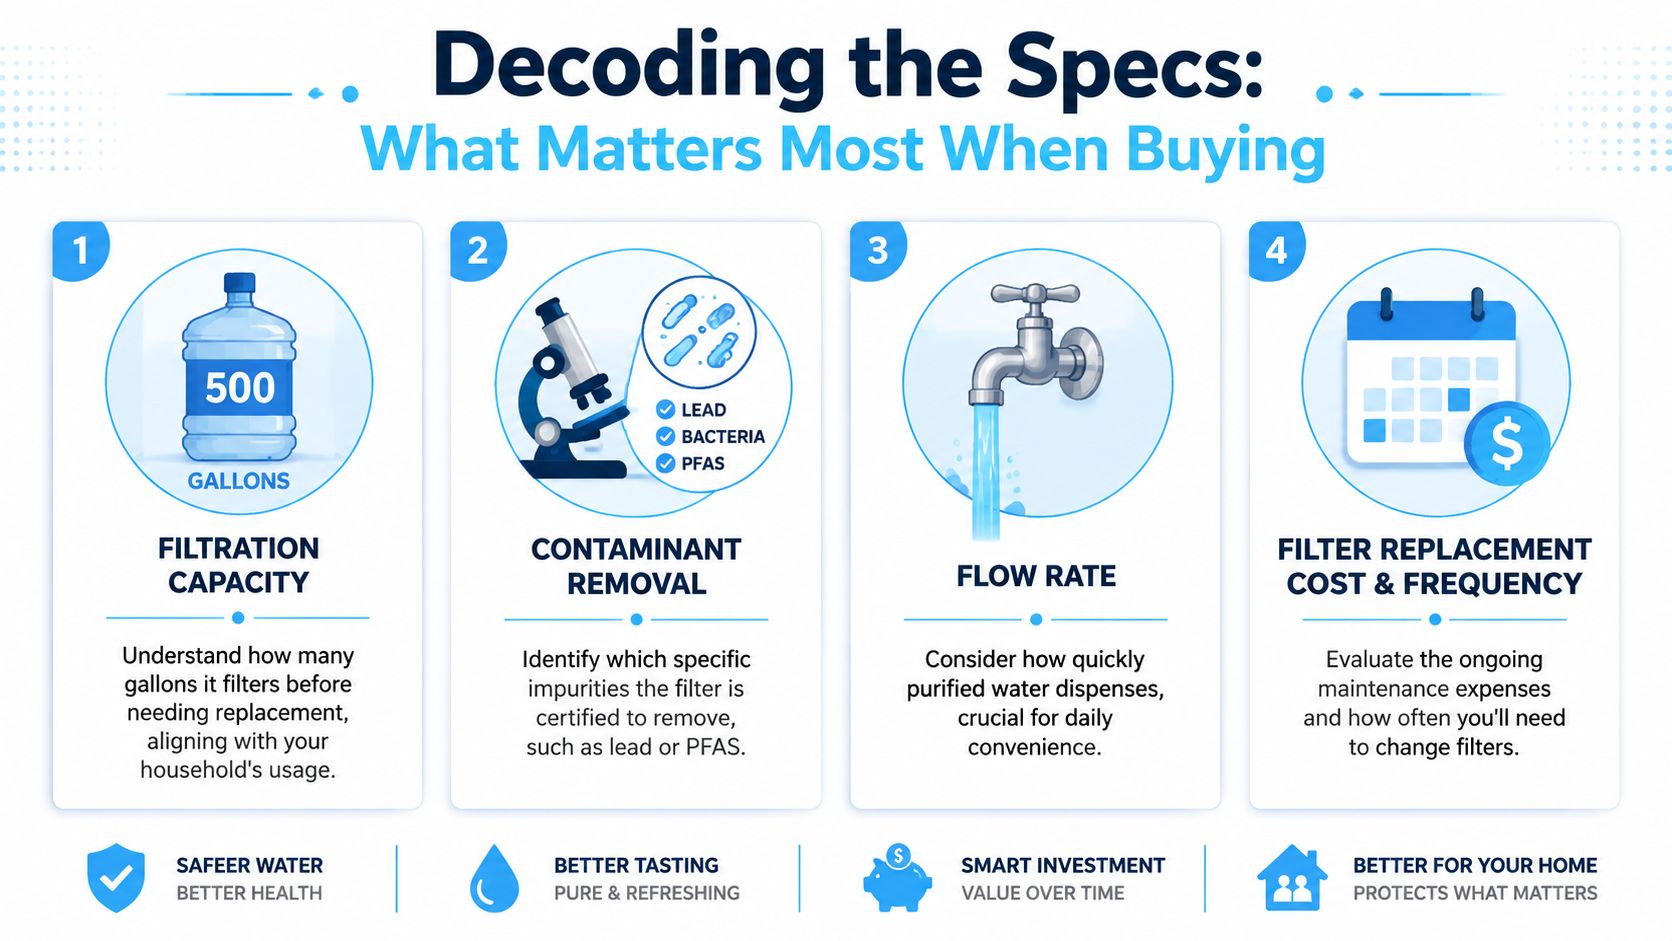
Use this checklist before you buy:
- What are you treating for? Better taste and odor, or a system that also targets fluoride?
- Where do you need treated water? One drinking tap, the kitchen sink, or multiple points in the house?
- Will you keep up with maintenance? A good system only stays good if cartridges and membranes are replaced on time.
That last point matters more than buyers expect.
A well-matched system often costs more up front, but it usually delivers better value over time than buying a chlorine-focused filter first and replacing it later with something more capable. That is especially true now that some whole-house setups are starting to address fluoride with specialty configurations, even though point-of-use treatment is still the more common and practical route for most homes. While not the cheapest option, a system designed for both fluoride and chlorine is a smarter long-term investment when properly matched to your needs.
If you're comparing systems and want practical help without the marketing fog, Water Filter Advisor is a strong next stop. It's built for homeowners who want clear guidance on choosing, maintaining, and verifying the right water filtration setup for real-life use.