
Ever wonder how to check for chlorine in your water? Good news: you don't need a chemistry degree. The easiest ways involve using test strips, liquid reagent kits, or digital meters. You can grab these just about anywhere, and they’re designed for regular folks, not mad scientists. In just a few minutes, you'll know exactly what's flowing from your faucet and be one step closer to delicious, clean water.
Why Your Tap Water Smells Like a Pool Party
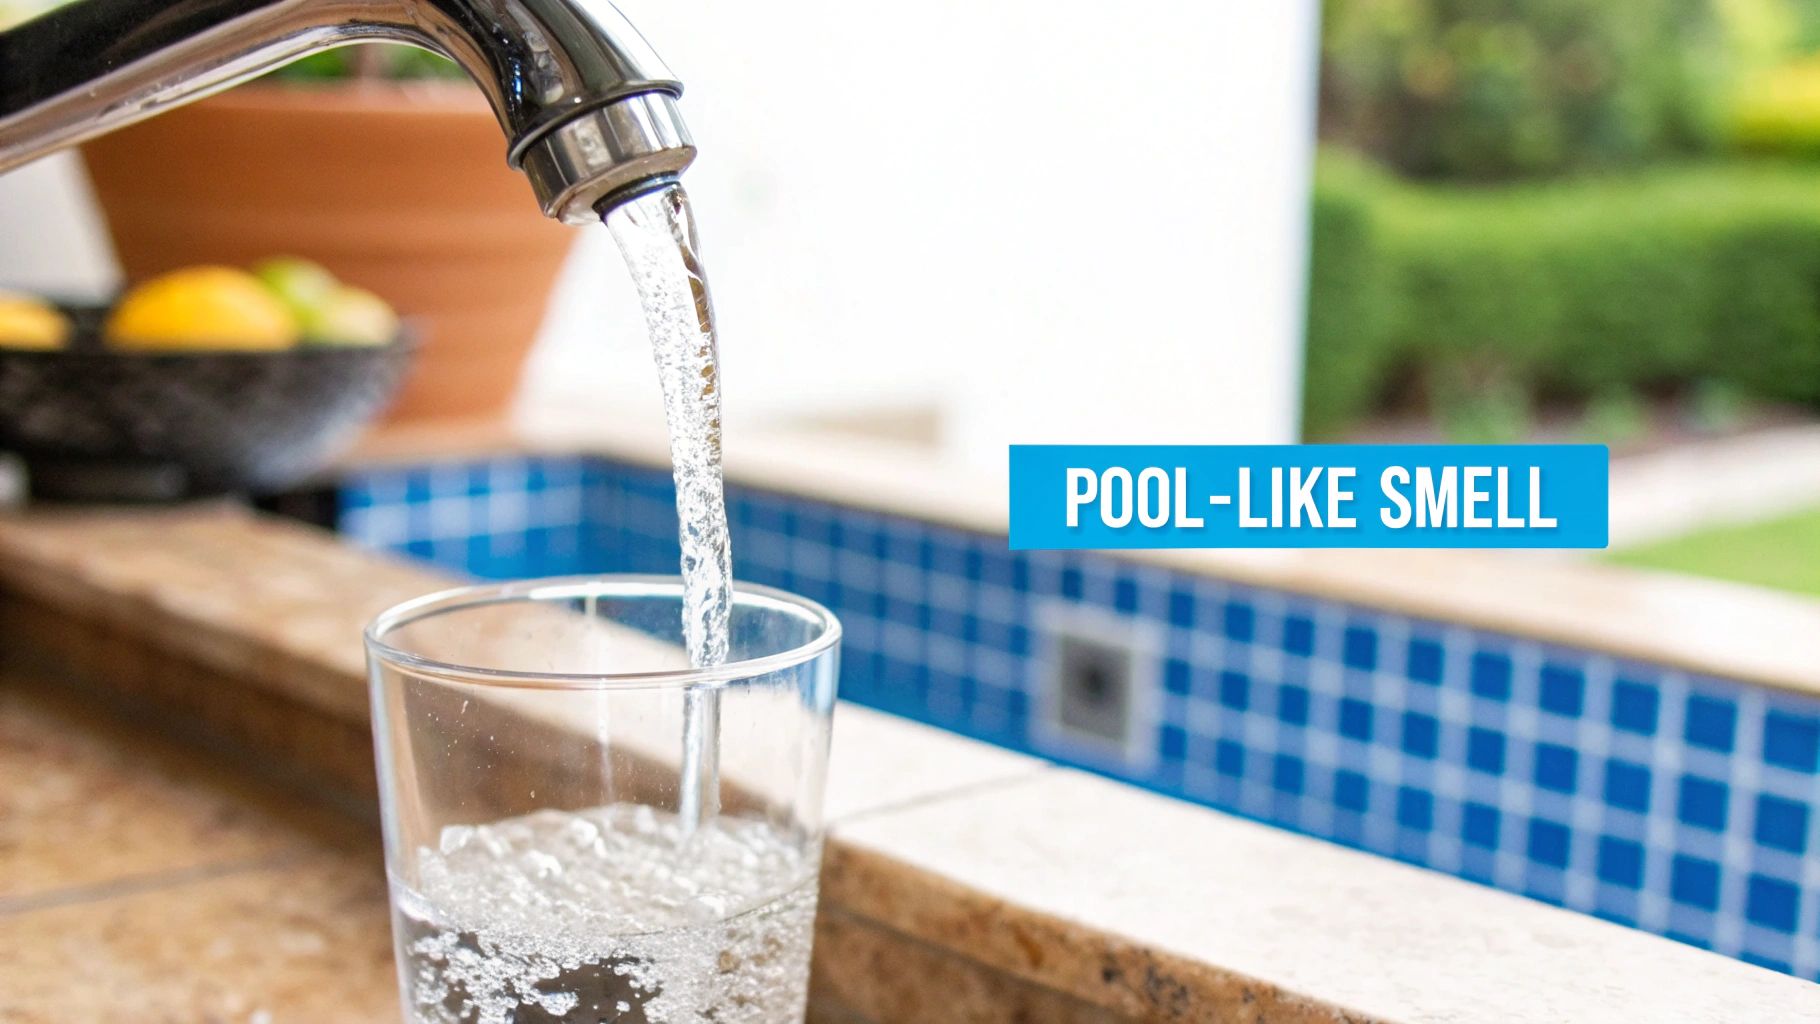
That bleach-like, "clean" smell wafting from your kitchen sink isn't just your imagination—it's chlorine, the unsung hero and occasional villain of your tap water. City water treatment plants add it to the public water supply for one glorious reason: to obliterate harmful bacteria, viruses, and other microscopic baddies. It's a fantastic disinfectant that keeps our water safe on its long, winding journey to your house.
Think of it as a bodyguard for your H₂O. It does a knockout job preventing waterborne illnesses, but its ghost tends to stick around long after the mission is complete. This leftover disinfectant is called residual chlorine, and it’s the culprit behind that familiar swimming pool perfume in your drinking glass.
The Chlorine Conundrum
While chlorine is a public health champion, this residual amount isn't always the most pleasant houseguest. The impact goes beyond just a funky taste in your morning coffee or that pot of pasta. Its presence can be a real buzzkill in other ways around the house.
- Skin and Hair: Chlorine is a master at stripping natural oils. This can leave you with dry, itchy skin and brittle, lackluster hair right after a shower—not exactly the spa-like experience you were hoping for.
- Household Appliances: Over time, chlorinated water can wage a silent war on the rubber seals and gaskets in your dishwasher and washing machine, potentially sending them to an early retirement.
- Taste and Odor: This is the most obvious party foul. The chemical taste and smell can make you shun the tap, and it can ruin the delicate flavors of everything from gourmet tea to homemade soup.
When you learn how to check chlorine levels in your water, you take back control. Testing is the first, non-negotiable step. It tells you what you're dealing with so you can choose a home water filtration system that brings back your water's clean, natural taste.
Understanding Safe Chlorine Levels
So, what's a "normal" amount of chlorine? The levels in your municipal water can actually fluctuate wildly depending on the season, recent weather (like a massive rainstorm), and even how far your house is from the treatment plant.
Global health organizations have set guidelines for what's considered safe. The World Health Organization (WHO), for example, suggests that residual chlorine should ideally stay between 0.2 and 0.5 milligrams per liter (mg/L). This is the sweet spot for effective disinfection without going overboard. You can learn more about the WHO's drinking-water guidelines to see how your tap water stacks up.
Knowing the specific chlorine level in your water is the only way to connect the dots. A quick test will tell you if your levels are low, moderate, or hitting the high notes, giving you the intel you need to choose the perfect water filter for your family.
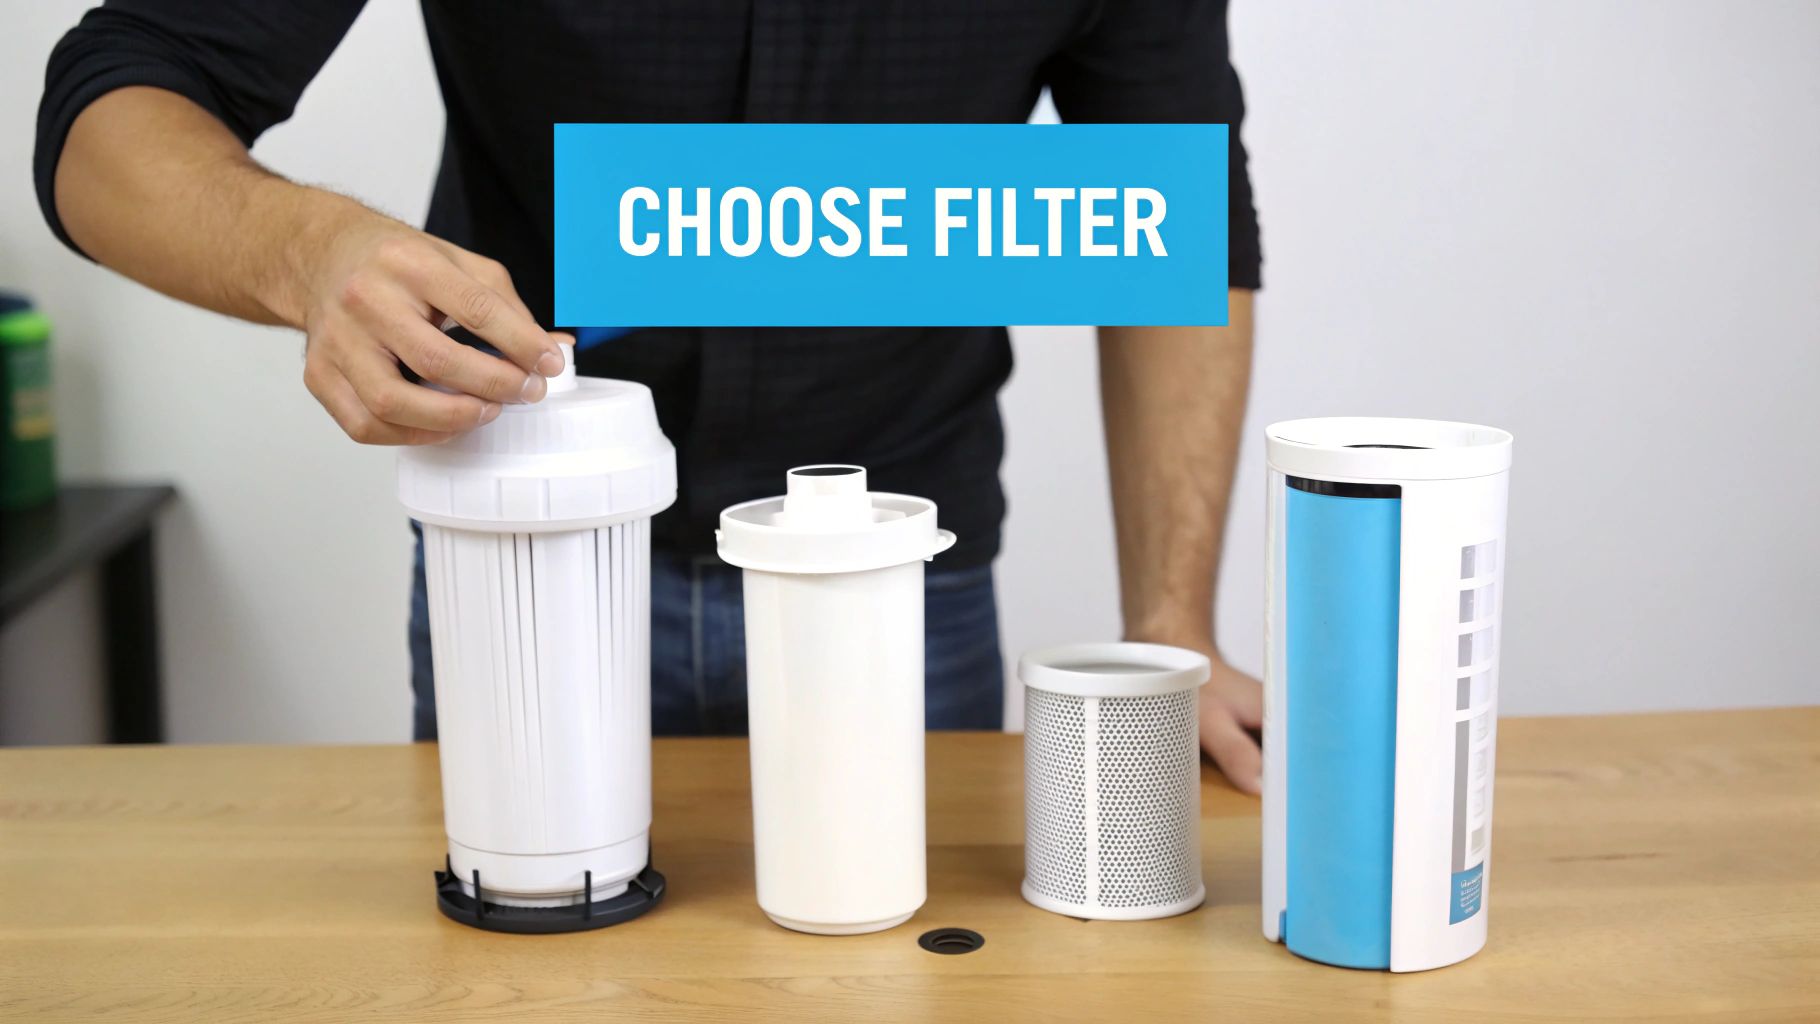
Choosing Your Chlorine Testing Method
Before you can even dream about picking a water filter, you have to know what you're up against. Finding out how to check the chlorine in your water is a simple but super important first step. You've got three main ways to do this, and each one offers a different blend of convenience, accuracy, and cost.
Think of these as your personal water-testing toolkit. You don’t need to be a scientist to use them—just a few minutes and a glass of water from your tap. Let's break them down so you can find your perfect match.
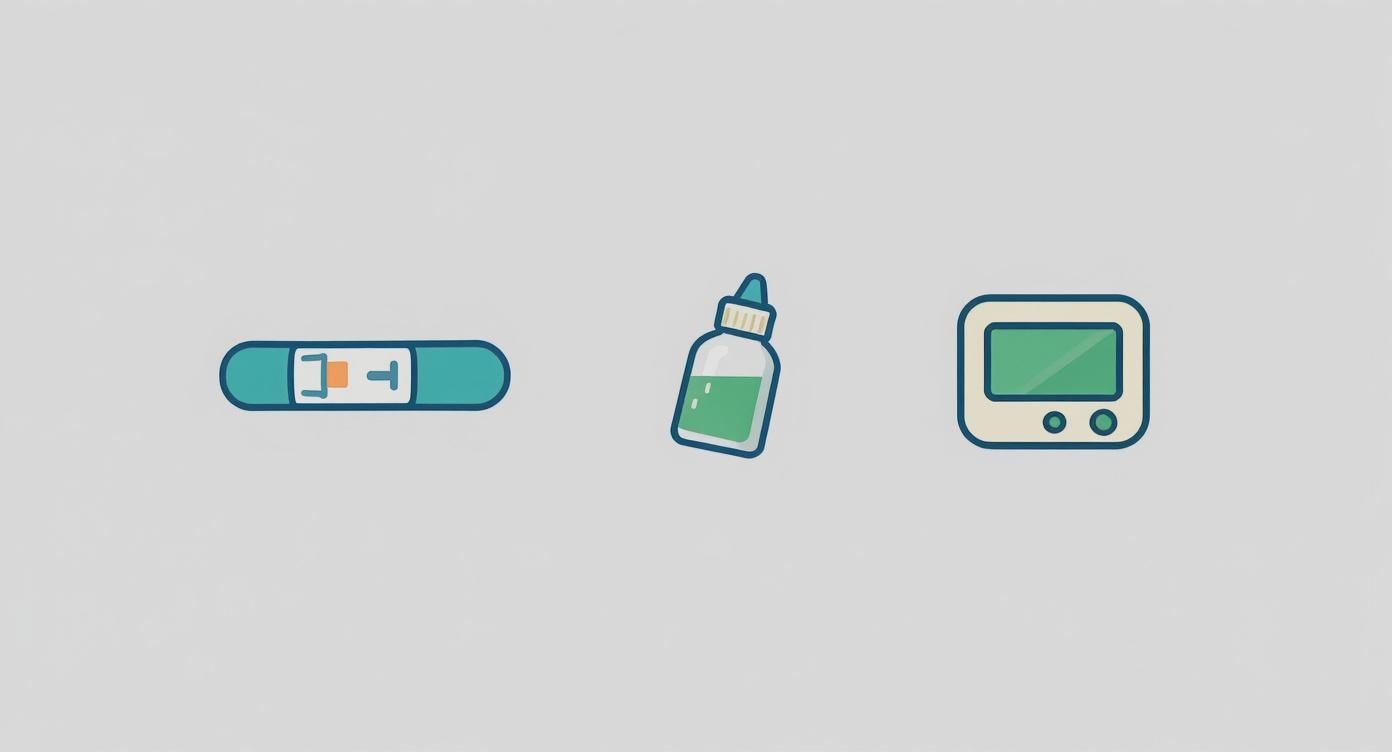
Test Strips: The Quick and Easy Check
Want an answer in less time than it takes to microwave popcorn? Chlorine test strips are your go-to. They couldn't be easier: just dip a strip into your water sample, give it a little swish, and match the color on the strip to the chart on the bottle. It’s a lightning-fast and cheap way to get a general vibe of your chlorine levels.
Test strips are perfect for a quick spot-check. Maybe you just moved into a new place, or you’ve suddenly noticed your water smells a bit "off." A test strip gives you a ballpark reading right away, satisfying your curiosity in seconds. The trade-off for all that speed, though, is precision. They’re great for sniffing out a problem, but not so great for measuring exactly how big that problem is.
Liquid Test Kits: The Reliable Middle Ground
For a more accurate reading that won't make your wallet cry, liquid test kits (sometimes called "dropper kits") are an excellent choice. This is where you'll usually find the DPD method, which is a trusted standard in the water testing world.
With these kits, you add a few drops of a liquid reagent into a small vial of your tap water. The water changes color based on the chlorine content, and you match that color to a printed comparator. This method gives you a much clearer and more detailed result than a test strip, letting you feel a bit like a home scientist.
One of the most common methods is the colorimetric DPD (N,N-diethyl-p-phenylenediamine) approach, which uses a color change to quantify chlorine. Research shows that while test strips are fast, DPD-based photometric equipment is generally preferred for precise chlorine control. You can learn more from these detailed reports on water quality testing methods.
Digital Meters: For Pinpoint Accuracy
When you need the most precise measurement you can get—no ifs, ands, or buts—a digital meter or colorimeter is the tool for the job. These slick handheld electronic devices eliminate all the guesswork of matching colors by eye.
You just pop a water sample into the meter, and it gives you a direct digital reading of the chlorine concentration, often down to two decimal places.
Digital meters are perfect for homeowners who want to geek out on their water quality, especially before and after installing a whole-house filter. They cost more upfront, but for people serious about their water, their accuracy and ease of use are unbeatable.
Comparing Home Chlorine Test Methods
To make it simple, here’s a quick showdown of how the three main methods compare.
| Method | Best For | Accuracy | Speed | Typical Cost |
|---|---|---|---|---|
| Test Strips | Quick, initial checks and identifying a potential issue. | Low to Moderate | Very Fast (1 minute) | $10 – $20 |
| Liquid Test Kits | Balancing accuracy and affordability for regular use. | Moderate to High | Fast (2-5 minutes) | $15 – $30 |
| Digital Meters | Getting precise, data-driven results for tracking. | Very High | Fast (1-3 minutes) | $50 – $150+ |
So, what's the right call? It really depends on your mission. Are you just casually curious, or are you on a quest to solve a specific issue like dry skin or coffee that tastes like it was brewed in a swimming pool? Any of these methods will arm you with the crucial info you need to take the next step: picking a filtration solution that’s a perfect fit for your home.
How to Get Accurate Test Results
Alright, let's get to the main event—actually testing your water. Don't worry, you won't need a lab coat for this. The goal is simple: get a true snapshot of the water quality coming out of your tap. Getting a reliable number you can act on is easier than you think; a few pro tips are all it takes.
We'll walk through the best practices for each testing method, but first, a couple of golden rules apply no matter which kit you have. These simple tricks ensure you're testing what’s flowing through your pipes, not what's been sitting around getting stale.
This visual guide breaks down your three main options for checking chlorine, from simple strips to precise digital readers.
As the infographic shows, there's a clear trade-off between speed and accuracy. Test strips are the fastest, but digital meters give you the most exact reading. It's all about matching the right tool to your needs.
Universal Best Practices for Water Sampling
Before you even crack open your test kit, a couple of quick steps will set you up for success. They seem small, but they make a huge difference in accuracy.
First, let your tap run for about 30-60 seconds before you collect any water. Water that sits in your pipes overnight can have a different chlorine level than the fresh supply from the main line. Running the tap for a minute clears out that old, stagnant water.
Second, always grab a clean container. Any leftover soap, food, or even old water residue can mess with your results. If you’re using a vial that came with your kit, just give it a good rinse with the same tap water you’re about to test.
Mastering the Test Strip Technique
Test strips are all about speed, but there's a right way and a wrong way to use them. Rushing the process is the number one mistake people make, and it can give you a completely bogus reading.
Here's how to nail it:
- Dip, Don't Soak: Submerge the strip in the water for a second or two, just like the instructions say. Leaving it in longer can make the colors on the reagent pads bleed.
- A Gentle Swirl: Give the strip a gentle swirl while it's underwater to make sure the pads get fully saturated. No need to create a whirlpool.
- Hold it Horizontally: Once you pull the strip out, hold it level. This is key—it stops the colors from running into each other and muddying the result.
- Time it Right: This is critical. The instructions will specify a wait time—usually 15 to 30 seconds—before reading. Don't eyeball it. Use a timer on your phone. Reading too early or too late gives you a false result as the chemical reaction is still developing.
When it's time to read, match the color pads to the chart in good, natural light. It's surprisingly hard to tell the difference between subtle shades of pink in a dimly lit room.
Getting a Clear Result with Liquid Kits
Liquid dropper kits, often using DPD reagent, are a big step up in accuracy. Success here is all about the details. The reagent turns the water a pinkish-purple color when chlorine is present—the deeper the color, the higher the chlorine.
The single best tip for this method is to read the results against a white background. Just hold a plain piece of paper behind the vial when you compare its color to the chart. It makes the color pop and helps you find a much more exact match.
Also, be precise:
- Fill the test vial exactly to the line. Too much or too little water will dilute or concentrate the reagent, skewing the reading.
- Hold the reagent bottle perfectly vertical when adding drops. This ensures every drop is the same size.
You might wonder why this matters. Well, city water with chlorine is great for preventing bacteria, but it's a problem for some hobbies. People who ferment foods or keep fish aquariums have to dechlorinate their water first, often by letting it sit out for 24 hours or boiling it for 15 minutes to let the chlorine gas dissipate. For the rest of us, a good filter is a much faster solution.
Calibrating and Using a Digital Meter
If you've opted for a digital meter, you're on your way to the most precise results possible at home. But even these high-tech tools need a little TLC to stay accurate. The most important step is calibration.
Think of it like tuning a guitar. You have to give the meter a reference point so it knows what "zero" looks like. Most meters are calibrated with chlorine-free water, like distilled water. You just put the "blank" sample in the meter and hit the "zero" or "calibrate" button.
Do this regularly, especially if you haven't used the meter in a while or if the readings seem off. Once it's calibrated, the rest is a breeze. You add your tap water, drop in the DPD reagent (it often comes in a little powder packet), and the meter gives you a specific number in parts-per-million (ppm) or milligrams-per-liter (mg/L). No more guesswork.
By following these simple steps, you can trust the number you see. That reliable data is the foundation for figuring out what it all means and choosing the right water filter to reclaim your tap.
Making Sense of Your Chlorine Levels
You’ve done the test, matched the colors, and now you have a number. So what does a reading of 0.8 ppm or 1.5 mg/L actually mean for the water you drink and shower in every day? This is where we turn that number into a story about your daily life.
Understanding your results is less about complex chemistry and more about context. That number on your test strip or digital meter is the concentration of chlorine in your water, measured in parts per million (ppm), which is the same as milligrams per liter (mg/L). It tells you how your water is treated and what you're likely experiencing at home.
The chlorine in your tap water isn't just one thing. It’s a mix of different compounds, and your test kit can help you figure out what’s what. Grasping these two key terms is the first step to truly decoding your results.
Free Chlorine vs. Total Chlorine
When you test your water, you’ll often see options to measure both free chlorine and total chlorine. They sound similar, but the difference between them is crucial for understanding your water quality and choosing the right filter.
-
Free Chlorine: Think of this as the "active-duty" chlorine. It’s the potent disinfectant that’s ready and available to zap bacteria and other pathogens. This is the portion of chlorine that hasn't reacted with anything yet, and it’s what you typically taste and smell.
-
Total Chlorine: This is the sum of free chlorine plus combined chlorine (better known as chloramines). Combined chlorine forms when free chlorine gets tangled up with organic stuff in the water. It’s a less effective disinfectant but hangs around in the system much longer.
If your total chlorine level is way higher than your free chlorine, it means a lot of the disinfectant has already been "used up," creating chloramines. This often creates that potent, unpleasant chemical smell that's even worse than chlorine alone. For home filtration, knowing both numbers helps you choose a filter that can tackle the entire problem.
Key Takeaway: Think of free chlorine as the 'available' soldier ready for battle, and total chlorine as the entire army, including those who have already engaged with contaminants. Both contribute to the overall taste, smell, and feel of your water.
What Is a Normal Chlorine Level?
So, what should your chlorine reading actually be? According to the EPA, the maximum safe level is 4.0 ppm (mg/L). Most city water systems aim to keep it between 0.5 and 2.0 ppm by the time it reaches your faucet.
But "safe" and "pleasant" are two very different things.
Some people have super-senses and can taste or smell chlorine at levels as low as 0.5 ppm. Others might not notice it until it gets closer to 1.5 ppm or higher. This is often the point where you start to feel its effects, like dry, itchy skin after a shower or that distinct bleach-like taste in your drinking water.
It's also important to know that these levels aren't static. Chlorine concentration can swing up or down based on how far your home is from the treatment plant, seasonal changes, or even a recent heavy rainstorm that forces the city to use more disinfectant. This is exactly why you can't just rely on the city's annual water quality report; you need the real-time data from your own tap.
By understanding what a typical reading is and connecting it to your own experience—that dry skin, the flat-tasting coffee—you can decide what to do next. A consistently low reading might mean a simple faucet filter is all you need, while higher readings point toward a more robust whole-house system to protect every tap in your home.
Matching Your Results to the Right Filter
Alright, you've done the testing and you're holding the results. This is the moment where that data transforms into an action plan for getting amazing water in your home. The right filter all comes down to what your tests revealed. Are we talking about a minor taste issue, or are you dealing with a chlorine level that makes your shower feel like a dip in the public pool?
Think of your chlorine reading as a signpost. It points you straight to the most effective and budget-friendly solution for your water. There's no single "best" filter for everyone—the best one is the one that solves the specific problem you just uncovered. Let's turn that PPM number into a home upgrade.
Low to Moderate Chlorine Levels (0.2 to 1.0 ppm)
If your test came back in this range, you're in good company. This is the most common scenario, where the complaints are usually about taste and smell. Maybe your coffee tastes a little funky, your drinking water isn't as crisp as you'd like, or you catch a faint swimming pool scent now and then.
Good news: you don't need a massive, complicated system. The fix here is simple and targeted.
- Water Pitcher Filters: This is the easiest entry point. A good pitcher with an activated carbon filter will make a huge difference in the taste and odor of your drinking water.
- Faucet-Mounted Filters: These clip right onto your kitchen tap for instant gratification. They're a nice step up from a pitcher if you want filtered water on demand for cooking and drinking.
Both of these use activated carbon, a ridiculously porous material that acts like a chlorine magnet. As water flows through, chlorine gets trapped on the carbon's massive surface area. It's an incredibly effective and affordable way to get that pure water taste back.
Moderate to High Chlorine Levels (1.0 to 2.5+ ppm)
Once your readings consistently climb over 1.0 ppm, you’re in territory where the effects are more than just a nuisance. This is when you start feeling that tight, dry-skin feeling after a shower or begin to worry about the long-term impact of chlorine and its byproducts.
A simple pitcher just isn't going to cut it for the whole house. It's time to level up with a more comprehensive solution.
- Under-Sink Filters: Tucked away under the kitchen or bathroom sink, these systems have much higher capacity and power than pitchers. They hook directly into your cold water line and give you purified water from a separate, dedicated faucet.
- Countertop Filters: These units sit next to your sink and connect to the faucet, delivering serious filtration power without any plumbing work. They're a fantastic option for renters.
Your test results are your guide. A reading of 1.5 ppm or higher, combined with noticeable skin irritation or a strong chemical smell, is a clear signal that a point-of-use or whole-house system is a smart investment in your family's comfort and health.
Very High Chlorine or Whole-Home Concerns
If your chlorine levels are consistently high, or you just want every single tap, shower, and appliance in your house protected, a whole-house water filter is the ultimate solution. These are installed right where the main water line enters your home, meaning every drop of water that flows through your pipes gets treated.
A whole-house system is your best defense against not only chlorine but also its disinfection byproducts, like trihalomethanes (THMs). When you're dealing with really stubborn chlorine issues, you might even look at what the pros use. High-purity facilities often rely on specialized equipment like lab water purifiers for distilled water to get absolute purity.
For your home, a robust whole-house carbon filter delivers that same kind of peace of mind. You're not just improving your drinking water—you're protecting your appliances from wear and your skin and hair from dryness. It's a total home transformation, one filtered drop at a time.
By matching your specific chlorine reading to one of these strategies, you can stop guessing and make a smart choice. You've already done the detective work; now you can pick the right tool for the job with total confidence.
Common Questions About Water Testing
Even with the right gear, a few questions always pop up when you're learning how to check chlorine levels in your water. We’ve rounded up quick answers to the most common queries to clear up any confusion and help you move forward with your filtration plan.
How Often Should I Test My Water?
As a general rule, testing your home’s water every 3 to 6 months is a smart move. Chlorine levels from your city can change with the seasons or after heavy rain, so regular checks keep you informed.
A pro tip: always test right before and after you install a new water filter. This gives you concrete, undeniable proof of how well your new system is working and lets you see (and taste) the difference right away.
Can I Use Pool Test Strips?
It’s tempting, but please don't. Stick to kits made specifically for drinking water. Pool test strips are designed for much higher chlorine concentrations and a completely different water chemistry.
Using pool strips on your tap water will almost certainly give you a wildly inaccurate reading, making it completely useless for choosing a filter. For results you can actually trust, always grab a dedicated drinking water test kit.
If you're looking for more guidance on selecting the right tools and understanding different water contaminants, you can find a wealth of information in our comprehensive water filtration advice section.
My Test Shows Zero Chlorine. Is That Bad?
Not necessarily. If you're on city water, a zero reading might just mean you live far from the treatment plant. The chlorine has simply done its job and faded away by the time the water reaches you.
While that’s great for the taste, it also means the water no longer has that final layer of disinfectant protection. If you're concerned about microbial safety, adding a UV purification system after your main filter is a fantastic, chemical-free way to ensure total peace of mind.
Will a Water Softener Remove Chlorine?
This is a super common mix-up. A standard water softener will not touch chlorine. Softeners are designed for one job: removing hardness minerals like calcium and magnesium through a process called ion exchange. They're all about preventing scale buildup, not improving taste.
To actually get rid of chlorine, you need a filter that uses activated carbon. Many homeowners create the ultimate water dream team by pairing a water softener with a whole-house carbon filter to tackle both hard water and chlorine at the same time.
- November 6, 2025
- 0
- Uncategorized