How to Remove Bacteria from Water: A Homeowner’s Guide
The moment usually starts small. A text from the city about a boil water advisory. A lab report from your well test that doesn't look right. A sulfur smell at the sink that suddenly makes you question every glass of water in the house.
That uncertainty gets under your skin because bacteria are invisible. Water can look clear, taste normal, and still be unsafe. You can't trust your eyes for this one, and homeowners waste a lot of money when they treat the wrong problem with the wrong equipment.
If you're trying to figure out how to remove bacteria from water at home, the answer depends on your situation. Emergency water treatment is different from long-term home filtration. City water problems are different from well contamination. And recurring bacteria usually means the source problem hasn't been fixed.
That Sinking Feeling Your Water Isn't Safe
A homeowner on city water usually gets the warning first. It might be a boil notice after a main break, heavy rain, or treatment disruption. The water still comes out of the tap, so the danger feels abstract. That's what makes it hard. People keep using water because nothing about it looks dramatic.
A well owner often gets the opposite experience. No public notice. No broad warning. Just a bad test result, a change in odor, or a slow realization that something in the system isn't right. That can feel even worse because the responsibility sits entirely on the homeowner.
The first practical thing to understand is simple. Bacteria contamination is not a taste-and-odor problem. It's a treatment and verification problem.
You don't solve bacteria by guessing. You solve it by confirming the source, using the right barrier, and preventing the water from getting contaminated again after treatment.
That last part gets missed all the time. Homeowners buy a filter, install it, and assume they're done. Sometimes that works for a very specific point-of-use need. Often it doesn't. If the well cap is compromised, if plumbing has biofilm, or if muddy water is reaching the treatment device, a good product can still give poor results.
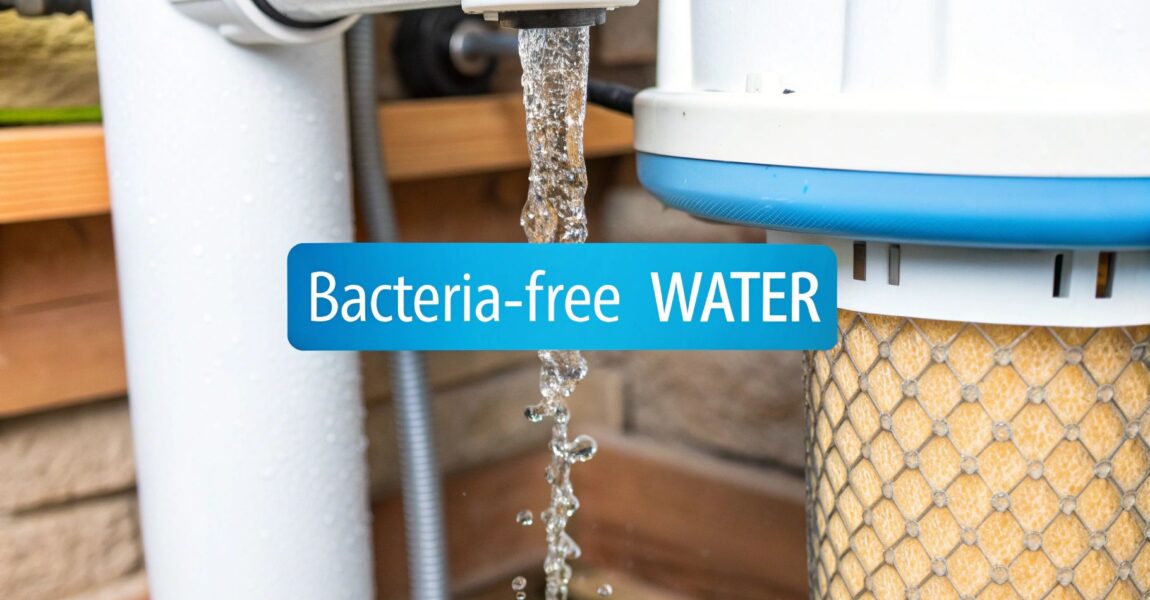
The good news is that this is manageable. Municipal water systems have controlled bacteria for generations with a treatment train, not a miracle gadget. A properly designed plant using coagulation, sedimentation, filtration, and disinfection can remove or destroy more than 99.999% of coliform bacteria according to an NIH/NCBI review of water disinfection practices. That's the model homeowners should think in. Layers. Not shortcuts.
First Steps Confirming a Bacteria Problem
Before you buy anything, confirm what you're dealing with. A surprising number of homeowners chase bacteria when the actual issue is iron, sulfur, sediment, or plumbing odor. The reverse happens too. People assume a smell will warn them about contamination, when bacteria can be present without obvious clues.
If you're on municipal water
Start with your utility's published water quality information and any active public alerts. City water is already treated, so a bacteria problem at home often points to a temporary distribution issue, a local plumbing problem, or an advisory that changes how you should use the water for a short period.
Look for:
- Boil advisories: Follow them immediately. Don't wait to see whether the water looks normal.
- Recent infrastructure work: Main breaks and repairs can change short-term risk.
- Changes inside the home: If only one fixture smells odd or has poor flow, the issue may be in your plumbing rather than the incoming supply.
If you've also had unexplained moisture or structural plumbing trouble, that deserves attention too. A hidden leak can create broader sanitation and plumbing complications. In that situation, a resource on Dallas-Fort Worth slab leak solutions can help you think through whether the problem is only water quality, or whether the home's plumbing system itself needs repair.
If you have a private well
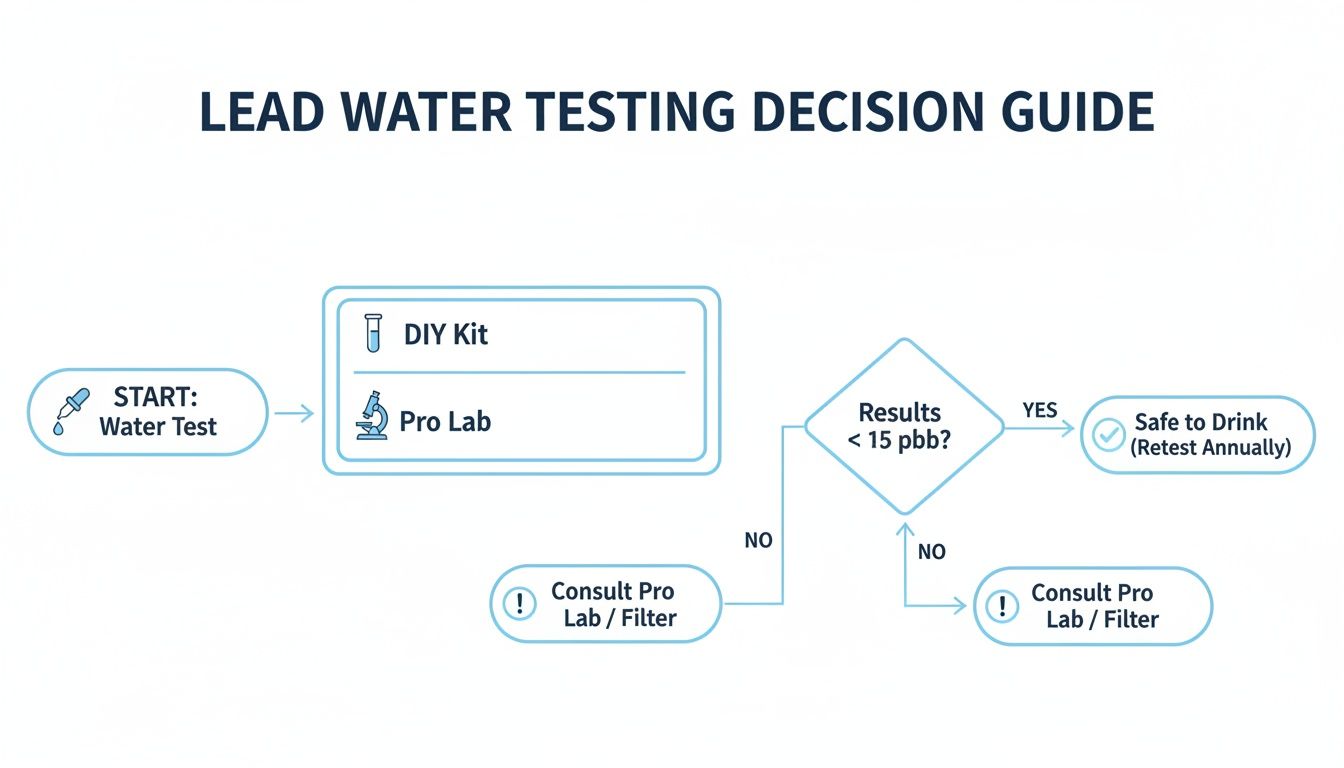
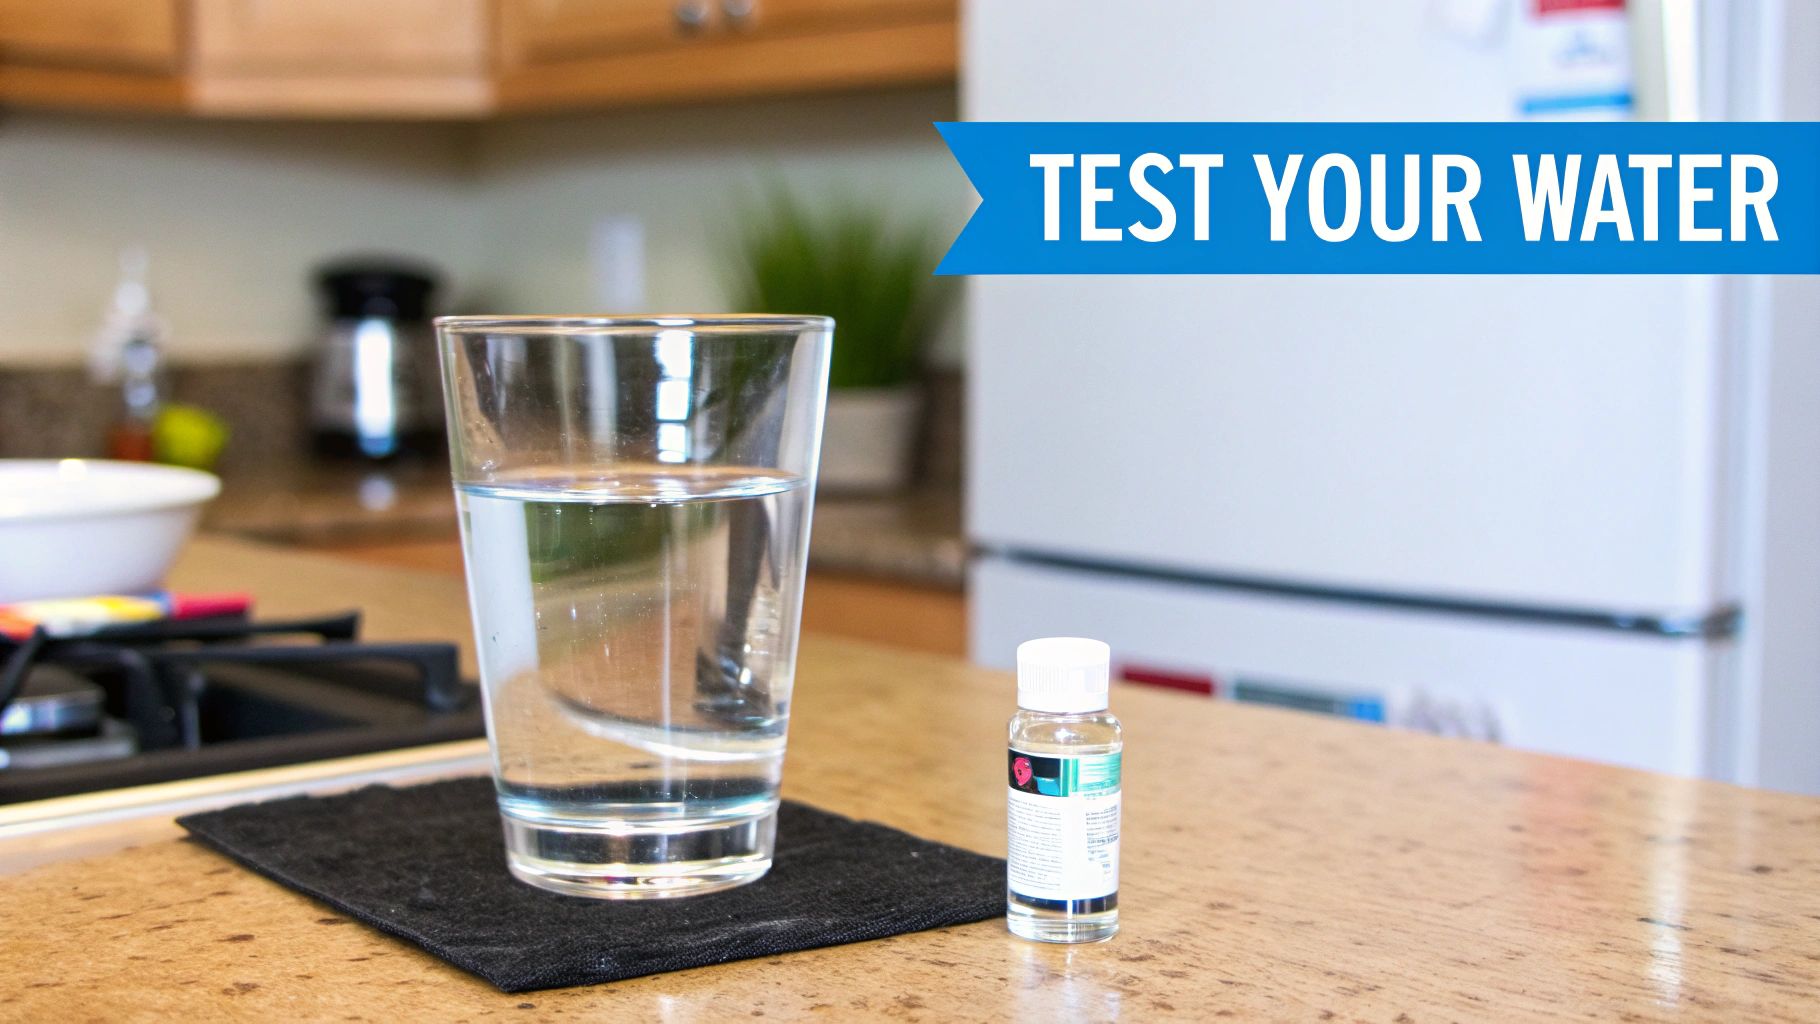
Well owners need to test. That's the starting point. Not a filter purchase, not a guess, not a conversation with a neighbor. A proper water sample analyzed by a certified lab gives you a real answer.
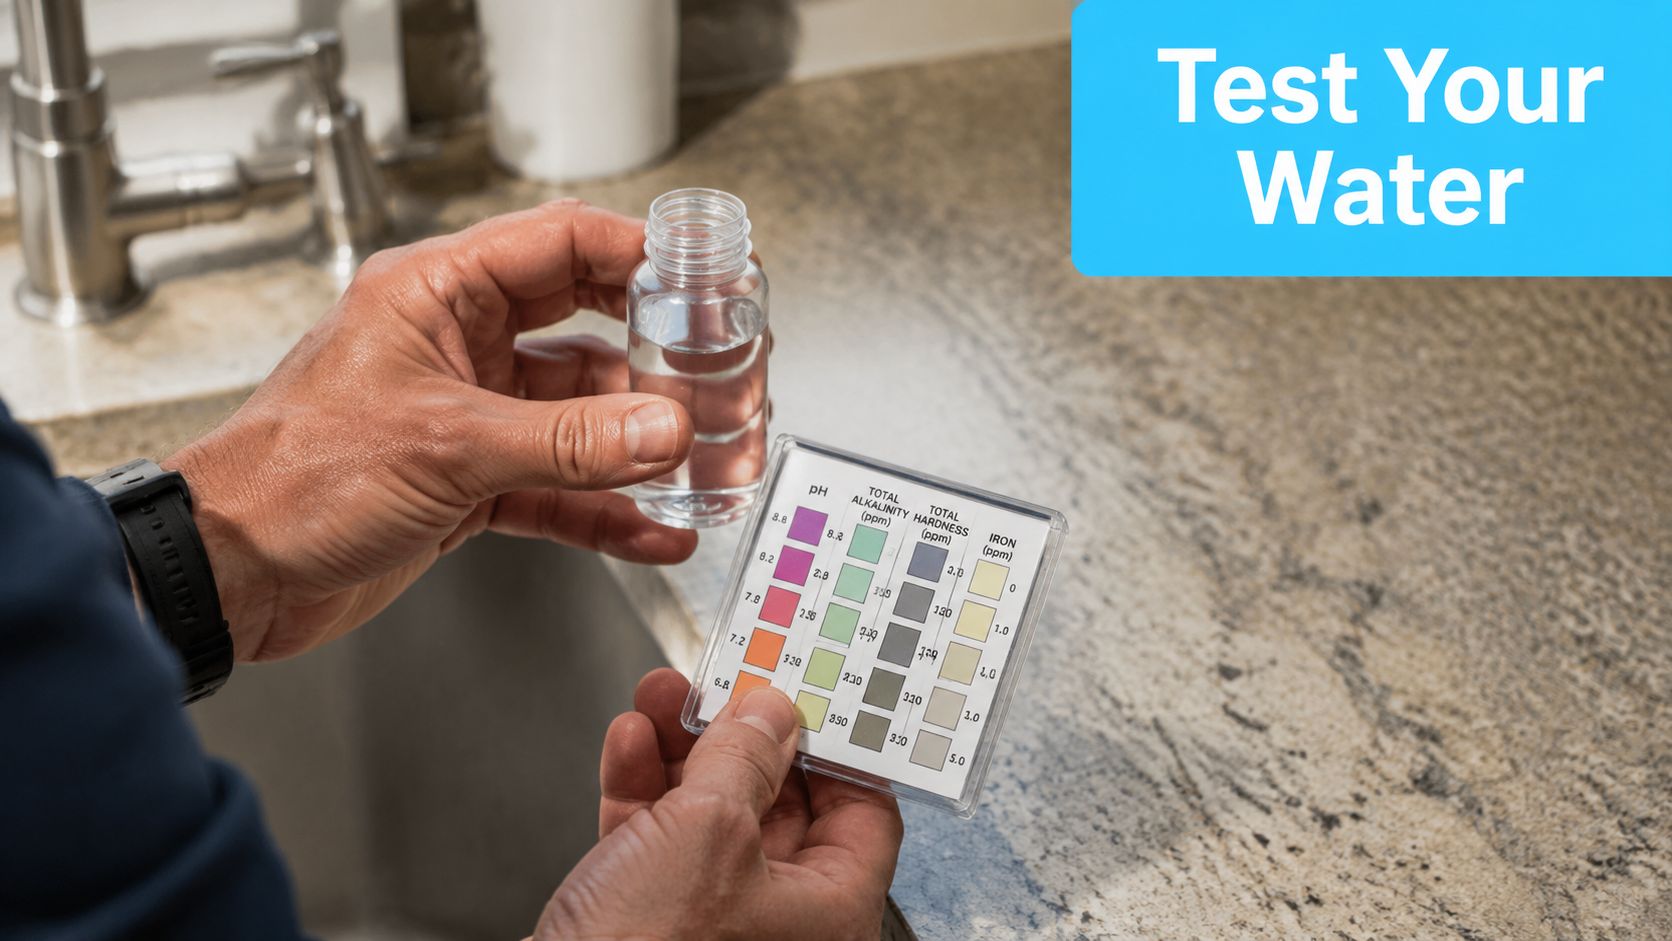
Ask for a bacteria test that covers total coliform and E. coli. Those names matter because they help distinguish a general warning sign from a more urgent fecal contamination concern.
When collecting a sample, keep the process clean and boring. That's what you want. False positives often come from sloppy sampling rather than the well itself.
A better sampling routine usually looks like this:
- Choose the right tap: Use a cold-water tap that best represents the source water.
- Remove attachments: Take off aerators, screens, or hose connections that can hold residue.
- Avoid touching the sample area: Don't touch the inside of the bottle or cap.
- Follow the lab instructions exactly: Timing and handling matter.
- Return the sample promptly: Old samples produce bad information.
Practical rule: If the sample process felt casual, trust the result less and retest correctly before making an expensive equipment decision.
Read the result for what it means
A positive bacteria result means more than "install a filter." It means you need to ask where the contamination is entering, whether it's ongoing, and whether point-of-use treatment is enough.
For city water, a positive result often pushes you toward short-term disinfection and a closer look at household plumbing conditions. For wells, it often means inspecting the source, the casing, the cap, drainage around the well, and the plumbing between the well and the tap.
That distinction saves a lot of frustration.
Emergency Fixes When You Need Safe Water Now
You turn on the tap after a storm, a power outage, or a boil-water notice, and now every normal task feels questionable. Drinking is the obvious concern, but the risk also extends to ice, infant formula, coffee, and brushing teeth. In that moment, the right choice depends on one question first. Do you need safe water for the next few hours, or for the next few days?
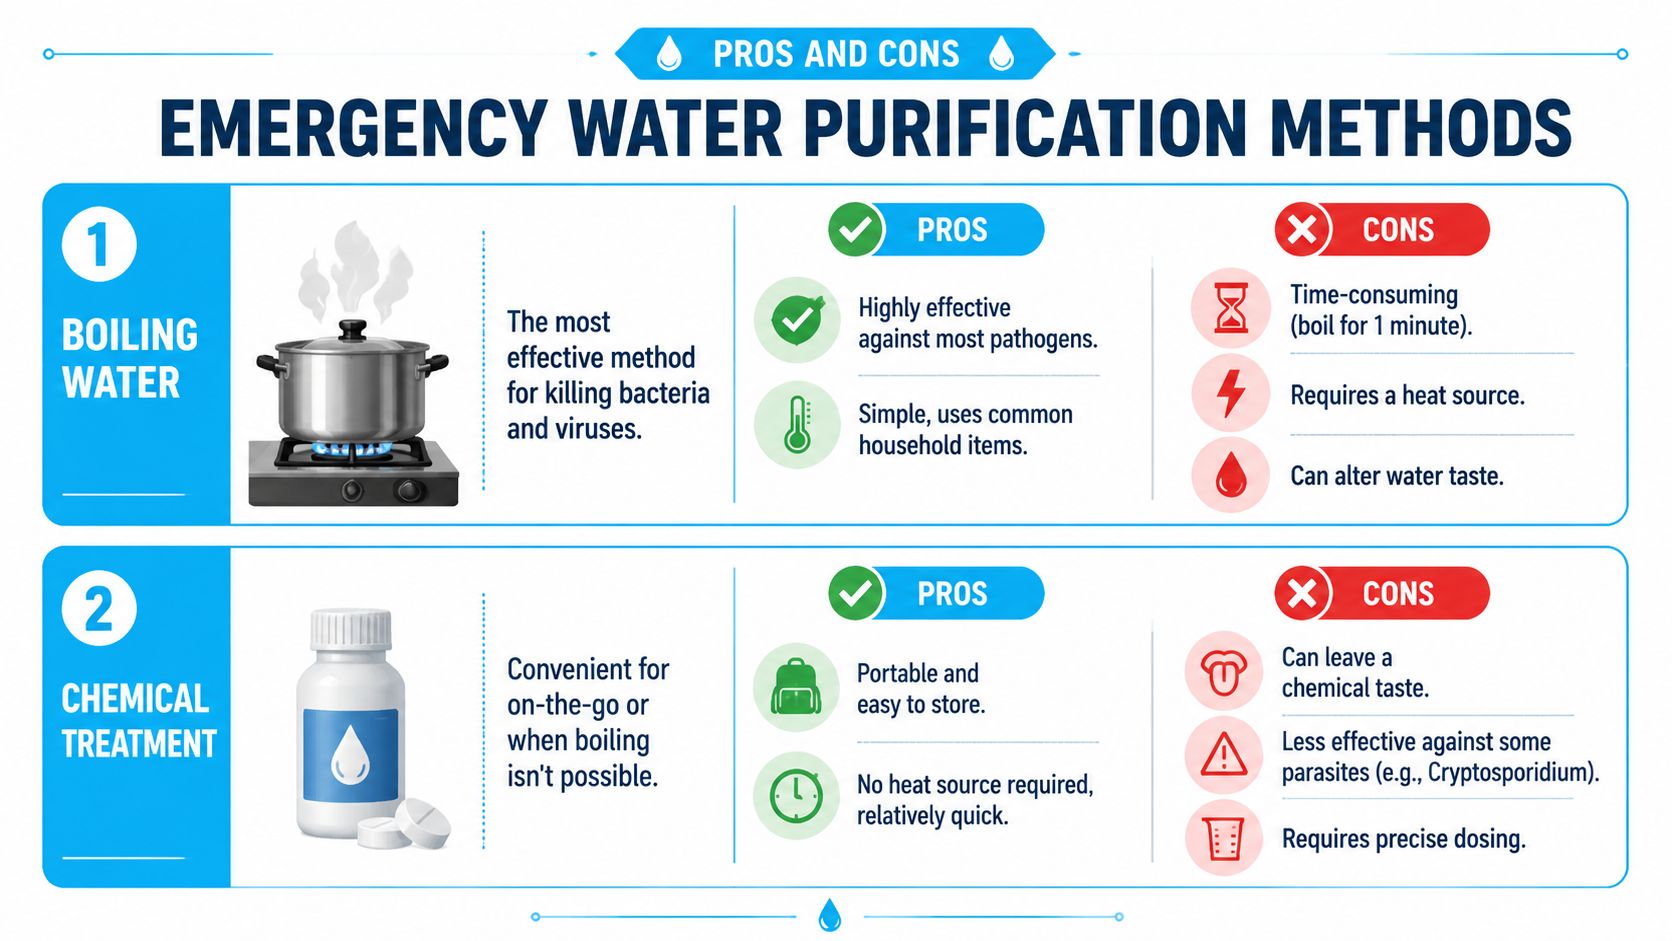
For immediate household use, boiling is usually the safest answer because it does not depend on guesswork, specialty equipment, or a perfect chemical dose. Bring clear water to a full rolling boil, then keep it there long enough to complete the treatment. At higher elevations, the required boil time increases because water boils at a lower temperature. If you want step-by-step help for short-term treatment decisions, this practical water safety advice guide is a useful reference.
If I am advising a homeowner during an active contamination event, boiling is my default recommendation unless fuel, power, or time make it unrealistic.
The details matter. Water that is hot is not treated water. Water with a few small bubbles is not treated water. Use a real rolling boil, let it cool, and store it in a clean container with a lid. I see plenty of failures after treatment, when safe water gets poured into a dirty pitcher or handled with contaminated hands.
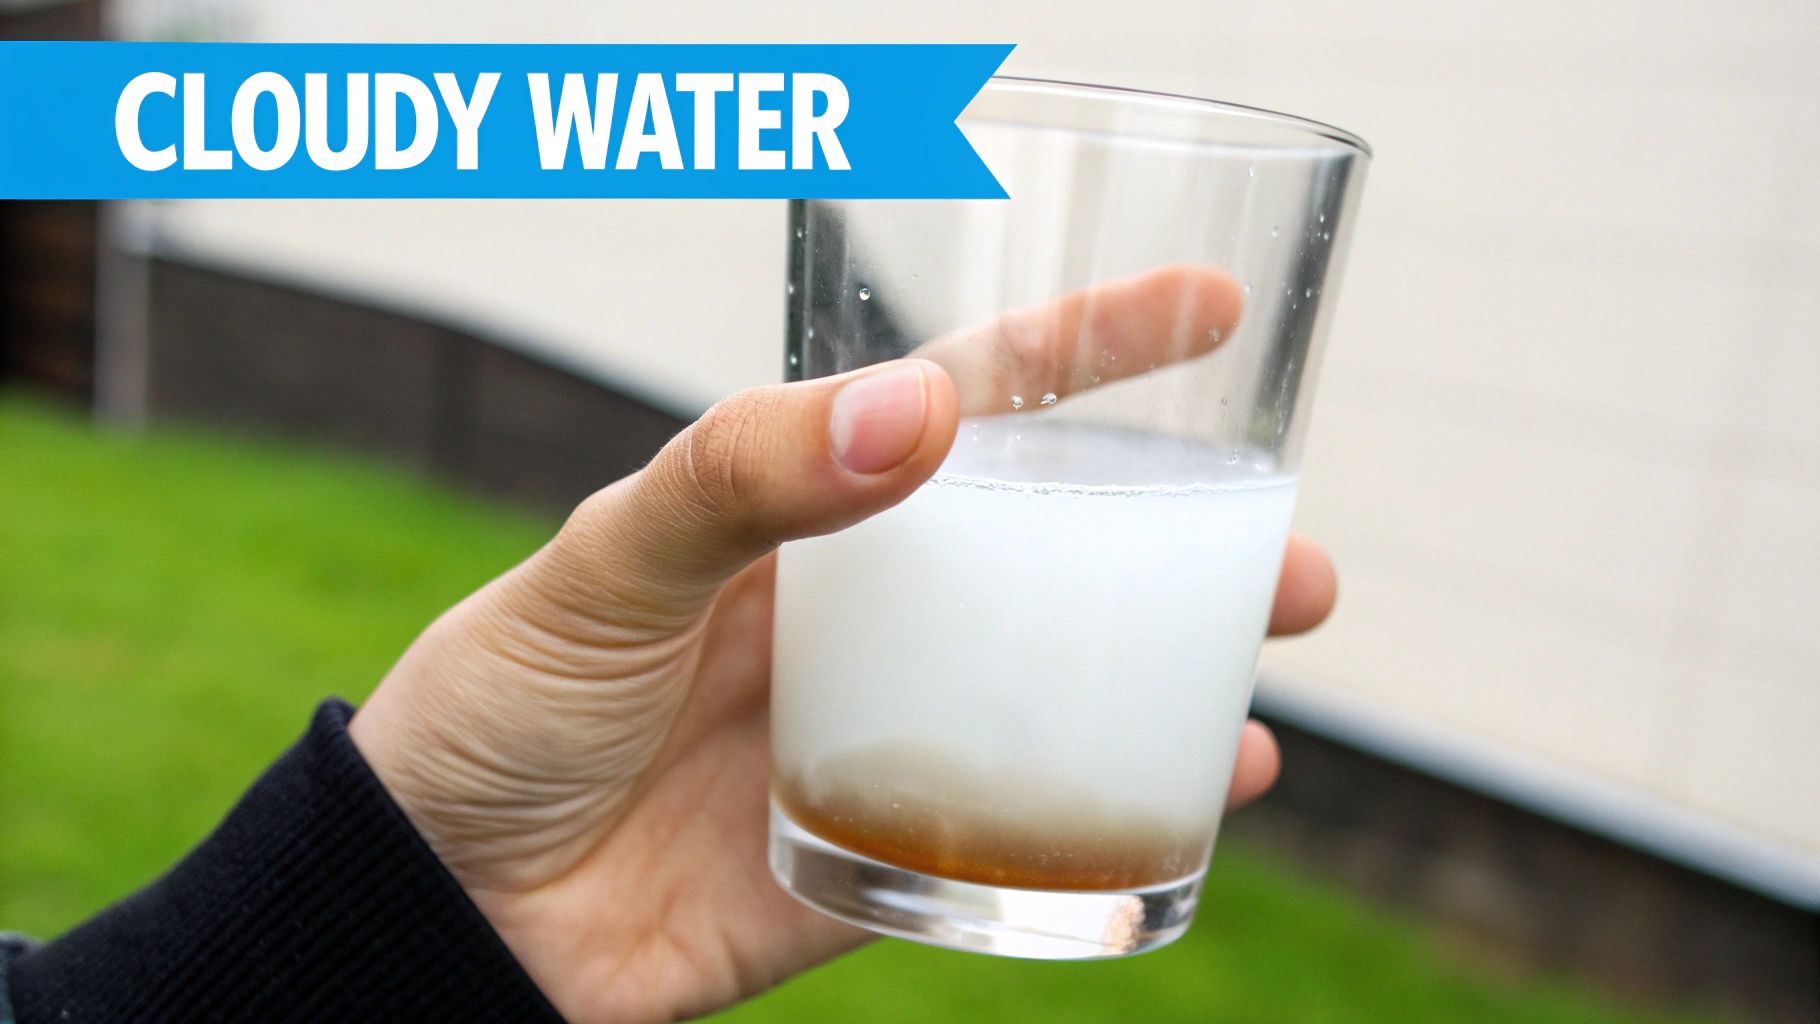
Cloudy water changes the decision. Suspended particles can shield bacteria and make any emergency method less dependable. Let sediment settle if possible, pour off the clearer water, and filter it through a clean cloth if that is the best you have on hand. The goal is simple. Improve clarity before you disinfect.
Chemical disinfection still has a place, especially if the stove is out, fuel is limited, or you need a portable backup. The trade-off is control. You must use a product labeled for drinking water treatment, follow the label exactly, and allow the full contact time. This is one reason I treat chemicals as a backup option for homeowners, not the first option, unless boiling is off the table.
Use chemical treatment when:
- boiling is not practical
- you need a stored emergency option
- you are dealing with a short disruption and the water is already fairly clear
Avoid relying on chemical treatment when:
- the water is muddy or heavily discolored
- you are guessing at the dose
- the product label is unclear or the product is old
The source of the contamination also affects the emergency plan. A city water advisory often points to a distribution problem, so temporary treatment may be enough until the utility clears the issue. A private well with repeated bacteria results is different. Emergency treatment can make water safer today, but it does not solve a bad well cap, surface runoff near the casing, or contamination entering through the plumbing.
That recurring-contamination problem is where homeowners lose time and money. They treat the water at the sink, then keep getting the same bacteria result because the entry point never got fixed.
If sewage has backed up, flooded a crawlspace, or contaminated the home environment, treat it as both a water safety problem and a sanitation problem. In that situation, guidance on Los Angeles sewage cleanup can help homeowners understand the cleanup side while they limit water use and switch to safe treated or bottled water.
Choosing Your Long-Term Filtration System
Emergency fixes buy time. Long-term protection comes from matching the treatment method to the source water, the type of contamination, and the places in the home where you need protection.
The biggest mistake I see is homeowners shopping by product category instead of treatment objective. They ask whether they need reverse osmosis, UV, a whole-house filter, or a countertop unit. The better question is this: Do you need to remove bacteria, kill bacteria, or fix the source of recurring contamination?
Start with a multiple-barrier mindset
Home water treatment works best as a multiple-barrier process. The UK Drinking Water Inspectorate notes that membrane processes such as microfiltration, ultrafiltration, nanofiltration, and reverse osmosis can provide adequate removal of pathogenic bacteria, while other processes reduce microorganisms before final disinfection in a layered system, as outlined in its treatment guidance on physical removal of contaminants.
For a homeowner, that usually means three jobs:
- Pre-treatment first: Remove turbidity and larger particles so downstream equipment can work properly.
- Fine filtration second: Use a membrane or other validated barrier where physical removal is needed.
- Disinfection last: Finish with a kill step when the water source or risk profile calls for it.
That sequence matters because filtration alone may not be enough for all microbial risks, especially when source conditions change.
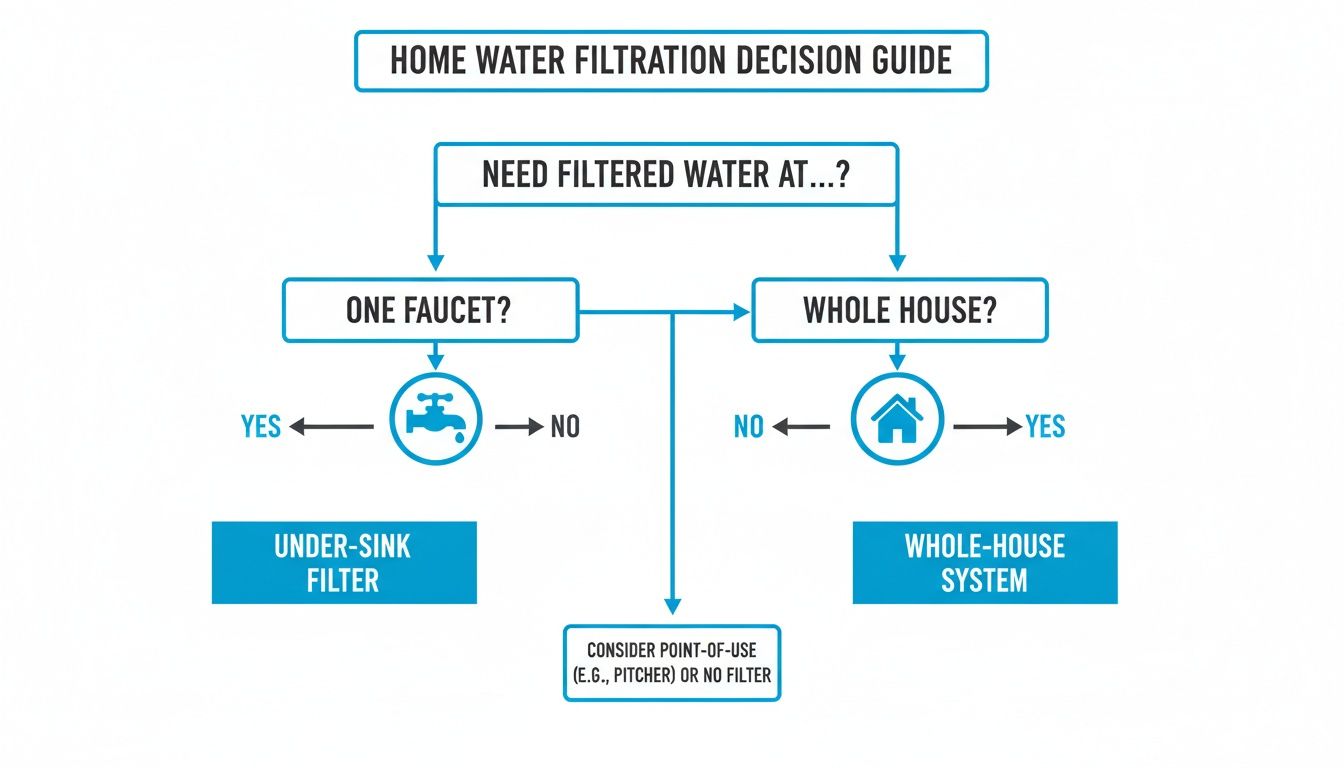
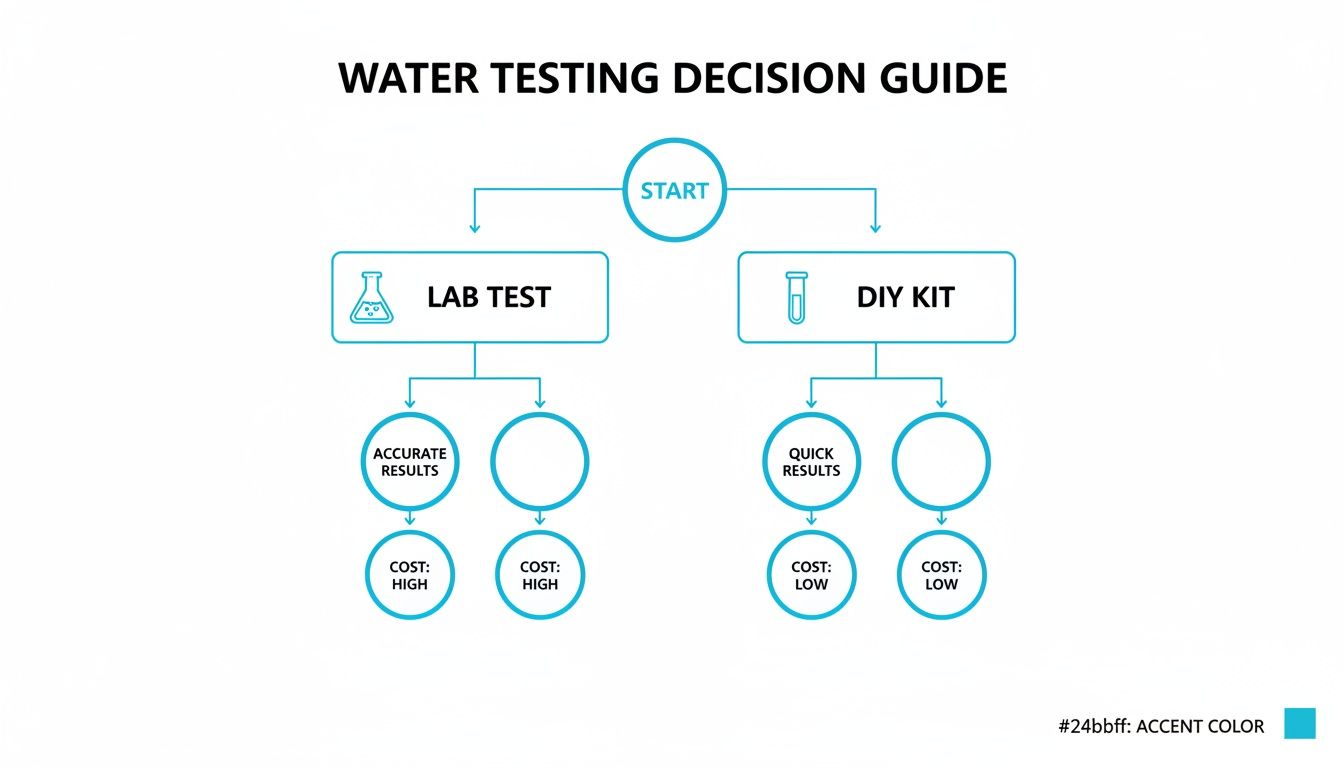
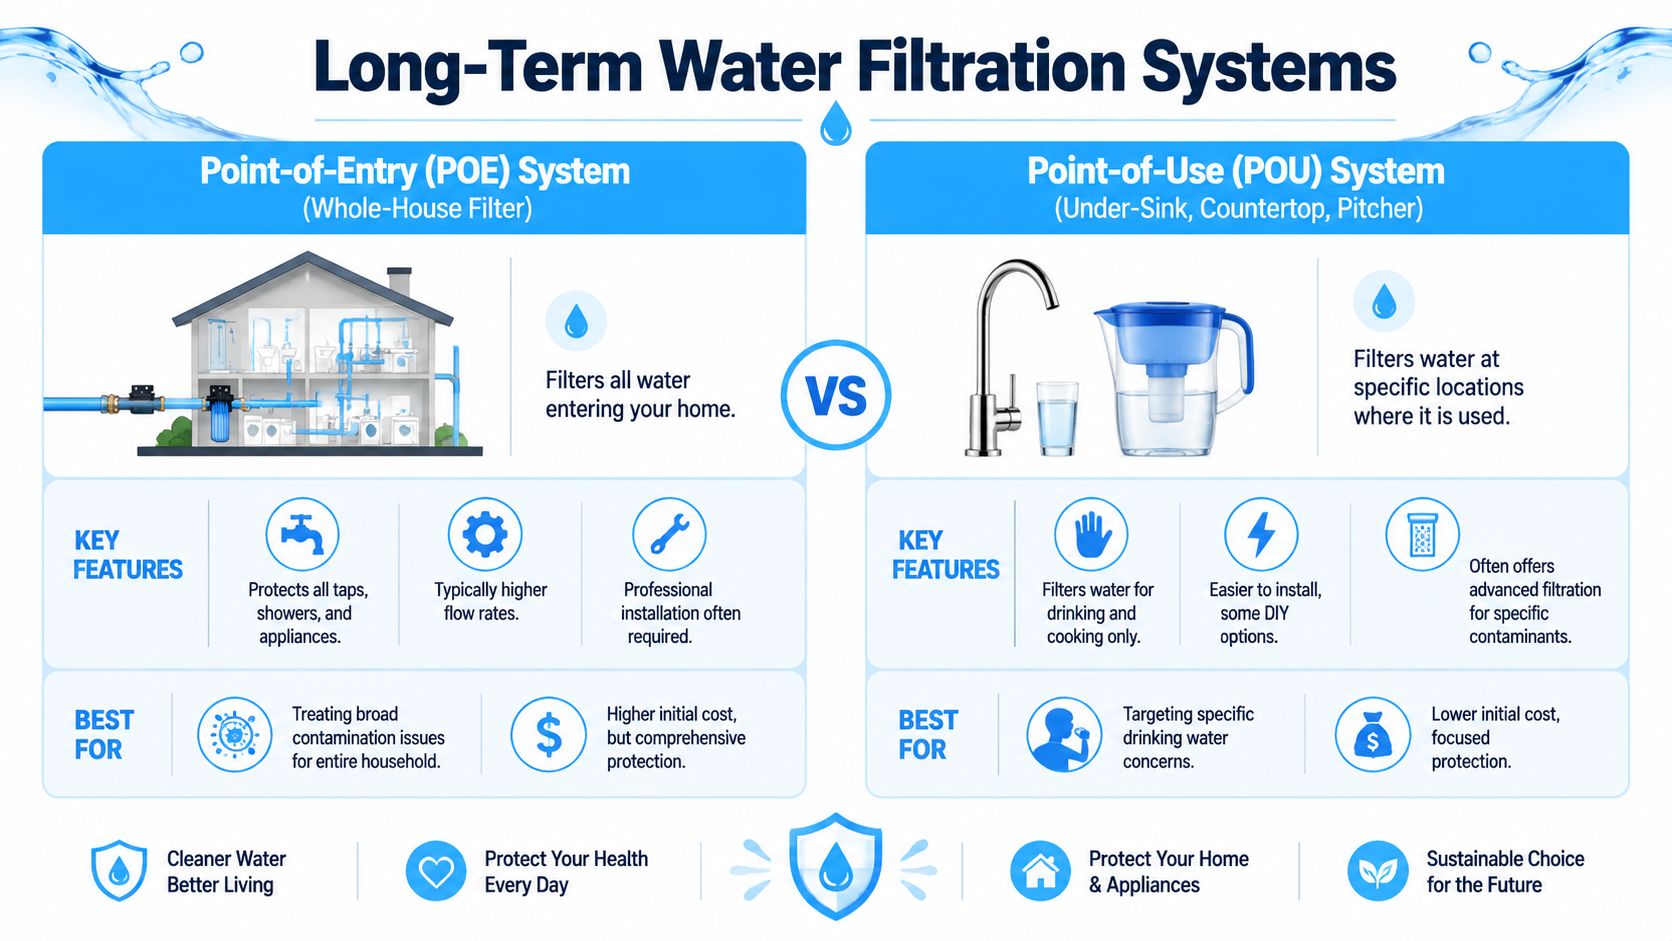
A quick visual makes the whole-house versus point-of-use decision easier:
The strongest physical removal options
When the goal is physical bacteria reduction, membrane filtration is the top tier. A 2024 systematic review found that microfiltration, ultrafiltration, and reverse osmosis removed bacteria most effectively, with an average log removal value of 4.5 and a 95% confidence interval of 3.9 to 5.1, which corresponds to roughly 99.9968% removal in that review's analysis. The same source also notes that reverse osmosis was strongest for viruses with an average LRV of 4.9, as summarized in this ACS Environmental Science & Technology review.
For practical household shopping, the CDC guidance summarized in that review notes that a filter with an absolute pore size of 0.3 microns or smaller will remove bacteria and parasites, while reverse osmosis filters remove parasites, bacteria, and viruses.
That gives you a useful screening question when reading product specs. If the manufacturer doesn't clearly state an absolute pore size or validated microbiological performance, don't assume the unit is suitable for bacteria.
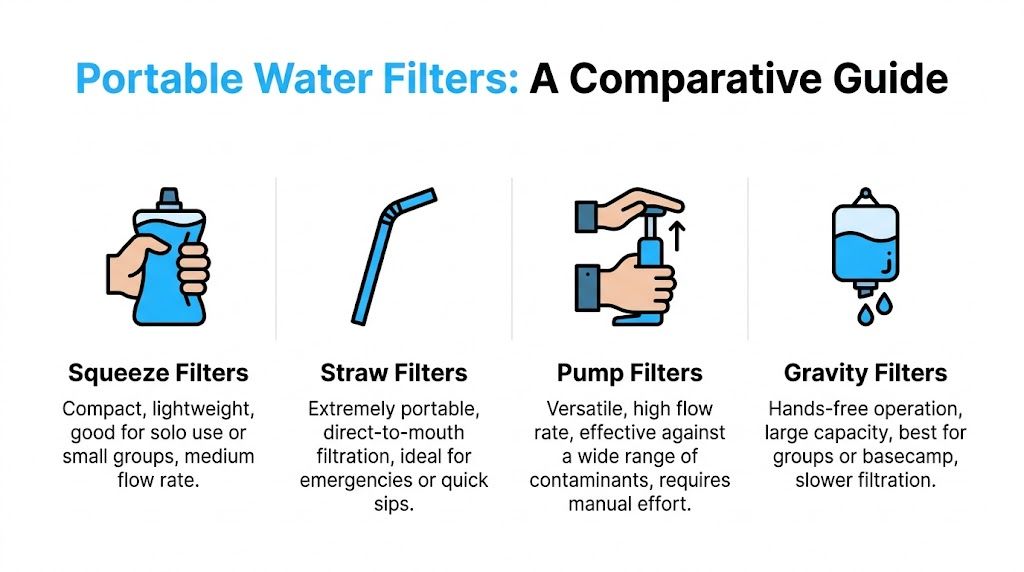
Here's a useful video overview before getting into the side-by-side comparison:
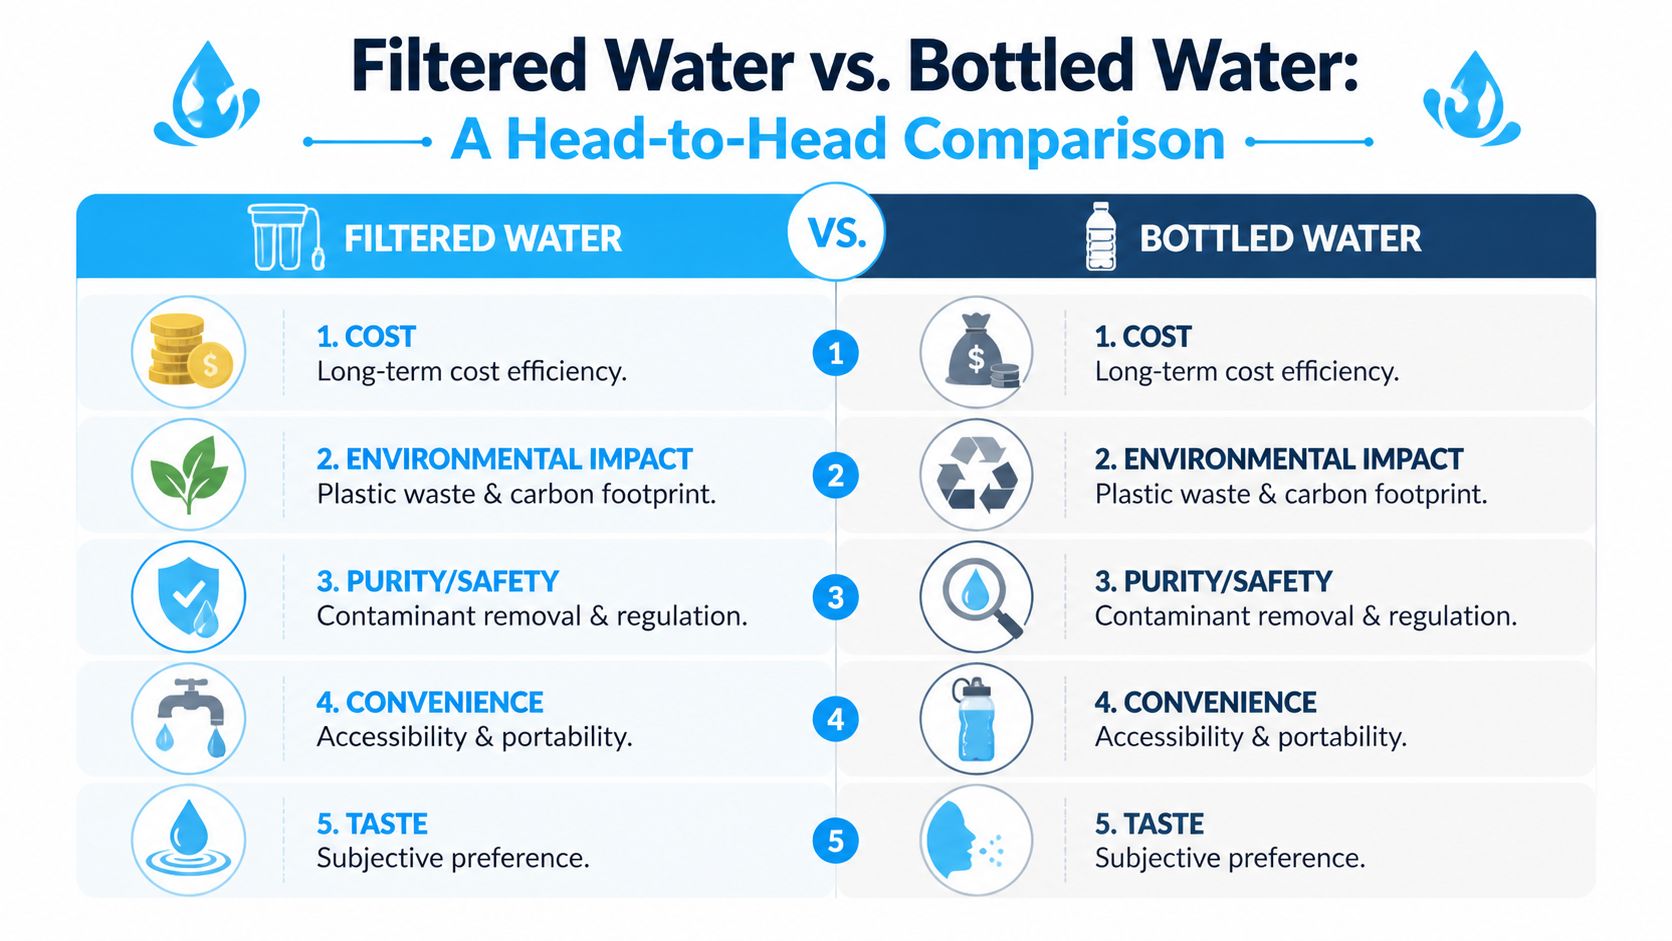
Comparing the main home options
Some homeowners need point-of-use protection at the kitchen sink. Others need point-of-entry treatment for the whole house because the source itself is suspect. That's why broad buying advice tends to fail.
| Method | How it Works | Best For | Typical Cost | Key Consideration |
|---|---|---|---|---|
| Reverse osmosis | Uses a tight membrane to physically reduce contaminants | Drinking and cooking water at one tap | Higher than basic faucet or pitcher filters | Usually point-of-use, slower production, needs maintenance |
| Ultrafiltration or microfiltration | Uses membrane pores sized for physical removal | Homes needing bacteria-focused filtration without full RO | Varies by system design | Verify the unit is intended for microbiological use |
| UV disinfection | Uses ultraviolet light to inactivate microbes | Clear water that already has particle control upstream | Equipment and lamp replacement costs vary | Water clarity matters, and UV doesn't remove particles |
| Whole-house chlorination or disinfection setup | Treats incoming water before distribution in the home | Recurring well contamination or whole-house protection needs | Usually professional installation territory | Best when paired with source correction and follow-up filtration |
| Sediment plus carbon only | Reduces particles, taste, and odor issues | Aesthetic improvement on treated municipal water | Usually lower entry cost | Not a stand-alone bacteria strategy |
You'll notice I didn't put pitcher filters in the bacteria-removal category. That's intentional.
Which system fits which home
A city-water homeowner usually does best with targeted treatment at the tap for drinking water unless there's an active utility issue or a building-specific contamination concern. In many homes, a bacteria-rated point-of-use system is the practical answer.
A private-well homeowner often needs more. If bacteria are recurring, the right answer is rarely a lone under-sink filter. It may be source repair plus shock disinfection plus a whole-house barrier, with an additional drinking-water polish at the kitchen sink.
A renter usually needs a removable point-of-use option and should be realistic about limits. If the building has a temporary advisory, boiling is still the emergency answer.
If you're comparing treatment categories beyond bacteria alone, a broader set of home water softener solutions can help separate hardness treatment from microbiological treatment, because homeowners often bundle those issues together when they shouldn't.
For broader filter selection help, this practical library of water filtration advice and buying guidance is useful once you've identified whether the problem is source-wide or only at the tap.
A filter that works beautifully for chlorine taste can be the wrong tool for bacteria. Buy for the contaminant, not for the category name on the box.
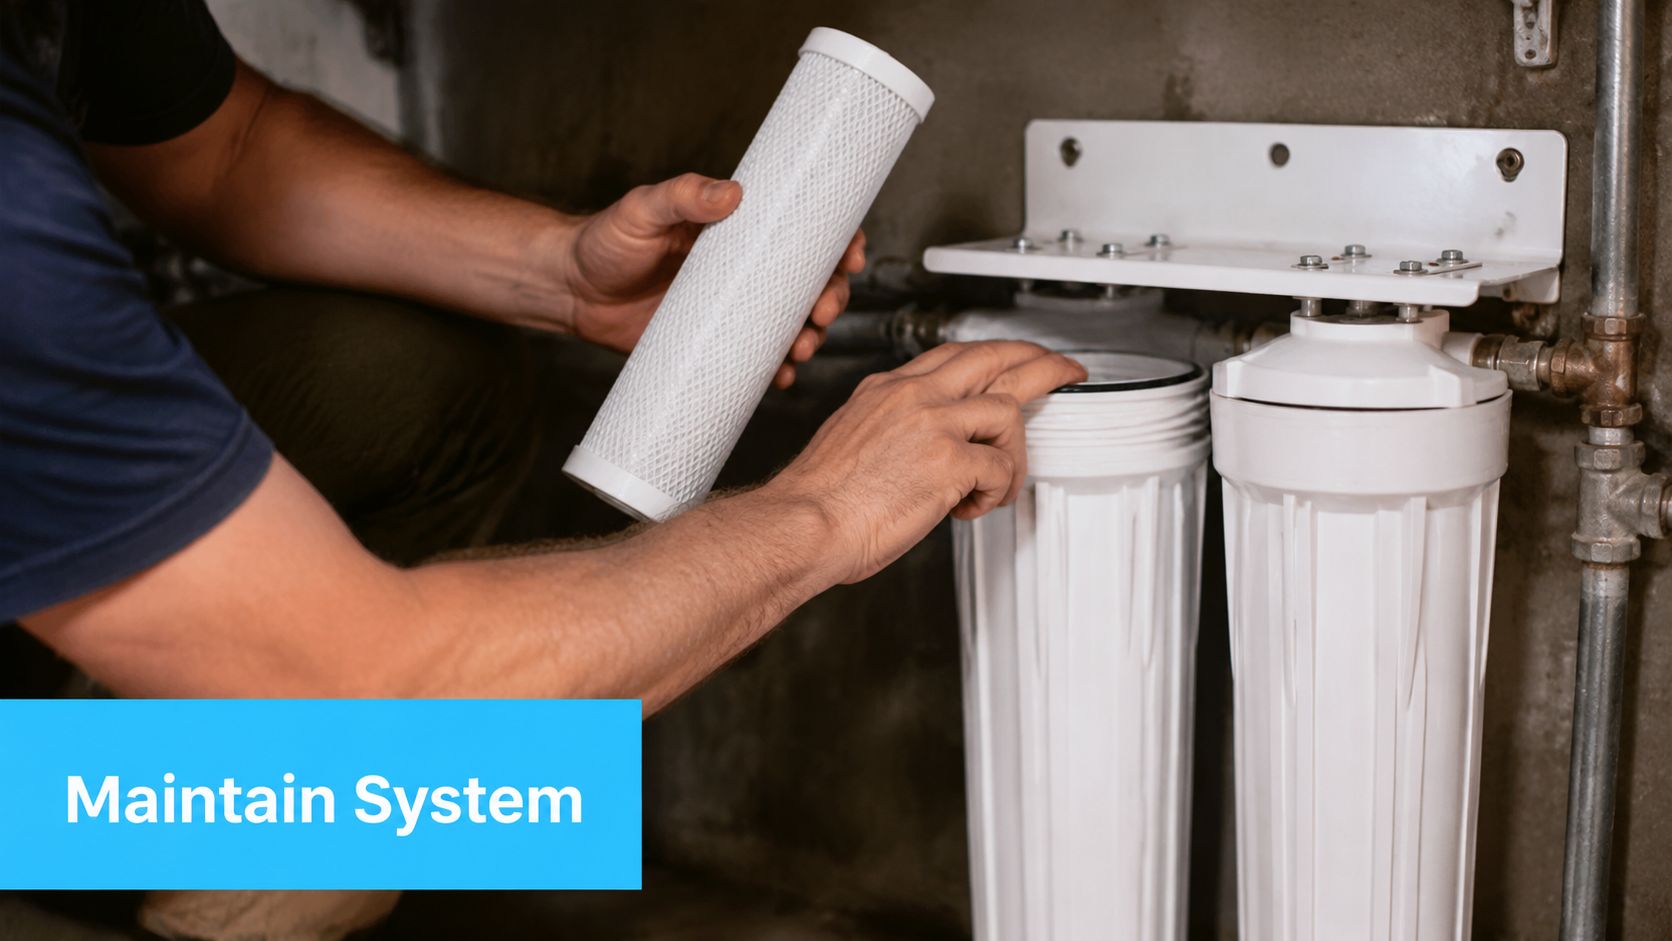
Keeping Your System Working and Water Safe
A bacteria treatment system can fail unnoticed. That's why maintenance matters more than the purchase. Homeowners love installation day because it feels like the problem is solved. The harder truth is that neglected equipment can turn a sound treatment plan into an unreliable one.
Maintenance is part of treatment
Filters load up. UV systems depend on clean water and functioning components. Housings, cartridges, and prefilters need regular attention. If a system includes multiple stages, the first stage protects the next one. Ignore the prefilter and the downstream equipment takes the hit.
A smart maintenance routine includes:
- Changing prefilters on schedule: Sediment and carbon stages protect membranes and UV chambers from fouling.
- Sanitizing during service: Don't swap cartridges with dirty hands and contaminated housings.
- Checking for bypasses and leaks: One loose fitting can undermine the entire system.
- Keeping a service log: If water quality changes, dates matter.
This isn't just about equipment life. It's about whether the barrier still performs the job you bought it for.
Recurring contamination usually means the source is still compromised
For private wells, eliminating bacteria often requires more than just a filter. The Wisconsin DNR notes that bacteria in a water system are often eliminated by combining correction of sanitary defects with disinfection, and it recommends leaving chlorine in the system for 8 to 24 hours before thorough flushing and resampling in its technical note on well disinfection and cleaning.
That single point changes how homeowners should think. If bacteria keeps coming back, don't keep replacing cartridges and hoping. Inspect the well cap, casing, drainage, and any route for surface contamination. If needed, involve a licensed well driller or pump installer.
Prevent recontamination inside the home
Even after treatment, bad handling can undo your work.
Use this checklist:
- Store treated water cleanly: Use sanitized, closed containers.
- Address stagnant plumbing: Fixtures that sit unused can create trouble spots.
- Clean faucet aerators and screens: They collect debris and biofilm.
- Retest after corrective work: Don't assume the source is fixed because the water looked better for a week.
If you corrected the source, disinfected the system, and verified the result, you're managing risk. If you only installed a device, you're still guessing.
Common Questions About Bacteria in Drinking Water
Can a basic pitcher filter remove bacteria
Usually, no. Pitcher filters are generally chosen for taste and odor improvement, not microbiological protection. If a product isn't clearly specified for bacteria reduction, don't assign it that job.
What's the difference between a filter and a purifier
This confuses a lot of homeowners. A filter physically removes certain contaminants. A purifier addresses a broader microbiological problem, especially when viruses are part of the concern.
The National Park Service explains this distinction clearly in its water treatment guidance for filters and purifiers. A filter with a 0.3-micron pore size removes bacteria and parasites, but not viruses. For virus removal, you need a purifier, which could be reverse osmosis, UV disinfection, or boiling.
That matters because people often buy a portable or under-sink filter and assume "filter" means "safe against everything." It doesn't.
If I have city water, do I need a whole-house bacteria system
Usually not unless you have a specific building issue, a temporary contamination problem, or a special source concern. Most municipal systems already disinfect the supply before it reaches your home. For many households, the practical question is whether you want added point-of-use protection for drinking water, not whole-house bacteria treatment.
If I shock chlorinated my well and bacteria came back, what now
Stop treating that as a simple filter problem. Repeated contamination points to an unresolved entry path or sanitary defect. The well structure, cap, casing, nearby drainage, flood impact, or plumbing setup may be the actual issue.
At that stage, calling a licensed well professional is usually smarter than adding another device.
Is reverse osmosis enough by itself
Sometimes for point-of-use drinking water, yes. But not as a blanket answer for every house and every source. If the source water is questionable, if turbidity is high, or if contamination is recurring, reverse osmosis works best as part of a wider treatment plan rather than as a lone fix.
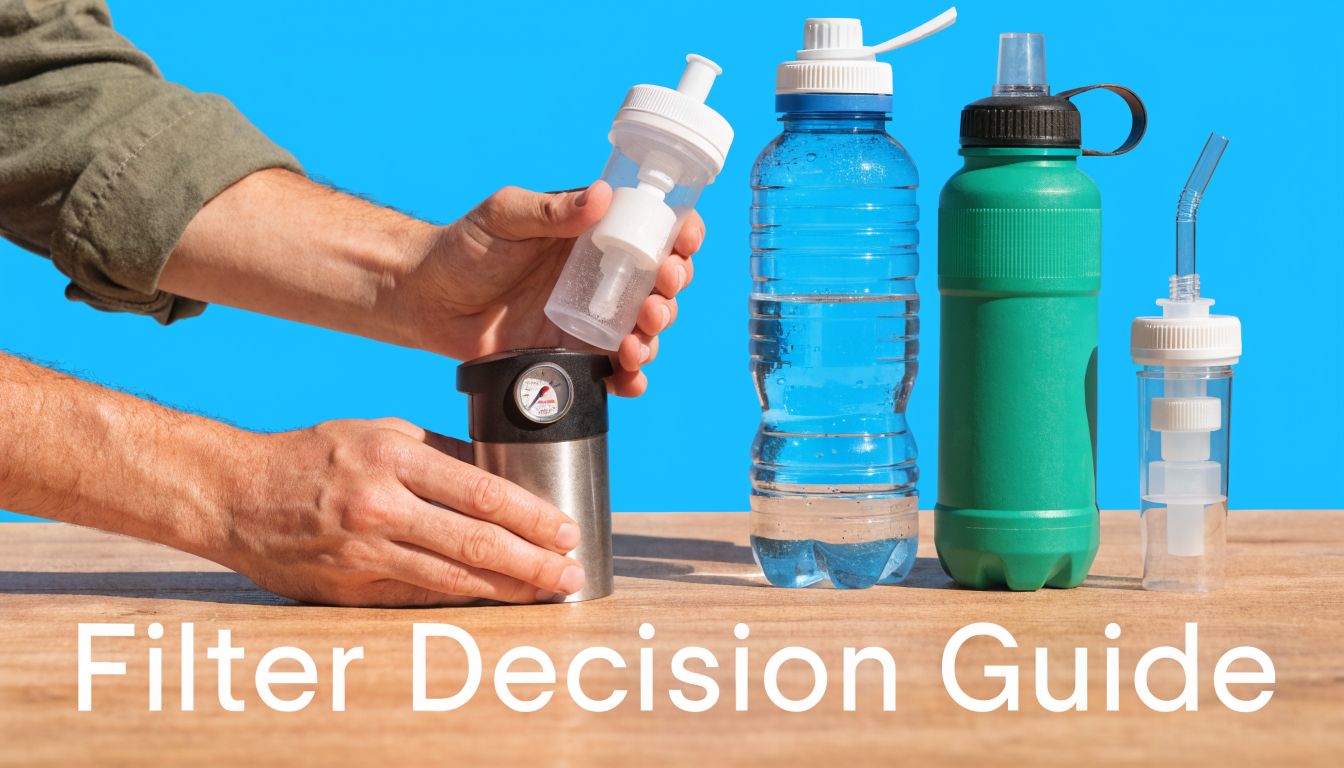
What's the simplest rule for choosing a system
Use this decision shortcut:
- Emergency today: Boil.
- Clear drinking water at one tap: Consider a properly specified point-of-use membrane system.
- Recurring well bacteria: Fix the source, disinfect the system, then add treatment.
- Virus concern or uncertain source: Think purification, not simple filtration.
Most bad decisions happen when homeowners skip that first sorting step.
If you're comparing systems, replacement cartridges, and practical home setups, Water Filter Advisor is a solid place to keep researching. It helps homeowners sort through point-of-use filters, whole-house options, maintenance needs, and real-world trade-offs so you can choose equipment that fits your water, not just the marketing.