Think of a whole-house sediment filter as the bouncer for your home’s entire plumbing system. It’s the unsung hero that stands guard at your main water line, kicking out all the grit, sand, and rust before it can crash the party and cause trouble. Whether you're on city water or a private well, this filter is one of the smartest investments you can make to protect your pipes and appliances from a slow, expensive death.
Why Your Home Needs a Whole-House Sediment Filter
If your home’s plumbing is its circulatory system, then sediment—those tiny troublemakers like sand, silt, and rust—is the bad cholesterol. It flows silently through your pipes, building up over time and waiting to cause a blockage.
Eventually, this gunk clogs your plumbing, strangles your water pressure, and slowly grinds away at every appliance it touches. A whole-house sediment filter is the quiet guardian that keeps your home's water arteries clear and flowing freely.

What Is Sediment and Where Does It Come From?
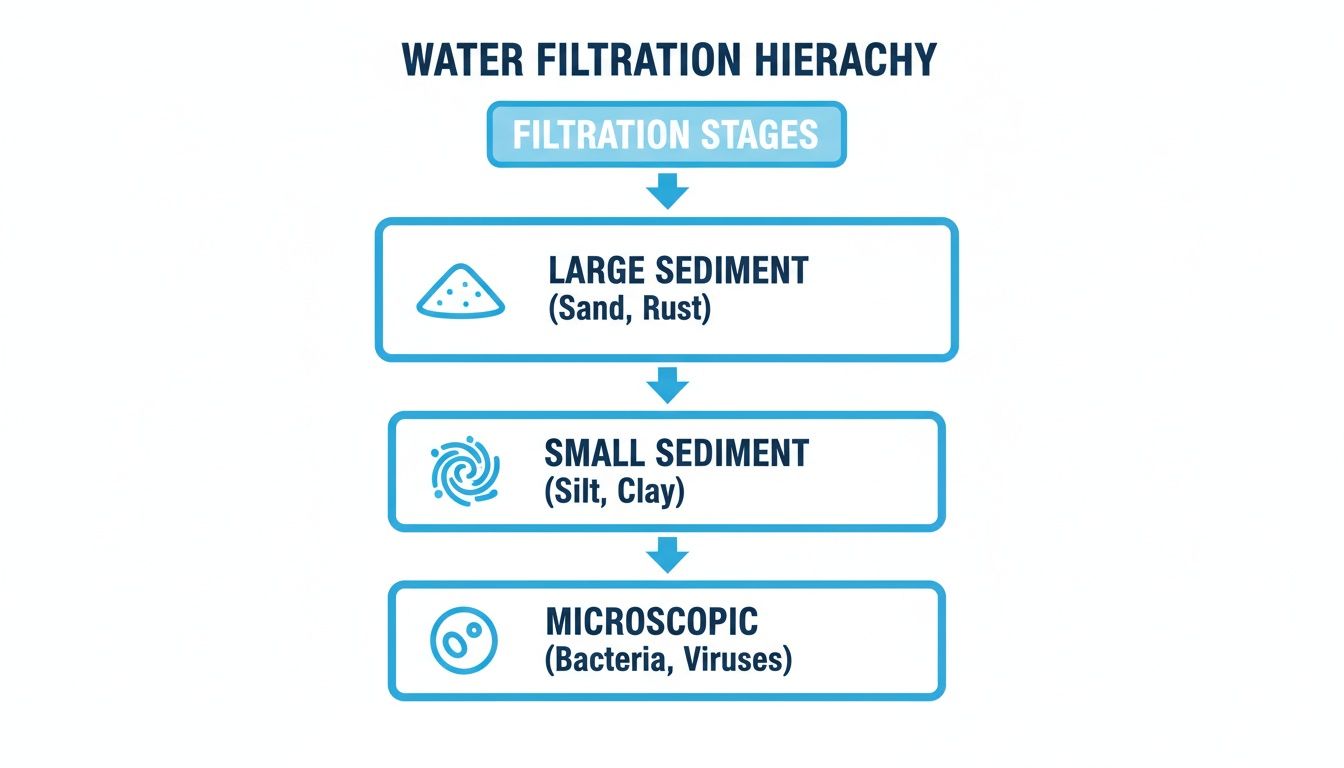
So, what exactly is this sediment stuff? It’s not a chemical, but a catch-all term for any physical debris floating in your water. These tiny, solid particles are uninvited guests that can sneak into your water supply from a few common places:
- Municipal Water Lines: Many of our cities have aging infrastructure. Old iron pipes can flake off small bits of rust and scale, which then get a first-class ticket straight to your home.
- Well Water: Private wells are notorious for pulling in fine sand, silt, and clay from the surrounding earth, especially after heavy rain. With around 13 million U.S. households relying on wells, it's a widespread problem.
- Nearby Construction: Ever notice your water run brown for a bit? Nearby construction can stir up decades of settled junk in the water mains, flushing it right into your pipes.
The Silent Damage Caused by Sediment
The real trouble with sediment is that it’s a silent saboteur. Many homeowners don't realize they have a problem until they hear their water heater making crackling noise—a classic sign that sediment has built up inside and is literally cooking on the heating element. It sounds like popcorn, but it’s actually your appliance begging for help.
Without proper filtration, these particles can cause up to 30% faster wear on appliances like water heaters and washing machines, leading to hundreds in repair bills.
Think of these particles as liquid sandpaper constantly grinding away at the delicate seals, valves, and tiny passages inside your appliances. This leads to lower efficiency, frustratingly low water pressure, and, ultimately, the premature death of expensive equipment.
By installing the best whole-house sediment filter, you’re doing more than just getting cleaner water. You're proactively protecting your biggest investments. It acts as an essential pre-filter, clearing the way and extending the life of more specialized systems like water softeners or carbon filters. For more tips, check out our guide on how to get started with home water filtration for more advice. It's the most important first step toward a healthier, more efficient home.
Decoding Micron Ratings for Your Water
Once you start shopping for a whole-house sediment filter, you’ll see one term everywhere: micron rating. This number is the single most important detail on any filter because it tells you exactly how big of a particle it can stop. So what does that actually mean for the water in your house?
Think of it like picking the right screen for a window. A big, wide mesh will keep leaves out, but all the mosquitos will fly right through. A much finer screen stops even the smallest gnats, but you won't get much of a breeze. A filter's micron rating is just like that—it defines the size of the "holes" in your filter media.
A micron (short for micrometer) is one-millionth of a meter. That's so small it’s tough to even picture. For a little context:
- A single human hair is about 70 microns thick.
- A red blood cell is roughly 5 microns across.
- The dust you can see floating in a sunbeam is usually bigger than 40 microns.
So, when a filter says it has a 5-micron rating, it's engineered to trap particles you can't even see. This is exactly why you have to match the filter's rating to your specific water source.
Matching Micron Ratings to Your Water Source
Picking the right micron rating isn't about grabbing the smallest number you can find. It’s a balancing act between filtering power and water pressure, and the right choice depends entirely on where your water comes from.
For City Water:
If you're on municipal water, it’s already been treated. The sediment you’re dealing with is usually much finer stuff—think tiny bits of rust or scale from aging city pipes. For most homes on city water, a 5-micron filter is the perfect starting point. It’s fine enough to catch those troublemaking particles without choking your water pressure.
For Well Water:
Well water is a completely different beast. It can be loaded with heavy, coarse sediment like sand, silt, and clay. If you slap a 5-micron filter on a well system, you're just asking for trouble. It will clog up incredibly fast, tanking your water pressure and giving you a constant maintenance headache.
A huge mistake people make with well water is thinking a smaller micron number is always better. This often leads to a filter that clogs every few days, non-stop maintenance, and a massive drop in water flow to the whole house.
For well water, you need a smarter strategy: step-down filtration. You start with a coarser filter, maybe a 50-micron or even a 100-micron spin-down filter, to grab all the big, chunky stuff first. This acts as a "pre-filter," protecting the finer filter that comes next. This two-stage approach gives you fantastic filtration and keeps your water pressure strong and steady.
The Trade-Off: Filtration vs. Flow Rate
Here’s the fundamental challenge with any water filter: there is a direct trade-off between how finely you filter and how much water can get through. The smaller the micron rating, the more it will restrict your water flow.
Imagine trying to pour water through a pipe full of big marbles versus a pipe packed with fine sand. The water will gush through the marbles but will only trickle through the sand.
A 1-micron filter is like that fine sand—it provides amazing filtration but will slow your water down way more than a 25-micron filter. This is why knowing what's in your water is so critical. If your city water is already pretty clean, a 5-micron filter won't create a noticeable pressure drop. But if you install that same filter on a well system pumping gritty water, you could see your shower pressure disappear in a week.
Choosing the best whole house sediment filter is all about picking a micron rating that traps your specific sediment without starving your faucets and appliances of the water they need.
Comparing the Main Types of Sediment Filters
Choosing the right whole-house sediment filter can feel a bit like picking a tool for a job you can't quite see. You know you have a problem with grit, sand, or rust, but what’s the best way to stop it?
Let's break down the three main contenders: spin-down filters, cartridge filters, and backwashing media filters. Each has its own superpowers, and the best one for your home really depends on what kind of junk is in your water.
Think of it like this: you wouldn't use a fine-mesh net to catch boulders. You start with the big stuff first and work your way down. A multi-stage approach, often using a couple of these different filter types, is how you get truly pristine water flowing through your pipes.
Spin-Down Filters: The Reusable Workhorses
Imagine a tiny, clear cyclone hooked up to your main water line. That's pretty much what a spin-down filter is. As water zips into the housing, it's forced into a vortex. This spinning motion throws the heavier gunk—sand, grit, flakes of scale—out to the sides, where it drops into a collection bowl at the bottom.
The clean water keeps flowing through a screen in the middle and on to your home. The real beauty here is its reusability. When you see gunk building up in the clear bowl, you don't swap out a filter. You just open a little valve at the bottom, and the water pressure blasts all the collected crud out. It's that simple.
- Best For: Homes on well water with a lot of coarse sediment like sand, or as a pre-filter to protect more expensive filters downstream. They’re fantastic at catching the big stuff, which dramatically extends the life of finer filters.
The initial cost is reasonable, but the long-term savings are huge because you're not constantly buying replacement cartridges. Maintenance is just a quick flush every few weeks or months.
Cartridge Filters: The Versatile Standard
Cartridge filters are what most people picture when they think of a water filter. They’re incredibly common, and for good reason. It’s a pretty simple setup: a housing holds a filter cartridge that you replace when it gets clogged. Water flows in, passes through the filter media, and comes out cleaner on the other side.
The magic is all in the cartridge. You can find one for just about any water problem, with a massive range of materials and micron ratings. This makes them super versatile for both city and well water.
You’ll know it’s time for a change when you notice your water pressure starting to drop. That’s the classic sign the cartridge has done its job and is full of junk.
Swapping it out is usually as easy as unscrewing the housing, popping in a new one, and screwing it back together. Their initial cost is low, but you do have to budget for buying new cartridges every few months.
Backwashing Media Filters: The Automated Powerhouse
If spin-down and cartridge filters are your manual tools, the backwashing filter is the fully automated, heavy-duty machine. These are big tanks filled with a bed of filter media, like specialized sand or other minerals. Water flows down through this media bed, which traps all the sediment.
The killer feature here is the self-cleaning cycle. A control valve on top is programmed to automatically reverse the water flow every so often—say, once a week. This "backwash" violently tumbles the media, scrubs it clean, and flushes all the trapped sediment down a drain line. It’s a true "set it and forget it" system.
- Best For: Homes with a ton of sediment, both fine and coarse. They’re also perfect for anyone who wants a powerful filter without any of the manual upkeep.
These have the highest upfront cost by a wide margin. But on the flip side, ongoing maintenance is practically zero, and the media inside can last for many years before it ever needs to be replaced.
To help you decide, let's put these three types side-by-side to see how they stack up against each other in the areas that matter most.
Sediment Filter Type Comparison
| Filter Type | Best For | Initial Cost | Ongoing Maintenance | Pros | Cons |
|---|---|---|---|---|---|
| Spin-Down | Well water with sand/grit; Pre-filtering | Moderate | Low (periodic flushing) | Reusable screen; No replacement costs; Easy to see when it's full | Only removes larger, coarse sediment |
| Cartridge | Municipal or well water with fine sediment | Low | Moderate (cartridge replacements) | Highly versatile; Wide range of micron ratings; Easy to install | Recurring costs add up; Can reduce flow rate when clogged |
| Backwashing | High sediment loads; Low-maintenance needs | High | Very Low (media lasts years) | "Set and forget" automation; Handles heavy-duty filtration; Long media life | Highest upfront investment; Requires a drain line; Takes up more space |
Ultimately, the best choice is the one that fits your water quality, your budget, and how much hands-on work you're willing to do.
Pleated vs. Depth Filters: The Battle for Surface Area
When you're looking at cartridge filters, the material inside makes a big difference. The two most common options are pleated and depth filters (like string-wound or melt-blown types).
Think of a pleated filter like an accordion. Its folded design creates a massive surface area to catch dirt right on the surface before it clogs. A depth filter is more like a dense spiderweb, designed to trap particles all the way through its thickness.
For whole-house sediment duty, pleated polyester filters often come out on top. A 5-micron pleated filter in a "Big Blue" housing, for instance, can keep your flow rate strong while still capturing very fine particles. Because many are washable, their service life can be 2-3 times longer than a disposable depth filter, which can cut your long-term costs by up to 40%.
In fact, real-world data shows these pleated designs can capture twice the dirt of a comparable string-wound filter. This makes them a great choice for well water with rust and helps reduce plastic waste by over 70% since you can reuse them. You can find out more about these pleated filter advantages on Allfilters.com.
How to Size Your Filter for Perfect Water Pressure
There’s nothing more frustrating than installing a new piece of plumbing, only to find it killed your water pressure. It’s a classic DIY headache. When it comes to water filters, a sudden pressure drop is the number one complaint we hear.
Choosing the best whole house sediment filter isn't just about grabbing the one with the finest micron rating. It's about matching the system's size to your home's water demand so your showers stay strong and satisfying.
An undersized filter acts like a bottleneck in your plumbing. It’s like squeezing a four-lane highway down to a single lane—you’re going to get a traffic jam. This is exactly what happens to your water, starving your faucets, appliances, and showerheads.
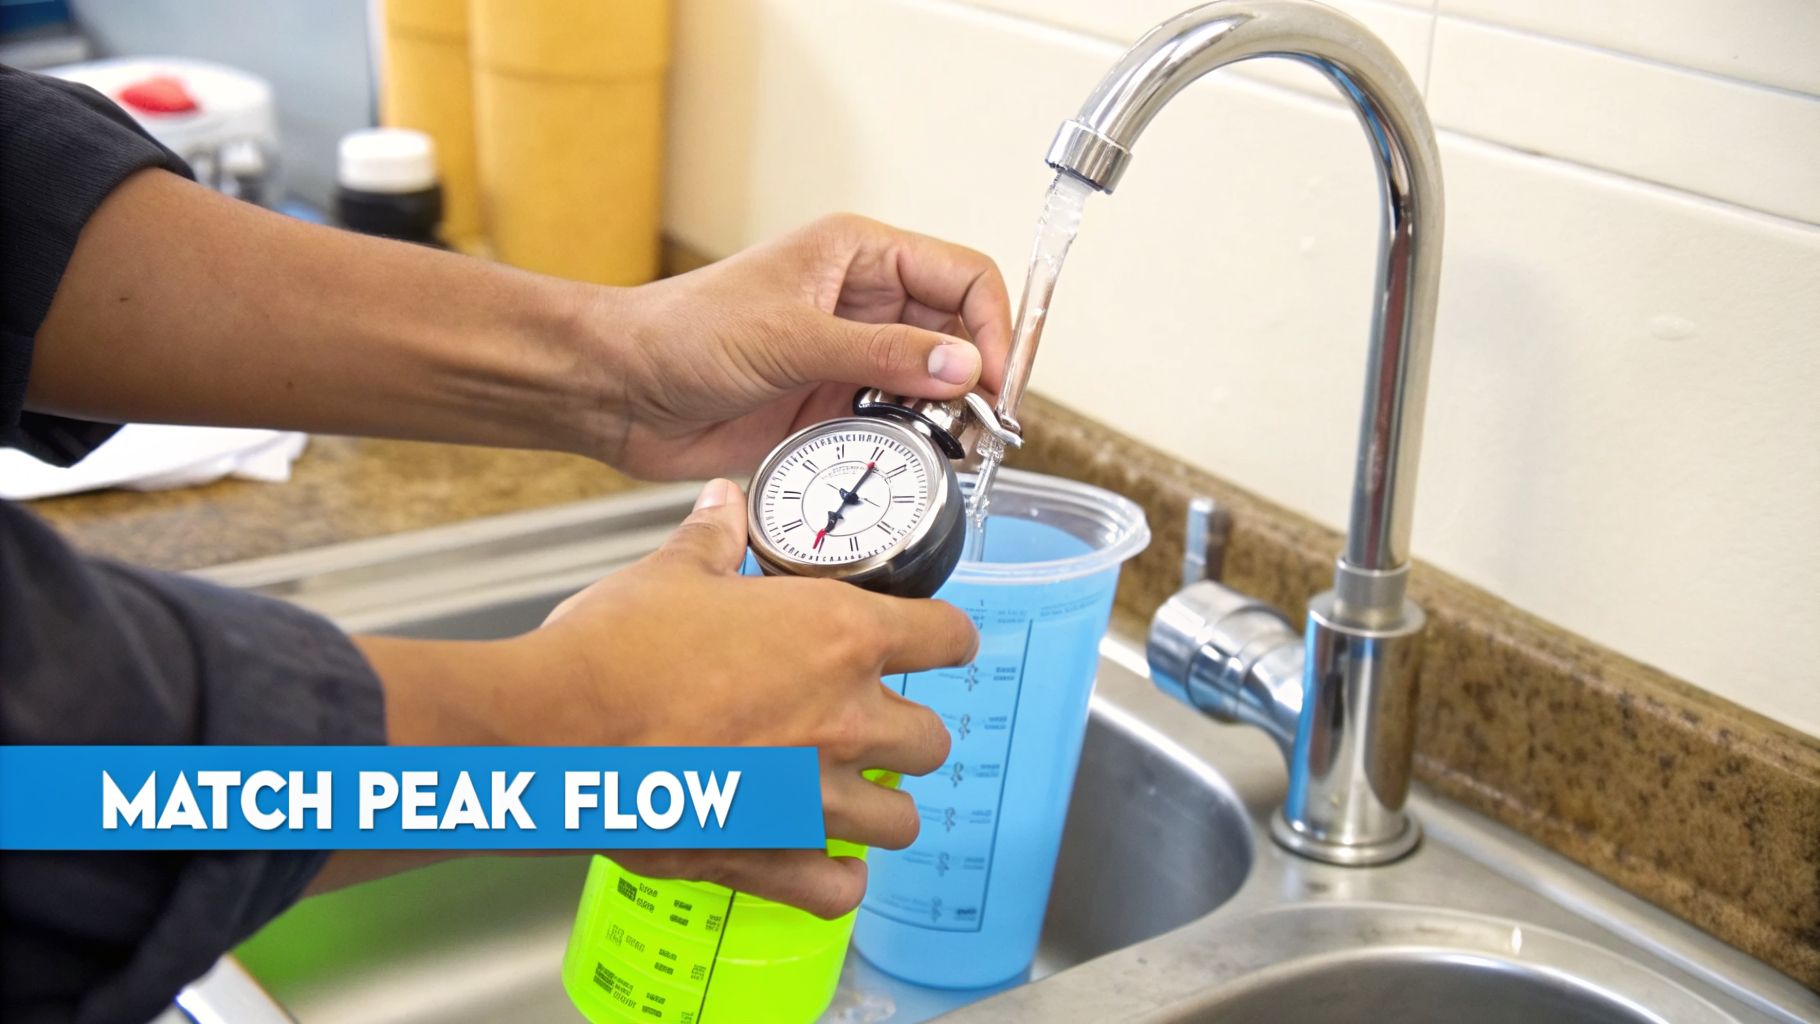
Calculating Your Home’s Peak Water Demand
To get it right, you need to figure out your home’s peak water demand, which is measured in gallons per minute (GPM). This sounds technical, but it’s really just a quick estimate of the most water your household might use at one time. Think: shower running, dishwasher on, and someone washing produce in the kitchen sink all at once.
Here’s a straightforward way to get a solid GPM estimate:
List Your Water Fixtures: Jot down every appliance and fixture that uses water—showers, sinks, toilets, washers, dishwashers, and even outdoor faucets.
Assign GPM Values: Use these standard flow rates for modern, water-efficient fixtures.
- Shower: 2.5 GPM
- Kitchen or Bathroom Faucet: 1.5 GPM
- Dishwasher: 1.5 GPM
- Washing Machine: 2.0 GPM
- Toilet: 1.6 GPM (per flush, but not critical for simultaneous use math)
Add It All Up: Now, imagine your home's busiest moment. For a family of four, maybe a shower is running (2.5 GPM), the kitchen sink is on (1.5 GPM), and you just started the dishwasher (1.5 GPM). Your peak demand in that scenario would be 5.5 GPM.
For most standard single-family homes, a filter system rated for 10-15 GPM is a safe bet. This builds in plenty of extra capacity to handle those peak moments without ever restricting your flow. You won't have to choose between a good shower and running the laundry.
Once you have this number, you’ve got the key piece of the puzzle for picking a filter that won’t choke your water pressure.
Why Housing Size Is Just as Important
Your GPM calculation ties directly to the physical size of the filter housing. In the world of whole-house filters, you'll generally find two main sizes: the standard "slim" housings (about 2.5 inches across) and the much wider "Big Blue" housings (4.5 inches across).
For any whole-house application, Big Blue is the undisputed champion. That bigger diameter and larger filter cartridge inside give you two huge advantages:
- Higher Flow Rate: The massive surface area lets more water pass through at once, easily keeping up with the GPM needs of an entire family.
- Longer Filter Life: A bigger cartridge can trap way more sediment before it clogs. That means fewer filter changes for you and more reliable performance day-to-day.
A "slim" filter might be cheaper at the register, but it’s a terrible choice for a whole-house system. It will clog up fast and create a permanent bottleneck on your water supply—a problem that only gets worse as the filter fills up.
Some of the best systems are engineered specifically to avoid this. For example, SpringWell's CF1 system is built to filter up to 1 million gallons and remove 99.6% of contaminants, all while maintaining a steady 9 GPM. That kind of design is why it's praised for preventing the pressure drops that affect an estimated 30% of filter installations in multi-story homes. You can find more on high-performance filtration systems and lab test results here.
Installation, Maintenance, and True Long-Term Costs
Picking out the best whole-house sediment filter is a huge win, but your journey doesn’t end at the checkout. What comes next—the installation, the upkeep, and the real cost over time—is what turns a good purchase into a great investment for your home.
Let’s be real: the sticker price is just the cover charge. The true cost of ownership is what you'll spend over years of filter changes, cleaning routines, and maybe a call to a pro. Getting a handle on this now ensures your system works like a charm without becoming a drain on your time or your wallet.
Installation: DIY or Call a Plumber?
First things first, you have to get your new filter hooked up to your main water line. For a lot of homeowners, this is a totally doable weekend project. If you have some basic plumbing skills and the right tools, you can probably handle it, especially since most spin-down and cartridge filters are designed with DIYers in mind.
But if the idea of cutting into your main water line makes you break out in a cold sweat, just call a licensed plumber. It’s the smart move. A pro will guarantee a leak-free setup, make sure the system is properly supported, and install bypass valves that make future maintenance a total breeze.
A classic mistake we see is using undersized pipes or too many sharp 90-degree turns. This can kill your water pressure before it even hits the filter. A good plumber will avoid these traps, ensuring you get great flow from day one.
Mastering Routine Maintenance
Once it's installed, your filter’s performance comes down to maintenance. The effort involved really depends on the type you chose. Each one has its own rhythm for keeping things running smoothly.
Spin-Down Filters: These are about as easy as it gets. When you see gunk building up in the clear housing, just open the flush valve at the bottom for about 30 seconds. The water pressure does all the work, blasting the sediment out. No tools, no filter changes—just a quick flush every few weeks.
Cartridge Filters: The name of the game here is knowing when to swap out the cartridge. The most obvious clue? A noticeable drop in your home’s water pressure. Many systems even come with pressure gauges; a drop of 10–15 psi between the inlet and outlet is the universal sign that your filter is clogged and ready for a change. This could be every 3 to 12 months, depending on how much sediment is in your water.
Backwashing Filters: These are the definition of "set it and forget it." The automated control valve handles everything, flushing and resetting the media on a schedule you set. Your only job is to make sure it has power and the drain line stays clear. The filter media itself can last 5-10 years before you even have to think about replacing it.
Calculating the True Cost of Ownership
To figure out what’s actually the most affordable option, you have to look past the price tag and calculate the total cost over five years. A system that seems cheap upfront can end up costing you a lot more in the long run.
Let's break down the expenses you should plan for:
1. Replacement Filters: This is the big one for cartridge systems. If a pack of two filters costs $50 and you change them three times a year, that’s $75 annually. Over five years, you’re looking at $375 in replacements alone.
2. Water and Energy: Backwashing systems use a bit of water for their cleaning cycles, and spin-down filters use a small amount for flushing. It's usually a minimal cost, but it's still part of the equation. Backwashing units also sip a tiny amount of electricity for their control valve.
3. Professional Help: If you’re not the type to get your hands dirty changing cartridges or replacing media, you'll want to factor in the cost of a plumber's visit once or twice a year.
When evaluating the long-term costs of a whole house sediment filter, it's important to consider routine expenses like changing filters. Understanding the value of a durable and effective replacement filter is crucial, whether for water or for other home appliances, such as a Ridgid wet/dry vac replacement filter. A high-quality filter often lasts longer and performs better, reducing replacement frequency and saving money over time.
Common Questions About Sediment Filters
Even after you've covered the basics, a few key questions always seem to pop up. Getting straight answers is the last step before you can buy with confidence. Let's tackle the most common ones we hear from homeowners.
Can a Sediment Filter Remove Chlorine or Bad Tastes?
No. A standalone sediment filter is built for one job: catching physical particles like sand, dirt, and rust. It can’t remove dissolved chemicals like chlorine or the sulfur compounds that make your water taste and smell off.
Think of it like a screen door—it keeps out the bugs but lets the air (and any smells) come right through.
To get rid of chlorine, you need an activated carbon filter. Carbon works through adsorption, where chemicals stick to its surface like a magnet. This is why many people install a two-stage system:
- Stage 1: Sediment Filter. This filter goes first, removing all the grit. This protects the more expensive carbon filter that comes next.
- Stage 2: Carbon Filter. Now that the water is clear of solids, the carbon can efficiently remove chlorine, bad tastes, and odors.
This combo gives you the best of both worlds: water that's both crystal clear and great-tasting.
How Do I Know When to Change My Filter Cartridge?
The clearest sign is a drop in your home's water pressure. If your shower suddenly feels weak or the kitchen faucet starts to sputter, your filter is likely clogged with sediment and choking the flow.
The most reliable way to know for sure? A pressure drop of 10–15 psi between the filter's inlet and outlet gauges. That's the industry standard for a filter that's reached its limit.
Manufacturers often suggest changing cartridges every 3 to 12 months, but that's just a ballpark. Your reality depends entirely on your water. A well with heavy sediment might force you to change filters monthly, while clean city water might let you go a full year.
If you have a clear housing, just take a look. If it's dark and caked with gunk, it's time for a change.
Will a Sediment Filter Make My Water Soft?
This is a common mix-up, but the answer is a firm no. A sediment filter will not soften your water.
Hard water is a chemical problem, not a physical one. It’s caused by dissolved minerals—mainly calcium and magnesium. Since these minerals are completely dissolved, they sail right through a sediment filter, which only traps solid particles.
To fix hard water, you need a dedicated water softener.
However, a sediment filter is the perfect partner for a softener. You should always install one before the softener to act as a bodyguard. It stops sand and grit from getting into the softener's sensitive control valve and resin bed, preventing costly damage.
My Well Water Causes Orange Stains. Will a Sediment Filter Help?
Maybe. It really depends on which type of iron you have in your water. A sediment filter can only handle one of them.
Particulate Iron (Ferric Iron): This is just a fancy name for rust that's already formed and floating around as a solid. A sediment filter, especially a fine one around 5 microns, is great at catching this and will definitely help reduce staining.
Dissolved Iron (Ferrous Iron): This is the tricky one. It's completely dissolved in the water, so it's invisible when you first pour a glass. It only turns into a visible orange or brown particle—and a stain—after it hits the air and oxidizes. A sediment filter can't touch dissolved iron.
Here’s a quick test: Fill a clear glass with water and let it sit for 30 minutes. If it was clear at first but now has reddish-brown bits settling at the bottom, you have dissolved iron. To remove it, you'll need a specialized iron filter or a water softener designed for iron removal. A simple water test kit can tell you for sure.
Ready to find the perfect filtration solution for your home? The experts at Water Filter Advisor have created countless guides to help you compare systems, understand certifications, and make a confident choice. Explore our in-depth resources today and take the first step toward cleaner, safer water for your family.
- April 4, 2026
- Uncategorized