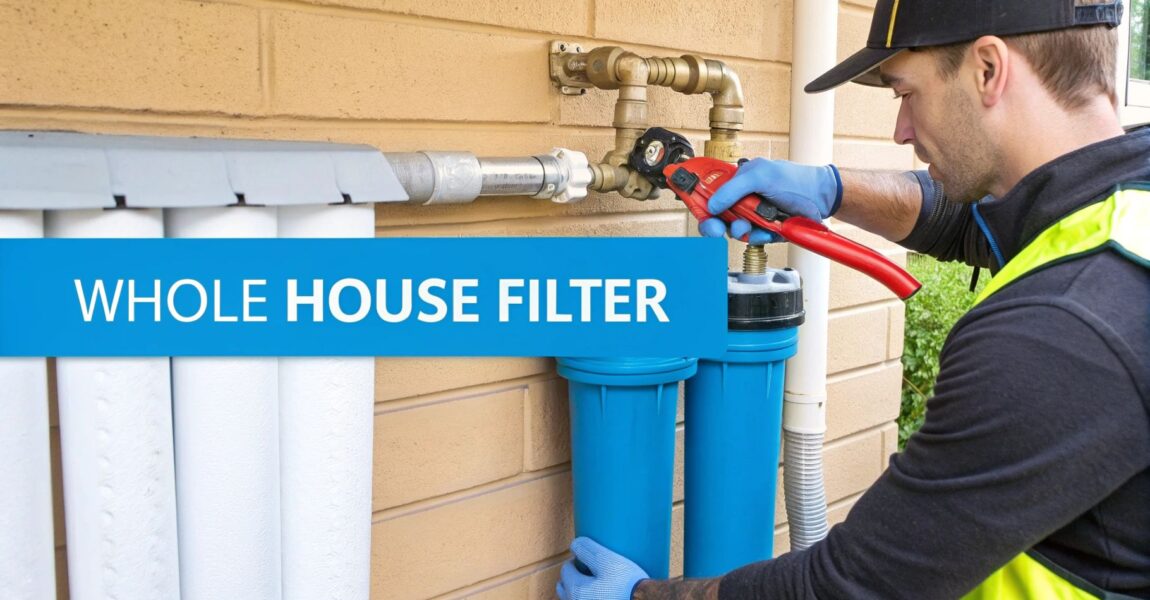
A successful whole house water filter installation doesn't begin with a pipe cutter—it starts with a plan. Think of this as your mission briefing. Taking a moment to map everything out will save you from a world of plumbing purgatory and those dreaded extra trips to the hardware store.
This is your master plan for choosing the perfect spot for your filter, getting the right size for your home, and—most critically—knowing exactly what contaminants are crashing your water party. Get these details right, and you're on the fast track to a smooth project and wonderfully crisp, clean water from every single tap.
Your Pre-Installation Game Plan
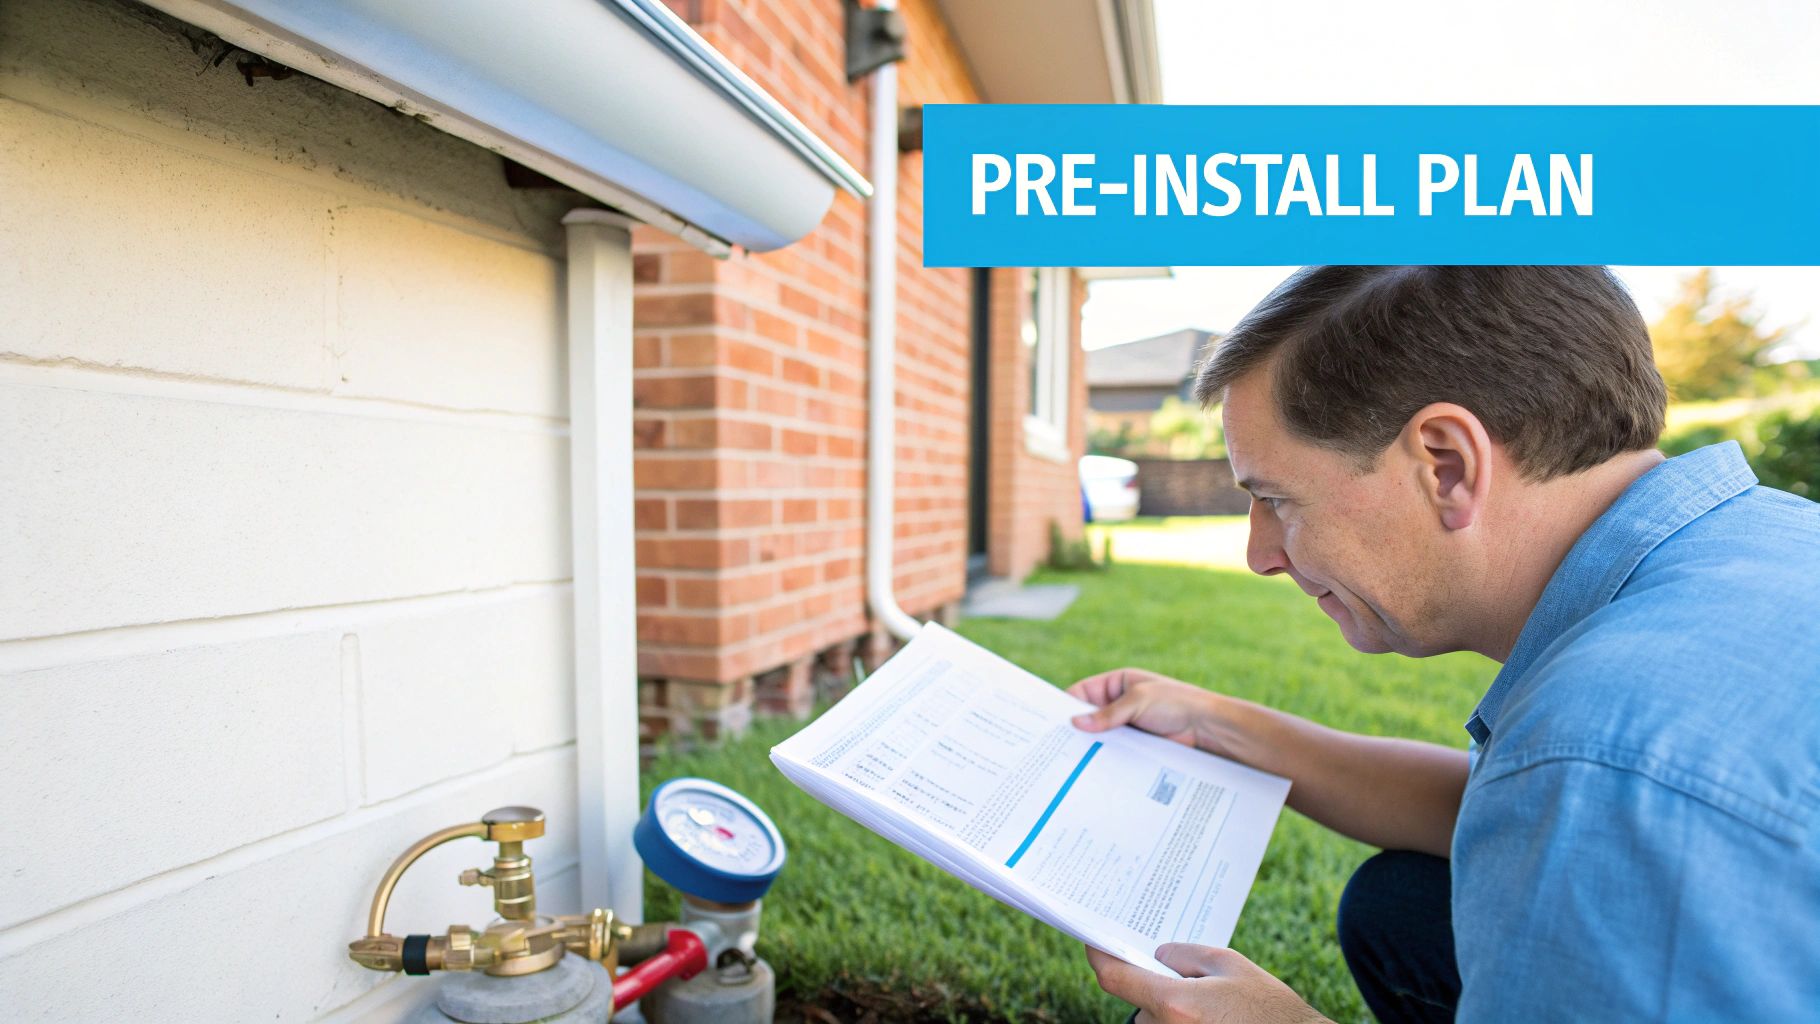
Before you even dream of grabbing a wrench, you need a strategy. This is your pre-flight checklist to make sure this project goes off without a hitch. If you're new to this kind of work, checking out a guide on DIY home system installation planning can give you some great foundational knowledge that applies here, too.
Pinpointing the Perfect Location
There's a golden rule here: the filter system goes on your main water line, right after your main shutoff valve but before the line splits off to your water heater. Tapping in at this strategic point ensures every drop of water, both hot and cold, gets purified. This protects not just your drinking water but your hardworking appliances, too.
Think about future-you. You're going to be changing these filters, so don't wedge the unit into a dark corner of plumbing doom where you can't reach it. You'll need enough space above and below to easily unscrew the housing and swap out the old cartridge. A basement, garage, or utility closet is usually your best bet.
A little tip from experience: when you unscrew that filter housing, water is going to come out. Plan for it. If you can install it near a floor drain, you're a genius. If not, make sure you have room to slide a 5-gallon bucket underneath. It makes a messy job a clean one.
What’s in Your Water?
This is the single most important question to answer. You can't fight an enemy you can't see. Installing the wrong type of filter is just an expensive way to waste an afternoon.
- City Water: If you're on a municipal supply, you're likely battling chlorine or chloramine, sediment, and other disinfection byproducts. Your water utility is required to provide an annual water quality report (often called a Consumer Confidence Report or CCR). Find it on their website and read it—it's the blueprint for your filtration needs.
- Well Water: If you've got a private well, you're the captain of your own water quality ship. Common culprits are iron (the source of those ugly orange stains), manganese, sulfur (that rotten egg smell), sediment, and even bacteria. Get a comprehensive water test done. This isn't a step you should ever skip.
Your water test results will point you directly to the right filter system. A simple sediment filter won't touch chlorine taste, and a carbon filter is useless against an iron problem. If you need a hand decoding your results, there's a ton of great water filtration advice available to guide you.
Sizing Your System for Optimal Flow
Last but not least, you have to match the filter's flow rate to your family's water usage. This is measured in gallons per minute (GPM). If you undersize the system, you’ll create a bottleneck in your plumbing. The result? A sad, weak shower every time the dishwasher kicks on. It's incredibly frustrating.
A good way to estimate is to add up your peak demand. A typical showerhead uses about 2.5 GPM, a dishwasher runs at 2 GPM, and a washing machine pulls another 2 GPM. For a family of four, a system rated for 10-15 GPM is a solid choice. This ensures you've got plenty of water pressure, even when multiple taps are running at once.
Assembling The Right Toolkit And Parts
The secret to a stress-free DIY install? It isn’t about being a master plumber—it’s about having every single tool and part ready to go before you even think about cutting into a pipe.
Laying everything out first turns a potentially frantic project into a smooth, by-the-numbers job. Think of this as your one-and-done hardware store checklist.
Must-Have Tools For The Job
Your success really hinges on using the right tool for each step. Sure, you might be able to get by with some improvisation, but the right equipment is what prevents leaks, stripped fittings, and a whole lot of frustration.
Here are the absolute non-negotiables:
- Pipe Cutter: A dedicated cutter for your specific pipe type (copper, PEX, or PVC) is essential. You need clean, square cuts for a perfect seal, and a hacksaw just won't, well, cut it. It leaves burrs and uneven edges that are a recipe for leaks.
- Deburring Tool: After you cut, the pipe edges will be rough. A simple deburring tool smooths them out, which is a critical step for preventing torn O-rings and ensuring a watertight connection. Don’t skip this.
- Two Pipe Wrenches: You’ll need two of these bad boys. One holds a fitting steady while the other tightens the connecting piece. This prevents you from putting a ton of stress on your existing plumbing.
- Measuring Tape & Marker: The old saying "measure twice, cut once" is the golden rule of plumbing for a reason. Get your measurements right, and the rest of the job gets a whole lot easier.
Choosing Your Plumbing Parts
Now for the fun part: connecting the filter system to your main water line. The materials you pick here will make a big difference in how easy the install is and how long it lasts.
Pipes and Fittings: A Quick Comparison
| Pipe Material | Best For | Key Benefit |
|---|---|---|
| PEX Tubing | DIYers and working in tight spaces. | Super flexible, forgiving, and works great with push-fittings. |
| Copper Pipe | Experienced installers looking for longevity. | Extremely durable and reliable, but it does require soldering. |
| CPVC Pipe | Budget-conscious projects. | Lightweight and easy to join together with solvent cement. |
For most people tackling this project themselves, PEX tubing paired with push-to-connect fittings (like those from SharkBite) is a total game-changer. You just push them onto the pipe to create a secure, waterproof seal. No soldering, no special tools—it massively simplifies the whole process.
The most valuable part of your whole setup isn’t actually the filter. It's the bypass loop you build around it. A three-valve bypass lets you shut off water to the filter for maintenance without turning off the water to your entire house. It’s a little extra work now that will save you a massive headache down the road.
The Small Parts That Prevent Big Leaks
Finally, don’t get tripped up by the little things. These small, inexpensive items are what guarantee your connections are leak-proof from day one.
A simple roll of plumber’s tape (also called PTFE tape) is your best friend for any threaded connection. Just wrap the male threads three to five times in the same direction you’ll be tightening the fitting. This fills in the tiny gaps and creates a rock-solid barrier against drips.
Also, double-check that you have the right adapters to match the filter’s inlet and outlet ports to the diameter of your main water line. Most homes in the U.S. use either 3/4-inch or 1-inch main lines. Figure out which one you have before heading to the store to avoid that dreaded second trip.
The Hands-On Installation Process
Alright, you’ve done your homework, planned the layout, and gathered your gear. Now it’s time to get your hands dirty and bring this project to life. This is where the real work of the whole house water filter installation begins, but don't sweat it. We’ll walk through it one manageable step at a time.
The name of the game here is precision, not speed. A methodical approach will save you from headaches later. If you want a good overview before you start, this detailed guide on installing a water filter is a solid resource to check out.
Starting with Safety: Shutting Down The System
Before you even think about picking up a pipe cutter, your first and most critical move is to kill the water supply to the entire house. Find your main water shutoff valve—it's usually tucked away in a basement, crawlspace, or garage where the main line enters your home—and turn it all the way off.
With the main shutoff closed, you need to drain the remaining water from the pipes. Head to the lowest faucet in your house (an outdoor spigot or a basement utility sink is perfect for this) and open it. Then, go upstairs and open a faucet on the highest floor. This simple trick breaks the vacuum seal and lets gravity drain the lines completely.
Making the Cut: Precision is Everything
This is the moment of truth for many DIYers: cutting into the main water line. It can feel a bit daunting, but with the right tool and a bit of focus, it's a clean process. Start by measuring the total length of your filter setup, including the bypass valves and any fittings. Mark this measurement clearly on your main pipe.
Using a dedicated pipe cutter designed for your specific pipe material (copper, PEX, or PVC) is absolutely essential. A real pipe cutter gives you a clean, square cut. Trying to wing it with a hacksaw will leave you with a ragged, burred edge—a prime suspect for leaks down the road. Take your time here; a straight cut is a happy cut.
This diagram shows you the key parts you'll be working with.
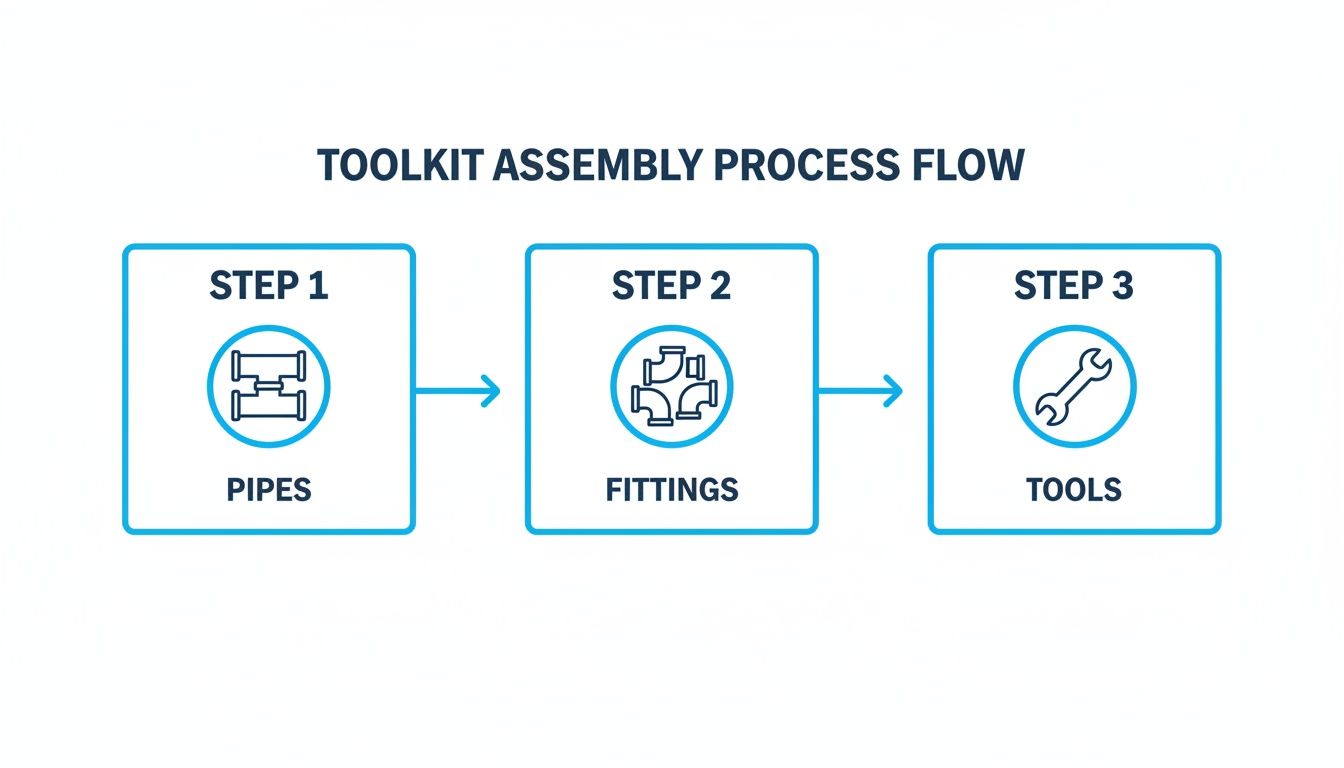
Getting your pipes, fittings, and tools laid out in order like this makes the actual plumbing work go a lot smoother.
Assembling the Bypass and Mounting the Unit
That three-valve bypass loop? You'll thank yourself for installing it every single time you need to change a filter. It’s best to assemble the bypass first—three shutoff valves connected with the right pipes and fittings—before you even think about connecting it to the main line. This lets you work on a bench or the floor instead of in a cramped space.
Next, mount the filter housing securely. This thing will be heavy once it’s full of water, so it needs solid support. Use the manufacturer's bracket and anchor it to a wall stud or a piece of plywood that's firmly attached to the wall. Make sure it's perfectly level.
Pro Tip: Double- and triple-check the IN and OUT ports on the filter head. It’s an incredibly common mistake to install the unit backward. The 'IN' side must connect to the incoming water main, and the 'OUT' side has to feed the rest of your house. Get this wrong, and you can wreck the filter and kill your water pressure.
Making Watertight Connections
Now it's time to connect the filter and bypass assembly to the main line. If you're using threaded fittings, grab your plumber's tape and wrap the male threads 3-5 times in a clockwise direction. Wrapping it this way ensures the tape tightens into the threads as you screw the fitting on, creating a perfect seal.
When tightening, always use two wrenches. One holds the fitting steady while the other does the turning. This technique, known as "backing up," prevents you from putting stress on your existing plumbing and creating a new problem.
Tighten until the fitting is snug, then give it an extra quarter- to half-turn. Be careful not to go overboard. Over-tightening is a leading cause of cracked fittings, especially with plastic housings. Your goal is a seal that is watertight, not airtight.
To help keep these key steps straight, here’s a quick reference table. It breaks down what you’re doing, why you’re doing it, and what to watch out for.
Installation Quick Reference Guide
| Action | Goal | Common Mistake |
|---|---|---|
| Shut Off Main & Drain | Create a safe, dry work area and prevent flooding. | Forgetting to open a high faucet to break the vacuum, leaving water in the lines. |
| Measure & Cut Pipe | Make a clean, straight opening in the main line to fit the filter assembly. | Using a hacksaw, which creates burrs and an uneven cut that won't seal properly. |
| Assemble Bypass | Create a parallel plumbing loop to allow for filter changes without shutting off all water. | Assembling it in a tight space instead of pre-assembling it on a workbench. |
| Mount Filter Housing | Securely support the weight of the filter unit to prevent pipe strain. | Not mounting to a stud or solid backing, leading to a sagging or failed unit. |
| Connect Fittings | Create leak-proof seals between the new assembly and the existing plumbing. | Over-tightening fittings, which can crack plastic housings or strip threads. |
Following this sequence and paying attention to the details will set you up for a successful, leak-free installation.
The push for better home water is backed by some serious numbers. Out of 230,000 public water systems serving 300 million Americans, the EPA cited over 9,000 systems for health-based violations in 2023 alone. It's no surprise that whole-house filter sales jumped 15% year-over-year. A typical installation is a 1-2 hour job for a pro, costing between $1,000-$4,000, but the payoff is real—filtered water can cut soap and detergent use by 30-50% and make your appliances run more efficiently. Investing in a whole house water filter installation is a direct way to take charge of what’s coming out of your taps.
Firing Up Your New System: Commissioning and Testing
Alright, the wrenches are down and the plumber's tape is put away. You're looking at your newly installed whole house water filter, but don't get ahead of yourself—the job isn't quite done. This final phase, commissioning the system, is what separates a pro job from a future headache.
Think of it like breaking in a new car engine. You have to do it right from the start. A methodical, step-by-step startup ensures everything is sealed tight and your water is pure from the very first glass.
The Slow-Fill: Pressurizing Your Plumbing
First things first, we're going to test your new plumbing without sending water through the filter itself. That's what your bypass loop is for. Make sure the valves leading into and out of the filter are closed, and the main bypass valve is open. This lets water flow around the filter system for now.
Now, walk back to your main water shutoff. The key here is slowly. Don't just crank it open. Turn it just a quarter of the way and listen. You'll hear the pipes start to fill. Let that pressure build up gently for a minute before opening the valve the rest of the way. This avoids a nasty jolt called a water hammer, which can rattle your fittings and even cause leaks.
With the water back on, grab a good flashlight and get up close and personal with every single joint and connection you made. I'm talking every fitting. Look for the slightest hint of a drip. If you see one, even a tiny one, shut the water off and fix it now.
Bleeding the Air and Bringing the Filter Online
Once you're 100% sure your bypass plumbing is bone dry, it's time to introduce water to the filter. Go ahead and close the main bypass valve, then slowly open the inlet valve that feeds water into the filter. You’ll hear the housing begin to fill up.
As it fills, a pocket of air gets trapped at the top. You've got to get it out. Look for the little red pressure-relief button right on top of the filter housing cap.
Press that button and hold it down. You'll hear a hiss of air, then a sputter of water. Keep holding it until you get a solid, steady stream of water squirting out. Getting all the air out is crucial—it lets the filter work properly and stops that annoying "banging" in the pipes later on.
Now that the air is bled, you can open the outlet valve. The whole system is now under pressure. Do another complete leak check, paying extra close attention to the big O-ring that seals the filter housing and the connections on both sides.
The Final Flush: Getting to Pure Water
The very last step is to flush the new filter cartridge. Brand new carbon filters, in particular, have some harmless carbon dust (or "fines") left over from manufacturing. You need to wash this out so it doesn't end up clogging your faucets.
Find a faucet that doesn't have an aerator screen—an outdoor hose bib or a utility sink is perfect for this. Turn on the cold water and just let it run for a solid five minutes, or whatever the manufacturer's instructions say.
Don't be alarmed if the water looks a bit gray or even black at first. That's just the carbon fines washing out. Let it run until it's perfectly clear.
This final flush is your ticket to the pristine, great-tasting water you wanted in the first place. For the 13% of U.S. homes on well water, proper setup and maintenance is a huge money-saver, preventing issues that lead to over $1,000 in annual appliance repairs from hard water damage. Stick to the schedule and change those cartridges every 6-12 months, and you'll maintain up to 95% filtration efficiency. You can learn more about the market trends in home water filtration and see just how much of a difference proper maintenance makes.
Avoiding Common Pitfalls and Long-Term Care

A solid installation is more than just getting the water flowing; it’s about making sure the system works perfectly for years. Trust me, sidestepping a few common DIY mistakes now will save you from some serious headaches down the road.
One of the most frequent (and frustrating) errors is putting the filter housing in backward. Those IN and OUT ports are marked for a very good reason. Get it wrong, and you’ll not only damage the filter media but also kill your home’s water pressure.
Another classic blunder is over-tightening plastic fittings. It’s so tempting to give it that one extra turn for good measure, but that’s how you get cracked housings and a flooded basement. Just remember the old plumber’s mantra: watertight, not airtight.
Simple But Crucial Installation Checks
Beyond those big two, a few other small missteps can turn a weekend project into a long-term problem. Getting these details right is what separates a clean, professional job from a future mess.
- Forgetting the Bypass Loop: Skipping the three-valve bypass is a decision you'll regret the very first time you need to change a filter. It turns a simple 10-minute task into a major project where you have to shut off water to the whole house.
- Choosing the Wrong Micron Rating: This number tells you what size particles the filter catches. If the rating is too high, it won't solve your sediment problem. Go too low for your water quality, and it'll clog up in no time, tanking your water pressure. Let your initial water test be your guide here.
- Inadequate Support: A filter housing full of water is surprisingly heavy. Just letting it hang from the pipes puts a massive strain on your plumbing. Always use the mounting bracket that came with the unit and anchor it securely to a wall stud.
An investment in clean water is also an investment in your home's infrastructure. Installing a whole house filter typically costs $500 to $3,000, but it pays dividends by delivering filtered water to every tap, shower, and appliance. This simple upgrade can reduce scale buildup and extend the life of your appliances by up to 30%. You can learn more about the whole house water filter market to see how this investment protects your home.
Creating a Long-Term Maintenance Schedule
Your new filter system isn't a "set it and forget it" appliance. The key to protecting your investment and keeping your family's water clean is simple, consistent upkeep. The good news? It's really straightforward.
The most important job is changing the filters on time. How often you do this depends on your water quality and how much you use, but these are solid guidelines to start with:
- Sediment Pre-filters: These are the workhorses that catch the big stuff like sand and rust. Plan on replacing them every 3-6 months. If you've got really heavy sediment, you might find you need to do it more often.
- Carbon Filters: These tackle chemicals like chlorine and improve taste and odor. They usually need swapping every 6-12 months as their ability to absorb contaminants fades over time.
How to Know When It's Time for a Change
Instead of just circling a date on the calendar, learn to read the signs your system is giving you. The most obvious one is a noticeable drop in water pressure from your faucets and in the shower. That’s your filter telling you it's getting clogged and restricting the flow.
Another dead giveaway is a change in your water's taste or smell. If that chlorine taste you worked so hard to get rid of suddenly returns, you can bet your carbon filter has reached the end of its life.
Thanks to that bypass loop you installed, changing the cartridge is a breeze. Just activate the bypass, hit the pressure-relief button on the housing, unscrew it with the wrench, swap the old cartridge for the new one, and you’re done. This simple routine will keep your system running at peak performance for years to come.
A Few Final Questions Before You Get Started
Even with the best guide in hand, it's totally normal to have a few questions rattling around before you cut into your main water line. Let's tackle some of the most common ones I hear from folks.
Think of this as our final huddle. Getting these details ironed out now will give you the confidence to see this project through to the finish line.
How Much Time Should I Really Set Aside For This?
This is the big one, right? If you’ve done some basic plumbing before and you’ve got all your tools and parts lined up, you can probably knock this out in 2 to 4 hours. That’s a realistic window for everything—draining the pipes, making the cuts, mounting the unit, and checking for leaks.
Now, if you're pretty new to this kind of work, do yourself a favor and block off an entire afternoon. Giving yourself that extra time means you won't feel rushed. You never know when you'll run into a stubborn old pipe or find yourself crammed into a tight spot, and that's where the clock can really start ticking. Your best friend here is preparation; the more you do upfront, the faster the actual install will go.
What's A Realistic DIY Installation Cost?
The total cost really breaks down into two parts: the filter system itself and all the little plumbing pieces you'll need to connect it. The filter unit is your biggest variable, with solid entry-level systems starting around $300 and more complex, multi-stage units going for $1,500 or more.
On top of that, plan on spending another $50 to $150 for the plumbing essentials. We're talking about shutoff valves for the bypass, the right type of pipe for your home (PEX, copper, etc.), and all the fittings to tie it together. All in, you’re looking at a total DIY project cost in the $350 to $1,650 ballpark. That’s a huge win when you consider a plumber will likely charge $300 to $600 (or more) just for labor.
When you install the system yourself, you're not just saving a few hundred bucks on labor. You're getting to know your home's plumbing inside and out. That experience makes future maintenance and filter changes a whole lot less intimidating.
When Is It Smarter To Just Hire A Plumber?
Look, while this is a totally doable DIY job for most, there are absolutely times when calling a pro is the right call. Don’t hesitate to pick up the phone if any of these sound familiar:
- You're Just Not Feeling It: If the thought of cutting into your main water line gives you serious anxiety, it’s better to trust a professional.
- You've Got Old, Cranky Pipes: Older homes with galvanized steel or heavily corroded copper pipes can be a nightmare. They get brittle and can break easily. A plumber knows how to handle them without causing a bigger problem.
- Your Local Code Demands It: Some towns and cities require any work on a main water line to be done by a licensed plumber. A quick call to your local building department can clear this up.
- The Job Involves Soldering: If you're working with copper and don't know how to sweat a joint properly, let a pro do it. A bad solder joint is a guaranteed leak, and using a torch comes with its own risks.
Calling a plumber in these situations isn't giving up—it's making a smart move to protect your home from potentially thousands of dollars in water damage.
At Water Filter Advisor, we're dedicated to helping you achieve safer, better-tasting water. Our in-depth guides and unbiased reviews give you the knowledge to choose, install, and maintain the perfect filtration solution for your home. Explore our resources today at https://www.waterfilteradvisor.com.
- January 6, 2026
- 0
- Uncategorized