A lot of homeowners run into the same aggravating moment. The softener is installed, the salt tank is full, the display is lit up, and yet the shower door still spots up, the dishes still dry cloudy, and the faucets still grow that chalky crust.
In most cases, the machine is not broken. The water softener hardness settings are wrong.
That setting controls how the softener interprets your water, how much resin capacity it expects to use, and when it decides to regenerate. Get the number wrong and the whole system behaves wrong. Set it too low and hardness slips through. Set it too high and the unit burns through salt and water for no good reason.
The fix is usually straightforward once you stop treating the softener like a sealed black box. Test the water. Adjust for iron if needed. Program the actual number. Then fine-tune for how your home uses water and how your family wants it to feel.
Why Your New Water Softener Might Not Be Working
A new softener can fail in a very ordinary way. It is doing exactly what you told it to do, but you told it the wrong thing.
The hardness setting is the system’s decision-maker. It tells the control valve how hard the incoming water is, how quickly the resin will be used up, and when regeneration needs to happen. If that number does not match reality, the softener either underperforms or overworks.
Most of the symptoms point back to that one problem:
- Spots on dishes: Hardness is still leaking through.
- Scale on fixtures: The setting is often too low, or iron was never included.
- Heavy salt use: The setting may be too high.
- Soft water only some of the time: Regeneration timing or capacity assumptions are off.
A lot of homeowners assume the installer, factory setting, or quick-start guide already handled this. Sometimes that is true. Often it is not. City water can vary by neighborhood. Well water can change with season, rainfall, and iron content. A “standard” hardness number is just a placeholder until the water is tested.
What works is a simple, practical approach. Start with the actual hardness reading. Build in compensation for iron where needed. Program the valve carefully. Then watch how the house responds for a week or two.
Practical rule: If a brand-new softener still leaves hard water symptoms, check the settings before you blame the resin, the salt, or the plumbing.
If you want broader home treatment guidance beyond softeners, the advice library at https://www.waterfilteradvisor.com/advice/ is a useful place to compare common water quality issues and treatment approaches.
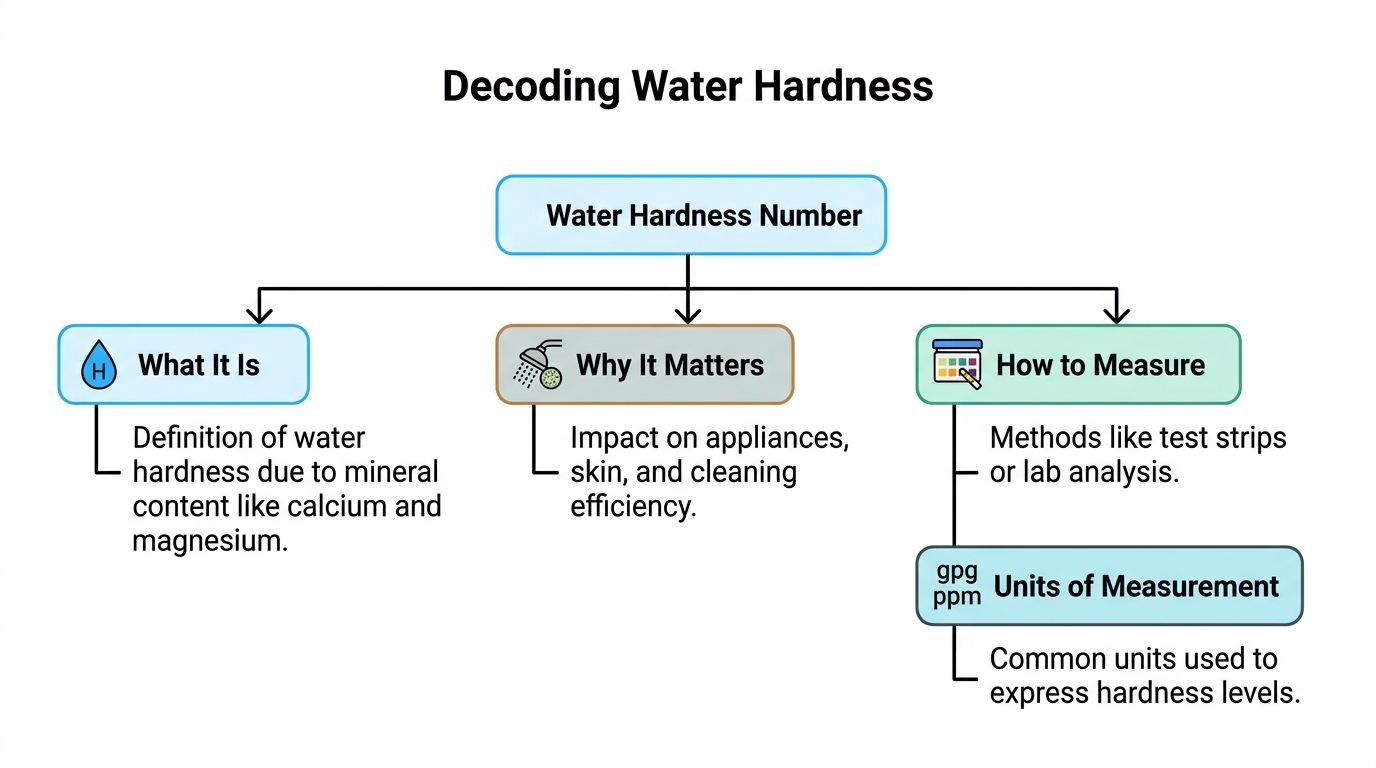
Decoding Your Water Hardness Number
Your hardness number is one piece of information you cannot guess.
Without it, programming a softener turns into trial and error. With it, the rest of the setup becomes much more predictable.
Where to get the number
For most homes, there are three practical ways to find hardness.
Utility report
If you are on municipal water, your local water utility may publish hardness in its water quality report. This is the easiest starting point. It gives you a broad picture of the supply, though it may not reflect variation at your exact address.
DIY test kit
A home hardness kit is the fast route. It is useful when you want a same-day answer before programming a new unit or checking whether your current setting is off.
Certified lab
This is the best option for well water, mixed water problems, or any home where iron and manganese may be part of the story. A lab report gives you the cleanest data for setup.
The method matters less than one thing. You need a hardness result you trust.
GPG and PPM are not the same
Most water softeners use grains per gallon, usually written as GPG. Some water reports use parts per million, or PPM.
The standard conversion is simple. One grain per gallon equals 17.14 parts per million, according to HomeWater101’s hard water numbers guide.
If your report gives hardness in PPM, convert it before programming the softener. If your softener menu asks for GPG and you enter a PPM number by mistake, the setting will be wildly off.
Hardness scale in plain English
This is the framework most homeowners need:
| Classification | Grains per Gallon (GPG) | Parts per Million (PPM) |
|---|---|---|
| Soft | 0–3 | 0–51.42 |
| Moderately hard | 3–7 | 51.42–119.98 |
| Hard to very hard | Over 7 | Over 119.98 |
That same source classifies 0–3 GPG as soft, 3–7 GPG as moderately hard, and water over 7 GPG as hard to very hard, which is where treatment often becomes necessary to limit buildup and appliance wear.
Those categories line up with what homeowners notice. At the lower end, you may just see a little spotting. Higher up, you start seeing crusty faucets, shower film, dishwasher residue, and scale in the water heater.
If those symptoms sound familiar, a good side resource on cleaning visible deposits is this guide to hard water stains. It is useful after the softener is corrected, because old buildup does not disappear on its own.
Why precision matters
A rough estimate is better than nothing, but an accurate number protects you from two expensive mistakes.
- Underestimating hardness: The softener treats less than it should and minerals keep passing through.
- Overestimating hardness: The unit regenerates more aggressively than needed and wastes salt.
Key takeaway: The display setting should reflect the water entering the softener, not your best guess based on a neighbor’s house or an old installer sticker.
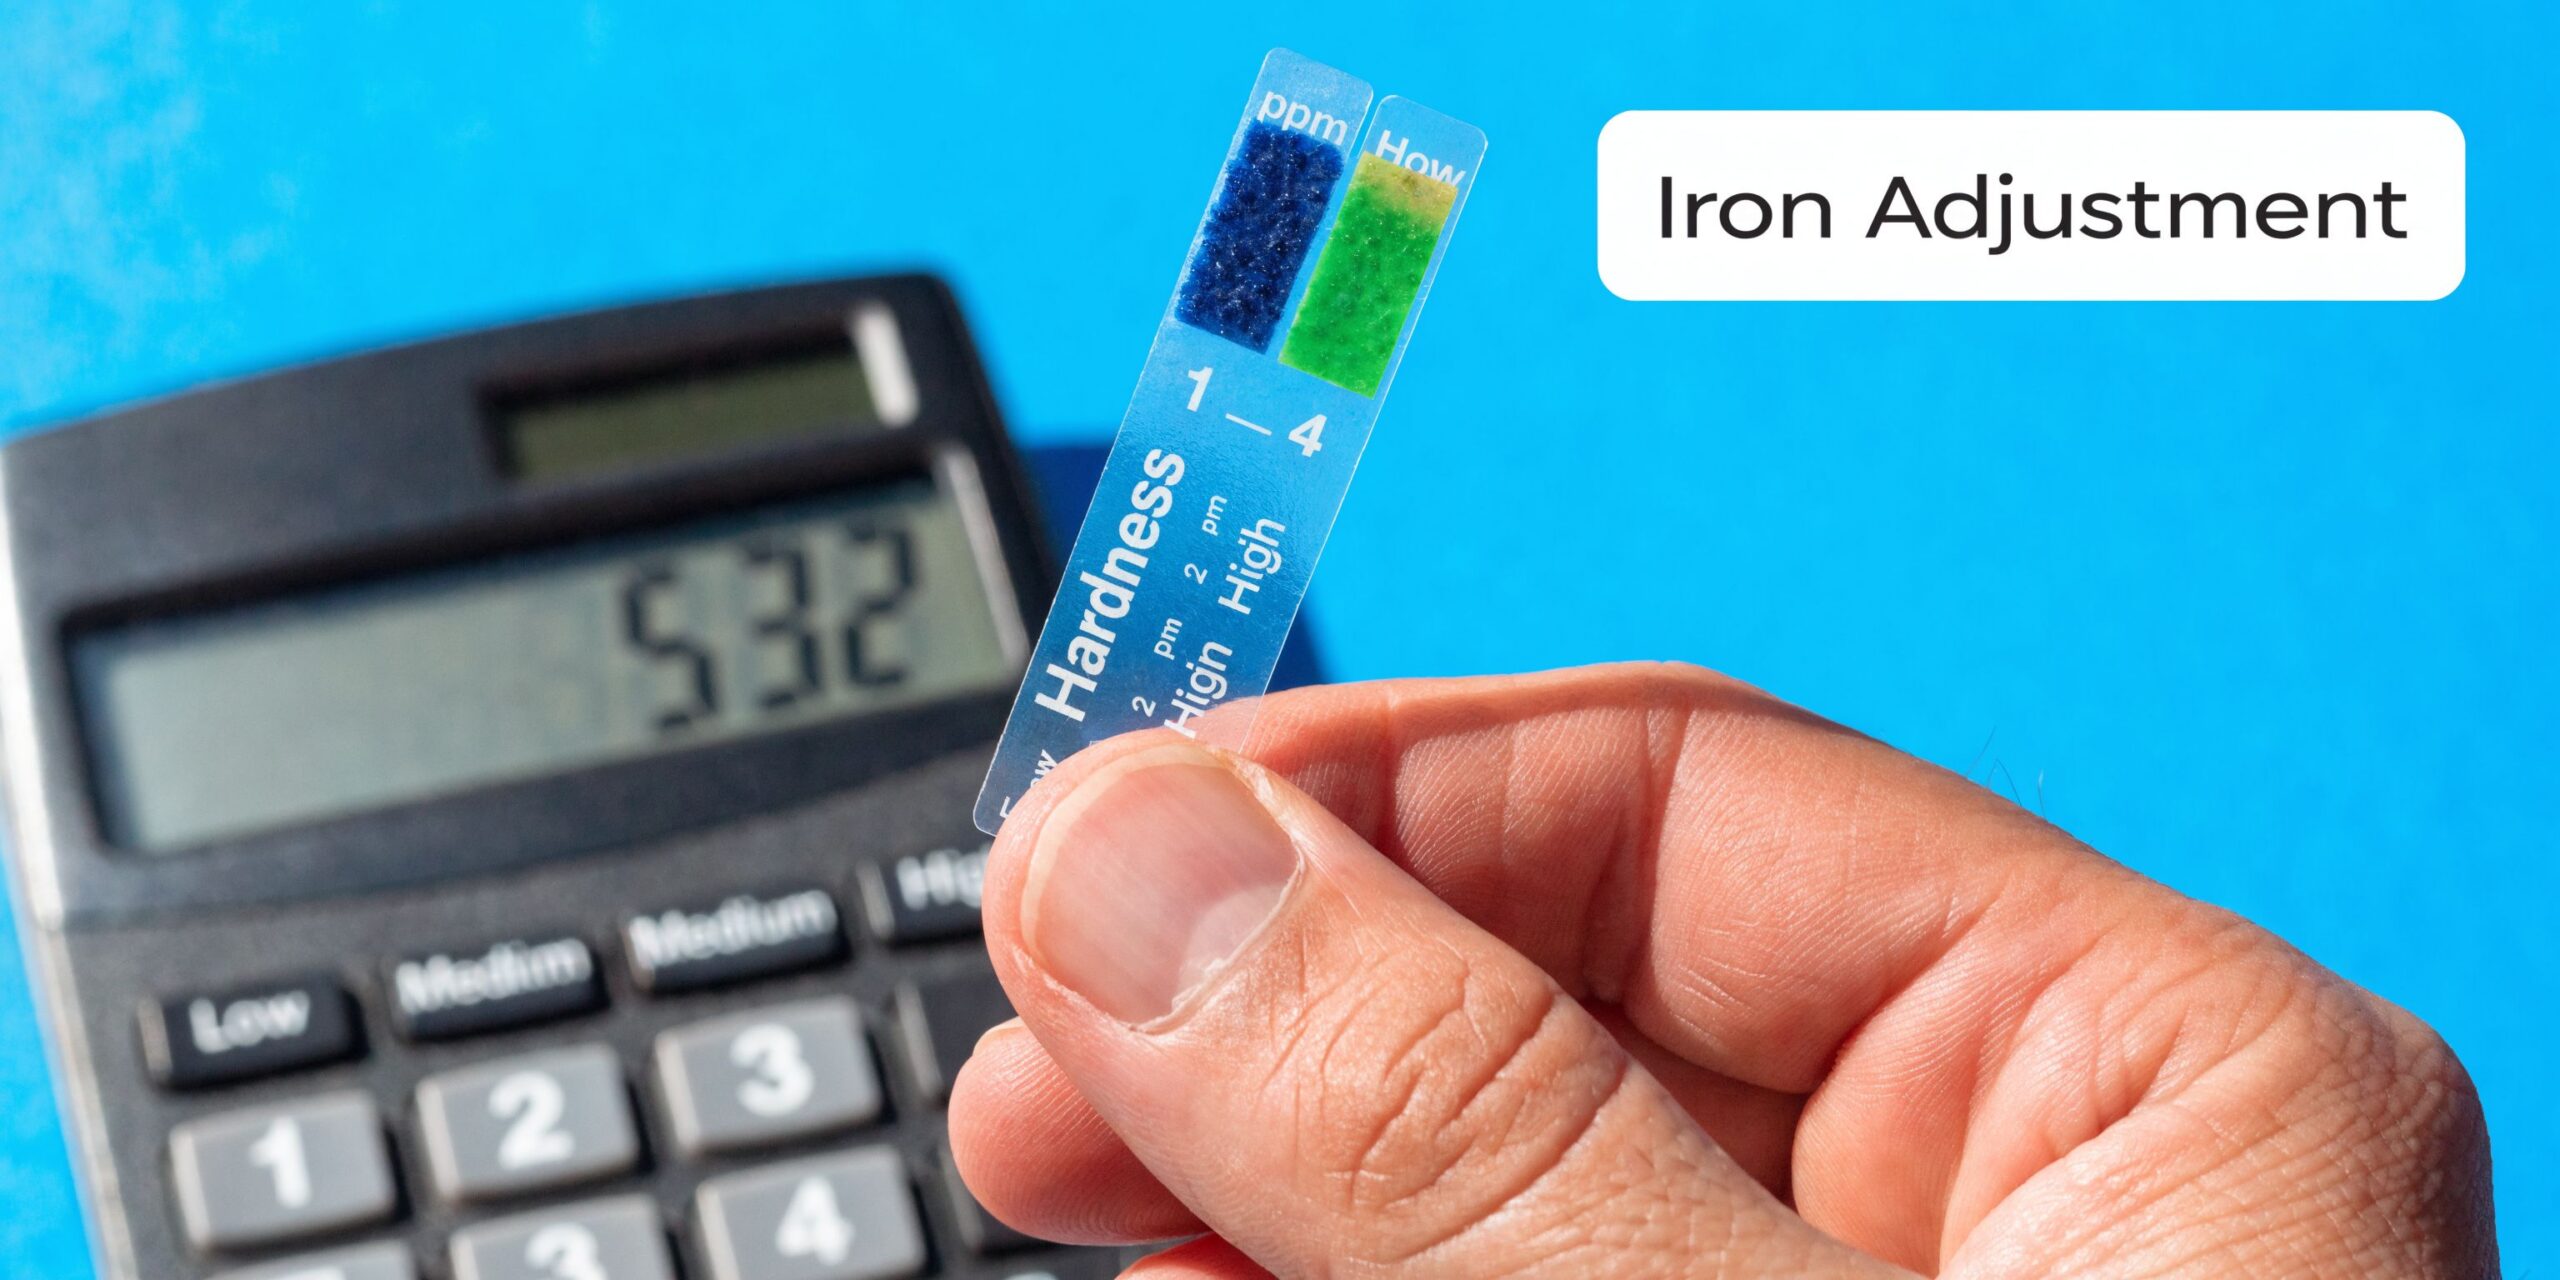
Calculating Your True Hardness Setting with Iron
The hardness result from your test is only the starting number.
For many homes on city water, that tested hardness may be close to the final programming value. For many homes on well water, it is not. Iron changes the math, and ignoring it is one of the most common reasons a softener seems to “sort of” work but never really fixes the problem.
Why iron changes the setting
A softener resin bed does not experience iron the same way it experiences calcium and magnesium. Iron fouls resin beds 4 to 5 times faster than calcium, and ignoring iron is linked to up to 70% of service calls for residual spotting, according to Water Filter Guru’s water softener hardness setting guide.
That matters in homes because a softener can be “correct” on paper for hardness alone and still run short on usable capacity. The resin gets burdened by iron, the bed loses efficiency sooner than expected, and hardness begins leaking through before the next regeneration.
Seasoned installers talk about compensated hardness instead of raw hardness.
The essential formula
Use this formula when iron is present:
Compensated hardness = base hardness in GPG + 4 GPG for every 1 PPM of iron
That is the number you program into the softener.
If manganese is part of your lab report, some manufacturers also compensate for that, but the critical homeowner error is usually missing iron. If you know iron is present, do not skip this step.
Worked examples
These examples show how the math changes depending on your water source.
City water with no iron
If your municipal water tests at 12 GPG and iron is not present, your compensated hardness is still 12 GPG.
No extra adjustment is needed. This is the easy case.
Well water with moderate iron
If your water tests at 15 GPG and 2 PPM iron, the compensated hardness becomes:
- Base hardness = 15 GPG
- Iron compensation = 2 × 4 GPG
- Total = 23 GPG
That exact example is the standard one used in the source. A softener programmed to 15 in this case will behave undersized even if the equipment itself is adequate.
Water with mixed minerals
If your hardness looks only moderately high but the home still gets rust staining, metallic smell, or orange-brown rings, treat that as a warning sign. The raw hardness number may not explain the whole load on the resin. In the field, homeowners often keep turning the softener up and down without solving the core issue because iron was never measured.
What homeowners usually get wrong
Some mistakes show up over and over:
- Using the city report without testing the house: The report may be close, but not exact for your line.
- Programming raw hardness on well water: This is the classic iron miss.
- Assuming staining is separate from hardness: In softener setup, it often is not.
- Chasing comfort before performance: Get the compensated hardness right first. Then fine-tune for feel later.
Tip: If your dishes spot, your toilets ring, and your softener seems to use salt normally, check iron before replacing parts. The setting may be wrong even when the machine is functioning.
A simple decision guide
| Water situation | What to use for programming |
|---|---|
| City water, no iron present | Tested hardness number in GPG |
| Well water, iron present | Hardness number plus 4 GPG per 1 PPM iron |
| Unclear water quality | Get a test that includes hardness and iron before changing settings repeatedly |
The practical takeaway
A softener does not care what label is on the water source. It cares what mineral load enters the resin.
That is why two houses with the same softener can perform very differently. One owner programs the tested hardness. The other owner programs compensated hardness with iron included. The second system usually behaves like it was sized and installed by someone who understands the water, not just the equipment.
Programming Your Water Softener Control Valve
Once you have the right number, the job becomes mechanical. You need to put that number into the valve correctly.
Most modern residential softeners follow the same basic logic even if the brand names differ. Fleck, Clack, and many private-label systems all rely on a digital control head that lets you move through settings with a few buttons.

What to look for on the display
The hardness field may be labeled in several ways:
- H
- Hardness
- DH
The exact label changes, but the purpose does not. Here, the unit learns the incoming water load you calculated earlier.
Most systems use a mix of Up, Down, and Set or Regen buttons. Some require holding two buttons to enter programming mode. Others place user settings and master settings in separate menus.
Your owner’s manual still matters here. Do not guess your way through advanced menus if the softener also asks for capacity, reserve, or cycle timing.
The settings that matter most
A lot of displays show many values, but homeowners usually need to focus on three.
Hardness
Enter the compensated hardness number you calculated. This is the core setup value.
If the display was factory-set to a generic number, overwrite it. Factory defaults are for shipping convenience, not for your specific water.
Regeneration time
Set regeneration for a time when the home is not using water. Overnight is the usual choice.
That keeps hard water from slipping through during the cleaning cycle and avoids interruptions when showers, laundry, or dishwashing are happening.
Regeneration type
A key difference between old and new softeners lies in their regeneration types.
- Timed regeneration: The system regenerates on a schedule, whether the capacity was used or not.
- Metered or demand-initiated regeneration: The system regenerates based on actual water use.
For most homes, metered control is the better setup. It matches regeneration to real household consumption rather than a fixed calendar.
A practical programming sequence
This is the order I recommend for homeowners doing a first setup:
Confirm service position
Make sure the bypass is not engaged. Many “bad settings” complaints turn out to be a bypass valve left in the wrong position.
Enter the hardness value
Use the compensated number, not the raw test result if iron is part of the water.
Check the clock
If the internal clock is wrong, regeneration may happen at the wrong time of day.
Set regeneration timing
Choose a low-use period.
Verify regeneration mode
If your unit supports metered operation, use it unless the manufacturer specifies otherwise for your system.
A short visual walkthrough can help if your valve interface is unfamiliar:
What not to touch casually
Some homeowners go deep into installer menus and change values they do not understand. That can create more trouble than the original problem.
Be careful with settings tied to:
- Capacity
- Reserve
- Cycle durations
- Backwash or brine draw timing
Those are not impossible for a homeowner to understand, but they should be changed with the manual in hand and a clear reason. If you only need to correct water softener hardness settings, stick to the hardness field and basic regeneration options first.
Good practice: Make a quick note of every original setting before you change anything. If performance gets worse, you will know exactly what changed.
After programming
Do not expect instant proof at every faucet the second you hit save. The softener may need to regenerate before the corrected settings fully affect the house, especially if the resin was already near exhaustion.
Then monitor the obvious signs. Dishes should improve. Soap should rinse differently. Fixtures should stop collecting fresh scale. If the setting is still off, the clues will show up quickly.
Fine-Tuning for Salt Efficiency and Seasonal Changes
A softener that is set correctly once is not always set correctly forever.
Many homes drift out of tune at this point. The original setup may have been close, but the water changes. Municipal blending changes. Well water shifts. Iron spikes. Household usage changes. The softener keeps following the old instructions until someone notices the dishes are spotting again or the salt bin empties faster than expected.
Seasonal shifts are real
Some municipal reports show a 20% to 50% variance between summer and winter, and well water can vary even more because iron may spike along with hardness, according to SoftPro’s discussion of ideal hardness setting.
That matters because a number that worked in winter may undershoot summer water. The reverse can also happen. If you program for peak hardness all year, you may be protecting the house but wasting salt. The same source notes that homeowners in high-variability regions should re-test and recalibrate at least twice a year to avoid up to 30% more salt waste or residual scaling.
How to handle changes without chasing the display
You do not need to stand in front of the control valve every week.
A practical homeowner routine looks like this:
- Spring test: Check hardness and iron as warmer weather begins.
- Fall test: Check again when source conditions shift.
- After obvious changes: Re-test if you suddenly see new spotting, rusty staining, or unusual salt use.
For stable municipal water, that may be enough. For a private well with known iron issues, pay closer attention after seasonal transitions or heavy changes in groundwater conditions.
Salt efficiency is not just about using less salt
Softener performance depends on balancing hardness removal with how aggressively the system regenerates.
According to the NSF/ANSI 44 benchmarks cited by Culligan, a salt dosage of 6 to 15 lbs per regeneration is associated with 90% efficiency in a properly calibrated system. That is a useful technical range, but it is not a command to push every machine to the lowest setting possible.
Lower salt use can be smart. Too little regeneration support can also leave the resin under-cleaned. The right choice depends on your water load and how the unit was designed.
A better way to think about optimization
Use these questions instead of aiming blindly for “maximum efficiency”:
| If you notice this | The likely issue |
|---|---|
| Salt use jumps but water quality is fine | Setting may be higher than necessary |
| Scale returns between regenerations | Setting may be too low, or seasonal hardness has increased |
| Rust stains return on a well system | Iron level may have changed, not just hardness |
| Water quality changes after family size changes | Metered demand assumptions may no longer fit usage |
City water and well water need different habits
Municipal supply
City water usually changes more gradually. You can often tune once, verify a couple of times a year, and leave it alone unless symptoms return.
Well water
Well water asks more of the owner. If iron and manganese move around, the softener does not get a vote. It just reacts to what enters the tank. That means well owners should think in terms of monitoring, not one-time setup.
Field advice: If you have well water and your setting was perfect six months ago, that does not mean it is perfect today.
The homeowners who get the best long-term results are not constantly tinkering. They are willing to test on a schedule and make deliberate changes when the water tells them to.
Troubleshooting Common Hardness Setting Problems
When a softener underperforms, the symptoms usually look mysterious for about a day. After that, they become pretty readable.
The important thing is not to jump straight to replacing resin, buying additives, or blaming the whole system. Most complaints track back to setup.
White spots still show up
If dishes, shower glass, or faucets keep collecting mineral film, the first suspect is a hardness setting that is too low.
That can happen in three common ways:
- The incoming hardness was guessed.
- The original test is outdated.
- Iron was present but never included in the programmed number.
If the house is on a private well, that third mistake is especially common. If the house is on municipal water, check whether the supply has shifted since the original setup.
The softener burns through salt
A machine that uses a lot of salt is not always “working harder.” Sometimes it is programmed too aggressively.
When the hardness number is pushed too high, the valve assumes the resin is carrying a heavier mineral load than it really is. That can drive unnecessary regeneration. If your water quality is good but your salt use feels excessive, review the programmed number against current test results.
The water feels slimy
The complaint often catches new softener owners off guard.
Soft water changes how soap behaves on your skin. Many people describe properly softened water as slippery or slick at first. That sensation does not necessarily mean anything is wrong.
Still, preference matters. According to ProAqua’s discussion of ideal water softener level, many people aim for 0 GPG, but some prefer a post-softening target of 2 to 3 GPG, or roughly 35 to 50 PPM, to avoid the slippery feel and keep a bit of mineral character in the water.
That trade-off can make sense for homeowners who dislike ultra-soft feel but still want scale protection.
A practical comfort adjustment
If the system is performing well but the water feels too soft for your taste, you can fine-tune for comfort rather than chasing absolute zero.
Try this approach:
- Confirm the softener is solving the hard water problem.
- Make only a small adjustment.
- Live with it for several days.
- Watch for the return of spotting or scale.
You are not trying to make the water hard again. You are trying to land at a point where appliances stay protected and the family likes the feel.
Balanced target: Many households are happiest when the water is soft enough to prevent visible buildup but not pushed so far that every shower feels unfamiliar.
When the problem is not the setting
If the number is right and symptoms continue, check the basics before assuming the valve is failing:
- Salt supply: The tank needs usable salt, not just a crusted bridge.
- Bypass position: The unit must be in service.
- Recent regeneration: The corrected settings may need a regeneration cycle before results show fully.
A lot of “bad softener” calls turn out to be a decent machine with one wrong number or one simple oversight.
Frequently Asked Questions on Water Softener Settings
How often should I re-test my water?
For homes where hardness is known to vary, twice-yearly testing is the most practical habit. That is especially important on well water and in regions where municipal hardness changes with the season.
If your water is stable and your softener performance stays consistent, you can be less reactive. Still, any sudden return of spots, scale, or staining is a good reason to test again.
Should I set my softener to zero hardness?
Not necessarily.
Many systems are calibrated to deliver very low residual hardness, and NSF/ANSI 44 performance targets call for less than 1 GPG of hardness leakage in a properly calibrated system, according to Culligan’s technical guide on the right amount of soft.
But homeowner comfort is part of the practical answer. Some people prefer a little residual hardness for feel and taste, as discussed earlier. The right target depends on your priorities. Appliance protection, personal comfort, and water character do not always point to the exact same setting.
How does salt dose relate to the hardness number?
They work together, but they are not the same control.
The hardness number tells the softener how much mineral load to expect. Salt dose affects how the resin is regenerated. In the same technical benchmark, 6 to 15 lbs per regeneration is the cited range for 90% efficiency.
If the hardness setting is wrong, changing salt dose will not fix the root problem. Get the hardness number right first. Then adjust salt strategy only if your system manual supports it and you understand the trade-off.
What are the main technical benchmarks for a good setup?
A well-calibrated residential system should generally show a few signs of health:
- Low hardness leakage: Proper calibration should achieve less than 1 GPG leakage under the NSF/ANSI 44 benchmark in the cited source.
- Reasonable salt use: Salt dose should fall within the design range for the valve and resin setup.
- Stable performance: The home should not swing between soft water and hard water symptoms.
If your setup misses those marks, the machine may still be salvageable with better programming.
What mistakes cause repeated regenerations?
Iron errors are a major one. The same source states that incorrect iron adjustments account for 40% of premature regenerations.
That is why well owners often think the softener is undersized when the core issue is bad compensation math. The resin is being asked to carry a load the controller never accounted for.
Can I just turn the hardness setting way up to be safe?
That usually backfires.
The same benchmark notes that setting hardness above 50 GPG can lead to resin exhaustion and system failure in 25% of cases. More is not safer. It is just a different kind of wrong.
The right setting is the tested number, adjusted correctly for iron where needed. Not the highest number the keypad allows.
What should I check first if my system seems off?
Use this order:
- Test current water hardness
- Check iron if you are on well water or seeing rust-related signs
- Confirm the programmed hardness value
- Verify bypass position and salt condition
- Look at regeneration timing and mode
That sequence solves a surprising number of service headaches without replacing a single part.
If you want help comparing softeners, test kits, iron filters, and whole-house treatment options, visit Water Filter Advisor. It is a practical resource for homeowners who want clear guidance on choosing and maintaining better water treatment at home.
- April 9, 2026
- Uncategorized