Carbon Filtered Water vs Reverse Osmosis: The Ultimate Showdown for Your Kitchen Sink
When you're squaring up to decide between a carbon filter and a reverse osmosis system, it all comes down to a single, epic question: What villain are you trying to defeat in your water?
If your city water just tastes a bit like a swimming pool thanks to chlorine, a simple carbon filter is your quick and easy superhero. It’s an affordable and crazy-effective way to make your water taste and smell amazing. But if your concerns are more sinister—like evil heavy metals, pesky fluoride, or other dissolved solids lurking in your pipes—then reverse osmosis is the heavy-hitting avenger you need to call.
Choosing Your Home Water Filtration Champion
Diving into the world of water filtration can feel like trying to drink from a firehose, but it doesn't have to be. The two most popular champions you'll encounter are activated carbon filters and reverse osmosis (RO) systems. Both promise cleaner, better-tasting water, but they get there using completely different battle tactics and are designed to fight different enemies.
Understanding this fundamental difference is the key to choosing wisely for your home. Think of a basic carbon filter—like the one in your fridge or a Brita pitcher—as a super-powered sponge. It uses a cool process called adsorption to grab onto contaminants that make your water taste and smell funky. An RO system, however, is a much more intense, multi-stage gladiator that forces water through a ridiculously fine membrane, stripping out nearly everything else along the way.
The Rise of the Home Filtration Fortress
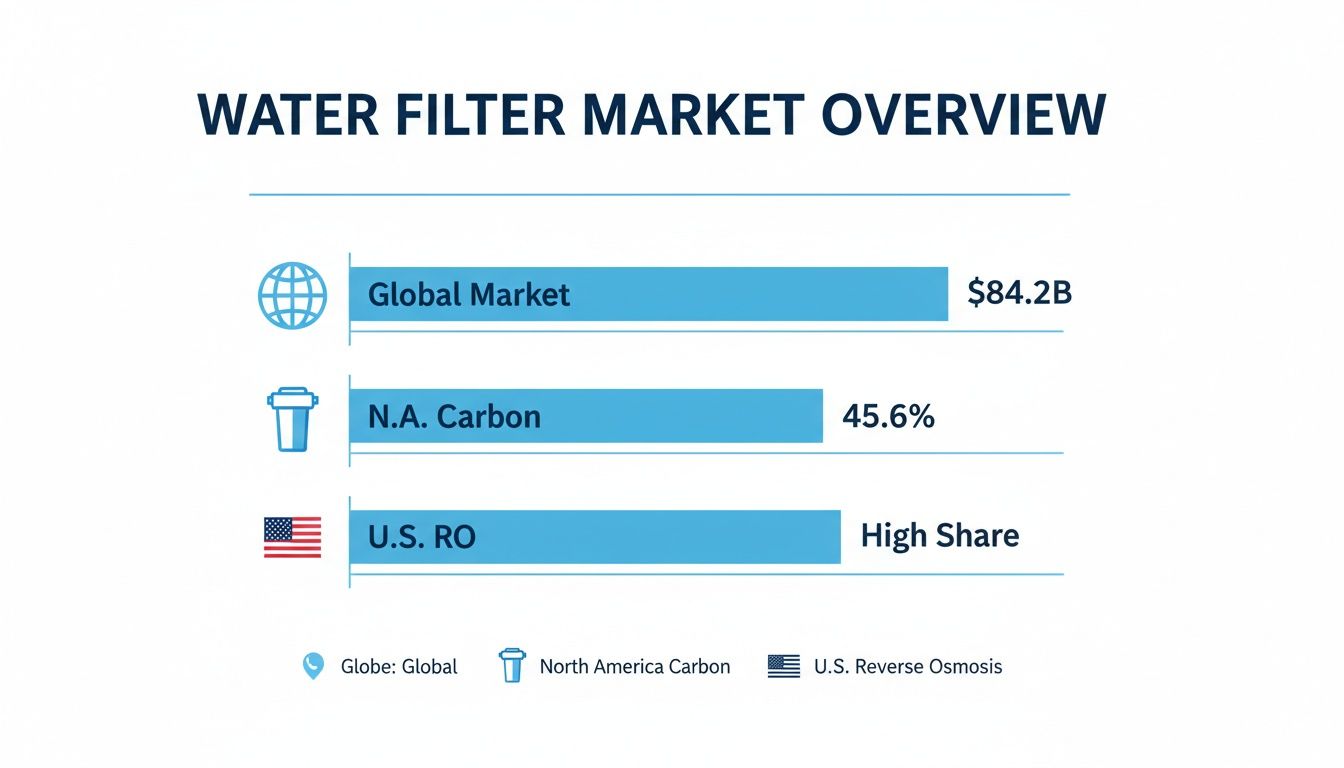
The quest for better water at home isn't just a fleeting trend. Back in the early 2000s, as more reports surfaced about the millions of Americans drinking tap water with unsafe contaminants, carbon filters became the first line of defense for countless households. Their secret weapon is an incredible surface area; a single gram of activated carbon can have a surface area of up to 1,000 square meters, enabling it to achieve up to 99.9% removal of certain volatile organic compounds (VOCs). If you want to see how different filter types stack up against specific contaminants, check out this 2025 guide to water filtration.
In this guide, we’re going to spill all the tea. We’ll cover:
- How each technology actually works its magic.
- The specific villains each one is best at vanquishing.
- The real-world differences in cost, maintenance, and daily use.
- No-nonsense recommendations to help you match the right system to your home's water.
To get started, let’s look at a quick tale of the tape. For more in-depth guidance on various filter types, you might be interested in exploring our comprehensive water filter advice section.
Carbon Filter vs Reverse Osmosis at a Glance
This table gives you a bird's-eye view of the key differences between these two filtration titans. It's a great way to quickly see which system might be a better fit for your home's needs before we get into the nitty-gritty.
| Feature | Carbon Filtration | Reverse Osmosis (RO) |
|---|---|---|
| Primary Function | Improves taste and odor by removing chlorine and VOCs | Purifies water by removing a broad range of contaminants |
| Contaminant Removal | Chlorine, pesticides, herbicides, some sediments, VOCs | Dissolved solids, heavy metals, fluoride, nitrates, bacteria |
| Impact on Minerals | Retains healthy minerals like calcium and magnesium | Removes nearly all minerals, which can affect taste |
| Wastewater | Produces no wastewater | Creates a wastewater stream to flush away contaminants |
| Installation | Simple; ranges from pitchers to under-sink units | More complex; typically an under-sink system with a tank |
| Upfront Cost | Lower ($20 – $200) | Higher ($150 – $500+) |
As you can see, the choice isn't just about which one is "better," but which one is better for you. One is a targeted solution for taste, while the other is a comprehensive purification powerhouse.
How Carbon Filters Polish Your Water
Before we can truly get into the carbon filtered water vs reverse osmosis debate, we need to appreciate the elegant simplicity of carbon filtration. This isn't some high-tech gimmick; people have been using charcoal to keep water fresh since ancient Egypt. Of course, today’s tech is a whole lot sleeker, but the basic principle is the same.
At its core, a carbon filter acts like a powerful magnet for certain types of contaminants. As water flows through it, a process called adsorption kicks in, making chemical impurities literally cling to the carbon's surface. Picture a microscopic maze with an insane amount of surface area—it traps all the gunk while letting pure water molecules sail right on through.
The end result? Water that tastes crisp and has no funky smells, free from the chemical signature that's all too common in city tap water.
The Power of Activated Carbon
So, what’s this "activated" business all about? This is where the magic happens. The raw carbon, usually from something awesome like coconut shells, gets superheated with steam. This process riddles the carbon with millions of tiny pores, massively expanding the internal surface area where adsorption can occur.
This sprawling network of pores is incredibly good at grabbing onto the specific culprits that ruin your water's taste and smell.
- Chlorine: This is carbon's #1 enemy. If your water has that swimming pool vibe, a carbon filter will knock it out cold.
- Volatile Organic Compounds (VOCs): These are various industrial and commercial chemicals that can unfortunately sneak their way into our water sources.
- Pesticides and Herbicides: Carbon is also a champ at reducing many common agricultural chemicals.
But what a carbon filter doesn't do is just as important to understand. It won't remove dissolved solids like salts, most heavy metals (think lead or arsenic), fluoride, or nitrates. It essentially polishes your water—it doesn't purify it down to the molecular level.
Granular vs. Block Carbon Filters
Not all carbon filters are created equal. The two main types you'll encounter are Granular Activated Carbon (GAC) and Carbon Block, and knowing the difference will help you choose the right warrior for your home.
GAC filters are filled with loose carbon granules. You’ll find these in most basic water pitchers or the filter in your fridge. They work, but over time, water can carve a sneaky path of least resistance through the granules—a phenomenon called "channeling"—which means it's not getting fully filtered.
Carbon block filters, on the other hand, are made from activated carbon powder that’s been compressed into a solid brick. This forces water through a much more uniform and intricate obstacle course, preventing channeling and maximizing contact time with the carbon. This makes them a more thorough and reliable choice, typically found in under-sink setups and faucet-mounted filters.
A great real-world example is a simple Cuisinart compatible activated charcoal water filter replacement. It's this exact kind of technology that transforms a harsh, chlorinated cup of coffee into something smooth and delicious, just by starting with better water.
How Reverse Osmosis Purifies Your Water
Think of a carbon filter as a magnet that grabs specific things you don't want, like chlorine. A reverse osmosis (RO) system, on the other hand, is more like a bouncer at an exclusive club—it lets almost nothing through except pure water. It’s an intense, multi-stage process built to strip out a massive range of contaminants, producing exceptionally pure H₂O.
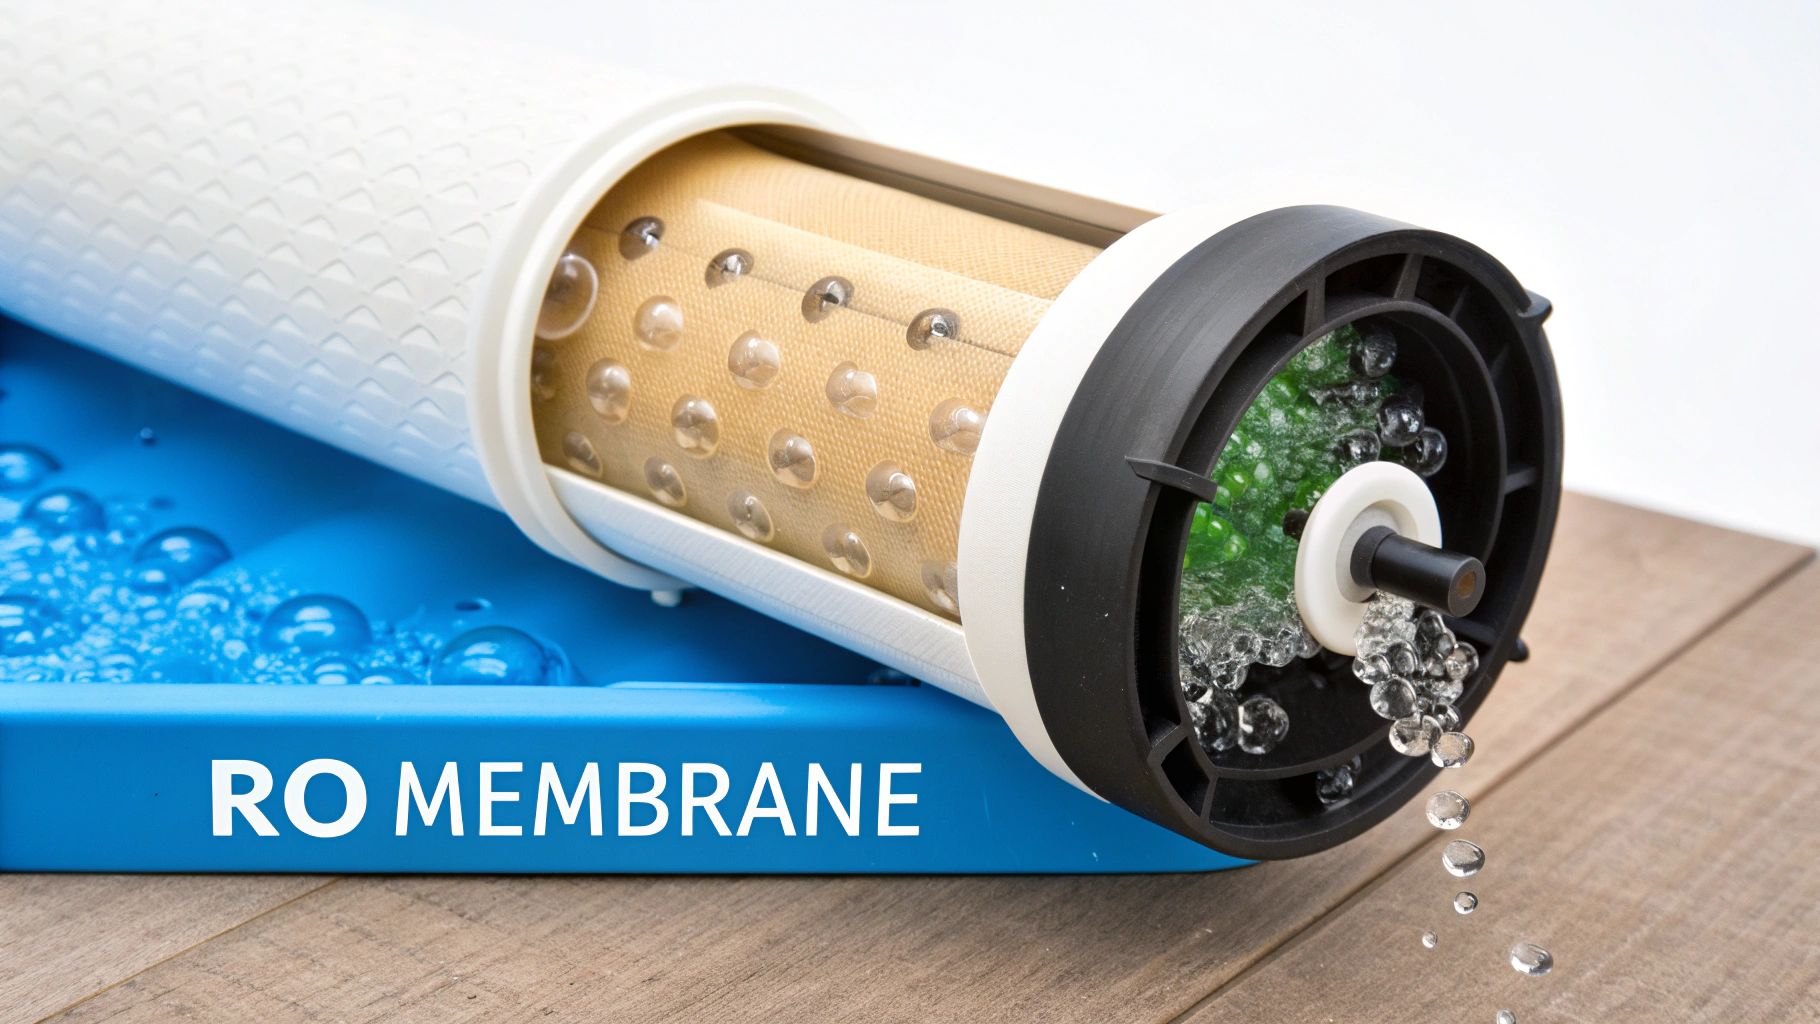
Instead of the adsorption method used by carbon, reverse osmosis relies on raw pressure. Your home’s water pressure is used to force water molecules through a special semi-permeable membrane. This membrane is the real MVP, packed with microscopic pores around 0.0001 microns in size. They’re so tiny that almost nothing besides a water molecule can get through.
It’s essentially the opposite of natural osmosis, which is where it gets its name. The result is a purification powerhouse that goes far beyond taste and odor improvement. It’s about fundamentally changing the water’s makeup to get it as close to pure as possible.
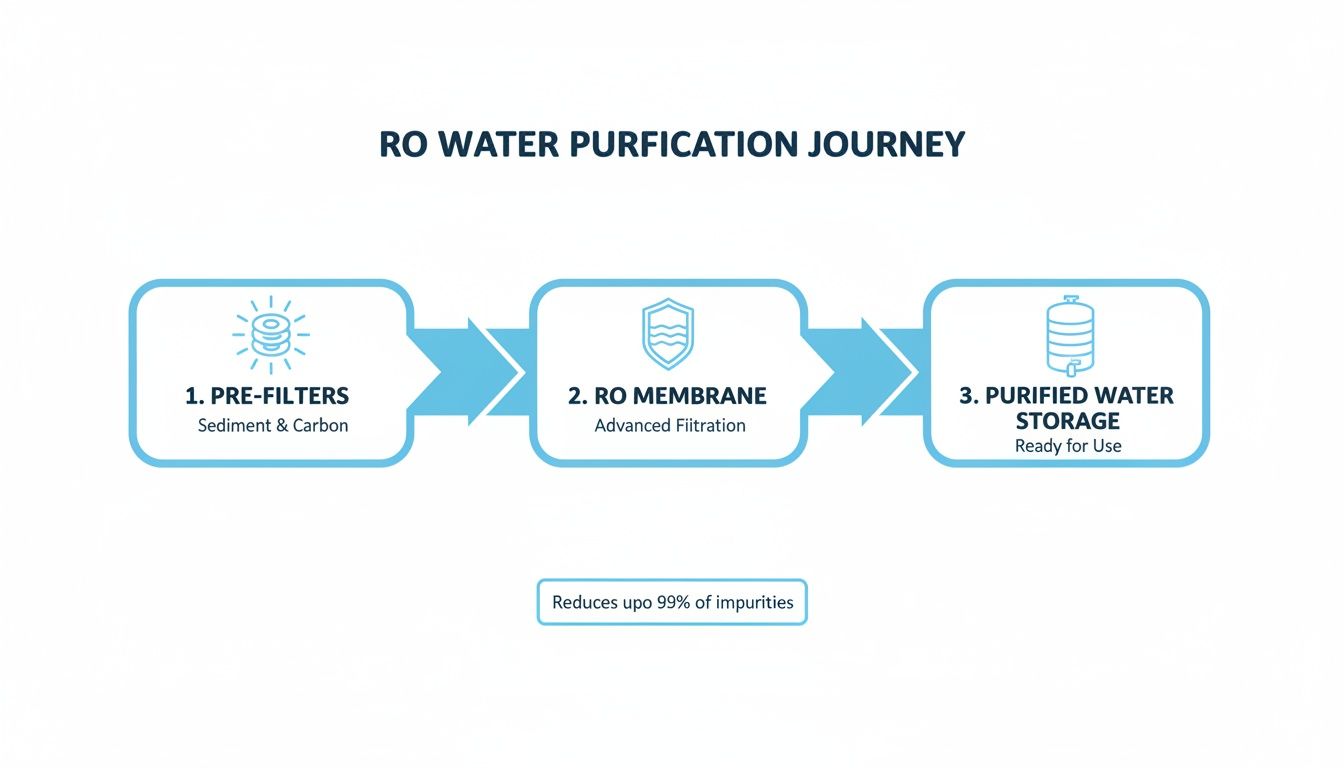
The Multi-Stage Purification Journey
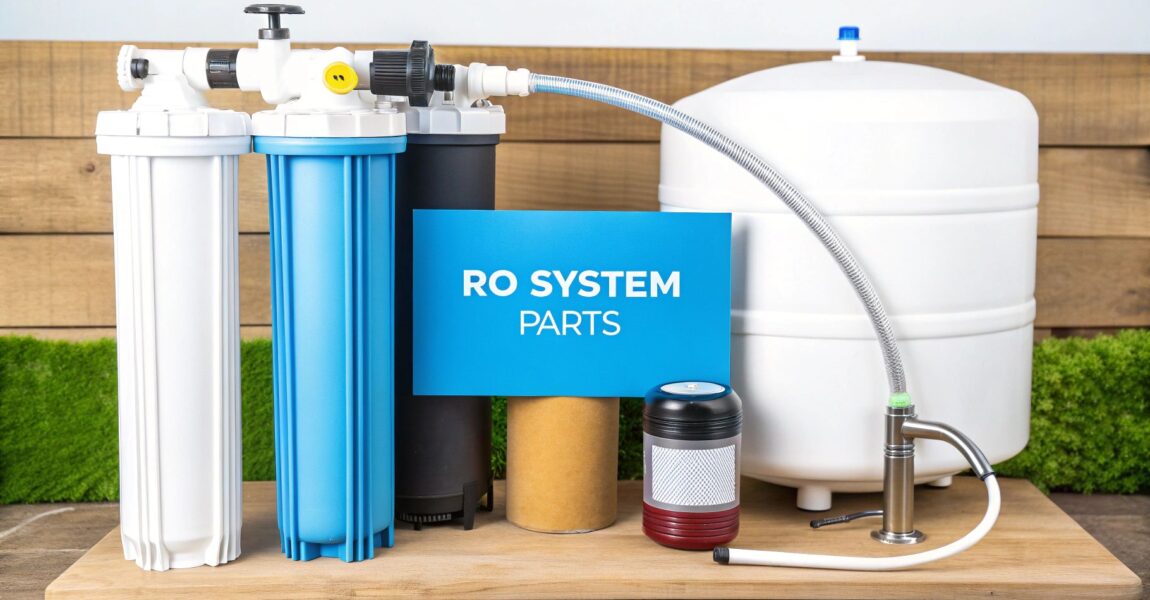
An RO system isn't a single filter; it's a super-team of filters, all working together. Water from your tap goes on a little adventure, where each stage cleans it up and prepares it for the next step. This sequence protects the most important component—the RO membrane—and guarantees the final product is pristine.
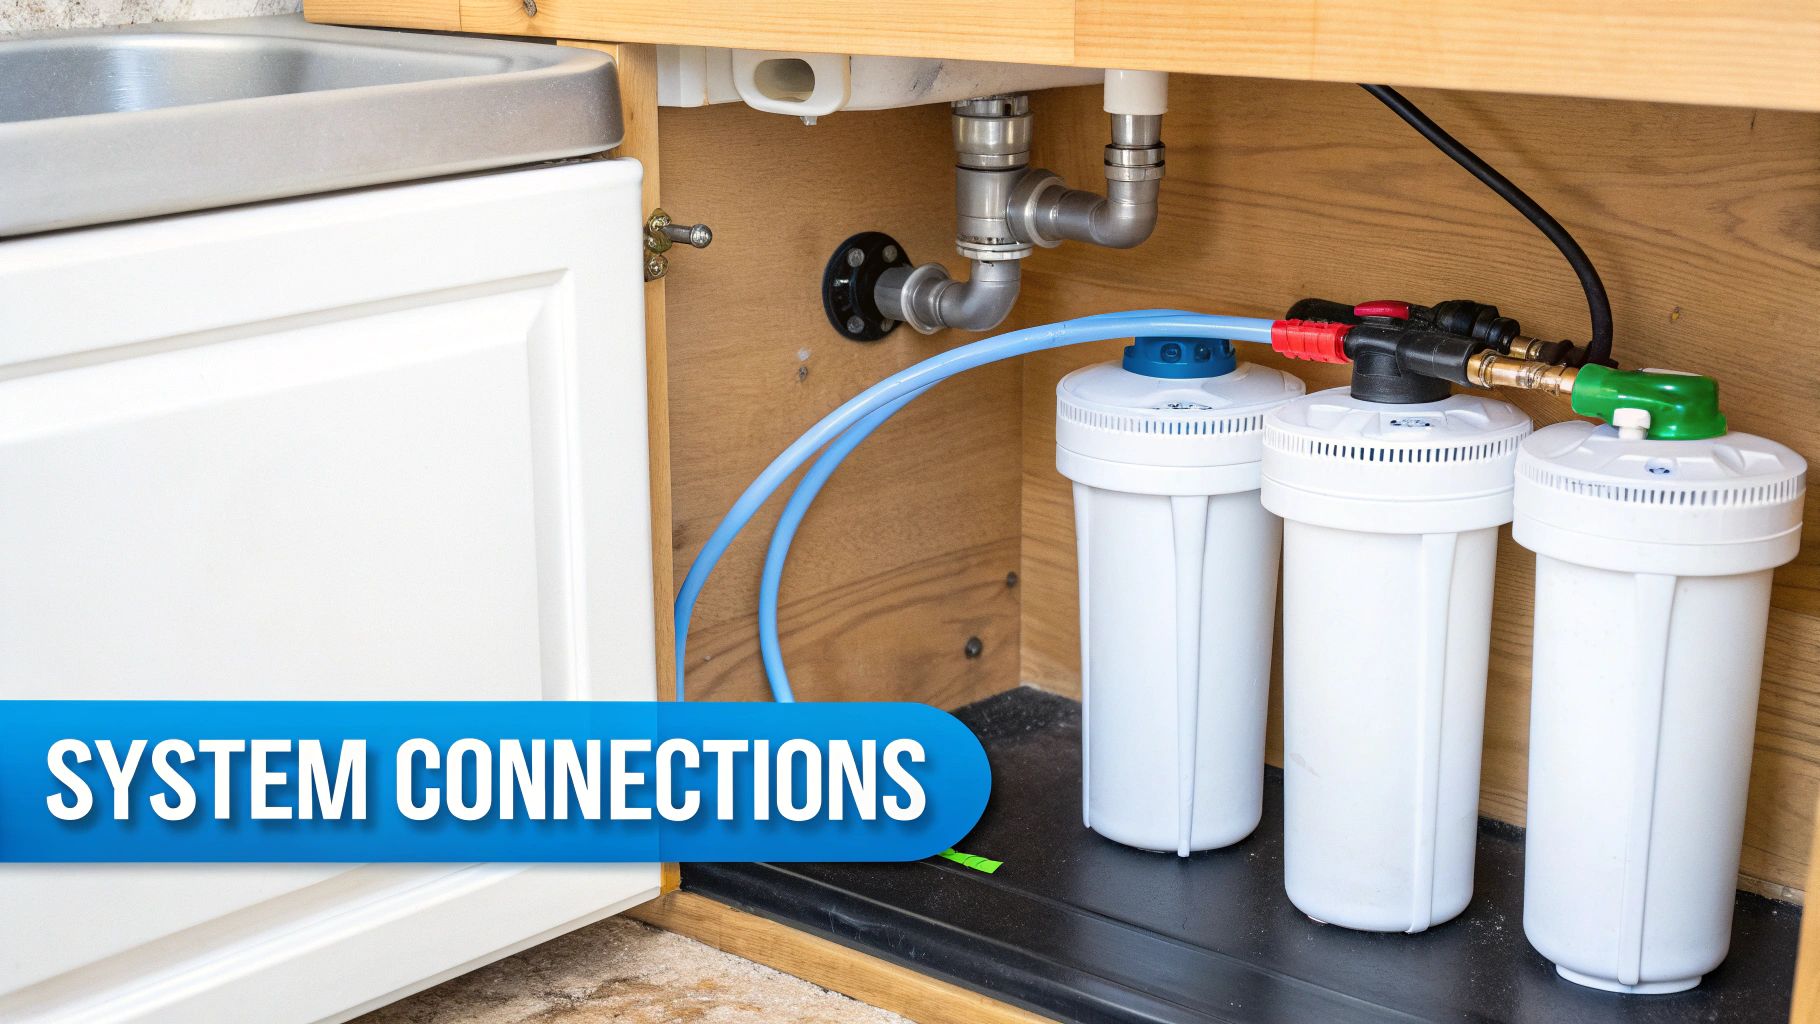
Here's a look at the typical path water takes in an under-sink RO system:
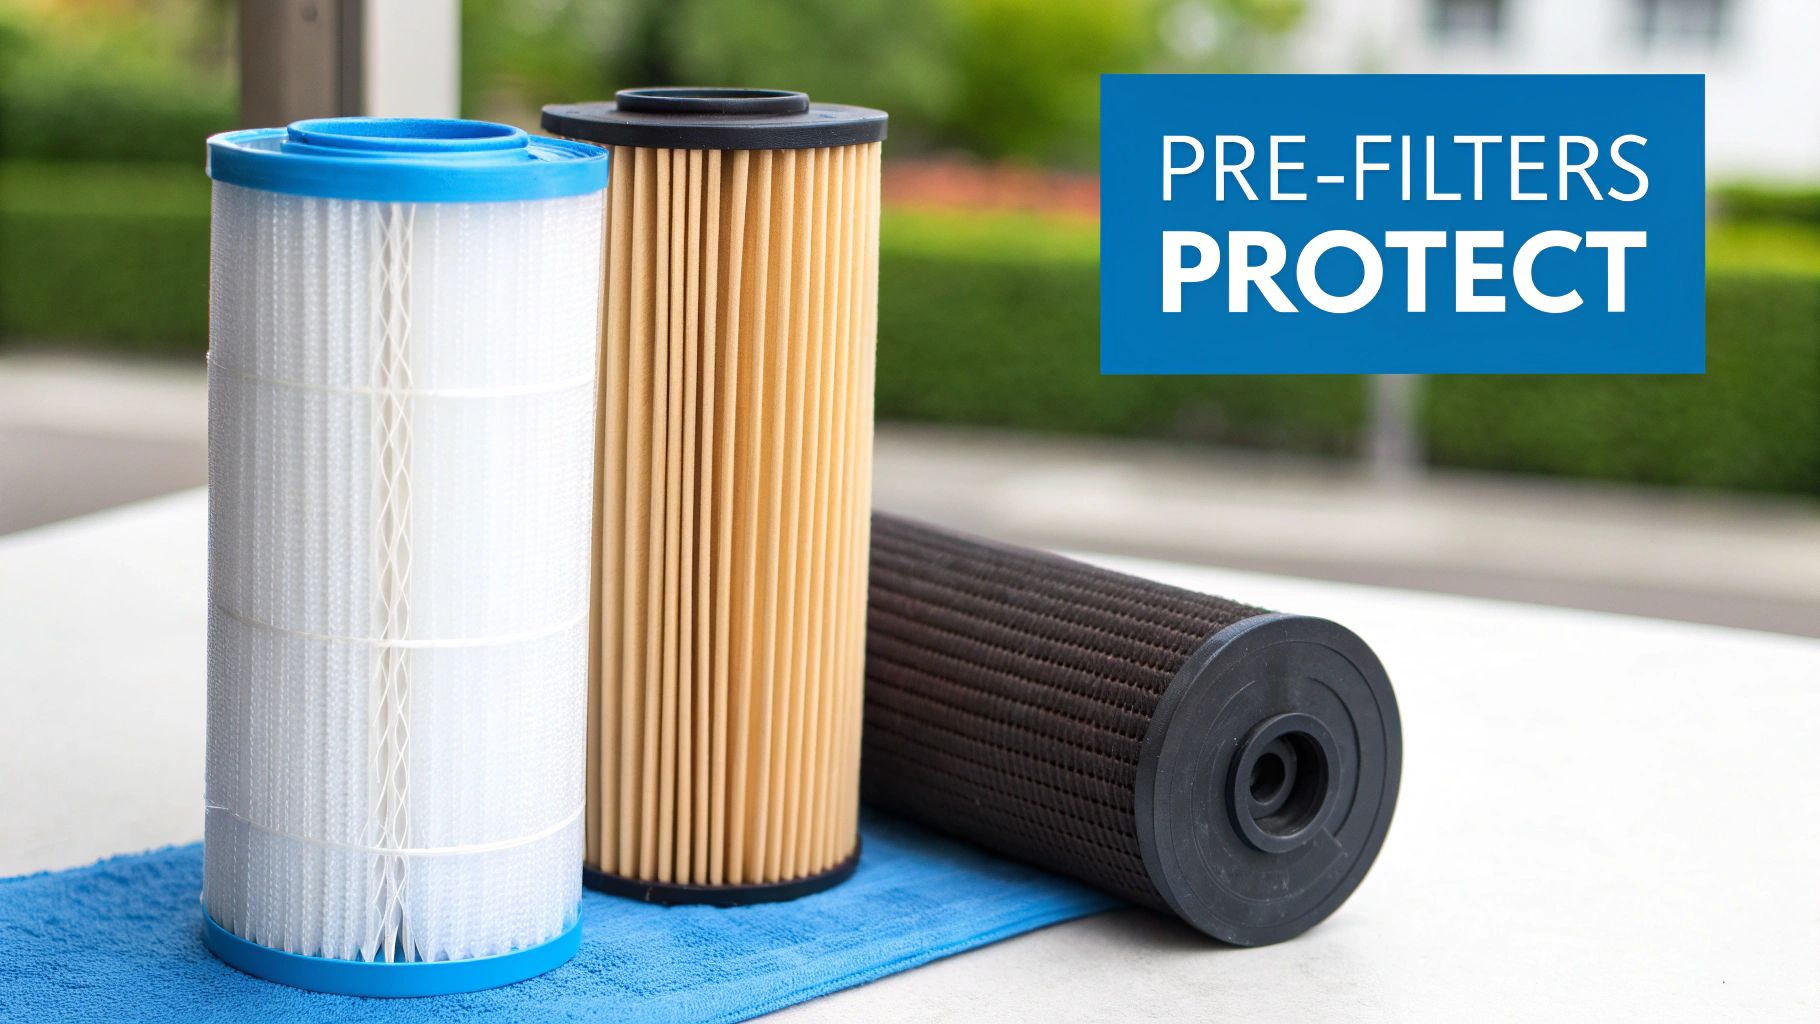
- Sediment Pre-Filter: The first stop is like a bouncer for the big stuff—dirt, sand, rust, and other grit. Its main job is to keep this gunk from clogging up the more sensitive filters down the line.
- Carbon Pre-Filter: Next, the water flows through an activated carbon filter. This is a critical step because it removes chlorine and chloramines, which can literally eat away at the delicate RO membrane and ruin it.
- The RO Membrane: This is where the real magic happens. Water pressure shoves the pre-filtered water against the semi-permeable membrane. The tiny water molecules are squeezed through, while dissolved contaminants are left behind and rejected.
- The Wastewater Stream: Everything rejected by the membrane gets collected into a concentrated stream of wastewater and is simply flushed down your drain. This is a necessary part of the process that keeps the membrane from getting clogged.
- Storage Tank: The purified water, now called permeate, is collected and stored in a small pressurized tank, usually located right under your sink.
- Post-Filter (Polishing Filter): When you turn on your dedicated RO faucet, the water leaves the storage tank and passes through one last carbon filter. This final "polishing" step gets rid of any slight taste or odor the water might have picked up while sitting in the tank.
The core difference in the carbon filtered water vs reverse osmosis debate lies here. An RO system includes carbon filtration as a crucial support stage, but its primary purification engine—the membrane—removes a much broader range of contaminants that carbon alone cannot touch.
Targeting Total Dissolved Solids
A key performance metric for any RO system is how well it reduces Total Dissolved Solids (TDS). TDS is just a measurement of all the inorganic salts, minerals, heavy metals, and other matter dissolved in your water.
High TDS can give water an off-putting salty or bitter taste. More importantly, it can signal the presence of contaminants you definitely don't want to be drinking. RO systems are absolute champions at this, consistently removing over 95% of TDS. This is why RO water has that signature "pure" taste—it's been stripped of nearly everything but water itself.
Comparing Contaminant Removal Capabilities
Alright, this is the main event. Choosing the right system means looking past the marketing jargon and getting real about what each filter can actually pull out of your water. This is where your local water quality report becomes your best friend—it tells you exactly which villains you're up against.
Let's put these two technologies head-to-head across the most common water woes. We'll see where each one shines and where it falls short, giving you a clear path to the right solution for your home.
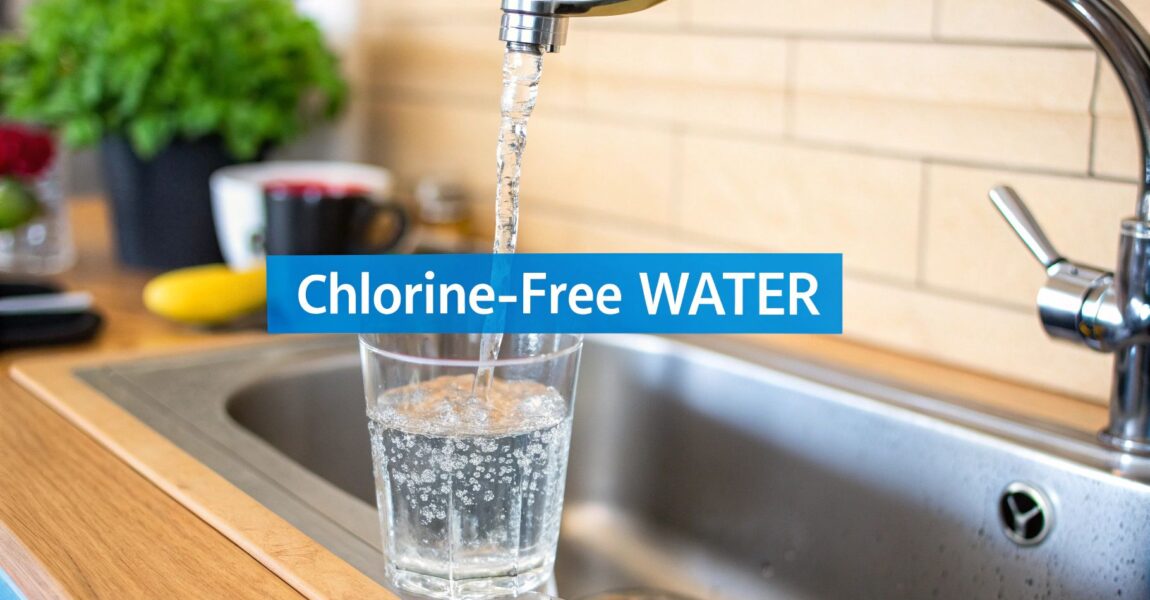
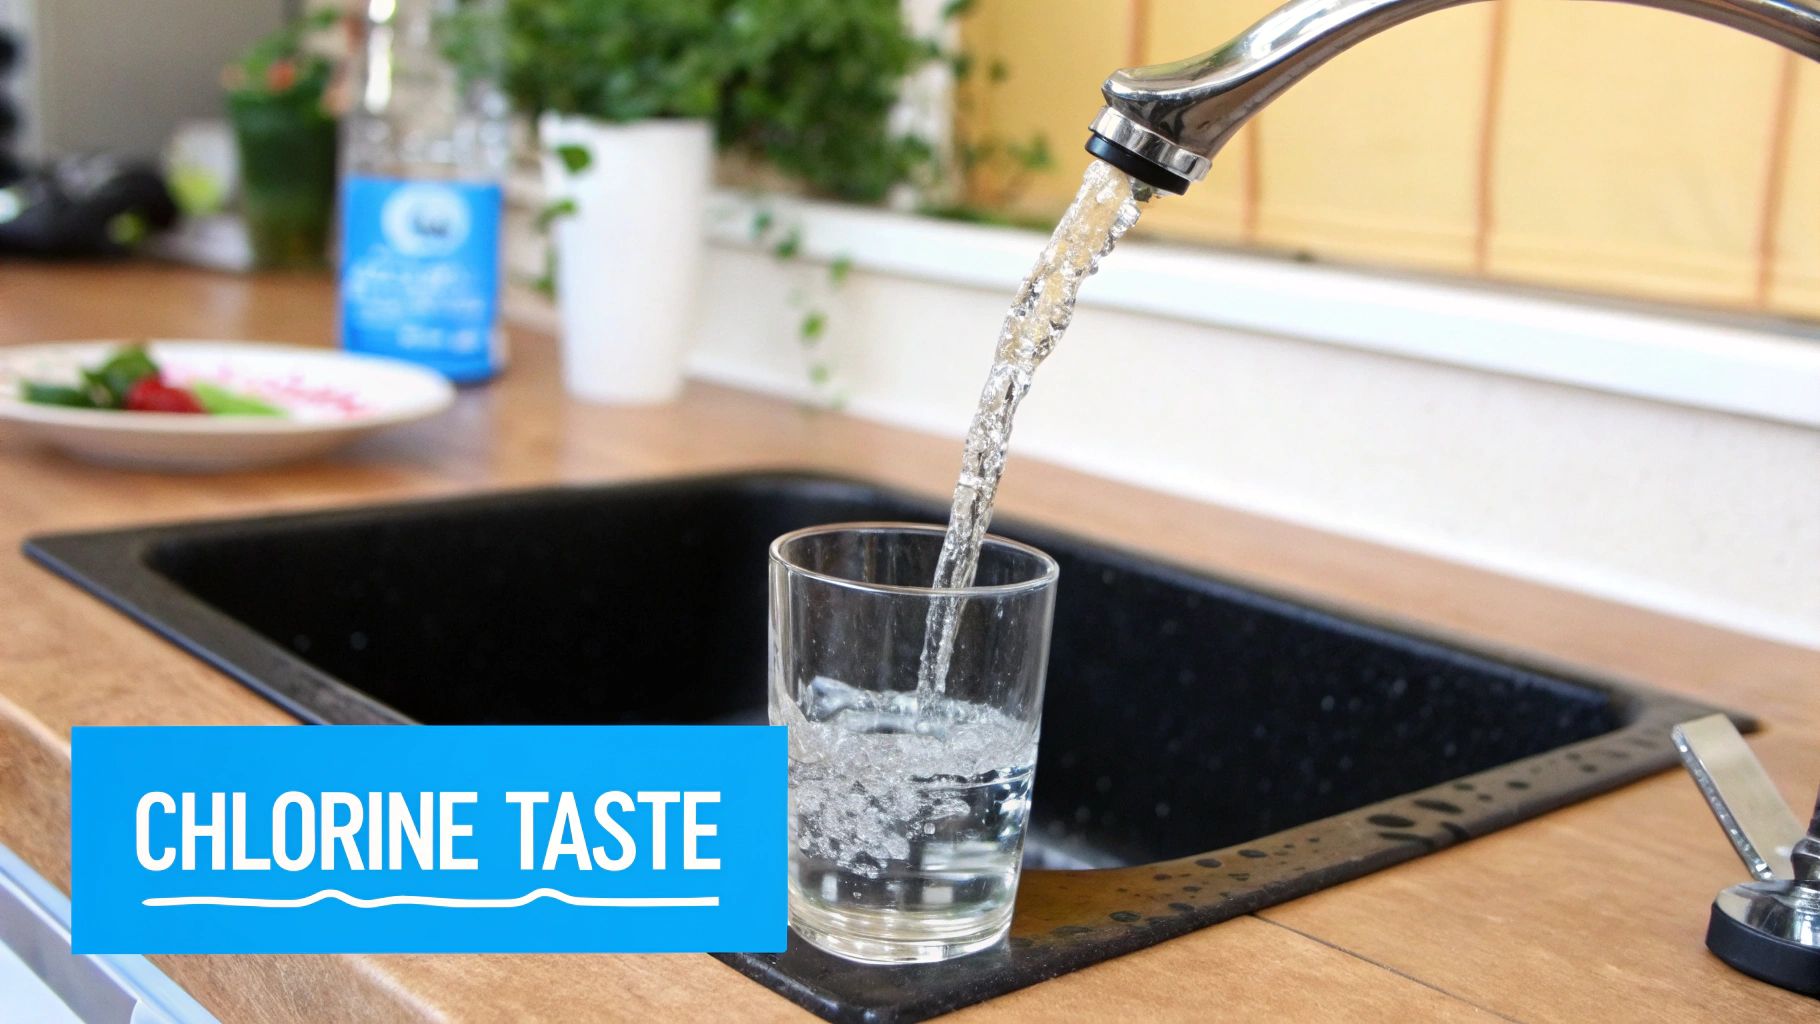
Chlorine, Taste, and Odor
Does your tap water taste and smell like it just jumped out of a swimming pool? If so, an activated carbon filter is your hero. It works through a process called adsorption, where chlorine and other foul-tasting compounds get trapped on the carbon's surface. It's incredibly effective and a quick fix.
Reverse osmosis systems also vanquish chlorine, but they do it with a carbon pre-filter before the water even hits the main RO membrane. So, while both get the job done, a simple carbon filter is the more direct and affordable solution for just bad taste and odor.
Pesticides and Volatile Organic Compounds (VOCs)
This is where things get a bit more interesting. A good-quality carbon block filter can do a fantastic job of reducing a wide range of organic chemicals, including many common pesticides, herbicides, and those nasty VOCs.
An RO system also tackles these chemicals, again using its carbon pre-filters. The difference is that the RO membrane itself acts as a second, powerful line of defense. If your water report flags a cocktail of different chemical contaminants, that extra layer of protection from an RO system is hard to beat.
The Key Takeaway: For simply making your water taste great and getting rid of that chlorine smell, carbon is the clear winner. For a more comprehensive shield against a wider variety of chemicals, reverse osmosis offers ultimate peace of mind.
Heavy Metals Like Lead and Arsenic
Here’s where the two systems really part ways. A standard carbon filter is not the right tool for removing heavy metals like lead, arsenic, or mercury. While some specialized carbon filters are certified for lead reduction (look for NSF/ANSI 53), they won't handle the full spectrum of heavy metals.
This is reverse osmosis's time to shine. The semi-permeable RO membrane is engineered specifically to block these tiny, dissolved contaminants. It’s not uncommon for an RO system to remove up to 99% of heavy metals. If you have any reason to be concerned about lead or other metals in your water, RO is the only responsible choice.
Dissolved Solids, Fluoride, and Nitrates
The term Total Dissolved Solids (TDS) covers everything from healthy minerals to unwanted stuff like fluoride, nitrates, and salts. Carbon filters do almost nothing to reduce TDS—they let all of it pass right through.
Reverse osmosis, on the other hand, is designed from the ground up to slash TDS levels. Its fine-pored membrane is a powerhouse against:
- Fluoride: RO is one of the very few home filtration methods that can effectively remove fluoride.
- Nitrates: A serious concern in agricultural areas, nitrates are easily rejected by an RO membrane.
- Salts: If your water has a salty or brackish taste, an RO system can make it pure and clean.
Effectiveness Against Common Water Contaminants
To make it even clearer, let's look at a side-by-side scorecard. This table shows how each system handles specific contaminants you might find in your home's water supply, whether it's from the city or a private well.
| Contaminant Type | Carbon Filter Effectiveness | Reverse Osmosis Effectiveness | Best Choice For |
|---|---|---|---|
| Chlorine | Excellent (main function) | Excellent (uses a carbon pre-filter) | Carbon Filter |
| Taste & Odor | Excellent | Excellent | Carbon Filter |
| Pesticides/VOCs | Good to Very Good | Excellent | Reverse Osmosis |
| Lead | Poor (unless NSF 53 certified) | Excellent (>95% removal) | Reverse Osmosis |
| Arsenic & Mercury | Not Effective | Excellent (>97% removal) | Reverse Osmosis |
| Fluoride | Not Effective | Excellent (>90% removal) | Reverse Osmosis |
| Nitrates & Sulfates | Not Effective | Excellent | Reverse Osmosis |
| Bacteria & Viruses | Not Effective | Very Good to Excellent | Reverse Osmosis |
| PFAS ("Forever Chemicals") | Good | Excellent | Reverse Osmosis |
This comparison really highlights the core difference: Carbon filtration is a fantastic improver, making good water taste great. Reverse osmosis is a purifier, taking water with serious contamination issues and making it exceptionally safe to drink.
Emerging Contaminants like PFAS
The conversation around "forever chemicals" like PFAS (PFOA/PFOS) is growing, and for good reason. High-quality activated carbon filters have proven effective at reducing certain PFAS compounds, which is a great start.
However, reverse osmosis is widely considered the gold standard for removing a broad spectrum of PFAS from drinking water. The one-two punch of carbon pre-filters and the RO membrane provides a robust, multi-stage defense against these stubborn chemicals.
While these systems are excellent for everyday home use, it's also smart to be aware of other fast, reliable water purification methods for survival for situations where your primary system might not be available.
The Real Cost of Ownership and Daily Use
Picking a water filter isn't just about science; it's about how the system fits into your life and your wallet. The price on the box is only the beginning. When you're weighing carbon filtered water vs reverse osmosis, you have to look at the practical, long-term costs and how each one feels to use every day.
A simple carbon filter, whether it clips onto your faucet or tucks under the sink, is pretty easy on the budget upfront. You can get a great system for well under $200. Reverse osmosis systems are more complex, with their multiple filter stages and storage tanks, so they naturally start a bit higher, usually running from $150 to over $500 for a standard under-sink setup.
But that initial investment is just one part of the story. The ongoing costs are where you'll really see the financial differences stack up over time.
Calculating Long-Term Expenses
The true cost of ownership comes down to replacing the filters. This is where you’ll be spending money for years, so it’s a huge factor in your decision.
With a basic under-sink carbon filter, you're usually just swapping out a single cartridge every 6 to 12 months. These replacements are pretty affordable, often landing somewhere between $40 and $100 for the whole year, depending on the brand and how much water your family uses. It’s a simple, predictable expense.
Reverse osmosis systems have more components to maintain. You’ll be replacing several different filters on a staggered schedule:
- Sediment and Carbon Pre-filters: These workhorses protect the main membrane and typically need to be changed every 6 to 12 months.
- RO Membrane: This is the heart of the system and the most expensive part. Thankfully, it's also the most durable, usually lasting 2 to 3 years.
- Carbon Post-filter: This final "polishing" filter gets swapped out every 6 to 12 months to keep the water tasting fresh.
All in, you can expect to spend between $100 and $200 annually on replacement filters for an RO system. It’s more than a carbon filter, sure, but that cost covers a much more thorough, multi-stage purification process.
Daily Usability and Flow Rate
Money aside, how does each system actually work in your kitchen day-to-day? One of the first things you'll notice is the flow rate.
Under-sink carbon filters hook right into your main cold water line. When you turn on the tap, water comes rushing out at pretty much the same speed you're already used to. There’s no waiting around—it’s a completely seamless experience.
Reverse osmosis systems are a different beast. The purification process is incredibly slow and detailed, so RO systems need a small storage tank to keep a reserve of purified water ready to go. This water comes out of a separate, dedicated faucet installed right on your sink. The flow from this smaller faucet is definitely slower than your main tap. It's the classic trade-off for purity—you get amazingly clean water, but you have to be a little more patient.
The difference in flow rate is a perfect example of the core trade-off. Carbon offers convenience and speed for better-tasting water, while reverse osmosis sacrifices some speed for a much higher level of purification.
The Critical Difference in Water Taste
Finally, let's talk taste—the whole reason you’re looking for a filter in the first place. This is where the two systems really part ways, and it often comes down to personal preference.
Carbon filters are fantastic at improving taste. They remove chlorine and other funky chemicals but intentionally leave in beneficial minerals like calcium and magnesium. This gives you water that tastes clean, crisp, and refreshing, a lot like a high-end bottled spring water. It's the taste most of us know and love.
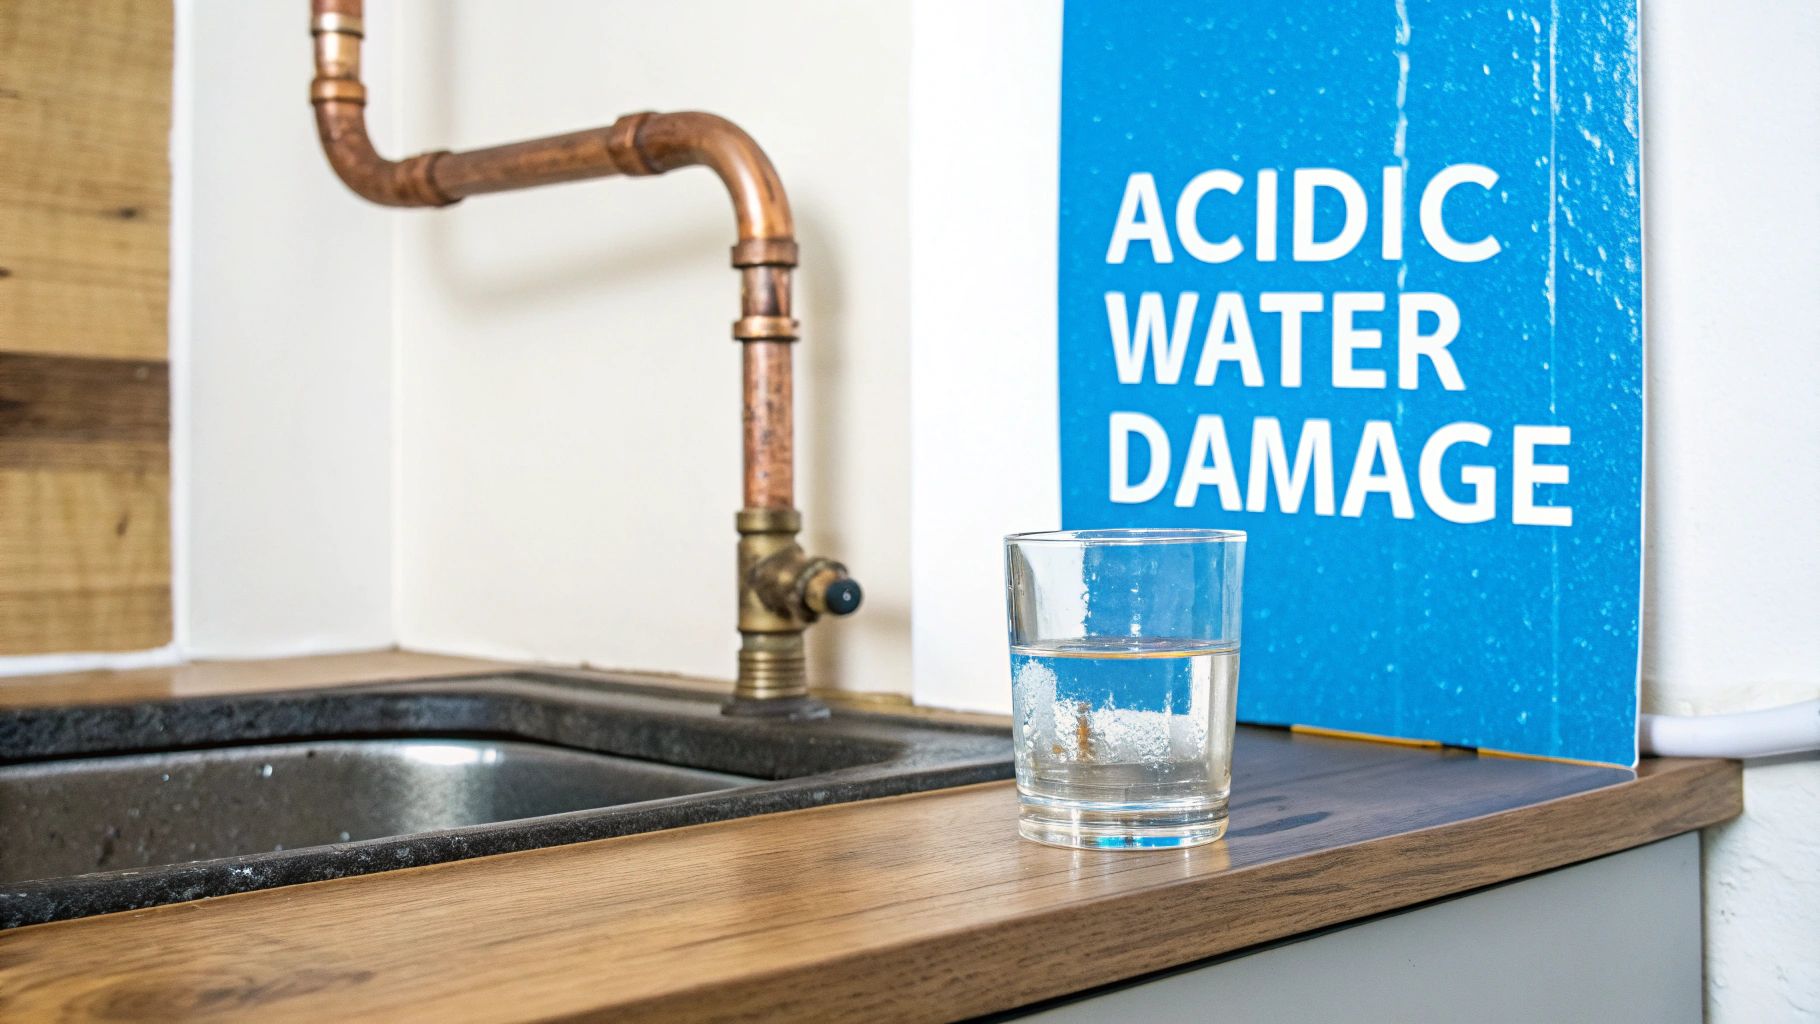
Reverse osmosis, on the other hand, is so powerful it strips out practically everything—including those healthy minerals. The result is ultra-pure H₂O, which can have a "flat" or even slightly acidic taste that some people don't care for. It’s pure, but it lacks the character minerals provide.
Luckily, there’s an easy fix. Many modern RO systems now come with a remineralization filter as the final stage. This little cartridge adds a balanced mix of healthy minerals back into the water just before it hits your glass, dramatically improving the taste and raising the pH. It’s really the best of both worlds: the absolute purity of RO with the pleasant, familiar taste of mineral water.
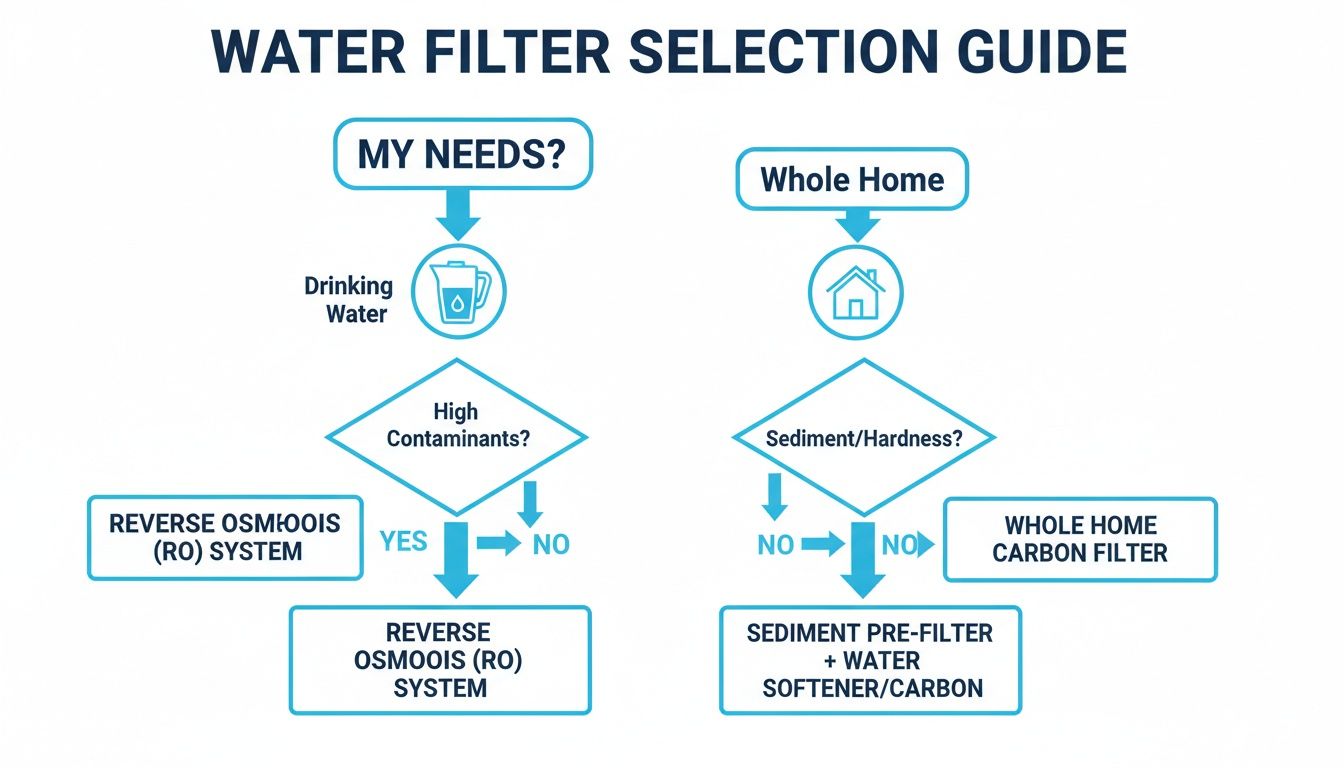
Making the Right Choice for Your Home
Figuring out the whole carbon filtered water vs reverse osmosis thing isn't about finding the one "best" system. It's about matching the right technology to the specific problems coming out of your tap. It really boils down to what you're trying to fix.
If you’re on city water, chances are it's perfectly safe to drink, but it might taste or smell like a swimming pool. That strong chlorine flavor is a common complaint. In this situation, a quality activated carbon filter is your best bet. It’s fantastic at knocking out the chlorine and other stuff that makes water unpleasant, giving you crisp, clean-tasting water without the cost and complexity of a bigger system.
When to Upgrade to Reverse Osmosis
The conversation completely shifts if you're worried about more than just taste and smell. This is where a reverse osmosis system moves from a "nice-to-have" to a smart investment, especially if you have a private well or live in an area with older city pipes.
You should seriously consider an RO system if you're dealing with any of these issues:
- High Total Dissolved Solids (TDS): If your water has a salty, bitter, or just "heavy" taste, an RO system is the only practical way to lower those TDS levels.
- Known Heavy Metals: For serious contaminants like lead, arsenic, or mercury, the RO membrane acts as a nearly impenetrable barrier that a simple carbon filter can't provide.
- Nitrates or Fluoride: These are common in agricultural areas or municipalities that add fluoride, and only reverse osmosis can reliably remove them.
- Emerging Contaminants: An RO system offers the most powerful defense you can get for your home against things like PFAS ("forever chemicals") and other industrial runoff.
The real lightbulb moment for many people is realizing that every reverse osmosis system already includes carbon filters. They act as pre-filters to protect the RO membrane and a post-filter to polish the taste. So, an RO unit isn't an alternative to carbon—it's a complete, multi-stage solution that uses both technologies.
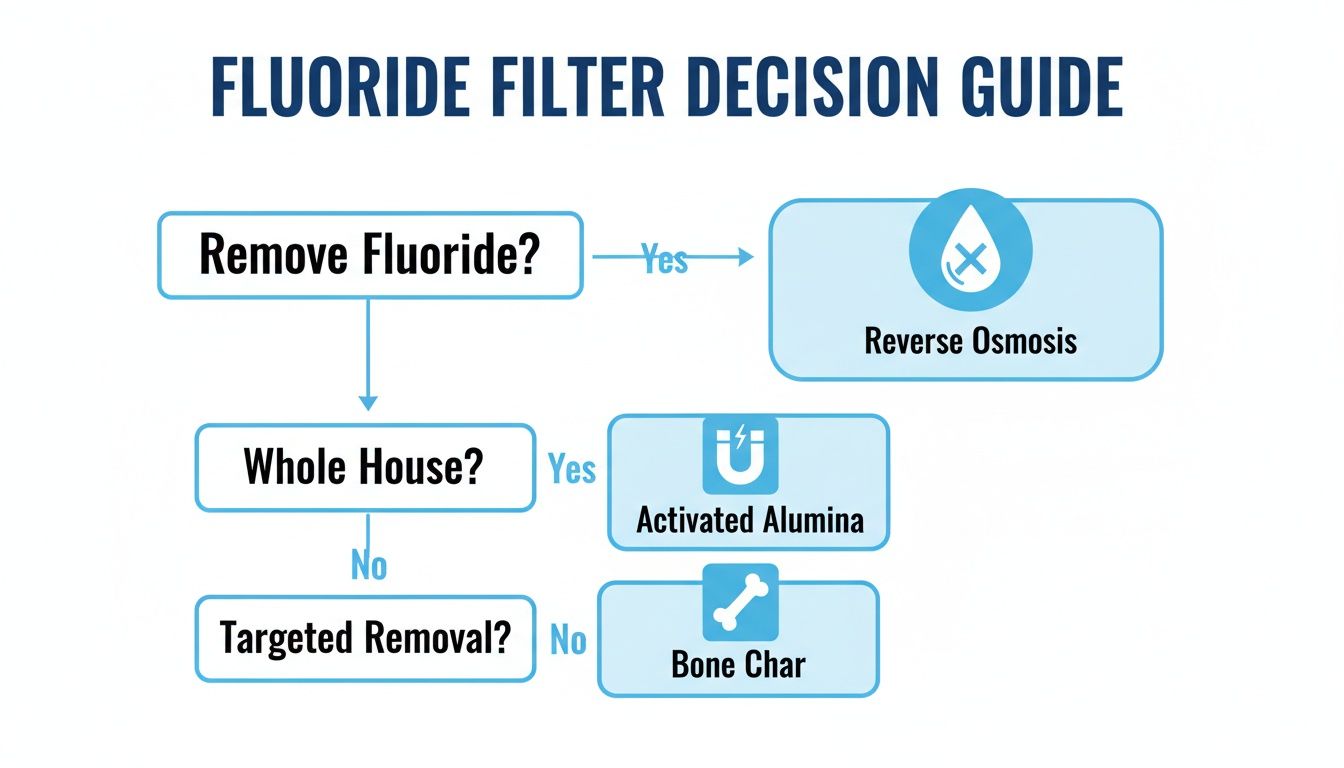
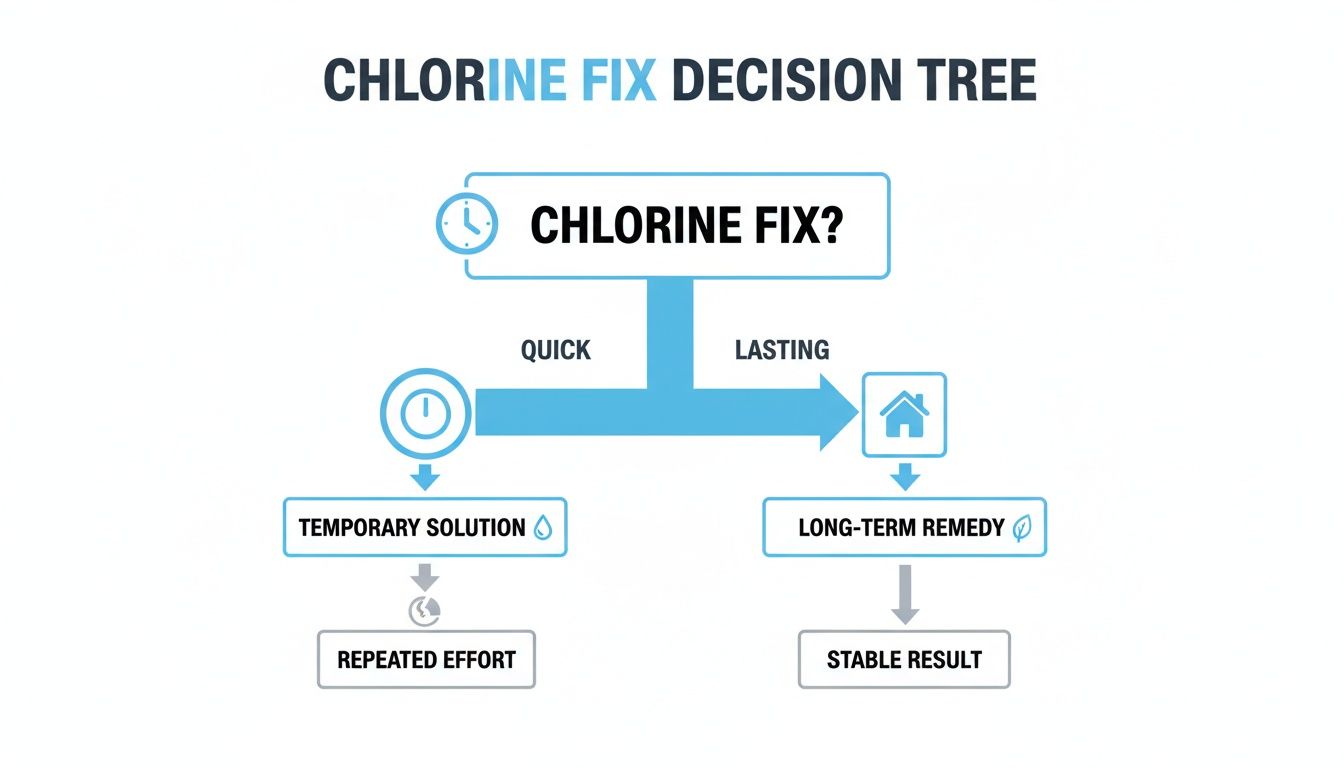
This decision tree gives you a great visual for weighing the costs and benefits.
As you can see, the path forks pretty quickly based on your budget, what you need to remove, and how much maintenance you’re willing to do.
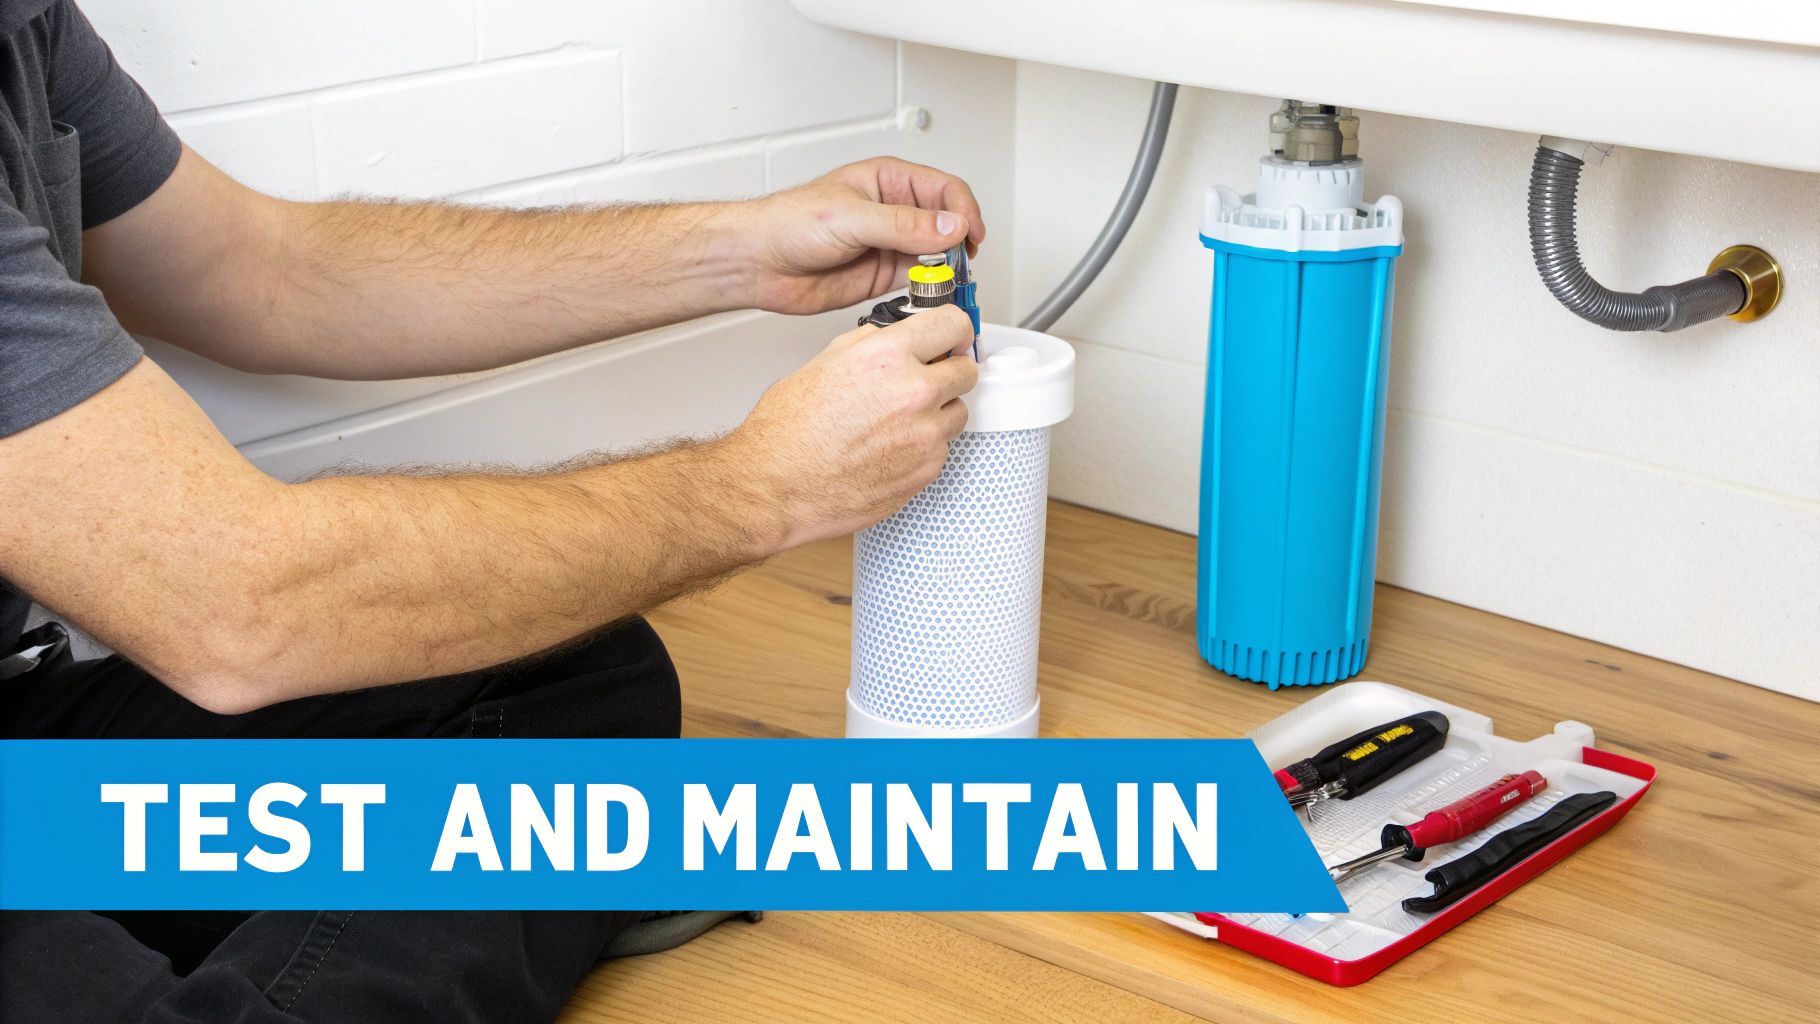
Your First Step is Always Testing
You can't fix a problem if you don't know what it is. Before you spend a dime on a filter, you need to find out exactly what's in your water.
If you get your water from a municipality, just ask them for their latest Consumer Confidence Report (CCR). It's a free annual report that lists all the tested contaminants and shows how they stack up against EPA limits.
For those on well water, the responsibility for testing is on you. A good starting point is to contact your local health department; they can provide a list of state-certified labs that will run a full analysis for you.
Once you have your water report in hand, look for official certifications when you start shopping. The gold standard comes from NSF/ANSI.
- NSF/ANSI 42: This is the basic certification for taste and odor. It confirms a filter reduces aesthetic issues like chlorine. Any decent carbon filter should have this.
- NSF/ANSI 53: This is a big one. It certifies that a filter reduces specific health-related contaminants, such as lead, mercury, or cysts.
- NSF/ANSI 58: This certification is exclusive to reverse osmosis systems. It verifies the system’s ability to reduce TDS and a whole list of other tough contaminants like arsenic and fluoride.
Choosing a certified product means you aren't just taking the manufacturer's word for it. It's proof that the system does what it claims to do, giving you real peace of mind with every glass you drink.
Your Top Questions Answered
When you're comparing carbon filtration to reverse osmosis, a few key questions always come up. Let's tackle them one by one so you can feel totally confident in your choice.
Does Reverse Osmosis Remove Healthy Minerals?
Yes, it does. Reverse osmosis is incredibly thorough—so much so that it strips out beneficial minerals like calcium and magnesium right along with the bad stuff. This is what gives RO water its signature ultra-pure, and sometimes "flat," taste.
For most of us, this isn't a huge deal since we get plenty of minerals from our diet. But if you're concerned about mineral intake or just prefer the taste of mineral water, there's an easy fix. Many modern RO systems now come with a remineralization filter that adds a healthy balance of minerals back into the water just before it hits your glass.
Can I Install These Systems Myself?
It really depends on what you buy. Most of the simpler carbon filters—like pitchers, countertop models, and faucet attachments—are designed for anyone to install. You can usually get them up and running in a few minutes with no tools required.
Under-sink carbon filters and full reverse osmosis systems are a bit more involved and require some basic plumbing know-how. The instructions are usually clear enough for a confident DIYer, but if messing with your home's water lines makes you nervous, calling a plumber is always the smart move. It's better than dealing with a leak down the road.
The trade-off is clear: simpler carbon filters offer plug-and-play convenience, while more powerful RO systems demand a more permanent installation. Assess your comfort level with plumbing tasks before making a purchase.
How Much Water Does a Reverse Osmosis System Waste?
Older RO systems definitely earned their reputation for being water hogs, but today's technology is much better. Many new, high-efficiency models have brought the waste-to-pure-water ratio down to around 1:1 or 2:1.
That "wastewater" (also called brine) is just carrying all the filtered-out contaminants safely down the drain. For the average family, the extra water usage is pretty minimal in the grand scheme of things, but it's something to consider if water conservation is a major priority for you.
Which System Has a Better Water Flow Rate?
Hands down, carbon filters win on flow rate. Because they integrate right into your main line, whole-house or under-sink carbon filters have almost no impact on your water pressure. You won’t even notice a difference at the tap.
Reverse osmosis, on the other hand, is a much slower, more methodical process. To get around this, RO systems use a pressurized storage tank to keep a supply of purified water ready to go. This water is delivered through a separate, dedicated faucet, and the flow will be noticeably slower than your main kitchen faucet. It's a practical trade-off for getting that level of purity.
Ready to find the perfect filtration solution for your home? The experts at Water Filter Advisor have done the research for you, with in-depth guides and unbiased reviews to help you choose with confidence. Explore our comprehensive resources at https://www.waterfilteradvisor.com.