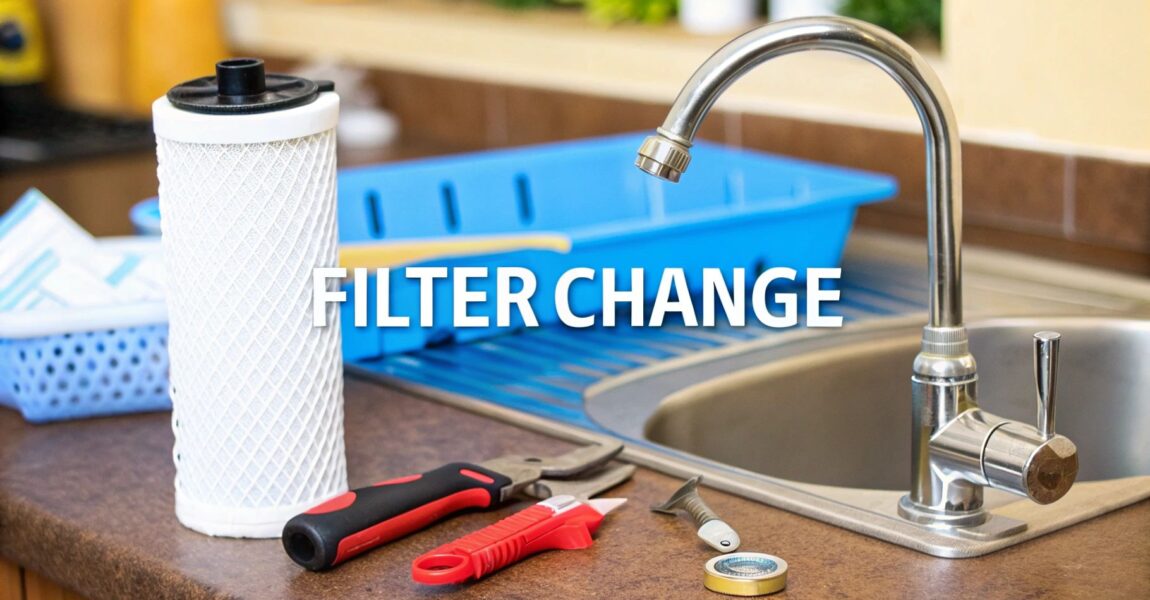
Changing a water filter is one of those home maintenance tasks that feels way more intimidating than it actually is. In most cases, it’s a simple dance: shut off the water, swap out the old cartridge, and pop in the new one. While the exact steps vary depending on your setup—whether it’s a friendly refrigerator filter, a shy under-sink system, or the big-boss whole-house filter—the core idea is the same. Master this, and you've unlocked a key skill for keeping your home's water crisp, clean, and delicious.
Why Bother Changing Your Water Filter? (No, Really)
Let's be real: that little "change filter" light on your fridge often feels more like a gentle nudge than a serious command. It's so easy to just reset it and promise you'll get to it… eventually. But procrastinating on this simple task is like ignoring the "check engine" light on your car. It might be fine for a little while, but eventually, things start to go wrong in ways you didn't expect.
An old, clogged filter doesn't just quietly give up; it can morph into the very source of the problems you were trying to filter out in the first place.
The Gunk Doesn't Just Vanish
Think of your water filter like a bouncer at a club. Its job is to stop unwanted troublemakers—sediment, chlorine, lead, and other junk—from getting into the party (your glass). When the filter is full, the club is at capacity. The bouncer can't stop anyone else. Water, desperate to get through, has to squeeze past the gunk-filled roadblock, which is why your water pressure suddenly drops. That coffee pot taking forever to fill? That's your filter screaming for help.
Worse, this blockage puts a real strain on your appliances. Your refrigerator’s ice maker and dispenser have to work much harder to push water through, leading to wear and tear that can shorten their lifespan. No one wants an eye-watering repair bill that could have been prevented by a ten-dollar filter.
The scariest part? A neglected filter can become a five-star resort for bacteria. All that trapped organic gunk creates the perfect environment for microorganisms to thrive and multiply. Eventually, they can get flushed right back into the water you’re about to drink. Yikes.
You're Not Alone in Caring
It's clear that homeowners are paying more attention to what’s flowing from their taps. The global water filters market, currently valued at around USD 15.88 billion, is projected to swell to USD 26.42 billion by 2032. This isn't just a trend; it's a movement toward demanding safer, cleaner water right in our own homes.
Knowing how to change a water filter is a small but mighty skill that pays huge dividends for your health and your appliances. While regular filter changes are a fantastic start, exploring comprehensive home water treatment solutions can elevate your water quality even further, offering complete peace of mind with every sip.
But first, let's learn to spot the warning signs.
Signs Your Water Filter Is Crying for Help
Use this quick reference table to diagnose a filter that's past its prime, from funny tastes to performance tantrums.
| Indicator | What It Means | What to Do Next |
|---|---|---|
| Off-Taste or Smell | The filter's carbon is maxed out and can no longer absorb contaminants like chlorine. Your water tastes… like a swimming pool. | This is the most obvious red flag. Change the filter immediately. |
| Slow Water Flow | The filter is physically clogged with sediment and debris, creating a microscopic traffic jam. | Order a replacement. The trickle will only get weaker. |
| Cloudy Water or Black Flecks | A sign that the filter media (usually carbon) is breaking down and escaping into your water. | Stop using and replace the filter right away. No one wants to drink their filter. |
| "Change Filter" Light | The system's built-in timer, based on time or water volume, has expired. | Don't ignore it! It's there for a reason. Resetting it doesn't magically clean the filter. |
| Ice Tastes Funky | Your refrigerator filter is saturated, and those impurities are making their way into your ice cubes. | Replace the fridge filter to rescue both your water and your iced coffee. |
Keeping an eye out for these signals ensures you're always getting the pristine water your system was designed to deliver.
Gearing Up: Your Pre-Change Checklist
A successful, leak-free filter change begins before you even touch the filter housing. I’ve seen it a thousand times: diving in unprepared is the fastest way to turn a 10-minute job into an afternoon of wet socks and frustration. Taking a minute to gather your tools is the secret to a victory lap, not a frantic trip to the hardware store.
The most common rookie mistake is, without a doubt, buying the wrong replacement filter. Before you do anything, you need to find its exact model number.
Finding the Right Cartridge: A Mini-Quest
On most systems, the model number is printed on the old filter cartridge or on a sticker on the housing. For refrigerator filters, check inside the fridge door or consult the owner’s manual. If all else fails, a quick online search for your appliance or system model should reveal the part number you need.
Pro Tip: Once you find that model number, snap a picture of it with your phone. It’s a simple trick that guarantees you’ll have the right info when it's time to reorder. Future you will thank you.
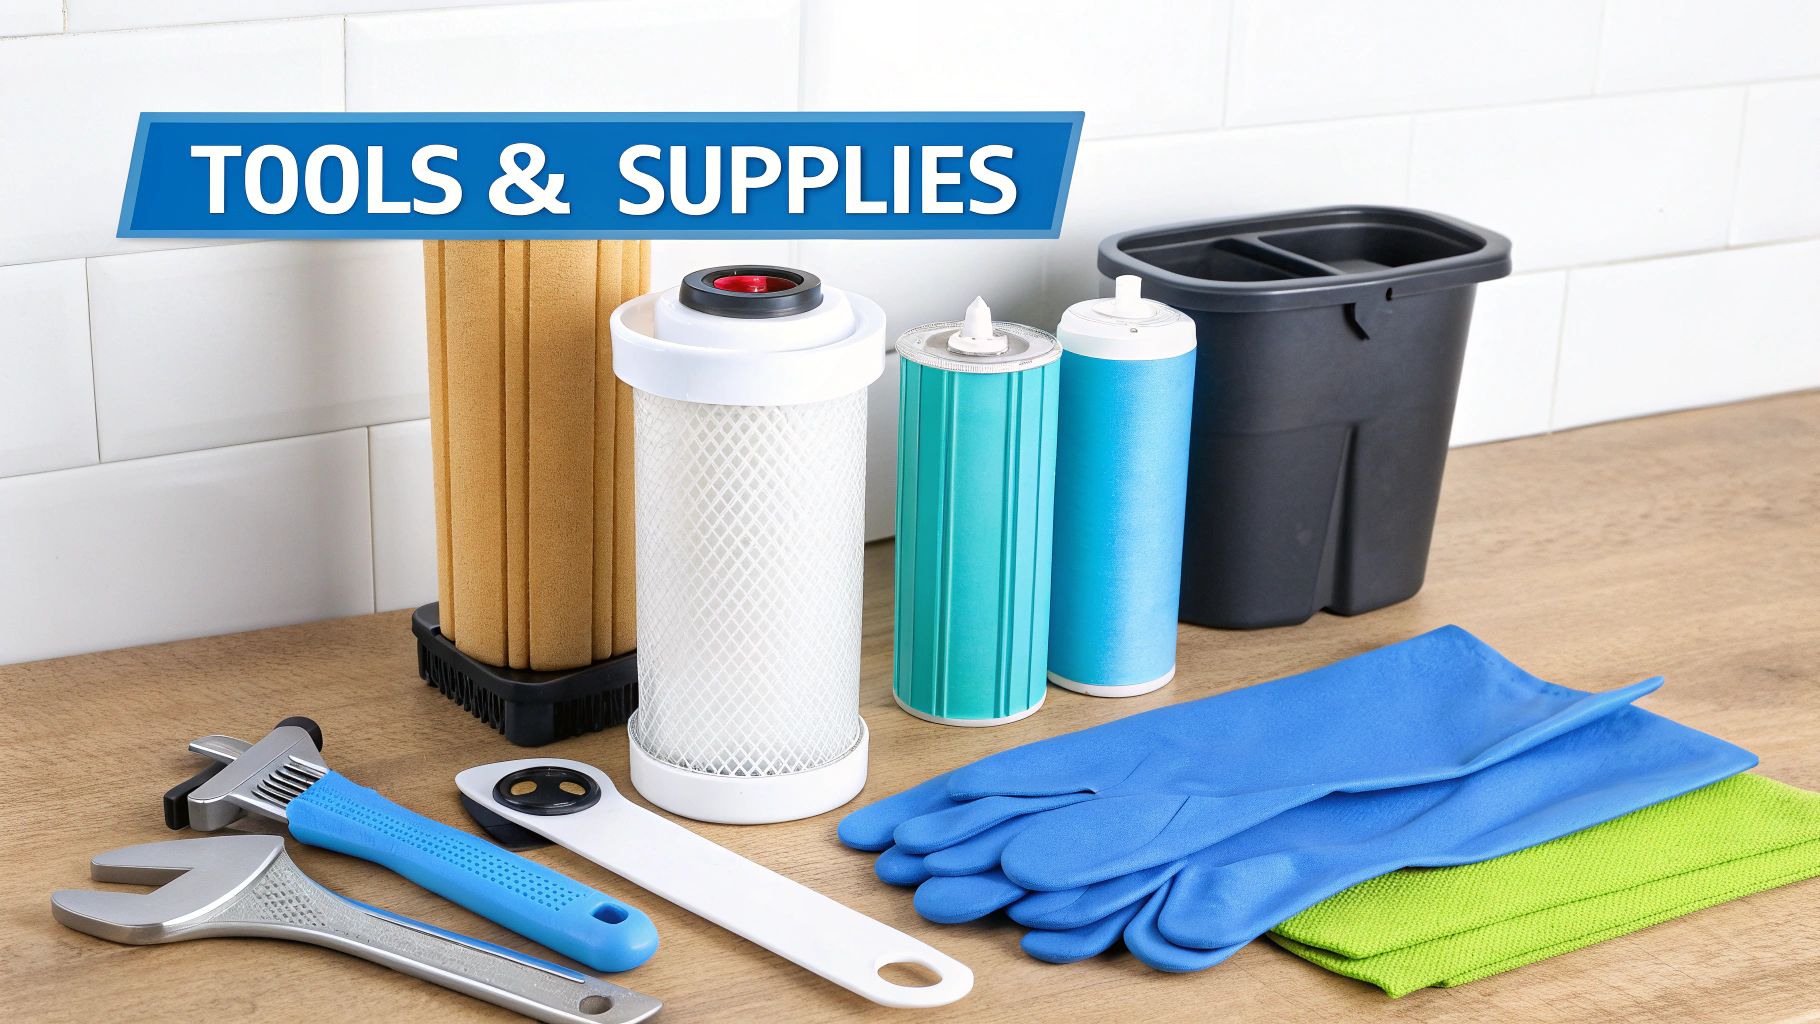
Assembling Your Toolkit
You don't need to be a master plumber for this. Most filter changes require just a few simple items.
- The New Filter: Sounds obvious, but make sure it's out of the box and ready for action.
- Filter Wrench: Many under-sink and whole-house systems include a special plastic wrench. If it's gone missing, a universal strap wrench is a great stand-in.
- A Bucket and Old Towels: Spills happen. Placing a bucket and a few towels directly under your work area is your best defense against rogue drips and splashes.
Getting these few things ready beforehand transforms the entire process from a chore into a clean, efficient mission. For more expert tips, check out the in-depth guides at Water Filter Advisor.
Changing Under-Sink and Refrigerator Filters
Alright, let's roll up our sleeves and tackle two of the most common filters found in homes. I’m going to walk you through this just like I would if I were in your kitchen, focusing on the little details that make the job a breeze. Honestly, this is one of the most satisfying quick-wins in home maintenance.
With any under-sink system, your first move is always to shut off the water. Look for the small valve on the cold water line that feeds the filter system. Give it a clockwise turn until it stops. This simple step is your best friend—it prevents an impromptu kitchen flood.
Next, we need to release the pressure trapped in the line. Many filter housings have a small red button on top; press it and you'll hear a quick hiss of air and water escaping. No button? No problem. Just open the dedicated filter faucet at your sink and let it run until it's just a drip.
Swapping the Under-Sink Cartridge
Now that the pressure is off, lay down some towels and slide a bucket under the filter housing. Trust me, there’s always more water in there than you think. Grab the plastic wrench and turn the canister counter-clockwise to loosen it. Once you break that initial seal, you should be able to unscrew it the rest of the way by hand.
Prepare for the big reveal: pulling out that old, gunk-covered cartridge.
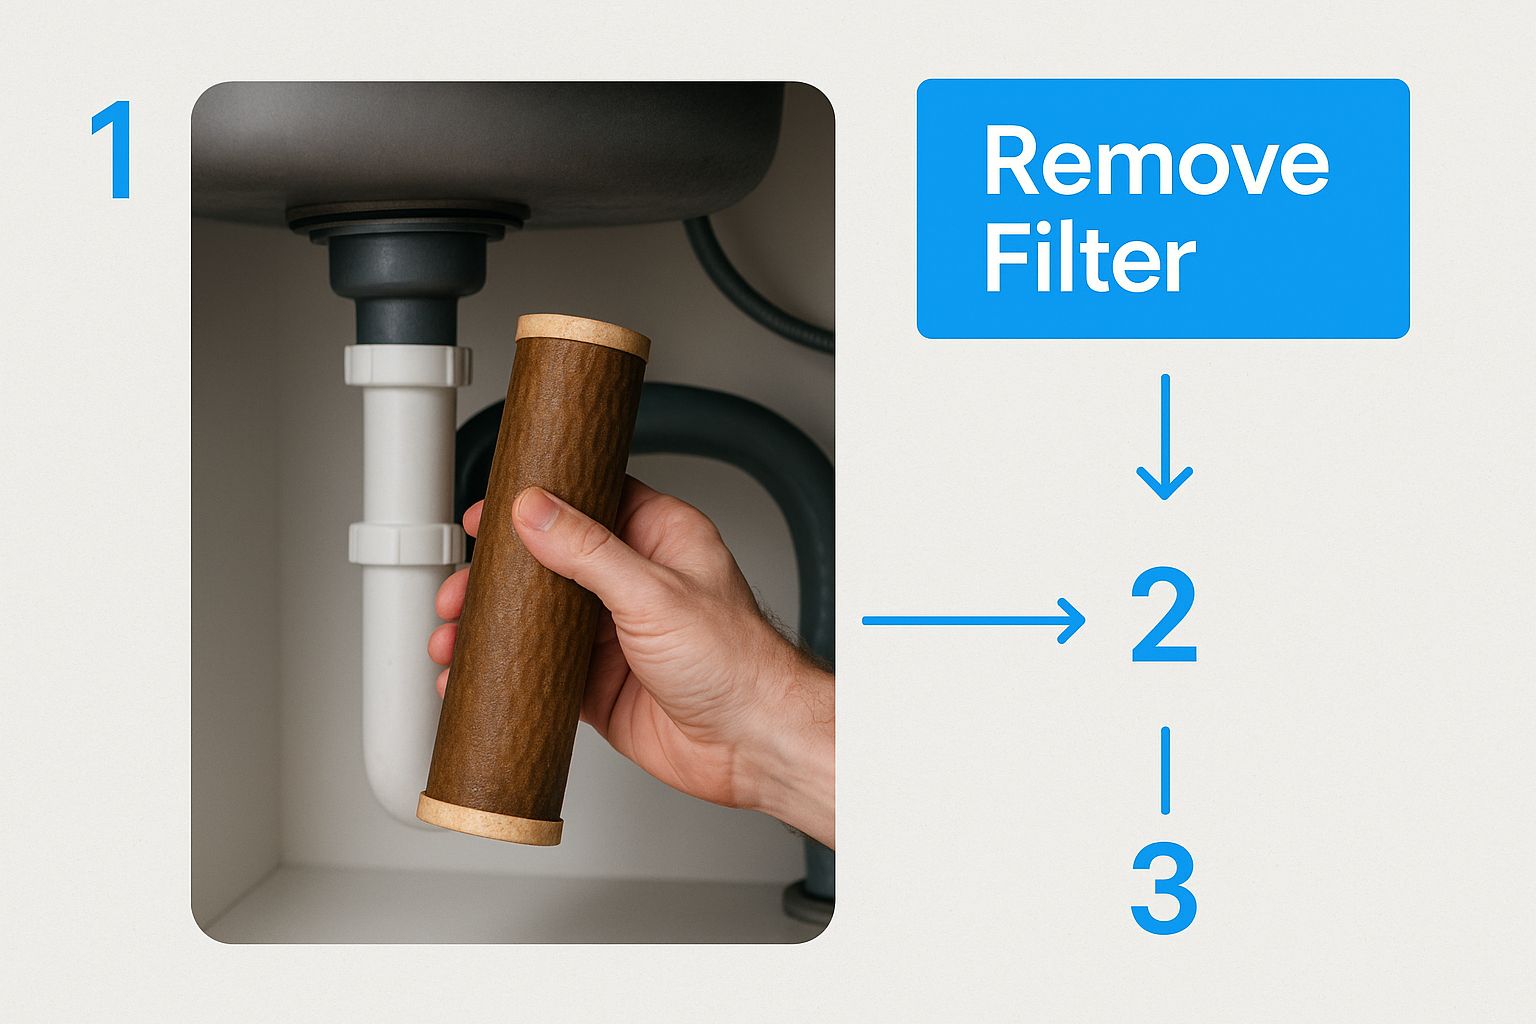
As you can see, it’s a hands-on job, so a few drips are part of the fun. After you dump out the old water and give the canister a quick wipe, it's time to seat the new cartridge. Just make sure it’s sitting centered in the base.
Here’s a pro tip that will save you a world of hurt: When screwing the housing back on, tighten it by hand until it’s snug. Then, use the wrench for just a final quarter-turn. Over-tightening is the number one cause of cracked housings and pesky slow leaks. Don't be that person.
Tackling the Refrigerator Filter
Good news—refrigerator filters are usually much simpler. You'll generally find one of two styles: a twist-and-pull or a push-to-release.
- Twist-and-Pull Models: Often found in the upper-right corner inside the fridge. Just give the old filter a quarter-turn counter-clockwise, and it should pull straight out. The new one slides in and locks with a satisfying clockwise twist.
- Push-to-Release Models: These are typically hiding behind a small door in the grille at the bottom of the fridge. Press the eject button, and the old filter will pop out. The new one just slides in until you hear it click into place.
After installing the new filter, don't skip this final step: flush it! Run about two to three gallons of water through the dispenser. This clears out any harmless carbon dust from the manufacturing process. The water might look a bit cloudy at first—that's totally normal and will clear up in a moment, leaving you with nothing but pure, fantastic-tasting water.
Faucet-Mounted Filters and Whole-House Systems
We've conquered the common kitchen filters, but what about the others? Let's look at the super-simple faucet-mounted filters and the more formidable whole-house systems. One is a perfect gateway into water filtration, while the other is a home-improvement project that cleans every single drop of water entering your house.
Faucet-mounted filters are about as plug-and-play as it gets. Most of them simply screw onto the end of your kitchen faucet. To change the cartridge, you’ll usually either unscrew the housing or use a simple push-button release. You don't even have to shut off the water for this one—just make sure the filter's diverter is off before you start.

Taking on a Whole-House System
Changing a whole-house filter is a bigger job, but it’s completely manageable if you follow the steps. These systems are usually located where your main water line enters the house—think the basement, garage, or a utility closet.
First and foremost, you must shut off the water to your entire house at the main shutoff valve. This is non-negotiable.
Next, release the pressure in your pipes. Open a faucet on the lowest level of your house and let it run until the water stops. This crucial step prevents you from getting a surprise shower the moment you try to open the filter housing.
Many whole-house systems have a bypass valve, which is an absolute game-changer.
A bypass valve lets you route water around the filter. If you switch it to bypass, you can turn the main water back on for the rest of the house while you work. This means your family can still use the water while you’re busy with the project. No one has to know you're saving the day.
Once the pressure is gone, place a large bucket under the filter canister—it's going to be heavy and full of water. Use the long plastic wrench to start loosening the housing, remembering the classic rule: righty-tighty, lefty-loosey. It might take some muscle to get it started.
The Secret to a Leak-Proof Seal
After you've swapped the old cartridge for the new one, pause for a moment. Find the large rubber O-ring that sits in the groove at the top of the canister. This humble gasket is the single most important component for preventing leaks.
I always take a second to wipe it clean and apply a very thin coat of food-grade silicone grease.
This quick step is a game-changer for two reasons:
- It helps create a perfect, watertight seal.
- It keeps the O-ring from drying out, cracking, or sticking, which makes your next filter change infinitely easier.
Once that's done, hand-tighten the housing until it’s snug. Give it one final quarter-turn with the wrench—and no more. Slowly turn your main water supply back on and watch the filter housing like a hawk for any drips before you declare victory.
Don't Skip the Final Check: It's More Important Than You Think
You did it! The old filter is out, the new one is in. But don't spike the football just yet. These next few moments are crucial for ensuring a perfect, leak-free installation.
The very first thing you need to do is flush the new filter. Turn on the faucet and let the water run for a few minutes. You might see some cloudy water or a few black specks. Don't panic—this is just harmless carbon dust and trapped air from the manufacturing process. Flushing it out preps the filter for its important job.
Troubleshooting Those Annoying Little Problems
Even the most perfect installation can have a small hiccup. It happens. Here’s how to deal with the most common post-change quirks.
- Got a Slow Drip? Nine times out of ten, the O-ring is the culprit. Shut off the water, open the housing, and check that the rubber ring is seated perfectly flat in its groove, not twisted or pinched.
- Water Pressure Seems Low? If the flow feels sluggish, you might have been a bit too enthusiastic with the wrench. Overtightening can sometimes compress the filter too much. Try backing it off just a hair.
- Hearing Strange Noises? Gurgling or knocking sounds usually mean there's still air in the lines. Just let the water run for a few more minutes. The sounds should vanish as the air works its way out.
My rule of thumb is simple: tighten it by hand until it's snug, then give it just a quarter-turn with the wrench. That's it. Any more, and you risk cracking the housing or damaging the O-ring, which will land you right back in leak territory.
This final once-over is what separates a quick fix from a job done right. It's also your personal contribution to a massive industry. The global water purifier market is projected to hit USD 74.71 billion by 2034, all built on the simple need to replace these essential components. You can explore this growing market over at Precedence Research.
Common Questions About Changing Water Filters
Even after a successful filter swap, a few questions might linger. Let's tackle the most common ones so you can feel like a true water-filtration champion.
How Often Do I Really Need to Change My Filter?
This is the big one. Manufacturers typically suggest changing filters every three to six months, but that's just a general guideline. The true answer depends entirely on your home.
Consider two key factors: your water quality and your water usage. If your tap water is hard and full of minerals, or if you have a large, thirsty family, your filter is working overtime and will clog up faster.
Your best guide will always be the water itself. If you notice the pressure dropping or the taste is just a little "off," it's time for a change. Don't be a slave to the calendar—trust your senses.
Are Pricey Brand-Name Filters Worth It?
It's tempting to grab a cheaper generic filter, and often, it's a perfectly fine choice. You just need to do a little homework to ensure you're not sacrificing performance for price.
Here's what to look for:
- NSF Certification: Make sure the filter is certified by an independent body like the NSF (National Sanitation Foundation). This is your guarantee that it actually removes what it claims to remove.
- Perfect Fit: Double-check that the model number is an exact match for your system. An ill-fitting filter is a recipe for leaks and poor filtration.
And while you're upgrading your drinking water, don't forget other areas. It's interesting to see how different types of shower filters can also make a huge difference in your daily life by improving your skin and hair health.
What Happens If I Just… Don't Change It?
Putting it off for a year might not seem catastrophic, but it creates real issues. First, a clogged filter becomes a bottleneck, causing your water pressure to plummet.
More concerningly, that saturated filter can become a breeding ground for bacteria and mold. Instead of cleaning your water, an old filter can start re-contaminating it, potentially making it worse than unfiltered tap water.
For more expert reviews and maintenance tips to keep your home's water pure and safe, trust the experts at Water Filter Advisor. Visit us at https://www.waterfilteradvisor.com to find the perfect solution for your home.
Article created using Outrank
- September 28, 2025
- 0
- Uncategorized