Taking on a DIY whole house water filter system is a seriously satisfying project, and it's far more achievable than you might think. This guide is your complete game plan, walking you through everything from figuring out what's lurking in your water to getting your system installed and flowing. No confusing jargon here—just the practical, hands-on steps you need to build the perfect water purification fortress for your home.
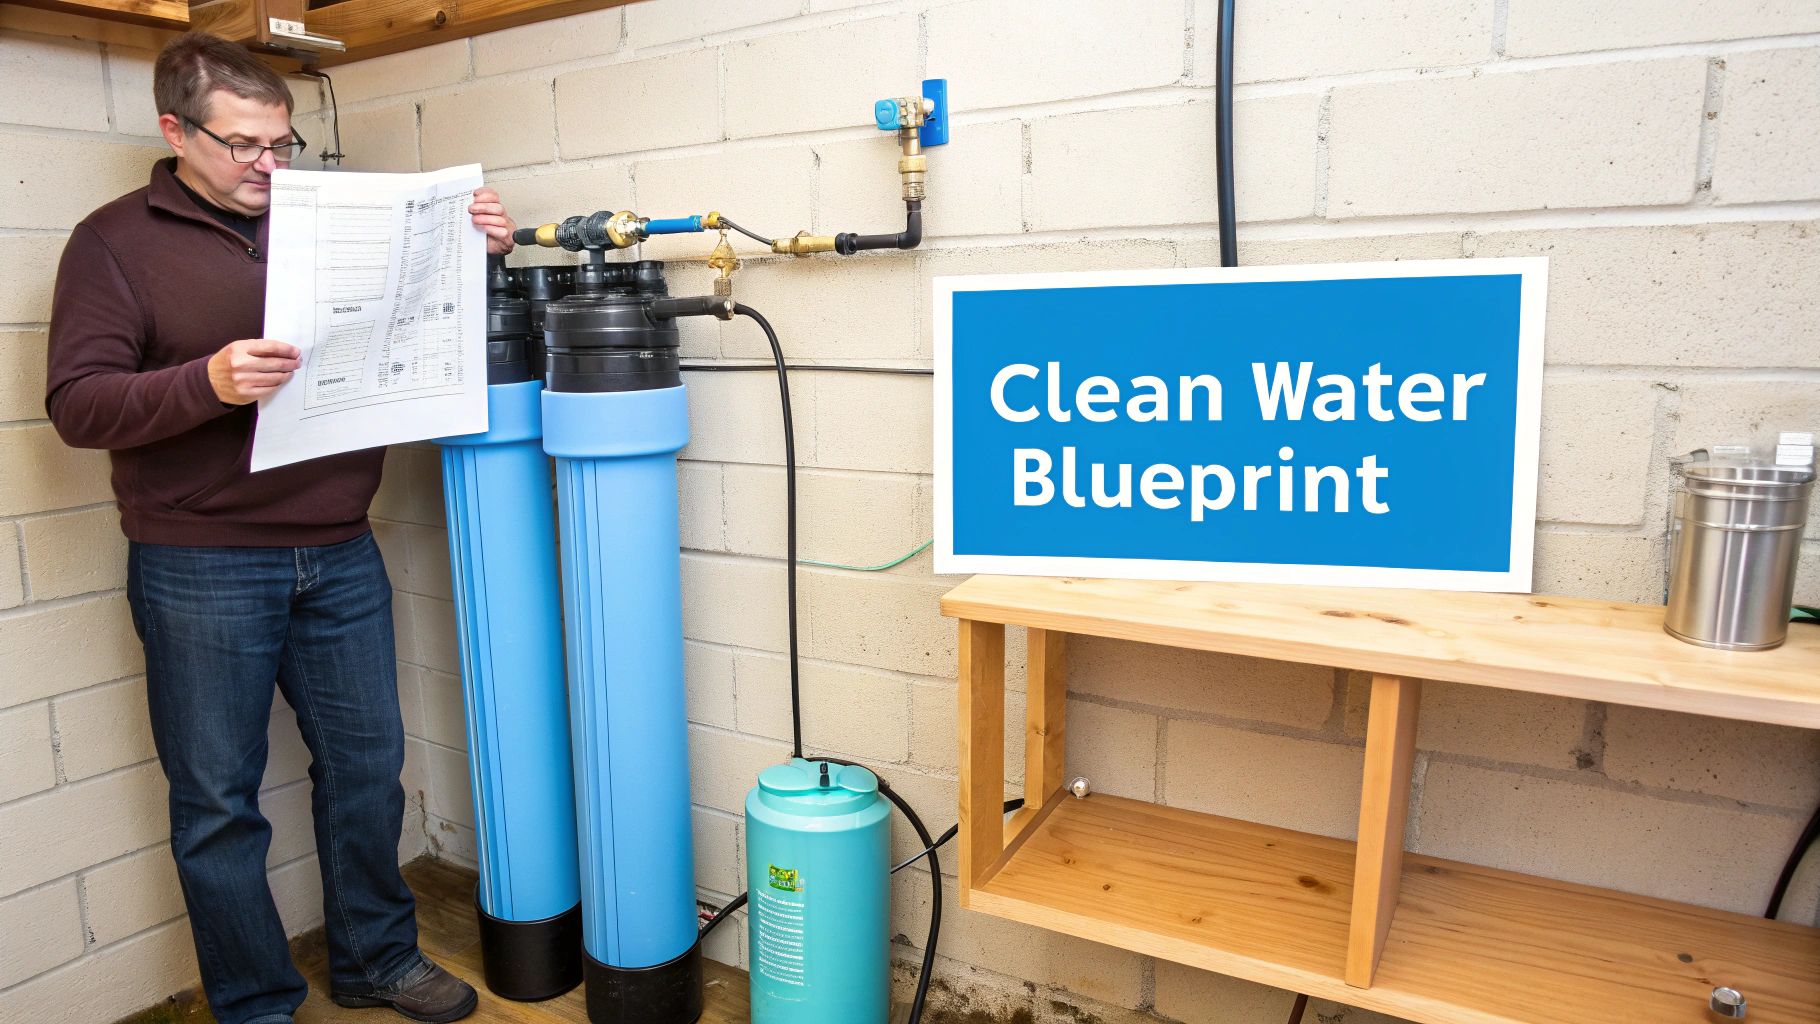
Your Blueprint for Pure Water in Every Faucet
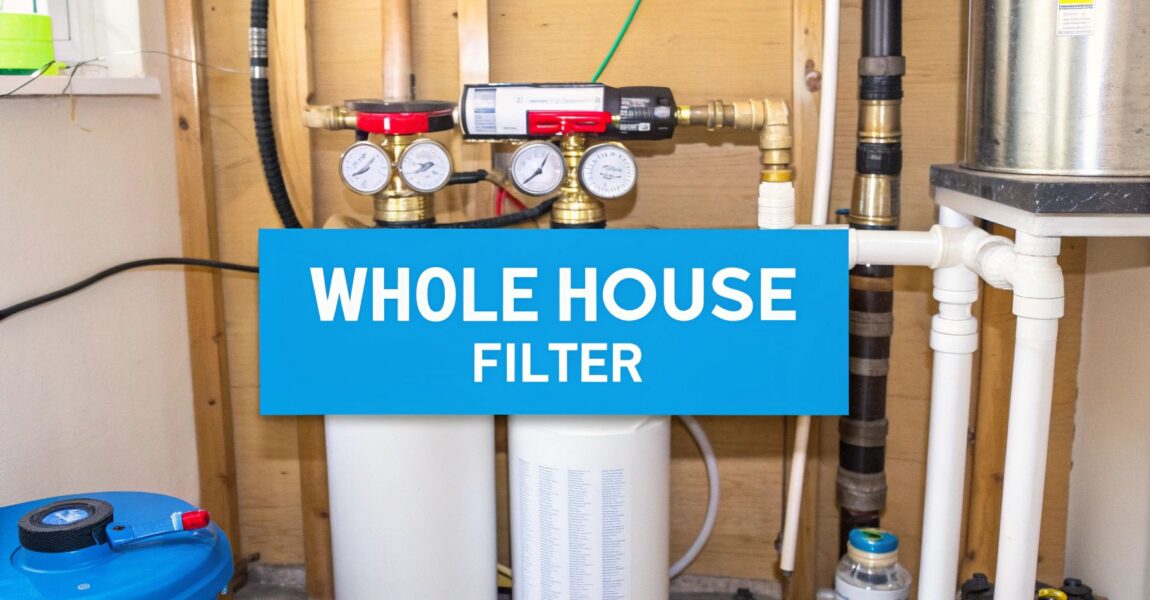
When you decide to go the DIY route for your water filtration, you're the master of your water's destiny. You get to build a setup that's perfectly dialed in for your home's unique water challenges. Whether you're on city water or a private well, a whole house system—often called a point-of-entry (POE) system—purifies every single drop of water coming into your house.
That means pristine water from every tap, from the kitchen sink where you fill your glass to the shower that starts your day. And the benefits go way beyond just better-tasting water.
Why Go with a Whole House System?
Installing a system that treats all your water offers some major advantages that those little pitcher filters just can't touch. By catching contaminants right at the source, you're protecting your entire home's plumbing from the inside out.
- Protect Your Appliances: Sediment, chlorine, and hard water minerals can be assassins for your water heater, dishwasher, and washing machine, causing them to fail prematurely. A whole house filter is like a personal bodyguard for these expensive appliances.
- Healthier Showers: Your skin and hair can absorb chemicals like chlorine during a hot shower. Filtering that water can lead to softer skin, shinier hair, and less irritation.
- Improved Taste and Odor: Say goodbye to common culprits behind funky tastes and smells, like chlorine or sulfur. You’ll have crisp, clean water for drinking, cooking, and making that perfect cup of coffee.
- Peace of Mind: There's nothing like knowing your family is protected from a whole range of potential contaminants—think lead, pesticides, and industrial chemicals that can slip through municipal treatment.
This proactive approach to water quality is catching on. The global home water filtration market, valued at USD 20.8 billion in 2025, is expected to surge to USD 35.7 billion by 2035. This huge jump is fueled by growing concerns over contaminants like PFAS and lead. The DIY option is particularly popular because it eliminates the high installation costs that deter nearly half of homeowners. You can discover more insights about the home water filtration market and its growth.
A DIY whole house water filter system isn't just another weekend project; it's a powerful investment in your family’s health and the longevity of your home's plumbing. By handling the install yourself, you gain complete control over your water quality and save a significant amount of money.
What's Really Lurking In Your Water?
Before you buy a single fitting or cut a single pipe, you have to play water detective. The single biggest mistake people make with a DIY whole house water filter system is guessing what they need to filter out.
Building a system without knowing what’s in your water is like trying to cook a gourmet meal blindfolded. You'll likely use the wrong ingredients and end up with an expensive mess.
Your water gives you clues every day. That faint swimming pool smell in the shower? That’s chlorine. Those frustrating reddish-brown stains in the toilet bowl? Almost certainly iron. These signs are a good start, but you need hard data to build a filtration strategy that truly works.
First Stop: Your City's Water Report
If you’re on city water, you have a powerful and free tool at your disposal: the Consumer Confidence Report (CCR). Your local water utility is legally required to publish this annually. It details what contaminants they found, at what levels, and how those numbers compare to EPA safety standards.
You can usually find your CCR on your utility’s website by searching for "[Your City Name] water quality report." It can look a bit technical, but focus on common players like chlorine, lead, haloacetic acids (HAA5), and total trihalomethanes (TTHMs)—these are typical byproducts of disinfection. This report is your starting blueprint.
Remember, the city’s report shows water quality as it leaves their plant. It doesn't account for contaminants the water might pick up on its journey through miles of pipes to your home—like lead from old service lines.
Digging Deeper with Home and Lab Testing
For well water users—and anyone on city water who wants the complete picture—testing is non-negotiable. You have a couple of options.
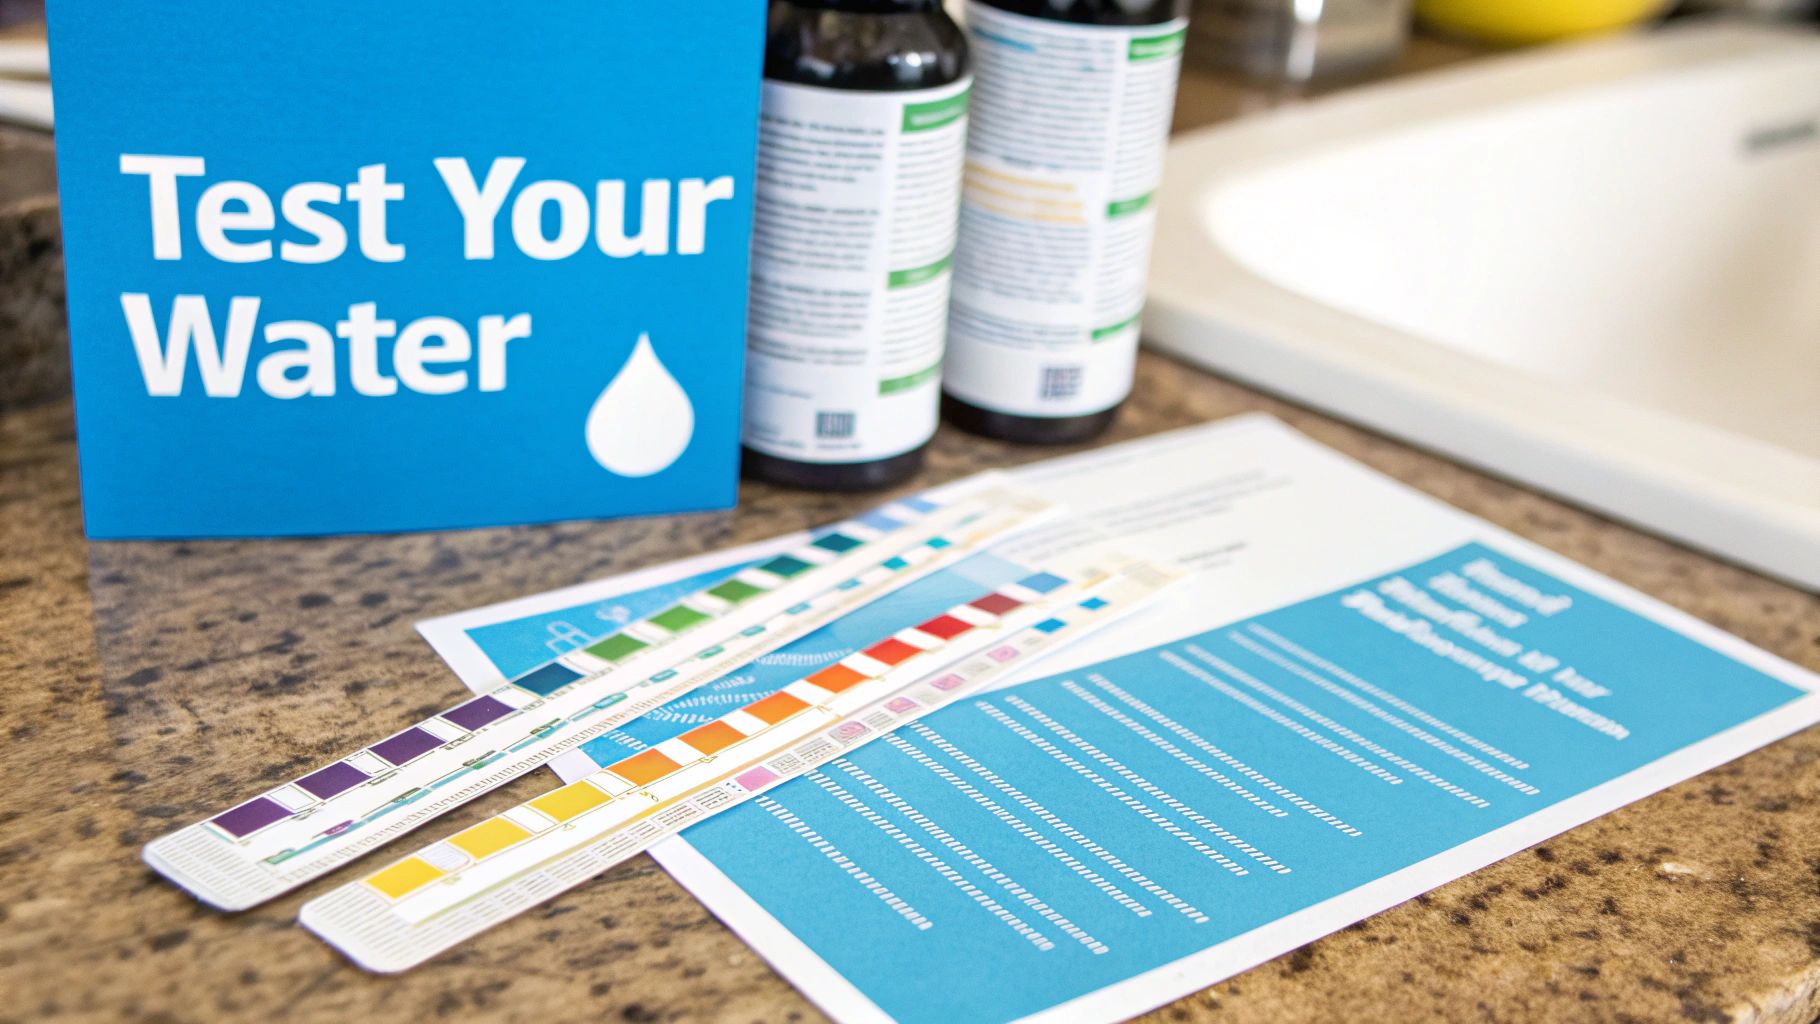
- At-Home Test Strips: These are the quick-and-easy option. They’re inexpensive and give you an instant reading for basics like chlorine, pH, and water hardness. They're great for a quick snapshot but lack the precision for serious contaminants.
- Lab Analysis Kits: This is the gold standard. You buy a kit, collect a water sample, and mail it to a certified lab. In return, you get a detailed report showing the exact levels of heavy metals, VOCs, bacteria, and much more. If you're on a private well, this is an absolute must.
Identifying the Usual Suspects
With your test results in hand, you can connect the dots and choose the right filtration solutions. Here are the common culprits and what they mean for your home.
The Common Contaminants Table
| Contaminant | Common Signs & Symptoms | Primary Concern |
|---|---|---|
| Chlorine | Swimming pool smell, dry skin/hair after showering. | Taste, odor, and potential formation of harmful byproducts. |
| Hardness Minerals | White, crusty scale on fixtures; soap scum; dull clothes. | Damage to plumbing and appliances; inefficient soap usage. |
| Iron | Reddish-brown stains on sinks and laundry; metallic taste. | Staining, potential for pipe buildup, and unpleasant taste. |
| Sediment | Cloudy or murky water; grit in your tap aerators. | Clogs pipes and appliances; can carry other contaminants. |
| Lead | Odorless, tasteless, and colorless. Only detectable via testing. | Serious health risks, especially for children. |
| VOCs | Can have a chemical or gasoline-like odor in high concentrations. | Wide range of health effects depending on the specific chemical. |
Armed with this data, you’re no longer guessing. You're making an informed decision, ready to pick the specific filters that will solve your unique water problems. This evidence-based approach is the foundation of a successful DIY whole house water filter system.
Choosing Your Filtration Arsenal
Alright, you've got your water test results. The mystery is solved. Now for the fun part: choosing the hardware to battle whatever is lurking in your pipes. This is where you architect a diy whole house water filter system that’s custom-built for your water.
It’s easy to get lost in the sea of filter types and technical jargon. But don't worry. Think of it like assembling a team of superheroes—each filter has a specific power, and you just need to pick the right heroes for your situation.
The Core Components of Your System
Most whole house setups aren't a single magic bullet; they're a series of filters working in sequence, with each stage tackling a different class of contaminants. Let's break down the key players.
- Sediment Filters: This is your non-negotiable first line of defense. A sediment filter is a mechanical screen that snags physical gunk like dirt, sand, rust, and silt. Placing this filter first is crucial; it protects the more delicate and expensive filters downstream from getting clogged with debris.
- Carbon Filters: These are the undisputed champions of water filtration. Granular Activated Carbon (GAC) is incredible at adsorbing chemical contaminants. Its main job is to remove chlorine, which dramatically improves the taste and smell of city water. Carbon also excels at tackling volatile organic compounds (VOCs) and other chemicals. If your water utility uses chloramine, look for catalytic carbon, which is specially designed to break it down.
- Specialized Media Filters: For specific problems, you need a specialist. If your tests show heavy metals like lead or mercury, you'll need a filter with media like KDF (Kinetic Degradation Fluxion). This alloy media uses a chemical process to remove those heavy metals and also inhibits bacteria growth within the filter.
- Water Softeners or Conditioners: If you're battling hard water—those stubborn white, crusty deposits on your faucets and shower doors—a water softener is the definitive solution. These systems use ion exchange to physically remove hardness minerals (calcium and magnesium), protecting your plumbing and appliances from destructive scale buildup.
Matching Filtration Media to Your Water Problems
Here’s a quick-reference table to help you match the most common water issues with the right filtration media.
Filtration Media and Contaminant Targets
| Contaminant Type | Common Examples | Primary Filtration Media | Best For |
|---|---|---|---|
| Physical Particulates | Dirt, Sand, Rust, Silt | Sediment Filter (Spun or Pleated) | The first stage of any system; protects other filters from clogging. |
| Chemical Disinfectants | Chlorine, Chloramines | Activated Carbon (GAC, Catalytic) | Improving taste and odor; removing synthetic chemicals and VOCs. |
| Heavy Metals | Lead, Mercury, Iron | KDF, Activated Alumina, Manganese Greensand | Targeted removal of specific metals; often used for well water. |
| Hardness Minerals | Calcium, Magnesium | Ion Exchange Resin (Water Softener) | Preventing scale buildup and protecting pipes and appliances. |
| Microbiological | Bacteria, Viruses, Cysts | UV (Ultraviolet) Purifier | Disinfecting water without chemicals; essential for untreated well water. |
Choosing the right system isn't about buying the most expensive setup. It’s about a targeted, intelligent approach. You use your water test results to assemble the exact team of filters needed to solve your specific problems—nothing more, nothing less.
Sizing Your System to Avoid a Pressure Catastrophe
This is one of the most critical steps, and it’s where many DIY projects go wrong. Sizing isn't just about fitting the system in your basement; it's about ensuring it can keep up with your family's water demand. Get this wrong, and you'll suffer the ultimate frustration: a weak, dribbling shower.
The key metric is Gallons Per Minute (GPM), which measures the system's flow rate.
An undersized system creates a bottleneck, unable to treat water fast enough. Ever tried to shower while the washing machine is running, only to have the pressure drop to a pathetic trickle? That’s the classic sign of an undersized system.
To figure out your needs, add up the flow rates of all the fixtures you might use simultaneously:
- Standard shower: ~2.5 GPM
- Dishwasher: ~2 GPM
- Washing machine: ~2 GPM
With all three running, you’d need a system that can handle at least 6.5 GPM. For most families, a system rated for 10-15 GPM provides a safe buffer.
Equally important is the port size on the filter housings. Always choose 1-inch ports. The slightly cheaper ¾-inch options are a trap. That extra quarter-inch makes a massive difference in flow capacity and is your best insurance against pressure loss. The technology is similar to how different air purification systems target specific pollutants; different water filtration media are designed for specific water contaminants.
The Hands-On Installation Process
Alright, you’ve done the research, tested your water, and selected your filtration arsenal. Now comes the exciting part: getting your hands dirty and installing your DIY whole house water filter system. This is where your planning pays off, and it’s a completely manageable project for anyone with some basic confidence and the right tools.
This isn't just about connecting a few pipes. It's about building a reliable system that will serve you for years. Let's walk through the process, from prepping your workspace to the final victory of turning the water back on.
Your Pre-Installation Checklist
A smooth installation begins before you ever touch a pipe. Getting organized now will save you from frustration and those dreaded mid-project trips to the hardware store.
First, let's gather your tools and materials:
- Pipe Cutters: Ensure you have the right type for your pipes—a tubing cutter for copper or a specialized shear cutter for PEX.
- Wrenches: A couple of adjustable pipe wrenches are essential for tightening fittings.
- Deburring Tool: Don't skip this. This gadget cleans the inside and outside of a cut pipe, which is critical for a perfect, leak-free seal.
- Tape Measure & Marker: The classic rule: measure twice, cut once.
- Bucket & Towels: Water will come out of the lines when you cut them. Be prepared.
- Fittings: Whether using push-to-connect, compression, or threaded fittings, always buy a few extras.
With your gear ready, the next step is the most important: safety.
Safety First, Always: Before you do anything, find your home's main water shutoff valve and turn it off completely. Inform everyone in the house not to use any faucets. Also, kill the power to your electric water heater at the breaker box to prevent the heating elements from burning out.
Planning Your Layout and Bypass Loop
Now, let's determine the system's location. It must be installed on the main water line, immediately after the shutoff valve and water meter, but before the line splits off to the water heater or other fixtures. This ensures every drop of water entering your house is filtered.
Here’s a pro tip that will make future maintenance a breeze: build a bypass loop. A bypass is a simple three-valve arrangement that lets you route water around the filter system.
Why is this so critical? When it’s time to change filters, you simply close the valves to the filter and open the bypass valve. Water is instantly restored to your house. This means you can perform maintenance without being rushed. It’s a small amount of extra work upfront that pays off immensely.
Even if you’re new to plumbing, reviewing a step-by-step plumbing installation guide for a simpler project can give you confidence in working with home water lines.
Making the Cut and Installing the System
The main water is off. Open the lowest faucet in your house (like a basement sink) and one on the top floor to drain most of the water from the pipes. Now you're ready.
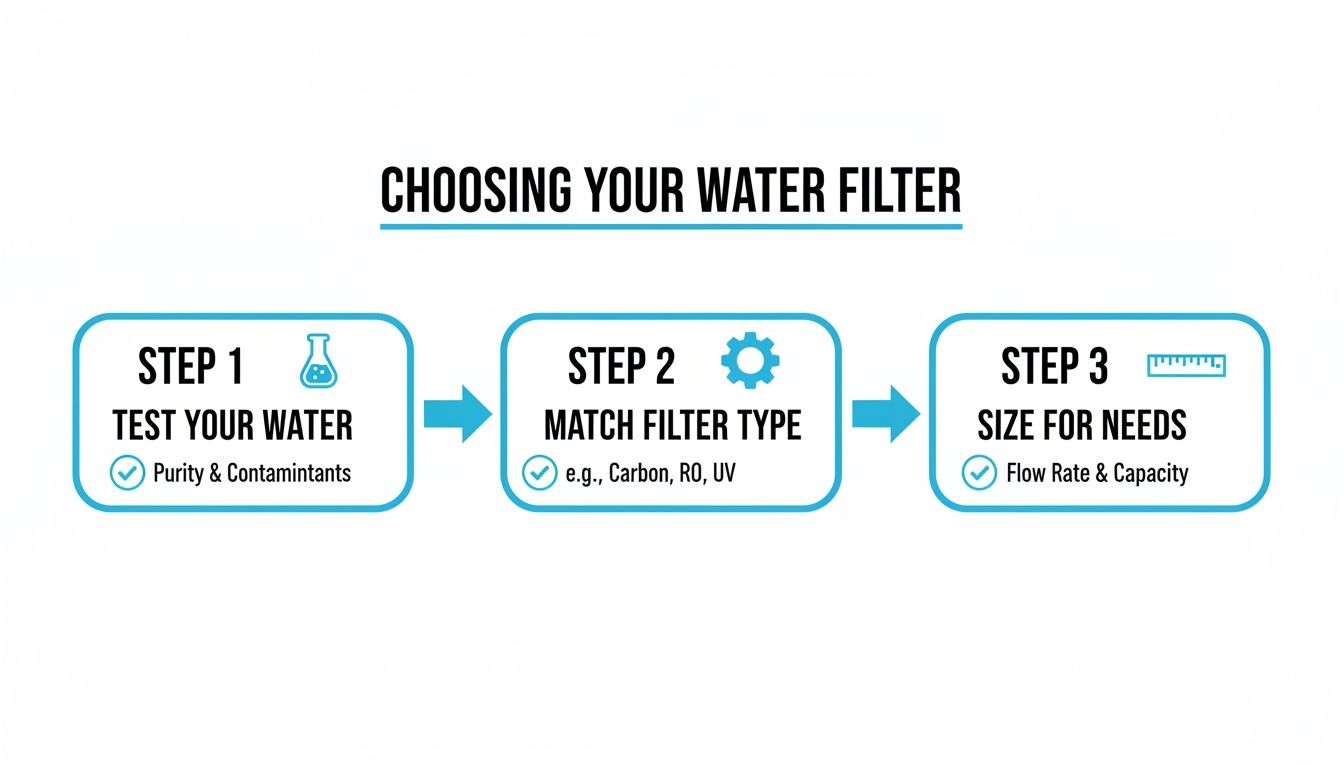
A successful project follows a clear path: test the water, match the filter to the problem, and size it correctly for your home.
Here’s how to bring it all together:
- Measure and Cut: Carefully measure the section of pipe you need to remove for the filter assembly, including your bypass valves. Double-check your measurement, take a deep breath, and make a clean, straight cut.
- Clean and Prepare: Use your deburring tool to smooth the cut edges. For copper pipe, use emery cloth to polish the ends until they shine. This prep work is essential for a watertight connection.
- Assemble and Connect: Install your shutoff valves and fittings onto the pipe ends. Whether you're using push-to-connect fittings or soldering copper, ensure every connection is solid. Pay close attention to the "in" and "out" arrows on the filter unit—installing it backward is a common mistake!
- Add Pressure Gauges: Here’s another pro tip. Install a pressure gauge before the filter and another one right after. This is your system’s dashboard. When the filter is new, both gauges will read about the same. As the filter clogs, the "after" gauge will show a pressure drop, visually telling you it's time for a filter change.
Once connected, turn the main water supply back on—just a crack at first. Listen for hissing and check every joint for drips. If it’s dry, open the valve fully. Turn on a faucet to bleed the air out of the lines. That’s it! You've just upgraded your entire home's water quality.
Keeping Your System Running Smoothly
Getting your new DIY whole house water filter system installed is a major achievement, but the job isn't quite finished. Think of it like a car—it needs regular tune-ups to perform at its best. Consistent, simple maintenance is the secret to ensuring your investment continues to pay dividends in clean, pure water for years to come.
If you just set it and forget it, filters will inevitably clog, performance will degrade, and you’ll eventually be right back where you started. A little proactive scheduling keeps everything running perfectly.
Creating a Realistic Maintenance Schedule
There’s no universal maintenance schedule; it depends on your specific water quality and the system you installed. For example, if your water is heavy with sediment, that pre-filter will clog much faster than it would with relatively clear city water.
As a starting point, here’s a general timeline you can adapt:
- Sediment Pre-Filters (Every 3-6 Months): This will be your most frequent task. These filters are on the front lines, catching all the physical debris.
- Carbon Block Filters (Every 6-12 Months): These workhorses remove chlorine and chemicals. They eventually become saturated and stop absorbing contaminants.
- Large Carbon Media Tanks (Every 3-5+ Years): For large, backwashing carbon systems, you'll replace the media inside the tank itself. It's a less frequent but more involved job.
Keeping up with maintenance is getting easier. The water filter market, expected to grow from USD 16.78 billion in 2026 to USD 22.8 billion by 2030, is embracing smart technology. Many new systems feature app alerts that notify you when a filter change is due.
The benefits are clear—a good system can extend a water heater’s life by 30% by preventing scale buildup, a problem affecting 85% of US homes. For most homeowners, spending $100-$200 a year on filters is a small price compared to the $1,000+ they might spend on bottled water. You can read the full research about the water filters market for more details.
Listening to Your System: Signs of Trouble
Your system will give you clear signals when it needs attention. You just have to know what to look—and taste—for. Catching these clues early prevents small issues from becoming major problems.
A sudden, noticeable drop in water pressure is the #1 sign of a clogged filter. Those pressure gauges you installed are your best friend. If the "post-filter" gauge reads significantly lower than the "pre-filter" one, it's time to change that sediment filter.
Another dead giveaway is a decline in water quality. If that chlorine taste or musty smell returns, your carbon filter is exhausted and can no longer absorb contaminants. It's time for a replacement.
Troubleshooting Common Hiccups
Even with a perfect installation, you might encounter minor issues. Don't worry; most are simple fixes.
The Noisy Pipes Problem
A "water hammer" or vibrating noise when a faucet is shut off quickly is usually caused by air trapped in the lines post-installation. You can typically bleed it out by opening a few faucets on your top floor and in the basement simultaneously for a couple of minutes.
The Tiny Drip at a Fitting
Small, persistent drips at threaded fittings are more annoying than anything. To fix it:
- Shut off the water using your bypass loop.
- Open a nearby faucet to relieve pressure.
- Use two wrenches—one to hold the fitting steady and the other to give the nut a slight quarter-turn.
- Turn the water back on and check your work. Avoid over-tightening.
Filters That Clog Too Quickly
If you're replacing sediment filters in weeks instead of months, it could be due to city water main flushing or high sediment levels in a well. The solution might be switching to a pleated, washable sediment filter or adding a "spin-down" filter before your main cartridge to catch larger debris.
Common Questions About DIY Water Filtration
It's one thing to have a plan, but another to get ready to cut into your home's main water line. A DIY whole house water filter system is a significant project, and it’s normal to have questions. Let's tackle the most common ones so you can start with confidence.
How Much Does This Project Really Cost?
This is where the DIY approach truly shines. The total cost can vary, but you are almost guaranteed to save a substantial amount over hiring a professional.
The system itself is the biggest expense, ranging from $300 for a simple sediment and carbon filter combo to over $1,500 for multi-stage systems with a water softener or UV lamp.
Budget another $50 to $200 for plumbing supplies like pipes, fittings, and valves for your bypass loop. Ongoing costs for replacement filters might be $75-$150 per year. Compare that to the $500 to $1,000 in labor alone that a plumber might charge, and the savings are crystal clear.
Will a Whole House Filter Kill My Water Pressure?
This is the number one fear, but a correctly sized system will have a virtually unnoticeable effect on your water pressure. The key is matching the system's Gallons Per Minute (GPM) rating to your home's peak water demand.
A classic rookie mistake is choosing a filter with ¾-inch ports instead of 1-inch ports to save a few dollars. That smaller diameter is a guaranteed bottleneck that will choke your flow. Always invest in 1-inch ports to keep your showers powerful.
If you notice a pressure drop over time, it’s almost always a clogged sediment filter—proof the system is doing its job and a friendly reminder that it's time for a filter change.
Do I Need a Plumber or Can I Really Do This Myself?
If you have basic plumbing skills, this is a very achievable DIY project. If you've ever installed a faucet or repaired a leaky pipe, you likely have the necessary skills. Modern push-to-connect fittings have made this job even more accessible by eliminating the need for soldering copper pipes.
However, it's always wise to check with your local municipality. Some building codes require a licensed plumber for any work on a home's main water supply. A quick call can prevent a major headache later.
What Is the Difference Between a Filter and a Softener?
This is a crucial distinction. The easiest way to think about it is that filters remove things, while softeners exchange things.
- A water filter is designed to trap or absorb contaminants. Media like activated carbon or sediment cartridges grab things like chlorine, pesticides, rust, and lead.
- A water softener has one specific job: to target "hardness minerals" like calcium and magnesium. It uses ion exchange to swap those mineral ions for sodium ions, preventing scale buildup in your pipes and appliances.
For many homes, especially those with hard water, the best solution is to have both. They work perfectly as a team—the filter cleans the water, and the softener protects your plumbing.
At Water Filter Advisor, we're dedicated to helping you make sense of your home's water quality. From in-depth buying guides to practical maintenance tips, we provide the clear, research-backed information you need. Start your journey to better water today by exploring our resources at https://www.waterfilteradvisor.com.
- February 9, 2026
- 0
- Uncategorized