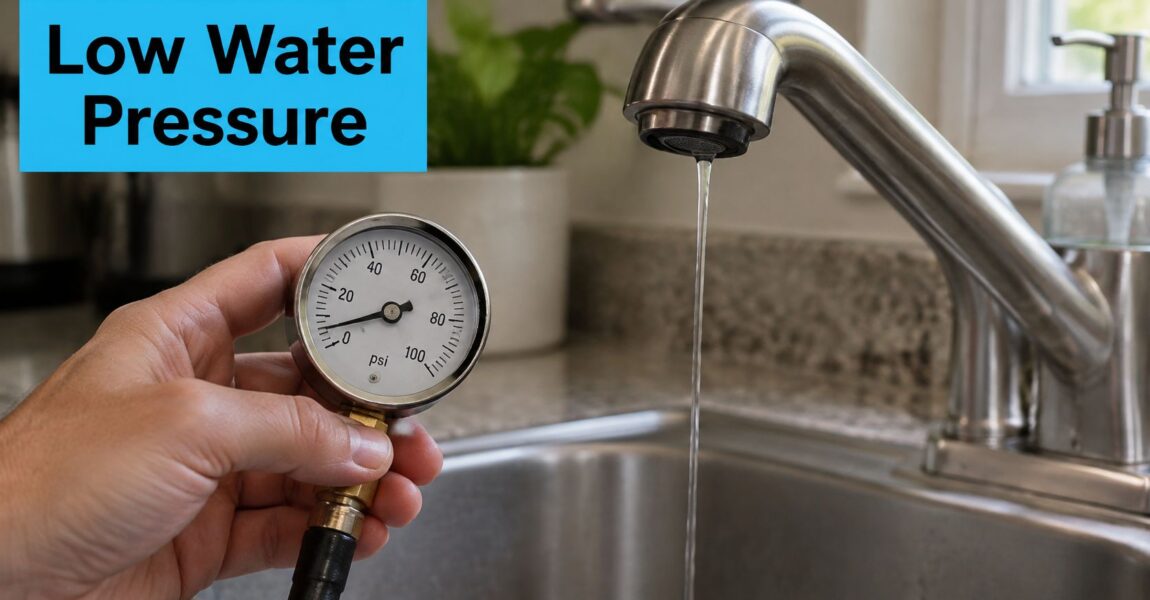
What if that weak shower isn't a plumbing problem at all, but a warning from your water supply, or a clogged filter pretending to be one? Most troubleshooting jumps straight to pipes and valves. That skips the key split for home filtration: is water arriving weakly, or is something in your house, often a restricted filter cartridge, choking it after it arrives? Work from the street inward, test before you replace anything, and the pattern of symptoms will point you to the right fix.
Match the Symptom to the Likely Cause
Your shower trickles while the kitchen tap runs strong. That contrast is useful, not confusing. It tells you the house probably isn't failing all at once, and that one outlet, one branch, or one device needs attention first.
Start with one question: is the weakness at one outlet, several outlets, or everywhere? One weak faucet points to a clogged aerator, a blocked showerhead, or a partly closed fixture valve. Several weak outlets on one side of the house point to a restricted branch pipe, or to a fouled filter or softener feeding that line.
Every outlet weak is a different story. Think main shutoff valve, failed pressure-reducing valve (PRV), whole-house leak, or a supply event outside your walls. Hot water only points toward the water heater. Weakness that comes and goes by time of day points toward neighborhood demand, and neighbors with the same problem point toward the utility.
Why the Pattern Matters More Than the First Guess
Many complaints called low pressure are really flow restriction, not low static pressure. The Portland water pressure and flow troubleshooting guidance notes that clogged aerators and old corroded pipes can sharply reduce delivered flow even when system pressure is normal, and it ties a 40 psi minimum at the customer meter in Phoenix, with pressure reduction required at 80 psi or more, to separating supply problems from local blockages.
That distinction matters for filtration. A whole-house filter that's loaded with sediment can make every downstream tap feel starved, even when the street supply is fine. An under-sink filter can do the same to one kitchen faucet, and a shower filter can mimic a failing showerhead. Don't buy a finer cartridge until you know which pattern you're seeing.
| Symptom pattern | Likely cause | First check |
|---|---|---|
| One faucet or showerhead weak | Clogged aerator, blocked showerhead or partly closed fixture valve | Remove and clean the aerator or showerhead, then open the fixture valve fully |
| Several outlets weak on one side of the house | Restricted branch pipe, scale or a fouled filter or softener on that line | Compare flow before and after the device on that line |
| Every outlet weak in the home | Partly closed main valve, failed pressure-reducing valve or whole-house leak | Confirm the main valve is fully open, then test at an outdoor hose bib |
| Hot water only weak | Water heater inlet valve or sediment restriction | Compare hot and cold at the same tap |
| Weak only at certain times of day | Peak neighborhood demand or pressure transients | Log readings in the morning and evening |
| Neighbors also affected | Utility main break, repair work or peak demand | Ask the utility about recent work or planned shutdowns |
Write down which row matches before you touch a tool. That one note decides whether your first move is cleaning an aerator, bypassing a filter, checking a valve, or calling the utility, and it keeps you from replacing parts that were never the problem.
How to Test Your Home Water Pressure Step by Step
A simple gauge on an outdoor hose bib answers the biggest question first: what pressure is the house receiving? That reading separates a weak supply from an inside restriction, including a filter that's become a bottleneck. You'll need a threaded water pressure gauge, the inexpensive type sold for hose bibs, and a notebook for time and readings.
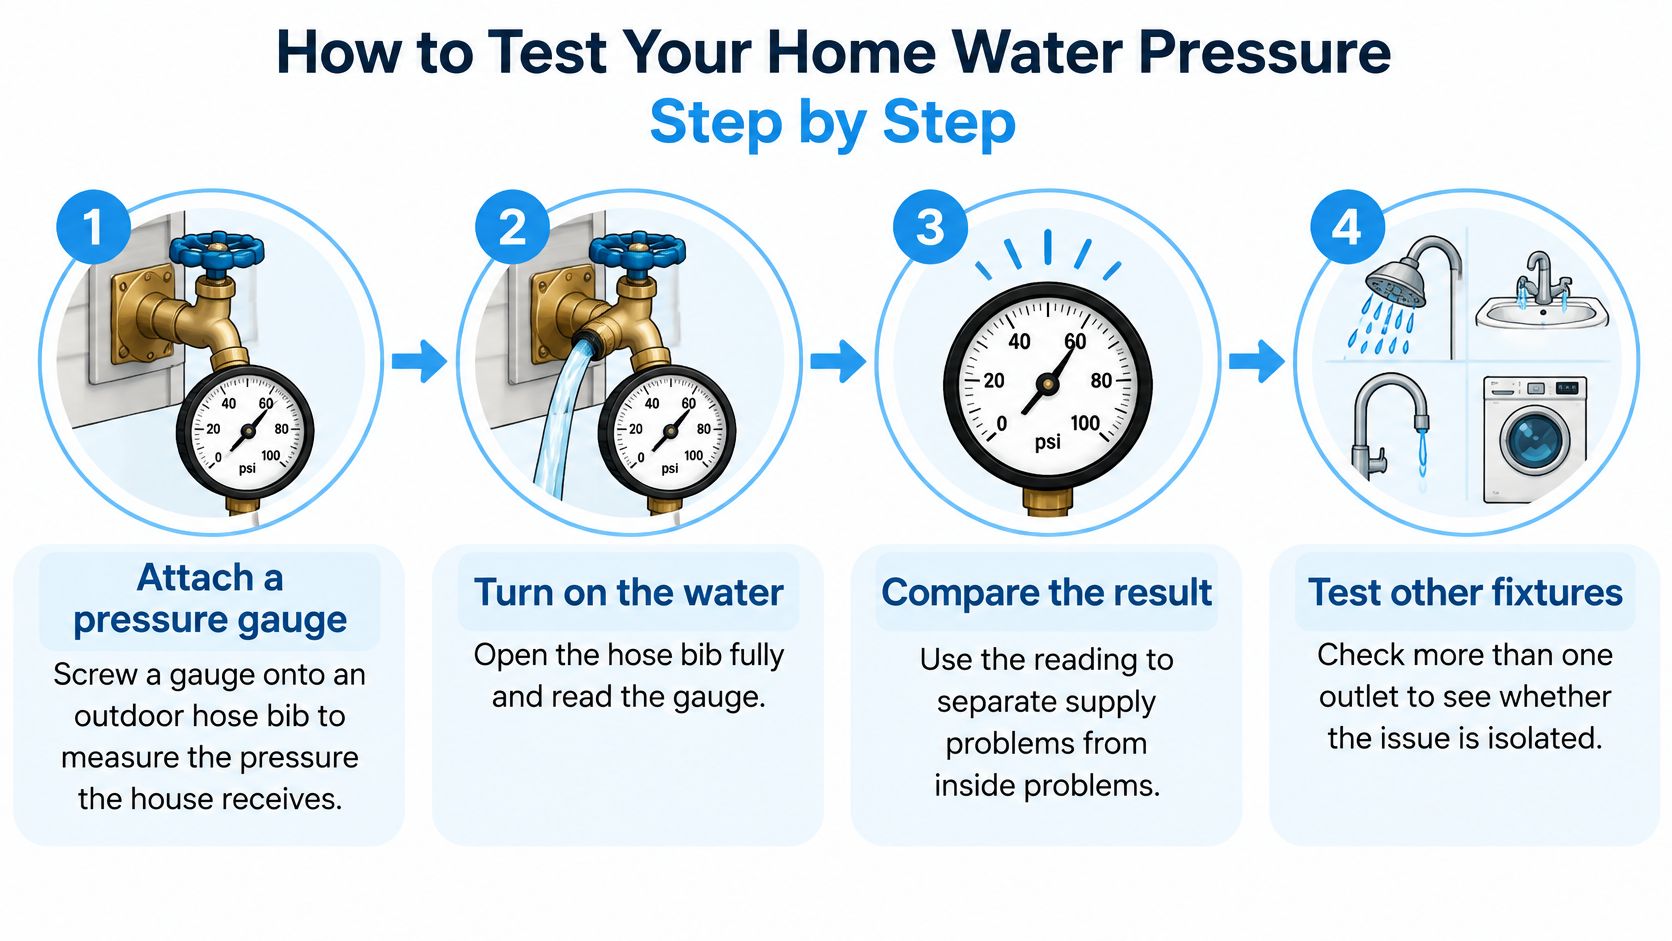
The visual below shows the basic test sequence.
Run the Test in Order
- Thread the gauge onto an outdoor hose bib. It's close to the service connection, so it shows incoming pressure before most indoor fixtures and point-of-use filters can distort the result.
- Turn off every tap, appliance, and irrigation zone. A reading with nothing running is static pressure, your baseline.
- Open the bib fully and record the number and time. The EPA WaterSense home maintenance guidance recommends testing service pressure this way, notes pressure much lower than 45 psi may indicate a household leak, and identifies 60 psi as the target pressure.
- Open a high-flow indoor tap and read again. Use a bathtub or laundry tap. A big drop under flow suggests a restriction, such as scale, a failing PRV, or a loaded whole-house cartridge, rather than low supply alone.
- Compare both readings with the table below. Don't judge from the static number alone.
- Repeat at a different time of day. Morning and evening checks catch peak-demand dips that a midday test can miss.
A healthy result is a steady reading in the 45 to 60 psi range with only a small drop when a big tap opens, holding steady for several minutes.
Watch for the common slip. A main valve that isn't fully open can produce a low static reading that looks exactly like a utility failure. Confirm the valve position before you blame the street, the well, or your filtration system.
| Gauge reading (all fixtures off) | What it suggests | Next step |
|---|---|---|
| Under 40 psi | Below the Phoenix minimum at the customer meter, pointing to a supply or regulator issue | Check the main valve and pressure-reducing valve, then ask the utility |
| 40 to 45 psi | Borderline; EPA WaterSense treats readings much lower than 45 psi as a possible household leak | Check the water meter for movement with all taps closed |
| 45 to 60 psi | Normal range, near the 60 psi EPA target | Repeat the test with a high-flow fixture running |
| 80 psi or higher | Excessive; Phoenix requires pressure reduction at this level | Have a professional verify the reading or install a pressure-reducing valve |
Treat the 40 psi and 80 psi cutoffs as one city's local benchmarks. Use the 45 to 60 psi range as your general guide, and use the flow reading to decide whether a filter or pipe restriction is stealing pressure inside.
How a Clogged Water Filter Cuts Flow
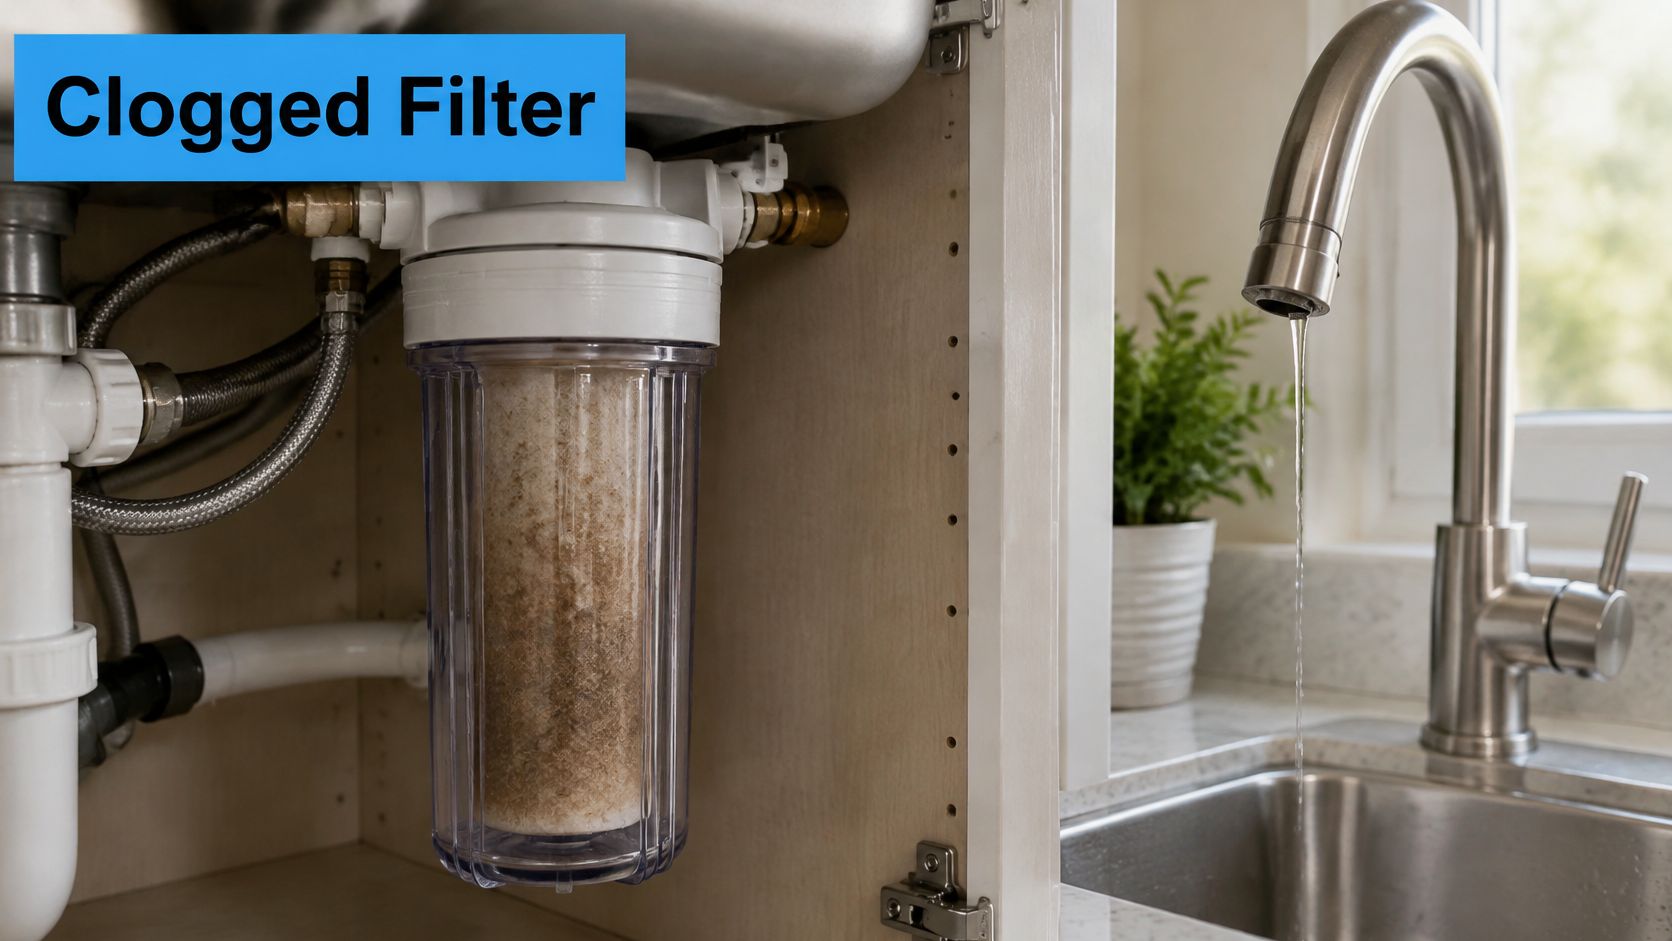
A filter does its job by trapping particles, and that's also how it becomes the problem. Sediment collects in the media, the passages narrow, and water has to push harder to get through. Flow then drops at every outlet downstream of that filter, while outlets upstream can stay normal.
Picture a kitchen drain full of hair. Water still moves, but slowly, and the sink fills while it drains. A loaded sediment cartridge, carbon block, or whole-house canister behaves the same way, except you feel it as a weak shower, a slow kettle fill, or a washing machine that takes longer to start.
The image below shows the kind of neglected under-sink setup that can reduce the flow to one faucet.
Carbon Beds, Prefilters, and Backwashing
The U.S. Environmental Protection Agency guidance on granular activated carbon explains that a granular activated carbon bed may eventually clog if it lacks an upstream prefilter, and that water flow is reduced as clogging progresses. A prefilter catches larger sediment first, so the carbon can focus on taste, odor, and chemical reduction instead of acting as a dirt trap.
Some larger systems allow backwashing to flush accumulated particles out. Follow the manufacturer's sequence for your model, then retest flow. If the bed remains clogged after backwashing, replace the media or cartridge rather than turning up pressure and forcing water through it.
Pressure and taste tell you different things. Noticeable pressure loss is a maintenance signal that the filter needs changing, while a change in taste can mean carbon is no longer removing a contaminant effectively. For a deeper walkthrough of symptoms and cartridge checks, see our guide to a clogged water filter before you assume the plumbing is at fault.
Prove It With Two Readings
If your system has no replacement indicator, record the install date and gallons processed, then set a reminder at the manufacturer's interval. Don't judge by appearance alone, since a cartridge can look acceptable and still restrict flow.
- Measure upstream of the filter. This shows pressure arriving at the housing.
- Measure downstream of the filter. This shows what fixtures receive.
- Compare the two numbers. A large drop across the filter confirms a clogged cartridge or housing. Equal readings mean the cause sits elsewhere.
Plumbing Restrictions and Leaks Inside the House
Inside your walls, pipes lose capacity slowly. Corrosion and mineral scale build on the inner wall, shrink the bore, and add friction. Water still arrives from the street at normal pressure, but less of it reaches the tap, especially when two fixtures run at once.
Galvanized steel is the classic example. Older lines can narrow enough to choke a whole branch while the main remains healthy. That explains a confusing pattern many homeowners see: a strong outdoor hose bib, a decent kitchen tap, and a bathroom at the end of the line that barely rinses shampoo.
Check the Small Restrictions First
Work from the fixture backward. Unscrew the aerator and rinse out grit, soak a showerhead to clear scale, and confirm the angle-stop valve under the sink is fully open. A valve bumped during a repair or left half open after filter service can starve one outlet for months.
Treatment equipment deserves the same suspicion. The Bremerton water pressure guidance identifies PRV failure, leaks, partially closed valves, softeners, and water-heater-side restrictions as actionable causes, and notes pressure falls approximately 0.433 psi for every foot of vertical rise. Check softener screens and control heads, check filter housings for blocked cartridges, and use the bypass valve briefly to see whether flow recovers.
If hot and cold are both weak, the problem is likely before the water heater or shared by both lines. If only hot is weak, inspect the heater inlet valve and sediment restriction. Comparing readings at the meter, hose bib, and an indoor fixture shows you where pressure disappears along the path.
Run a Simple Leak Check Tonight
- Turn off every fixture and appliance. Include ice makers and irrigation.
- Note the meter reading. Photograph it so there's no guesswork.
- Wait two hours without using water. Overnight works well.
- Read the meter again. Any movement points to a leak diverting water away from taps.
Practical rule: A meter that moves when nothing is running outranks every other guess. Find the leak before you replace filters or adjust a regulator.
Damp spots, musty odors, warped flooring, and a toilet that refills on its own are useful clues, and this overview of spotting hidden plumbing leaks can help you check areas that are easy to miss. After you clear a restriction or repair a small leak, retest at the hose bib to confirm the fix restored pressure.
Utility and Well Supply Causes Outside Your Walls
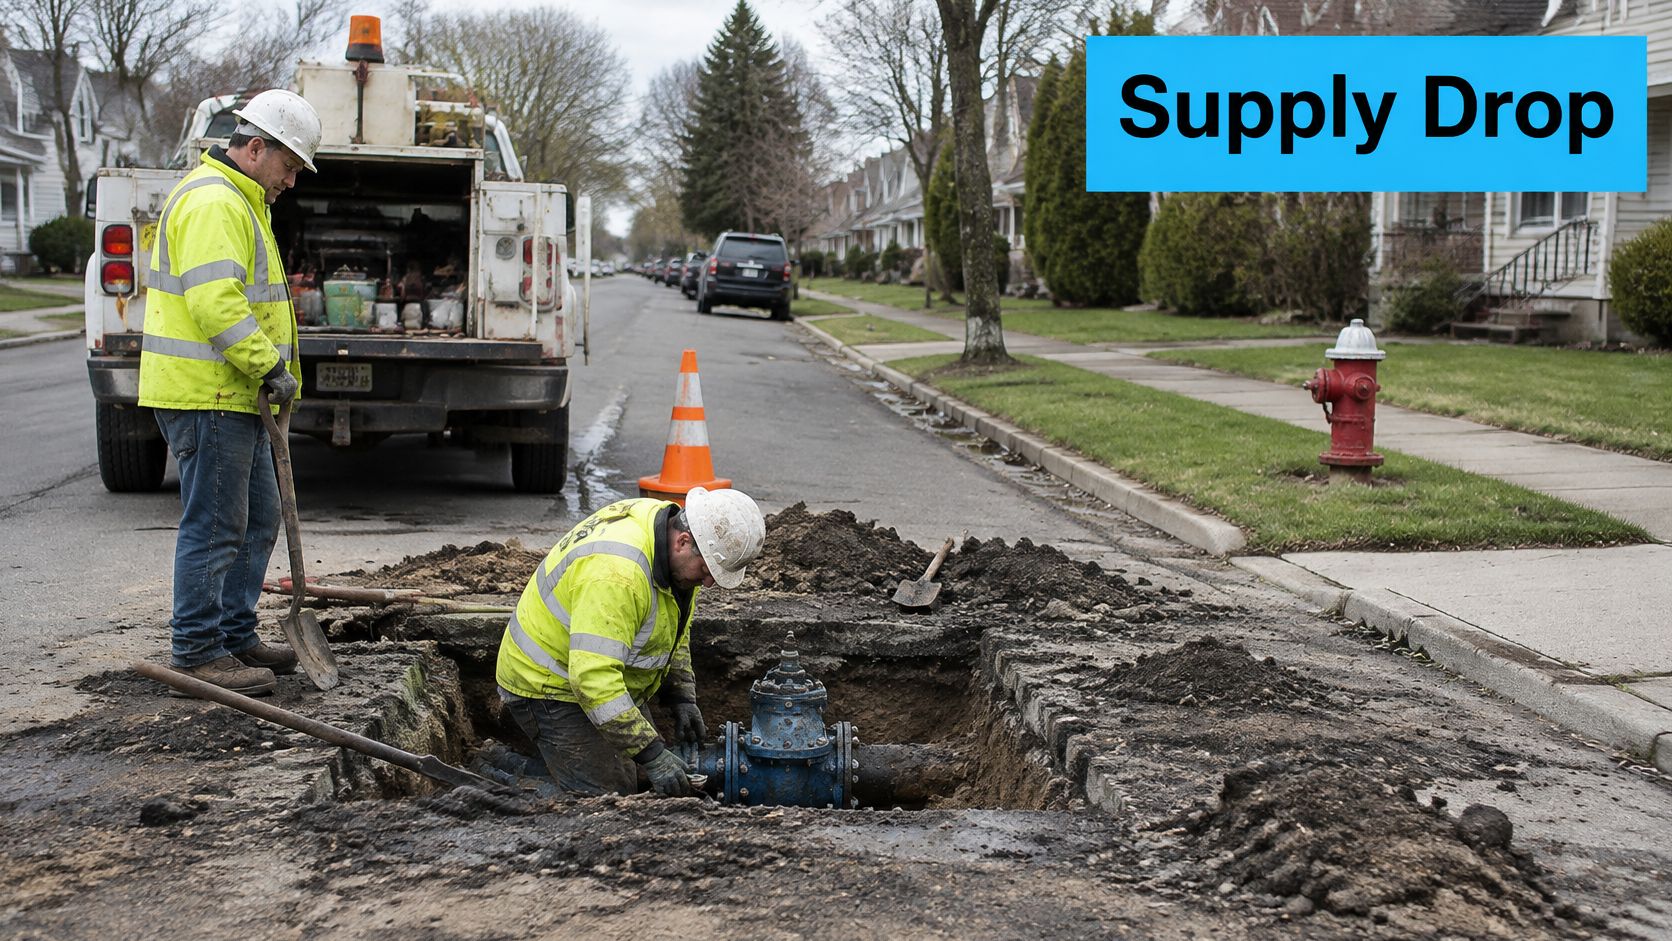
When the whole street goes weak on the same morning, your filter didn't suddenly fail at the same moment as everyone else's plumbing. A broken main, emergency repair, or closed utility valve restricts the volume reaching homes, even when the treatment plant is running normally.
Repair crews working on a residential main are a common reason for a sudden, neighborhood-wide drop.
Municipal Mains, Leaks, and Peak Demand
The scale of aging infrastructure helps explain these events. The U.S. Environmental Protection Agency report on water-main breaks has reported approximately 240,000 water-main breaks annually, about 658 breaks per day, with much of the underground infrastructure built 50 or more years ago and a typical system losing roughly 10% of its water through distribution-network leakage.
You don't need a dramatic rupture to feel it. Smaller leaks, valve work, hydrant flushing, and peak morning demand can all lower what's available at your meter. Hillside homes and upper floors feel it first because water loses pressure as it climbs, so a modest street-level dip can become a poor second-floor shower.
The short video below shows how supply-side work and household symptoms connect.
Private Wells and Pressure Tanks
A well home has its own outside-the-walls equipment. A failing pump can't keep up with demand, a waterlogged pressure tank loses its air cushion, and a pressure switch set too low lets pressure sag before the pump starts. The result often feels rhythmic rather than constant.
- Short-cycling pump. The pump clicks on and off rapidly during one shower.
- Gauge moving in rhythm. Pressure rises and falls with the pump instead of holding steady.
- Weak flow at every outlet. The pattern affects filtered and unfiltered taps alike.
If that sounds familiar, our pressure switch troubleshooting guide walks through the switch, tank, and pump checks in order. If neighbors on city water are also affected, the fix belongs to the utility. If only your well system cycles or sags, look at the well equipment before changing cartridges.
When Low Pressure Signals a Water-Safety Risk
A weak shower is annoying. A neighborhood pressure loss can be a safety issue, and that's the part many troubleshooting lists skip. Clear water and a working filter do not guarantee safe water after a major drop.
The U.S. EPA loss of pressure guidance identifies main breaks, equipment failures, and power loss as causes of distribution-system pressure loss, and defines pressure loss as less than 20 psi. At very low pressure, contaminated soil and groundwater can enter distribution pipes through breaks and leaks, and backsiphonage can pull contaminants into the system.
Your Filter Is Not a Boil-Water Advisory
Don't assume a carbon filter makes advisory water safe to drink. Carbon improves taste and odor and reduces many chemicals, but it doesn't reliably remove pathogens. Follow the water provider or health department notice first, use boiled or bottled water as directed, and flush or disinfect plumbing only according to official guidance.
The WHO reports that intermittent supply is widespread in many countries and that maintaining positive pressure helps prevent contaminated environmental water from entering leaking pipes. The same principle applies after a local outage: pressure protects the pipe network, and losing it changes the risk.
- Note the date and drop. Record when pressure fell and when it returned.
- Check with neighbors. A shared event supports a utility cause.
- Read the utility notice. Follow it until officials clear the water.
- Keep filtration in perspective. Use your filter as directed, but don't treat it as disinfection.
A basic home test kit can show chlorine or other changes after an outage, though it can't confirm pathogens. We link readers to water test kits so they can check their home water supply, which is useful for tracking changes once the official notice is lifted.
Decide Whether to Fix It Yourself or Call a Pro
Once you've matched the pattern and taken readings, sorting the job is straightforward. Some fixes are safe weekend tasks. Others involve pressurized supply lines, regulators, or well equipment where a wrong adjustment creates a bigger problem.
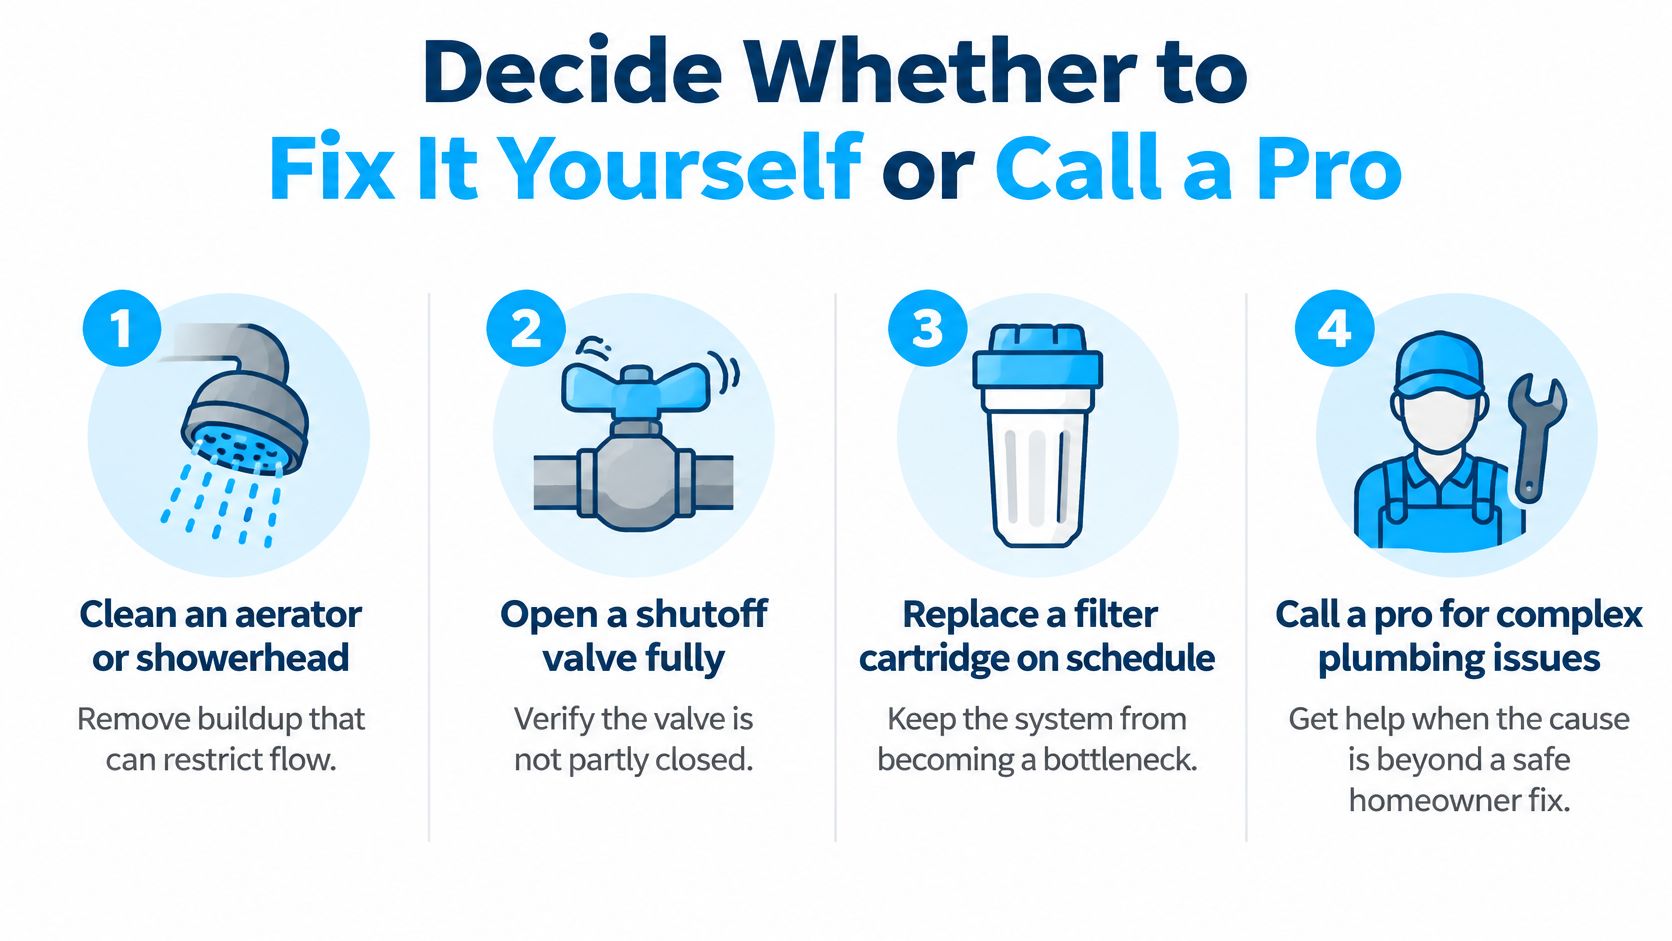
The checklist below separates quick homeowner checks from jobs that need professional help.
Jobs Most Homeowners Can Handle
- Clean an aerator or showerhead. Rinse grit, soak scale, and retest that outlet.
- Open valves fully. Check fixture stops, filter housing valves, and the main shutoff.
- Replace a filter cartridge on schedule. Shut off water, relieve pressure, swap the cartridge, and flush as directed.
- Clear a softener screen. Follow the manufacturer's steps for your control head.
That boundary between confident maintenance and specialist work is similar to the judgment in this bathroom fitting advice from Modern Bathrooms, where simple fitting tasks and complex plumbing are treated as different categories. Apply the same logic here: clean, open, and replace consumables yourself, but don't improvise on pressurized components.
Call a licensed plumber for a leak confirmed by a moving meter, corroded pipe that needs replacing, a failing PRV, or faults in a well pump, pressure tank, or pressure switch. Use 60 psi as the general high-pressure prompt for a professional check, since 80 psi is a local code cutoff rather than a universal line. Neighborhood-wide drops and main repairs belong to the utility, so call and ask about recent work or planned shutdowns.
Once the restriction is cleared, our Choosing a Water Filter guide can help you pick a replacement filter with the right flow capacity for your home, so the new system doesn't become the next bottleneck. Log your readings, complete the fix that fits the pattern, and retest after 24 hours.
If pressure stays under 40 psi, or the meter keeps moving after your checks, stop troubleshooting and call a professional.
Start by testing your pressure, checking whether a filter, valve, leak, or supply event is responsible, and then use our filtration guides and water test kit resources to choose a system that protects flow as well as water quality. Visit Water Filter Advisor to compare whole-house, under-sink, shower, and replacement filter options with clear, research-driven guidance for your home.
- November 6, 2026
- Uncategorized
