
Think of your whole house water filter as the unsung hero of your home, the silent guardian of your pipes, appliances, and every drop of water your family uses. To keep this champion fighting fit, a little routine maintenance is non-negotiable. This isn't just about swapping a cartridge; it's about protecting your investment and ensuring the water flowing from your taps is as pure and refreshing as it gets.
The Sneaky Cost of Forgetting Your Filter
It's tempting to fall into the "set it and forget it" trap. The filter is installed, the water tastes great—mission accomplished, right? Wrong. That mindset is a one-way ticket to a world of watery woes, problems that go way beyond a slight dip in quality. Think of maintenance not as a chore, but as the secret to unlocking your filter's full potential.
When you let a filter go for too long, it gets completely clogged with all the gunk it was designed to trap. This is where the trouble begins, unleashing a cascade of issues that can impact your health, your home, and your wallet.
From Hero to Villain: A Filter's Dark Turn
An old, saturated filter doesn't just stop working; it can become a villain in its own story. It can transform into a breeding ground for bacteria and slimy biofilm. All that trapped organic matter becomes a five-star buffet for microorganisms. Eventually, the filter can release this concentrated sludge back into your water, making what comes out of your tap potentially worse than the unfiltered water you started with.
On top of that, a maxed-out filter loses its power to absorb chemicals like chlorine. You'll start noticing that familiar swimming-pool smell creeping back in, and that dry, itchy feeling on your skin and hair after a shower will return with a vengeance.
The Ripple Effect on Your Home
A clogged filter sends shockwaves through your entire plumbing system. The first sign of trouble is usually a dramatic drop in water pressure. Your invigorating shower becomes a pathetic trickle, faucets dwindle to a dribble, and appliances gasp for water.
This sluggish flow puts a serious strain on your water-dependent appliances:
- Washing Machine: Longer fill times can wear out the inlet valve and motor.
- Dishwasher: Without strong water pressure, your dishes will come out looking like a modern art project.
- Water Heater: Sediment that sneaks past a failed filter can build up in your tank, killing its efficiency and drastically shortening its lifespan.
Keeping up with filter maintenance is more than a water quality issue. It's a fundamental part of home protection, preventing the catastrophic (and expensive) damage that can occur if a filter housing cracks or a connection fails under pressure.
To help you stay on track, here's a quick-glance guide to a typical maintenance schedule.
Quick-Reference Maintenance Timetable
This table gives you a general idea of how often to service different parts of your system. Remember, if your water is particularly hard or has a lot of sediment, you'll need to be more vigilant.
| Filter Component | Maintenance Task | Standard Frequency | Frequency in High-Use or Hard Water Areas |
|---|---|---|---|
| Sediment Pre-Filter | Replace Cartridge | Every 3-6 months | Every 1-3 months |
| Carbon Block Filter | Replace Cartridge | Every 6-12 months | Every 4-6 months |
| UV Sterilizer | Replace UV Lamp | Every 12 months | Every 9-12 months |
| Filter Housings | Clean & Sanitize | Annually | Every 6 months |
| Pressure Gauges | Check Readings | Monthly | Weekly |
Sticking to a schedule like this transforms maintenance from a frantic reaction into a proactive, money-saving superpower.
A Smart Financial Move
The numbers don't lie: consistent whole house water filter maintenance is a financially savvy decision. The household water purifier market is exploding, expected to grow by a massive USD 2,102.2 million between 2025 and 2029. Here in the US, where these systems make up 25% of the residential market, homeowners who properly maintain their units slash their long-term costs by around 30% over five years. That means avoiding $500-$1,000 in premature replacement fees.
Ultimately, viewing maintenance as a planned investment is the smartest play. It guarantees your system delivers clean, safe water day in and day out, protects your expensive appliances, and keeps your home's water flowing smoothly for years to come.
A Practical Seasonal Maintenance Checklist
Let's be real: thinking about whole house water filter maintenance can feel like a chore you'd rather put off. But it doesn't have to be a massive, once-a-year headache. The secret to keeping your system running like a dream is to break the job down into smaller, bite-sized pieces.
Think of it like tending a garden or prepping your house for winter. A simple seasonal routine turns a daunting task into a quick, easy checklist. This approach helps you spot the little whispers of trouble—a tiny drip or a slight pressure drop—before they become a full-blown scream for your plumber.
Your Quarterly Quick-Check Routine
Every three months, carve out ten minutes for a quick inspection. This is your first line of defense and the easiest way to catch problems when they're small and harmless.
- Go on a Leak Hunt: Grab a flashlight and carefully inspect the filter housings and all connections. You're looking for drips, moisture, or the chalky white residue from mineral buildup. Even a slow drip can waste a surprising amount of water and cause damage.
- Check the Pressure Gauges: If your system has gauges, compare the inlet and outlet readings. Is the outlet pressure 10-15 PSI lower than the inlet? That's the classic calling card of a filter that's getting clogged and needs changing soon.
- Listen for Odd Noises: Have someone run a shower and listen near the filter unit. Any strange humming, knocking, or whistling can point to pressure issues or loose parts that need attention.
This simple 90-day check-in is the cornerstone of great whole house water filter maintenance. It costs you almost no time but reveals a ton about your system's health.
Pro Tip: Keep a small dry-erase board or a dedicated notebook near your filter system. Every quarter, jot down the date and the pressure readings. This simple log makes it incredibly easy to spot a gradual pressure drop you might otherwise miss.
Semi-Annual Deep Clean and Prep
Twice a year, typically in spring and fall, it's time to roll up your sleeves and dig a little deeper. This is when you'll tackle the important tasks that prevent bacteria from moving in and get your system ready for the season ahead.
The main event is sanitizing the system. Biofilm—a fancy name for a slimy layer of bacteria—can accumulate inside the filter housings, especially if you're on well water. A quick sanitizing cycle with a bit of unscented household bleach or a purpose-made solution flushes out all that gunk, keeping your water safe and fresh.
While you're at it, give the outside of the filter housings a good wipe-down. This isn't just for looks; cleaning off dust and grime can reveal hairline cracks or other signs of wear that you need to address.
Annual Filter Overhaul and System Reset
This is the big one. Once a year, you'll replace your main filter cartridges and give the entire system a fresh start. For most homes, a carbon filter is good for about 6-12 months, so planning for an annual swap is a brilliant move.
Here's your yearly game plan:
- Replace Key Filters: This is non-negotiable. Swap out the main sediment and carbon filters. It's the single most important thing you can do for your water quality.
- Lubricate O-Rings: While the housings are open, pop out the large rubber O-rings. Wipe them clean and apply a thin layer of food-grade silicone grease. This keeps them supple and prevents cracks, ensuring a perfect, leak-proof seal.
- Update Your Calendar: After installing the new filters, write the date on the cartridge with a permanent marker. Then, pull out your phone and set reminders for your next quarterly, semi-annual, and annual checks right then and there.
By breaking down your whole house water filter maintenance into this easy seasonal rhythm, you transform a dreaded chore into a simple, satisfying routine. This not only guarantees cleaner, safer water but also helps your system last longer, saving you a fortune in the long run.
Replacing Filter Cartridges Like a Pro
Changing the filter cartridge is the most critical and satisfying part of your maintenance routine. This is where the real magic happens—you’re swapping out a tired, gunked-up filter for a fresh one, instantly restoring your system to peak performance. Think of it less as a chore and more as hitting the reset button on your home's water quality.
Forget the confusing, generic instructions that came in the box. Let's walk through this the way a professional would, focusing on the small details that prevent leaks and guarantee you get the best filtration possible.
Setting The Stage For A Clean Swap
A little preparation is the difference between a breezy, five-minute job and a frustrating hour spent mopping up your utility room. The goal here is pure efficiency.
First, double-check that you have the right replacement cartridge. It sounds obvious, but you'd be amazed how many homeowners grab the wrong one. Look for the model number and dimensions (e.g., 10" x 4.5") on the filter housing or in your manual. Make sure the micron rating matches what you need, too.
A quick visual guide can help you see how this task fits into the bigger picture of your annual maintenance routine. It’s all about a simple, repeatable rhythm.
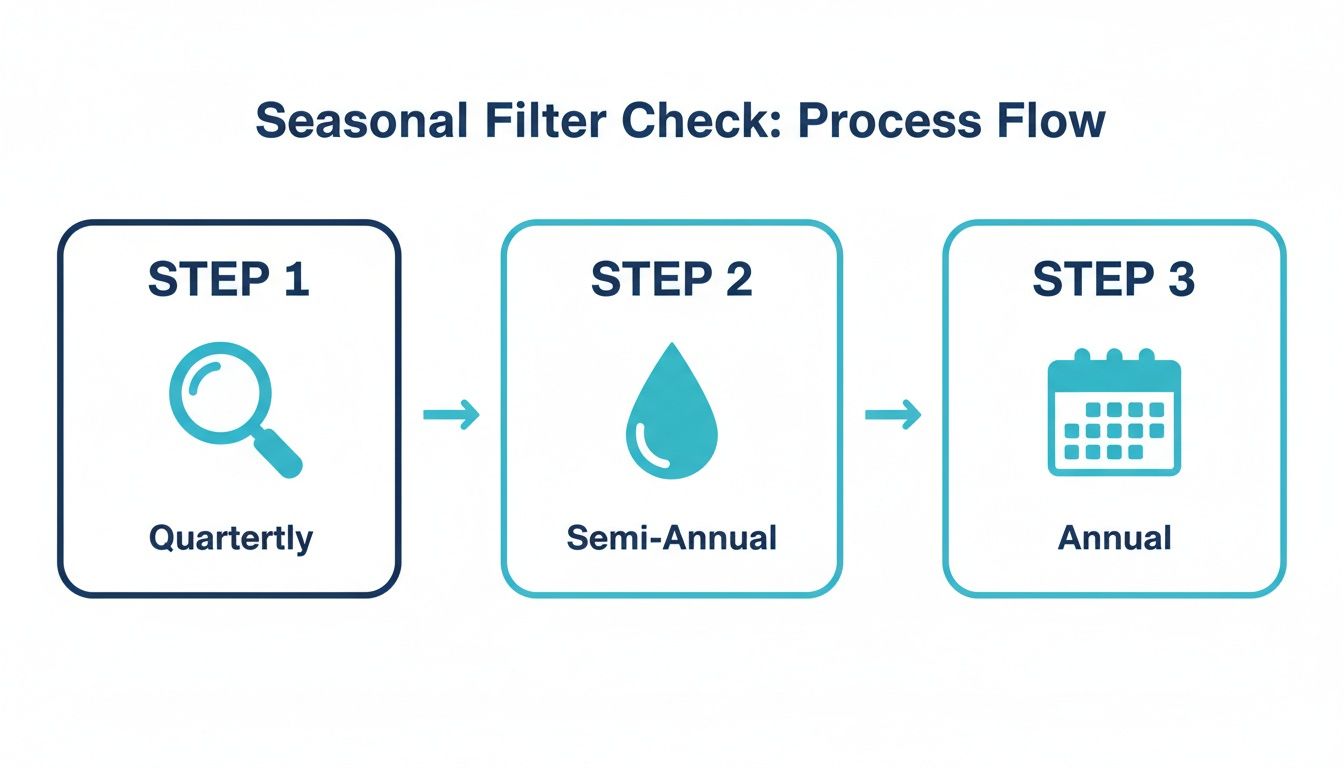
As you can see, regular checks lead up to the annual filter replacement, keeping your system in top shape year-round.
Your Filter Replacement Toolkit
Nothing kills momentum like getting halfway through a job and realizing you're missing a key tool. Get your gear together before you start. It makes the whole process smoother.
| Item | Purpose | Pro Tip |
|---|---|---|
| Housing Wrench | Loosens and tightens the filter housing. | Use the wrench that came with your system. A generic one can easily strip the plastic. |
| Bucket | Catches water when you open the housing. | A standard 5-gallon bucket is perfect. It's tall enough to prevent splashes. |
| Old Towels | For managing the inevitable drips and spills. | Lay one down before you start. A dry workspace is a safe workspace. |
| Food-Grade Silicone Grease | Lubricates the O-ring for a perfect seal. | Do not use petroleum jelly! It will eat away at the rubber O-ring and cause leaks. |
| New Replacement Cartridge | The star of the show. | Keep it in the plastic wrap until the second you’re ready to pop it in. |
With these items at the ready, you're primed for a clean, hassle-free filter swap.
The Art of The Pressure Release
This is where most DIY jobs go sideways. You absolutely cannot just start wrenching on the housing while it’s holding back your home's full water pressure. You'll create a geyser in your utility room and find the housing is nearly impossible to turn.
You have to release the pressure first. It's simple.
- Find the shut-off valve on the inlet side of your filter and turn it off.
- Press the red pressure-relief button on top of the filter housing. You’ll hear a satisfying hiss of air and see a little water trickle out.
- Keep holding it down until the sound stops completely. Now you know the pressure is gone.
- No button? No problem. Just open a faucet somewhere in the house after you’ve shut the main valve to the filter. It does the same thing.
Remember, that filter housing is engineered to withstand immense force. Taking a moment to properly depressurize it is the single most important step for a controlled, mess-free filter change. It turns a potential wrestling match into a simple twist.
Perfecting The Seal And Flush
Now that the pressure is off, grab your housing wrench and give the canister a turn to loosen it. Once it breaks free, you should be able to unscrew it the rest of the way by hand. Dump the old water and the used filter right into your bucket.
Before you pop in the new cartridge, take a moment to inspect the big rubber O-ring in the groove at the top of the housing. Carefully pull it out, wipe it clean, and clean out the groove itself. Then, apply a thin coat of food-grade silicone grease to the O-ring. This tiny step is your best defense against slow, annoying leaks.
Slide the new cartridge in, making sure it’s centered, and then hand-tighten the housing back on. Use the wrench for one last quarter-turn to snug it up—but don't go crazy. Overtightening can crack the housing.
Last step: the flush. This is crucial for carbon filters, which often release loose carbon "fines" (harmless black specks). Slowly turn the water supply back on. Go to a nearby faucet and let it run for 5-10 minutes until the water is perfectly clear.
That’s it. You've reset your system. Sticking to this routine is more than just good practice; it's a smart investment. Whole house water filter maintenance is a cornerstone of a rapidly growing residential water purifier market. In the US, where these systems have about 20% market penetration, properly maintained filters can avert 15% of certain gastrointestinal illnesses. This is because a neglected filter can harbor over 1 million bacteria per square centimeter after just six months. While annual maintenance costs average $200-$400, this proactive spending yields a 40% savings compared to the $1,500+ cost of a full system replacement. Discover more insights about the residential water purifier market.
Troubleshooting Common Water Filter Problems
Even a perfectly maintained whole-house water filter will hit a snag eventually. That’s just the nature of mechanical systems. But the good news is that most of the little headaches that pop up are surprisingly easy to diagnose and fix on your own.
Think of this as your troubleshooting field guide. Instead of panicking when something goes wrong, you’ll have a logical process to hunt down the culprit. We’ll walk through the most common issues, from pressure drops to pesky leaks, so you can tackle them with confidence.
Diagnosing a Sudden Drop in Water Pressure
This is the big one—the most common complaint from homeowners. You hop in the shower one morning, and the pressure has just vanished. Your first suspect is probably the filter, and you're often right, but it pays to confirm before you start taking things apart.
A clogged filter is almost always the prime suspect. As it traps sediment, it essentially becomes a dam, choking the flow of water to your house.
If your system has pressure gauges on both the inlet and outlet pipes, diagnosis is a breeze. A difference of 10-15 PSI or more between the two is a dead giveaway. That filter is saturated, and it's time for a change.
No gauges? No problem.
- Use the Bypass: Nearly every filter has a bypass valve. Flip it. This sends water around the filter instead of through it. If your pressure suddenly roars back to life, you’ve found your culprit. It’s the filter.
- Check Your Faucets: Is the low pressure everywhere? The kitchen sink, the shower, the outdoor hose? If it's a house-wide issue, the problem is likely at a central point like your filter. If it’s just one showerhead, you've probably got a local clog instead.
Running through this quick diagnostic can save you from changing a perfectly good filter or, worse, ignoring a more serious plumbing issue.
The Annoying Drip Leaks and How to Stop Them
Nothing is more maddening than seeing a puddle forming under your filter housing. Luckily, the fix is usually simple and won't require a call to the plumber. The vast majority of these leaks come down to one thing: a faulty O-ring.
The O-ring is the large rubber gasket that creates a watertight seal between the filter housing and the filter head. If that ring is dry, dirty, nicked, or not seated correctly, water will find a way out.
Here’s your game plan:
- Shut off the water to the filter and use the pressure-relief button to release any pressure in the lines.
- Unscrew the housing and carefully pull out the O-ring.
- Wipe the O-ring and the groove it sits in until they are perfectly clean.
- Coat the O-ring with a thin layer of food-grade silicone grease. This keeps it pliable and helps create a bulletproof seal.
- Pop the O-ring back into its groove, ensuring it’s sitting flat and isn't twisted. Then, screw the housing back on until it's hand-tight.
A huge mistake people make is grabbing Vaseline or another petroleum jelly to lubricate the O-ring. Don't do it. Petroleum products will degrade the rubber, making it brittle and causing even worse leaks down the road. Stick with food-grade silicone grease.
If a clean, greased O-ring doesn't stop the drip, carefully inspect the plastic housing itself for any hairline cracks. They can be tough to spot, but if you find one, the whole housing will need to be replaced.
When Bad Tastes and Smells Return
You bought the filter to banish that swimming pool smell and weird taste from your tap water. So when they suddenly return, it's a huge letdown. This is almost always a sign that your activated carbon filter has reached the end of its life.
Carbon filters work by adsorption, where contaminants literally stick to the massive internal surface area of the carbon. But that surface area is finite. Eventually, all the spots get filled up, and the filter can't grab any more chlorine or smelly compounds. It becomes an empty vessel, letting all the bad stuff pass right through.
There’s no magic fix here; the only solution is to replace the filter cartridge. If you notice the water quality taking a dive, that's your system screaming for a new carbon filter. Sticking to your whole house water filter maintenance schedule is the best way to prevent this and keep your water tasting great.
Caring For UV Systems and Water Softeners
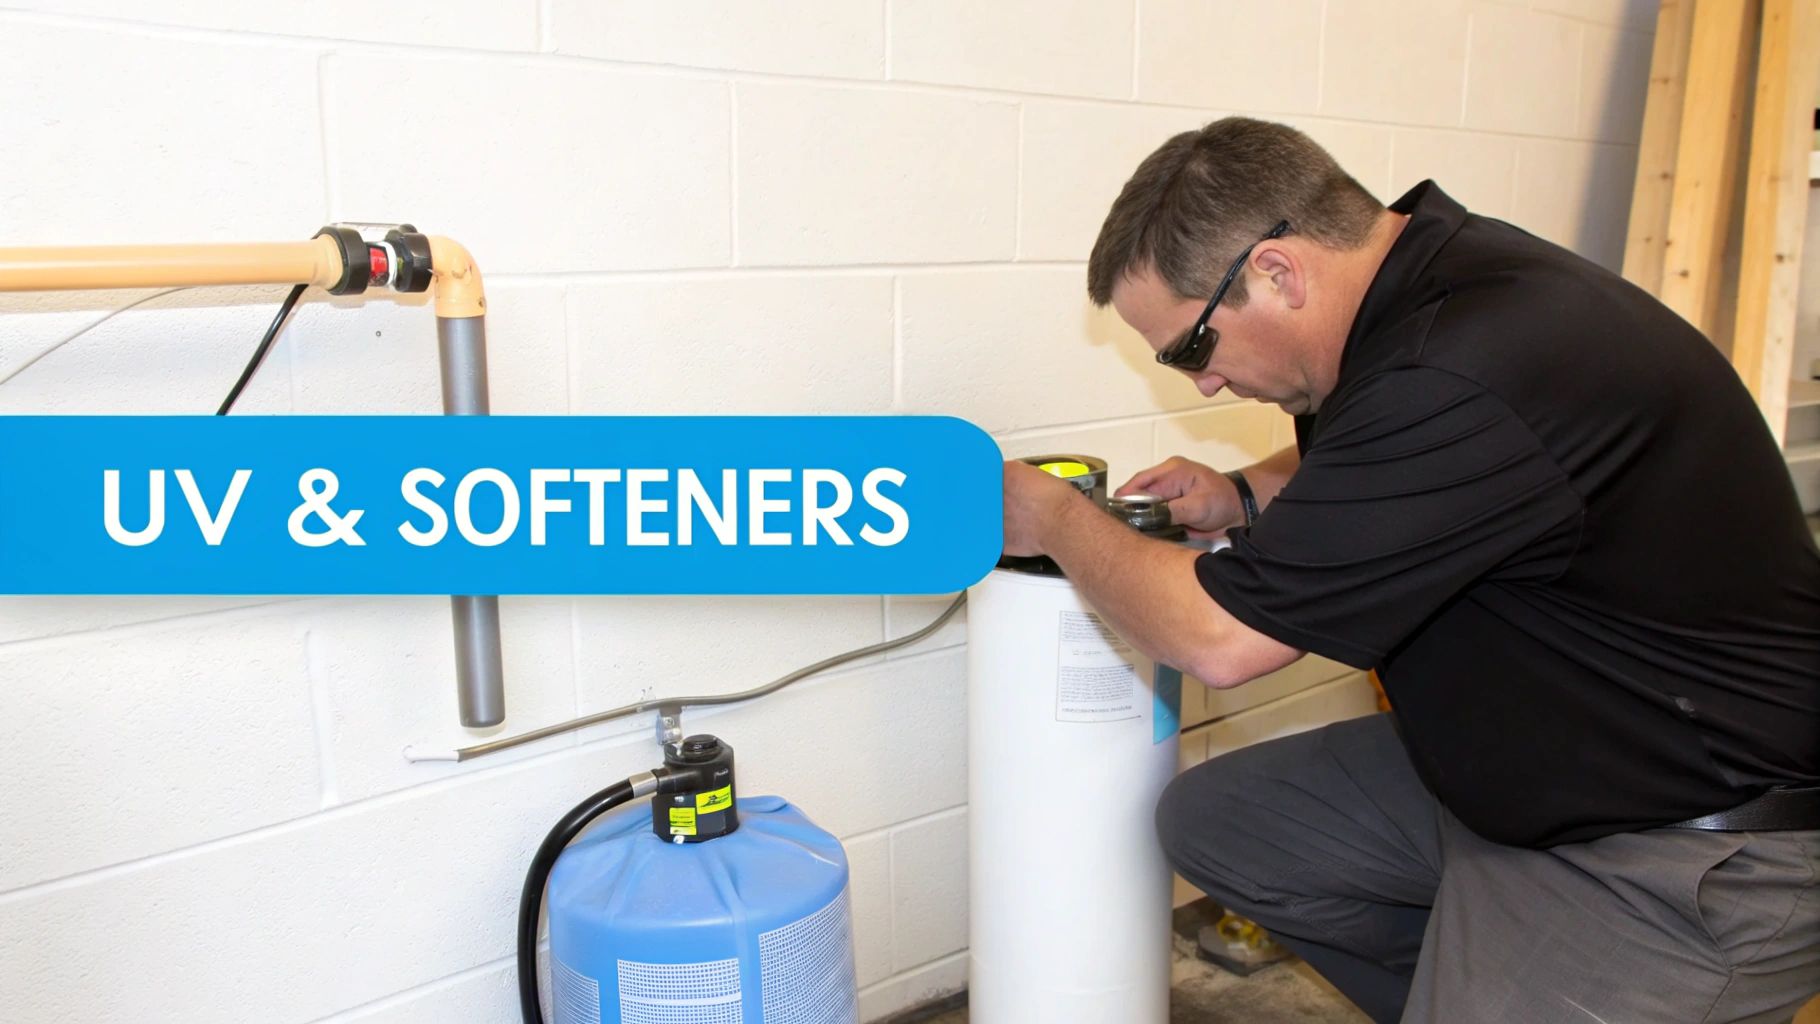
If your home's water treatment setup includes an ultraviolet (UV) purifier or a water softener, you've got some extra firepower. These components are fantastic, but they require their own specific maintenance to keep the entire system operating in harmony.
Ignoring them is like changing your car's oil but never checking the tire pressure—you're missing a critical piece of the puzzle. These advanced systems tackle specific problems, from neutralizing bacteria to fighting hard water scale, and a little upkeep goes a long way.
Keeping Your UV Purifier at Full Strength
Think of your UV system as a microscopic security guard, using intense light to neutralize nasty bacteria, viruses, and cysts. But for it to work, that light has to be powerful and unobstructed.
The single most important task is the annual replacement of the UV lamp. The light might still be on after a year, but its germ-killing intensity plummets. It’s like a weak flashlight in the dark; you can see a little, but it’s not really doing the job.
Just as critical is the quartz sleeve—the clear glass tube that protects the lamp from the water. Over time, it gets coated with a film of minerals, blocking the UV light from reaching the water.
- When to Clean: Inspect it every six months, but always give it a thorough cleaning during your annual lamp change.
- How to Clean: Slide it out carefully—it's fragile!—and wipe it down with a cloth soaked in a simple scale remover like CLR or even just white vinegar.
Managing Your Water Softener
A water softener is your home’s best defense against scale buildup. It protects your pipes and appliances while making your skin and hair feel amazing. Luckily, its maintenance is pretty straightforward.
Your main job is keeping the brine tank topped up with salt. Check it once a month and make sure it’s at least half-full. Stick to high-quality salt pellets designed for softeners; cheaper options can cause clogs.
The bigger, though less frequent, task is dealing with a "salt bridge." This is a hard crust of salt that can form above the water level in the brine tank, preventing salt from dissolving and regenerating the system.
A salt bridge effectively starves your softener. If your water suddenly feels hard again after being soft for months, a salt bridge is almost always the culprit.
Fixing it is easy. Just take a broom handle and carefully break up the crust. This is also a great time to clean out the tank and check the system's injector (or venturi) for any clogs.
While you're thinking about your home's water systems, don't forget the heater. These essential hot water maintenance tips are just as important for keeping things running efficiently.
It's worth noting how critical this is. The North American water filtration market holds a 35% global share for a reason. Well-maintained systems can reduce lead by up to 99%, according to the EPA. Yet, surveys show only about 65% of owners replace their filters on schedule. For advanced gear, the stakes are higher. A UV lamp is only good for about 9,000 hours—that’s one year—and changing it on time is the only way to ensure 90% effectiveness and uptime.
Answering Your Top Maintenance Questions
Once you get the hang of your whole-house water filter, questions are bound to pop up. It’s one thing to follow a schedule, but it's another to really understand the "why" behind each task. Let's tackle some of the most common questions we hear from homeowners.
Getting these answers straight will empower you to manage your system with confidence, ensuring your whole house water filter maintenance routine is always on point.
How Do I Find the Right Replacement Filter?
This is probably the most critical part of the whole process. Your first stop should be the system's user manual—it will list the exact model number you need.
Can't find the manual? No worries. There's almost always a sticker or label on the filter housing itself with all the info. As a last resort, when you take the old filter out, just bring it with you to the hardware store for a side-by-side comparison.
You must match two key specs:
- Physical Dimensions: The length and diameter (like 10" x 4.5") must be identical. The wrong size is a recipe for leaks or a bad seal that lets unfiltered water sneak by.
- Micron Rating: This number (e.g., 5 microns) indicates the filter's pore size. Swapping it for a different rating will completely change your water flow and what gets filtered out.
Can I Just Clean and Reuse My Sediment Filter?
We get this one a lot, and the simple answer is almost always a hard no. The vast majority of sediment filters—especially the common spun polypropylene or pleated paper types—are strictly single-use. They are engineered to trap particles deep within their fibers.
Trying to wash them is a futile exercise. You'll likely damage the delicate filter media, and worse, you could dislodge all the trapped contaminants, sending them straight into your home's water. A quick rinse might briefly improve your water pressure, but the filter's ability to do its job is gone for good. Just replace it.
Think of a sediment filter like a disposable coffee filter. You wouldn’t try to rinse and reuse one because it's already done its job, and trying to clean it just makes a mess. The same logic applies here—a fresh filter is the only way to guarantee performance.
What Happens If I Forget to Change My Filter?
Putting off a filter change kicks off a chain reaction of problems. The first thing you'll notice is your water pressure taking a nosedive. As the filter clogs, your showers will feel weaker and your washing machine will take forever to fill.
More importantly, an old carbon filter completely loses its ability to remove chlorine and other chemicals. The bad tastes and smells you bought the filter to eliminate will come roaring back. A badly clogged sediment filter also puts a ton of extra strain on your home’s plumbing and appliances.
Worst-case scenario? A neglected filter can become a breeding ground for bacteria. All that trapped organic matter is a perfect food source, potentially making your water quality even worse than before you had a filter.
When Should I Call a Professional for Help?
While most routine whole house water filter maintenance is a perfect DIY job, some situations call for a pro.
If you have a stubborn leak that a fresh, properly lubricated O-ring won't solve, you might be dealing with a tiny crack in the housing that needs an expert eye.
Additionally, if you have a complex setup with backwashing media tanks, UV purifiers, or integrated water softeners and feel out of your depth, calling in a pro for an annual check-up is a smart investment. Finally, if a standard filter change doesn't fix a major, sudden drop in your water quality, it’s time to call a plumber. They can diagnose bigger issues with your system or the water coming into your house. For more helpful insights, you can find a wealth of water filtration advice on our blog.
At Water Filter Advisor, we're committed to helping you achieve cleaner, safer water with confidence. Explore our in-depth guides and reviews to find the perfect solution for your home at https://www.waterfilteradvisor.com.
- December 22, 2025
- 0
- Uncategorized