Water Filter Replacement Schedule: When to Change Every Type
You turn on the kitchen faucet and get a weak stream instead of the usual flow. Or the water looks normal, but the clean taste has disappeared and a f ...
You turn on the kitchen faucet and get a weak stream instead of the usual flow. Or the water looks normal, but the clean taste has disappeared and a f ...
You're probably here because something finally tipped you off. The refrigerator light started blinking. Your pitcher got painfully slow. Your coffee tastes flat, metallic, or vaguely like pool water again. Many find themselves waiting for one of those moments, then realize they have no idea how often to replace a water filter without guessing.
Here's the blunt answer: guessing is how people end up drinking poorly filtered water for months. An expired filter doesn't just “work a little less well.” In some setups, it becomes a clogged, exhausted cartridge that still looks normal from the outside while doing a lousy job inside. That's why homeowners get confused. The filter is still physically there, water is still coming out, and the system hasn't exploded, so they assume they're fine.
They might not be.
A homeowner ignores the red light on the fridge for a few weeks. Then a few months. Water still comes out, so it gets pushed down the list behind groceries, school pickups, and fixing the gutter leak. Then one morning the ice tastes stale and the dispenser slows to a crawl. That's usually when people start paying attention.
That moment matters more than is commonly believed.
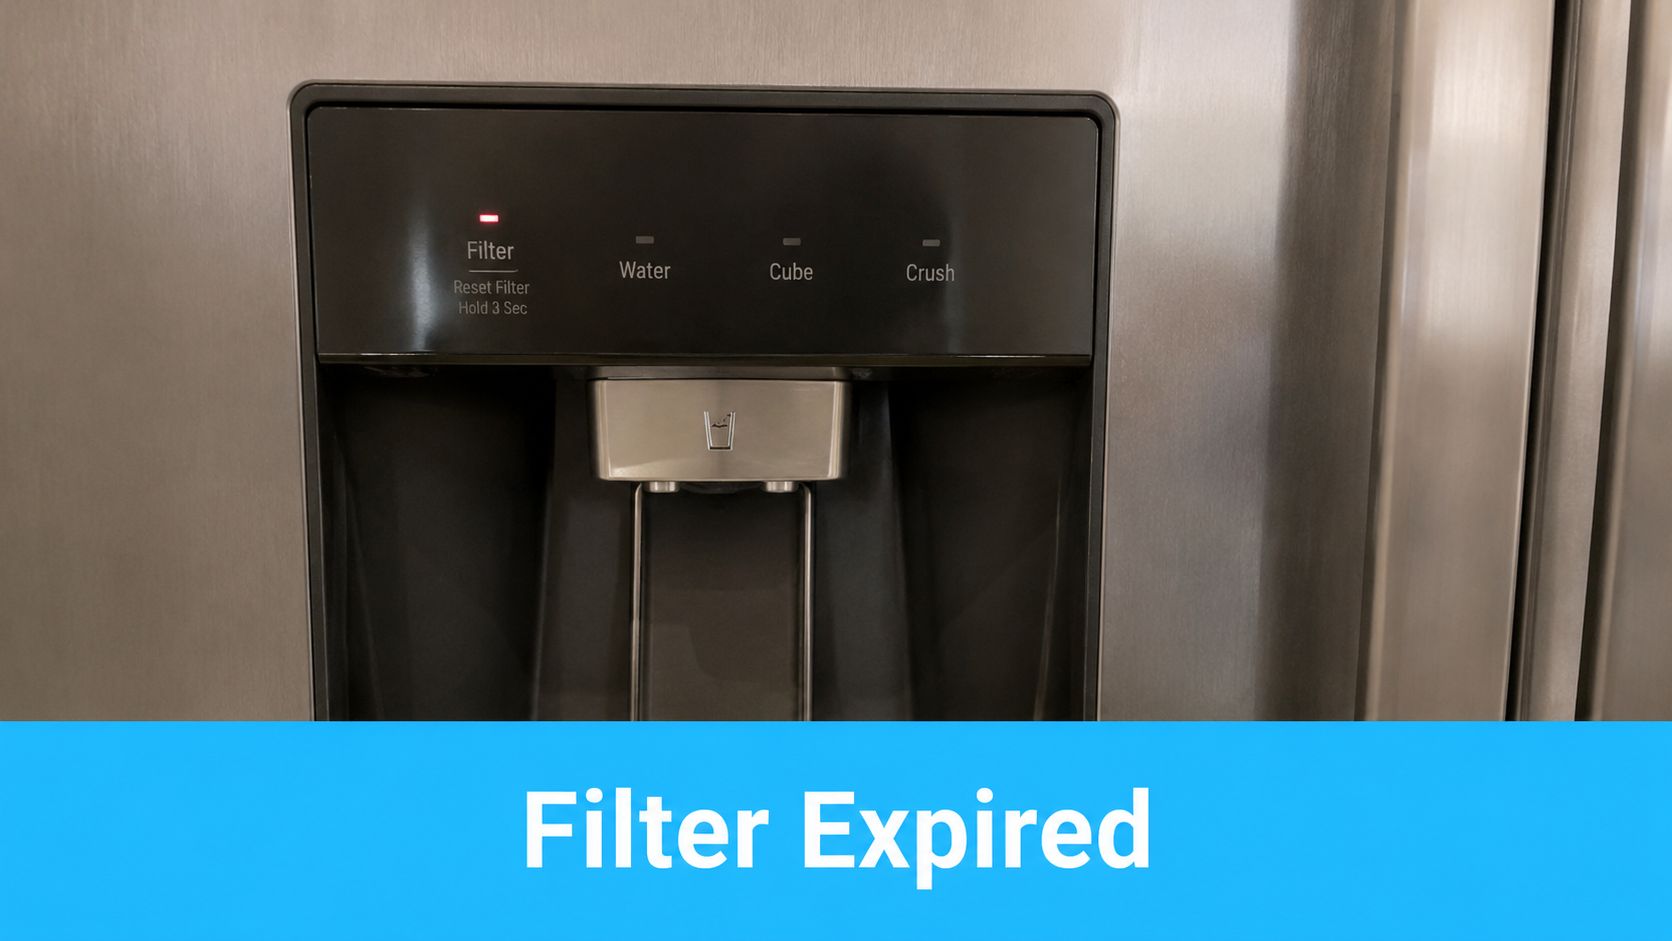
Old filters don't fail in a dramatic way. They fail subtly. Water may still look clear while taste, odor, and contaminant reduction slip in the background. That's why filter replacement isn't a cosmetic chore. It's routine home maintenance, right up there with changing smoke detector batteries and servicing HVAC equipment.
Different filters age in different ways. A pitcher cartridge reaches the end of its capacity fast. A refrigerator cartridge follows a fixed calendar. A whole-house setup usually has one schedule for sediment and another for carbon. Reverse osmosis systems add another layer because the membrane lasts much longer than pre-filters.
According to DuPure's water filter replacement overview, whole-house sediment and carbon filters typically require replacement every 6–12 months, while reverse osmosis membranes last 2–3 years, but pitcher filters may need replacement every 1–2 months due to shorter capacity.
That spread is exactly why so many homeowners get tripped up. They assume every filter follows the same logic. It doesn't.
Practical rule: If you can't remember the last time you changed a filter, treat it as overdue until proven otherwise.
If your filter is already expired, don't overthink it. Start with the basics:
A more complicated system isn't generally required. What's often needed is a better habit.
Start with a calendar, not a guess.
Manufacturer timelines are the baseline. They are not marketing fluff, but they are also not the whole answer. Use them as your default replacement schedule, then adjust later based on your water source, household use, and the warning signs your filter gives you.
Refrigerator filters get ignored because the water still looks clear and the dispenser still works. That mistake is common, and it leads to stale media sitting in a damp, enclosed system for too long.
Whirlpool states that refrigerator water filters must be replaced every 6 months regardless of usage indicators, and if an indicator light is absent, the 6-month rule remains mandatory. Follow that rule. If your fridge does not track filter life, put the replacement date on your calendar and move on.
| Filter Type | Typical Lifespan (Time) | Typical Lifespan (Gallons) |
|---|---|---|
| Pitcher filter | 1–2 months | 40 gallons |
| Refrigerator filter | 6 months | Not specified |
| Whole-house sediment filter | 6–12 months | Not specified |
| Whole-house carbon filter | 6–12 months | Not specified |
| Reverse osmosis membrane | 2–3 years | Not specified |
| Aquasana OptimH2O filter | 12 months | 100,000 gallons |
| Aquasana Rhino main filter | 10 years | 1,000,000 gallons |
Pitcher filters are the shortest-life filters in the house. Treat them that way. A good rule is every 2 months or 40 gallons for standard pitcher cartridges. Small filters clog and exhaust fast, especially if they handle all your drinking water.
Whole-house sediment and carbon filters usually land in the 6 to 12 month range. Reverse osmosis membranes usually last 2 to 3 years. The mistake is assuming the membrane schedule covers the whole system. It does not. The pre-filters and post-filters around it usually need replacement much sooner.
Large-capacity systems can run much longer, but only when the product is built for it and the water conditions allow it.
Aquasana is a good example because one brand can have very different replacement intervals across its lineup. According to Aquasana's filter lifespan guide, the Rhino® and Rhino® Max Flow whole-house tanks are designed for a 10-year or 1,000,000-gallon main filter lifespan, while the OptimH2O® filter must be replaced every 12 months or at 100,000 gallons, whichever comes first.
That gap matters. A large whole-house tank and a point-of-use cartridge do completely different jobs with completely different media volumes. Copying one schedule onto another filter is lazy and expensive.
Follow the schedule for your exact filter type first. Then refine it based on real-world performance.
Use this as your default schedule:
These filters vary too much for a single universal timeline. Some are calendar-based. Some are gallon-based. Some do both.
The right move is simple. Start with the manufacturer schedule. Then pay attention to what your water and your system are telling you. Flow rate alone is not a reliable judge of filter life, and a filter that still passes water can still be overdue.
Your neighbor swaps a filter every two months and swears that schedule works perfectly. You copy it, but your water starts tasting off weeks earlier. Same filter. Different house. Different result.
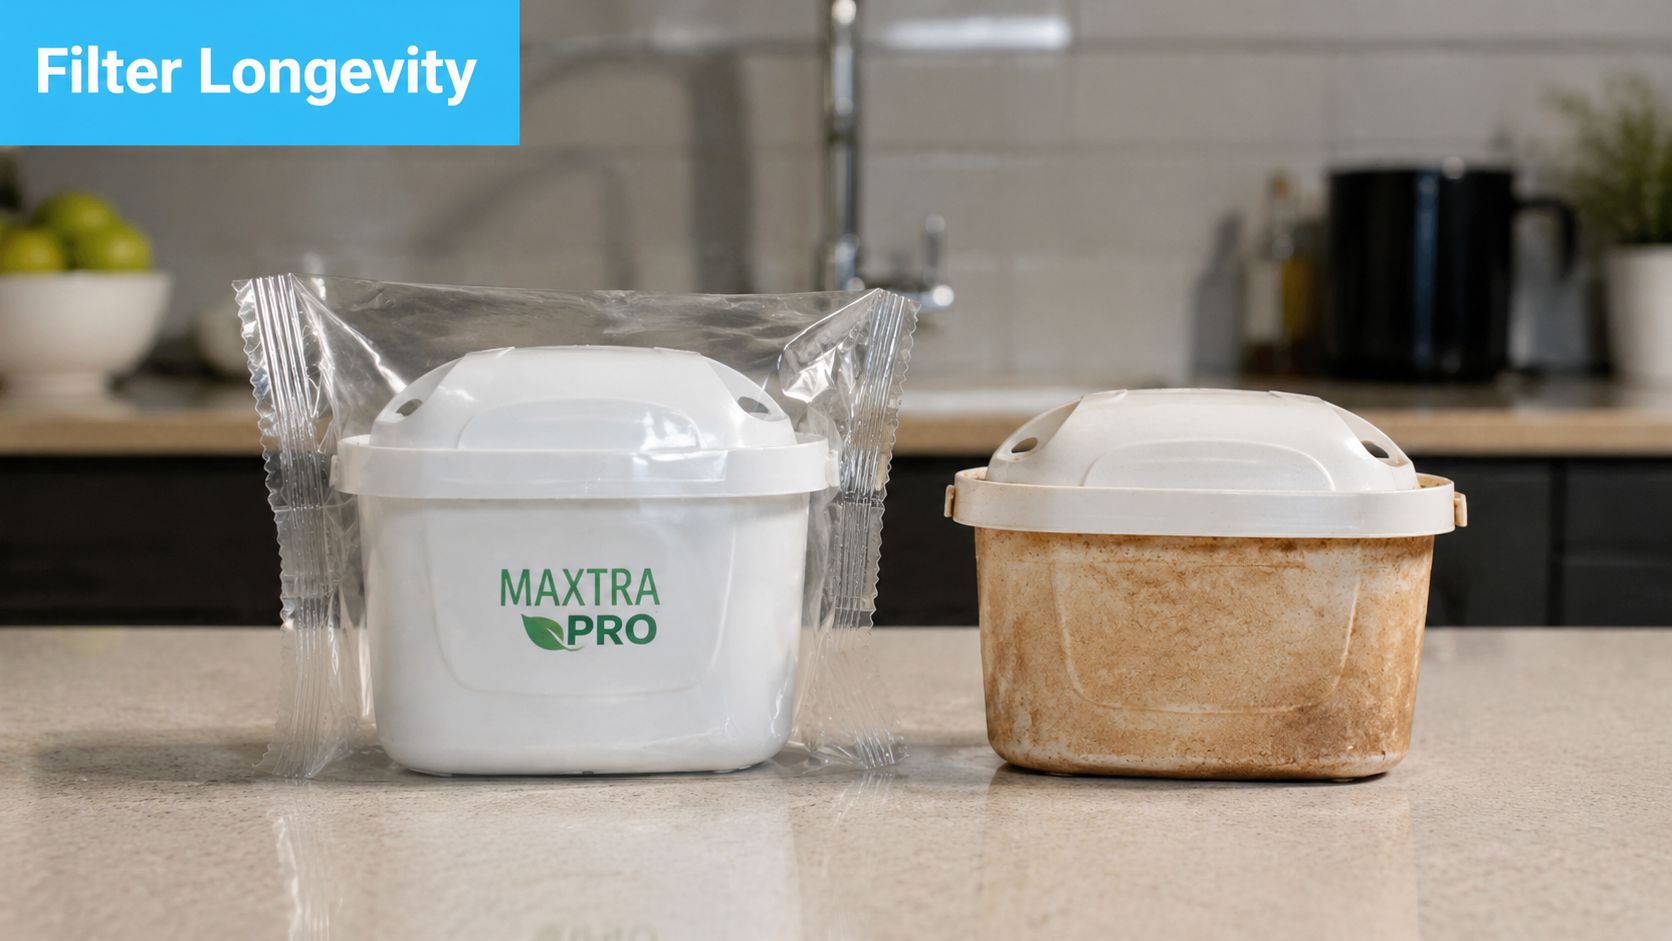
Filter life starts with gallons used. A single adult who fills one glass at night puts far less strain on a pitcher cartridge than a family using it for water bottles, coffee, cooking, and pet bowls all day.
That is why manufacturer timelines are only a starting point. The common pitcher schedule of every 2 months or 40 gallons is a decent default, but it is not a law of nature. Light use may stretch performance. Heavy daily use can burn through capacity much faster.
Do not confuse lower usage with automatic safety. A lightly used filter can still age out, and a heavily used one can be spent long before the calendar says it should be.
A filter in relatively clean municipal water has an easier job than one dealing with heavy chlorine, chloramine, sediment, or hard water. Well water adds even more variation. One home gets mild nuisance minerals. Another gets sediment, iron, sulfur, and constant filter stress.
Homeowners often get misled by generic packaging claims. A cartridge rated for a certain time or gallon count was tested under specific conditions. Your water may be harsher. If it is, the filter will not care what the box promised.
Filters fail from workload, not from a date printed on the calendar.
Plenty of homeowners judge filter life by flow alone. That is a mistake.
A clogged filter often slows down. A worn-out carbon filter may still pass water at a normal rate while removing far less chlorine, taste, odor, or other contaminants. Good flow only tells you water is getting through. It does not prove the media is still doing its job.
Use a better framework. Start with the official schedule for your exact filter. Then shorten it if you have high usage, hard water, heavy chlorine, visible sediment, or well water with known issues. If your usage is low and your water is relatively easy to treat, you may have some room, but do not stretch replacements blindly. Build your schedule around your water, your household, and the way the filter is performing.
Most homeowners wait for one dramatic sign. That's a mistake. Filters usually wave several smaller red flags first.
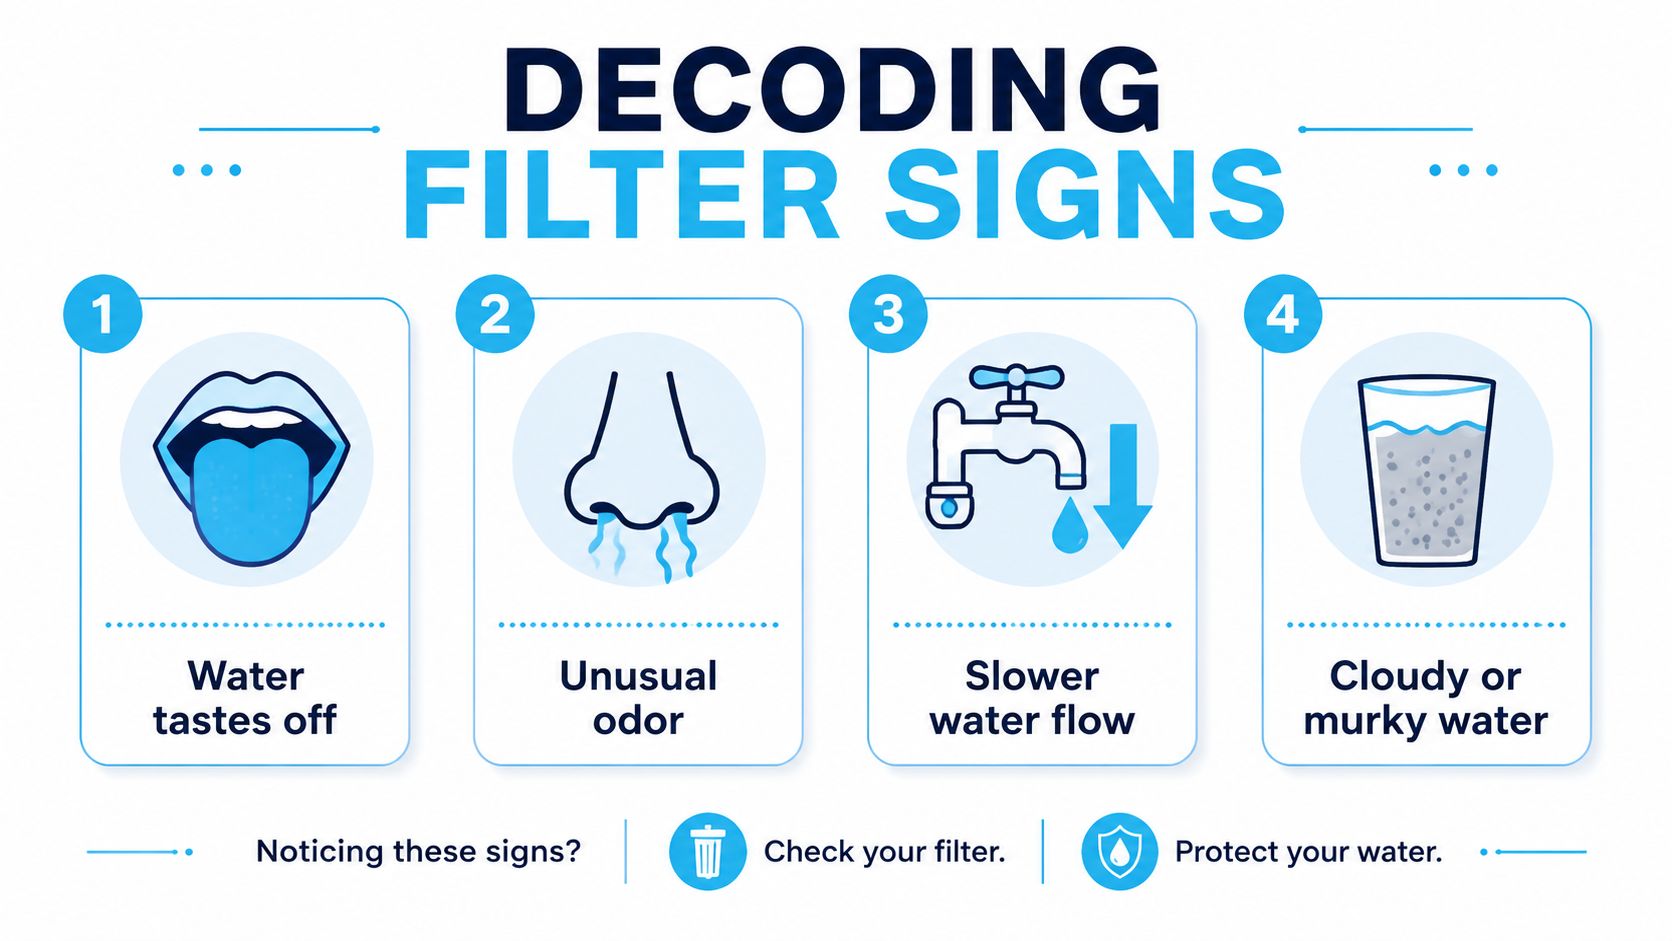
You don't need lab equipment to catch the basics. Your senses are useful if you pay attention.
Those signs matter. They just don't tell the whole story.
The biggest myth in home filtration is that slow flow equals failure, normal flow equals safety. That sounds tidy, but it's wrong. According to Frizzlife's discussion of filter change timing, carbon filters can lose 50% of their contaminant adsorption capacity for chloramine and lead while flow rate remains near normal.
That means a filter can still pour water at a decent rate while doing a much worse job removing certain contaminants.
Reality check: Flow rate tells you about clogging. It does not reliably tell you whether carbon media is still capturing chemical contaminants.
Here's a useful visual refresher if you want to compare the common warning signs at a glance.
| Sign | What it often means |
|---|---|
| Slower flow | Sediment or particulate clogging |
| Bad taste | Carbon media is losing effectiveness |
| Odd odor | Chemical reduction is weakening or stale water is present |
| Cloudy water | Particle breakthrough, trapped debris, or another system issue |
The dangerous part is assuming one sign explains everything. A clogged filter may still reduce some chemicals. A normal-flow filter may already be chemically spent. That's why relying on only one symptom is lazy maintenance.
If taste, odor, appearance, or pressure changes, don't wait around hoping it fixes itself. Replace the filter if it's near schedule. If it's not near schedule and the problem appears suddenly, investigate the water source, the cartridge fit, and the filter type. The symptom is your cue to act, not your excuse to keep delaying.
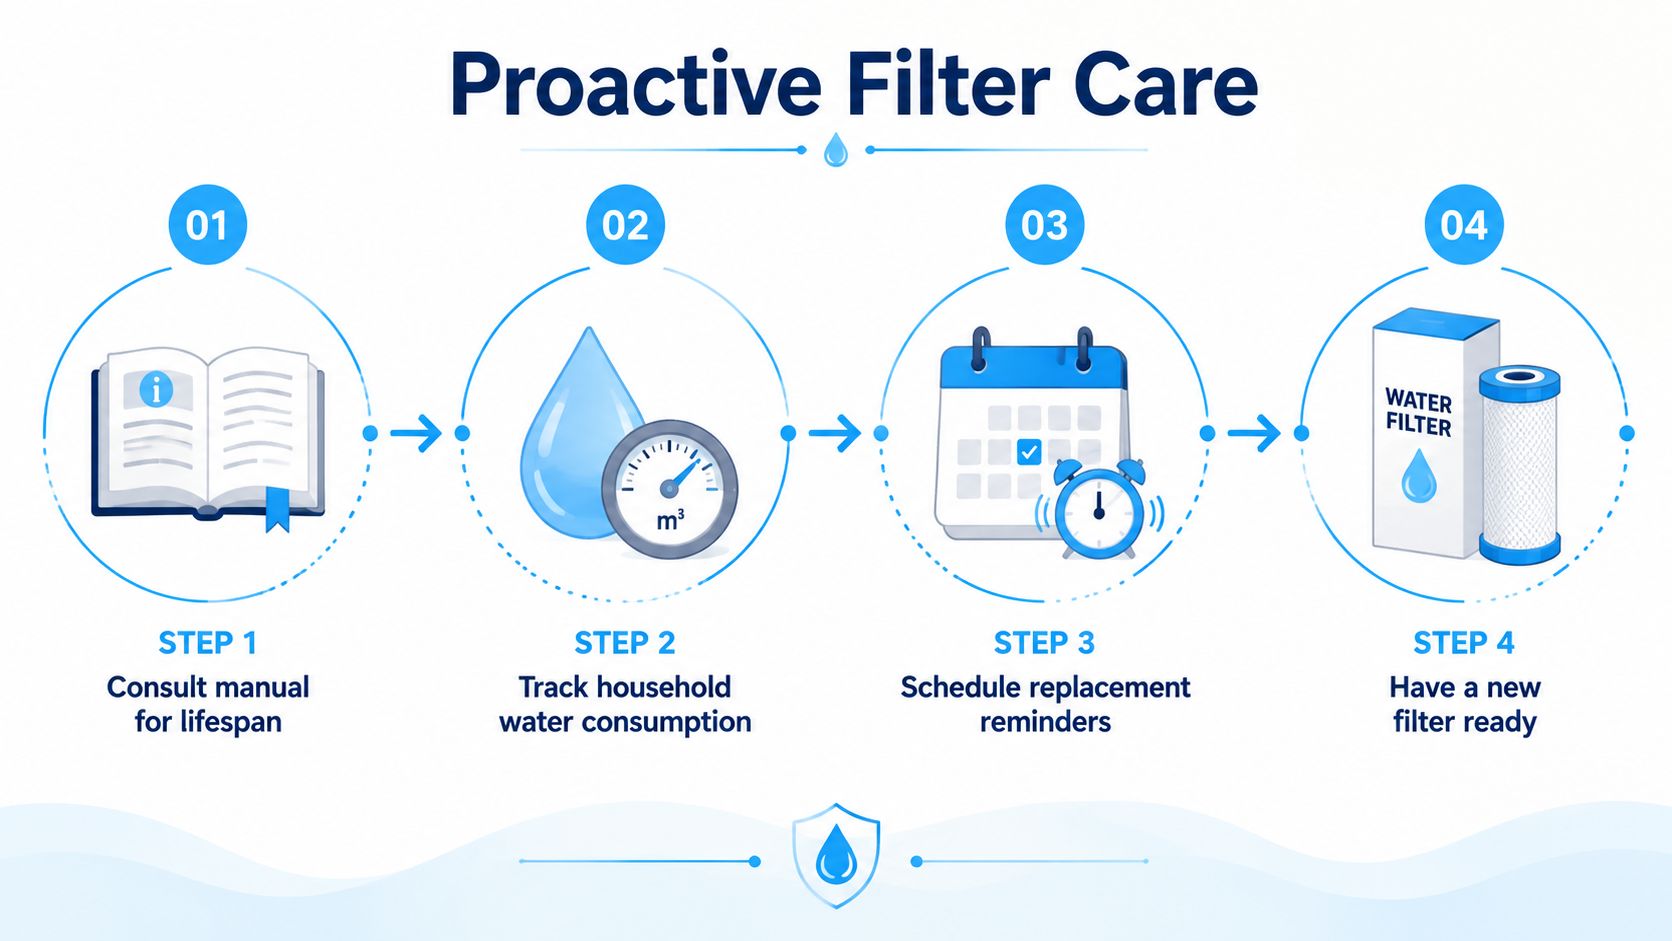
Reactive maintenance is what people do after the water tastes bad. Proactive maintenance is what people do when they'd rather not find out the hard way. The second group drinks better water and wastes less time.
A lot of homeowners with wells get handed the same lazy advice: change filters every 3 months and call it good. That shortcut can fail in both directions. According to Enpress on home water filter replacement schedules, a 2024 meta-analysis found that 38% of filters replaced every 3 months were still 70% effective, while 15% replaced at 6 months had already failed on key contaminants like arsenic.
That's why a blanket well-water schedule is bad advice. One well may load a sediment filter quickly. Another may need media chosen around a very different contaminant profile.
A useful maintenance plan doesn't need to be fancy. It needs to be consistent.
For homeowners who know they'll forget, these free maintenance log templates are a practical way to keep replacement dates, cartridge types, and notes in one place without building your own spreadsheet.
If you want a framework that works, use this order:
If you want more general homeowner maintenance guidance, this water filtration advice resource is a good place to compare maintenance habits across common system types.
Test when you can. Track what you do. Replace before problems become obvious.
That's how you stop playing filter roulette.
Homeowners usually lean too far in one direction. Some try to stretch every cartridge to save money. Others replace filters early out of anxiety. Neither approach is smart if your goal is clean water, predictable costs, and less waste.
Trying to squeeze extra life out of a used filter feels frugal right up until the water tastes awful, the flow drops, or a downstream component gets worked harder than it should. A replacement cartridge costs money. So does neglect.
The better move is to buy intelligently and replace on schedule. If your system uses common cartridges, buying a multi-pack often makes planning easier. Auto-ship can help too, but only if the timing matches your actual household use. Otherwise you'll either overstock or replace too early out of guilt because the new filter is sitting there staring at you.
People love visible proof. If water looks clear, they assume the system is fine. That's comforting and wrong. Safety depends on whether the filter media is still capable of doing the job it was installed to do.
Use a simple hierarchy:
That order saves more headaches than any hack.
Disposable cartridges create waste. That's true. But reckless overextension isn't an environmental strategy. It's just poor maintenance with a green excuse attached. A better approach is to choose systems with sensible cartridge life, keep records so you don't replace too early, and check whether your brand offers a recycling option for used filters.
The greener homeowner isn't the one who ignores replacement dates. It's the one who buys the right system, uses it correctly, and doesn't burn through cartridges because of disorganization.
Water filtration is part of a bigger home-protection mindset. The homeowners who manage water systems well usually manage the rest of the house the same way. They don't wait for obvious failure. They use routines, logs, and preventive maintenance. That broader mindset shows up well in HomeProBadge's approach to home protection, especially if you're trying to build a more disciplined maintenance routine across the whole property.
The cheapest filter is the one you replace on time, not the one you run past its useful life.
The right long-term strategy is simple. Follow the baseline schedule. Adjust for your water and usage. Watch for warning signs. Test when needed. Keep records. That's how you balance cost, safety, and waste without fooling yourself on any of the three.
If you want straightforward help choosing replacement schedules, comparing filter types, or figuring out what your water needs, visit Water Filter Advisor. It's a solid starting point for homeowners who want cleaner water without the marketing fluff.

Think of your whole house water filter as the unsung hero of your home, the silent guardian of your pipes, appliances, and every drop of water your family uses. To keep this champion fighting fit, a little routine maintenance is non-negotiable. This isn't just about swapping a cartridge; it's about protecting your investment and ensuring the water flowing from your taps is as pure and refreshing as it gets.
It's tempting to fall into the "set it and forget it" trap. The filter is installed, the water tastes great—mission accomplished, right? Wrong. That mindset is a one-way ticket to a world of watery woes, problems that go way beyond a slight dip in quality. Think of maintenance not as a chore, but as the secret to unlocking your filter's full potential.
When you let a filter go for too long, it gets completely clogged with all the gunk it was designed to trap. This is where the trouble begins, unleashing a cascade of issues that can impact your health, your home, and your wallet.
An old, saturated filter doesn't just stop working; it can become a villain in its own story. It can transform into a breeding ground for bacteria and slimy biofilm. All that trapped organic matter becomes a five-star buffet for microorganisms. Eventually, the filter can release this concentrated sludge back into your water, making what comes out of your tap potentially worse than the unfiltered water you started with.
On top of that, a maxed-out filter loses its power to absorb chemicals like chlorine. You'll start noticing that familiar swimming-pool smell creeping back in, and that dry, itchy feeling on your skin and hair after a shower will return with a vengeance.
A clogged filter sends shockwaves through your entire plumbing system. The first sign of trouble is usually a dramatic drop in water pressure. Your invigorating shower becomes a pathetic trickle, faucets dwindle to a dribble, and appliances gasp for water.
This sluggish flow puts a serious strain on your water-dependent appliances:
Keeping up with filter maintenance is more than a water quality issue. It's a fundamental part of home protection, preventing the catastrophic (and expensive) damage that can occur if a filter housing cracks or a connection fails under pressure.
To help you stay on track, here's a quick-glance guide to a typical maintenance schedule.
This table gives you a general idea of how often to service different parts of your system. Remember, if your water is particularly hard or has a lot of sediment, you'll need to be more vigilant.
| Filter Component | Maintenance Task | Standard Frequency | Frequency in High-Use or Hard Water Areas |
|---|---|---|---|
| Sediment Pre-Filter | Replace Cartridge | Every 3-6 months | Every 1-3 months |
| Carbon Block Filter | Replace Cartridge | Every 6-12 months | Every 4-6 months |
| UV Sterilizer | Replace UV Lamp | Every 12 months | Every 9-12 months |
| Filter Housings | Clean & Sanitize | Annually | Every 6 months |
| Pressure Gauges | Check Readings | Monthly | Weekly |
Sticking to a schedule like this transforms maintenance from a frantic reaction into a proactive, money-saving superpower.
The numbers don't lie: consistent whole house water filter maintenance is a financially savvy decision. The household water purifier market is exploding, expected to grow by a massive USD 2,102.2 million between 2025 and 2029. Here in the US, where these systems make up 25% of the residential market, homeowners who properly maintain their units slash their long-term costs by around 30% over five years. That means avoiding $500-$1,000 in premature replacement fees.
Ultimately, viewing maintenance as a planned investment is the smartest play. It guarantees your system delivers clean, safe water day in and day out, protects your expensive appliances, and keeps your home's water flowing smoothly for years to come.
Let's be real: thinking about whole house water filter maintenance can feel like a chore you'd rather put off. But it doesn't have to be a massive, once-a-year headache. The secret to keeping your system running like a dream is to break the job down into smaller, bite-sized pieces.
Think of it like tending a garden or prepping your house for winter. A simple seasonal routine turns a daunting task into a quick, easy checklist. This approach helps you spot the little whispers of trouble—a tiny drip or a slight pressure drop—before they become a full-blown scream for your plumber.
Every three months, carve out ten minutes for a quick inspection. This is your first line of defense and the easiest way to catch problems when they're small and harmless.
This simple 90-day check-in is the cornerstone of great whole house water filter maintenance. It costs you almost no time but reveals a ton about your system's health.
Pro Tip: Keep a small dry-erase board or a dedicated notebook near your filter system. Every quarter, jot down the date and the pressure readings. This simple log makes it incredibly easy to spot a gradual pressure drop you might otherwise miss.
Twice a year, typically in spring and fall, it's time to roll up your sleeves and dig a little deeper. This is when you'll tackle the important tasks that prevent bacteria from moving in and get your system ready for the season ahead.
The main event is sanitizing the system. Biofilm—a fancy name for a slimy layer of bacteria—can accumulate inside the filter housings, especially if you're on well water. A quick sanitizing cycle with a bit of unscented household bleach or a purpose-made solution flushes out all that gunk, keeping your water safe and fresh.
While you're at it, give the outside of the filter housings a good wipe-down. This isn't just for looks; cleaning off dust and grime can reveal hairline cracks or other signs of wear that you need to address.
This is the big one. Once a year, you'll replace your main filter cartridges and give the entire system a fresh start. For most homes, a carbon filter is good for about 6-12 months, so planning for an annual swap is a brilliant move.
Here's your yearly game plan:
By breaking down your whole house water filter maintenance into this easy seasonal rhythm, you transform a dreaded chore into a simple, satisfying routine. This not only guarantees cleaner, safer water but also helps your system last longer, saving you a fortune in the long run.
Changing the filter cartridge is the most critical and satisfying part of your maintenance routine. This is where the real magic happens—you’re swapping out a tired, gunked-up filter for a fresh one, instantly restoring your system to peak performance. Think of it less as a chore and more as hitting the reset button on your home's water quality.
Forget the confusing, generic instructions that came in the box. Let's walk through this the way a professional would, focusing on the small details that prevent leaks and guarantee you get the best filtration possible.
A little preparation is the difference between a breezy, five-minute job and a frustrating hour spent mopping up your utility room. The goal here is pure efficiency.
First, double-check that you have the right replacement cartridge. It sounds obvious, but you'd be amazed how many homeowners grab the wrong one. Look for the model number and dimensions (e.g., 10" x 4.5") on the filter housing or in your manual. Make sure the micron rating matches what you need, too.
A quick visual guide can help you see how this task fits into the bigger picture of your annual maintenance routine. It’s all about a simple, repeatable rhythm.
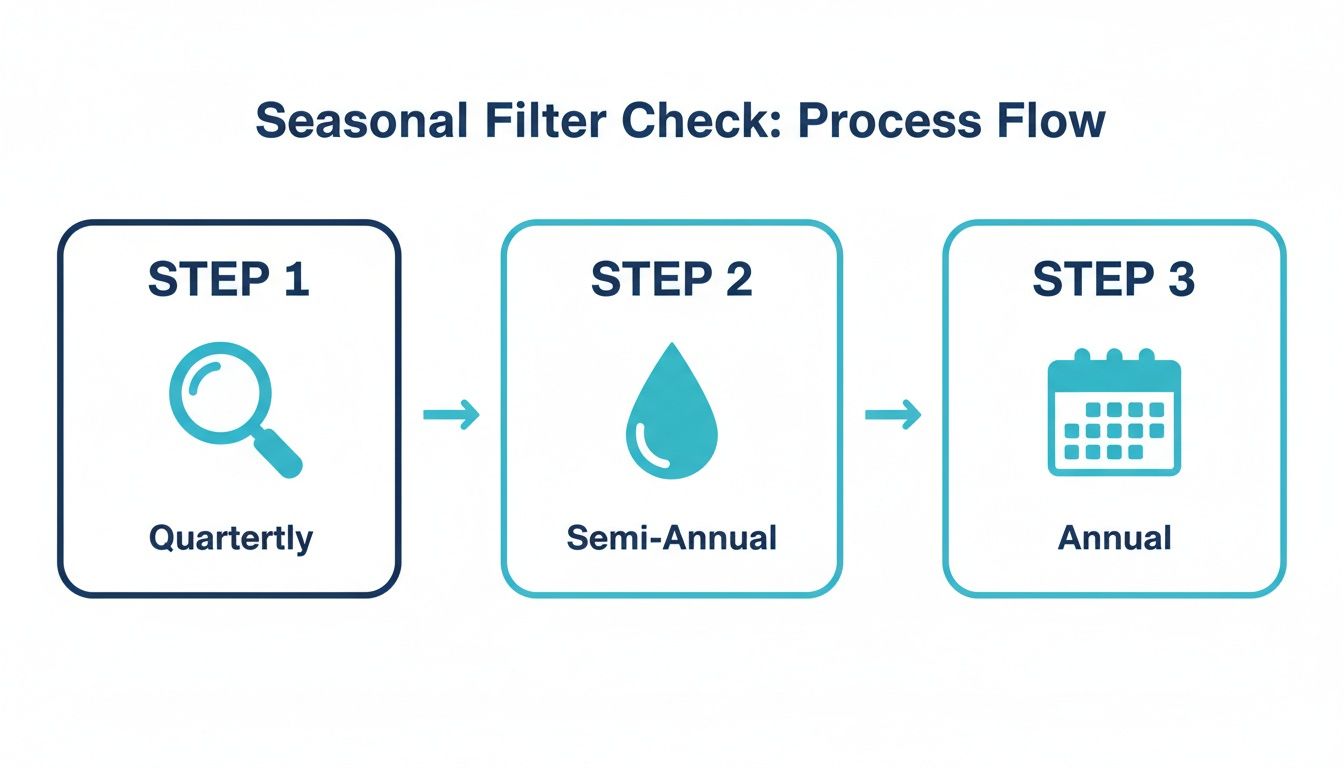
As you can see, regular checks lead up to the annual filter replacement, keeping your system in top shape year-round.
Nothing kills momentum like getting halfway through a job and realizing you're missing a key tool. Get your gear together before you start. It makes the whole process smoother.
| Item | Purpose | Pro Tip |
|---|---|---|
| Housing Wrench | Loosens and tightens the filter housing. | Use the wrench that came with your system. A generic one can easily strip the plastic. |
| Bucket | Catches water when you open the housing. | A standard 5-gallon bucket is perfect. It's tall enough to prevent splashes. |
| Old Towels | For managing the inevitable drips and spills. | Lay one down before you start. A dry workspace is a safe workspace. |
| Food-Grade Silicone Grease | Lubricates the O-ring for a perfect seal. | Do not use petroleum jelly! It will eat away at the rubber O-ring and cause leaks. |
| New Replacement Cartridge | The star of the show. | Keep it in the plastic wrap until the second you’re ready to pop it in. |
With these items at the ready, you're primed for a clean, hassle-free filter swap.
This is where most DIY jobs go sideways. You absolutely cannot just start wrenching on the housing while it’s holding back your home's full water pressure. You'll create a geyser in your utility room and find the housing is nearly impossible to turn.
You have to release the pressure first. It's simple.
Remember, that filter housing is engineered to withstand immense force. Taking a moment to properly depressurize it is the single most important step for a controlled, mess-free filter change. It turns a potential wrestling match into a simple twist.
Now that the pressure is off, grab your housing wrench and give the canister a turn to loosen it. Once it breaks free, you should be able to unscrew it the rest of the way by hand. Dump the old water and the used filter right into your bucket.
Before you pop in the new cartridge, take a moment to inspect the big rubber O-ring in the groove at the top of the housing. Carefully pull it out, wipe it clean, and clean out the groove itself. Then, apply a thin coat of food-grade silicone grease to the O-ring. This tiny step is your best defense against slow, annoying leaks.
Slide the new cartridge in, making sure it’s centered, and then hand-tighten the housing back on. Use the wrench for one last quarter-turn to snug it up—but don't go crazy. Overtightening can crack the housing.
Last step: the flush. This is crucial for carbon filters, which often release loose carbon "fines" (harmless black specks). Slowly turn the water supply back on. Go to a nearby faucet and let it run for 5-10 minutes until the water is perfectly clear.
That’s it. You've reset your system. Sticking to this routine is more than just good practice; it's a smart investment. Whole house water filter maintenance is a cornerstone of a rapidly growing residential water purifier market. In the US, where these systems have about 20% market penetration, properly maintained filters can avert 15% of certain gastrointestinal illnesses. This is because a neglected filter can harbor over 1 million bacteria per square centimeter after just six months. While annual maintenance costs average $200-$400, this proactive spending yields a 40% savings compared to the $1,500+ cost of a full system replacement. Discover more insights about the residential water purifier market.
Even a perfectly maintained whole-house water filter will hit a snag eventually. That’s just the nature of mechanical systems. But the good news is that most of the little headaches that pop up are surprisingly easy to diagnose and fix on your own.
Think of this as your troubleshooting field guide. Instead of panicking when something goes wrong, you’ll have a logical process to hunt down the culprit. We’ll walk through the most common issues, from pressure drops to pesky leaks, so you can tackle them with confidence.
This is the big one—the most common complaint from homeowners. You hop in the shower one morning, and the pressure has just vanished. Your first suspect is probably the filter, and you're often right, but it pays to confirm before you start taking things apart.
A clogged filter is almost always the prime suspect. As it traps sediment, it essentially becomes a dam, choking the flow of water to your house.
If your system has pressure gauges on both the inlet and outlet pipes, diagnosis is a breeze. A difference of 10-15 PSI or more between the two is a dead giveaway. That filter is saturated, and it's time for a change.
No gauges? No problem.
Running through this quick diagnostic can save you from changing a perfectly good filter or, worse, ignoring a more serious plumbing issue.
Nothing is more maddening than seeing a puddle forming under your filter housing. Luckily, the fix is usually simple and won't require a call to the plumber. The vast majority of these leaks come down to one thing: a faulty O-ring.
The O-ring is the large rubber gasket that creates a watertight seal between the filter housing and the filter head. If that ring is dry, dirty, nicked, or not seated correctly, water will find a way out.
Here’s your game plan:
A huge mistake people make is grabbing Vaseline or another petroleum jelly to lubricate the O-ring. Don't do it. Petroleum products will degrade the rubber, making it brittle and causing even worse leaks down the road. Stick with food-grade silicone grease.
If a clean, greased O-ring doesn't stop the drip, carefully inspect the plastic housing itself for any hairline cracks. They can be tough to spot, but if you find one, the whole housing will need to be replaced.
You bought the filter to banish that swimming pool smell and weird taste from your tap water. So when they suddenly return, it's a huge letdown. This is almost always a sign that your activated carbon filter has reached the end of its life.
Carbon filters work by adsorption, where contaminants literally stick to the massive internal surface area of the carbon. But that surface area is finite. Eventually, all the spots get filled up, and the filter can't grab any more chlorine or smelly compounds. It becomes an empty vessel, letting all the bad stuff pass right through.
There’s no magic fix here; the only solution is to replace the filter cartridge. If you notice the water quality taking a dive, that's your system screaming for a new carbon filter. Sticking to your whole house water filter maintenance schedule is the best way to prevent this and keep your water tasting great.
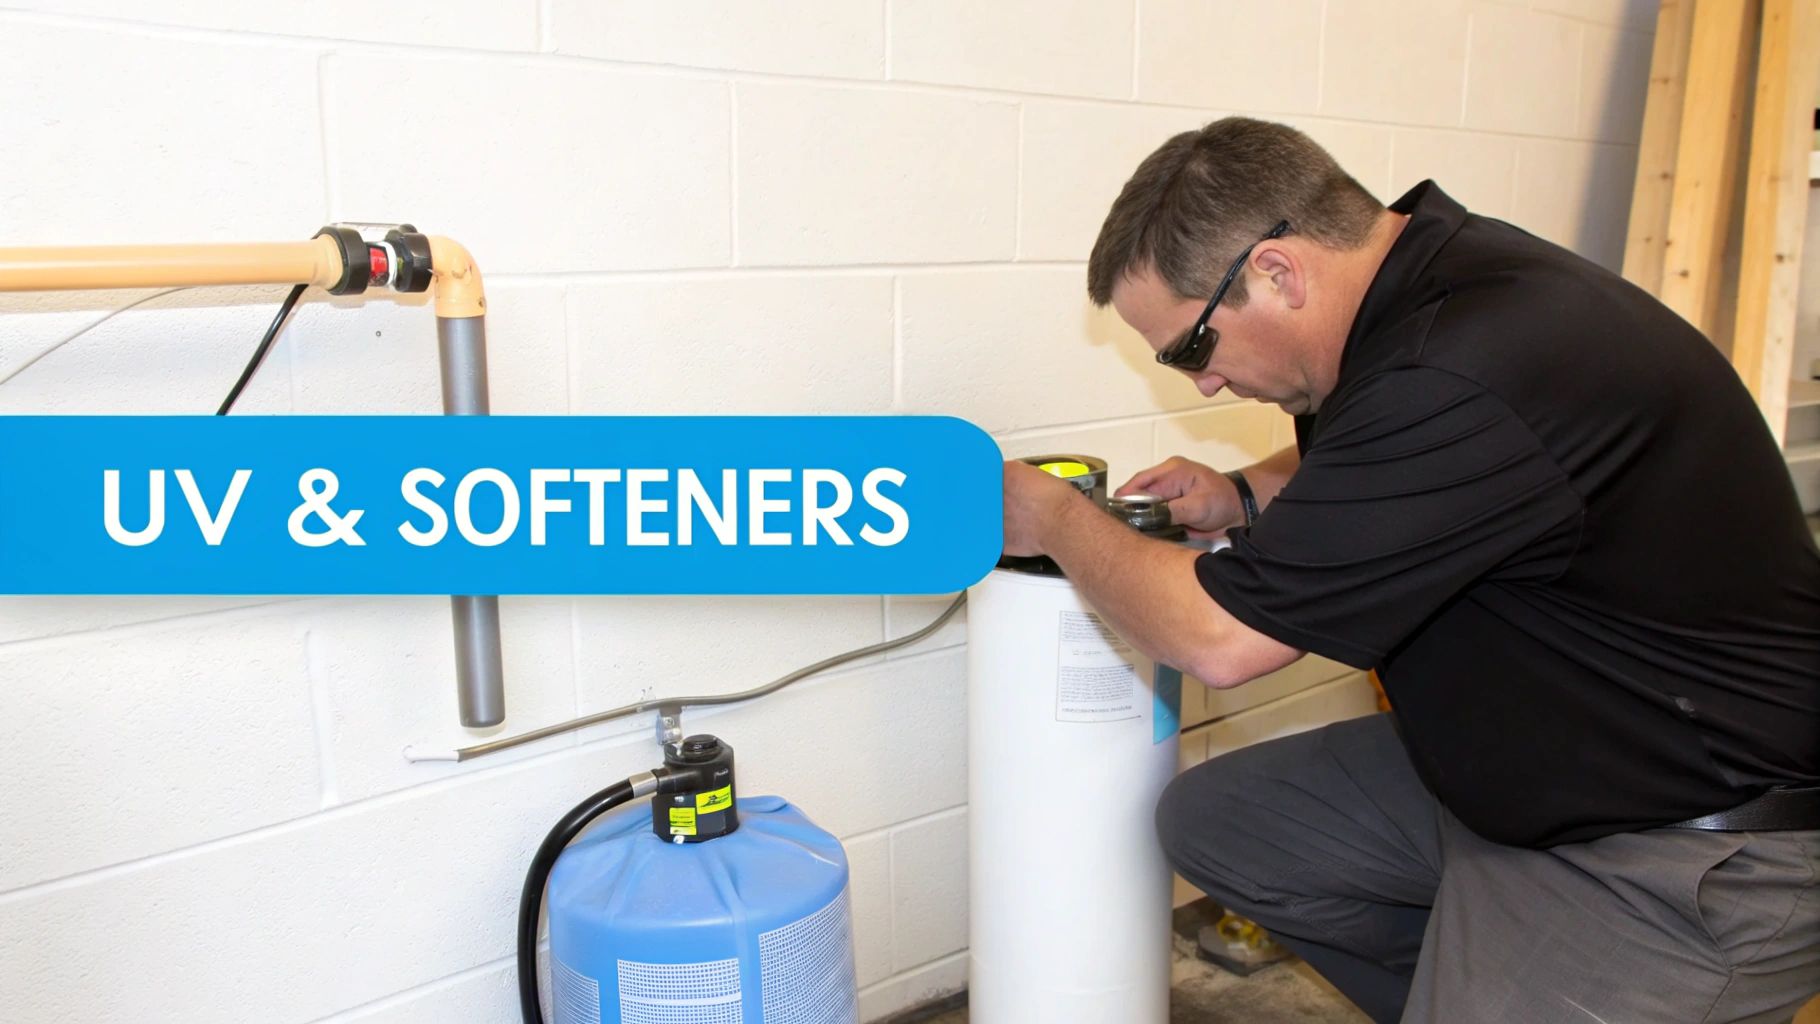
If your home's water treatment setup includes an ultraviolet (UV) purifier or a water softener, you've got some extra firepower. These components are fantastic, but they require their own specific maintenance to keep the entire system operating in harmony.
Ignoring them is like changing your car's oil but never checking the tire pressure—you're missing a critical piece of the puzzle. These advanced systems tackle specific problems, from neutralizing bacteria to fighting hard water scale, and a little upkeep goes a long way.
Think of your UV system as a microscopic security guard, using intense light to neutralize nasty bacteria, viruses, and cysts. But for it to work, that light has to be powerful and unobstructed.
The single most important task is the annual replacement of the UV lamp. The light might still be on after a year, but its germ-killing intensity plummets. It’s like a weak flashlight in the dark; you can see a little, but it’s not really doing the job.
Just as critical is the quartz sleeve—the clear glass tube that protects the lamp from the water. Over time, it gets coated with a film of minerals, blocking the UV light from reaching the water.
A water softener is your home’s best defense against scale buildup. It protects your pipes and appliances while making your skin and hair feel amazing. Luckily, its maintenance is pretty straightforward.
Your main job is keeping the brine tank topped up with salt. Check it once a month and make sure it’s at least half-full. Stick to high-quality salt pellets designed for softeners; cheaper options can cause clogs.
The bigger, though less frequent, task is dealing with a "salt bridge." This is a hard crust of salt that can form above the water level in the brine tank, preventing salt from dissolving and regenerating the system.
A salt bridge effectively starves your softener. If your water suddenly feels hard again after being soft for months, a salt bridge is almost always the culprit.
Fixing it is easy. Just take a broom handle and carefully break up the crust. This is also a great time to clean out the tank and check the system's injector (or venturi) for any clogs.
While you're thinking about your home's water systems, don't forget the heater. These essential hot water maintenance tips are just as important for keeping things running efficiently.
It's worth noting how critical this is. The North American water filtration market holds a 35% global share for a reason. Well-maintained systems can reduce lead by up to 99%, according to the EPA. Yet, surveys show only about 65% of owners replace their filters on schedule. For advanced gear, the stakes are higher. A UV lamp is only good for about 9,000 hours—that’s one year—and changing it on time is the only way to ensure 90% effectiveness and uptime.
Once you get the hang of your whole-house water filter, questions are bound to pop up. It’s one thing to follow a schedule, but it's another to really understand the "why" behind each task. Let's tackle some of the most common questions we hear from homeowners.
Getting these answers straight will empower you to manage your system with confidence, ensuring your whole house water filter maintenance routine is always on point.
This is probably the most critical part of the whole process. Your first stop should be the system's user manual—it will list the exact model number you need.
Can't find the manual? No worries. There's almost always a sticker or label on the filter housing itself with all the info. As a last resort, when you take the old filter out, just bring it with you to the hardware store for a side-by-side comparison.
You must match two key specs:
We get this one a lot, and the simple answer is almost always a hard no. The vast majority of sediment filters—especially the common spun polypropylene or pleated paper types—are strictly single-use. They are engineered to trap particles deep within their fibers.
Trying to wash them is a futile exercise. You'll likely damage the delicate filter media, and worse, you could dislodge all the trapped contaminants, sending them straight into your home's water. A quick rinse might briefly improve your water pressure, but the filter's ability to do its job is gone for good. Just replace it.
Think of a sediment filter like a disposable coffee filter. You wouldn’t try to rinse and reuse one because it's already done its job, and trying to clean it just makes a mess. The same logic applies here—a fresh filter is the only way to guarantee performance.
Putting off a filter change kicks off a chain reaction of problems. The first thing you'll notice is your water pressure taking a nosedive. As the filter clogs, your showers will feel weaker and your washing machine will take forever to fill.
More importantly, an old carbon filter completely loses its ability to remove chlorine and other chemicals. The bad tastes and smells you bought the filter to eliminate will come roaring back. A badly clogged sediment filter also puts a ton of extra strain on your home’s plumbing and appliances.
Worst-case scenario? A neglected filter can become a breeding ground for bacteria. All that trapped organic matter is a perfect food source, potentially making your water quality even worse than before you had a filter.
While most routine whole house water filter maintenance is a perfect DIY job, some situations call for a pro.
If you have a stubborn leak that a fresh, properly lubricated O-ring won't solve, you might be dealing with a tiny crack in the housing that needs an expert eye.
Additionally, if you have a complex setup with backwashing media tanks, UV purifiers, or integrated water softeners and feel out of your depth, calling in a pro for an annual check-up is a smart investment. Finally, if a standard filter change doesn't fix a major, sudden drop in your water quality, it’s time to call a plumber. They can diagnose bigger issues with your system or the water coming into your house. For more helpful insights, you can find a wealth of water filtration advice on our blog.
At Water Filter Advisor, we're committed to helping you achieve cleaner, safer water with confidence. Explore our in-depth guides and reviews to find the perfect solution for your home at https://www.waterfilteradvisor.com.
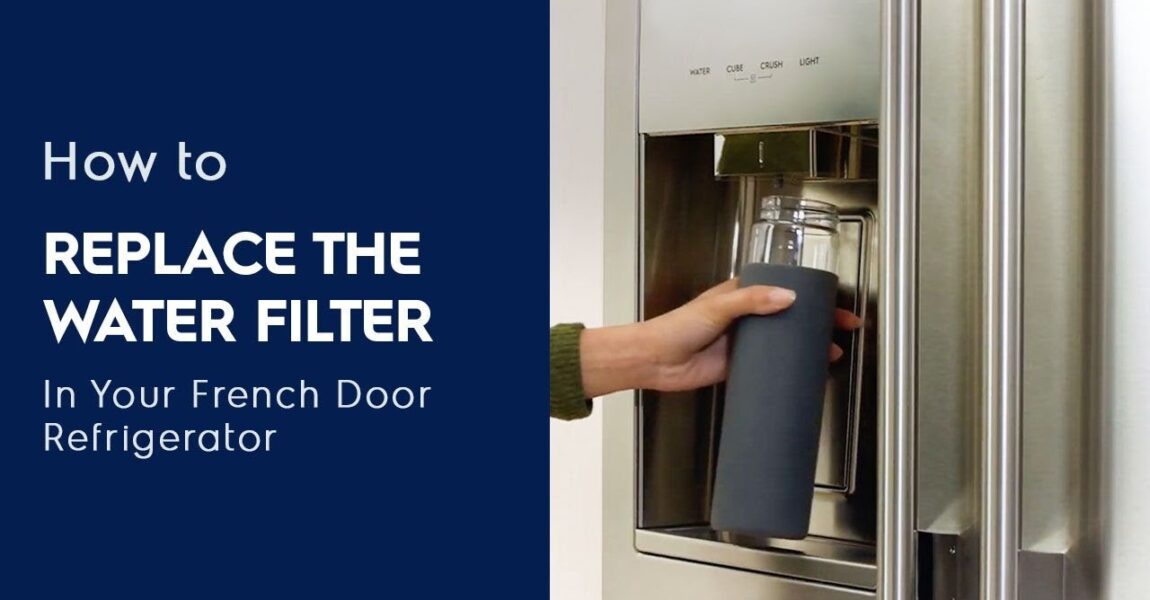
Learn in a few short steps how to remove and install the water filter in your Electrolux French Door Refrigerator. In no time, you’ll be enjoying refreshing, great-tasting water. Click here for more FAQs:
Subscribe:
Learn more about your Electrolux French Door Refrigerator here:
At Electrolux, we believe in better living for a better future, and we believe every change starts at home. That’s why we create appliances designed to make your life at home more effortless and sustainable. Subscribe for How To’s, Tips & Tricks, Appliance Walkthroughs, and more…and let’s take care of our future together.
Shop With Us Online:
Get In Touch Here:
Follow ElectroluxUS on Instagram:
Like ElectroluxUS on Facebook:
Explore More Design Inspiration on Pinterest:
#Electrolux #Refrigerator #WaterFilter #Appliances #HomeAppliances
Original Video Source
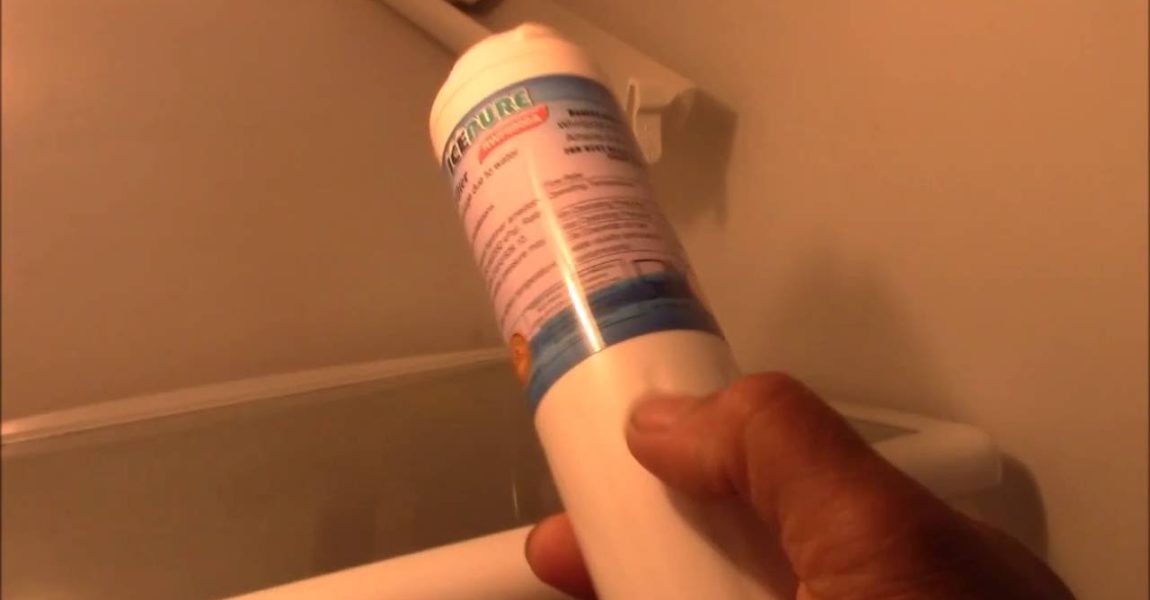
3 Pack – IcePure Water Filter to Replace Maytag, Amana, Kenmore, Jenn-Air, Whirlpool, Kitchenaid, UKF8001, UKF8001AXX, UKF-8001P, UKF9001, UKF9001AXX, 469006, 469992, 9005, 9006, 469030, 12527304, 4396395, WF295, WF50, SGF-M10
Refrigerator Water Filter
Original Video Source
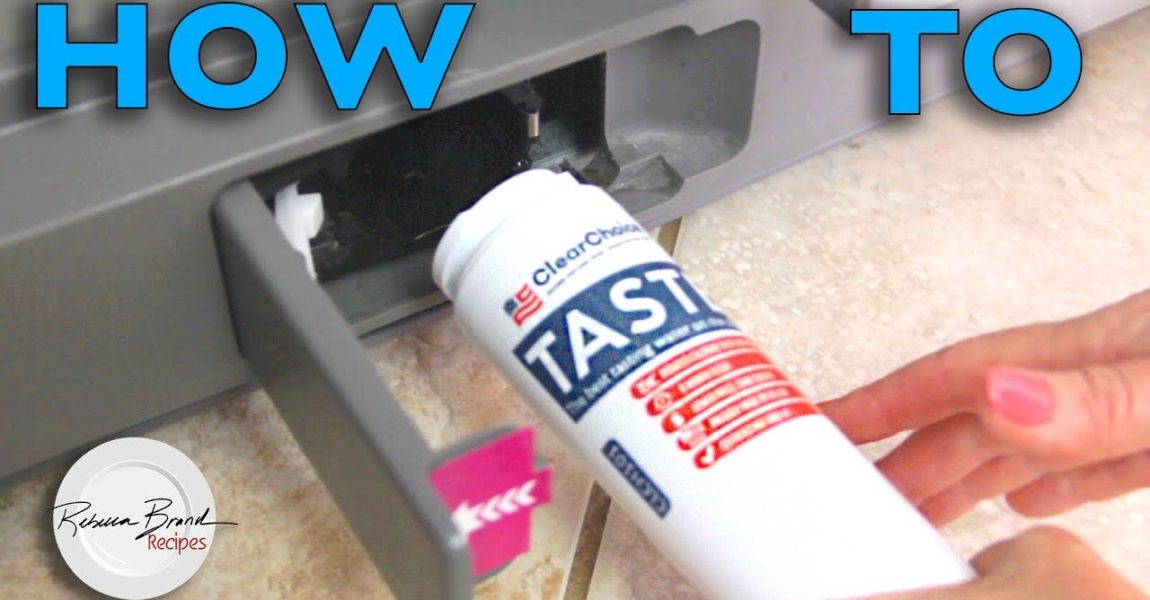
Rebecca Brand shows Refrigerator Water Filters – click How to Replace and Select This video will show you everything you need to know about water filters for your fridge. Specifically, you’ll learn how to install and where to get the top water filters in the market.
#RebeccaBrand #WaterFilters #ReplaceWaterFilter
Click: links to Amazon:
Youtube Tags:
water filter, water filtration, water filters, appliance repair, replace water filter samsung refrigerator, replace water filter whirlpool refrigerator, replace water filter kenmore refrigerator, replace water filter ge refrigerator, replace water filter, how to install water filter, how to install, ge refrigerator, samsung refrigerator, lg refrigerator, refrigerator water filter, appliances, refrigerators, appliance repair videos
Amazon:
Official Facebook Page:
Instagram:
Twitter:
LinkedIn:
Website:
FTC: Video sponsored by Clear Choice Filters, my opinions are honest, true and my own.
Original Video Source
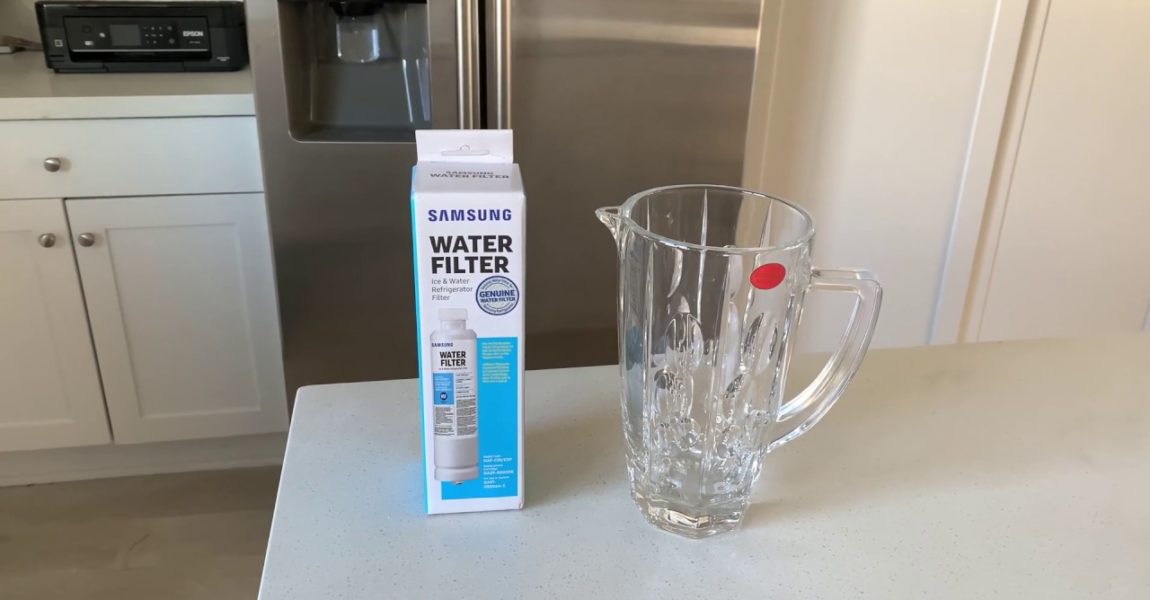
Here are is the genuine/official part to order on Amazon:
How to change the water filter in a Samsung Refrigerator. You may want to turn off the water supply to the fridge before removing the old water filter. NOTE: After installing the new filter, the instructions say to run the water for at least 6 gallons before drinking.
Make sure to like and subscribe!
Instagram:
TikTok:
Snapchat:
Other links:
Original Video Source
