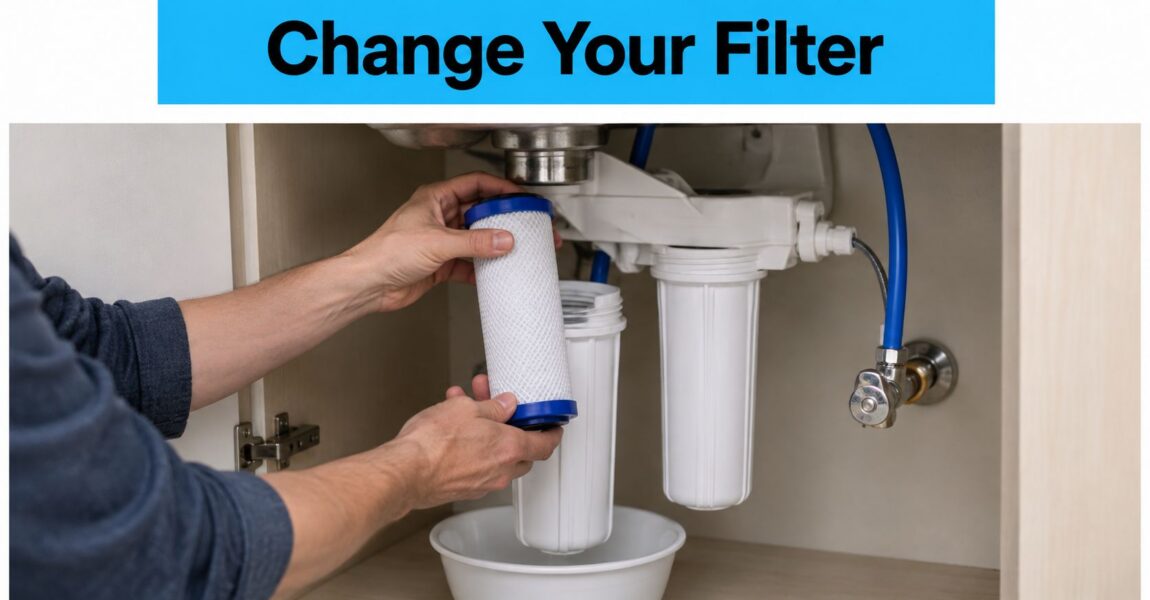
How to Change Under Sink Water Filter
You're filling a glass at the kitchen sink when you notice the filter reminder. The water still runs normally, and the replacement cartridge is waiting on the counter. Under the sink, though, the housing, tubing, and shutoff valves make the job look less obvious than the package suggests.
Learning how to change an under-sink water filter starts with a useful distinction: installing a new cartridge isn't the same as verifying that the system is ready to use. A careful change includes identifying the right replacement, controlling pressure, checking seals, and completing the required flushing.
Know When Your Filter Needs Replacing
A cartridge can reach its replacement deadline while your morning glass of water looks perfectly ordinary. Don't wait for an unpleasant taste or a frustrating trickle before checking its service limits.
The U.S. Environmental Protection Agency explains that cartridges wear out and become less effective with use. Follow the manufacturer's replacement time or gallon limit, and record the installation date or cumulative usage if your system has no indicator, as outlined in EPA's water-filter maintenance guidance.
Read the replacement decision correctly
Start with the cartridge label and system manual rather than judging the old filter by its appearance.
- Calendar limit: Check when the installed cartridge went into service and when the manufacturer requires replacement.
- Rated capacity: Review the cartridge's treated-water allowance and any available usage record.
- Condition: Investigate diminished flow or another abnormal condition rather than assuming the calendar alone determines maintenance.
- Replacement indicator: Follow the model's instructions for interpreting its light, display, or other reminder.
For example, a homeowner who mainly uses filtered water for drinking may have a different usage pattern from someone who also fills cooking pots through the dedicated faucet. Neither should borrow the other household's replacement schedule.
Practical rule: Use the manufacturer's service limits, not the appearance of the water, to decide whether a cartridge is overdue.
Also check what you're replacing it with. A cartridge that fits inside the housing isn't automatically equivalent to the original. Its intended application and contaminant-reduction claims matter, too.
Treat the work as a controlled maintenance procedure, not a race to unscrew the old cartridge. The details that aren't visible from above the sink deserve just as much attention as the replacement itself.
Prepare the Filter and Work Area
Before moving anything, find the exact system model and replacement cartridge designation. Compare the replacement packaging with the system's approved-cartridge information, not just with the shape of the old cartridge.
Certification needs the same attention. NSF/ANSI 53 addresses specific health-related contaminant reductions, including certified lead reduction, while NSF/ANSI 42 addresses aesthetic reductions such as chlorine, taste, and odor. Verify the particular claim rather than assuming a certification covers everything, following EPA's cartridge compatibility and installation guidance.
Use this preparation checklist before opening the system.
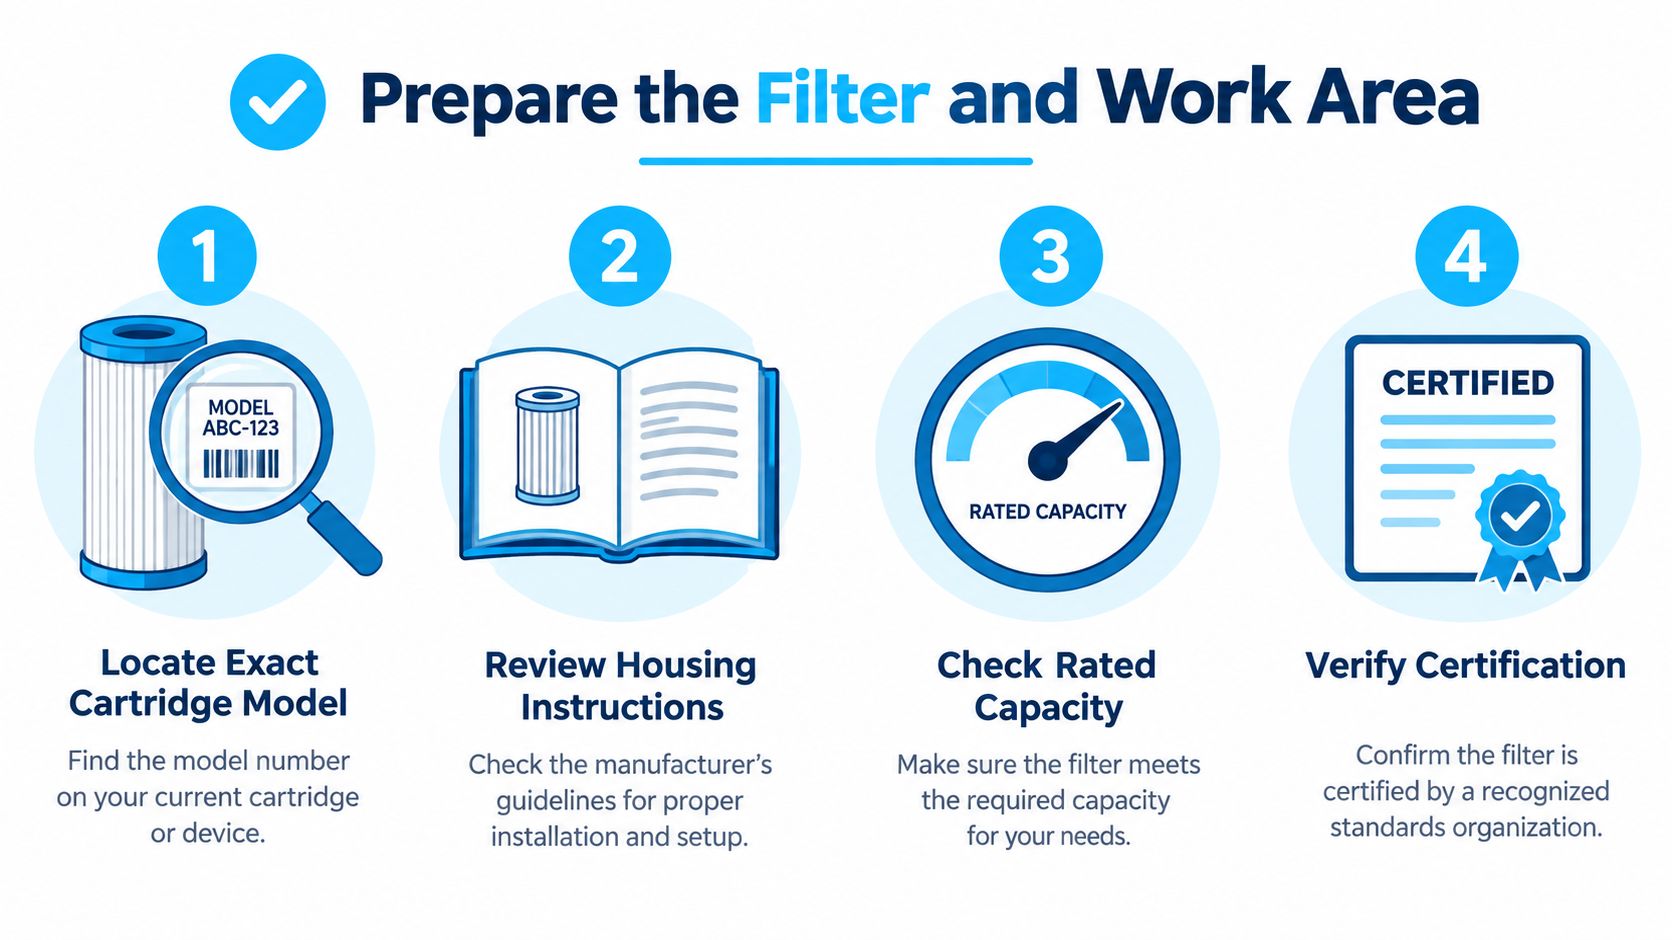
Set up a clean working space
Move stored items out of the cabinet and leave enough clearance to lower the housing without pulling on attached tubing. Keep the filter's supply valve accessible throughout the job.
- Protect the cabinet: Place a towel and shallow container beneath the filter to catch residual water.
- Gather the correct tool: Have the manufacturer-supplied housing wrench ready if your model requires one.
- Keep replacement parts clean: Leave the new cartridge protected until you're ready to install it.
- Check the instructions: Identify any model-specific cleaning supplies, replacement seals, priming requirements, and indicator-reset procedure.
Wear gloves during the change and wash your hands afterward. The CDC's filter-maintenance recommendations explain that poorly maintained filters can support germ growth and advise people with weakened immune systems not to change cartridges themselves.
Don't improvise when the housing has unfamiliar fittings, an electronic component, or a release mechanism you haven't used before. Read the relevant instructions while everything is still intact.
Keep this a cold-water procedure. Don't use hot water to rinse through or speed up preparation of a cold-water cartridge; EPA's home water-treatment guidance emphasizes avoiding hot water, particularly when lead reduction is involved.
Shut Down and Depressurize the Housing
Shut off the water feeding the filter before loosening anything. Then release the pressure that remains inside the system.
Look carefully at the plumbing. A braided line disappearing behind the filter might serve the kitchen faucet rather than the filtration unit. Trace the filter's inlet connection to its supply valve instead of choosing whichever handle is easiest to reach.
Follow the water path
- Close the filter supply: Turn off the cold-water valve serving the filtration system according to its instructions.
- Open the filtered-water faucet: Allow the remaining water to discharge and relieve pressure.
- Position the catch container: Keep it directly beneath the housing you'll open.
- Confirm the expected shutdown: Make sure flow has stopped before attempting removal.
This is the basic pressure-control sequence.
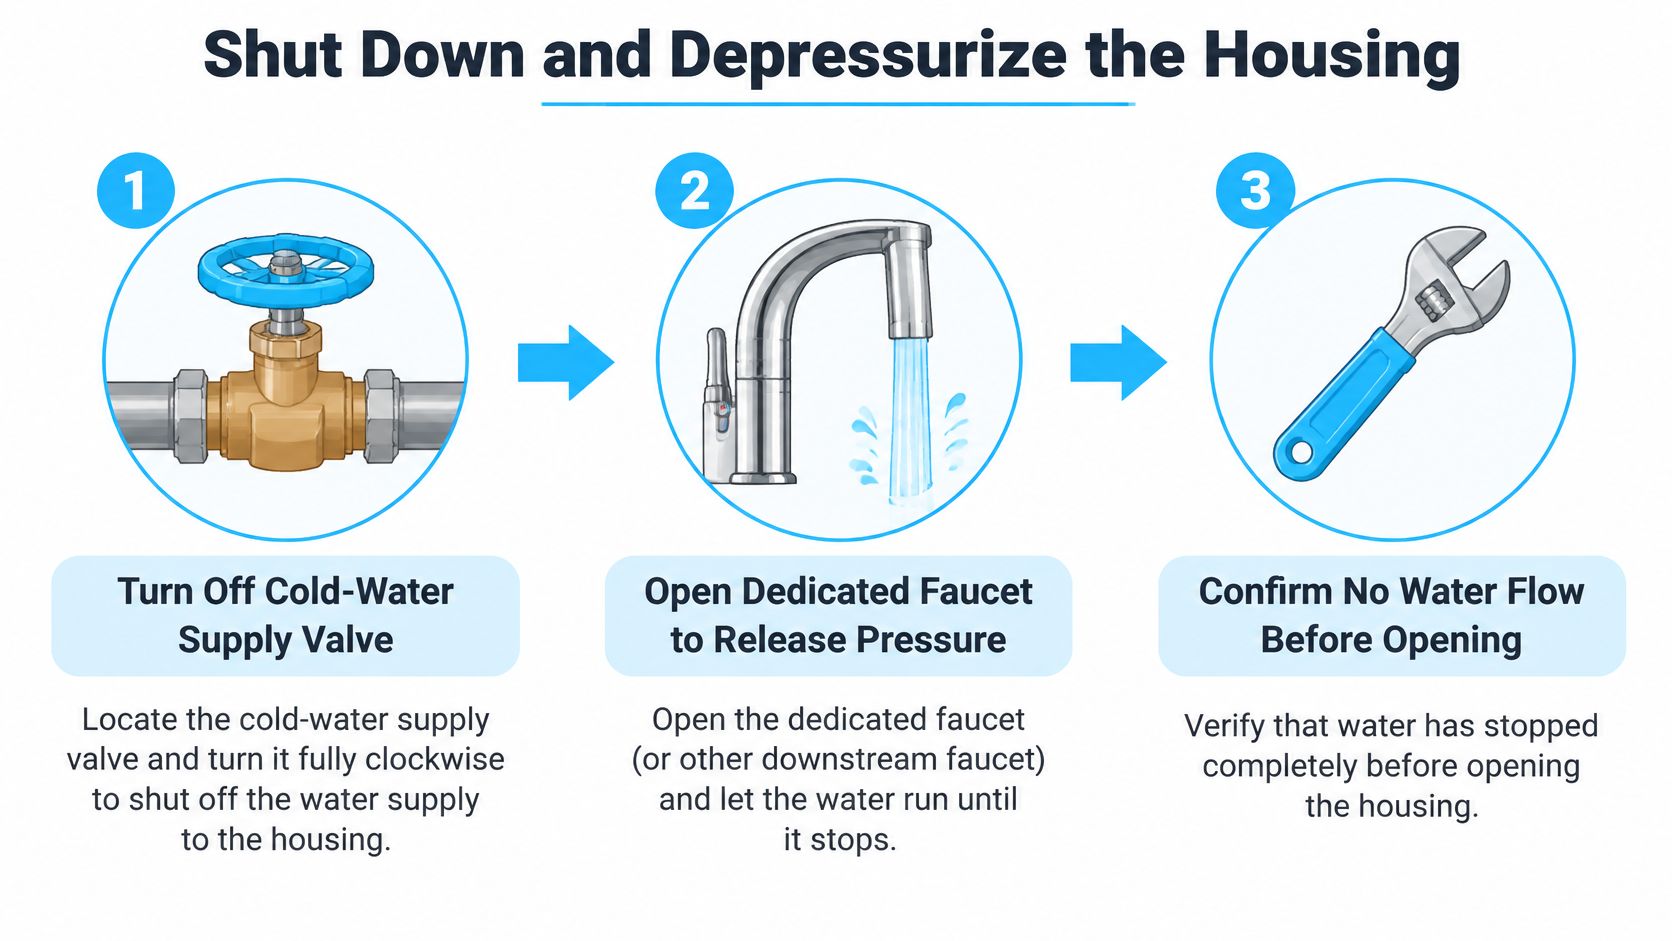
Opening the dedicated faucet gives trapped pressure a controlled outlet. Trying to loosen a pressurized housing instead can turn an orderly cartridge change into an uncontrolled release of water.
Use the filter's designated supply control for routine servicing rather than starting with the household's main shutoff. If you can't confidently identify the correct valve, pause and consult the system instructions or get qualified help.
A housing wrench is a removal tool, not a substitute for releasing water pressure.
Some systems need additional shutdown actions, so a generic sequence can't override the manual. Don't assume the system is depressurized just because you've turned a handle.
If water continues flowing in a way the instructions don't explain, leave the housing closed. Resolve the supply isolation first. Once shutdown is confirmed, you can remove the cartridge, inspect the components, install the replacement, and restore pressure under control.
Remove and Install the New Cartridge
Keep the catch container beneath the assembly as you begin. Even after pressure has been released, residual water can remain in the housing.
The image illustrates the controlled removal you're aiming for, with space beneath the cartridge to catch water.
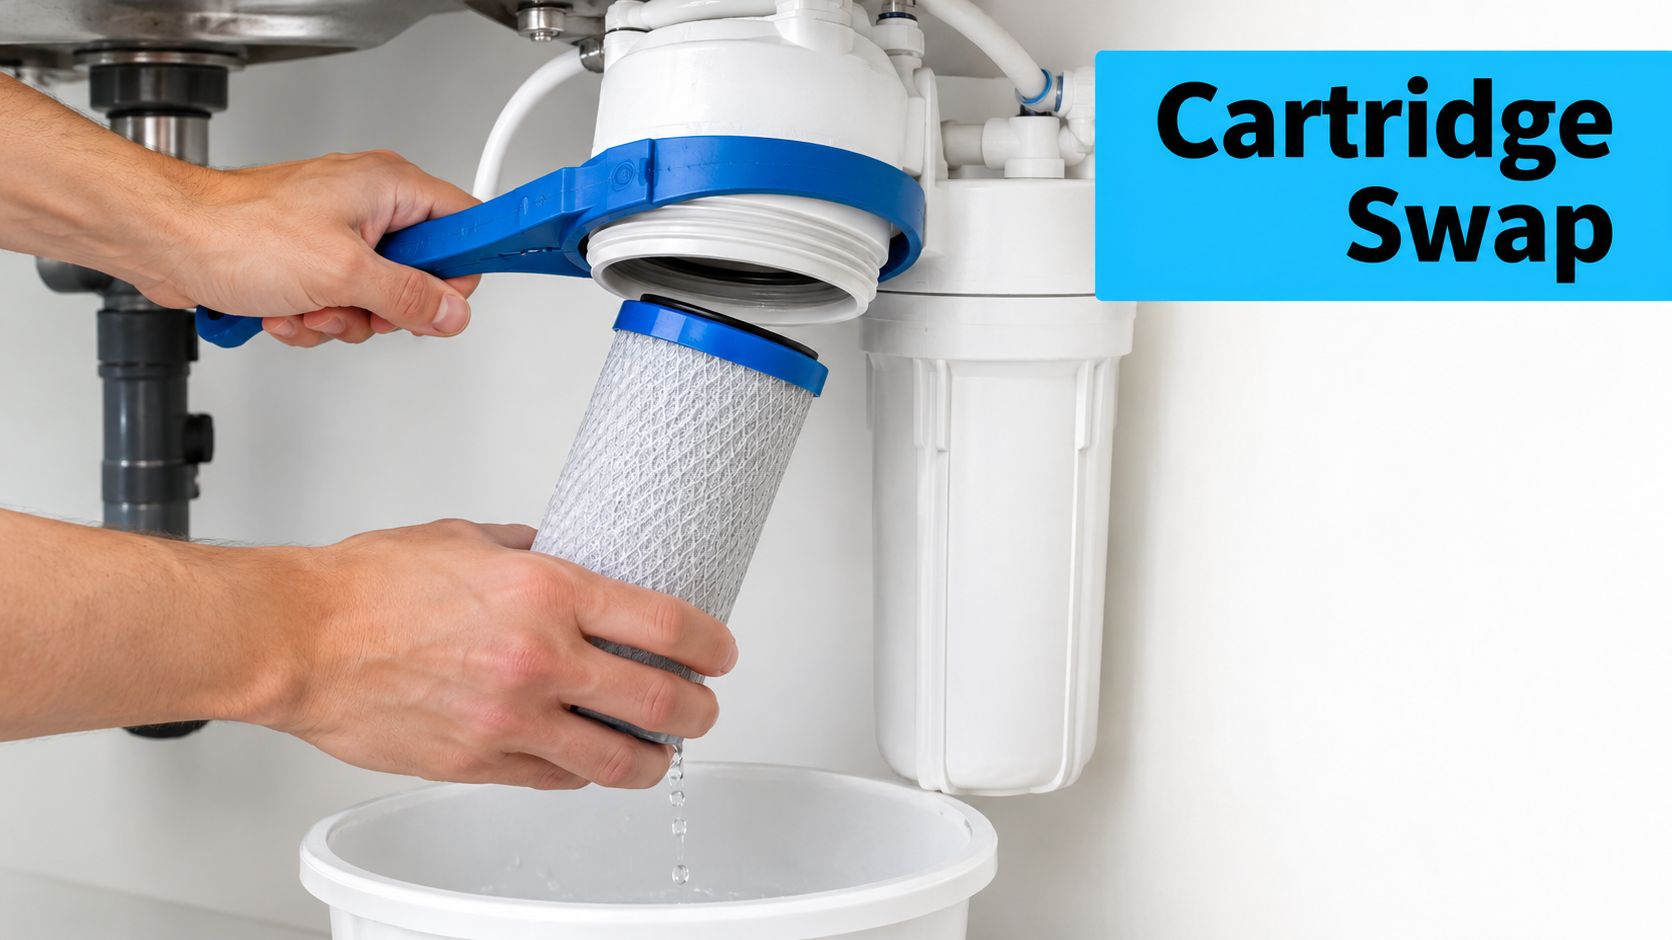
For a canister-style unit, use the supplied wrench as directed to loosen the sump, the removable lower housing. Support it as it comes free, then ease out the spent cartridge without splashing its contents over the new parts.
Inspect before reassembly
Examine the housing, threads, sealing surfaces, and O-ring. Look for sediment, cuts, flattened areas, distortion, or anything that prevents the seal from sitting correctly.
- Clean only as directed: Use the manufacturer's housing-cleaning procedure, including disinfection if specified.
- Check the seal: Reseat a serviceable O-ring correctly or replace it when required.
- Avoid improvised chemicals: Don't add solvents or lubricants unless the manufacturer approves them.
- Confirm orientation: Position the cartridge exactly as the model requires.
An O-ring that's damaged or displaced needs attention before you close the housing. Extra tightening isn't a repair for a bad seal.
| Housing style | Removal emphasis | Reassembly emphasis |
|---|---|---|
| Quick-change | Use the specified release action | Confirm complete engagement |
| Twist-and-lock | Follow the indicated unlocking motion | Match the prescribed locking position |
| Canister | Support the sump while loosening it | Seat the cartridge and separate seal correctly |
These are broad descriptions, not interchangeable removal instructions. A cartridge that looks similar may use a different release arrangement.
Install the replacement, then hand-tighten the sump where the manual specifies that approach. Apply additional tightening only to the prescribed amount. Don't force threads or use the wrench to compensate for parts that aren't aligned.
For a visual companion, use this video alongside, rather than instead of, your model's instructions.
Before reopening the supply, check that the housing is properly assembled and your hands and tools are clear. Restore pressure gradually while watching the assembly, rather than opening the valve and immediately leaving the cabinet.
Adapt the Method to Your Housing
The filter under your sink may not resemble a large screw-off canister. Don't let a familiar-looking replacement cartridge persuade you to use an unfamiliar removal motion.
Housing names are useful descriptions, not a universal instruction set. Quick-change and twist-and-lock designs can overlap in how manufacturers describe them, so identify the actual release mechanism in your manual.
Under Sink Housing Methods at a Glance
| Housing Type | Identifying Feature | Removal Focus | Installation Check |
|---|---|---|---|
| Quick-change | Replaceable cartridge connected to a head or receiver | Confirm whether the model requires a release, pull, or turn | Verify that the cartridge is fully engaged |
| Twist-and-lock | Cartridge with a defined locking motion or alignment position | Check the specified rotation and release position | Confirm the correct final orientation |
| Canister | Reusable sump containing a separate cartridge | Use the approved housing tool and support the sump | Inspect the separate O-ring and cartridge seating |
The shared maintenance checks still apply. What changes is how you disengage the cartridge, reach the seals, and confirm that the replacement has locked or seated correctly.
If the assembly differs from these examples, stop before applying force. For broader context on the plumbing arrangement, consult this under-sink water-filter installation guide alongside the manufacturer's documentation.
Check the model-specific finishing requirements
Before treating the change as complete, identify what your particular system requires after installation.
- Priming procedure: Determine whether preparation happens before insertion, after installation, or both.
- Service reminder: Locate the reset procedure if the system has an electronic indicator.
- Old-cartridge handling: Check whether the manufacturer offers disposal or return instructions.
- Maintenance record: Keep the cartridge designation with your installation log so the next replacement is easier to identify.
Don't assume a cartridge is fully installed merely because it stays in place. Use the model's specified engagement check, then complete startup verification.
The NSF guidance on choosing home water treatment reinforces the importance of matching treatment claims and maintaining the intended system. Changing housing styles doesn't remove that responsibility.
Flush Restart and Finish the Change
A dry cabinet immediately after assembly is encouraging, but it doesn't mean the cartridge is ready to supply drinking water. Pressure testing and flushing are separate checks, and both need attention.
Reopen the supply slowly and watch every accessible housing joint and tubing connection as pressure returns. If water escapes, shut the supply off again and depressurize before correcting the problem.
Use this finishing checklist while the system is still accessible.
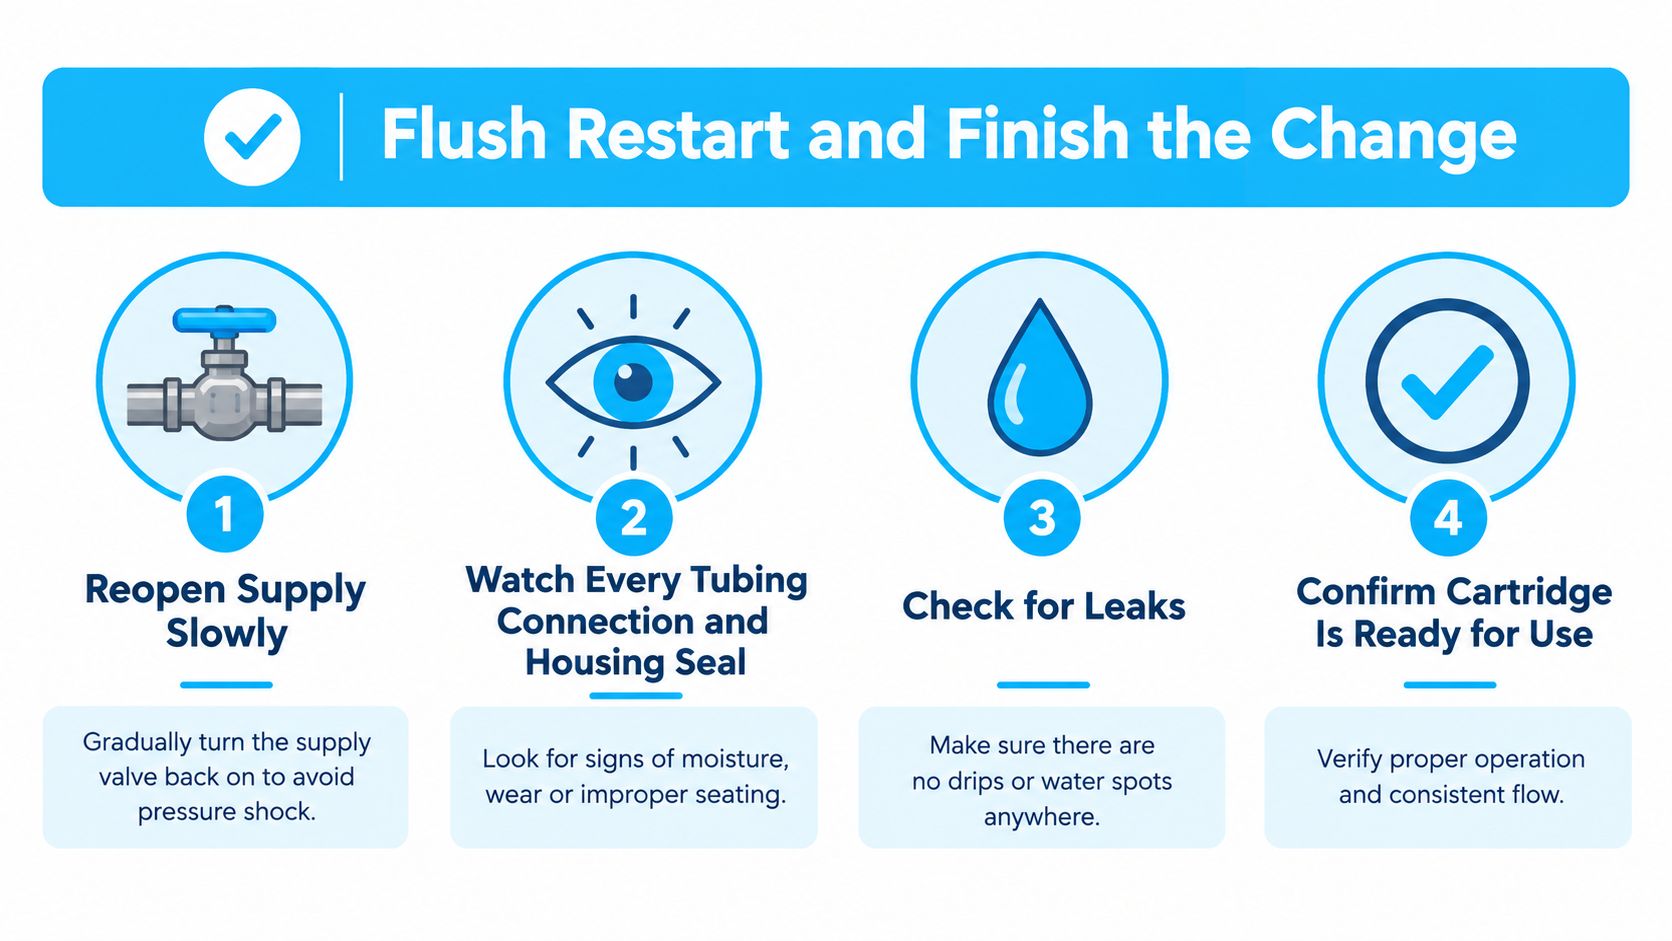
Flush according to the cartridge instructions
Many cartridges require soaking or flushing before normal use to remove loose manufacturing particles and trapped air. The required duration or volume depends on the cartridge, so follow EPA's filter-installation guidance and your model's specific procedure rather than borrowing a flushing time from another system.
Don't drink the first water because it looks clear. Equally, initial cloudiness or black specks from a carbon cartridge don't automatically mean the replacement has failed; the distinction is whether the condition clears during the prescribed startup process.
Ready for use means verified: Complete the required priming, check the pressurized assembly, and investigate anything that remains abnormal.
Close out the maintenance task
- Inspect again: Look at the housing seam and tubing connections after the required flush.
- Handle the old cartridge responsibly: Ask the manufacturer or a local program whether an appropriate recycling route exists; otherwise follow applicable disposal guidance.
- Record the change: Note the installation date, cartridge model, and relevant capacity information.
- Reset the reminder: Follow the electronic indicator's instructions, then set the next maintenance reminder.
Don't reset an indicator early just to clear an annoying light. Link that action to the completed replacement so the reminder remains useful.
Leave the cabinet accessible until you're satisfied that the system is behaving normally. If flow, appearance, or leak behavior remains unusual, treat that as unfinished maintenance rather than putting the cleaning supplies back and hoping it settles down.
Troubleshoot Common Replacement Problems
The most useful troubleshooting question is what changed, and where? Separate water appearance, external leakage, flow, and taste instead of treating every symptom as proof of a defective cartridge.
Cloudy water or black particles persist
During initial flushing, trapped air or loose carbon fines can explain cloudiness or dark specks. Continue only within the manufacturer's prescribed startup procedure, and keep that water out of drinking and cooking use.
If particles or cloudiness persist beyond the expected flush, stop using the filtered faucet and consult the model's troubleshooting guidance. Confirm the cartridge designation and preparation procedure rather than extending flushing indefinitely.
Water appears outside the system
A wet housing seam calls for shutdown, pressure relief, and inspection of the sump seating, O-ring, and sealing surfaces. Water near a tubing connection requires a separate check of that connection under the manufacturer's instructions.
- At the sump: Look for a displaced seal, debris, damaged components, or incorrect assembly.
- At a fitting: Verify the connection using the model-specific procedure rather than randomly tightening nearby parts.
- After another attempt: If leakage returns, keep the system off and seek qualified service.
For help organizing that diagnosis, use this water-filter leak troubleshooting guide. Never loosen a housing or disconnect tubing while the system remains pressurized.
Flow stays weak
Low flow doesn't automatically mean the new cartridge is exhausted or defective. Check whether the supply valve has been returned to its proper operating position, then review cartridge seating and seal placement.
Sediment or another system component can also be involved. On systems with a membrane, don't assume replacing a separate cartridge resolves every flow restriction; follow the troubleshooting sequence for the actual assembly.
Don't take unfamiliar components apart merely to see whether flow improves. If the straightforward checks don't explain the problem, get model-specific help.
Taste seems wrong, or everything seems normal
Persistent taste or odor deserves investigation, but neither can confirm which contaminants are present. Check that the cartridge's certified claim matches the problem you intend to address.
The reverse is equally important: good flow and acceptable taste don't prove remaining treatment capacity. A lead-reduction cartridge must be replaced at its stated capacity even when those everyday observations seem reassuring.
EPA warns that missing the recommended replacement schedule can increase exposure risk for contaminants such as PFAS in its guidance on choosing an appropriate water filter. Don't extend service life based on a successful taste test.
Build a dependable maintenance rhythm
Keep a dated log and act at whichever requires attention first: the manufacturer's calendar limit, gallon limit, or filter condition. EPA's ongoing filter-maintenance guidance recommends tracking time or usage when there's no replacement indicator.
Keep the matching cartridge information, certification details, and startup instructions with that record. Consider periodic water testing when you need confirmation that treatment is still working, rather than relying on the faucet's appearance.
A successful cartridge change leaves more than a new filter under the sink. It leaves a verified installation and a clear plan for maintaining it.
Water Filter Advisor offers practical installation guidance, cartridge information, and maintenance resources for home filtration systems. Visit Water Filter Advisor to compare replacement options and plan your next under-sink filter change alongside your manufacturer's instructions.
