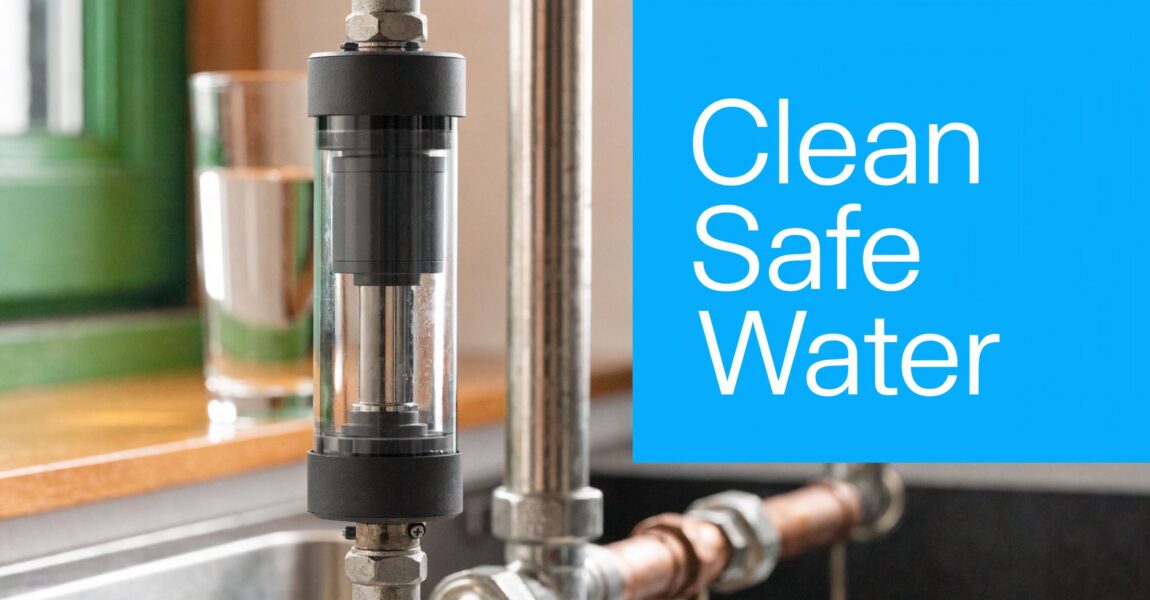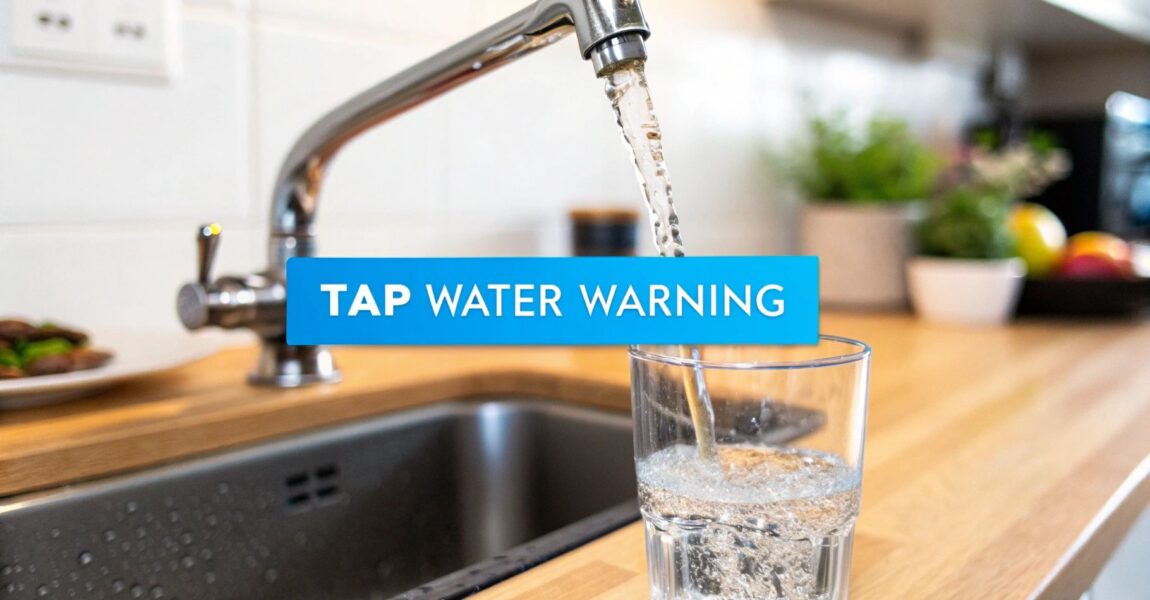
What Is TDS in Drinking Water? A Homeowner’s Guide
Your water probably got your attention before the term TDS ever did.
Maybe your ice cubes look cloudy. Maybe your coffee tastes dull one day and oddly salty the next. Maybe your dishwasher leaves a chalky film on glasses no matter how much rinse aid you use. Some homeowners first notice it in the shower, where soap won’t lather well and fixtures collect white crust. Others hear it in the utility room when a tank starts acting up, and a problem like a water heater making hissing noise turns out to be tied to scale buildup from mineral-heavy water.
Those little frustrations often point back to one simple idea. Something is dissolved in the water.
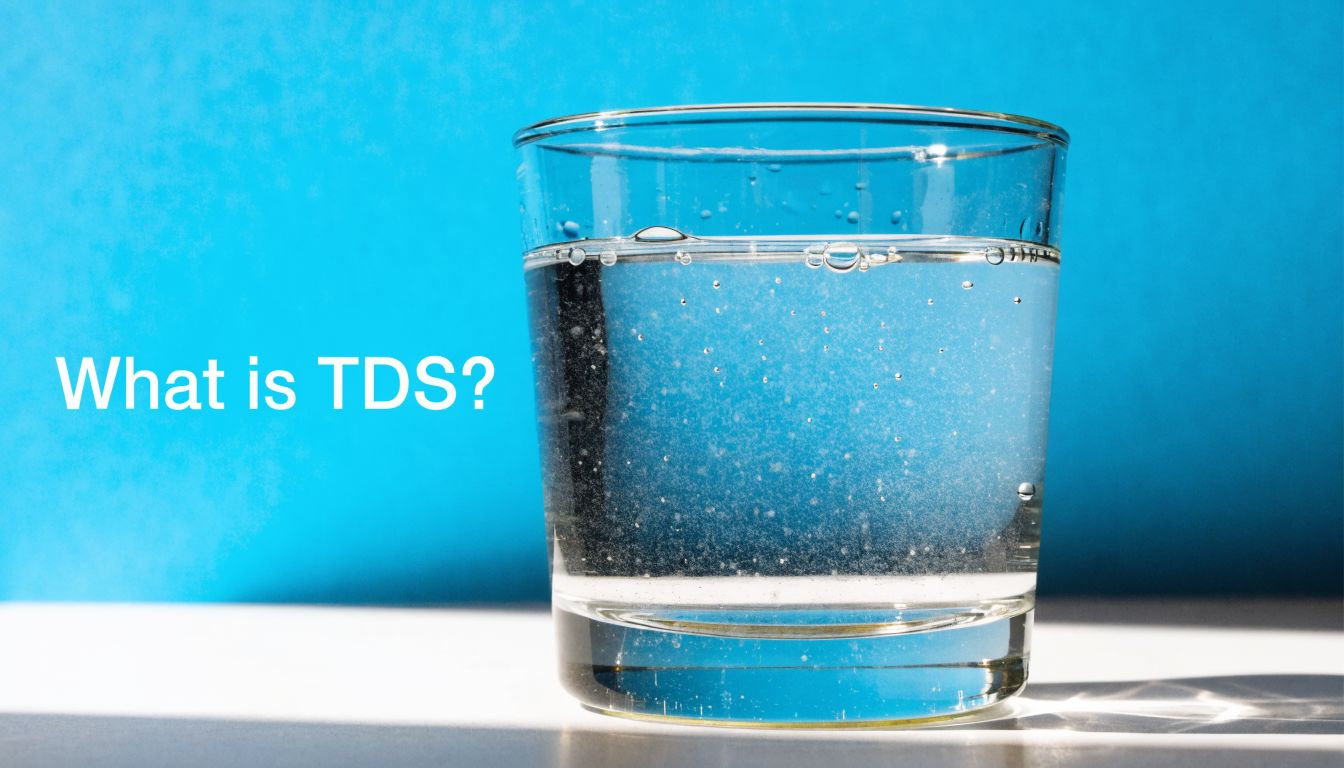
That “something” is what people mean when they talk about what is tds in drinking water. TDS stands for Total Dissolved Solids, and while the phrase sounds technical, the everyday effect is familiar. Water picks up minerals and salts as it moves through rock, soil, plumbing, and sometimes polluted areas. You don’t usually see those dissolved materials floating around like dirt in a glass. They’re invisible, but they still affect taste, spots, scaling, and filter choice.
A lot of online advice makes TDS sound like a pass-or-fail score. It isn’t. A higher number can mean ordinary minerals like calcium and magnesium. It can also be a warning sign that something less welcome may be in the water. That’s why homeowners get confused. They buy a cheap meter, see a number, and still don’t know what to do next.
The useful question isn’t just “Is my TDS high?” It’s “So what does that mean for my house, my drinking water, and the kind of filter I need?”
The Mystery of Spotty Glasses and Funny-Tasting Water
A homeowner fills a glass from the kitchen tap. It looks clean enough. Then the glass dries on the counter and a ring of white spots appears. The next morning, the same water goes into a kettle, and after a few weeks there’s a crusty layer inside. Coffee tastes different than it did at the last house. Ice cubes come out cloudy.
That’s usually where the TDS story starts.
Small clues around the house
Individuals rarely notice dissolved solids directly. They notice the clues:
- On dishes: white film or spotting after washing
- In hot water appliances: mineral scale in kettles, coffee makers, and water heaters
- In taste: water that seems metallic, salty, bitter, or just “heavy”
- In appearance: cloudy ice cubes or residue around faucets
None of those signs proves the water is unsafe. They do tell you the water is carrying dissolved material that stays behind when the water evaporates or heats up.
Practical rule: If water keeps leaving something behind, there’s a good chance dissolved solids are part of the story.
Why this matters for filtration
Homeowners often jump straight to buying a filter, but the right choice depends on what’s causing the symptoms. A carbon pitcher may help with chlorine taste, but it won’t do much if the underlying issue is a high load of dissolved minerals. A whole-house sediment filter won’t solve cloudy ice cubes caused by dissolved salts. A softener can help with hardness, but it doesn’t automatically fix every TDS problem.
That’s why TDS matters. It gives you a quick way to understand whether the trouble is mostly about taste and mineral buildup, or whether the water needs closer investigation before you decide on a filter.
TDS isn’t the whole water-quality picture. But for a homeowner trying to solve annoying, recurring water problems, it’s often the first clue that turns a mystery into a manageable decision.
What Exactly Are Total Dissolved Solids
Total Dissolved Solids means the combined amount of dissolved material in water. That includes inorganic salts such as calcium, magnesium, sodium, potassium, carbonates, nitrates, bicarbonates, chlorides, and sulfates, plus small amounts of organic matter. TDS is measured in milligrams per liter (mg/L) or parts per million (ppm). In everyday home water use, those units are treated much the same.
Think of sugar in tea
Stir sugar into hot tea and the grains disappear. They’re still there. They’ve just dissolved.
TDS works the same way. The water can look crystal clear while carrying minerals and salts you can’t see. That’s why clear water isn’t always low-TDS water, and why “looks fine” doesn’t tell you much.
Some dissolved solids are completely normal. In fact, a lot of drinking water gets its character from natural minerals picked up underground or along the distribution system.
What’s usually in the water
In homes, TDS often comes from naturally occurring minerals. Calcium and magnesium are common in hard water. Sodium, chlorides, sulfates, and bicarbonates can also show up depending on the source. Well water often contains more dissolved material than treated city water because it spends more time in contact with rock and soil.
Water source matters a lot. According to the Los Angeles Public Library water quality overview, rainwater can be as low as 5 to 30 ppm, typical U.S. municipal tap water ranges from 100 to 500 ppm, shallow wells can run from 200 to 1500 ppm, and deep aquifers can reach 500 to 5000 ppm in some cases (water source TDS ranges explained here).
What ppm means in plain English
You don’t need to love chemistry to understand ppm.
A ppm reading is a way of saying, “How much dissolved stuff is in this water?” Higher ppm means more dissolved material. Lower ppm means less.
Here’s the homeowner version:
| TDS reading | What it usually suggests |
|---|---|
| Lower reading | Fewer dissolved minerals and salts |
| Mid-range reading | Common for many tap water supplies |
| Higher reading | More minerals, more chance of taste issues, scaling, or a need for closer testing |
TDS doesn’t tell you exactly which dissolved substances are present. It tells you how much total dissolved material is there. That distinction matters a lot when you’re deciding whether you need a carbon filter, a softener, an RO system, or a proper lab test.
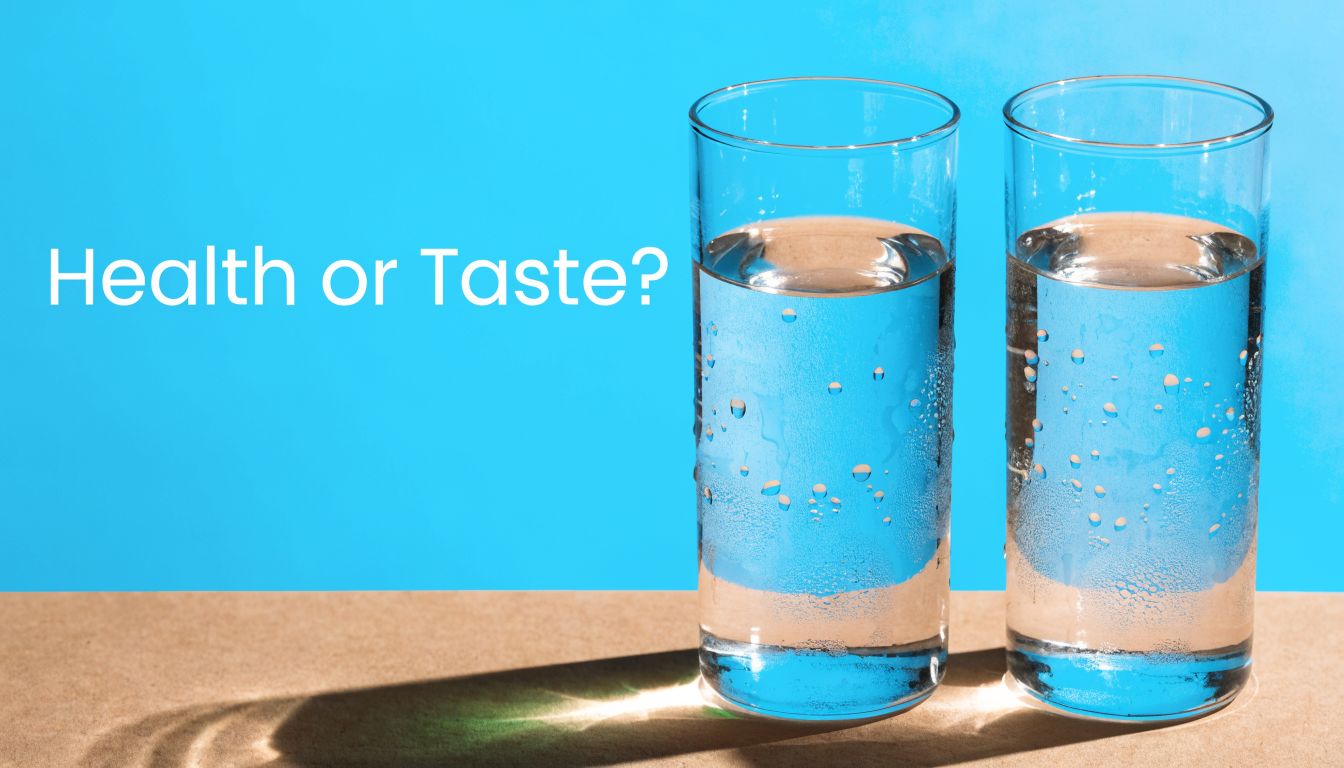
When TDS Is a Health Concern Versus Just a Taste Issue
Most homeowners get stuck. They see a TDS number and want one clean answer. Good or bad. But TDS doesn’t work that way.
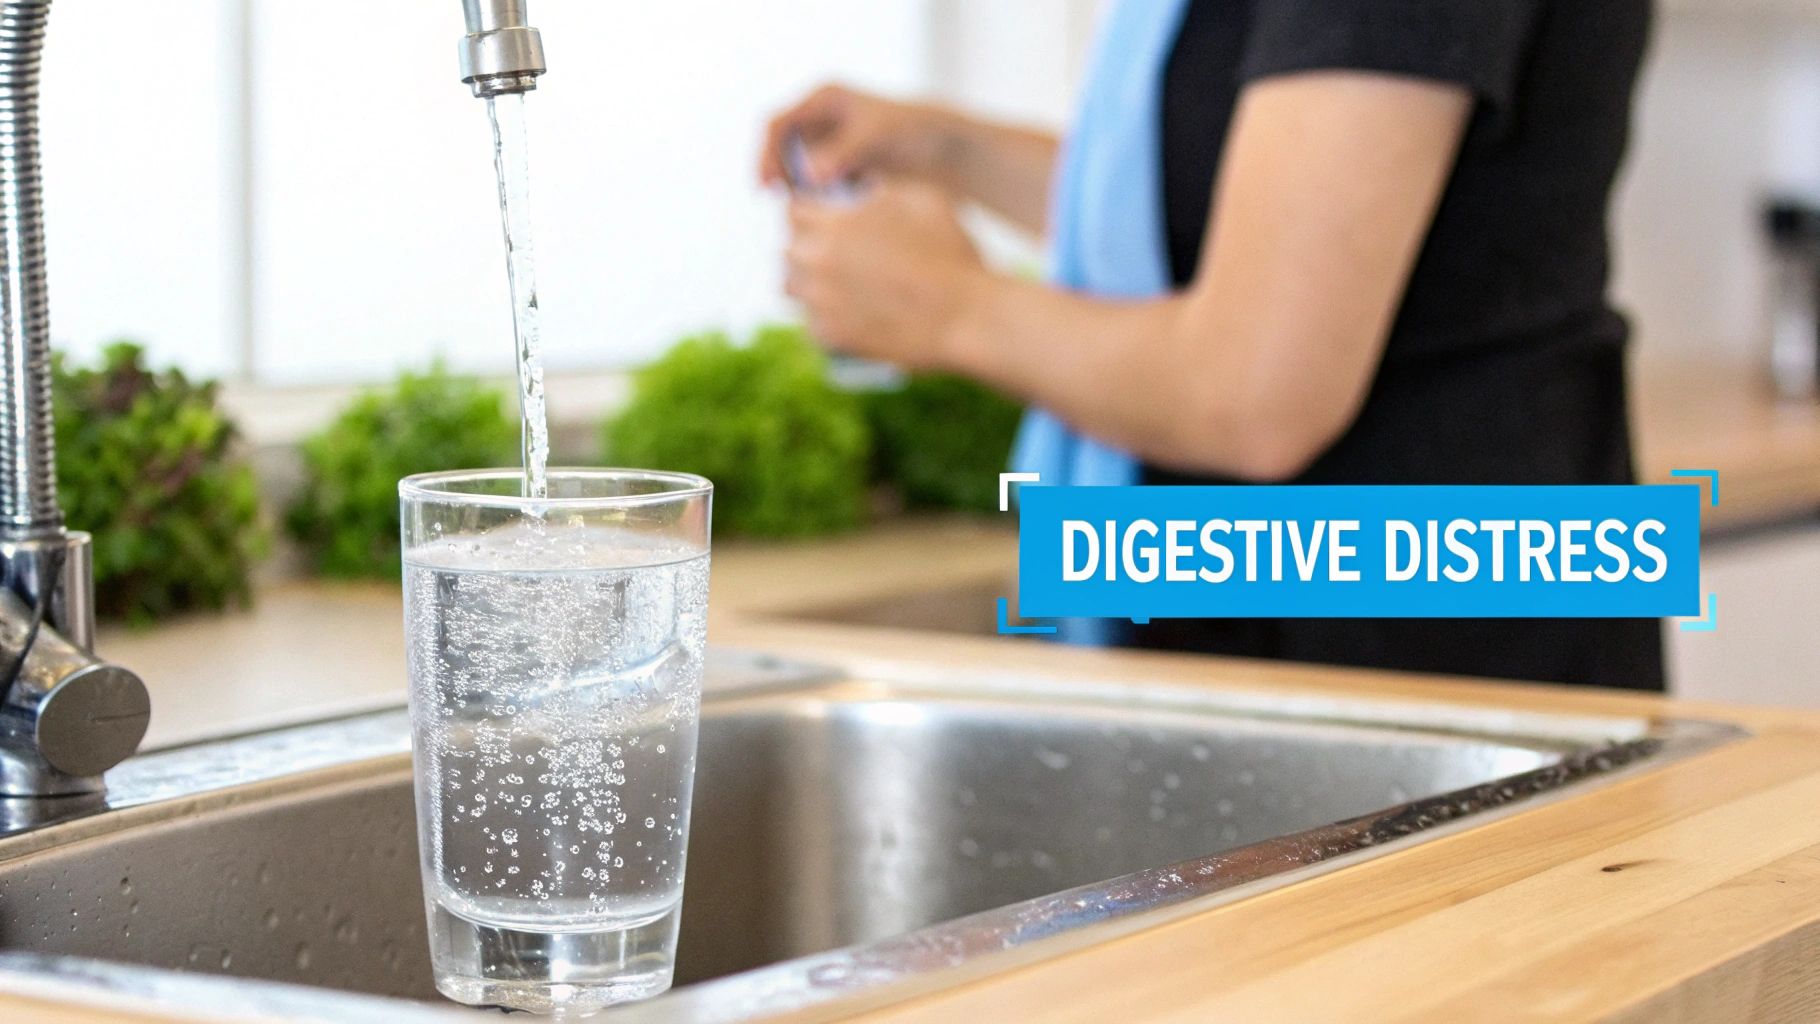
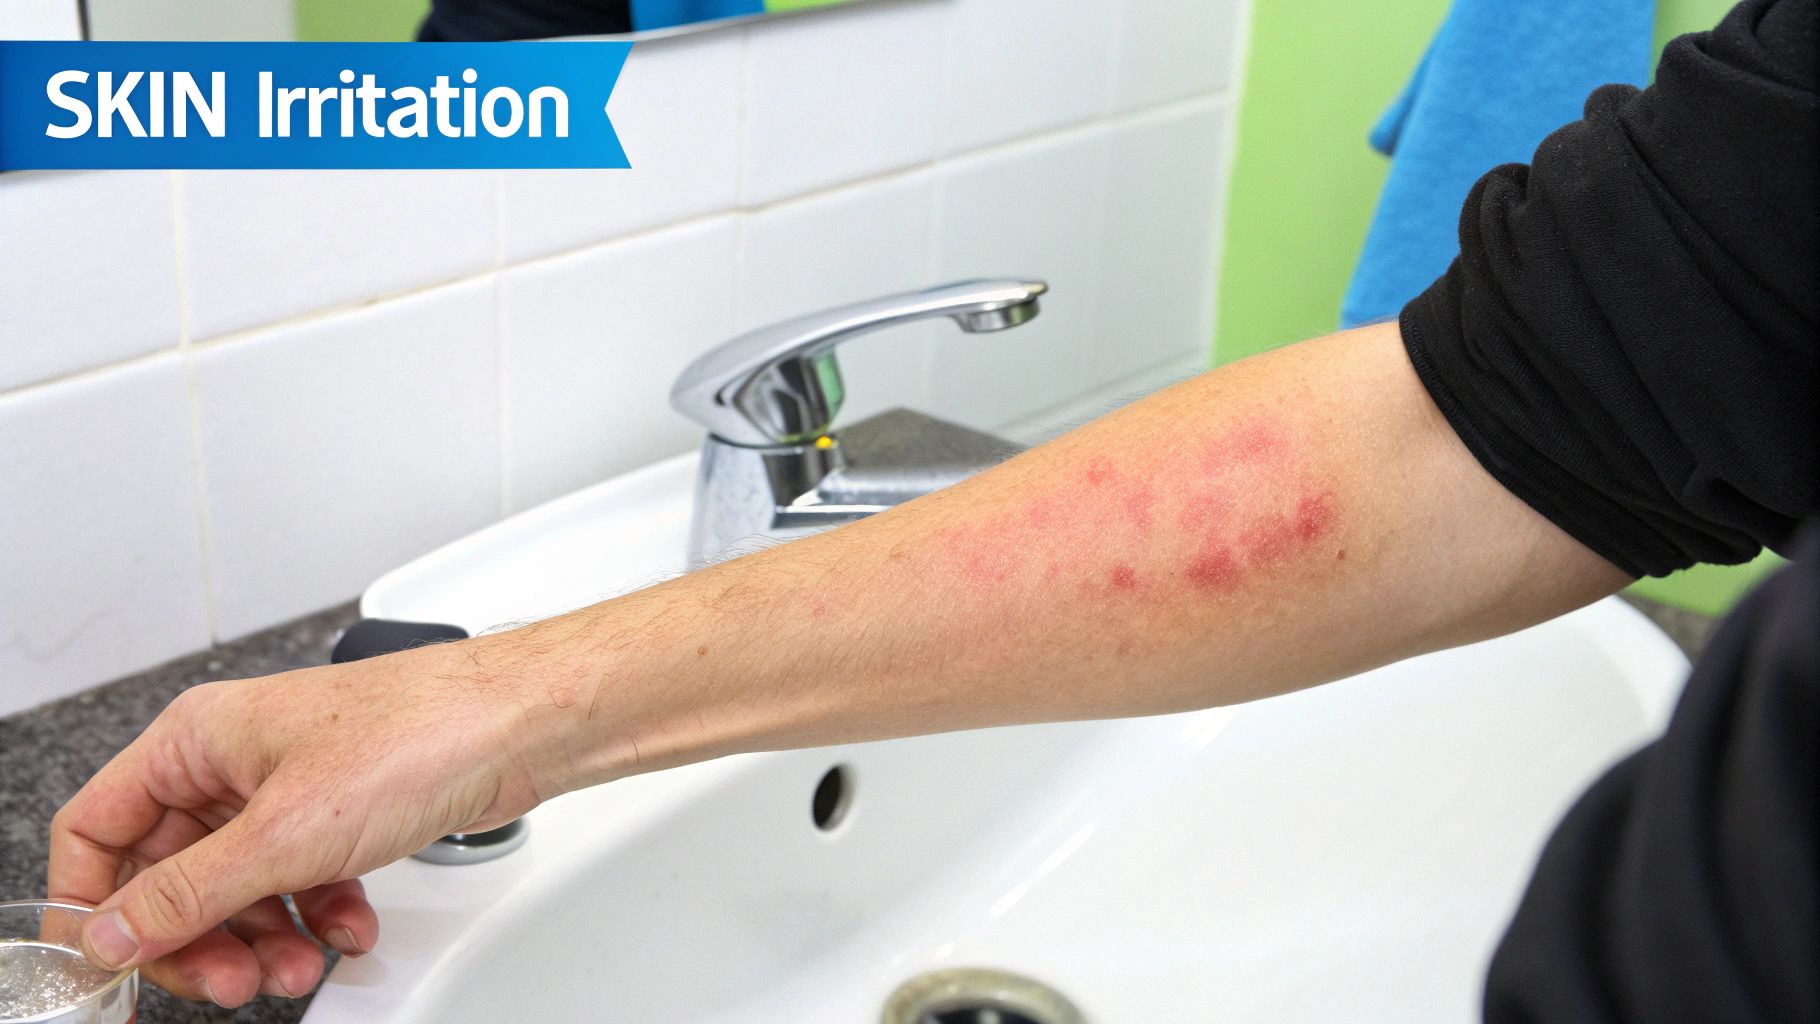
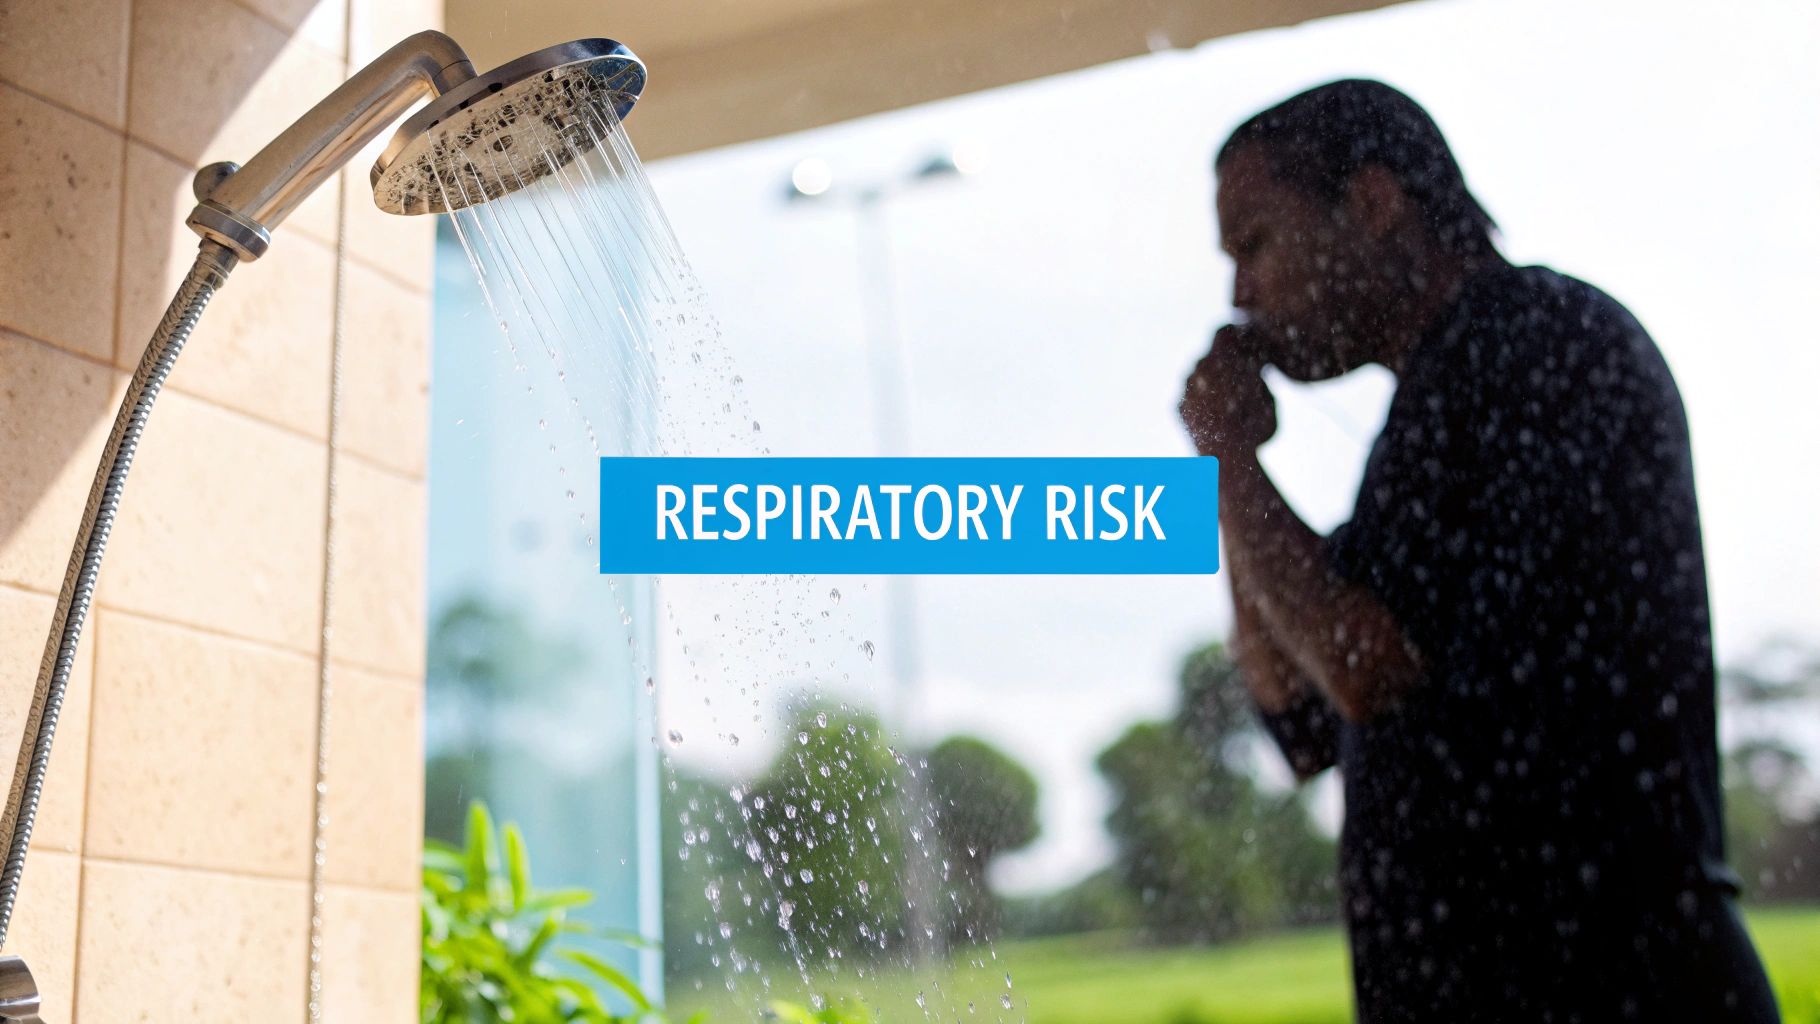
A moderate reading may reflect normal mineral content that affects taste and scale more than safety. A high reading can still be mostly natural minerals. But a high reading can also be a warning that dissolved contaminants are present, especially if the level changes suddenly or the water has a new taste, odor, or staining problem.
What official guidelines actually say
The World Health Organization classifies drinking water palatability by TDS level. Water is considered excellent below 300 mg/L, good from 300 to 600 mg/L, and poor from 900 to 1200 mg/L. The U.S. EPA sets a secondary standard of 500 ppm, mainly for aesthetic concerns such as taste and staining rather than direct health risk (WHO palatability ranges and EPA secondary standard).
That EPA point is easy to miss. A secondary standard is not the same as a health-based limit. It’s guidance about what water may taste like, look like, or do to plumbing and appliances.
When high TDS is mostly an aesthetic issue
If your water tastes mineral-heavy, leaves white spots, or scales up the kettle, the problem may be mostly practical:
- Taste changes: water may seem salty, bitter, or flat
- Residue: glasses, faucets, and shower doors show mineral spotting
- Appliance wear: scale builds up in kettles, coffee makers, and heaters
- Soap performance: washing and bathing can feel less satisfying
In those cases, the TDS number helps explain the symptoms. It doesn’t automatically mean the water is dangerous.
Water with dissolved minerals can be annoying long before it becomes a health discussion.
When TDS becomes a red flag
TDS is often misunderstood because it combines the good and the bad into one number. Natural calcium and magnesium raise TDS. So can less desirable dissolved substances.
That matters because high TDS can signal that harmful contaminants may also be present. The verified guidance for this topic notes that high TDS can indicate contaminants such as iron, manganese, sulfate, bromide, or arsenic, especially where runoff, wastewater discharge, aging plumbing, or other pollution sources affect the water.
Here’s the part many sales pitches skip. A TDS meter cannot tell you which dissolved substances are in the water. It can’t separate harmless mineral content from a contamination problem.
A practical way to think about it
Use TDS as a first clue, not a final verdict.
| Situation | What it may mean | Best next step |
|---|---|---|
| Spots, scale, off taste, but no other warning signs | Often a mineral or aesthetic issue | Consider targeted filtration based on the symptom |
| Sudden jump in TDS or new strange taste | Possible source change or contamination issue | Test for specific contaminants |
| Well water with persistently high TDS | Could be natural geology, could include unwanted dissolved substances | Pair TDS screening with a broader water test |
| Low TDS reading | Not proof of purity | Check for specific contaminants if you have reason to worry |
If you’re deciding whether to buy a filter, this distinction is the whole game. If the problem is mainly taste and chlorine, carbon filtration may be enough. If dissolved solids themselves are the issue, you need a technology that removes them. If contamination is the concern, don’t rely on TDS alone. Test for the specific contaminant you suspect.
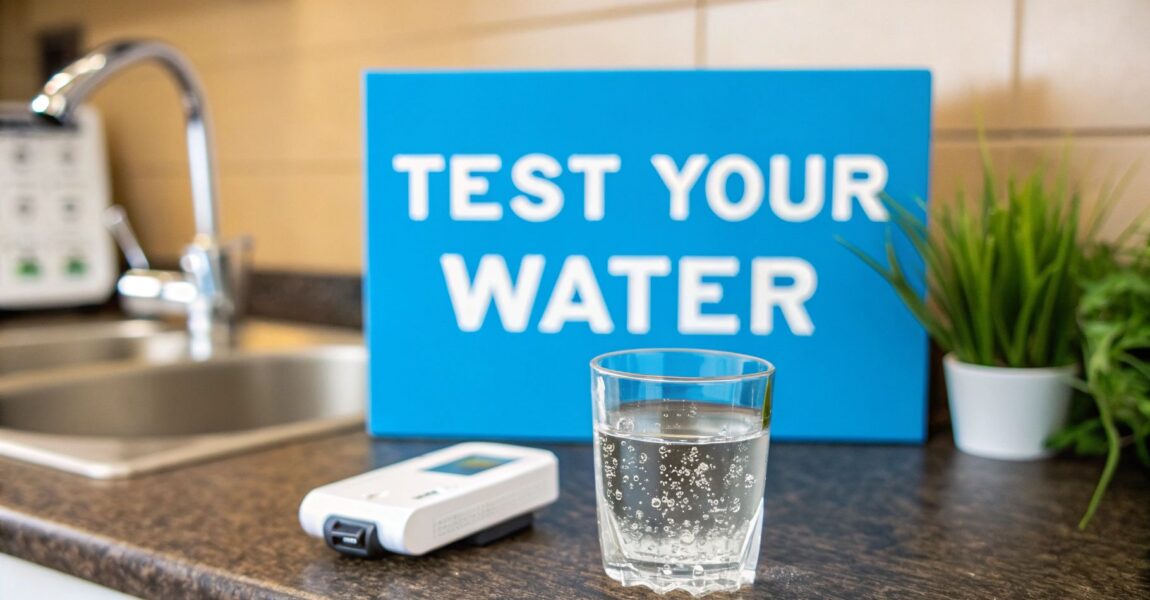
How to Test Your Water's TDS Level at Home
A TDS meter is one of the easiest water tools to use. Dip it into a sample of water, wait a moment, and it gives you a ppm reading. That speed is what makes it useful for homeowners. It turns a vague suspicion into a real number.
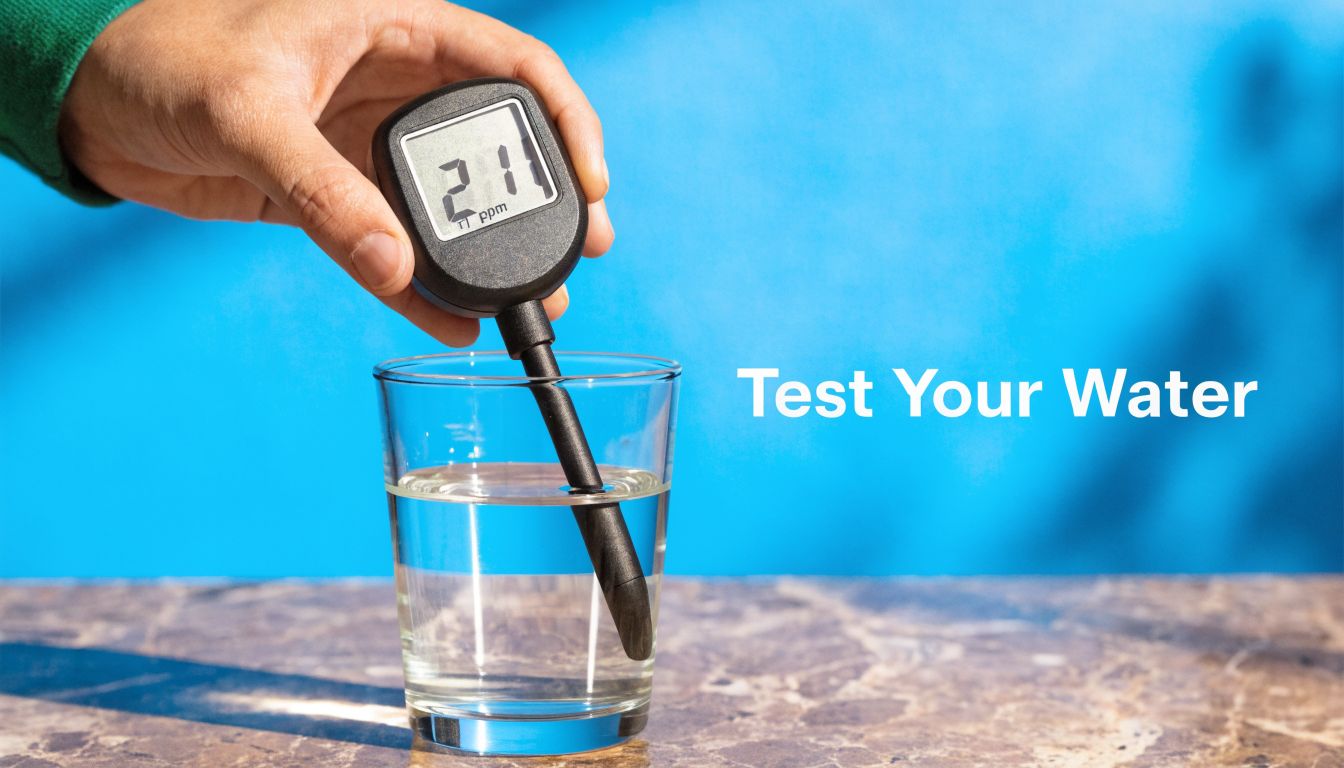
What the meter is actually measuring
A digital TDS meter doesn’t directly count every dissolved particle. It measures electrical conductivity (EC) and converts that reading to ppm. For accurate readings in fresh water, it’s best to use a meter with a conversion factor around 0.7 and to calibrate it periodically so the reading stays reliable (how TDS meters use EC and why calibration matters).
That’s an important detail. If you compare two cheap meters, they may not display the exact same number if they use different conversion settings or haven’t been calibrated.
How to take a reading
Use a clean glass and test cold water from the tap you care about most, usually the kitchen sink.
- Rinse the glass first. You don’t want soap residue affecting the sample.
- Fill the sample with tap water. Let the water run briefly so you aren’t measuring stale water from the plumbing line.
- Turn on the meter and dip the probe. Keep the sensor in the water without touching the sides.
- Wait for the number to settle. Most meters stabilize quickly.
- Record the result. If you’re troubleshooting a problem, test more than one location in the house.
A short video can make the process even clearer:
How to read the number without overreacting
The number matters, but context matters more.
| Your reading | What it suggests |
|---|---|
| Below 300 | Usually falls in the WHO “excellent” taste range |
| 300 to 600 | Often still tastes acceptable to many people |
| Around or above 500 | Reaches the EPA secondary benchmark where taste, staining, or scaling may be more noticeable |
| 900 to 1200 | Often tastes poor |
| Very high or suddenly changed | Worth investigating beyond TDS alone |
Quick caution: A normal TDS reading doesn’t prove the water is free of harmful contaminants, and a high reading doesn’t prove it’s unsafe.
Best home testing habits
A single reading is helpful. A pattern is better.
- Test the cold kitchen tap: That’s usually the water you drink most.
- Compare before and after filtration: This shows whether your system changes dissolved solids.
- Retest when taste changes: A shift in flavor, scale, or spotting is a good reason to check again.
- Keep notes: Date, location, and reading help you spot trends over time.
For filtration decisions, the meter gives you direction. If the reading is moderate and your problem is mostly chlorine taste, a carbon filter may be enough. If the reading is high and scale is everywhere, you may need stronger treatment. If the reading is puzzling or changes sharply, move on to specific water testing instead of guessing.
Choosing the Right Filtration System for Your TDS Level
A lot of filters improve water. Far fewer reduce TDS.
That distinction saves people from buying the wrong system. If your concern is chlorine smell, many common filters can help. If your concern is dissolved minerals, salts, or other dissolved solids showing up in the TDS reading, you need a technology designed for that job.
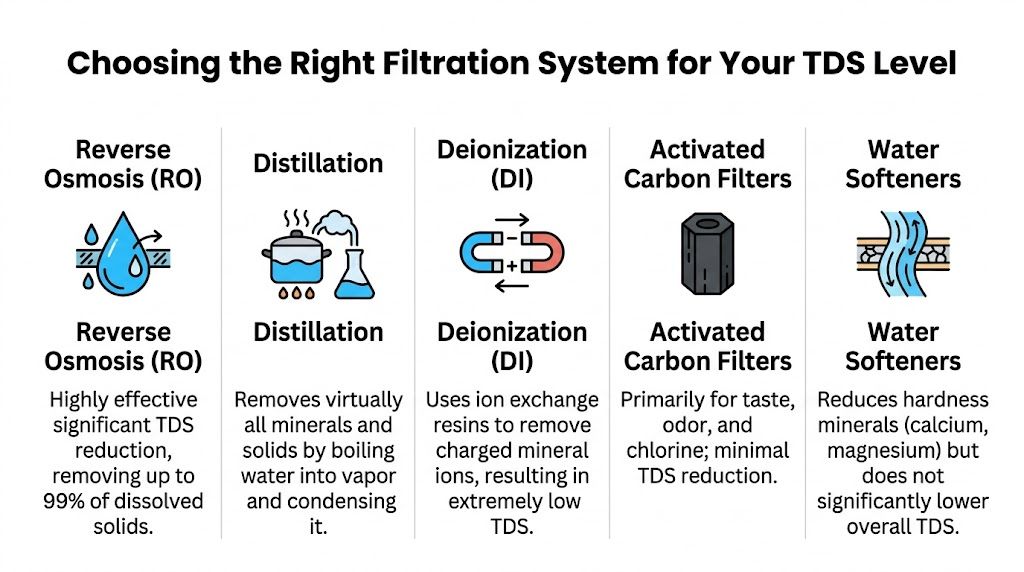
What each filter type actually does
Here’s the simple version homeowners need:
| Filter type | Best for | TDS reduction |
|---|---|---|
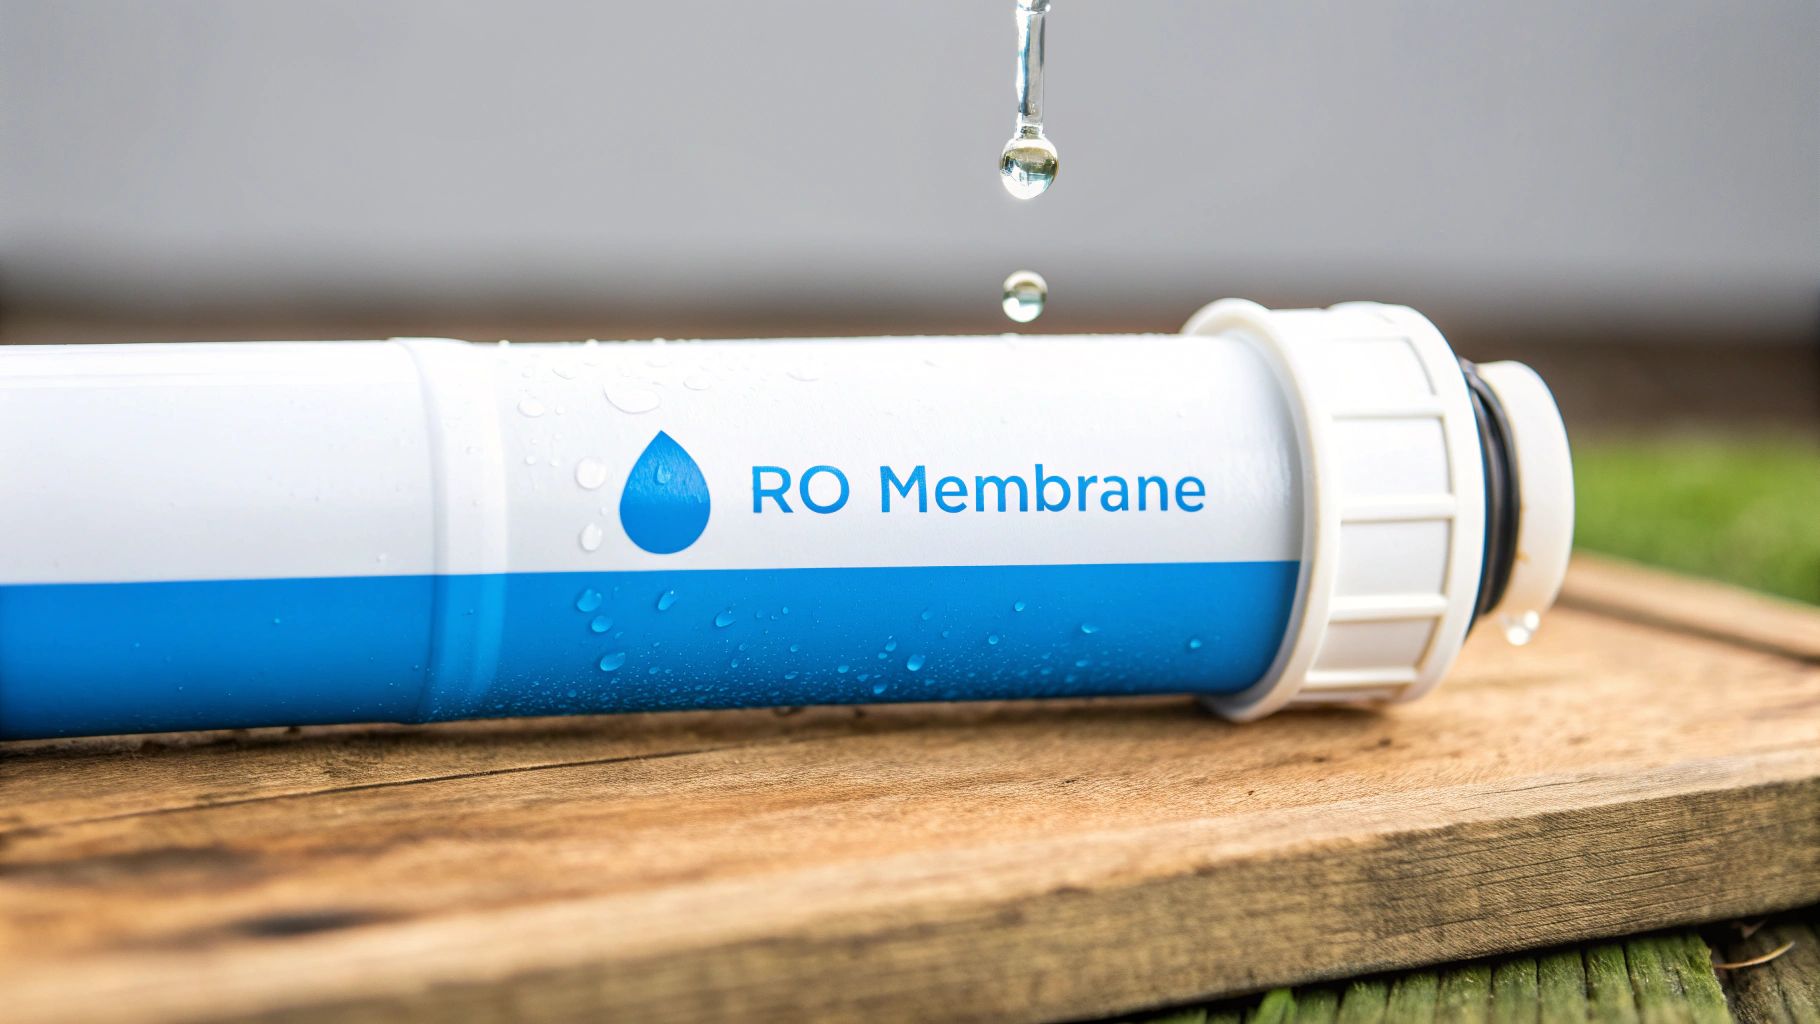
| Reverse osmosis | Drinking water with high dissolved solids | Strong |
| Distillation | Very low-mineral water at point of use | Very strong |
| Deionization | Specialized low-TDS applications | Strong, but less common for household drinking water |
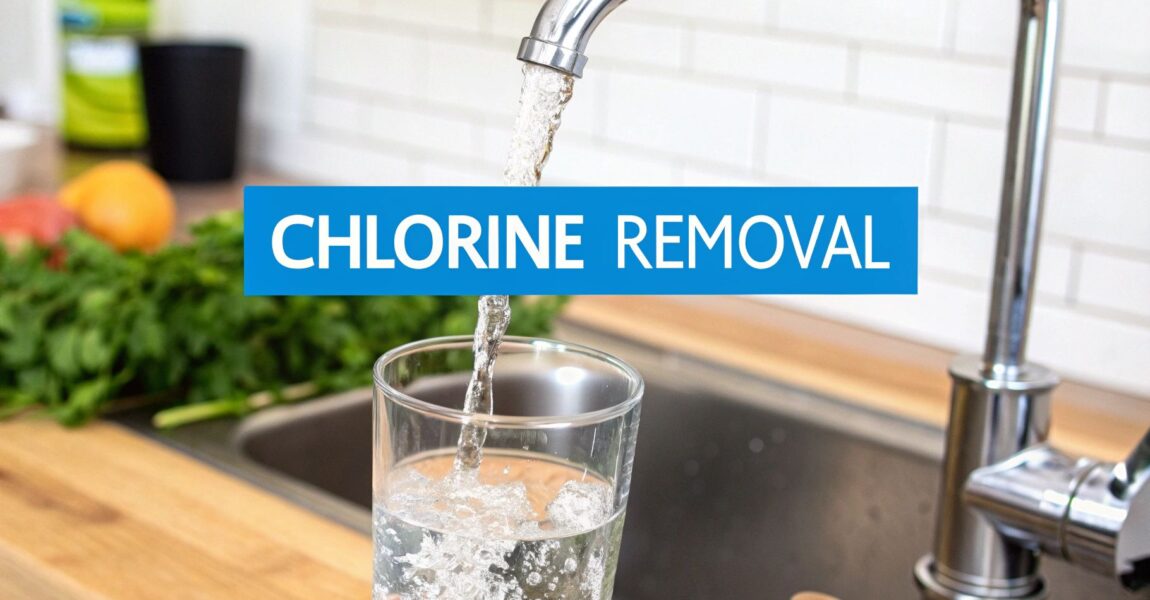
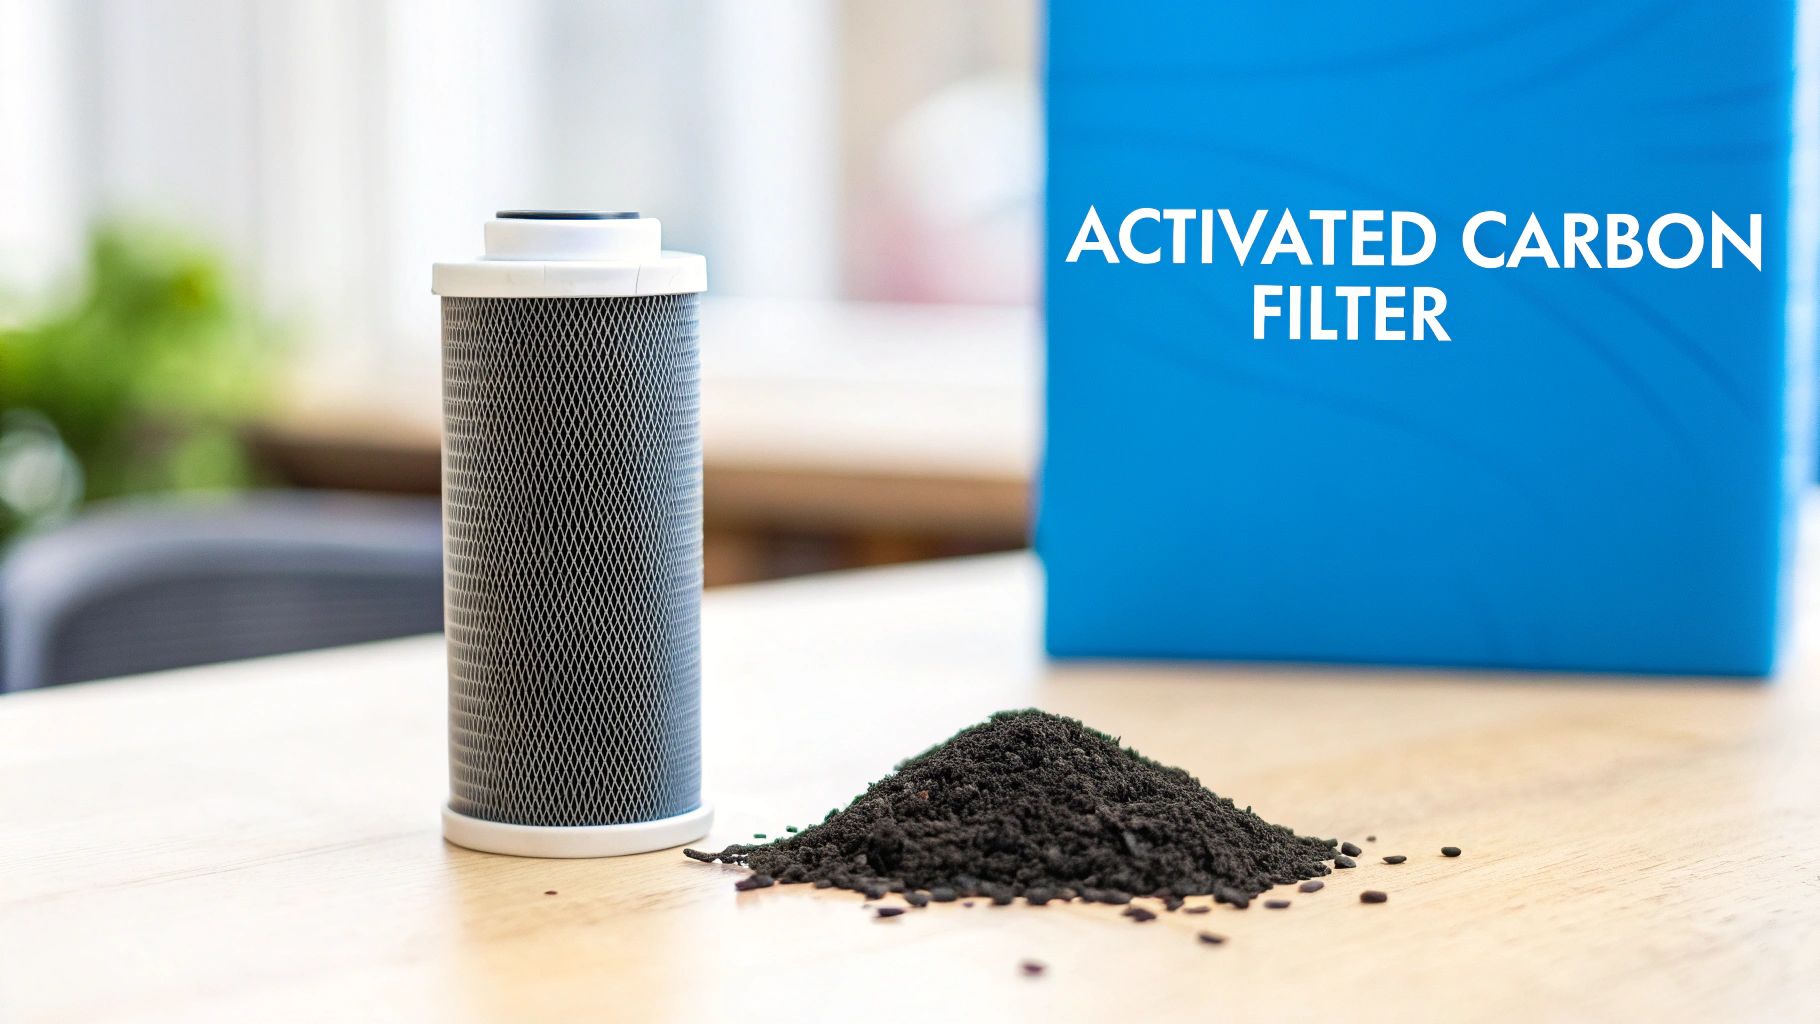
| Activated carbon | Taste, odor, chlorine, some chemicals | Minimal |
| Water softener | Hardness problems from calcium and magnesium | Doesn’t significantly lower overall TDS |
Carbon filters and softeners are especially misunderstood. A carbon block may make water taste much better while leaving the TDS number nearly unchanged. A softener swaps hardness minerals in a way that addresses scaling, but it’s not the same as broad dissolved-solids removal.
When reverse osmosis makes the most sense
For homeowners focused on drinking water, reverse osmosis is usually the most practical TDS-reduction tool. A typical household RO system can reduce TDS by 90 to 99%, and water entering the system at 500 ppm may come out at 5 to 50 ppm. Many modern systems add a remineralization stage that puts back 20 to 100 ppm of calcium and magnesium to improve taste.
That matters because very low-TDS water can taste flat. A remineralization cartridge helps solve that without giving up the main benefit of RO.
RO is a strong fit when:
- Your TDS reading is high and the taste is unpleasant
- Your kettles and coffee makers scale up constantly
- You use well water with heavy mineral content
- You want a dedicated drinking-water solution at the kitchen sink
When a different filter may be enough
Not every TDS issue calls for an RO system.
If your water tastes bad because of disinfectants or odors, an activated carbon filter may be the better first move. If your main problem is hard-water scale across the whole house, a water softener may improve daily life more than a drinking-water unit alone. If you want ultra-low-mineral water for a special use, distillation or deionization can play a role, though they’re less common as the best all-around household answer.
Choose the filter to match the problem, not the marketing claim on the box.
A simple homeowner decision guide
Use this practical framework:
- Low to moderate TDS, but bad taste from chlorine or odor: start with carbon filtration.
- Noticeable scale, spots, and mineral-heavy taste: look at a softener for whole-house comfort and RO for drinking water.
- High TDS at the kitchen tap: RO is usually the strongest point-of-use option.
- Concerned about hidden contaminants: order targeted testing first, then match the filter to those results.
If you split time between home and travel, it also helps to think about filtration by setting. RV owners, for example, often need portable setups designed around changing campground water conditions. A guide to the best RV water filter system can help you compare that very different use case.
If you want broader guidance on matching water problems to filter types, this water filtration advice library is a useful place to compare common home setups without guessing from product labels.
Maintaining Your Filter for Lasting Water Quality
Installing a filter feels like the finish line. It isn’t. It’s the start of a maintenance job.
A neglected system can lose performance imperceptibly. Water may still flow, but the filter may no longer be doing what you bought it to do. That’s how homeowners end up trusting a system that’s overdue for service.
Why maintenance matters more than most people think
Filters don’t fail in dramatic ways every time. More often, performance fades. Taste creeps back. Flow slows down. Scaling starts showing up again. The water seems “mostly fine,” so replacement gets postponed.
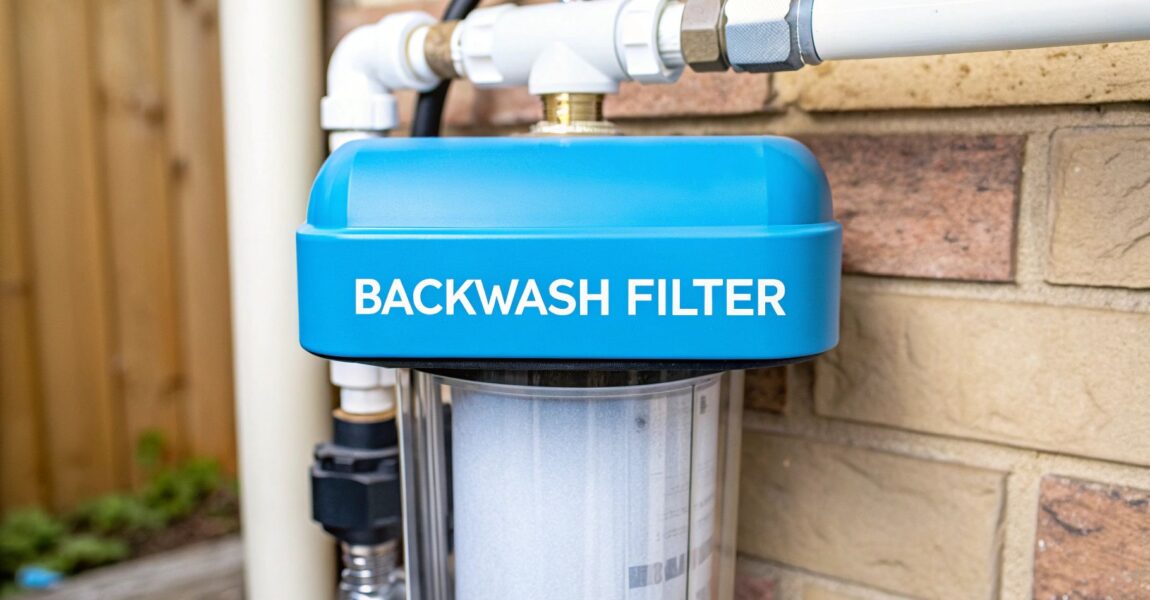
That’s risky because each filter stage has a specific job. Sediment cartridges protect downstream components. Carbon stages handle taste and certain chemicals. RO membranes handle dissolved solids. If the early stages clog or expire, the later stages can wear out faster or stop performing properly.
A simple upkeep routine
You don’t need a complicated spreadsheet. You do need a habit.
- Check the replacement schedule: Follow the manufacturer’s guidance for each cartridge and stage.
- Retest after a filter change: A fresh TDS reading or taste check helps confirm the system is working as expected.
- Watch for warning signs: slower flow, renewed spotting, odd taste, or return of scale usually means something needs attention.
- Keep spare cartridges on hand: waiting too long because you forgot to reorder is one of the most common maintenance failures.
Pay extra attention to RO systems
RO systems reward maintenance and punish neglect. If pre-filters clog, the membrane has a harder job. If the membrane ages, TDS reduction drops. If a remineralization stage is spent, the water may lose the taste balance you liked when the system was new.
A filter only protects your water when the parts inside it are still capable of doing their job.
For homeowners, the smartest move is simple. Pick a system you’ll realistically maintain. The best filter on paper isn’t the best filter in your house if replacement parts are hard to find or the service routine is so annoying that you put it off.
Your Simple Path to Cleaner Better-Tasting Water
TDS sounds technical, but the homeowner takeaway is straightforward. It’s a measure of the dissolved material in your water, and that helps explain why water may taste off, leave spots, or cause scale in appliances.
The key is not to treat TDS like a complete safety score. A higher reading can mean ordinary minerals. It can also mean you need to dig deeper with specific contaminant testing. That’s the “so what” behind what is tds in drinking water. The number matters because it helps you decide your next step.
If your problem is mostly taste or odor, a carbon filter may be enough. If dissolved solids are the issue, reverse osmosis is usually the strongest home option for drinking water. If the reading seems unusually high or changes suddenly, don’t guess. Test for the contaminants that TDS can’t identify.
Good water decisions usually happen in this order. Notice the symptom. Test the water. Match the filter to the actual problem. Keep the system maintained.
That’s how you move from cloudy ice cubes and spotty glasses to water you trust.
If you want help comparing filters, understanding test results, or choosing a system that fits your home, Water Filter Advisor offers practical guides that make water filtration easier to evaluate without the usual confusion.