Whole House Water Filter with Bypass Valve: 2026 Guide
You usually notice a bypass valve the day you don't have one.
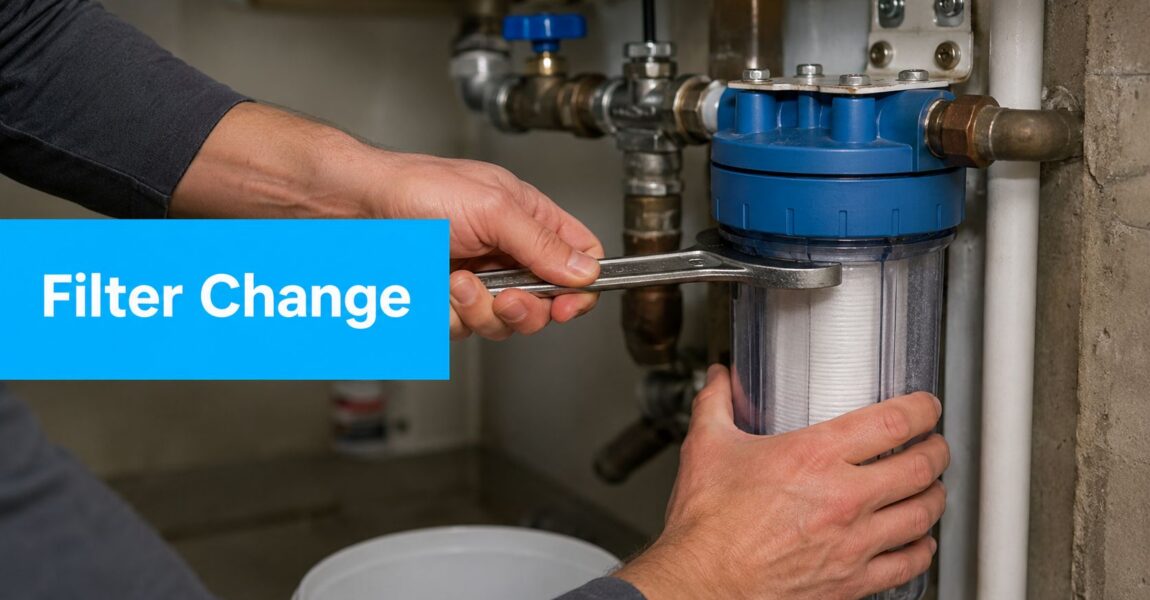
It's filter change day. You shut water off, crack open a housing, get a face full of pressure, and suddenly the whole house is out of water while you're standing in a puddle wondering why this tiny plumbing detail got skipped. That's when homeowners realize a whole house water filter with bypass valve isn't a luxury add-on. It's the part that makes the system livable.
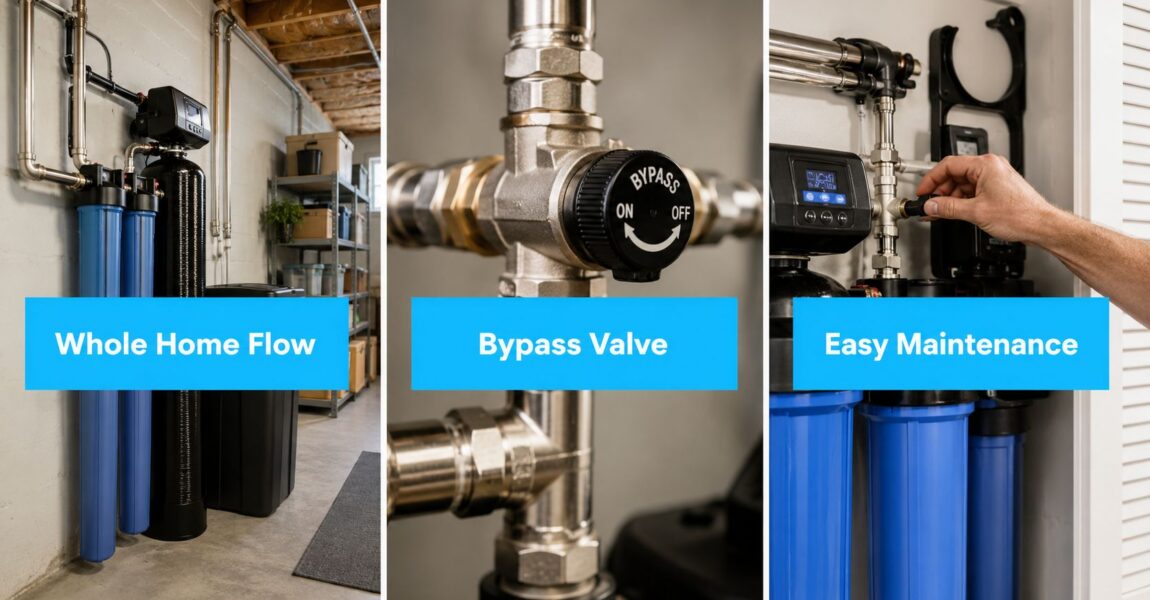
A bypass valve is the off-ramp for your home's water supply. In normal use, water stays on the main route and runs through the filter. When you need to service the system, the valve diverts water around the filter so sinks, toilets, and showers still work while the filter is offline. That one function changes maintenance from a disruptive house-wide event into a routine task.
Generic guides tend to focus on the filter media, the housing size, or the contaminant list. Those matter. But the bypass is what keeps the system practical in a real house with real people using water at inconvenient times. If you want a deeper reference library on system choices and upkeep, Water Filter Advisor's advice section is useful for comparing home filtration setups without getting lost in sales copy.
The Unsung Hero of Your Home Plumbing
A lot of plumbing parts only matter when something goes wrong. The bypass valve matters before that.
When a whole-house filter is in service mode, every gallon entering the home runs through treatment first. That's what you want for day-to-day use. But every filter eventually needs attention. Cartridges load up. Carbon media needs service. Housings need to be opened. If there's no bypass, your only option is shutting water down and hoping the job goes quickly.
Why the bypass changes everything
Think of your plumbing like a highway feeding the entire house. The filter is a checkpoint on that highway. A bypass valve creates a side road. When the checkpoint needs work, traffic keeps moving.
That matters in ordinary situations:
- Routine filter changes: You can isolate the unit without taking the whole house offline.
- Unexpected leaks: If a housing or fitting starts dripping, you can route water around the system while you sort it out.
- Winterization or seasonal shutdowns: Vacation properties and cabins especially benefit from being able to take equipment offline cleanly.
- Service calls: A plumber can work on the filter assembly without disrupting everything downstream.
Practical rule: If the system serves the whole home, the bypass should be treated as part of the system, not an optional extra.
Homeowners often spend most of their time comparing micron ratings and contaminant claims. Those are important, but usability decides whether maintenance gets done on time. A system that's hard to service gets postponed. Postponed service turns into pressure complaints, nuisance leaks, and stressed appliances. A bypass valve helps prevent that spiral before it starts.
How a Bypass Valve Puts You in Control of Your Water
The easiest way to understand a bypass valve is to follow the water.
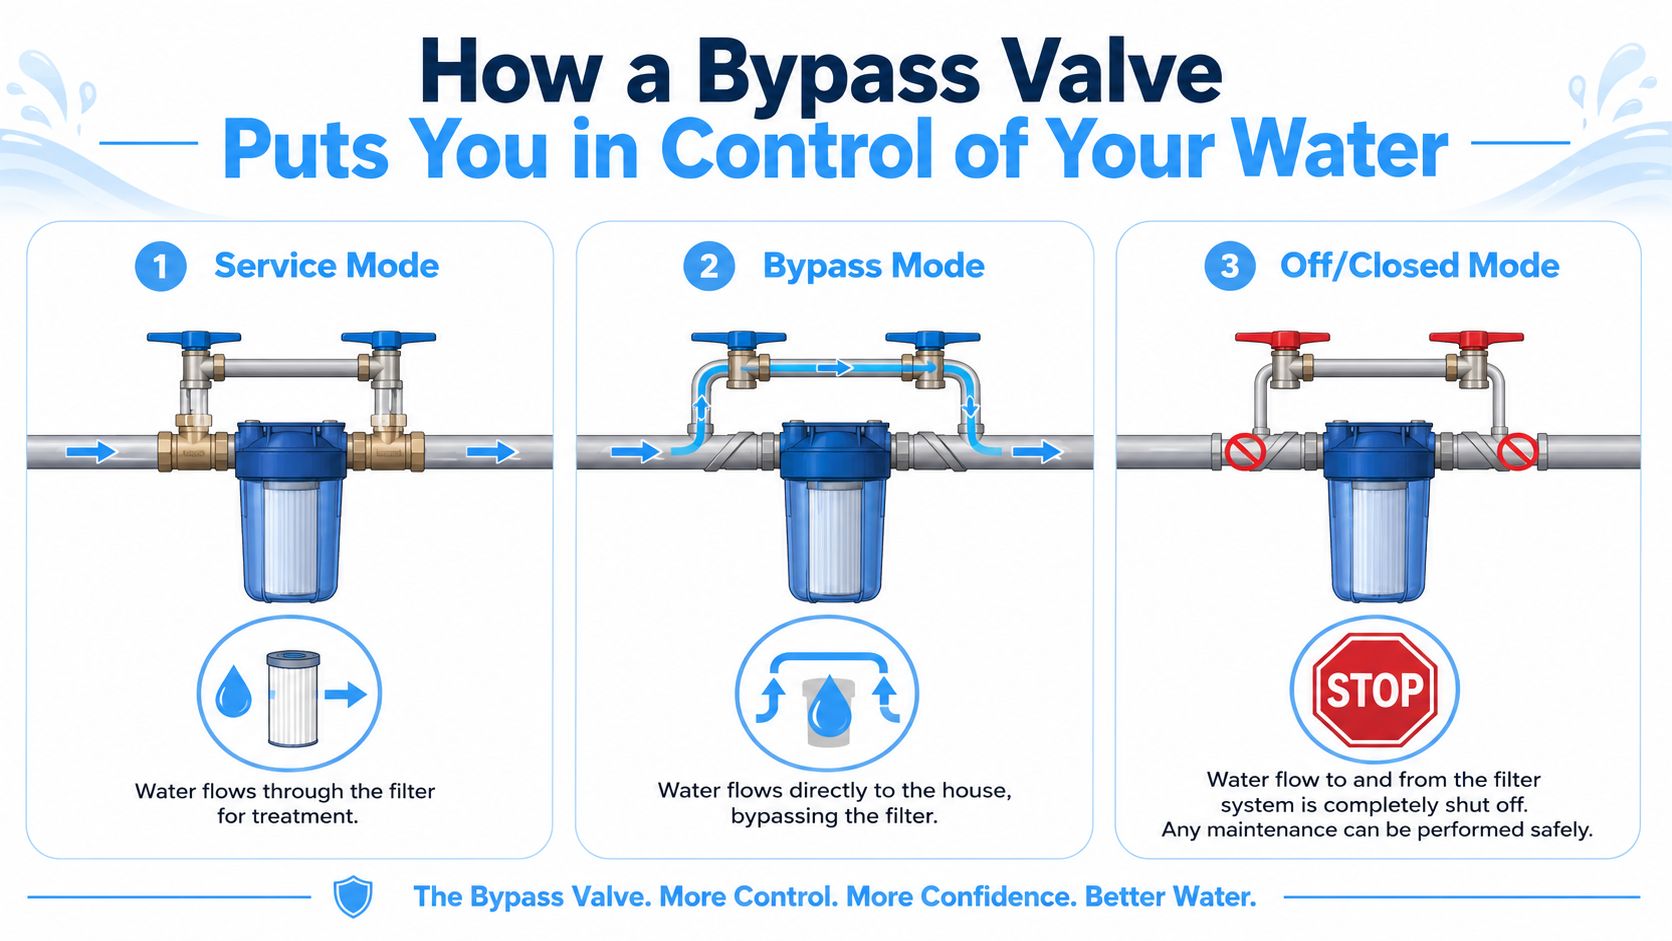
In one position, water enters the filter, gets treated, and moves on to the house. In another, the valve reroutes that same water path so it skips the filter completely. The house still has water. The filter is isolated. That's the whole job.
A lot of assemblies are more capable than homeowners realize. The bypass valve in whole-house water filters typically operates as a 1-inch full-flow assembly with four positions, Service, Bypass, Off, and Diagnostic, enabling isolation of the control valve from system pressure (20–125 psi) during maintenance while permitting untreated water flow for diagnostic testing according to the A. O. Smith ClearHome manual summary.
What each valve position does
| Position | What happens | When you use it |
|---|---|---|
| Service | Water flows through the filter system | Normal daily operation |
| Bypass | Water goes around the filter | Filter changes, repairs, leak isolation |
| Off | Water flow to and from the filter assembly is shut down | Full isolation before certain service tasks |
| Diagnostic | Untreated water can be evaluated without committing the system to normal service | Troubleshooting flow or water quality behavior |
That diagnostic position is one many people never hear about. It gives a plumber a controlled way to check untreated water behavior while keeping the rest of the system organized. That's useful when you're sorting out whether a pressure problem belongs to the filter, the plumbing, or the incoming supply.
Service mode versus bypass mode
Here's the simple contrast:
- In service mode, you're prioritizing treatment.
- In bypass mode, you're prioritizing continuity.
Neither one is “better.” They solve different problems. Trouble starts when a homeowner forgets which mode the system is in. If the valve stays in bypass after maintenance, the house has water but no filtration. If someone opens a housing without isolating pressure first, that's when cartridges, O-rings, and tempers start flying.
If you're not confident about where to shut water off before touching the filter assembly, review how to find and use your shutoff before starting. It's one of those things you want sorted out before a fitting starts leaking.
A quick visual walkthrough also helps:
Why a Bypass Valve Is a Non-Negotiable Feature
It usually becomes clear at the worst time. A cartridge is clogged, the housing needs to come off, and someone in the house still needs to shower, flush toilets, or run a load of laundry. Without a bypass, a routine filter service can turn into a whole-house shutdown.
That is why a bypass valve belongs on a whole-house filter system. It gives you a controlled path for water when the equipment needs service, and that control prevents a lot of avoidable trouble.
The big benefit is not convenience alone. It is containment. If a housing cracks, an O-ring rolls, or a fitting starts weeping after a cartridge change, the bypass lets you isolate the filter and keep the rest of the house supplied. In real plumbing work, that difference matters. It buys time to fix the problem correctly instead of rushing because the whole home is out of water.
It also helps prevent a mistake generic guides skip over. A bypass section or extra branch line can create a short dead leg if the piping is laid out poorly. Water sitting in that unused pocket can stagnate, then get pushed back into the line later. Good installation keeps those unused sections short and serviceable. Good maintenance includes a proper flush after the system goes back online, not just turning valves and calling it done.
What homeowners actually gain
- Service without shutting the house down: You can isolate the filter while keeping basic water use available.
- Safer maintenance: Pressure stays under control, which lowers the chance of damaged housings, blown O-rings, and cross-threaded parts.
- Fewer delayed cartridge changes: Homeowners are more likely to keep up with maintenance when it does not disrupt the whole house.
- Cleaner troubleshooting: A bypass helps separate a filter problem from a broader plumbing or supply issue.
- Better recovery after service: You can flush the filter properly before sending water through every faucet and appliance.
That last point gets overlooked all the time. After maintenance, the filter and nearby piping should be flushed long enough to clear trapped air, fines, and any stale water that sat in isolated sections. Skip that step and the first place that debris goes is into fixture aerators, appliances, or a customer complaint about cloudy water and sputtering taps.
What goes wrong without one
A whole-house filter can run without a bypass. It is just less forgiving.
The pattern is familiar. Service gets postponed because nobody wants to shut water off to the whole house. Flow drops. Someone opens the housing in a hurry. Then you end up with a pinched gasket, a leak that could have been avoided, or untreated water being restored without any flushing or checks.
I tell homeowners the same thing I tell apprentices. Plumbing systems stay manageable when you keep options open. A bypass gives you one more safe way to isolate, test, flush, and restore service in the right order.
For homeowners comparing treatment equipment, Pipeline On water softener solutions gives a useful look at how serviceability affects the day-to-day use of softeners and related water treatment gear. That same logic applies here. If the system is hard to service, maintenance gets skipped, and skipped maintenance always shows up somewhere else.
Choosing the Right Filter System and Bypass Setup
A homeowner usually notices sizing mistakes at the worst time. One person is in the shower, the dishwasher is running, a second faucet opens, and the house pressure falls off. If the filter or bypass path is too restrictive, the system becomes the choke point.
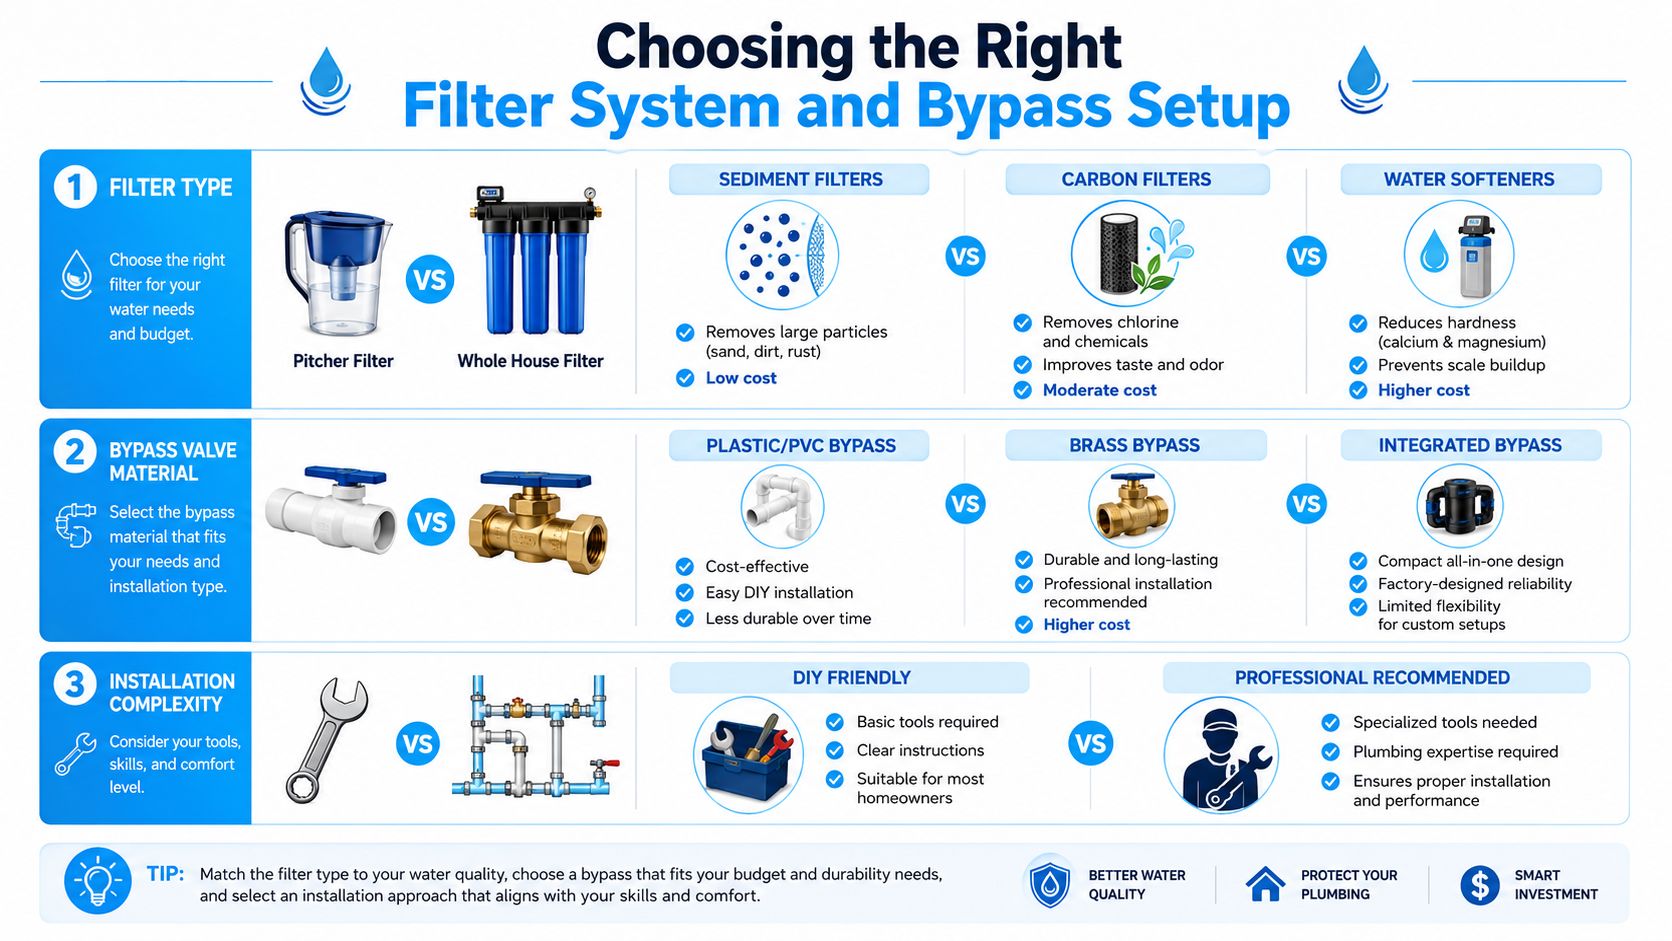
The right setup starts with the house, not the box. Pipe size, fixture count, service space, and the actual water problem should drive the decision. A bypass valve matters here because it affects pressure, service access, and how cleanly the system can be isolated when something needs attention.
Integrated bypass versus standalone bypass
| Setup | Where it shines | Trade-off |
|---|---|---|
| Integrated bypass | Compact footprint, factory-matched parts, cleaner installation | Less flexibility if your pipe layout is awkward |
| Standalone bypass assembly | Easier to adapt to older plumbing and custom layouts | More decisions during installation, more room for installer error |
Integrated bypasses work well in tight utility areas and on packaged systems where the manufacturer has already matched the valve to the unit. That usually means fewer parts and fewer connection points to leak.
Standalone bypass assemblies make more sense on older homes, multi-stage filter builds, or any job where the piping does not line up cleanly with the equipment. They also give an installer more freedom to leave enough room for housing removal, pressure gauges, or a future softener. The trade-off is simple. More flexibility means more chances to create a bad layout if the installer crowds the pipes or leaves stagnant sections that do not flush well.
Match flow to the home, not the brochure
Flow rate should be sized for overlapping use. A filter may look fine when you test one bathroom sink. Real houses stack demand. Showers, toilets, laundry, hose bibs, and kitchen fixtures can all pull at once, and the bypass path has to handle that load too.
I tell homeowners to picture flow like traffic through a narrow lane. If the filter body, bypass valve, or undersized fittings reduce the opening, pressure drop shows up fast at the fixtures. The complaint usually sounds like low pressure, but the root problem is often undersized treatment equipment or a bypass assembly necked down with the wrong valve or fittings.
Check the service flow rating, not just the peak number on the label. Then compare it with the busiest hour your household experiences.
Capacity and maintenance rhythm
Long service life still matters, but only if the system stays practical to maintain. Some whole-house systems are built for extended media life and relatively modest annual replacement costs, including models listed in Aquasana product data summary. That can pencil out well over time, especially for homeowners who want fewer service intervals.
The bypass is what keeps that long-life system livable. A filter that lasts years is still a poor choice if cartridge changes are awkward, the housings cannot be isolated cleanly, or the piping leaves no room to flush sediment after service.
If hardness is also part of the water quality problem, Pipeline On water softener solutions gives a useful overview of where softening fits alongside filtration in the treatment sequence.
Buying shortcut: Choose the filter for the water problem, size the flow path for the busiest hour in the house, and choose a bypass layout that leaves room to service and flush the system correctly.
One useful planning tool is the product research and setup guidance available through Water Filter Advisor, especially if you're comparing packaged systems with different bypass layouts, replacement schedules, and service clearances.
Proper Installation and Avoiding Hidden Plumbing Hazards
A clean installation does more than stop leaks. It protects water quality, keeps service simple, and avoids creating plumbing problems that don't show up until later.
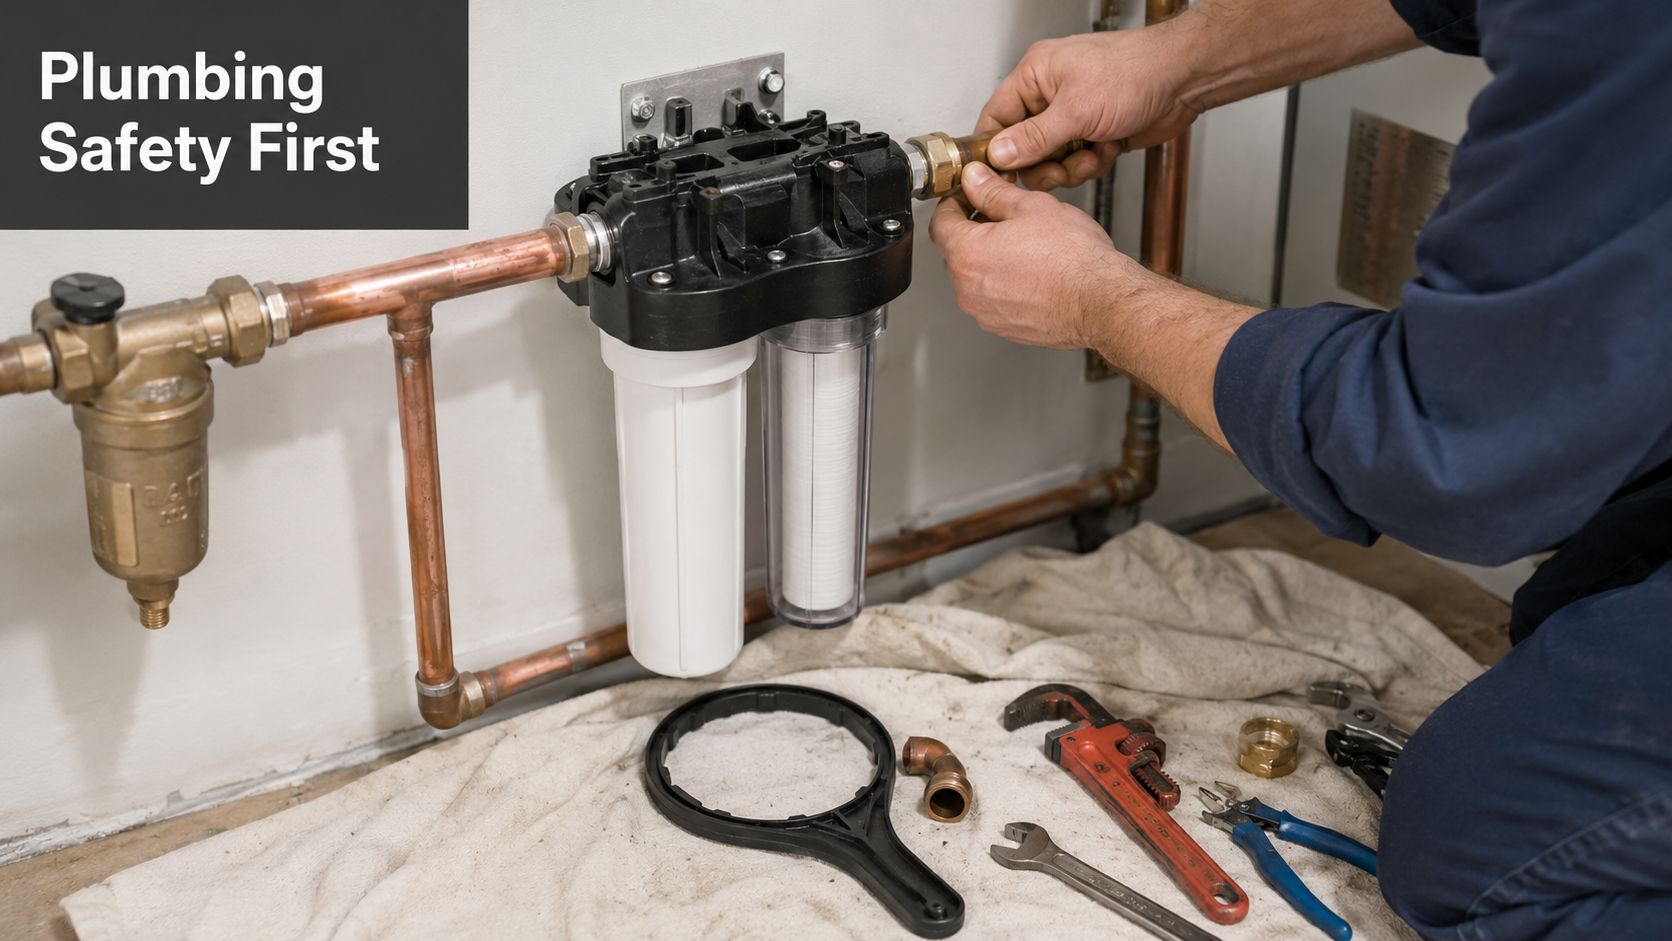
The basic placement rule is straightforward. The bypass valve belongs close to the filter at the home's water entry point and upstream of the water heater, which is described in this guide on how to bypass a whole-house water filter. That location lets the valve divert flow before water branches off to the rest of the house.
The core installation sequence
The physical hookup also needs to be done in the right order. Manufacturer-style instructions call for shutting off the main supply, cutting the pipe cleanly near the marked location, cleaning the cut edges, and then connecting the incoming line to the valve inlet side and the outgoing line to the outlet side before slowly restoring water and checking for leaks, as outlined in the Home Depot valve installation sheet.
That sounds simple, but a lot rides on the details:
- Clean cuts matter: Rough or burred pipe ends can create poor seals and future leaks.
- Orientation matters: Reverse the inlet and outlet and the system won't behave the way it should.
- Slow repressurization matters: Bringing water back too fast can shock fittings and expose sloppy work immediately.
The hidden problem called a dead leg
This is the issue most homeowner articles skip. The underserved angle of dead leg hydraulic stagnation in bypass loops is rarely addressed in mainstream content, despite direct homeowner concern on plumbing forums where people ask whether adding a bypass creates a stagnant zone that promotes bacterial growth or traps sediment, as noted in this discussion about bypass dead legs.
A dead leg is a section of pipe where water doesn't move much or at all. In bypass plumbing, that can happen if the loop is oversized, awkwardly routed, or built with little pockets where water just sits. Stagnant water is never what you want in a domestic plumbing system.
What good bypass plumbing looks like
Good bypass piping is compact and purposeful. Bad bypass piping looks like someone had extra fittings and too much optimism.
Use this checklist when reviewing a design:
- Keep the loop tight: Shorter paths leave less water sitting in idle sections.
- Avoid unnecessary elbows and long offsets: Every extra turn creates more places for sediment to settle.
- Make service access obvious: If the valves can't be reached comfortably, maintenance gets sloppy.
- Ask how the bypass line gets refreshed: If water can sit in the loop indefinitely, discuss how it will be flushed during service.
- Check for downstream leak risk after startup: If a hidden seep develops inside a wall or utility area, you'll want to know early. Homeowners who suspect that kind of problem can learn more about understanding hidden leak detection and why small leaks shouldn't be ignored.
Poor bypass design doesn't usually fail loudly on day one. It creates little water-quality and maintenance headaches that build quietly.
If you're hiring the job out, ask the plumber one specific question: How are you preventing a stagnant bypass loop? A good installer won't be annoyed by that question. They'll answer it clearly.
Mastering Maintenance with Proper Bypass Protocols
Most maintenance advice for whole-house filters is too vague to be useful. “Run water for a few minutes” sounds fine until you've got carbon fines in fixtures, cloudy water at the tap, or a downstream sediment filter that plugs up right after service.
The overlooked issue is the exact flushing sequence after moving from bypass back to service. Verified data specifically notes that the precise flushing protocol right after switching a whole house filter from bypass to service mode is often glossed over by generic guidance, as discussed in this maintenance thread on flushing practice.
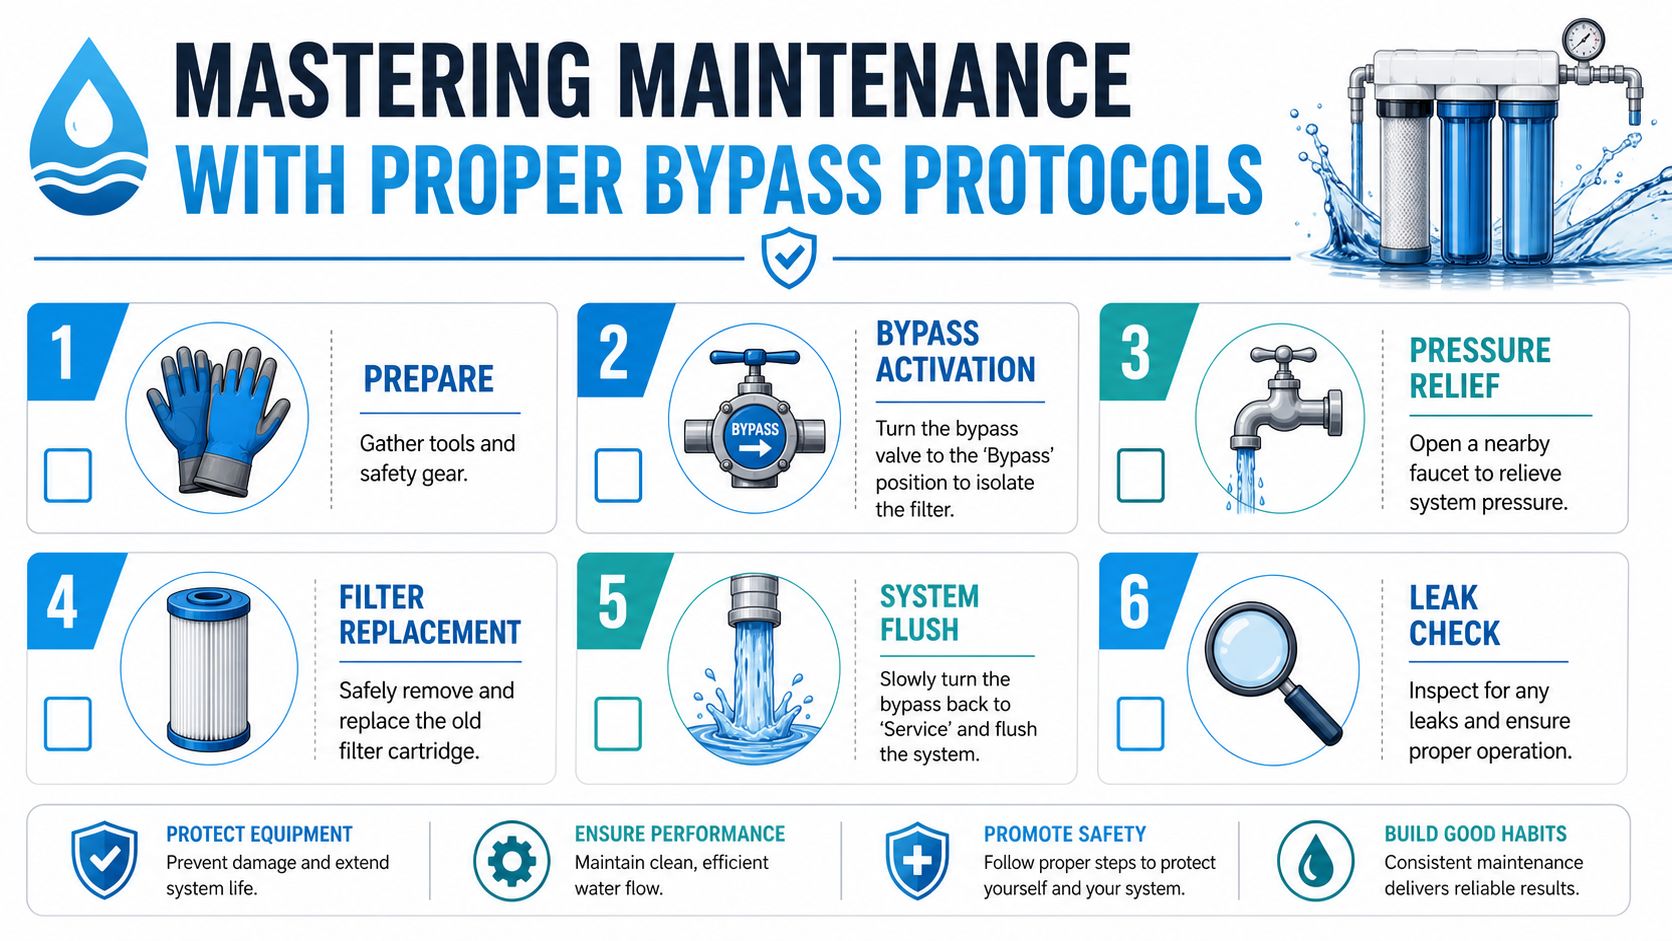
A practical maintenance sequence
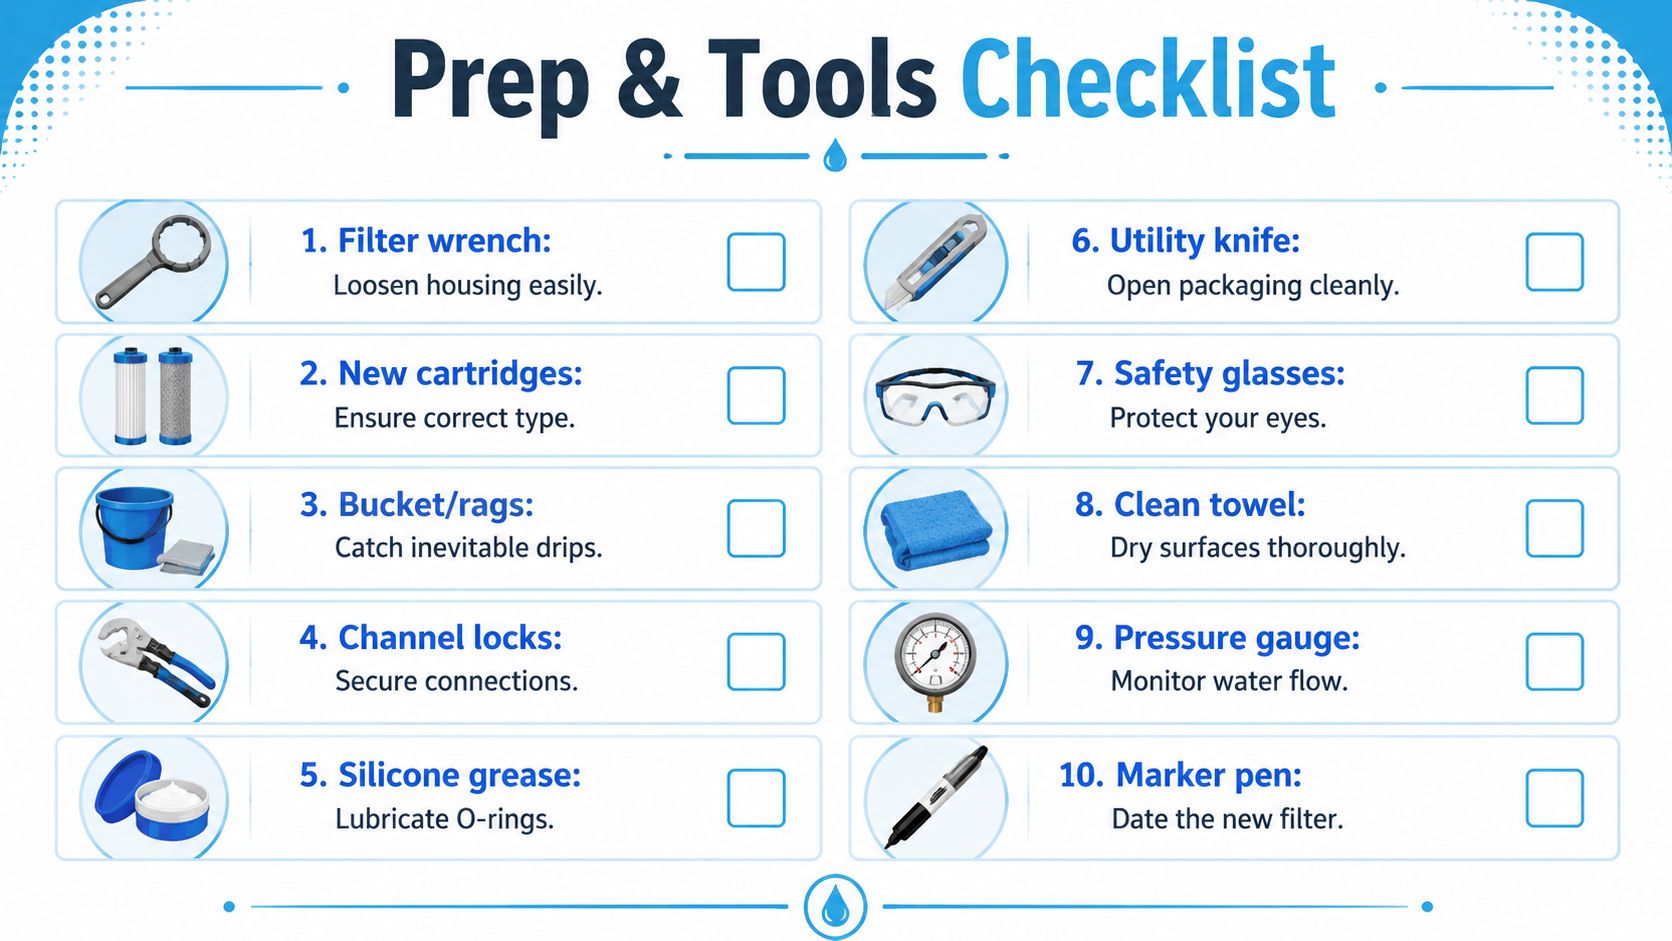
For routine cartridge or housing service, the working rhythm should be controlled and repeatable:
- Put the system in bypass so the house keeps water while the filter is isolated.
- Relieve pressure before loosening housings or fittings.
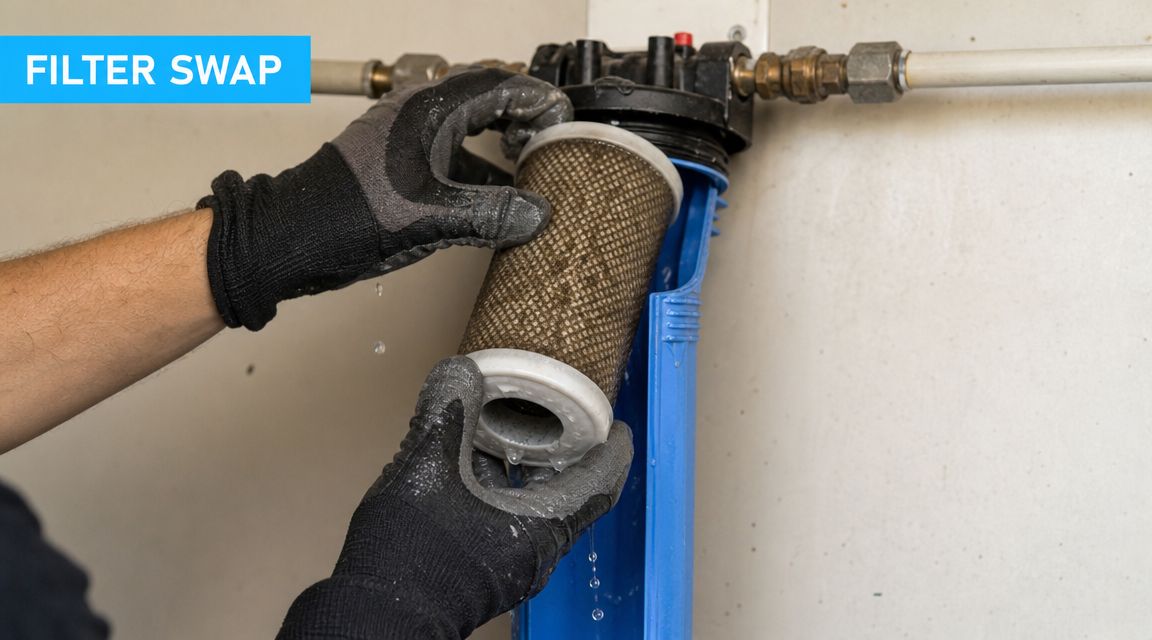
- Complete the filter service and reassemble carefully.
- Return toward service slowly, not all at once.
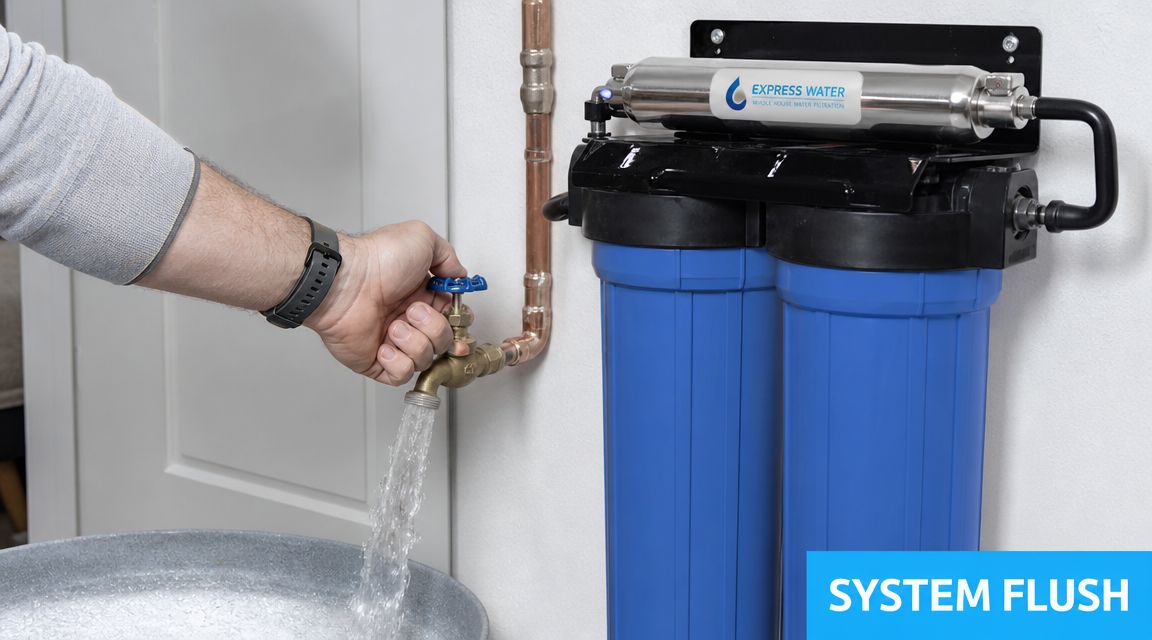
- Flush the system properly before assuming the job is done.
- Check fixtures and fittings for leaks, sputtering, or sediment carryover.
The exact pressure-relief method depends on the equipment. Some assemblies are designed to isolate the vessel and release pressure in a controlled way before disassembly. That's much safer than cracking a housing and hoping pressure is gone.
New media needs conditioning, not just a quick rinse
Carbon media is where many homeowners get tripped up. Verified setup instructions state that after installing or replacing carbon media, the tank should be filled with water and allowed to soak for a minimum of 48 hours, then rinsed for 30 minutes through the inlet side to expel carbon fines, followed by 3 minutes on the outlet side to reset the carbon bed, according to the carbon tank conditioning instructions.
That's very different from casually opening a faucet and calling it good.
Flushing the system versus flushing the bypass
These aren't the same task.
- Conditioning the media prepares new carbon or other filter media for use.
- Flushing the system clears air, loose fines, and disturbed sediment from the plumbing after service.
- Refreshing the bypass path helps move out water that may have been sitting in that loop during maintenance.
If you skip that distinction, the house may technically have water back on, but the water quality at the fixtures can be messy for a while.
Field note: If a house has high sediment, don't be surprised if the post-service flush takes longer than you hoped. Rushing this step just moves the problem downstream.
A careful return-to-service process protects faucet aerators, appliance valves, and any downstream treatment stages. It also gives you an early chance to catch a small leak before it turns into floor damage.
The Smart Choice for a Healthier Home
A bypass valve earns its keep on the day something goes wrong. A cartridge housing cracks on a Saturday. A pressure drop shows up the morning guests are arriving. The filter needs service, but the house still needs water. In that moment, the value of the bypass is not theory. It is whether the plumbing was set up to keep the home running without turning a maintenance job into an outage.
A well-designed whole house water filter with bypass valve does more than make service convenient. It gives the system a controlled way to come out of service and a controlled way to go back in. That second part gets overlooked. If the bypass loop is oversized, poorly located, or left with a long dead leg, water can sit there longer than it should. If the return-to-service process is sloppy, that stale water, trapped air, or loose debris gets pushed into fixtures and appliances.
That is why the best setup on paper is not always the best setup in a real house. Good contaminant reduction matters. So do cartridge cost and flow rate. But the long-term difference often comes down to plumbing details. Short bypass runs. Clear valve positions. Enough access to service the unit without forcing bad body position or rushed work. A layout that lets you flush the right path before sending water back through the whole house.
Homeowners who ask one extra question usually end up with the better system: What happens on maintenance day? If the installer cannot explain how to isolate the filter, refresh the bypass line, and bring the system back online without sending a mess downstream, the design is not finished yet.
That is the smart choice. Buy filtration you can service properly, inspect easily, and return to use without guessing. Clean water depends on media and certifications, but reliable water quality also depends on what happens in the valves and piping after every service call.
If you're comparing systems, troubleshooting bypass layouts, or trying to understand which filtration approach fits your home, Water Filter Advisor is a practical place to keep researching. It covers whole-house filters, replacement schedules, certifications, and maintenance decisions in plain language so you can choose equipment that works in an actual home, not just on a product page.