How to Clean Copper Tubing for Safer Home Water
You've found green crust around a copper pipe, noticed a dull brown surface near the water heater, or cut a tube for a new fitting and wondered whether a quick scrub is enough. Those jobs look similar, but they aren't. A copper tube that only needs to look presentable requires a gentle polish, while a tube being soldered needs a clean, oxide-free joint. A line connected to household drinking water may need diagnosis, flushing, filtration, or replacement rather than another round of scrubbing.
The safest approach to how to clean copper tubing starts with the intended use. Cleaning can improve appearance and joining reliability, but the wrong abrasive or acid can damage thin-wall copper, leave residue, or distract you from a water-quality problem.
What You Are Actually Cleaning the Copper Tubing For
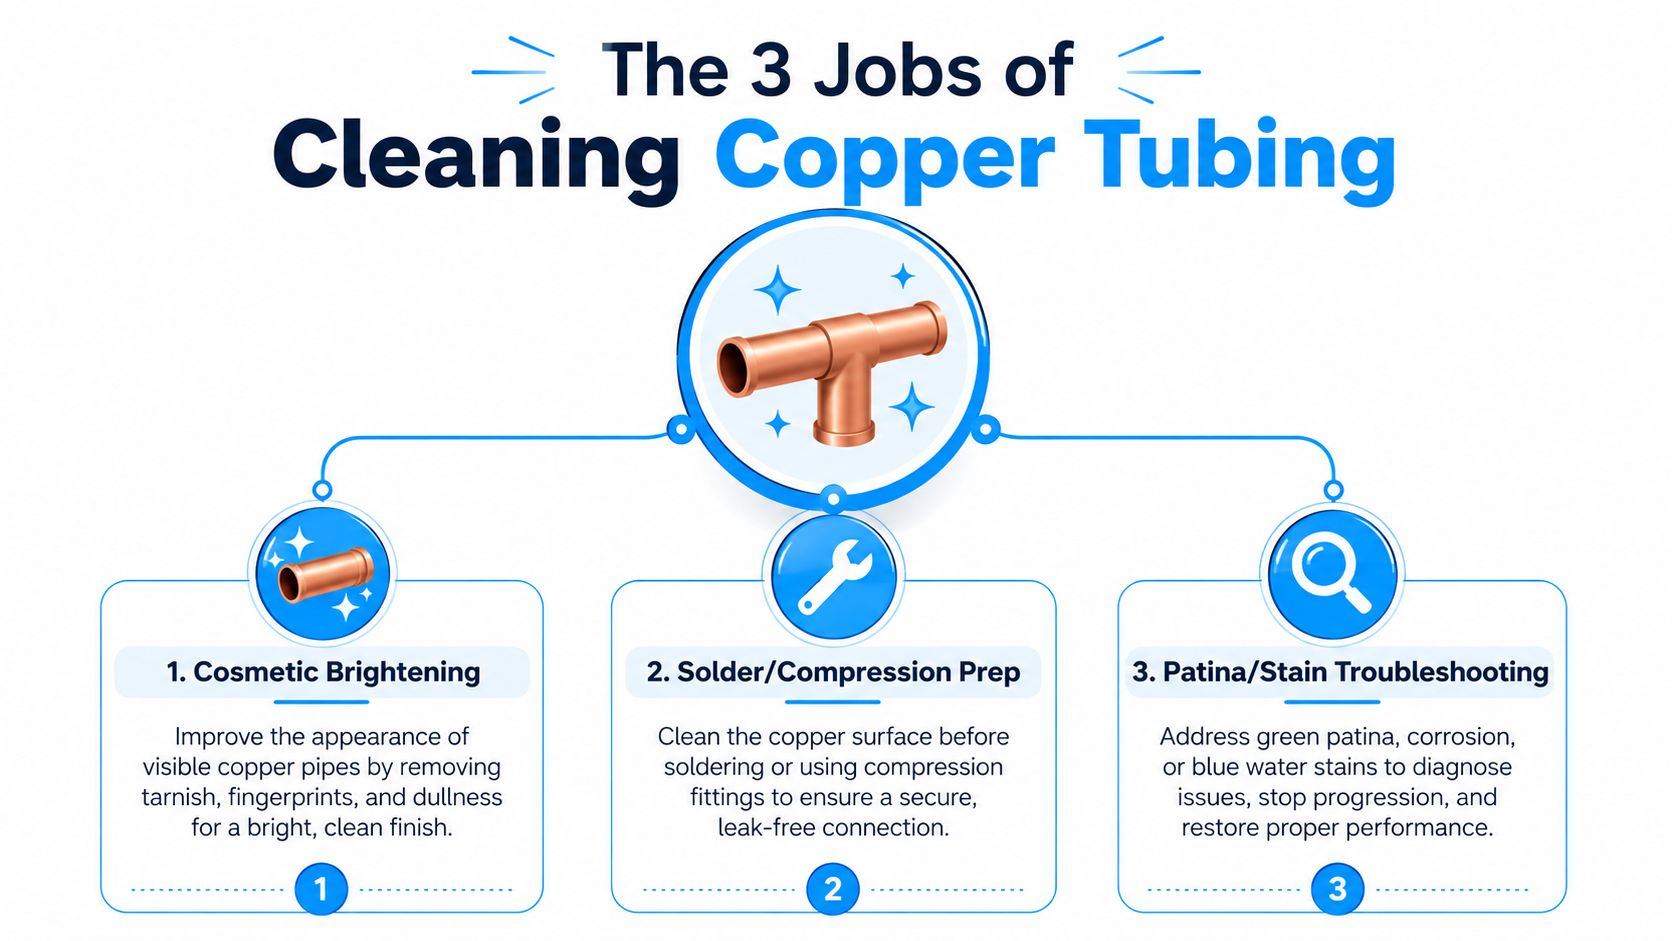
Most homeowners combine three different jobs under one phrase, cleaning copper tubing. The first is cosmetic brightening, where the goal is to improve the appearance of visible pipe. The second is soldering or compression preparation, where the surface must be clean enough for a fitting to seat and, for soldering, for molten solder to wet the copper. The third is troubleshooting green patina, blue stains, or recurring buildup on a line already connected to the home's water system.
Those jobs need different end points. A visible pipe may only need a clean, dry surface with less tarnish. A solder joint needs bright metal on the tube and inside the fitting cup, followed by prompt flux application because exposed copper re-oxidizes quickly. The Copper Tube Handbook guidance on soldered joints stresses applying flux as soon as possible after cleaning. Copper cleaning also has a formal role in oxygen-service systems, where ASTM G93 covers copper tubing, fittings, and gauges alongside other metals.
Match the method to the job
Mixing those purposes causes common DIY errors. Scrubbing an installed drinking-water line with acid may remove surface color while leaving the cause untouched, and aggressive abrasion can remove metal. Chemical residue must also be rinsed completely before a line returns to service.
- Only dull or tarnished: Use a soft cloth and mild paste on accessible exterior copper.
- Preparing a new joint: Use sand cloth or a nylon abrasive pad on the tube, plus a correctly sized fitting brush.
- Green or blue staining on an installed line: Shut off water, drain the section, inspect for leaks and pitting, then consider water chemistry and filtration.
A plumbing business also has to coordinate diagnosis, repair, and customer communication efficiently, which is why resources on how plumbers manage calls with Mercateer can be useful for understanding the service side of these decisions. For a homeowner, the practical rule is simpler: skip to the job you have instead of treating every copper surface as a polishing project.
Mechanical Cleaning Before Soldering or Reuse
Mechanical preparation is usually the safest starting point when a copper tube will be soldered or reused. Begin with a dry wipe to remove grit, dust, and loose particles. If the tube was freshly cut, use a deburring tool or reamer lightly on the inside edge, then ease the outside edge without removing more copper than necessary.
For the tube end, use sand cloth, emery cloth, or a nylon abrasive pad. Work over the area that will sit inside the fitting, extending slightly beyond the fitting-cup depth, and rub around the circumference until the copper looks bright and uniform. A properly sized fitting brush cleans the inside of the fitting cup. For example, a brush made for nominal one-half-inch tube should match that fitting size rather than being forced into a larger or smaller cup.
Practical rule: Clean the tube and fitting separately, inspect both surfaces, and keep them apart from dirt until assembly.
The copper.org soldered-joint cleaning guidance specifically advises using sand cloth or nylon abrasives on the tube, an abrasive pad or fitting brush inside the cup, and avoiding contact with bare hands or oily gloves. Skin oils can interfere with solder wetting. Touching the prepared area after cleaning defeats the purpose and can contribute to a weak joint that leaks later.
Keep thin-wall copper round
Avoid aggressive wire wheels on thin-wall Type M tubing. A power wheel can remove material unevenly, scratch the surface, or oval the tube so the fitting no longer seats correctly. If the tube becomes visibly flattened, severely scored, or distorted, cleaning won't restore its original geometry.
Mechanical cleaning handles oxidation, light tarnish, and ordinary handling residue. It may not remove heavy carbon from overheating, baked-on flux, or stubborn chemical deposits. Those conditions call for controlled chemical cleaning, followed by thorough rinsing and drying, rather than more force with an abrasive tool.
Chemical Cleaning With Citric and Dilute Muriatic Acid
Chemical cleaning has a place when abrasion leaves oxide scale, solder burn-off, or heavy tarnish. It should be treated as a controlled process, not a shortcut for installed domestic water lines. Copper-cleaning guidance commonly uses citric acid or dilute hydrochloric acid because these acids dissolve copper oxides under controlled conditions. A citric acid cleaning guide can help with general solution handling, but the tube's intended service must decide which chemistry is appropriate.
Start with citric acid for removable parts or tubing that can be fully rinsed and verified. Use warm solution, keep the exposure controlled, and inspect rather than assuming longer contact is better. For stubborn contamination on a drainable or non-potable line, NWMES describes approximately 10% muriatic acid as a workshop benchmark that may be left soaking overnight to remove most contaminants. The NWMES copper-parts cleaning note also explains that citric acid dissolves copper oxides.
Wear acid-resistant gloves and eye protection, provide ventilation, and never pour water into acid. Keep a suitable neutralizing material available for spills, while following the product's safety instructions. After cleaning, rinse the tube thoroughly with clean water, repeat the rinse, and dry it with a clean rag or compressed air. Prompt drying matters because exposed copper re-oxidizes quickly, especially before flux is applied.
| Property | Citric Acid, 4 to 6 oz/gal | Dilute Muriatic Acid, approximately 10% |
|---|---|---|
| Best use | Controlled oxide removal on removable or drainable parts | Stubborn contamination on non-potable or fully drainable tubing |
| Action | Dissolves copper oxides with comparatively mild handling | More aggressive oxide and contaminant removal |
| Exposure | Short, controlled contact with inspection | Overnight soaking is a benchmark for stubborn contamination in the NWMES guidance |
| Main concern | Residue if rinsing is incomplete | Copper etching, wall thinning, fumes, and unsafe potable-water use |
Muriatic acid can etch copper slightly and may thin a wall if the process is repeated or poorly controlled. Keep it off installed potable-water lines. For any tube that will carry drinking water, the safer decision is often replacement or professional cleaning rather than trying to make a questionable surface bright again.
Gentle Household Methods for Visible Tarnish
For accessible copper that only looks dull, start with the least aggressive method. Mix baking soda with water into a thick paste, apply it with a soft cloth, and rub gently in circles. Rinse with clean water, then dry immediately and buff with a separate cloth. Drying prevents fresh water spots from becoming the next layer of tarnish.
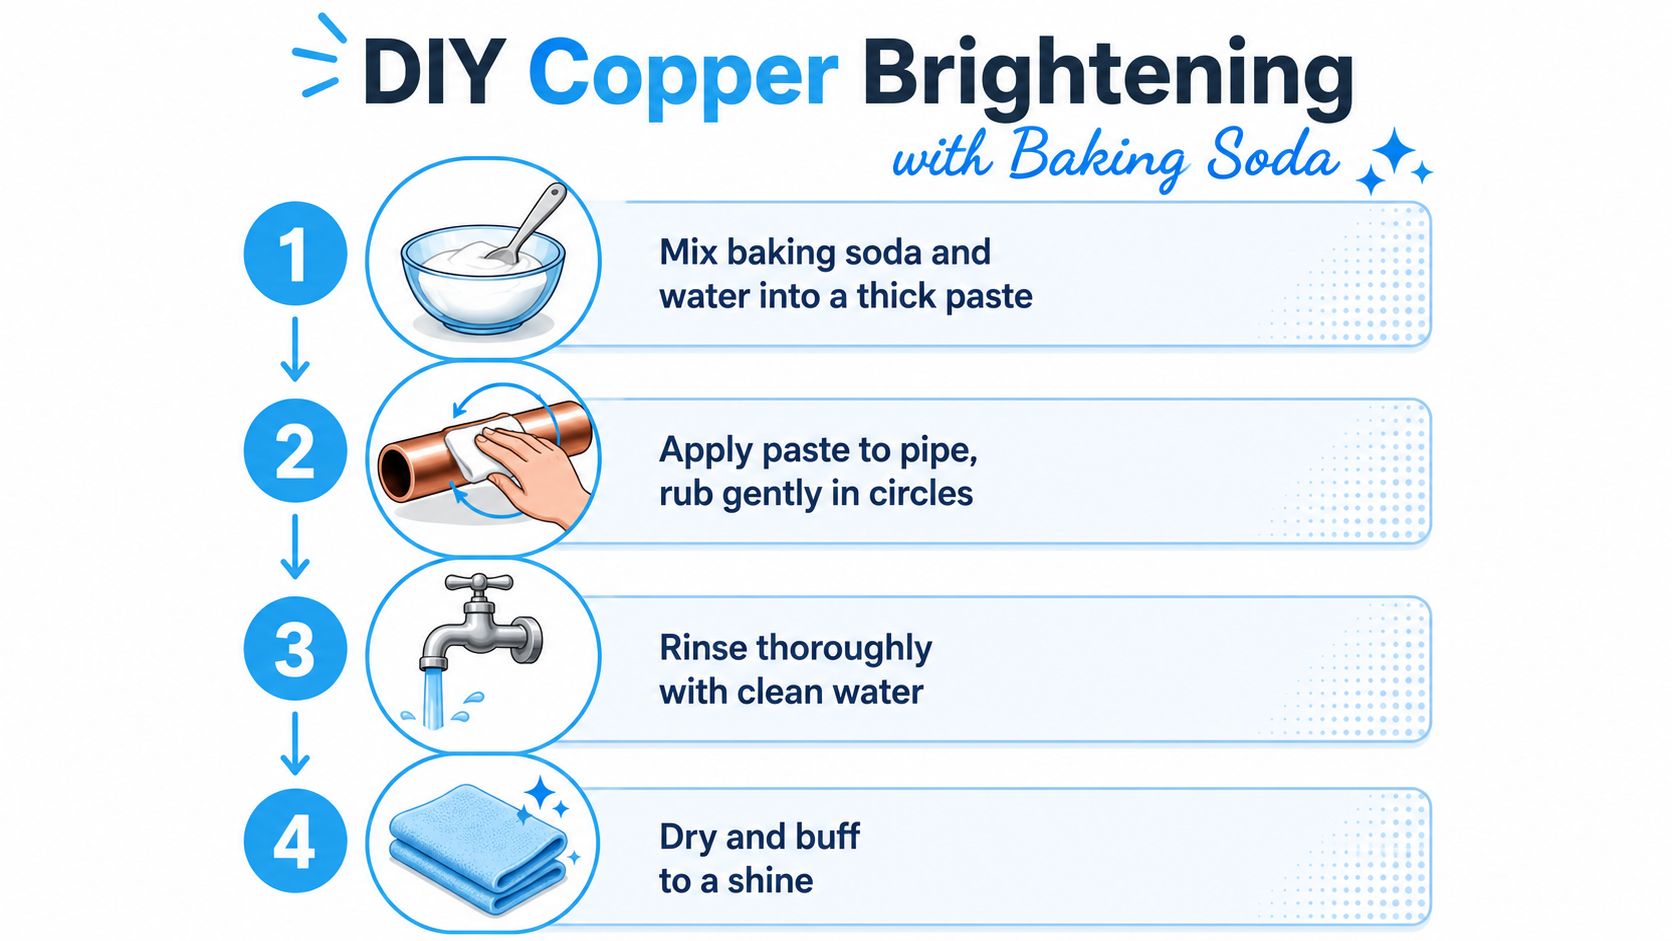
For slightly heavier verdigris, a vinegar-and-salt paste can work on exterior surfaces. Keep contact brief, under 10 minutes, then rinse thoroughly and dry. A lemon-juice and cream-of-tartar mixture offers another mild acidic option, but it still shouldn't sit on thin-wall copper. These recipes brighten the outside. They don't remove internal scale, carbon deposits, or a developing leak.
Independent copper corrosion-cleaning guidance also recommends weak-acid paste methods followed by thorough rinsing and immediate drying. Treat that advice as cosmetic maintenance, not as a treatment for water chemistry.
Use the mild method only when
- The pipe is exposed and dry: Don't use a paste where moisture can remain behind insulation, inside a wall, or around an electrical connection.
- The surface is uniformly dull: Patchy crust, pitting, or recurring blue-green deposits need inspection.
- The tube isn't being soldered: Household pastes aren't a substitute for bright, residue-free joint preparation.
Clean It or Replace It? Reading Green Corrosion and Water Quality
Green copper isn't automatically dirt. It can be a surface patina, evidence of persistent moisture, or a warning that the tube or fitting is deteriorating. A uniform, thin green film on exposed copper may be cosmetic, especially where condensation or low flow has left the surface damp. Blotchy blue-green crust with white powdery edges is more concerning because it often accompanies an active leak or residue drying around a joint.
Raised deposits at fittings deserve particular attention. The fitting may be failing even if the straight tube looks sound. Cleaning the color away can hide the evidence without correcting the leak, and a recurring deposit means the system needs diagnosis rather than another polishing cycle.
| Corrosion Pattern | Likely Cause | Clean or Replace |
|---|---|---|
| Uniform, thin green patina | Surface oxidation or persistent exterior moisture | Clean only if dry and stable, then monitor |
| Blue-green crust with white edges | Active seepage, residue, or unfavorable water chemistry | Find the leak, assess the tube, and replace damaged sections |
| Raised green nodules at a joint | Fitting or joint deterioration | Inspect closely, repair or replace when the joint is compromised |
| Pitting or pinhole leakage | Localized metal loss | Replace the affected section, don't keep scrubbing |
Low pH, elevated chloride, flux residue, and stray electrical current can all be relevant causes, but a visual inspection alone can't identify which one is present. Shut off the supply and drain the line before cleaning an installed section. If staining returns, test the water and inspect the system, especially around heaters, grounding connections, filtration equipment, and dissimilar-metal fittings.
Use certification to frame the water decision
Copper products used in potable-water applications have a recognized health-effects certification path. The NSF/ANSI 61 certification information for copper pipe explains that the mark addresses drinking-water contact and health effects, not merely performance claims. Any repair or replacement should preserve appropriate potable-water compliance and avoid introducing cleaners or contaminants into the line.
If dissolved copper is the concern at the tap, scrubbing the exterior won't solve it. NSF-certified filters under NSF/ANSI 53 are tested with an influent copper level of 3,000 ppb, or 3 mg/L, and must reduce copper to 1,300 ppb, or 1.3 mg/L, or lower, the U.S. EPA action level cited by NSF's copper drinking-water guidance. That benchmark helps homeowners compare a filtration claim with the actual problem. For broader treatment decisions, homeowners can also use the water-quality advice from Water Filter Advisor to decide whether testing, point-of-use filtration, or whole-house treatment fits the situation.
When water treatment is part of the answer, local service expertise can matter too. Homeowners dealing with conditioning equipment may find San Antonio water softener repairs useful as an example of the kind of specialist assessment that goes beyond surface cleaning.
Flushing and Commissioning the Cleaned Line
A tube isn't ready for service just because its outside looks clean. Cleaning can loosen grit, paste, scale, and acid residue, so commissioning must remove what the brush or chemical bath released. Before cutting or reaming pipe, push a clean rag through the tube where possible. It can catch chips, burrs, solder beads, and debris before those materials travel toward a valve, filter, or faucet.
After assembly, cap the far end and pressure-check the new or cleaned section with air to 40 psi before introducing water. Keep people clear of unrestrained fittings, use equipment rated for the test, and follow local plumbing requirements. If the section doesn't hold pressure, find the mechanical problem before flushing it into service.
Build enough flushing flow
The Copper Tube Handbook commissioning guidance recommends flushing the completed system with water at a minimum velocity of 3 feet per second before service. The same guidance describes flushing until discharge water runs completely clear as a practical cleanliness indicator.
Pipe diameter affects the flow needed to reach that velocity, so don't judge the result solely by how open a faucet sounds. Flush from a suitable outlet, direct discharge safely, and continue until the water is visibly clear and free of loosened debris. A newly cleaned line feeding a filter should be flushed before the filter cartridge is put into normal use, because residue can load the media unnecessarily.
Use a cold-water flush for at least 15 minutes, then flush hot water if the line serves a heater. Check the final water for unusual taste, odor, and pH before declaring the line ready. If an acid smell, metallic taste, cloudiness, or abnormal pH remains, stop using the line and investigate instead of assuming more flow will solve it.
Quick Checklist for Cleaning Copper Tubing Safely
Identify the goal first, choose the least aggressive method that can achieve it, then verify the water-quality result. Cosmetic brightening, joint preparation, and installed-line troubleshooting don't share the same risk profile.
Before you touch the tube
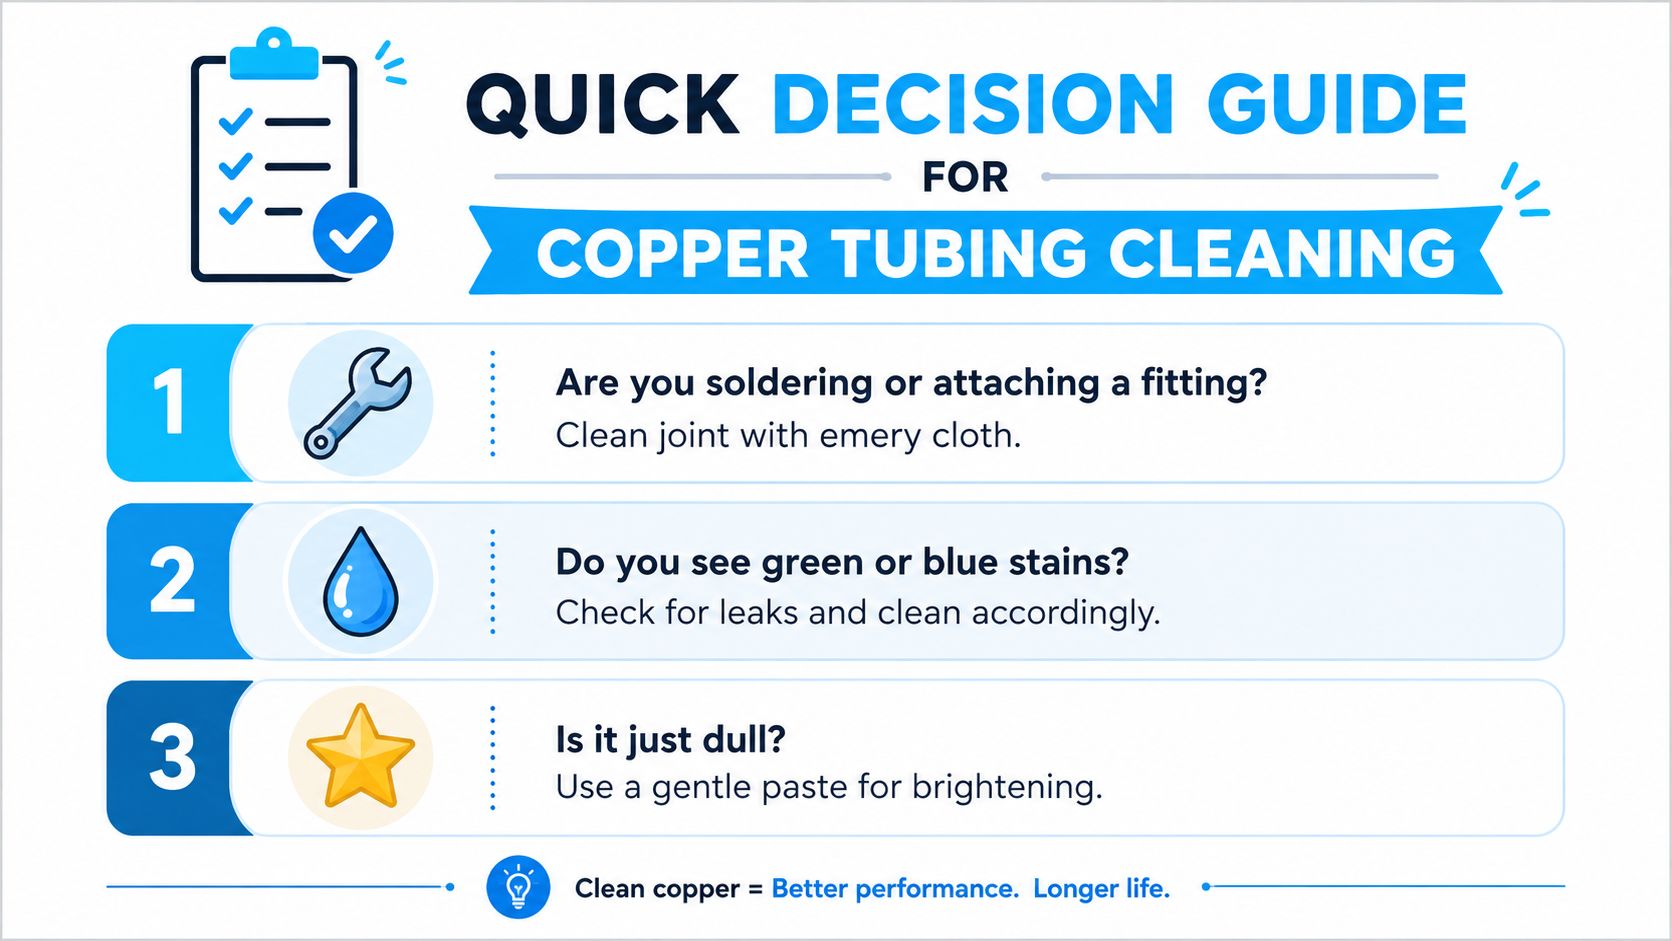
- Choose the job: Use a soft paste for dull exterior copper, abrasive preparation for a new joint, and inspection plus testing for green or blue deposits on an installed line.
- Protect the joint: Deburr freshly cut tubing lightly, clean the fitting cup with a correctly sized brush, and keep prepared surfaces away from bare hands and oily gloves.
- Protect thin walls: Avoid steel wool, aggressive wire wheels, and prolonged acid exposure on thin-wall copper.
- Control chemical cleaning: Rinse acid-cleaned tubing twice with clean water, dry it promptly, and apply flux soon after preparation when soldering.
- Keep acid out of domestic lines: Don't use muriatic acid on installed potable-water tubing. Use replacement or professional assessment when the line can't be removed and fully rinsed.
- Commission deliberately: Push a clean rag through the tube before cutting when practical, complete the pressure check, and flush at a minimum velocity of 3 feet per second using the commissioning guidance cited above.
- Check the treatment claim: If the line feeds drinking water or a filtration point, consider NSF/ANSI 61 for materials and NSF/ANSI 53 for copper-reduction claims.
Green patina doesn't prove that a tube is safe, and a shiny exterior doesn't prove that the water is clean. Visible pitting, pinhole leaks, or persistent blue-green staining at joints means replacement, not another cleaning cycle.
Water Filter Advisor helps homeowners connect copper-pipe concerns with practical water testing, filter selection, certification checks, and maintenance decisions. Visit Water Filter Advisor to compare filtration options and choose the next step based on your home's actual water-quality needs.
