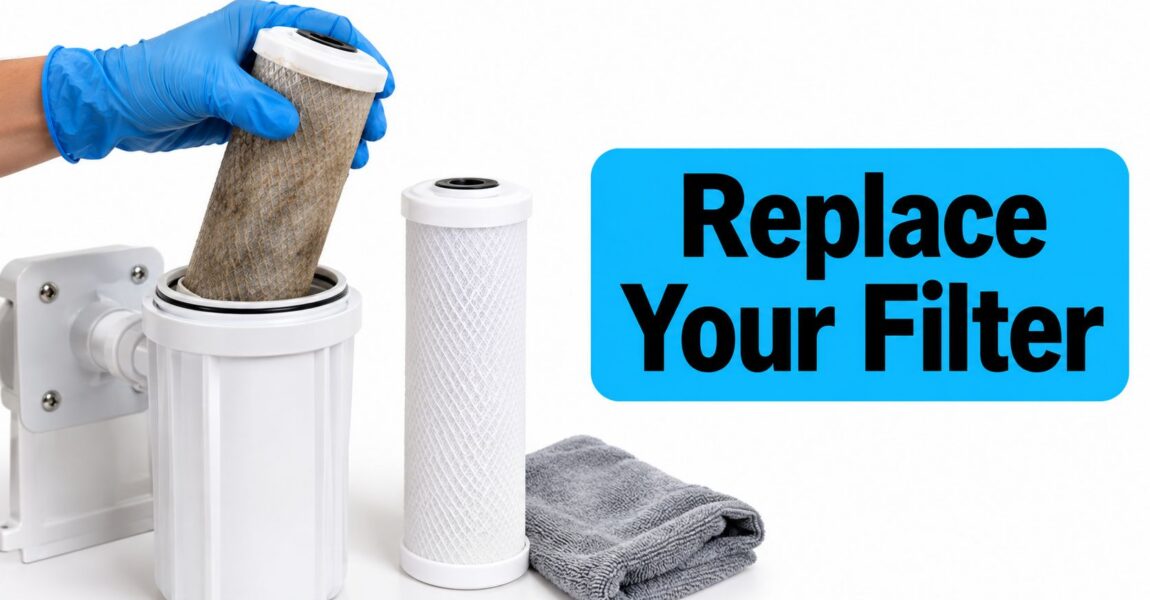
Cartridge Filter Replacement: Step-by-Step Guide
The filter light is glowing, the spare cartridge is on the counter, and the housing looks as though it was tightened by someone who expected a flood. Meanwhile, the water still tastes fine. Can the job wait?
Taste won't answer that question. A good cartridge filter replacement starts with the cartridge's rated gallons, the contaminants you're treating, and anything unusual that's happened to your plumbing. Then comes the swap, where clean hands and a correctly seated seal matter more than brute force.
How Often Each Cartridge Type Needs Replacing
Five common cartridge formats, five different service clocks.
| System | Typical lifespan | Replacement cost | What triggers the change |
|---|---|---|---|
| Pitcher filter | 2–6 months | $10–$30 per cartridge | Rated gallons or the specified interval, whichever comes first |
| Faucet-mounted filter | 2–6 months | $5–$20 per cartridge | Rated gallons or the manufacturer's calendar limit, whichever comes first |
| Refrigerator filter | About 6 months | Depends on the specified model | Indicator light or about 6 months, whichever comes first |
| Under-sink filter | 6–24 months or longer | Depends on each cartridge in the system | Rated gallons, flow loss or the manufacturer's month limit |
| Whole-house filter | 6–24 months or longer | $50–$100 for some models | Pressure drop, flow loss or the manufacturer's limit |
The lifespans and available price ranges come from EPA consumer guidance on choosing water filters, which lists pitcher and faucet cartridges at about 2–6 months, refrigerator cartridges at about 6 months, and some under-sink or whole-house systems at 6–24 months or longer, with replacement costs of roughly $10–$30 for pitcher cartridges, $5–$20 for faucet cartridges and $50–$100 for some whole-house units. Refrigerator and under-sink cartridge prices depend on the specific replacement model, so two systems that look similar can carry very different running costs. Treat every figure here as a typical range, not a promise about the cartridge in your kitchen.
Count what actually passes through the filter
A couple fills a pitcher twice a day. Multiply the pitcher's filtered volume by their daily fills, then compare that consumption with the cartridge's gallon rating. A small cartridge can reach its volume limit well before its calendar reminder.
Count cooking water, coffee water and pet-bowl refills, not just drinking glasses. The gallon rating also assumes a certain contaminant load, and heavy sediment or a demanding chlorine level can consume the media's capacity sooner than the box implies. For an under-sink system, check whether the rating applies to each treatment stage separately, because a sediment prefilter and a carbon cartridge don't necessarily share a service life.
Cost per treated gallon matters more than sticker price. Divide the replacement price by the usable rated capacity, then weigh whether sediment loading will force an earlier change. A cheaper cartridge is no bargain if it lacks the treatment claim your water needs.
Read the box before choosing a date
Find the gallon rating and the month limit, and plan on whichever arrives first. Check the exact model rather than borrowing an interval from a similar-looking cartridge; this guide to water filter cartridge types can help distinguish the treatment media and formats.
If neither limit appears, contact the manufacturer instead of guessing at a safe service life. As a fallback checkpoint, schedule a six-month inspection and write the installation date on the housing, but treat that date as a prompt to inspect, not proof the cartridge still performs.
Signs a Cartridge Is Due Before Its Date
A cartridge can still improve taste while no longer delivering its intended contaminant reduction. Chlorine taste is noticeable; lead isn't something you can reliably detect with your senses.
The EPA's guidance on lead-removal filters warns that expired filters can become less effective at removing lead and emphasizes following replacement instructions, flushing before use and avoiding hot water. An overdue lead-reduction cartridge needs changing even when the water seems perfectly pleasant.
Events that should move the change forward
I would replace conservatively after plumbing repairs that release debris, a water-main or service-line disturbance, or an unusual spike in sediment or cloudiness. Follow any utility instructions first, and flush the affected plumbing before putting the replacement into service so it doesn't immediately collect the disturbed material.
A household that suddenly doubles its daily use after guests arrive or a new baby comes home also needs an immediate capacity review. Higher consumption alone doesn't automatically mean a fresh cartridge is spent, but it can make the original replacement date unrealistic.
A taste-and-odor cartridge and a lead-reduction cartridge have different jobs. Don't judge the second by how well it performs the first.
Use this decision order:
- After a defined contamination or debris event, change now when the cartridge's condition or remaining protection is uncertain, and complete the prescribed flushing.
- When gallons are metered, change at the rated figure or earlier if conditions justify it.
- Without volume tracking, use the manufacturer's calendar interval rather than extending it because the water tastes fine.
A stated capacity reflects specified test conditions. Your household's contaminant concentration, sediment load and demand may justify a more conservative change point.
Tools and Safety Steps Before You Open the Housing
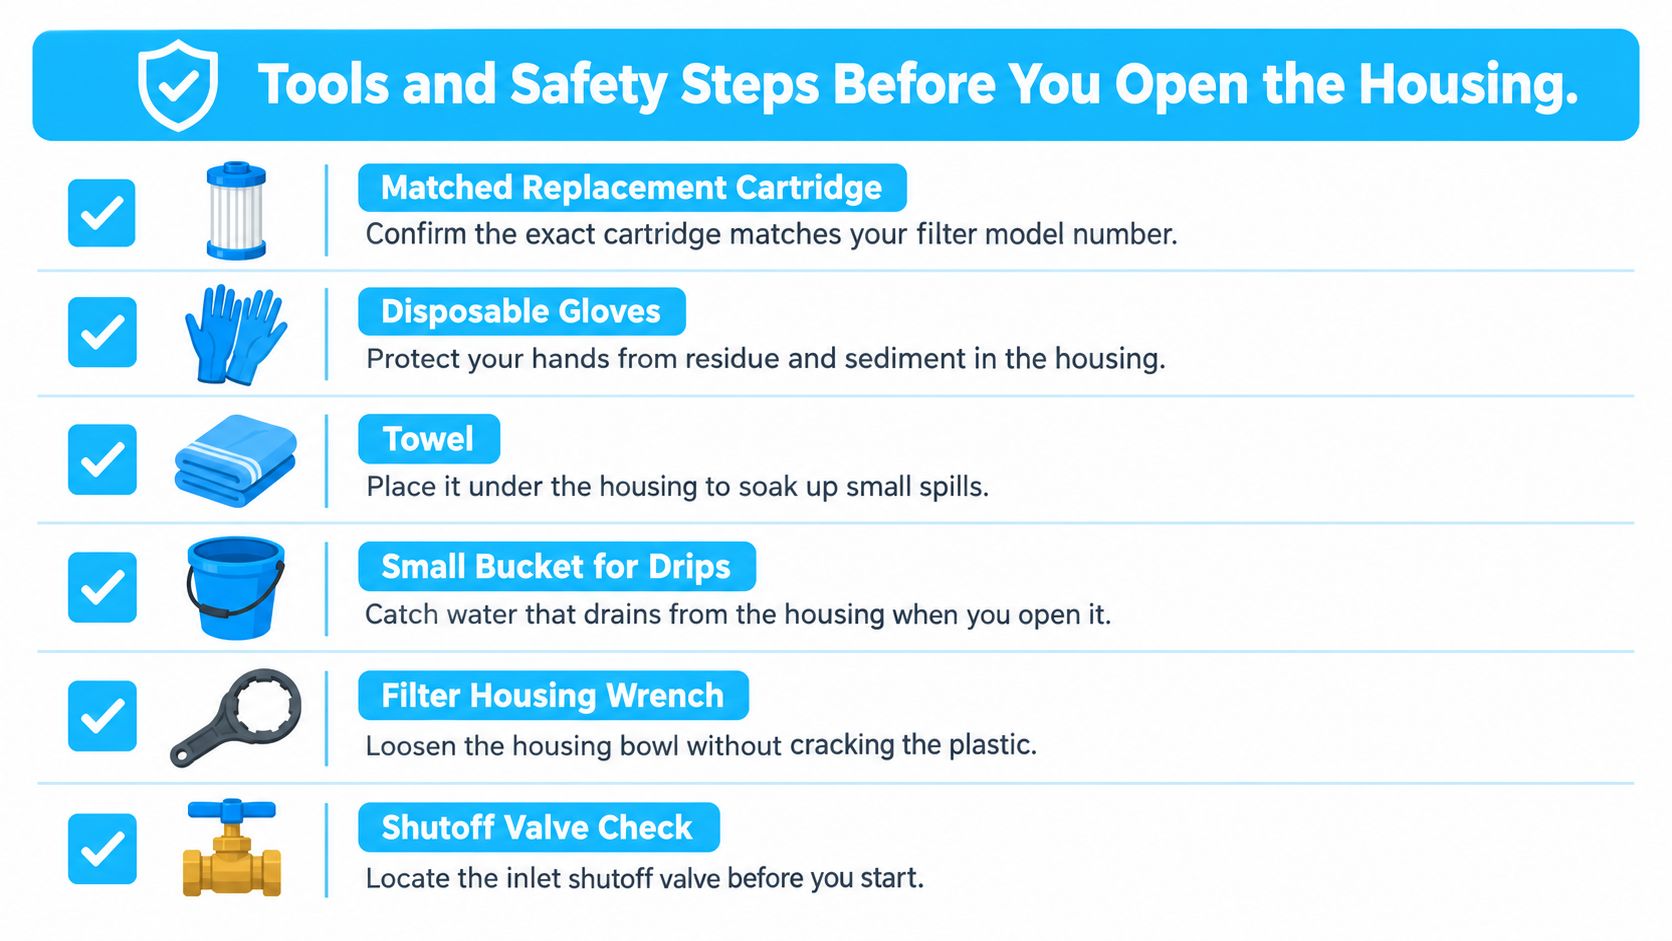
Have everything within reach before touching the filter:
- Matched replacement cartridge: Confirm the housing model and replacement part number. Similar dimensions don't guarantee compatible seals or treatment performance.
- Disposable gloves: Keep residue off your hands and avoid touching the new cartridge's outlets or media.
- Towel and small bucket: Put the towel beneath the housing and leave room to lower a water-filled bowl into the bucket.
- Food-safe silicone grease: Use only a lubricant the manufacturer permits for the O-ring. Petroleum jelly isn't a substitute.
- Marker: Keep it ready for the installation label rather than trusting yourself to remember later.
- Housing wrench: Use the correct-size wrench for a stubborn canister. Locate and test access to the inlet shutoff before starting.
Use this checklist to prepare the workspace.
Treat handling as part of water safety
The CDC's home-filter guidance explains that many pitcher and refrigerator filters aren't designed to remove germs, warns that changing filters can expose people to captured germs or chemicals, and recommends gloves and handwashing afterward. People with weakened immune systems, including those taking certain medications, should ask someone else to perform the swap.
Keep clean replacement parts separate from the used cartridge. Clean or disinfect the housing only with products and methods its manual permits; an aggressive cleaner can damage plastic or leave unwanted residue.
During a boil-water advisory, ordinary pitcher, refrigerator and under-sink filters aren't microbiological protection. Wait until the advisory is lifted and the supply is declared safe before completing the replacement, then replace removable filter components as directed. Changing a cartridge doesn't make advisory water safe to drink.
How to Replace the Cartridge Step by Step
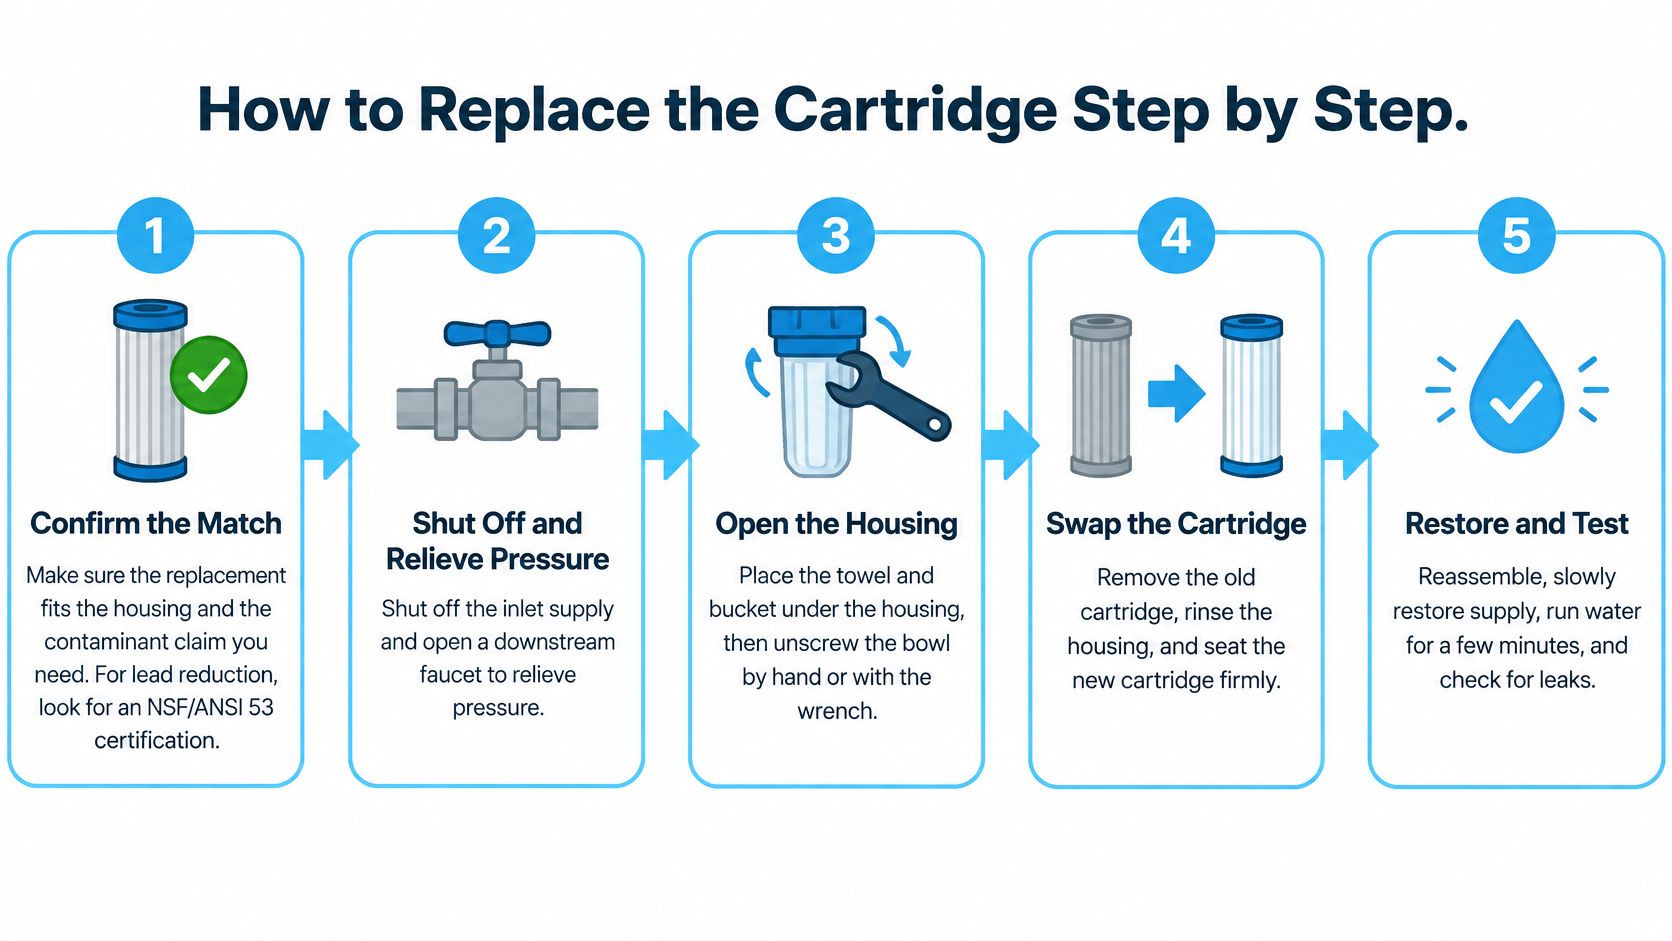
Keep the model-specific manual beside you, especially for locking cartridges and multi-stage assemblies. The overview below shows the workflow; the detailed checks are what prevent leaks and internal bypass.
Open, inspect and install
Confirm the replacement matches the housing and treatment claim. Match the part number, connection style and intended contaminant reduction, not just the cartridge's appearance. For lead reduction, look for a compatible cartridge explicitly certified for that claim under NSF/ANSI Standard 53, as described in EPA cartridge-installation guidance.
Shut off the inlet supply and relieve pressure. Open a downstream faucet and wait until pressurized flow stops; use the housing's pressure-release button if its instructions call for it. If water continues flowing under pressure, stop and resolve the shutoff problem before loosening anything.
Loosen the housing using its intended release. Pitcher lids generally lift off, threaded under-sink bowls unscrew, refrigerator cartridges may rotate or pull out after a release, and whole-house canisters often need a housing wrench. Support the filter head so you aren't twisting the connected plumbing, and confirm the opening direction before applying force.
Remove the spent cartridge and inspect the sealing parts. Lower the bowl into the bucket, then examine the housing, O-ring and sealing groove for cracks, grit, cuts or flattened rubber. Replace damaged parts rather than trying to stop a leak by tightening harder.
Clean the housing and lightly lubricate the O-ring. Use only cleaning materials allowed by the manual, rinse away permitted cleaner thoroughly, and wipe grit from the sealing groove with a clean cloth. If lubrication is specified, spread a thin film of compatible food-safe silicone grease over the O-ring rather than leaving blobs in the groove.
Insert the new cartridge in its specified orientation. Remove protective packaging and caps, align the cartridge with its locating features, and confirm that it sits squarely before closing the bowl. The CDC's filter-maintenance guidance emphasizes correct replacement and safe handling; a wrong length or poorly seated seal can let water bypass the media even when the housing looks tight.
Hand-tighten the housing unless its manual specifies otherwise. Start threaded bowls squarely and back off if the threads resist immediately, because cross-threading can ruin the housing. For ordinary O-ring canisters, use the wrench for loosening rather than adding tightening leverage; if your equipment specifies a torque, follow that value instead of inventing one.
Reopen the supply slowly and check for drips. Watch the bowl joint, cartridge connection and nearby fittings as pressure returns. Wipe everything dry so a fresh bead of water is easy to distinguish from a spill.
Flush the new cartridge for the specified volume or duration. Direct the initial discharge into a bucket or drain, not a drinking glass, to clear carbon fines and manufacturing debris. Don't substitute a generic flushing time for the cartridge's actual instructions, and check for leaks again after flushing.
Watch the physical sequence
Use the demonstration to recognize the basic handling motions, then follow your own housing's release and locking mechanism.
Troubleshooting Leaks, Slow Flow and Air After Install
| Symptom | Likely cause | Fix |
|---|---|---|
| Air bubbles or sputtering at the tap | Air trapped in the new cartridge | Run cold water for several minutes until flow is clear and steady, completing the required flush |
| Slow flow soon after install | Fine carbon dust or a cartridge not fully seated | Flush the manual's volume; if flow stays low, depressurize, reopen and confirm the cartridge sits square |
| Drip from the housing | Dirty, twisted or dry O-ring | Shut off and depressurize, clean and reseat the O-ring, then apply permitted food-safe silicone grease |
| Leak that appears after tightening | Overtightening or a cracked housing | Shut off and depressurize before loosening; inspect for cracks, replace damaged parts and hand-tighten |
| Gradual flow loss weeks later | Sediment loading or a cartridge at rated capacity | Check gallon count and pressure against the product's change point |
| Odor, slime or black specks | Stagnation, contamination or spent media | Treat persistent symptoms as a sanitation issue; clean where allowed, flush and verify cartridge compatibility |
Separate installation trouble from exhausted media
Air sputtering should diminish during flushing; persistent sputtering deserves a check of the supply and connections rather than endless flushing. Likewise, slow flow that begins immediately after replacement points toward installation, a partly closed valve or a flushing problem before it points toward exhausted media.
Say a homeowner installs a twist-lock cartridge one turn off its proper seat and gets a trickle. The fix is to isolate and depressurize the system, reopen it and check the locking alignment, not force the cartridge farther with pliers.
Leak-check rule: Never adjust a pressurized housing. Shut off, relieve pressure, then inspect.
A housing drip commonly comes from the seal, but cracks and damaged threads are possible too. This water-filter leak troubleshooting guide can help distinguish a bowl-joint leak from a tubing or fitting problem.
Initial carbon fines should clear within the prescribed flush. Lingering specks, slime or unexplained odor aren't reasons to keep drinking while experimenting; stop using the affected outlet and resolve the sanitation issue.
Use pressure readings in context
NSF's cartridge-replacement guidance describes service cycles in gallons or estimated months and the importance of using the correct replacement at its recommended interval. Pressure readings can add useful context when your housing provides gauges and its manufacturer defines a change point.
Compare readings under similar demand. A low reading while several fixtures are running doesn't mean the same thing as a drop across the filter under normal flow, and a commercial cartridge's pressure threshold shouldn't become a household rule.
Reset, Recycle and Book Your Next Change
Reset the indicator only after the replacement is installed, flushed and leak-free. Use the button sequence for your model and confirm the light clears or the display acknowledges the reset; replacing the cartridge alone doesn't necessarily restart the counter.
For systems without an indicator, the EPA's water-filter maintenance guide recommends tracking elapsed days or gallons and setting a personal replacement reminder. Record the new installation as a fresh entry rather than overwriting the old one, so you can recognize whether service life is getting shorter.
Contain the old cartridge
Check the manufacturer's take-back or mail-in program before putting the cartridge in the trash. Confirm that the program accepts your exact cartridge, since a recycling symbol on the outer plastic doesn't establish that the complete assembly belongs in curbside recycling.
- Drain the spent cartridge: Let loose water drain into an appropriate container without squeezing or breaking the media enclosure.
- Bag it intact: Seal the used cartridge to contain residue and prevent it from leaking in the bin.
- Follow local disposal rules: Use the required waste route, particularly if the cartridge treated a known contamination problem.
Don't cut cartridges open to separate the media at home. Also, don't discard a reusable housing bowl with the spent insert; wipe it dry and reinstall it after the permitted cleaning procedure.
Make the reminder useful
Write the installation date, replacement part number and rated gallon limit on a label attached to the housing. Keep the label clear of threads, release buttons and inspection surfaces.
Set a phone-calendar reminder with the exact cartridge model in the title and add the capacity limit to its notes. If you track volume manually, include a recurring task to update the gallon count rather than relying solely on a distant replacement alert.
Water Filter Advisor's replacement-cartridge and certification guides are one option for comparing the claims on a replacement box with the treatment your household needs. Your equipment manual and the cartridge's certification listing should settle compatibility questions before you buy.
Finish today by writing the next scheduled change date on the housing and saving the matching phone reminder. Keep the cartridge model in that reminder so the next swap starts with the right part, not a search through old packaging.
Water Filter Advisor offers home-filter buying guides, replacement-cartridge information and practical maintenance advice. Visit Water Filter Advisor to compare cartridge types and contaminant-reduction claims before ordering your next replacement.
