How to Clean Brita: Ultimate Guide for Spotless Water
You fill a glass, lift the pitcher back into the fridge, and catch something you didn’t notice yesterday. A cloudy film near the bottom. Maybe a faint musty smell when the lid flips open. Maybe white crust around the rim that won’t wipe away with a paper towel. That’s usually when people search how to clean Brita and hope the answer is “just rinse it out.”
It usually isn’t.
A Brita pitcher sits in the awkward middle ground of home water filtration. It looks simple, but it handles standing water, food-contact plastic, filter media, tight seams, and a lid assembly that loves to trap moisture. That combination is why these pitchers get funky in ways that surprise people. The grime isn’t always dramatic. More often, it’s a thin slick feeling, a stale smell, or scale that keeps coming back no matter how hard you scrub.
If you’ve ever cleaned a spigot dispenser, you already know that water equipment gets dirty in places people forget to check. The same mindset from how to clean water dispensers applies here. Don’t clean only what your eyes catch. Clean the seams, contact points, and anything that stays damp.
Why Your Brita Pitcher Needs More Than a Quick Rinse
The classic mistake is treating a Brita like a regular juice pitcher. Dump the old water, run it under the tap, and call it done. That works for a day or two if the pitcher is already spotless. It doesn’t work when moisture sits under the lid, droplets collect around the filter housing, and minerals from tap water keep drying onto the plastic.
What that film usually means
That slippery layer inside a pitcher isn’t always dramatic mold growth. Sometimes it’s early biofilm, which is the gunky layer that forms when water and residue stay put long enough on a surface. Add a warm kitchen, a lid that doesn’t fully dry, and a pitcher that gets constant refills, and the inside can start smelling off before it looks dirty.
Hard water makes the problem worse. Mineral scale gives grime something to cling to, especially around corners, fill flaps, and the reservoir lip. Once scale builds up, plain soap often slides over it instead of lifting it.
A Brita that looks “mostly clean” can still taste stale if residue is hiding in the lid tracks or around the filter seat.
Why water filtration gear gets dirtier than people expect
Pitchers don’t just hold water. They hold standing water, and that changes the cleaning standard. If you leave a coffee mug on the counter overnight, you expect a rinse. If you leave water in a filtration pitcher for days, every damp surface becomes a maintenance point.
Three real-world issues show up again and again:
- Musty odors: Usually tied to trapped moisture, old residue, or a filter that was installed without proper prep.
- White chalky deposits: Classic hard water scaling on plastic walls and seams.
- Black flecks or gray dust: Often harmless carbon fines from a new filter, not a sign that the whole pitcher is ruined.
The practical takeaway is simple. A Brita doesn’t need obsessive cleaning, but it does need deliberate cleaning. A fast rinse handles loose water. It doesn’t remove the stuff that changes taste, smell, and long-term pitcher condition.
The Two Tiers of Brita Cleaning Your Essential Schedule
Brita pitcher cleaning often involves either insufficient attention or an overreaction once the pitcher gets gross. The better approach is a split routine. Keep one quick habit for normal upkeep, and one heavier cleaning for the grime that builds slowly.
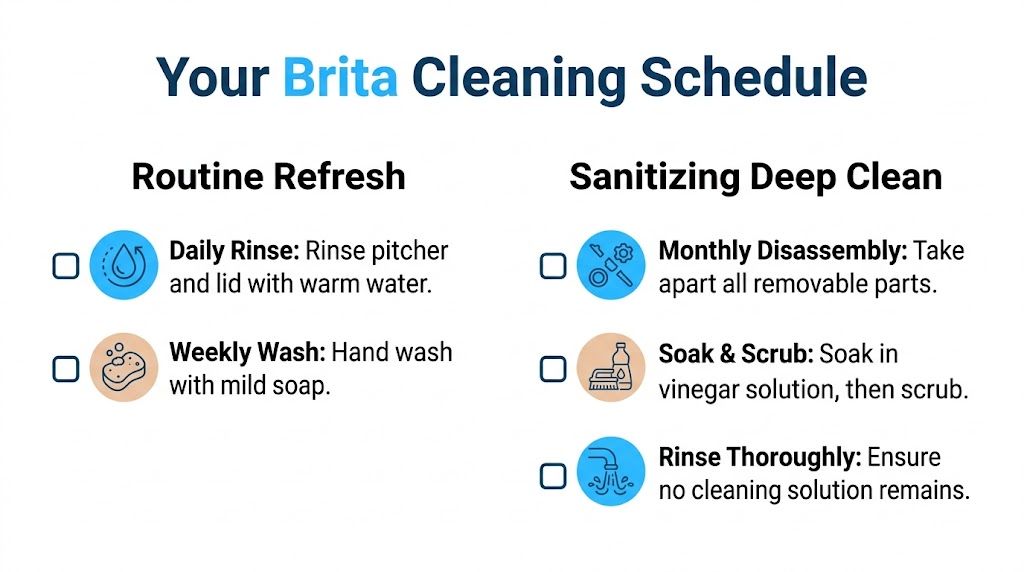
Routine refresh
This is the maintenance wash that keeps the pitcher from getting funky in the first place. It’s not glamorous, but it saves the most effort later.
A routine refresh means emptying the pitcher, removing what you can, washing with mild soap, rinsing thoroughly, and paying attention to the underside of the lid and the reservoir edges. If your kitchen runs warm or your tap water leaves visible residue, do it more often, not less.
Sanitizing deep clean
Deep cleaning is what you do when quick washing stops working. Maybe there’s a stale smell. Maybe the pitcher has a cloudy cast that soap won’t touch. Maybe the seam near the handle feels slick even after a rinse.
This is the session where you fully disassemble the removable pieces, inspect the filter seat, deal with scale, and let every part dry properly before putting it back into service.
Here’s the schedule in plain terms:
| Cleaning type | Best use | What you need | Main goal |
|---|---|---|---|
| Routine refresh | Regular upkeep | Mild dish soap, soft sponge, clean towel | Remove fresh residue before it turns into film |
| Sanitizing deep clean | Odors, slime, scale, neglected pitcher | Mild soap, soft brush or sponge, vinegar for scale, drying space | Reset the pitcher and clear hidden buildup |
What works and what doesn’t
A quick comparison tells the story better than any manual.
- Daily or near-daily rinsing works when your pitcher is already clean and you’re preventing residue from settling.
- Weekly hand washing works for normal household use, especially if the pitcher lives in the fridge and gets frequent refills.
- A deep clean works when you’ve got actual buildup, a smell, or visible mineral staining.
- A plain water swish doesn’t work once scale or biofilm has started.
- Aggressive scrubbing doesn’t work well either, because scratched plastic tends to hold onto grime more easily afterward.
Practical rule: Clean lightly and often, then go deeper only when the pitcher gives you a reason.
That schedule sounds basic, but it’s what separates a Brita that stays neutral and fresh from one that always smells a little “fridge-ish.”
Your Guide to a Flawlessly Clean Brita Pitcher
When people ask me how to clean brita pitchers properly, I tell them to think like a careful appliance cleaner, not a dishwasher loader. The goal isn’t just to make it look clear again. The goal is to clean the surfaces that affect water quality and keep the plastic in good shape.
Disassemble and inspect
Start by removing the filter and separating every removable part. Set the filter aside somewhere clean while you work on the pitcher body, reservoir, and lid components that can be detached.
Before you wash anything, inspect the trouble zones. Check the filter opening, the underside of the lid, the corners near the spout, and the inner lip of the reservoir. Those are the places where grime hides even when the main walls look clean.
If you see white crust, slimy residue, or dark specks stuck in seams, don’t go straight for a stiff scrubber. On plastic filtration gear, force usually creates a second problem.
Wash with the right stuff
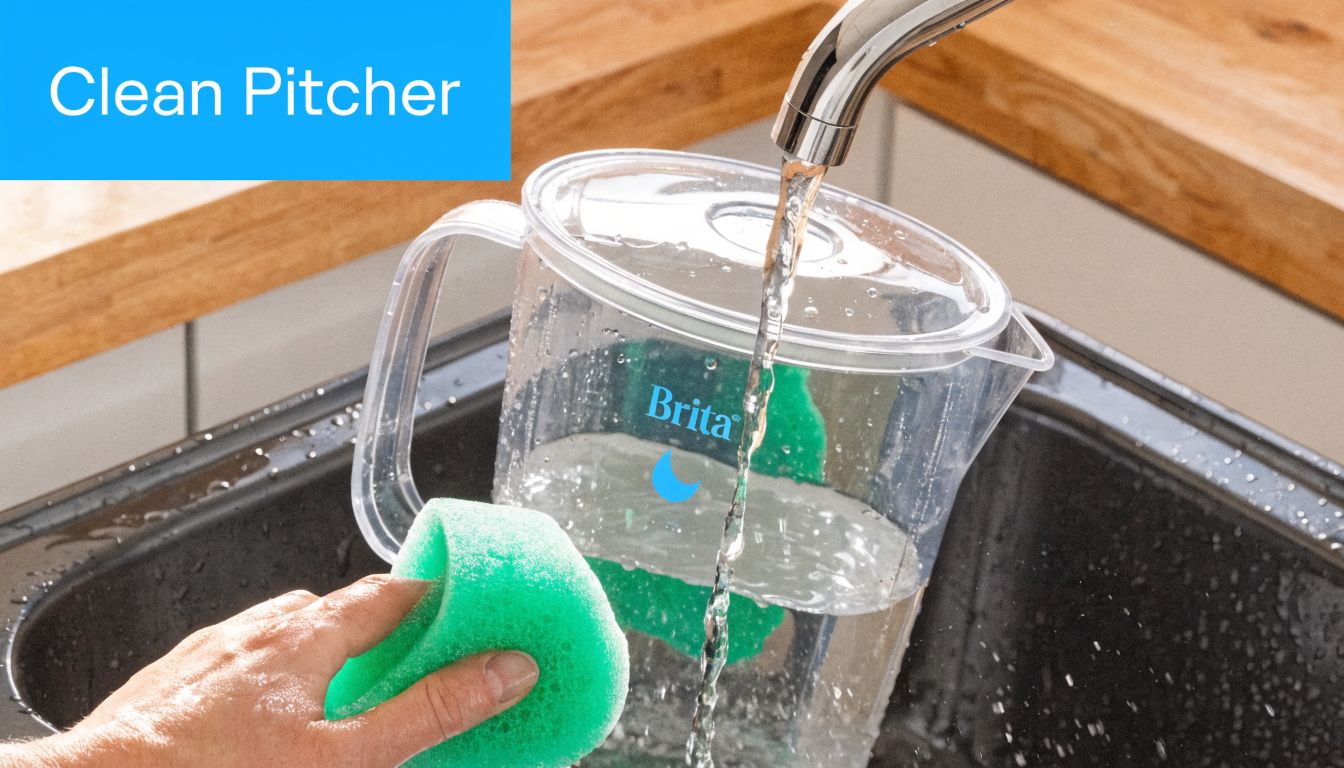
Brita’s official guidance is very clear. The pitcher, lid, and reservoir should be hand-washed with mild detergent, and not put in a dishwasher or cleaned with abrasives. Brita also notes that dishwasher temperatures can exceed 140°F, and that harsh detergents can warp plastic and degrade seals. Improper cleaning, especially with hot water, can shorten the filter’s effective lifespan by up to 20% due to stress on the system’s components, according to Brita support guidance on pitcher care.
That’s the inside scoop many people miss. The cleaning method affects more than appearance. It affects fit, seal quality, and how well the pitcher continues to handle the filter over time.
Use a soft sponge or a soft bottle brush. Mild dish soap is enough for normal residue. Don’t use abrasive pads, powdered cleansers, or extra-hot water because they’re rough on the plastic and can leave the surfaces dull and easier to stain later.
A good hand-wash sequence looks like this:
- Clean the large surfaces first: Wash the pitcher walls, base, and outside handle area so you’re not dragging grime into the smaller creases later.
- Hit the seams second: Work around the reservoir lip, spout area, and lid underside where residue usually lingers.
- Use fingers for fit points: The filter seat and seal areas often clean better with a soapy fingertip than with a bulky sponge.
Rinse for purity
Soap residue in a water pitcher is a self-inflicted problem. Rinse until the surfaces feel squeaky clean and there’s no slickness left behind.
This part matters more than people think. A lot of “my water tastes weird after cleaning” complaints come from rushed rinsing, not from the pitcher itself.
A visual demo can help if you want to see the process in motion.
Dry completely to prevent mold
Drying is where many otherwise careful cleanings fall apart. People wash the pitcher, shake it twice, reassemble it damp, and slide it back into the fridge. That traps moisture in the exact places where odor and growth tend to start.
Air-dry the parts thoroughly before reassembly. If you towel-dry, use a lint-free cloth and still give the parts some open-air time, especially the lid and reservoir contact points.
If moisture stays trapped under the lid, the pitcher will smell dirty long before it looks dirty.
What not to do
A clean Brita comes from restraint as much as effort. Avoid shortcuts that feel powerful but age the pitcher fast.
- Don’t use boiling or very hot water: Heat stresses the plastic.
- Don’t toss the whole thing in the dishwasher: Even if another plastic pitcher survived, this one may not.
- Don’t use abrasive scrubbers: Scratches become future grime magnets.
- Don’t reassemble wet parts right away: Damp storage invites the exact funk you were trying to remove.
Clean it gently, rinse it thoroughly, and let it dry longer than your impatient side wants. That’s what keeps a Brita looking clear and tasting neutral.
Banishing Mold Odors and Stubborn Hard Water Stains
Routine washing handles ordinary residue. It doesn’t always beat the nasty trio of mold risk, stale smells, and chalky hard water buildup. Those need a different playbook.
When mold is the real concern
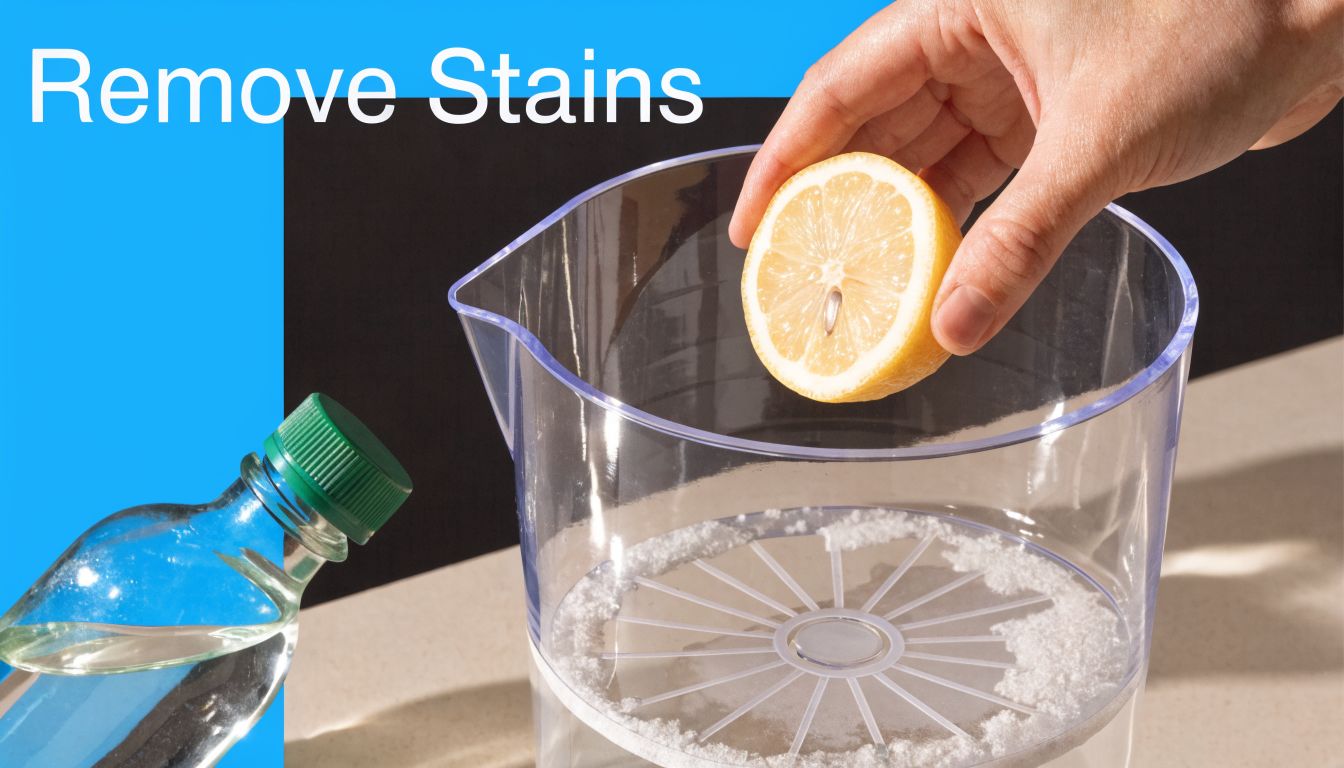
If you spot dark specks in corners, a pinkish film, or a musty smell that returns quickly, stop doing half-measures. Disassemble the removable parts and clean every damp contact surface. After washing with mild soap, use a vinegar soak on the affected plastic parts if they have visible residue or odor.
The reason vinegar helps is simple. It loosens the kind of buildup that clings to damp plastic and settles into seams. Use it on the pitcher parts, not as a shortcut for the filter itself.
What works best in practice:
- Target creases first: Lid edges, fill openings, and the reservoir rim tend to hold moisture longest.
- Let problem spots sit: A short soak on the affected plastic beats frantic scrubbing.
- Rinse until the vinegar smell is gone: Otherwise you’ve traded one odor for another.
Getting rid of odors that won’t leave
Some pitchers look clean and still smell tired. That’s usually old residue in hidden surfaces, or plastic that absorbed odors from neglect.
Baking soda can help deodorize the plastic after a thorough wash. The key word is after. Don’t use it as your first move when the pitcher is still visibly dirty. Clean first, deodorize second, rinse thoroughly, and dry fully before putting the pitcher back together.
The best odor remover for a Brita isn’t fragrance. It’s full drying time.
If the smell returns right away, inspect the lid and filter seating area again. Persistent odor almost always means a missed spot, trapped moisture, or an overdue filter change.
Beating hard water scale without wrecking the pitcher
Scale is the white, chalky crust that laughs at basic soap. In hard water homes, it can form a cloudy ring inside the pitcher and around seams where water evaporates slowly.
A vinegar soak on the scaled plastic parts is the practical answer. Let the deposits soften, then scrub with a soft sponge or soft brush. Don’t attack scale with a scouring pad unless you want a pitcher that looks scratched forever.
This is also where the dishwasher question gets messy. In the United States, Brita guidance generally says no dishwasher for the pitcher assembly. But some international Brita documentation allows specific components to go in the dishwasher at a maximum of 50°C, while excluding the lid. That difference matters in hard water homes where mineral scale is relentless. It’s also relevant because 85% of US households are in hard water areas, according to the source cited in this discussion of Brita dishwasher-safe limits and hard water buildup.
Here’s the practical reading of that contradiction:
| Problem | Best first move | What to avoid |
|---|---|---|
| Light scale | Vinegar soak, soft sponge | Scraping with metal or abrasive pads |
| Heavy scale | Repeat soak and gentle scrubbing | Very hot water |
| Lid buildup | Hand-wash only and dry well | Dishwasher gamble |
The dishwasher dilemma in plain English
If you’ve got a model and regional guidance that clearly allows certain detached parts in a low-temperature dishwasher cycle, you still need to be careful. The lid is the common no-go zone, and the safer default is still hand washing.
If you don’t have crystal-clear model-specific permission, don’t improvise. For most users, vinegar plus patience beats one risky dishwasher cycle that warps the part and ruins the fit.
Brita Filter Care Preparing and Replacing for Peak Performance
A spotless pitcher with a poorly handled filter still gives mediocre results. Filter care is its own job. Don’t treat the cartridge like a plastic accessory you can pop in dry and forget.
Prep the new filter the right way
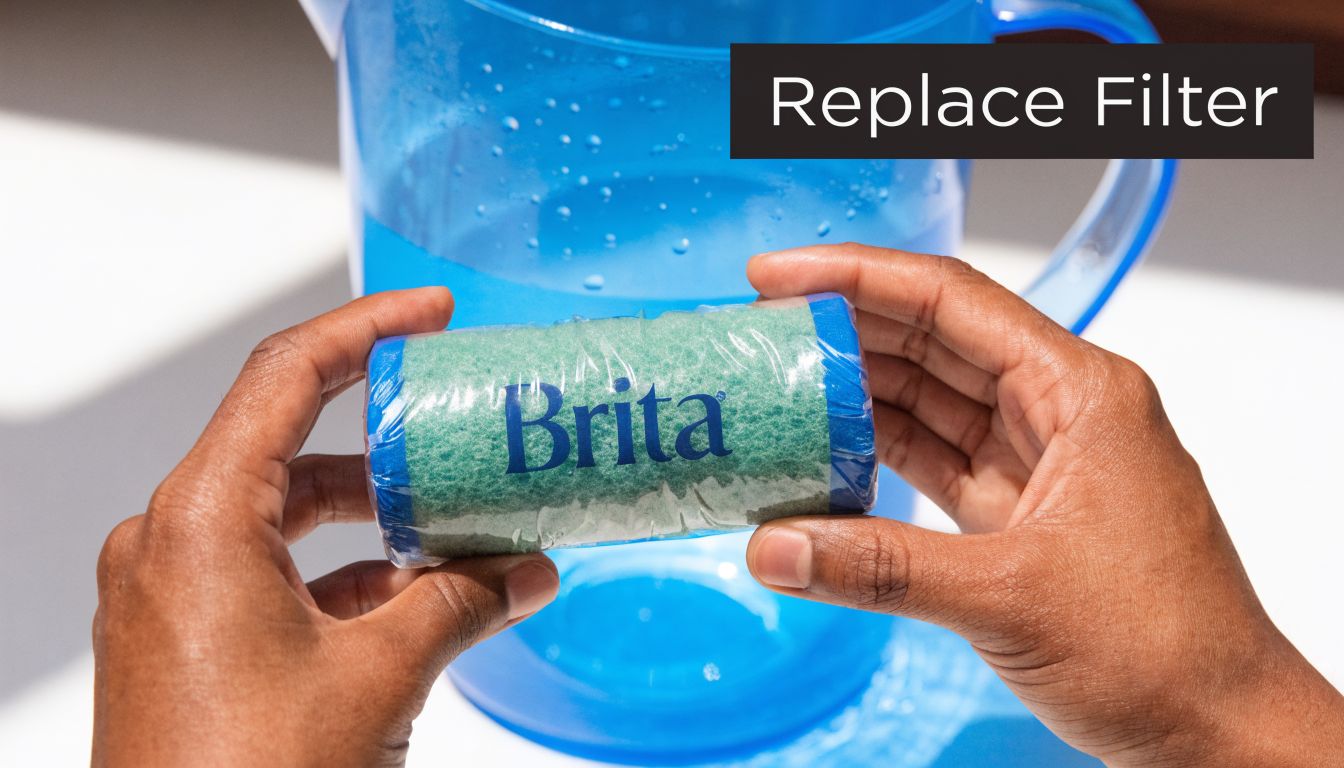
Brita’s official setup matters. A new filter should be flushed with cold water for 15 seconds, then installed, and the first three full pitchers of filtered water should be discarded. That process removes harmless carbon dust and purges trapped air. Brita’s guidance also notes that following this setup process can reduce the risk of mold and bacterial colonization on the cartridge by an estimated 30 to 40%, as described in Brita’s pitcher filter preparation FAQ.
That’s not busywork. It’s what helps the filter settle into normal flow and keeps the first fills from carrying extra carbon fines into your glass.
If you skip the prep, you’ll often see black or gray specks in the water. That usually doesn’t mean the filter is defective. It usually means it needs the startup flush it should’ve gotten in the first place.
Signs your filter needs attention
The calendar reminder or indicator is useful, but your pitcher will often tell you more than the light does.
Watch for changes like these:
- Flow slows down noticeably: The filter may be loaded up or improperly seated.
- Taste drifts off: If the pitcher is clean but the water tastes flat or odd, the cartridge may be nearing the end of its useful life.
- You keep seeing fines after setup: Recheck installation and make sure the initial flush was done properly.
For broader maintenance guidance on home filtration gear, it helps to keep a bookmark to practical resources like water filtration advice and maintenance guidance.
What to do before travel or downtime
If you’re leaving for a while, don’t leave the pitcher forgotten on a shelf with stale water inside. Empty it, clean the pitcher, and make sure the parts dry properly.
For the filter itself, follow the product’s handling guidance for storage and replacement. The key point is to avoid a stagnant, damp setup that sits untouched. That’s where smells and questionable performance tend to start when you return.
A clean pitcher protects the outside of the system. Proper filter prep protects the inside.
Keep the jobs separate
Pitcher cleaning and filter preparation overlap, but they’re not the same task. One removes surface grime from the housing. The other gets the cartridge ready to do its job. If you mix those steps together casually, you end up with a pitcher that looks clean and water that still seems off.
Frequently Asked Brita Cleaning Questions
Can I wash a Brita dispenser the same way as a pitcher
Mostly yes in principle, but the spigot changes the job. A dispenser has one extra trouble spot that pitchers don’t. The tap area can trap residue and stay damp. Clean removable parts gently, flush and wipe around the dispensing area carefully, and don’t rush drying.
What about a Brita bottle with a straw or mouthpiece
Those parts need the same mindset as any reusable drinking component. Focus on the mouthpiece, straw path, cap threads, and seals. Those areas collect film faster than the bottle body. A soft cleaning brush helps more than a sponge there.
I used the wrong soap once. Is the pitcher ruined
Usually not. The practical fix is to wash it again with mild dish soap, then rinse thoroughly until there’s no scent or slick feel left. The bigger issue is repeated use of harsh cleaners, not a single honest mistake.
Why are there black specks in my water
Most of the time, that’s carbon dust from a new filter. It’s a setup issue, not a disaster. If it appears after a new cartridge install, think back to whether you did the required flush and discarded the startup pitchers.
Can I use the dishwasher if I’m desperate to remove scale
Treat that as a model-specific exception, not a general cleaning method. If you’re comparing cartridge types or trying to figure out whether a different replacement style might fit your maintenance habits better, this guide to replacement cartridge water filter options gives useful context on the broader category.
What’s the biggest mistake people make
They clean only what they can see. On Brita gear, hidden moisture is the repeat offender. A pitcher can look fine and still smell off because the lid, seams, or filter seat never fully dried.
How clean is clean enough
If the plastic feels smooth, smells neutral, shows no visible film or scale, and the pitcher dries without funky odor returning, you’re in good shape. You don’t need perfection. You need consistency.
If you want more practical help choosing, maintaining, or troubleshooting home water filtration, visit Water Filter Advisor. It’s a solid place to compare systems, learn what maintenance matters, and keep your drinking water setup working the way it should.
