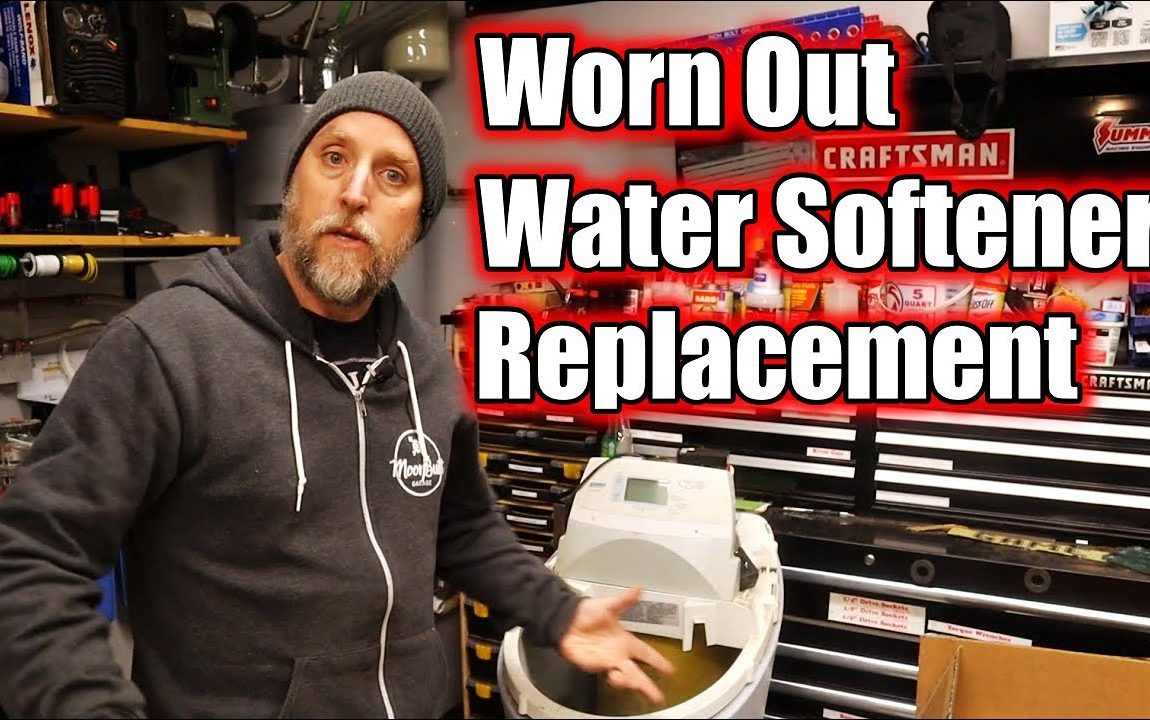
How to Replace a Water Softener | Whole House Water Filter Installation
My water softener has been giving me problems lately, so I decided it was finally time to replace the softener, but I won’t be installing another one….I will be replacing the water softener with a whole-home water filter system
DIY Projects:
D100 Videos:
Charger Videos:
VW Beetle Videos:
Fitness Videos:
You can always find me here:
Webpage:
Facebook:
Instagram: @Moonbuilt
Twitter: @BuiltMoon
Tools Used For This Build:
APEC 3-Stage Filter System Amazon
Copper Tube Cutter Amazon
Sharkbite Disconnect Clips Amazon
Sharkbite Disconnect Tool Amazon
Sharkbite Deburring/Depth Gauge Amazon
What I Use To Film:
Canon EOS M50:
DJI Osmo Action:
Zhiyun Smooth 4 Gimbal:
Rode VideoMic Me-L:
Rode VideoMicro:
Rode Wireless Go Wireless Lavalier:
Vijim LED Video Light:
Thronmax MDrill Zero Microphone:
AmazonBasics 60-Inch Lightweight Tripod with Bag:
Vastar Smartphone Mount:
eBay –
Amazon –
Automotive Parts at Jegs –
Custom T-shirt Designs at Printful –
Disclaimer: Some of these links are affiliate links where I’ll earn a small commission if you make a purchase at no additional cost to you. This helps support the channel and allows us to continue to make videos like this. Thank you for the support! All opinions are my own and presented without editorial input from outside sources.
Disclaimer:
Due to factors beyond the control of MoonBuilt Garage and WJM Industries LLC, we cannot guarantee against improper use or unauthorized modifications of this information. MoonBuilt Garage and WJM Industries LLC assume no liability for property damage or injury incurred as a result of any of the information contained in this video. Use this information at your own risk. MoonBuilt Garage and WJM Industries LLC recommend safe practices when working on vehicles and or with tools seen or implied in this video. Due to factors beyond the control of MoonBuilt Garage and WJM Industries LLC, no information contained in this video shall create any expressed or implied warranty or guarantee of any particular result. Any injury, damage, or loss that may result from improper use of these tools, equipment, or from the information contained in this video is the sole responsibility of the user and not MoonBuilt Garage or WJM Industries LLC.
Produced and owned by WJM Industries LLC
#MoonBuiltGarage #DIY #howto #woodworking #storage #storageideas #storagesolutions #woodflag #americanflag #rusticflag #woodshop #garageshop #shopideas #workshop #tools #maker #woodworkingtools #tooltip #woodworkingprojects #garagelife #garagefun #garagenight #builder #homerepair #homeimprovement #homerepairdiy #homeimprovementdiy
Original Video Source