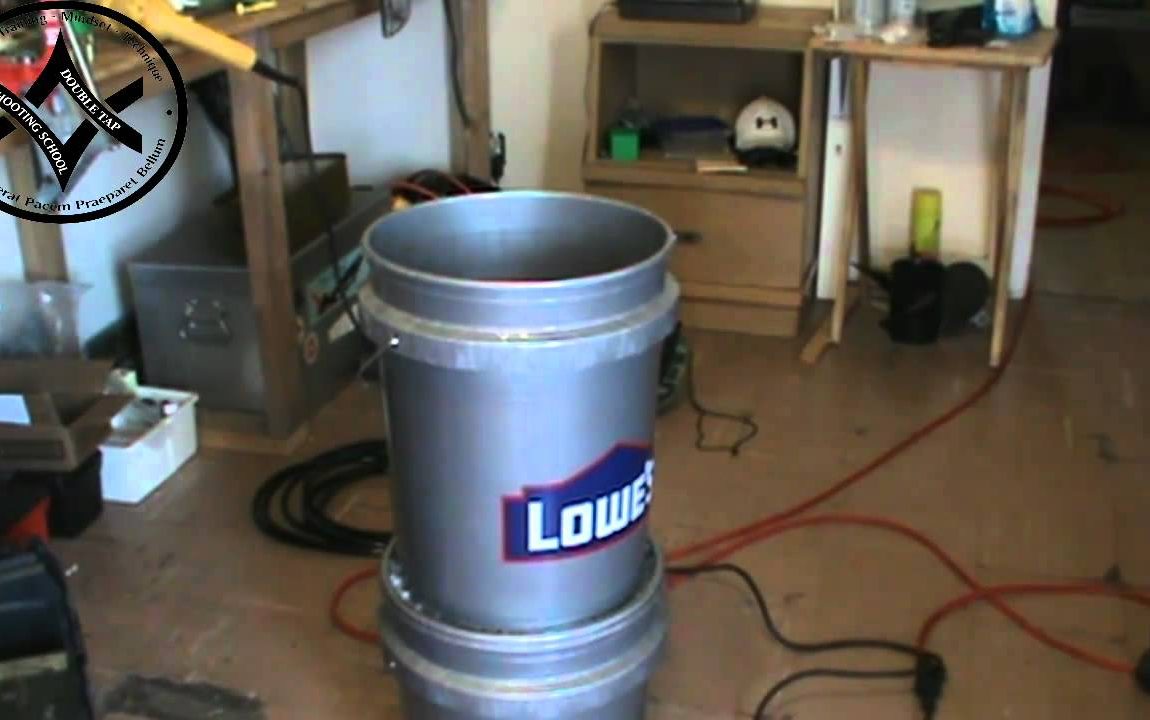
This video shows how to make and use the home made Berkey type water filtration system. This one is made for less than $35 in parts and you will see that it will turn the nastiest of Oklahoma water in to clean SAFE drinking water in a reasonable amount of time. This system is NOT super fast (yet…give me time) but it will clean 5 gallons of drinking water in about 24 hours (Website says 14 per day) . I believe that I may have figured out how to speed that up to 5 gallons in an hour or so, stop back and see it I make that work. This works GREAT and is SOOO much cheaper than the store bought systems that do the same thing.
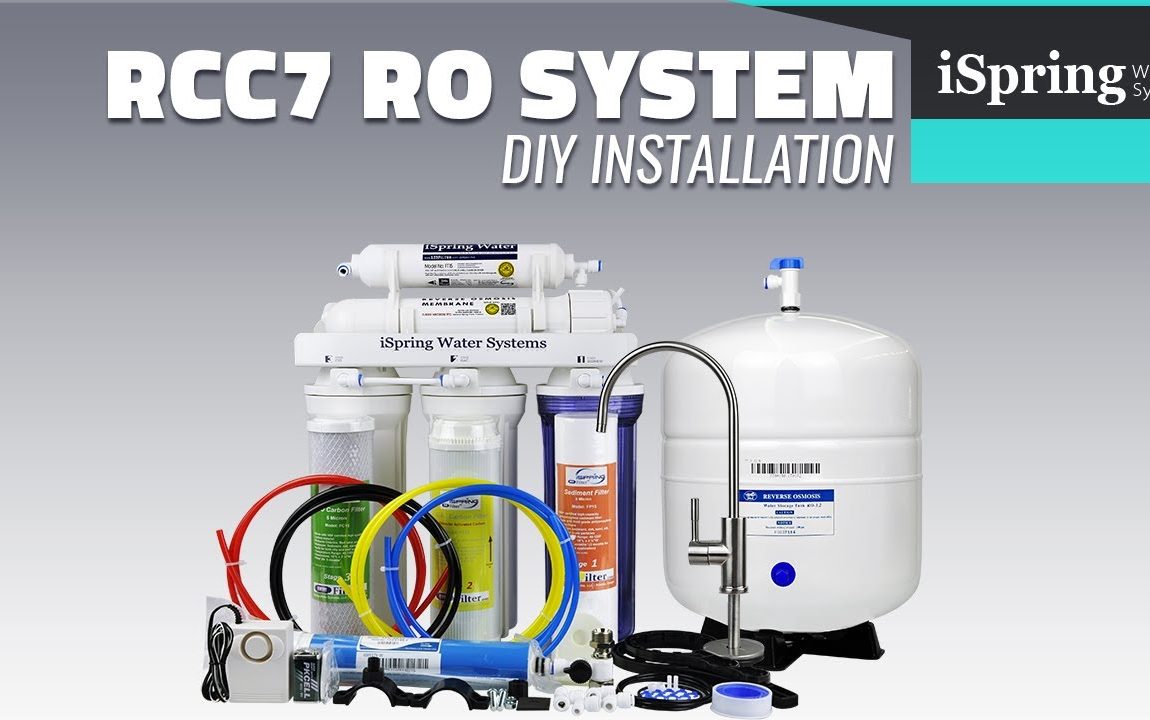
Build your own off of Amazon!!! Add Air pressure and make it 4x as fast!!!
Basic Filter –
High Flow Multi Candle Filter Module –
This bucket is perfect for doing a pressurized version!
Gamma2 Vittles Vault Airtight Bucket –
Outer Mount Metal Valve Stem –
You only need 2 lbs of air pressure to make it WAY faster, this ball pump with gauge gets it done easily and is really portable! –
The life straw is a MUST for your bug out or get home bag!!
LifeStraw Personal Water Filter –
Water Filter Installation. A few tricks and tips to make your bathroom installation a whole lot easier. See how to connect the pipes and fittings to the kitchen sink, sink, toilet water lines using PEX water lines and PEX fittings. How to install a drain system, different ways to configure it for your own situation.This is the BEST plumbing solution for beginner DIY plumbers. In this bathroom training video you will learn how to use PEX and copper water lines and fittings to quickly and easily plumb your new bathroom! Bathroom Plumbing is simple to do if you have the right instructions to follow. Watch this diy bathroom plumbing video and learn a few Pro secrets for getting your sink water lines installed right the first time.
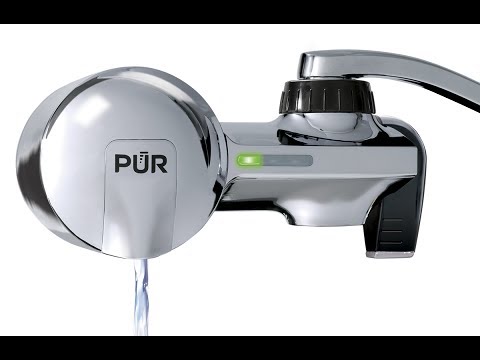
PUR Advanced Faucet Filtration System available at
PUR RF-9999 MineralClear Faucet Replacement Water Filter Refill, 3-Pack at
The Carpe Diem Life is a participant in the Amazon Services LLC Associates Program, an affiliate advertising program designed to provide a means for sites to earn advertising fees by advertising and linking to
We updated our Old PUR Basic to the New PUR Advanced Faucet Filtration System. We had to change our nice pull out faucet since the adapters did not work with the aerator connections. Think twice when your buying a nice pull out faucet and if you want to keep your PUR at the same time.
PUR Website has trouble shooting answers:
Changing your water filter regularly is crucial when it comes to removing contaminants, because a clean filter means clean water. It is recommended that faucet filters be replaced every 100 gallons or every three months to maintain maximum contaminant removal.
SPECIFICATIONS
SKU: PFM400H
Color: Chrome
Dimensions: 6.75W x 2.875H x 5.25L
Warranty: 2 Year Limited Warranty
Intro Music by: Think Tank by Audionautix is licensed under a Creative Commons Attribution license (
Artist:
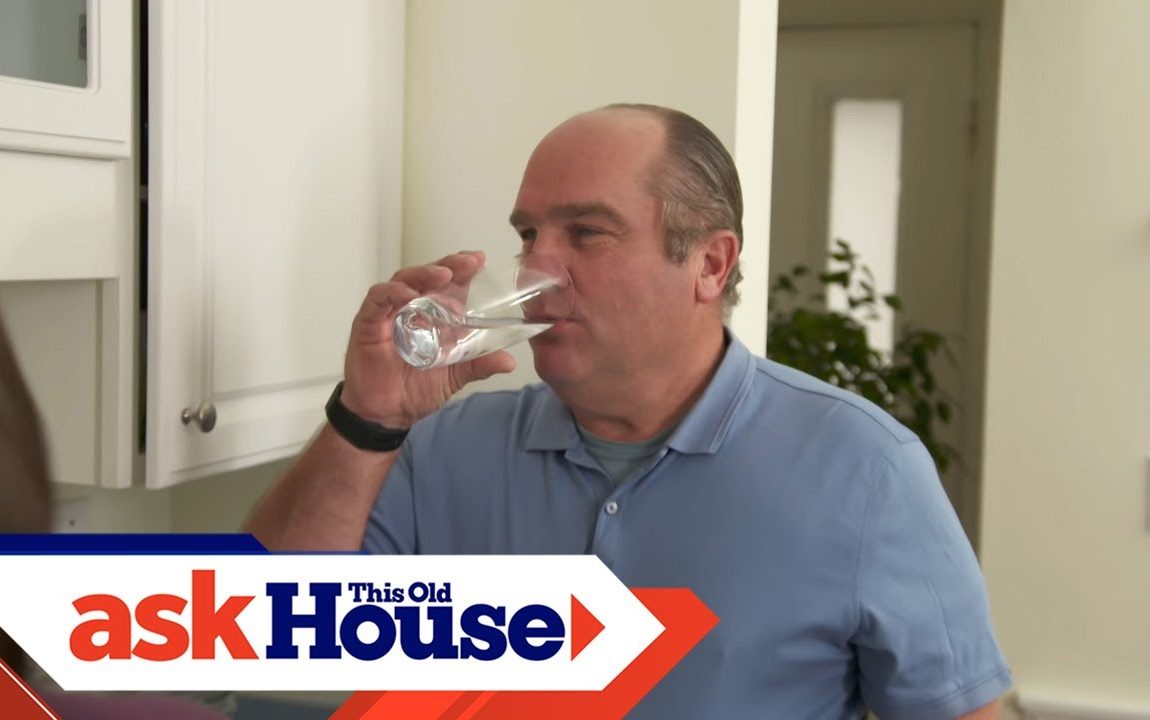
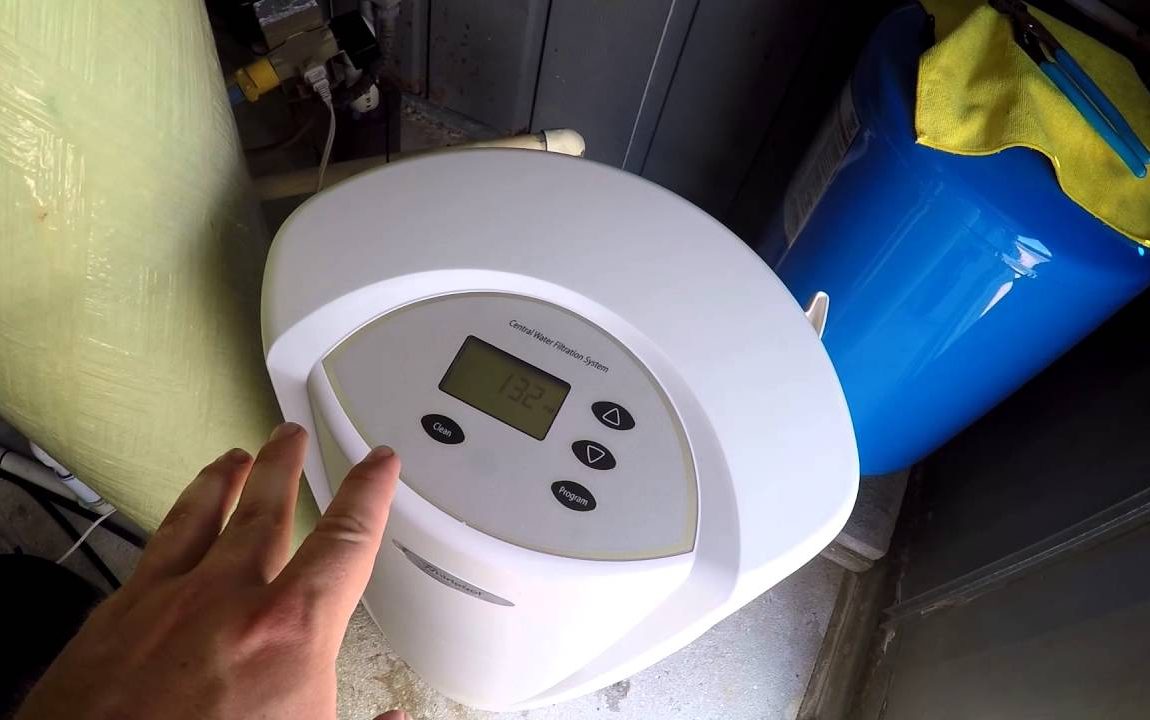
Ask This Old House plumbing and heating expert Richard Trethewey improves the taste and odor of municipal drinking water with a whole house filtration system that includes a sediment filter and a granulated activated carbon filter.
SUBSCRIBE to This Old House:
Shopping List:
Whole House Filtration System
Copper Pipe and Fittings
3 Copper Ball Valves
Adapter Fittings to Connect Filters
Flux
Solder
Thread Sealing Tape
Steps:
1. Turn off the main plumbing supply to the house and drain as much water as possible from the pipes by opening all faucets and fixtures and then opening a drawoff valve near the main.
2. Determine the location of the prefilter. If necessary, attach a piece of plywood for attaching the filter bracket.
3. Use a tubing cutter to cut in to the main water supply pipe.
4. Clean, apply flux, and solder the adapter fittings to transition into the filter housing on a workbench to keep the heat away from the filter. Once cool, connect the adapter fittings to the filter housing, using thread sealing tape on threaded connections.
5. Clean, flux, and then dryfit the remaining connections. Include “T” fittings that allow water into and out of the filter, but also connect to a shutoff valve that serves as a bypass. Include a shutoff valve for water entering the filter and a shutoff valve for water leaving the filter.
6. In normal operation, the bypass valve remains in the closed position and the two filter valves are in the open position. If the filter requires service, those valves should be reversed, allowing untreated water into the building temporarily.
7. Once all connections have been made, turn water pressure back on to the building and check for leaks.
8. Follow manufacturer instructions to properly activate the carbon filter.
About Ask This Old House TV:
Homeowners have a virtual truckload of questions for us on smaller projects, and we’re ready to answer. Ask This Old House solves the steady stream of home improvement problems faced by our viewers—and we make house calls! Ask This Old House features some familiar faces from This Old House, including Kevin O’Connor, general contractor Tom Silva, plumbing and heating expert Richard Trethewey, and landscape contractor Roger Cook.
Follow This Old House and Ask This Old House:
Facebook:
Twitter:
Pinterest:
Instagram:
Tumblr:
For more on This Old House and Ask This Old House, visit us at:
How to Install a Whole-House Water Filter | Ask This Old House
You need whole house water filter for your home or cottage because the water is full of dirt and chemicals but where do you start?
This HUM Water Care 20” Dual Big Blue Filter housing is definitely the way to go. It comes fully assembled as you see here, no need to plumb the two housings together, attach to the brackets, line them up! Also, their large 20” size gives your family lots of capacity so you likely won’t need to replace the filters for a whole year. Obviously how long they actually last is based on how much water you use and how many contaminants you need to remove.
Find the perfect location. You will need to install the filtration system before the plumbing splits into hot and cold and likely after your water softener and iron/sulphur equipment but if you’re looking to prefilter the water before your other equipment then it will need to be installed before.
The housing needs to be mounted where you have access to replace the filter in the future and where any water being spilled during filter replacement will not splash into or onto electrical components.
1. Shut off the main water supply valve.
2. Cut the pipe and mount the unit on the wall using the mounting bracket provided.
3. When installing the Filter Housing, make sure the water flows into the inlet. WARNING: if soldering, do not allow heat near plastic threads or fittings.
4. I always recommend installing ball valve shut offs before and after the filter housing to make future filter replacement easier.
5. Open the valves on either side of the Filter Housing. Check for leaks. Open supply valve slowly and bleed air from system.
6. Be sure to flush all new filters thoroughly before using water.
You’ll want to click here next for my video on filter selection, just click up here and I’ll see you there. Question of the Day? What questions do you have about water filtration cartridges? Add your question below I read every one and would love to respond to yours!
Please share this video:
LOVE GARY THE WATER GUY AND WANT TO LEARN MORE ABOUT WATER FILTRATION FOR YOUR FAMILY? HERE ARE SOME NEXT STEPS!
1) SUBSCRIBE
2) LET’S CONNECT!
3) CONTACT!
info@WaterEstore.com or info@WaterStoreMidland.com
4) SHOP!
Midland www.WaterStoreMidland.com
Canada www.WaterEstore.ca
USA www.WaterEstore.com
Please share this video
Please comment or ask questions below.
Replacing a filter in an under-sink mounted water filtration system is an easy fix and a task that needs to be performed regularly. In just a few minutes you can ensure you have cleaner, filtered water to drink from your tap.
This is a basic water filter. It’s a Whirlpool Model No. WHKF-DWH. The drop-in replacement filter is Model No. WHKF-GAC. Both the unit and the replacement filters are available at Lowe’s, for about $20 and $13, respectively.
The filter unit comes with a specially designed “wrench” that slips over the filter housing, aligning with the ridges manufactured into unit. A quick twist loosens the housing to remove the old filter and replace with a fresh one.
Again, this is a basic model. It filters out sediment and reduces or eliminates odors from water. It needs to be replaced every 6 months. I’ve gone longer than that and though I haven’t noticed any difference in the taste of the water I have seen a slight decrease in water pressure. A new filter resolves that issue.
It’s a quick fix for a simple unit. A more sophisticated (and expensive) unit is really a better bet, but as a first-line pre-filtration system, it’s a good value.
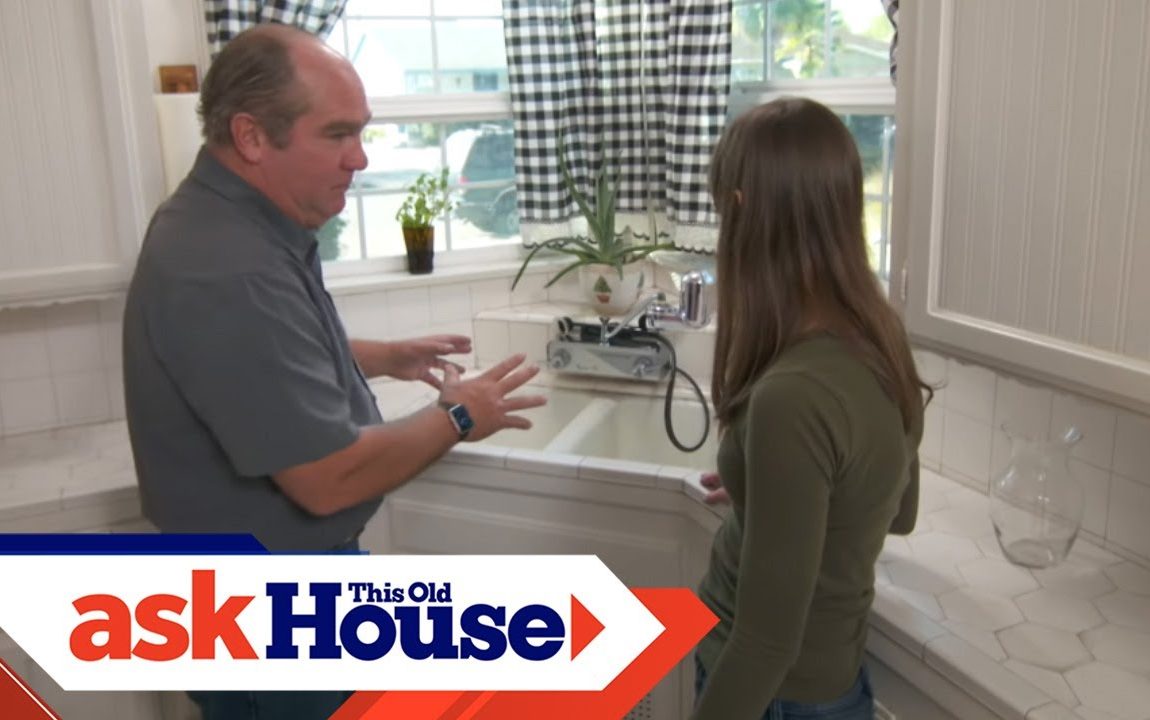
Ask This Old House plumbing and heating expert Richard Trethewey travels to Los Angeles to update a water filter to preserve the look of a retro faucet.
SUBSCRIBE to This Old House:
Time: 1 hour
Cost: $250
Skill Level: Beginner
Tools List for Installing a Water Filter:
Wrench [
Bucket [
Shopping List:
Water filtration system
Steps:
1. Start by shutting off the cold water line underneath the kitchen sink. The cold should always be to the right.
2. Open the faucet to release any cold water that’s in the line upstream of the shutoff valve.
3. Place a small bucket or tray underneath the cold water line underneath the sink to catch any extra water that might fall out. Then, break the water connection using a wrench.
4. Connect the adapter that comes with the kit to the hose.
5. Push the black tubing that also comes with the kit into the adapter on one end and the filter on the other. The back of the filter has images that indicate which pipe should receive which tube.
6. Connect the second adapter to the water shutoff valve. Push the black tubing that came from the filter to the shutoff.
7. Turn the water back on.
8. Run the sink for 5-10 minute increments according to the instructions that come with the kit to activate the carbon and fully filter the water.
Resources:
Richard installed the Advanced Water Filtration System, which is manufactured by Kube ( It comes with a kit of adapters and connectors so that it’s easy to connect it with whatever pipes you have underneath your sink. The only other tool required for installation is a wrench, which can be found at any home center.
The retro faucet the homeowner had in her kitchen is called the Dishmaster M76 Imperial Four ( which can still be found on the manufacturer’s website and on some third party sites.
About Ask This Old House TV:
Homeowners have a virtual truckload of questions for us on smaller projects, and we’re ready to answer. Ask This Old House solves the steady stream of home improvement problems faced by our viewers—and we make house calls! Ask This Old House features some familiar faces from This Old House, including Kevin O’Connor, general contractor Tom Silva, plumbing and heating expert Richard Trethewey, and landscape contractor Roger Cook.
Follow This Old House and Ask This Old House:
Facebook:
Twitter:
Pinterest:
Instagram:
Tumblr:
For more on This Old House and Ask This Old House, visit us at:
How to Install a Water Filter Under the Sink | Ask This Old House
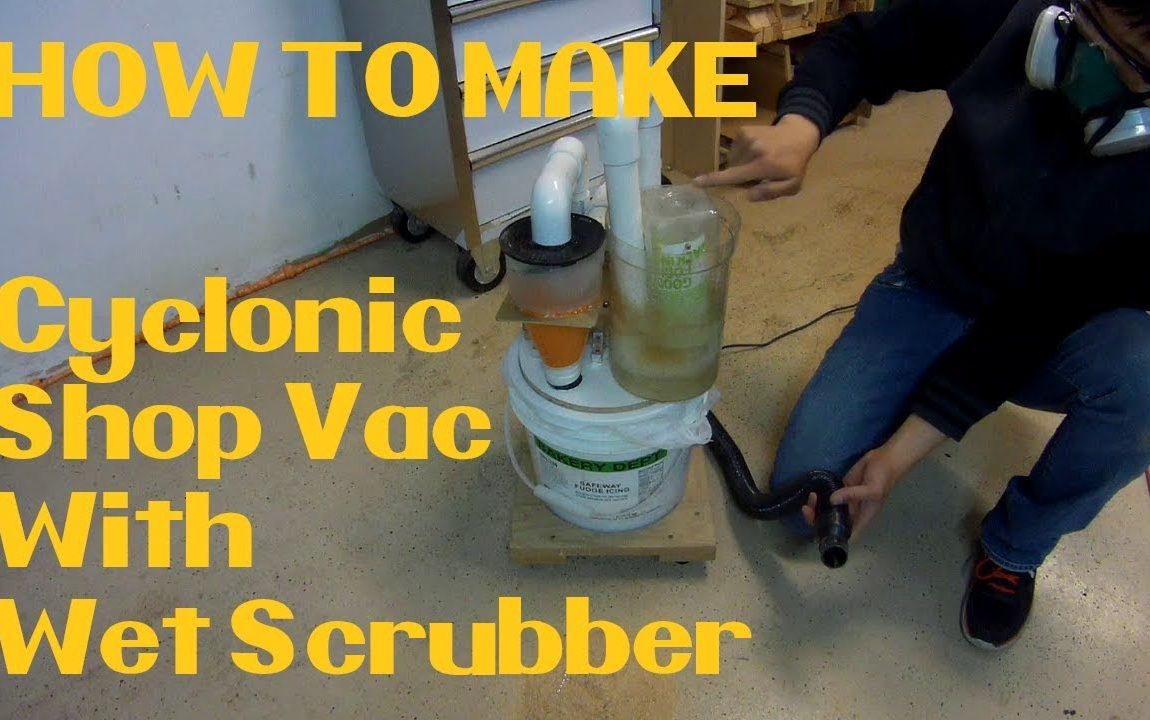
This is a homemade cyclonic dust collector shop vac I built that has a second stage water filtration feature also known as a wet scrubber. The nice thing about this shop vac is it can extract large and fine particles down to several microns with very cheap methods without losing suction and all the while keeping a relatively small footprint so it is easy to roll around the shop.. A third stage could even be added such as a fabric HEPA filter to remove the ultra fine particulates but I did not include that in this build.
A majority of the dust will be collected in the 3 gallon bucket placed below the cyclonic separator, what makes it through the vacuum motor will be further filtered using the wet scrubber stage. This doesn’t remove all of the fine particles but does a decent job down to the 10 micron range. Should a fabric HEPA be placed as a third stage filtration, it would take a very long time to clog.
This shop vac has 3 main parts, the cyclonic separator, the vacuum housing, and the wet scrubber.
The Cyclonic Separator portion is made from a CD spindle case, a toy traffic cone, and some 1 1/4″ PVC Pipe.
I acquired the vacuum motor from another broken upright vacuum cleaner. I created a housing for the motor using scrap particle board. This housing is essentially a sealed box which contains the inlet/outlet ports, the power switch, and power cable.
All of the vacuum components are sealed with a generous amount of glue and attached to a wooden disk that is secured on top of a 3 gallon bucket lid. It is important to ensure everything is air tight.
The cyclonic separator is bolted onto the vacuum motor housing and then secured to the pipe on the bucket lid using silicone tape. The bracket holding the cyclonic separator doesn’t necessarily need to be a metal one as shown in the video but could simply be a piece of particle board with the same diameter hole cut out of it. I used this metal bracket simply because it was laying around my junk part box.
It is also a good idea to empty and sterilize the wet scrubber after each use to prevent germs from being aerosolized into the shop.