How to Test Chlorine in Your Home’s Water
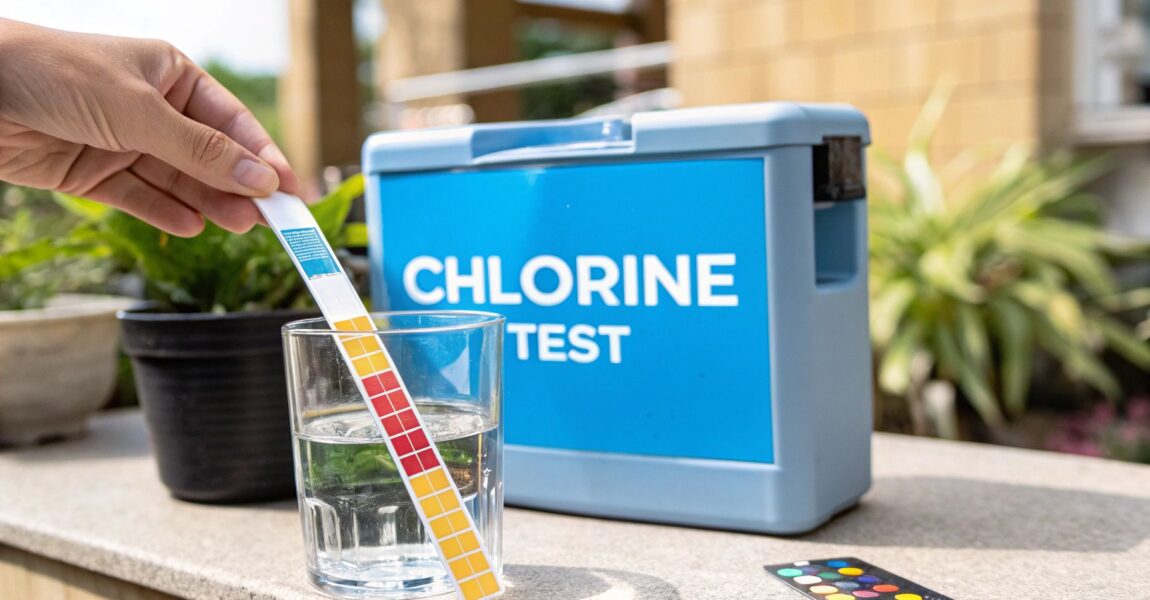
So, you want to know how much chlorine is in your tap water? You've got a few solid options for playing detective right at home: test strips, DPD kits, or even digital readers. Test strips are the quick and dirty route—just a simple color match. For a bit more accuracy, DPD kits use a cool chemical reaction that feels like a mini science experiment. And if you want to get super precise, lab-quality numbers without leaving your kitchen, a digital reader is your high-tech hero.
Why Bother Testing Chlorine for Your Home Filter?
Ever installed a brand-new water filter and just crossed your fingers, hoping it was working? Checking your water's chlorine level is how you pull back the curtain and see the magic happen. Chlorine is the unsung hero that keeps our municipal water safe from nasty bugs, but the amount hitting your tap can swing wildly day to day.
Those fluctuations have a direct impact on your water's taste and smell—goodbye, swimming pool vibes! More importantly, they affect how long your precious filter lasts.
Getting a handle on your home's chlorine levels is the first real step toward becoming a water filtration genius. Think of it less like a chore and more like protecting your investment. For example, if you have a whole-house carbon filter, its entire job is to pull that chlorine out. If your tap water is swimming in higher-than-average chlorine, that filter is working overtime and will burn out much faster, forcing you into more frequent and costly replacements.
The Double-Edged Sword of Chlorine
Chlorine has been a public health champion for over a century, first used in a big way back in 1897 in Maidstone, UK, to stop a deadly typhoid outbreak. It's a powerful disinfectant, which is why it’s still the standard today.
To see why managing chlorine is so important for your filter, it helps to understand how potent a chemical we're dealing with. A properly prepared disinfectant solution bleach can obliterate all sorts of nasty contaminants. Your home filter is working hard around the clock to remove that very same chemical from every drop of water you use. Knowing exactly what it's up against helps you keep it running like a well-oiled machine.
The ultimate "Aha!" moment is testing your chlorine levels before and after installing a filter. This isn't just a fun party trick; it's hard proof that your system is earning its keep and doing what you paid for.
Taking just a few minutes to test empowers you to:
- Verify filter performance: Get concrete proof that your system is successfully kicking chlorine to the curb.
- Optimize your filter changes: Swap out cartridges based on real-world data, not just a generic calendar reminder from the manufacturer.
- Get better water: Finally banish that "public pool" smell and taste for good and enjoy crisp, clean water.
Testing puts you back in the driver's seat of your home's water quality. For more tips on keeping your system in top shape, check out our other water filter advice.
So, you're ready to figure out what's really in your tap water? When it comes to testing for chlorine at home, you've basically got three solid options. Each one has its place, depending on how much accuracy you crave, what your budget is, and how much time you're willing to invest.
Think of it like choosing the right tool for a job—you wouldn't use a sledgehammer to hang a picture frame. This decision tree can point you in the right direction fast.
This guide helps you decide based on a couple of key questions: Are you just curious about your tap water, or are you trying to confirm a new filter is actually doing its job? Let’s walk through the options.
To help you choose, here's a quick comparison of the three main methods for testing chlorine at home. This should make it easy to see which one fits your specific needs and budget.
Comparing Home Chlorine Testing Methods
| Method | Best For | Accuracy | Cost |
|---|---|---|---|
| Test Strips | Quick, simple checks and "Is there chlorine?" questions. | Low | $ |
| DPD Kits | Reliable results for tracking your filter's performance. | Medium | $$ |
| Digital Readers | Lab-quality precision for troubleshooting and total peace of mind. | High | $$$ |
As you can see, there's a clear trade-off between cost and precision. For most homeowners looking after a filtration system, the DPD kit hits that sweet spot of value and reliability. But let's get into the nitty-gritty of each one.
Quick Checks with Test Strips
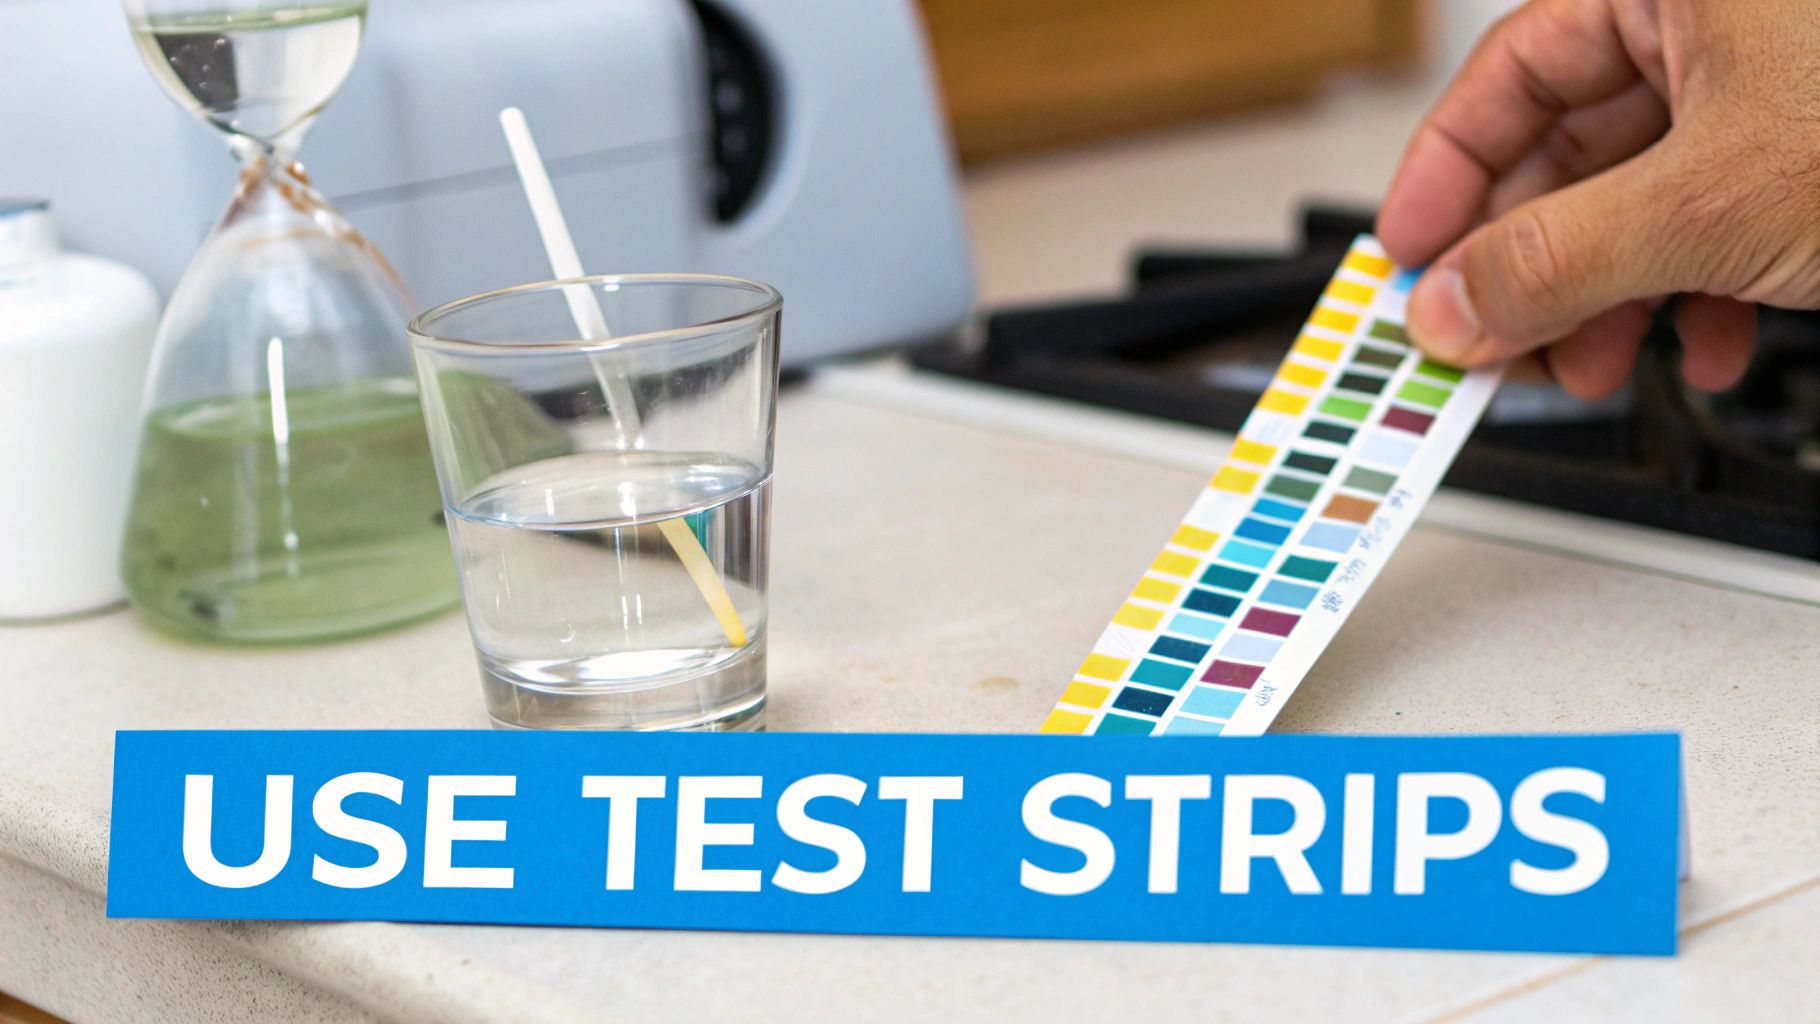
If you just want a fast, ballpark figure, test strips are your best friend. They are super cheap and give you an answer in about 15 seconds. You just dip a strip in your water, watch the color bloom, and match it to the chart on the bottle. Easy peasy.
This is the perfect way to do a quick annual check-up or see if you can spot a "before and after" difference with that new faucet filter you just screwed on. Just remember, their accuracy is limited. Think of it as getting a general idea, not a laser-precise number to live by.
Better Accuracy with DPD Kits
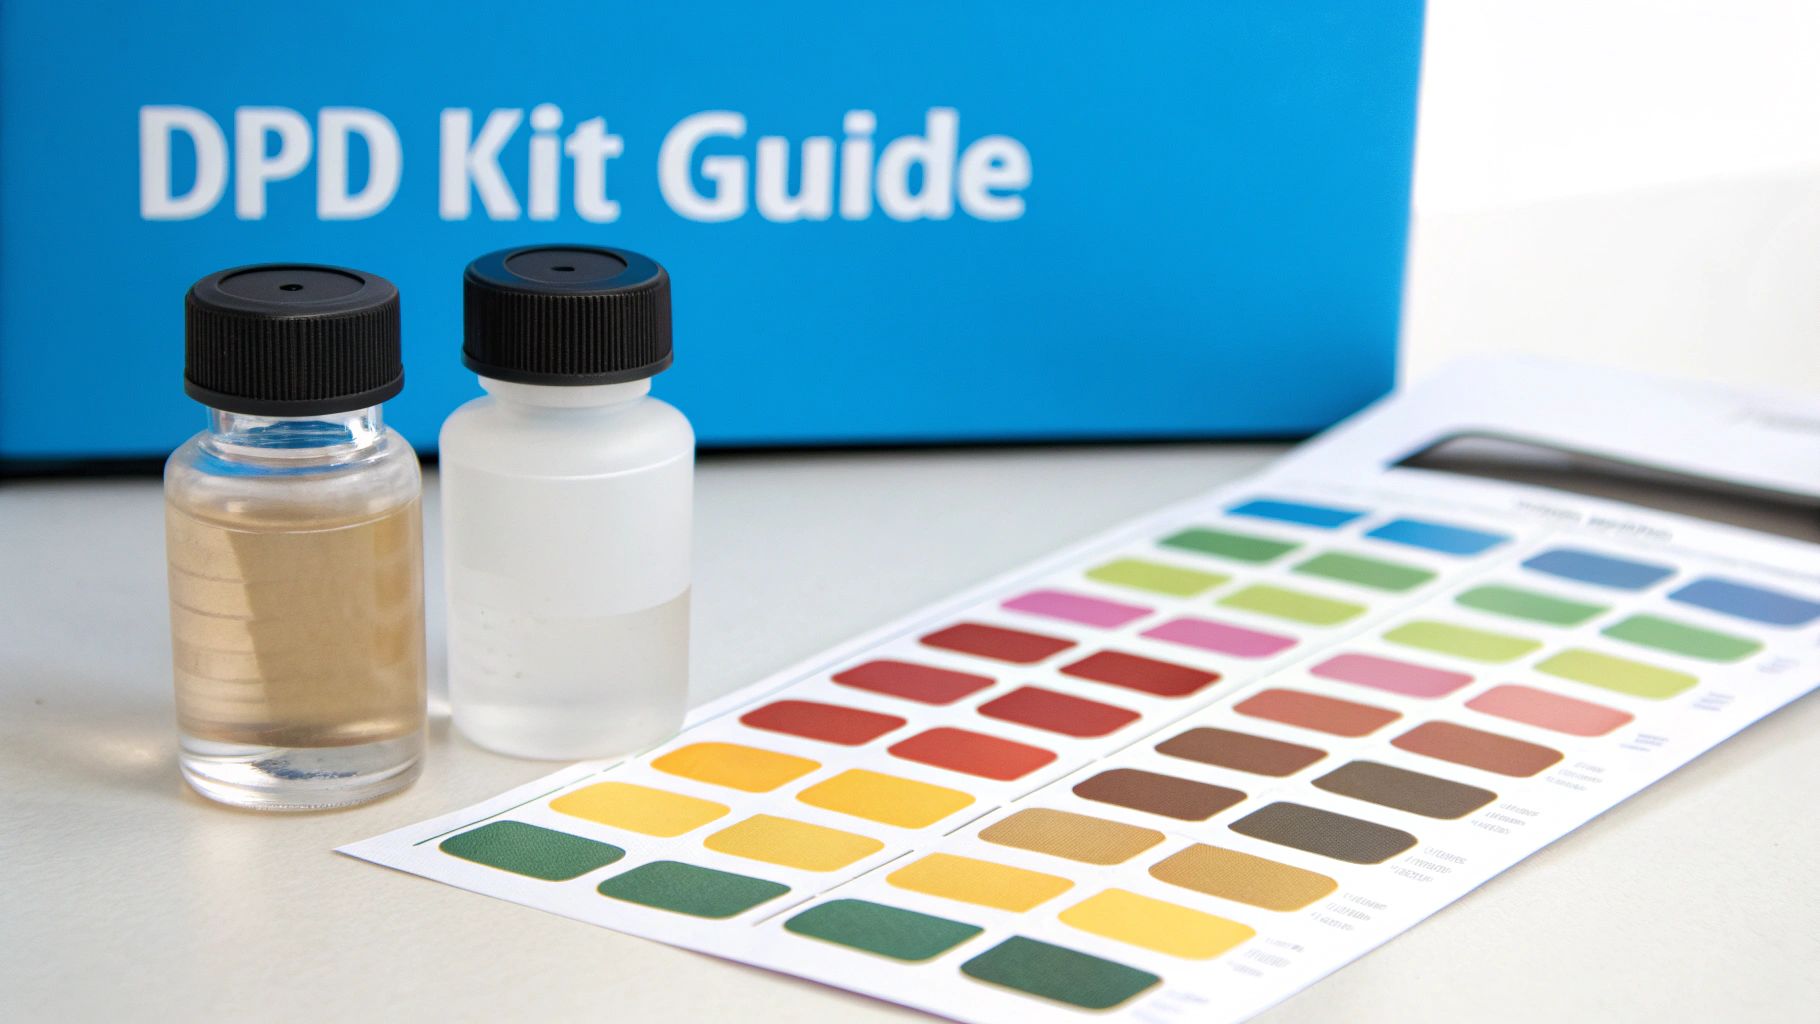
When you need a more trustworthy result, especially after investing in a new whole-house filtration system, a DPD (N,N-diethyl-p-phenylenediamine) kit is the way to go. These kits have you add a reagent—either a little tablet or liquid drops—to a water sample, which magically turns the water a shade of pink.
The deeper the pink, the more chlorine is crashing the party. You compare that color to a more detailed chart that comes with the kit. It takes a couple more minutes than a test strip, but the boost in accuracy is well worth it for anyone who wants to seriously track how well their filter is performing over time.
For most homeowners trying to manage their filtration system, a DPD kit offers the best mix of affordability and precision. It’s what a lot of pros use for field testing because it delivers results you can count on without needing pricey equipment.
Precision with Digital Readers
For the data nerds and anyone who needs definitive, lab-quality numbers, a digital colorimeter or photometer is the top-tier tool. These slick handheld gadgets take all the guesswork out of matching colors by eye. You still use a DPD reagent to create the pink reaction, but instead of squinting at a color chart, you pop the vial into the reader.
The device shines a beam of light through the sample and gives you an exact digital readout of the chlorine concentration. They're definitely the most expensive option, but for anyone who has to monitor their filter’s performance closely or troubleshoot a tricky problem, the precision is unmatched.
Getting an Accurate Reading with Test Strips
Test strips are by far the fastest and simplest way to figure out the chlorine levels in your water. While they're known for giving a quick answer, there's definitely a right way and a wrong way to use them. Doing it right is the difference between a wild guess and a result you can actually use to check on your filter.

The directions on the bottle can be pretty sparse, so here are a few pro tips that will make your readings much more accurate. First off, always grab a clean glass for your water sample. Never just stick the strip under a running faucet—that's a surefire way to get a wonky reading.
Instead, let the cold water run for about 30 seconds first. This flushes out any water that's been sitting in your pipes and gets you a true sample of what’s coming from your main line, which is exactly what your filter is dealing with. Then, fill your glass.
Free Chlorine vs. Total Chlorine
When you look at the color chart on the bottle, you’ll almost always see two separate pads for chlorine: free chlorine and total chlorine. Knowing what these mean is the secret to figuring out if your water filter is actually earning its keep.
- Free Chlorine: This is the active, germ-killing chlorine that keeps your water safe. It's also the main villain that most carbon-based water filters are designed to vanquish.
- Total Chlorine: This number represents the free chlorine plus something called chloramines (chlorine that has bonded with ammonia). Some water treatment plants use chloramines because they provide a longer-lasting disinfectant shield.
A high-quality carbon filter should knock your free chlorine down to almost zero. If you test your filtered water and still get a high reading for total chlorine, it’s a big clue you might have chloramines. To get rid of those, you'll need a special catalytic carbon filter designed for this tougher challenge.
When it comes to reading the strip, timing is everything. You can't just let it sit there. Check the instructions and read the result at the exact moment it specifies—usually between 15 and 30 seconds. If you wait too long, the colors can bleed or get darker, giving you a falsely high reading.
Finally, hold the strip right up against the color chart in good, natural light if possible. This little trick helps you avoid shadows and makes it way easier to get a perfect color match. It's a simple step that helps you make confident decisions about your water filter's performance.
Using a DPD Kit for More Precise Results
When a simple ballpark estimate from a test strip just won't cut it, it's time to level up to a DPD kit. Think of it as the gold standard for home chlorine testing, giving you the reliable data you need to truly manage your home filtration.
These kits are your best bet for checking if that expensive whole-house filtration system is actually doing its job. The process itself is pretty straightforward, but a little attention to detail goes a long way.

At the heart of every DPD kit is a chemical reagent. It usually comes as either liquid drops or a small tablet that you add to your water sample. This reagent reacts specifically with chlorine, turning the water a certain shade of pink.
It's a simple visual cue: the deeper the pink, the higher the chlorine concentration. You then hold your sample up to the color comparator chart that came with the kit to get your reading in parts per million (ppm).
Acing the DPD Test
To make sure your results are spot-on, there are a couple of small habits that make a huge difference. These are the little things that separate a good-enough test from a great one.
- Rinse, Rinse, Rinse: Before you even start, rinse the testing vial a few times with the tap water you're about to test. This quick step gets rid of any dust or residue from a previous test that could throw off your reading.
- Handle Reagents with Care: If your kit uses tablets, try not to touch them with your bare fingers. The natural oils on your skin can actually interfere with the chemical reaction. For liquid drops, always hold the bottle perfectly vertical over the vial. This ensures every drop is the same size, giving you maximum accuracy.
Here's the real power of a DPD kit: it gives you a clear, hard number. A test strip might just say "low," but a DPD kit will tell you the level is 0.5 ppm. That's a specific piece of data you can use to track your filter's health and performance over time.
Don't forget about proper storage, either. To keep the reagents from going bad, store your kit in a cool, dark place away from direct sunlight. Once you're done testing, just follow the manufacturer's instructions for disposal—it usually just involves flushing the tested water down the drain with plenty of running water.
What Your Chlorine Test Results Mean
You’ve dipped the strip or swirled the vial, and now you have a number. So, what does a result of 0.5 ppm versus 3.0 ppm actually tell you about your tap water? More importantly, what does it say about your filtration system? This is where a simple test transforms into actionable knowledge for your home.
Think of your activated carbon filter like a sponge. A higher chlorine reading—let’s say anything above 2.0 ppm—means that sponge has to work a lot harder. It’s soaking up more disinfectant with every drop of water that passes through. This directly shortens its lifespan, forcing you to swap out filter cartridges more often to keep your water tasting fresh and clean.
On the flip side, a very low reading might mean your filter is coasting, and you can stick to a less frequent replacement schedule, saving you some money in the long run.
Turning PPM into Practical Decisions
Understanding your parts per million (ppm) result lets you fine-tune your entire filtration strategy. That number isn't just a grade; it's a guide. For example, if your unfiltered tap water tests consistently come back high, it might be time to upgrade to a more robust, higher-capacity carbon filter designed for challenging water conditions.
Your test result is the single best indicator of your filter's real-world workload. It takes the guesswork out of maintenance and helps you get the most value from your investment, ensuring your water is always crisp and clean.
It’s also important to remember that chlorine levels are managed for public health. The World Health Organization (WHO) and other health bodies set guidelines for chlorine, and municipal water plants follow strict rules to keep water safe. You can discover more insights about these global water safety standards.
Here’s a quick breakdown of how to use specific results from your unfiltered tap water:
- Below 1.0 ppm: Your current filter is likely having an easy time. You can probably stick to the manufacturer's standard replacement schedule.
- Between 1.0 and 2.5 ppm: This is a pretty common range. Your filter is working steadily. Keep an eye on its performance and consider replacing it on the earlier side of the recommended window.
- Above 2.5 ppm: Your water is highly chlorinated. You may need a heavy-duty filter and should definitely plan for more frequent changes to prevent that chlorine taste from breaking through.
Got Questions About Water Testing?
Even with the right gear, you'll probably have a few questions when you first start testing. Here are some quick answers to the most common ones we hear from homeowners focused on their filtration systems.
How Often Should I Test My Water for Chlorine?
For most folks with a filtration system, testing your water every 3-6 months is a solid plan. This is frequent enough to keep an eye on your filter’s performance as it ages and to notice any big seasonal changes from your city's water supply.
Just installed a new filter? It's a great idea to test both filtered and unfiltered water weekly for the first month. This helps you establish a baseline and confirms the system is working perfectly right out of the box.
What if My Filtered Water Still Has Chlorine in It?
First, don't panic. A brand new, high-quality filter should reduce chlorine to undetectable levels (below 0.1 ppm). If you're seeing a reading over 0.2 ppm in your filtered water, it's time to investigate. Run the test again just to be sure. If you get the same result, it most likely means your filter cartridge is exhausted and needs to be replaced.
If you have a brand-new filter and you're still seeing chlorine, you might be dealing with chloramines. These tricky compounds require a special catalytic carbon filter to be removed effectively.
A common rookie mistake is not flushing a new filter cartridge long enough before you use it. Always run cold water through a new filter for at least five minutes. This activates the carbon media and clears out any harmless fine particles before you take your first test sample.
Ready to take control of your home's water quality? Water Filter Advisor provides expert reviews and practical guides to help you choose the best filtration system for your needs. Explore your options at https://www.waterfilteradvisor.com.
