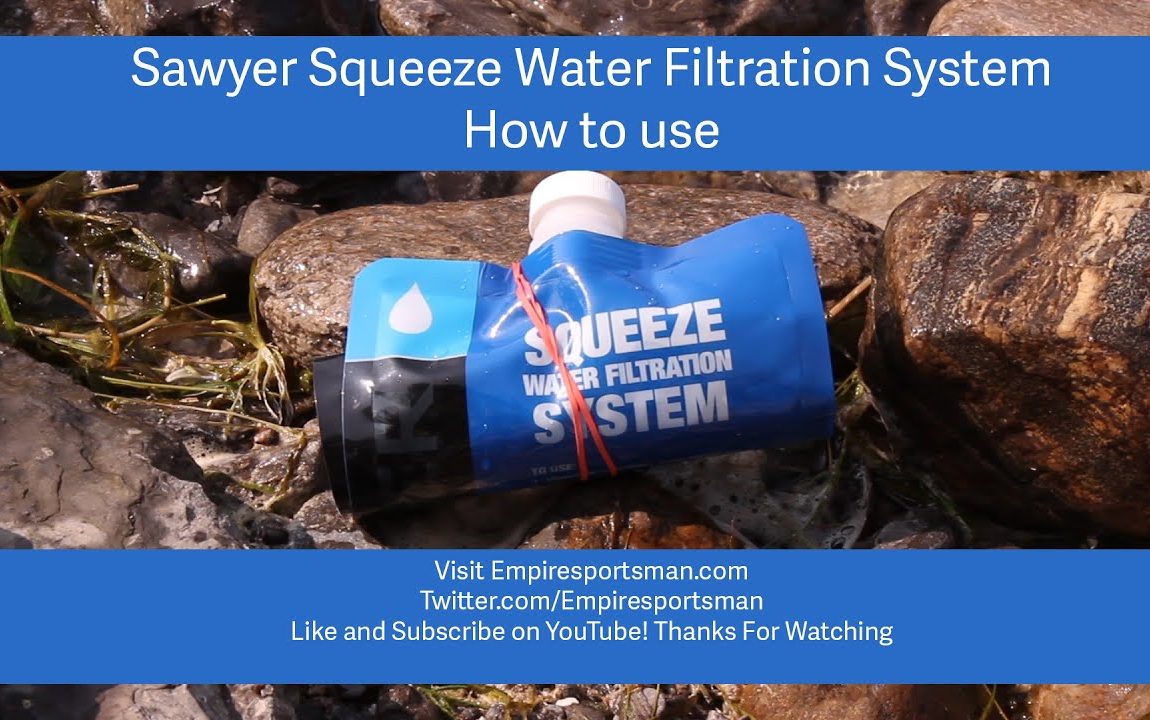
Empire Sportsman Outdoors shows you how to use your Sawyer Squeeze Water Filtration System.
This is a light weight solution for backpacking or traveling abroad whenever you are unsure of the water conditions. Small and light weight will be every ultralight hikers friend. Easy to use this water filtration system can be purchased from places like rei.com or campmor.com
Step 1:
Remove the Cap from the bag and fill with water
Step 2:
Screw on the Water Filter to the bag
Step 3:
Roll up the bag from the bottom to push water through the filter
You can also attach the filter to any regular size thread water bottle from the local gas station or grocery store.
Sawyer Products even offer an in-line system so you can attach the filter directly onto the hose for your water bladder.
Visit us at for more information or leave us a message on our twitter at twitter.com/empiresportsman
Subscribe and check back often for new gear reviews and adventure videos!
Build your own multi stage water filtration system from easy to buy parts. No special tools required. Total cost around $150 with replacement filters available at your local store.
As an Amazon Associate I earn from qualifying purchases. Using the links provided does not in any way increase the cost to you, however any income I get from them helps support my channel…thanks
I’ve had this one for two years. I give you a quick review, and then show you how to install it. If you find this video helpful, please consider using the links below to buy, it really helps my channel. Thank you!
Disclaimer:
Due to factors beyond the control of Bozo Does It, there is no guarantee against improper use or unauthorized modifications of this information. Bozo Does It assumes no liability for property damage or injury incurred as a result of any of the information contained in this video. Use this information at your own risk. Due to factors beyond the control of Bozo Does It, no information contained in this video shall create any expressed or implied warranty or guarantee of any particular result. Any injury, damage, or loss that may result from improper use of these tools, equipment, or from the information contained in this video is the sole responsibility of the user and not Bozo Does It.
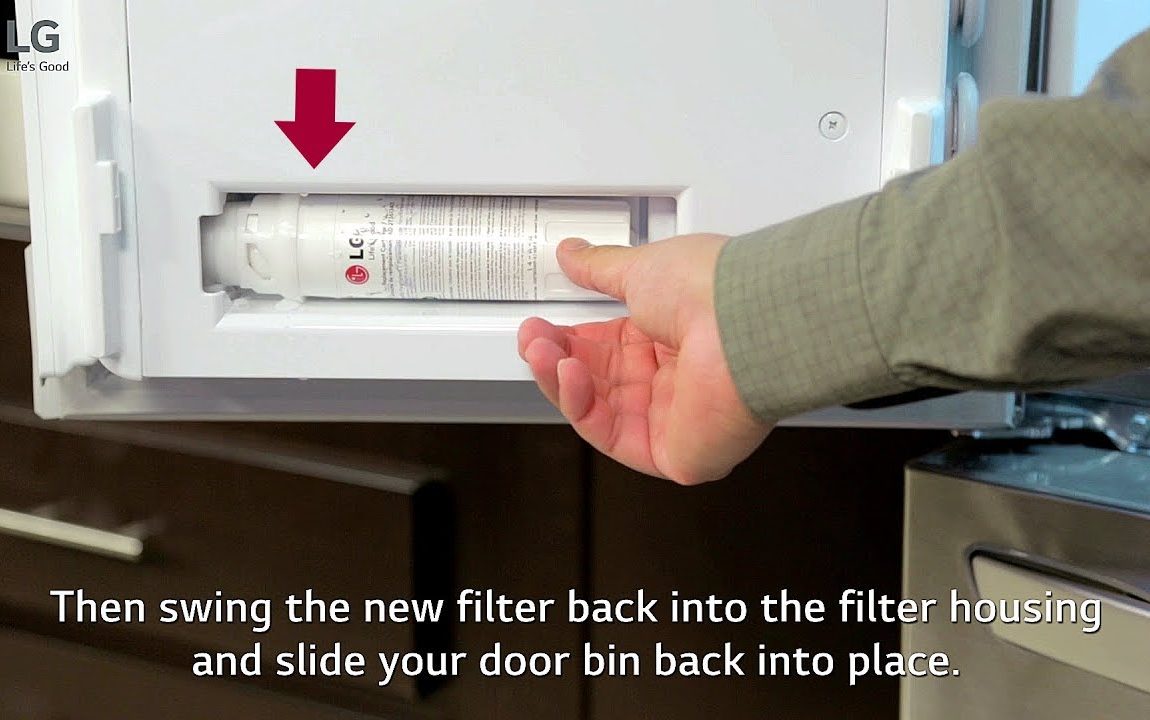
In this video, home renovation brothers Dave and Rich and Dave’s son, Caleb, show you how to replace a GE Cafe Refrigerator RPWFE Water Filter.
Replacing a GE Cafe water filter is not difficult, but you MUST know which type of water filter housing you have to determine how to remove the old filter and how to install the new one.
In this video, the refrigerator that we are working on has a gray water filter housing. This type of filter will be removed by pulling it straight out.
If you had a GE Cafe refrigerator with a blue water filter housing you would turn the filter one quarter turn to remove it and also turn the new filter one quarter turn to install it.
After the filter is removed, replace it with a genuine GE RPWFE water filter. A generic filter could possibly not work correctly.
With the gray water filter housing, simply push the filter straight into the housing, but don’t turn it. There are small grooves that you have to line up to keep it in place. Make sure to push until the filter is seated all the way.
After that, run the water dispenser for about 5 minutes, pouring out 2 gallons of water to make sure all of the air is purged from the lines.
Knowing how to fix a sliding glass door means saving a lot of money. It is easy and inexpensive. It may be as easy as replacing the rollers on which the sliding door rides. Typical problems with a sticking sliding glass door reside with a broken track or a track clogged with debris, or broken rollers. If a quick cleaning of the track doesn’t help, then it’s time to examine the rollers. To do this, follow this video and you’ll see how simple it is to remove the door and the rollers.
A sliding glass door can be removed by removing the stops and door guard. Then the sliding door can be lifted up and out to expose the rollers on the bottom of the door. The rollers fit into mortised pockets. The rollers can be pried out and inspected.
If you need a new roller, order one up from Amazon and in a couple of days you’ll have what you need to get your sliding glass door back into shape.
That’s it, hope this helps!
********************************************************************
Why go out to a store when you can easily shop right from home! Just click our Amazon Affiliate link below for any Amazon product.
This won’t cost you anything extra. Amazon will pay us a small commission because you purchased items using our link.
This funds our channel and enables us to produce more videos.
Thanks so much for supporting our channel!!!
for written instruction or visit us at Leave a comment or rating letting us know what you think. Thank you
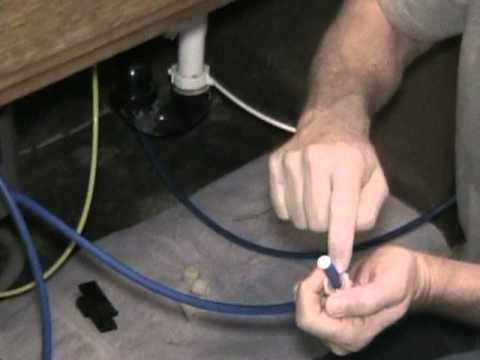
Wouldn’t it be great to have your ice maker in your refrigerator hooked up to your reverse osmosis water filtration system? Watch Bill as he shows you from start to finish to have filtered water going to your ice maker.
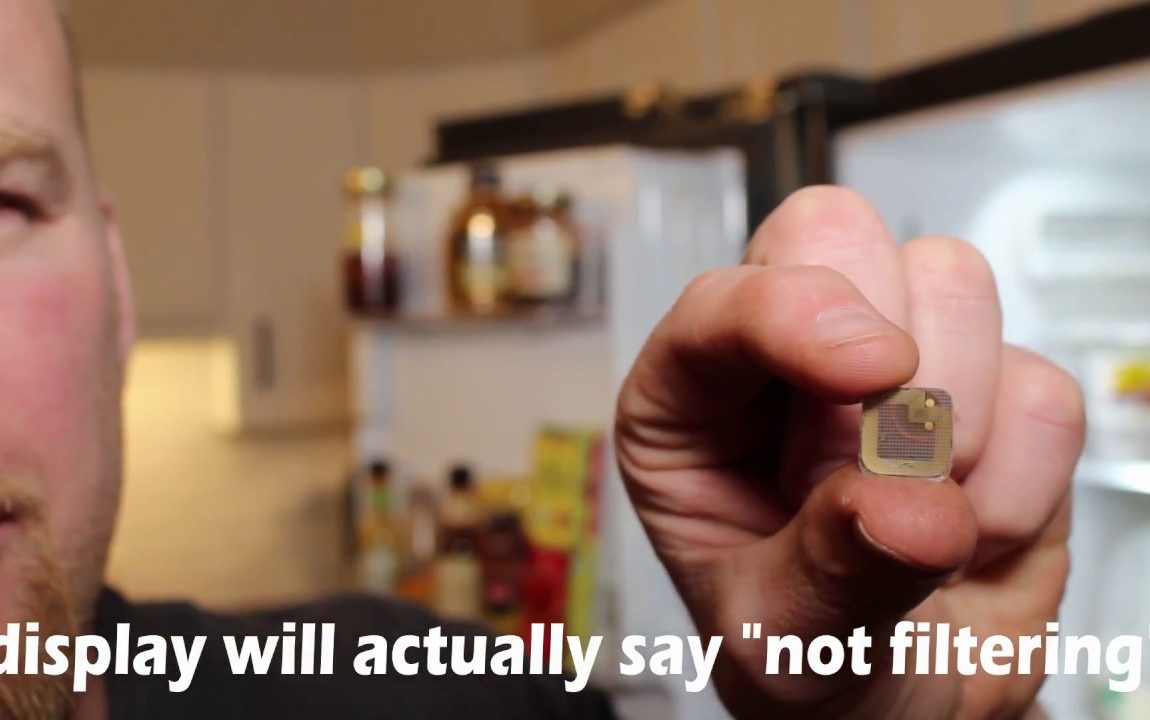
Here’s a quick diy video on how to hack your GE Smart Fridge that uses the expensive RPWFE water filters. This hack will allow you to save around $60-$75 per year! Links below for what you will need:
Dista DWF 36 Replacement Filters (2-pack)
GE Plug Bypass with RFID chip
Subscribe, Like, Share and Comment! Thank you for watching!
More videos and extra content here:
Follow me on instagram:
Subscribe to my NEW guitar channel: Vintage Guitar Workshop
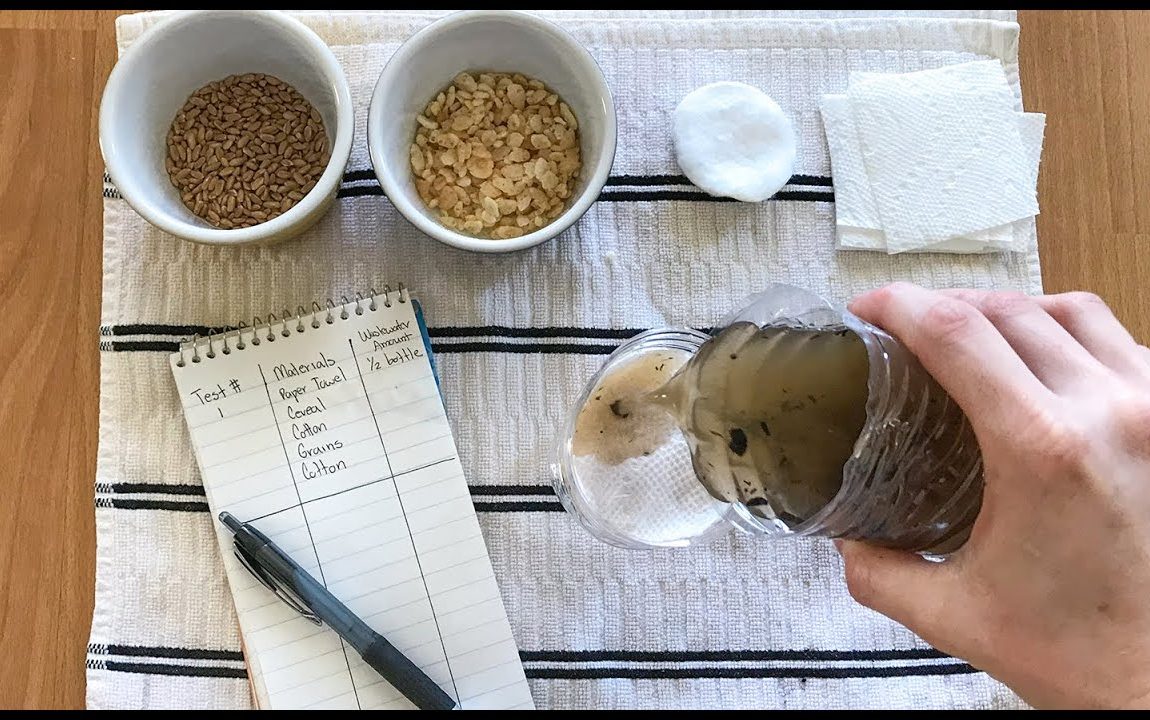
In this episode of Learning Space, you’ll use materials from around your home to build a device that can clean a dirty water sample like the water filtration system on the International Space Station. Materials and step-by-step instructions are available at:
Looking for space and science activities you can do with NASA at home? Our new Learning Space page has video tutorials, DIY projects, slideshows, games and links to more you can see and do with NASA. And we’ll be adding more all the time! Check it out at
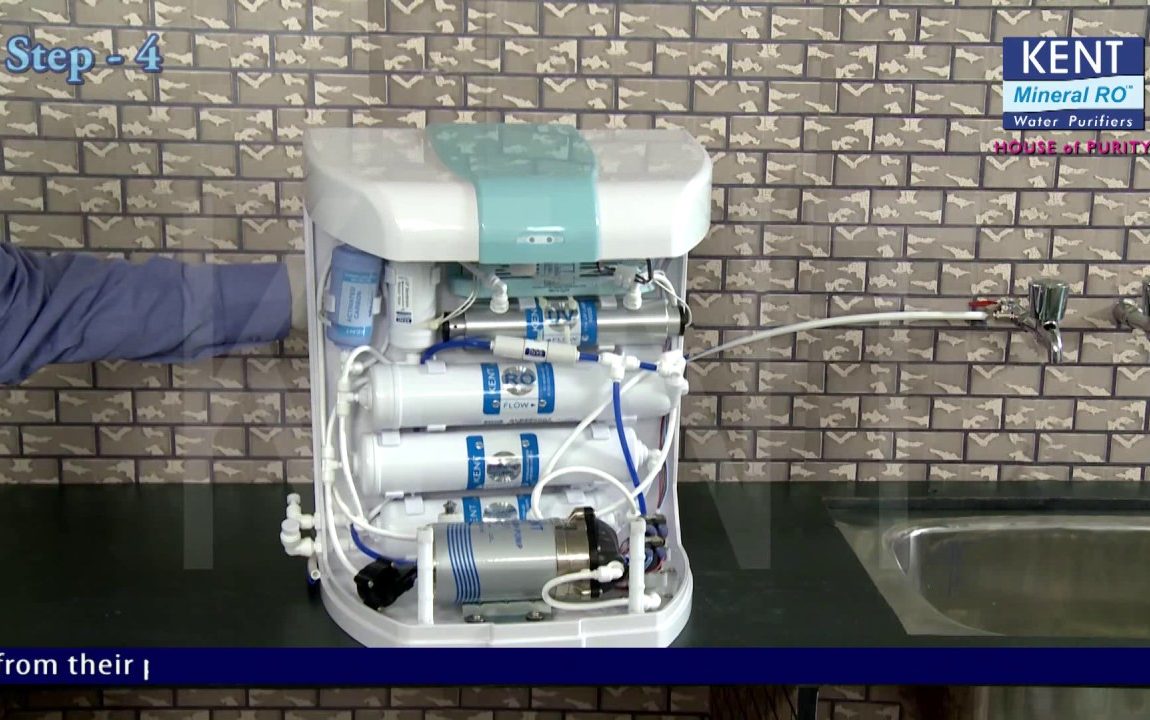
This video explains the installation process of your Kent RO Water Purifier.
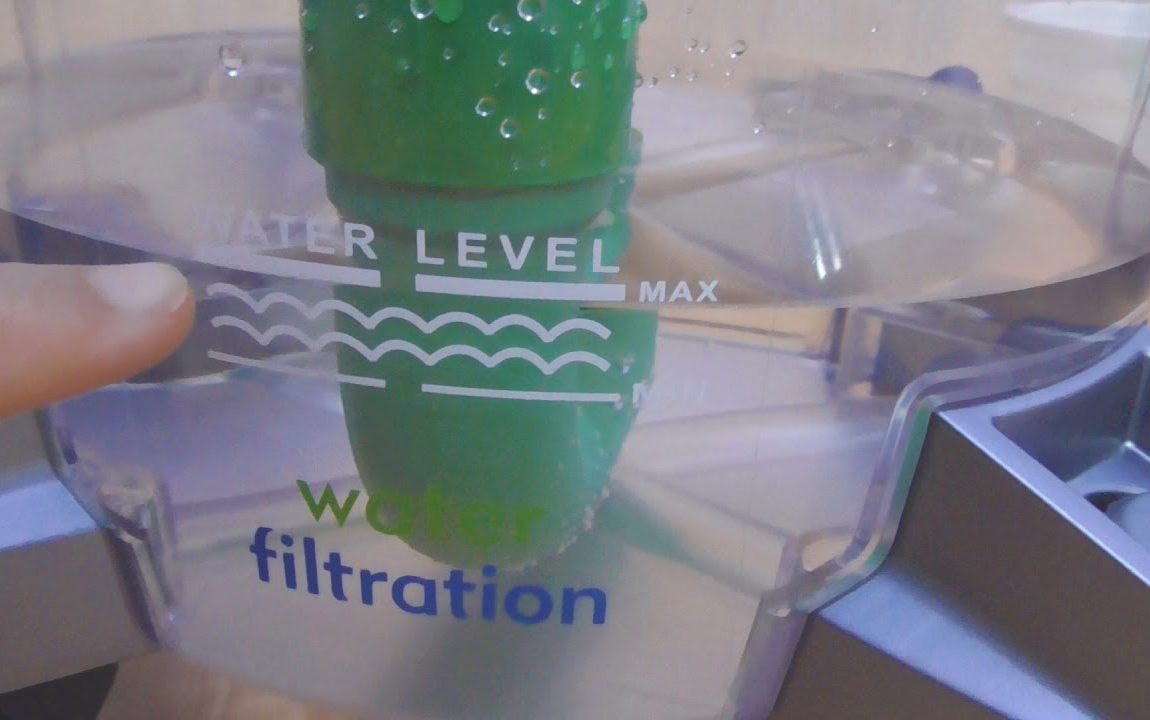
KENT Pearl is a wall mounted RO water purifier that has a modular design, which is suitable for wall mounting or counter-top installation, providing users with a choice to install it as per their requirement. It has a transparent and detachable storage tank, which ensures easy on-site cleaning. The tank can be easily removed and cleaned without the help of a technician. Also the transparent tank makes the purifier visually appealing.
The following is step by step guide for how to install Kent Pearl water purifier –
Step 1 – Unpack your RO filter from the box using a knife/scissor and place the purifier on your kitchen slab or Plane surface. Check all the items that come with the water purifier ( List is mentioned in the video)
Step 2 – For setting up the water connection, keep all the plumbing tools ready before turning off the main water line. Remember, install the water purifier on normal water supply and not on hot water supply. Learn the further steps of installation from the video.
Step 3 – It’s time to mount the water purification system. Use the drilling sticker to drill two holes on the wall where the water filter will be placed.
Step 4 – For installing the RO Purifier, remove the front transparent cover and cut the wires holding the carbon block, Sediment filter, UV chamber, and RO membrane. Then hang the purifier on the wall where the screws were drilled. Learn the next steps in the video to turn on the water supply to the purifier.
Step 5 – In this step, learn how to check and adjust TDS level to get healthy and tasty drinking water from Kent RO water purifiers.
Give your family a healthy and pure lifestyle with Kent Pearl water purifier –