How to Replace The External Water Filter on a Samsung Fridge Freezer

How to Replace The External Water Filter on a Samsung Fridge Freezer


In this video, Mat shows you how to replace the external Hafex water filter on a Samsung American style fridge freezer step by step.

To help you purchase the correct filter for your specific fridge freezer model, check out our video on How to Find Your Model Number on a Samsung American Style Fridge Freezer here:

Your fridge freezer’s water filter needs to be replaced approximately every six months to ensure your appliance keeps running smoothly and its drinking water remains clean and free from impurities. In this guide, Mat runs you through replacing your water filter, along with some helpful tips to make the process as quick and easy as possible.

For fridge freezer spares and accessories, head to the Fridge & Freezer spares section of our website:

Want to skip straight to the information you need? Here’s what we talk about in each part of our video:

0:00 Introducing the video
0:40 The purpose of the water filter
0:59 How to tell the filter needs changing
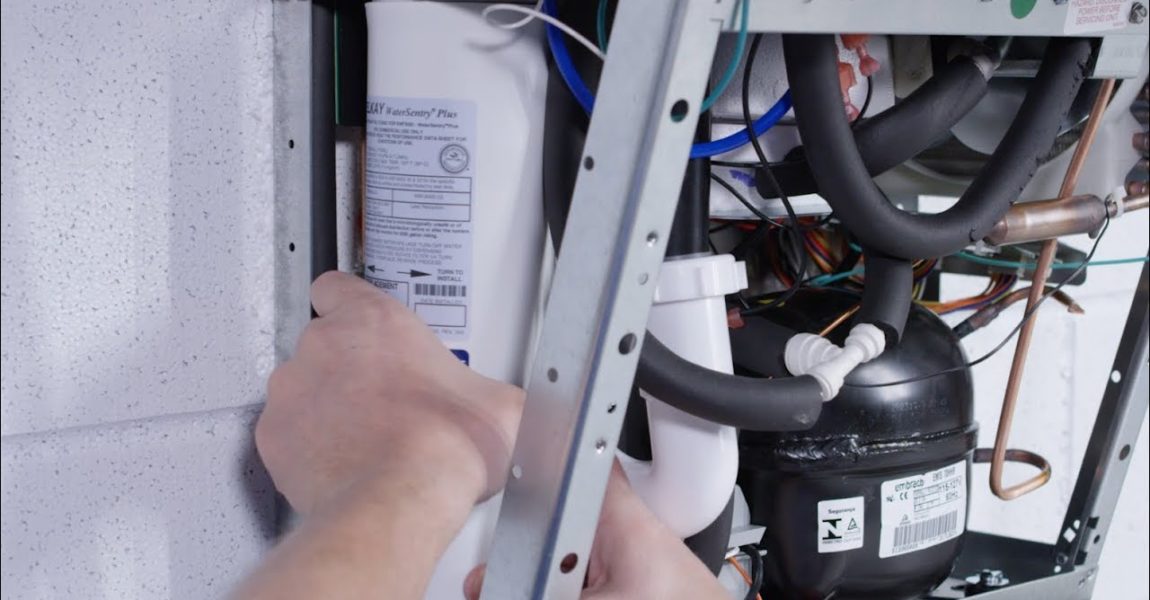
1:17 How to shut off the fridge freezer water supply
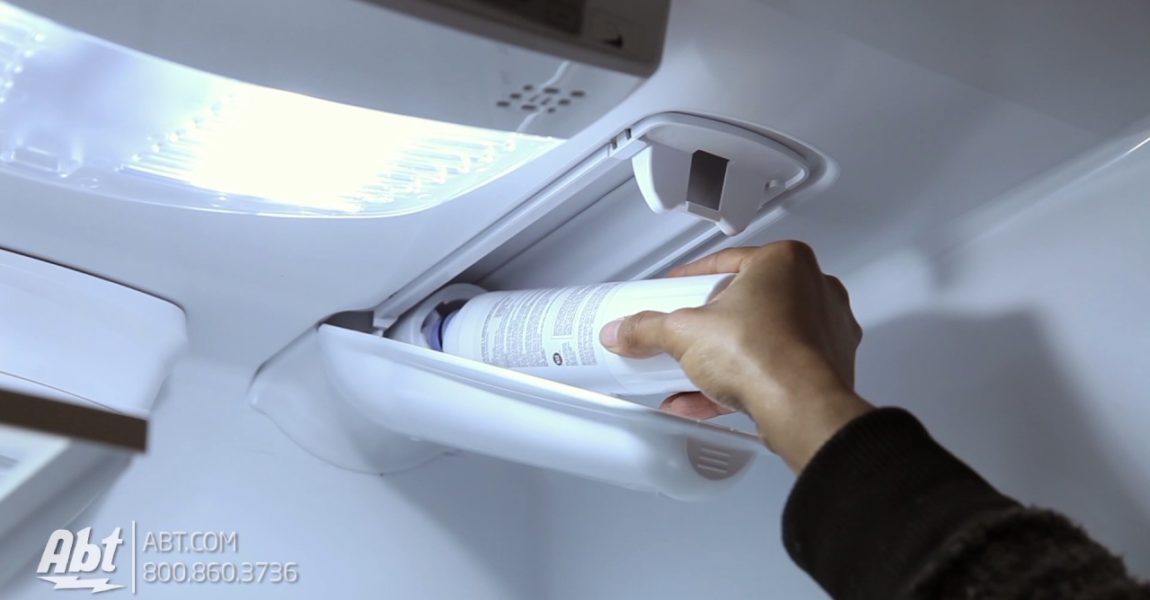
1:35 How to remove the old water filter
1:43 How to fit the new water filter
2:28 Suggested video: How to Find The Model Number on a Fridge Freezer
2:34 How to reset the water filter
2:51 How to prevent any potential leaks
3:04 How to purge the water system
3:54 Suggested video: How to Clean Your Fridge Freezer in 7 steps

Thanks for watching!

Original Video Source

How to Replace an Elkay ezH2O Water Filter

How to Replace an Elkay ezH2O Water Filter


Watch Ken, Elkay® Product Expert change a water filter, reset the counter, and reset the filter light on new and legacy ezH2O bottle filling station models.

(0:27) Remove the lower cover by removing the (four) screws on the underside of the cooler.
(0:37) Turn off the water supply; then dispense water to relieve pressure (through either the bubbler or the bottle filler).
(0:44) Turn the used filter clockwise quarter turn to remove from the filter head and dispose.
(0:52) Remove red cap from new filter.
(0:54) Insert the new filter into the existing filter head and turn fully counterclockwise. Make sure you can read the blue label on the front of the filter once it’s installed.
(1:04) Turn on the water supply and run a minimum of two gallons of water through the filter to purge air and any fine carbon particles from the filter.
(1:15) On newer models, the filter status light will automatically reset once your new filter is properly installed.
(1:23) Here’s how to reset the filter status on older models:
(1:26) Remove the top cover of the bottle filling station by unscrewing the two Torx screws.
(1:32) Depress the program button for approximately two seconds until the display changes and then release.
(1:38) The display will scroll through two messages: “RST FLTR” – Reset Filter Monitor and “SETTINGS” – the System Settings Sub Menu.
(1:43) When the display changes to “RST FLTR”, depress the button again. The display will change to show “FLTR = ”.
(1:51) Depress the button again and the display will show “FLTR =0”.
(1:56) The Green LED will indicate that the filter monitor has been reset.
(2:00) Replace the top cover of the bottle filling station by replacing the two Torx screws.
(2:06) Now replace the lower cover of the cooler using (four) screws.

Original Video Source