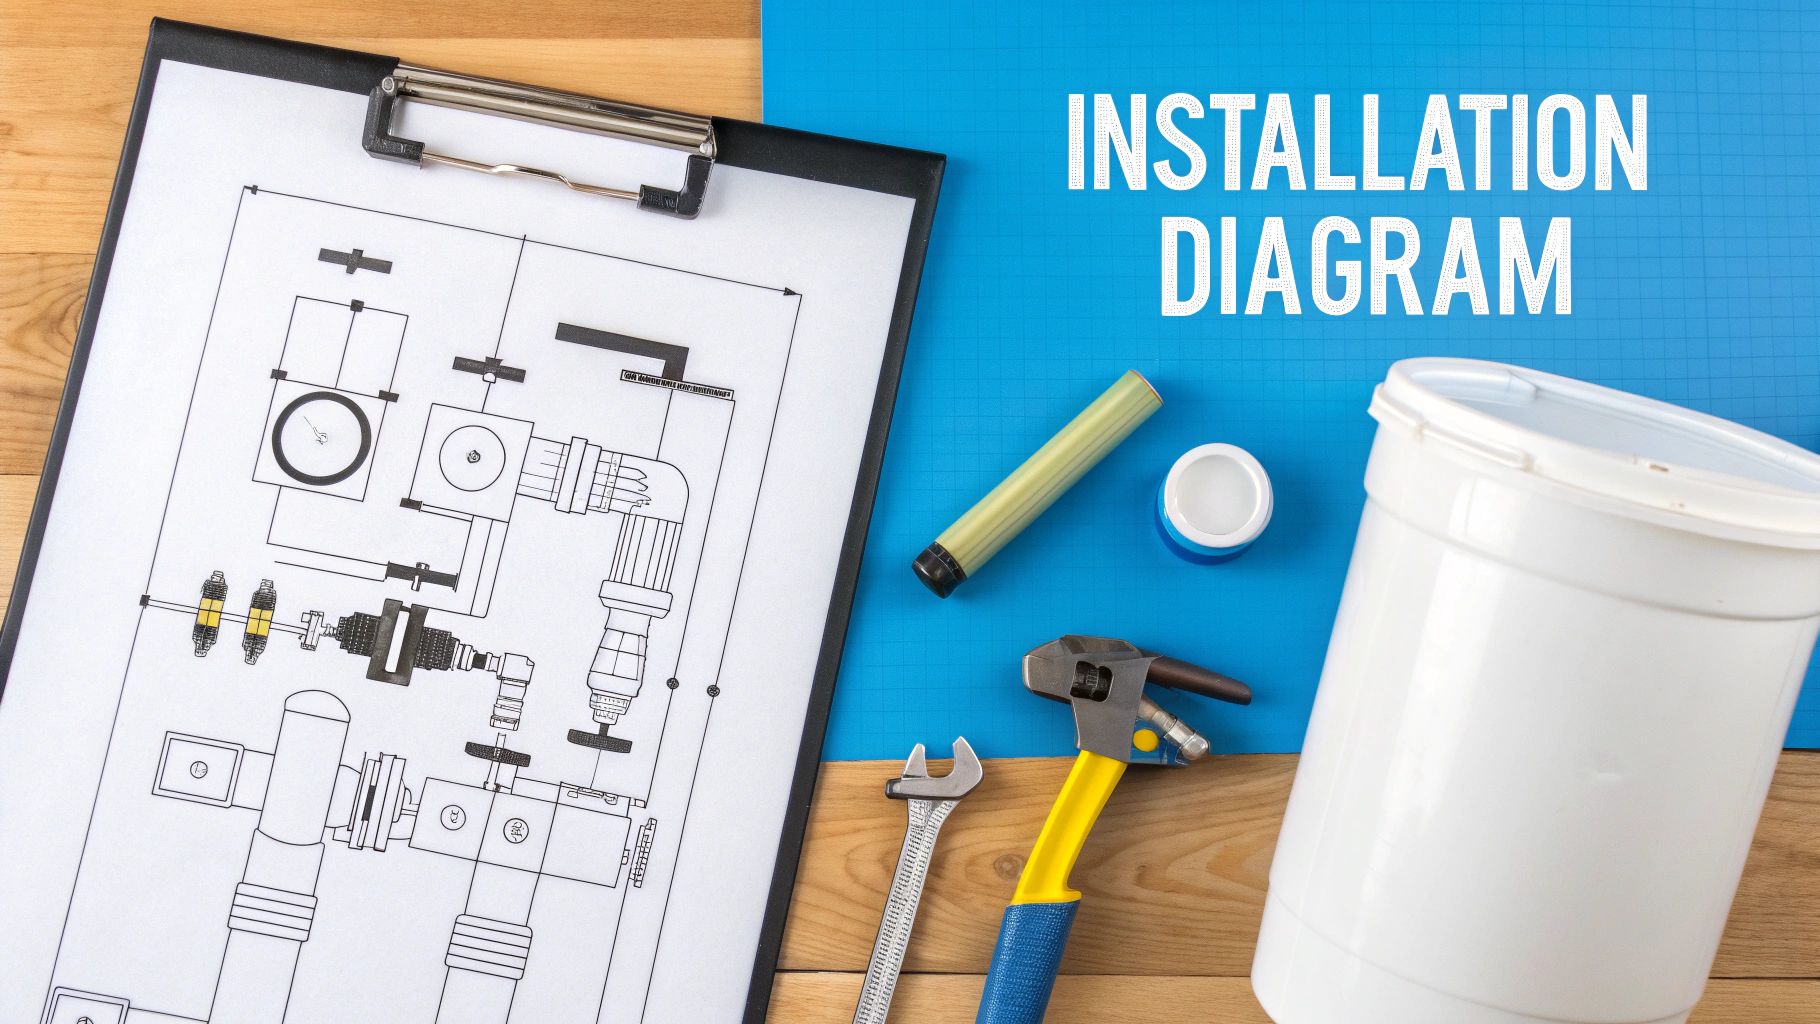
Your Ultimate Guide to the Water Softener Installation Diagram
Think of your water softener installation diagram as your project's command center—your treasure map to pure, soft water. It's the sacred scroll that transforms a potentially confusing plumbing saga into a straightforward, follow-the-arrows quest. This diagram is your secret weapon, laying out exactly how water will journey from your main line, through the magical resin tank, and then out to every faucet in your home. It clearly flags the inlet, outlet, bypass valve, and other key landmarks, making the entire home water filtration process completely manageable.
Decoding Your Water Softener Blueprint
Before you even dream of cutting a pipe, take a few minutes to get intimate with your installation diagram. Don't see it as a complex schematic; view it as a storybook for your plumbing. This visual guide demystifies the whole setup, showing you precisely how every piece fits together to create a fortress against hard water.
When you trace the path of the water on paper first, you're building the confidence you'll need when you're actually holding the tools. The diagram illustrates the entire pilgrimage your water will take, starting right at your main supply line. This is where you'll tap into your home's water circulatory system to route it into the softener. From there, it’s just a matter of following the lines to victory.
Key Components on Your Installation Diagram
To truly master the diagram, you need to know the cast of characters. Each part plays a vital role in the water filtration drama. This table breaks down the essentials you'll find on almost any water softener diagram.
| Component Name | What It Does | Installation Tip |
|---|---|---|
| Inlet Port | Welcomes hard water from the main supply into the softener. | This must connect to the pipe coming from your water meter or well. No exceptions! |
| Outlet Port | Sends the newly purified, soft water to the rest of your house. | This pipe will feed all your hot and cold water lines (but not your garden hose!). |
| Bypass Valve | Lets you temporarily shut off water to the softener for maintenance. | Always install this. It’s your “get out of jail free” card for maintenance without a household water shutdown. |
| Brine Line | A small tube that sips saltwater from the brine tank. | Ensure the connection is airtight to prevent hiccups during the regeneration cycle. |
| Drain Line | Carries the captured hard minerals and waste water away to a drain. | Make sure there's an air gap between the tube and the drain to prevent gross back-siphoning. |
| Overflow Tube | A safety line on the brine tank that acts as a flood warden. | This is your insurance policy. Route it to the same drain as the main drain line. |
Getting familiar with these parts on paper first makes the hands-on work feel less like brain surgery and more like building with LEGOs.
Tracing the Flow of Water
The first thing to find on your diagram is the inlet port on the control head. This is the gateway where hard water enters the filtration system. Follow the lines, and you'll see the water travel down into the resin tank. That tank is where the real magic happens—it’s filled with tiny resin beads that act like magnets, grabbing onto hard water minerals like calcium and magnesium through a process called ion exchange.
Once the water is purified, it flows back up and out through the outlet port. This is the pipeline that delivers silky-smooth, soft water to your showers, sinks, and washing machine. Getting the inlet and outlet pipes hooked up correctly is the most critical part of the job. It’s a common DIY mistake to reverse them, and if you do, the softener simply won't work.
Key Takeaway: The arrows on your diagram and the labels on the control valve are your best friends. Double- and triple-check that the "IN" port is connected to your main water supply and the "OUT" port is feeding the rest of your house.
Identifying Critical Connections
Your diagram will also highlight a few other essential connections that are just as important as the main water lines. These allow the softener to clean itself and operate safely, ensuring your home filtration system runs smoothly.
You'll need to locate:
- The Bypass Valve: A lifesaver for any future maintenance. The diagram shows how this valve fits onto the inlet and outlet, giving you a way to isolate the softener without turning off your home's water.
- The Brine Line: Look for the smaller-diameter tube connecting the control head to the salt tank. This line is responsible for sucking the saltwater solution into the resin tank to "recharge" the beads during a regeneration cycle.
- The Drain Line: This line runs from the control head to a nearby floor drain or utility sink. It’s where all the hard minerals and salty rinse water get flushed out.
- The Overflow Tube: This is a crucial safety feature. It’s a secondary tube on the brine tank that prevents a salty flood if the tank ever overfills due to a malfunction.
More and more homeowners are taking control of their water quality, and it shows in the market. The global water softeners market was valued at USD 3.35 billion in 2024 and is on track to hit USD 5.57 billion by 2032. This growth comes from people in areas with hard water, especially in North America, who are seeing the value in DIY-friendly solutions. Learning to read a simple installation diagram is your first step to joining them. You can find more insights about the growing water softener market and its drivers here.
Gathering Your Tools and Finding the Perfect Spot
Any good DIY quest starts with assembling your gear, and a water softener install is no exception. Before you even glance at a water softener installation diagram, you need to have every tool and part laid out and ready. Nothing kills your momentum faster than a mid-project run to the hardware store for a fitting you forgot.
Think of yourself as a surgeon for your home's water filtration system. You wouldn't start an operation without your instruments neatly arranged, right? For this procedure, you’ll need a few key items on your "surgical tray."
Your Essential Installation Checklist
You're going to need more than just a single wrench for this job. The type of plumbing you have—copper, PEX, or CPVC—will determine some of the specifics, but this list is a solid starting point for almost any setup.
- Pipe Cutters: Make sure you have the right kind for your pipes (copper, PEX, etc.).
- Two Adjustable Wrenches: Your go-to tools for tightening down fittings and connecting hoses.
- Measuring Tape: You get one shot when cutting your main water line. Measure twice, cut once.
- Teflon Tape: A plumber’s best friend for a reason. Use it to create a leak-proof seal on any threaded connections.
- Bucket and Towels: When you cut that pipe, water is coming out. Be ready for it.
Beyond these basics, you’ll need the right fittings. Modern push-to-connect fittings (like SharkBites) are a game-changer for DIYers because they don't require any soldering. If you're more old-school and comfortable with sweat soldering on copper pipes, that'll give you a permanent, rock-solid bond.
Choosing the Right Battleground for Your Softener
Where you install your water filtration system is just as critical as how you install it. The wrong spot can lead to poor performance, a major headache during maintenance, or even expensive water damage. You're looking for a spot that checks a few very important boxes.
The perfect location is as close as possible to where your main water line enters the house, and before it tees off to the water heater. This setup ensures that all the water in your home, both hot and cold, gets treated. Before you cut any pipes, it's also a good idea to confirm you have good flow; learning how to address low water pressure can be a crucial first step.
Pro Tip: Never, ever install a water softener after your water heater. The high temperatures will absolutely destroy the delicate resin beads inside the tank, rendering your entire filtration unit useless.
Your chosen spot also needs easy access to a power outlet and a drain. The control head needs electricity to run the regeneration cycles, and the system needs that drain to flush out all the hard minerals it captures.
Finally, keep your investment safe from the elements. A garage, basement, or utility closet is ideal. Steer clear of any spot where temperatures might drop below freezing—a frozen, cracked tank is a costly disaster you don't want to deal with. For more expert guidance on a variety of home water systems, be sure to visit Water Filter Advisor and check out these tips for various water filtration needs. Nailing the location from the start will save you a world of trouble and keep your system running at its best for years.
Bringing Your Installation Diagram to Life
Alright, you've got your tools laid out and the perfect spot picked. Now for the main event. This is where we turn that water softener installation diagram from a piece of paper into a hard-working piece of equipment for your home. We're going from blueprint to reality, and it all starts with one critical, non-negotiable step.
First things first: shut off the main water supply to your house. Find your main shutoff valve—it's usually where the water line first enters your home—and turn it completely off. To drain the pipes, open the lowest faucet you have (like in the basement or an outside spigot) and the highest one (maybe an upstairs bathroom sink). This simple step is the difference between a smooth installation and a frantic, soggy call to a plumber.
This quick visual guide sums up the prep work we've covered, from grabbing your tools to prepping the pipes.
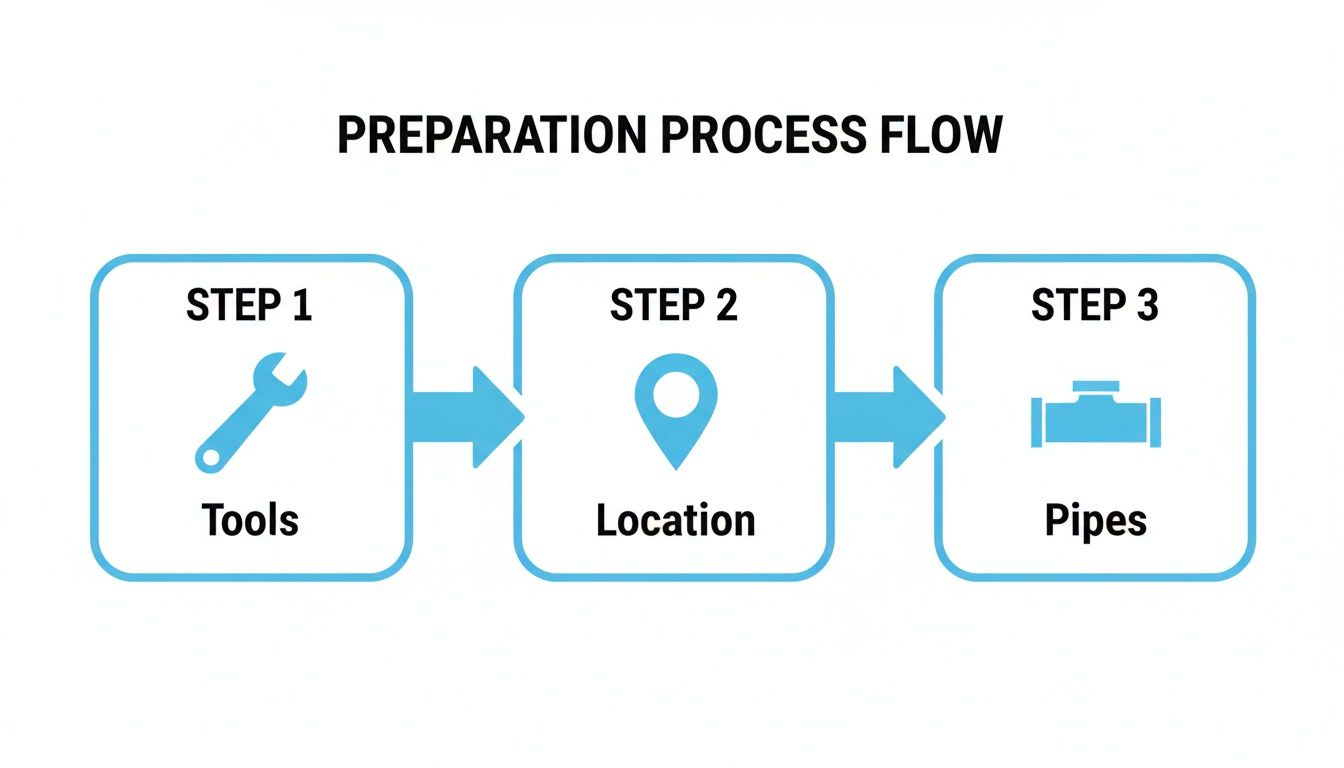
Think of it this way: good prep work is the foundation for a successful install. It makes sure you have everything you need before you make a single cut.
Making the Cut and Installing the Bypass
Here we go—the point of no return. It’s time to cut into your main water line. Carefully measure the space you'll need for the bypass valve assembly that came with your softener. Remember the old rule: measure twice, cut once. It definitely applies here. Use a pipe cutter for a clean, straight cut and keep a bucket handy to catch any leftover water.
With that section of pipe removed, you can install the bypass valve. This little piece is a lifesaver, letting you shut off water to the softener for maintenance without turning off water to the whole house. Most modern systems are pretty DIY-friendly, using push-to-connect or threaded fittings. Just make sure the arrows on the valve are pointing in the direction of the water flow—away from the main and toward the rest of your home's plumbing.
Connecting to the Control Valve
Now that the bypass is in, it's time to connect it to the softener's control valve. This is the brain of the whole filtration operation. It tells the water where to go and manages the cleaning (regeneration) cycle. Your kit should have flexible connector hoses or fittings for this.
Hand-tighten the connections first, then give them a gentle quarter-turn with a wrench. A classic rookie mistake is cranking down on these fittings, especially the plastic ones. Overtightening can create tiny cracks that turn into slow, disastrous leaks over time. You’re looking for a snug, watertight seal, not a new world record in grip strength.
To really nail your install, it helps to understand the bigger picture of plumbing. For a deeper dive, check out this complete plumbing installation guide.
Securing the Brine and Drain Lines
Your diagram also shows two smaller lines coming from the control valve. Don't overlook them—the brine line and drain line are essential for the softener to actually do its job and recharge itself.
- The Brine Line: This is the thin tube running from the control valve to the salt tank. It pulls the saltwater solution into the resin tank during the regeneration cycle. Make sure the compression fittings on both ends are tight enough to keep air from getting sucked in, which can mess up the whole process.
- The Drain Line: This line gets rid of all the hard minerals and wastewater after the regeneration cycle. You'll run it from the control valve to a suitable drain—a floor drain or utility sink works great. Be sure to secure it so it doesn't pop out and start spraying funky water all over your basement.
Critical Safety Note: The drain line needs an air gap. This means the end of the drain tube must hang at least 1.5 inches above the top of the drain. This gap prevents nasty wastewater from being siphoned back into your clean water supply. It's not just a suggestion; it's a mandatory plumbing code in most places.
Getting these connections right is what empowers you to tap into a growing trend. The residential water softener market, guided by these same principles, was worth USD 1.12 billion back in 2018 and has seen a 25% yearly installation surge. With hard water affecting 80% of urban supplies, a good DIY install doesn't just save you a plumber's fee—it protects your appliances from about $300 in yearly damage.
Final Checks Before Powering On
Before you even think about turning that main valve back on, do one last sweep. Go over every single connection you made. Run your hand over the fittings on the bypass valve, the control head, and that tiny nut on the brine line. Double-check that everything feels solid and matches your water softener installation diagram.
This final check is your best defense against leaks. A couple of minutes of inspection right now can save you hours of cleanup and a massive headache later. Once you’re confident everything is buttoned up, you're ready for the final stage: turning on the water and programming your new system.
Powering Up and Programming Your System
The pipes are all connected, and your setup is finally starting to look like the installation diagram. But the wrench-turning is only half the battle. Now it’s time for the crucial final phase: the initial startup and programming. This is where you breathe life into your water filtration system and teach it how to protect your home.
The very first thing you’ll do is turn the water back on—but slowly and methodically. Make sure your water softener is still in the bypass position, then just crack open the main water shutoff valve. You want water to trickle back into your plumbing, not blast through like a fire hose.
This gentle repressurization gives you a chance to meticulously inspect every single connection you made for drips. I like to use a dry paper towel and touch it to each fitting; the slightest hint of moisture means you need to shut the water off and give that connection another quarter-turn. Once you're absolutely certain everything is bone-dry and watertight, you can fully open the main valve.
Opening the Gates to Soft Water
With your connections leak-free, it’s time for the moment of truth. Slowly open the bypass valve to let water flow into the softener for the first time. You’ll hear some gurgling and hissing as air gets purged from the resin tank and pushed out through your pipes. Don't worry, this is completely normal.
Just head to the faucet farthest from your softener (like a second-floor bathroom sink) and open the cold water tap. Let it run until the stream is clear and free of any air bubbles. This ensures the entire system is filled and ready for the next step: plugging it in and programming the control head.
Key Takeaway: That initial water test is your final quality control check. Taking your time here prevents a tiny drip from becoming a major flood. A little patience now will save you a massive headache later.
Demystifying the Control Head Settings
The control head is the brain of your softener, and programming it correctly is what makes the magic happen. While every model’s interface is a bit different, they all need the same core information to run efficiently. Getting these settings right from the jump is the key to an effective and efficient home water filtration system.
You will typically need to input three main things:
- Current Time: This tells the softener when it’s okay to run its cleaning cycle.
- Water Hardness: Measured in grains per gallon (GPG), this is the most critical setting. It dictates how often the system needs to regenerate.
- Regeneration Time: You can schedule the cycle for a time when nobody is using water. 2 AM is the classic choice for a reason.
Entering the correct water hardness value is non-negotiable. If you set it too low, you'll get hard water creeping back into your home before the next cycle. Set it too high, and the system will regenerate way too often, wasting hundreds of gallons of water and bags of salt every year.
It's no wonder these systems are so popular. North America led the water softeners market in 2024, holding a global share of about 39.17%. That’s largely because an estimated 60 million U.S. households are dealing with moderate-to-hard water. For those homeowners, a properly programmed softener can extend appliance life by 30-50%, cutting down on repair costs that often average $500 annually in hard water areas. Following a precise water softener installation diagram and programming it correctly helps ensure your system performs as expected. You can explore more about the growth and benefits of the water softener market here.
This table breaks down the most common settings you'll encounter on your control head. Understanding these will help you dial in your system for peak performance and efficiency.
Common Control Head Settings Explained
| Setting | What It Controls | Why It's Important |
|---|---|---|
| Water Hardness (GPG) | Determines the capacity of the resin between regenerations. | The most critical setting. Too low causes hard water breakthrough; too high wastes salt and water. |
| Regeneration Time | Sets the time of day (e.g., 2:00 AM) for the automatic cleaning cycle. | Prevents regeneration during peak water usage times, ensuring you always have soft water when you need it. |
| Salt Setting | For some models, this sets the amount of salt used per regeneration. | Balances salt efficiency with water softness. A higher salt dose provides more capacity but is less efficient. |
| Regeneration Type | Switches between "metered" (demand-based) and "timed" (scheduled) cycles. | Metered is far more efficient, as it only regenerates after a specific volume of water has been treated. |
Once you have these core settings programmed, your system will be ready for its first official run.
Kicking Off the First Regeneration Cycle
With your settings locked in, the final step is to initiate a manual regeneration cycle. This isn't just for practice; it serves a vital purpose. It allows the system to flush out any leftover manufacturing residue from the resin tank and properly prepares the resin beads for their first water filtration job.
Just find the "Regen" or "Recharge" button on your control head and hold it down for a few seconds. The softener will immediately kick off its first cycle. This is your chance to watch the whole process unfold, making sure water is properly drawn from the brine tank and flushed out the drain line.
Once it completes this first cycle, your system is officially online and ready to deliver soft, luxurious water to your entire home.
Common Installation Mistakes to Avoid
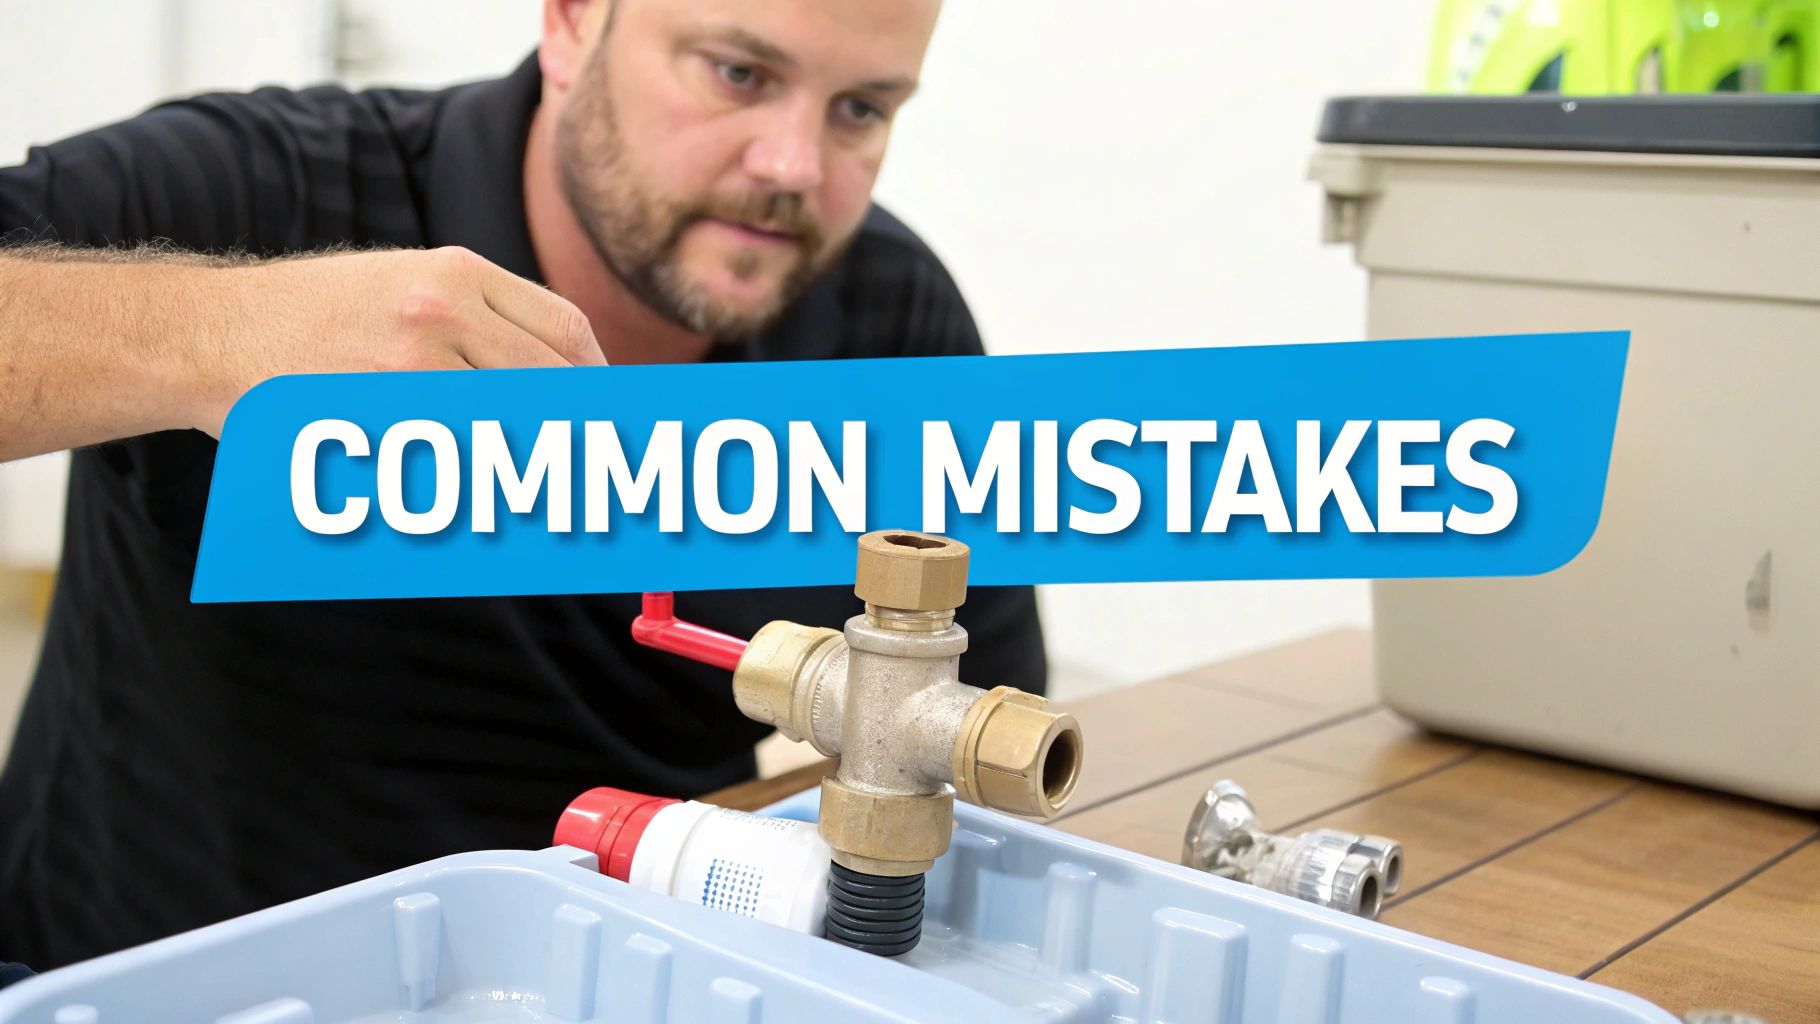
Look, even the best water softener installation diagram can’t save you from a few classic blunders I see all the time. The secret to a smooth install isn’t being a master plumber—it’s knowing how to sidestep the handful of common, and often costly, mistakes that trip people up.
These simple errors can quickly turn a satisfying home filtration project into a nightmare of leaks, a softener that doesn't soften, and money down the drain. Let’s walk through the most common foul-ups so you can get it right the first time.
The Classic Inlet and Outlet Mix-Up
It sounds way too basic to be a real issue, but hooking the unit up backward is easily the number one mistake I see. Your control valve will have ports clearly marked "IN" and "OUT." If you connect your incoming hard water to the "OUT" port, you're forcing water through the filtration system the wrong way.
This doesn't just mean your water won't get soft; it can actually damage the internal parts like the resin bed and distribution tube, which are built for water to flow in a specific direction.
The Fix: Before you wrench anything down, stop and trace the pipes with your finger. Say it out loud: "This is the hard water coming from the main, and it's going into the 'IN' port." It feels silly, but this five-second check can save you hours of teardown and frustration.
Forgetting the Essential Drain Line Air Gap
This one isn't just a simple mistake; it's a serious health risk and a code violation in most places. The drain line is where your softener purges all the brine and hard minerals during its cleaning cycle. If you shove the end of that drain tube directly into a floor drain or sink, you risk siphoning that nasty wastewater right back into your clean water supply.
It’s called back-siphonage, and it can contaminate your entire home’s plumbing system.
- The Rule: You absolutely must have an air gap of at least 1.5 inches between the end of your drain line and the point where water could overflow the drain.
- The Method: Just secure the tube so it hangs above the drain. Don't create a sealed connection. It’s that simple.
Over-Tightening Plastic Fittings
I get it. When you're dealing with water, you want every connection to be rock solid. But most modern softeners use control valves and bypass valves made from high-strength plastic, not brass. If you crank down on them with the same force you'd use on a metal fitting, you can easily cause hairline cracks.
You might not even see a leak right away. But over time, water pressure will find that weak spot and start a slow drip that can lead to some serious water damage. The goal here is "snug," not strained.
Here’s the right way to do it:
- Hand-tighten the fitting as far as it will go.
- Then, use your wrench to give it just another quarter to a half turn.
- That's it. Stop right there. This is all you need for a perfect seal without risking damage.
Choosing a Poor Location
Where you put your filtration system is just as important as how you plumb it. Stick it in an unheated garage in a cold climate, and you're just asking for a frozen, cracked tank and a massive flood. At the same time, wedging it into a tiny closet will make hauling 40-pound bags of salt a miserable chore.
Before you cut a single pipe, make sure your spot is:
- Protected: Away from freezing temperatures.
- Accessible: With plenty of room to open the lid and pour in salt.
- Level: The unit needs to sit on a flat, stable surface to work correctly.
Getting the location right from the get-go, just like your water softener installation diagram shows, will save you from a world of hurt down the road.
Your Water Softener Installation Questions Answered
Even with the best water softener installation diagram and a pile of new tools, a few questions always manage to pop up. Think of this as your final check-in, where we'll tackle those common head-scratchers that can trip you up. Getting these last few things straight will give you the confidence to finish the job and finally start enjoying the benefits of a complete home water filtration system.
From whether you should call a pro to figuring out just how hard your water actually is, let's get these last few questions answered so you can wrap this project up.
Do I Need a Plumber to Install a Water Softener
This is the big one, and the honest answer is… maybe. For many homeowners with some solid DIY experience, this is a totally doable project. If you’re comfortable with the idea of cutting into your main water line and have a good handle on basic plumbing, you can probably tackle this yourself.
But, if the thought of making that first cut sends a jolt of anxiety down your spine, or if your local codes demand it, hiring a plumber is the way to go. A pro guarantees the install is up to code, which is especially important for things like backflow prevention and the drain line air gap, ensuring your water filtration is both effective and safe.
Where Is the Best Place to Install a Water Softener
Location is everything. The perfect spot is right where the main water line enters your house, but before it splits off to the water heater. That’s the only way to ensure both your hot and cold water get treated, protecting all your pipes and appliances.
Look for a spot that checks these boxes:
- It's on a level surface that can handle the weight of the tank when it's full of water and salt.
- It has easy access to a standard electrical outlet.
- It's close to a suitable drain, like a floor drain or a utility sink.
- It's in a spot that will never freeze.
Basements, utility closets, or a heated garage are usually your best bets. Just make sure you leave enough elbow room around the unit to make refilling salt and doing maintenance a hassle-free job later on.
Pro Tip: Don't forget about your outside spigots and sprinklers. You almost never want to soften the water going to your lawn and garden—the sodium from the softening process is terrible for plants. Make sure you install the softener after any pipes that tee off to feed your outdoor faucets.
What Happens If I Install My Water Softener Backward
Hooking up your water softener backward by swapping the inlet and outlet pipes means it simply won't work. Water is supposed to flow down through the resin bed in a very specific way. Reversing that flow can actually damage the internal parts of your filtration system, like the delicate resin beads and the distributor tube.
The system also won't be able to regenerate properly, which means it can't clean itself, and you'll be stuck with hard water. Always, always double-check the "IN" and "OUT" arrows on the control valve before you tighten those final connections.
How Do I Determine My Water Hardness Level for Programming
This is the single most important piece of info you'll need to program your new system. The most reliable way to get it is with a simple water hardness test kit, which you can grab online or at any home improvement store. They’re cheap and give you an exact number in just a few minutes.
You can sometimes find this information in your city’s annual water quality report, which is usually posted on your local utility's website. If you're on a private well, testing is an absolute must. Punching in the right hardness level—measured in grains per gallon (GPG)—ensures your softener only regenerates when it needs to. That’s a huge long-term savings in both salt and water.
At Water Filter Advisor, our mission is to give you the clear, practical information you need to improve your home's water. From detailed diagrams to troubleshooting tips, we're here to help you make confident decisions about your home water filtration. Explore our in-depth guides and reviews at https://www.waterfilteradvisor.com.