RO+UV+UF+TDS Water purifier: How to Install Guide Kent Pearl | Kent
This video explains the installation process of your Kent RO Water Purifier.
KENT Pearl is a wall mounted RO water purifier that has a modular design, which is suitable for wall mounting or counter-top installation, providing users with a choice to install it as per their requirement. It has a transparent and detachable storage tank, which ensures easy on-site cleaning. The tank can be easily removed and cleaned without the help of a technician. Also the transparent tank makes the purifier visually appealing.
The following is step by step guide for how to install Kent Pearl water purifier –
Step 1 – Unpack your RO filter from the box using a knife/scissor and place the purifier on your kitchen slab or Plane surface. Check all the items that come with the water purifier ( List is mentioned in the video)
Step 2 – For setting up the water connection, keep all the plumbing tools ready before turning off the main water line. Remember, install the water purifier on normal water supply and not on hot water supply. Learn the further steps of installation from the video.
Step 3 – It’s time to mount the water purification system. Use the drilling sticker to drill two holes on the wall where the water filter will be placed.
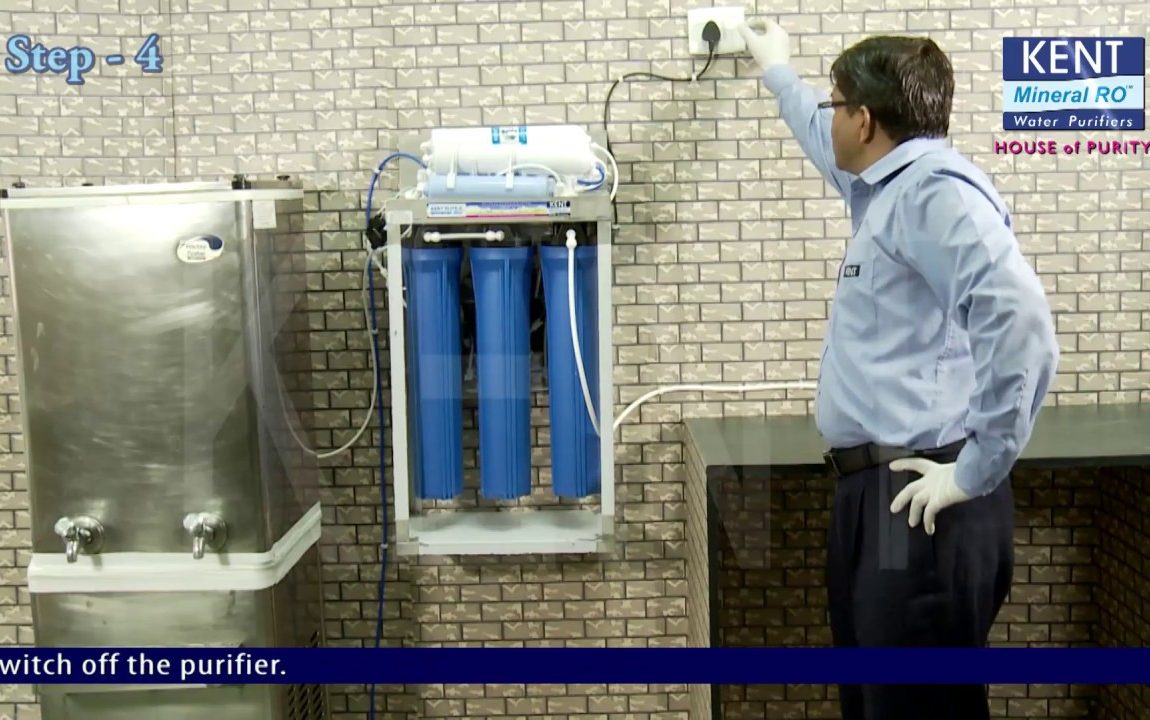
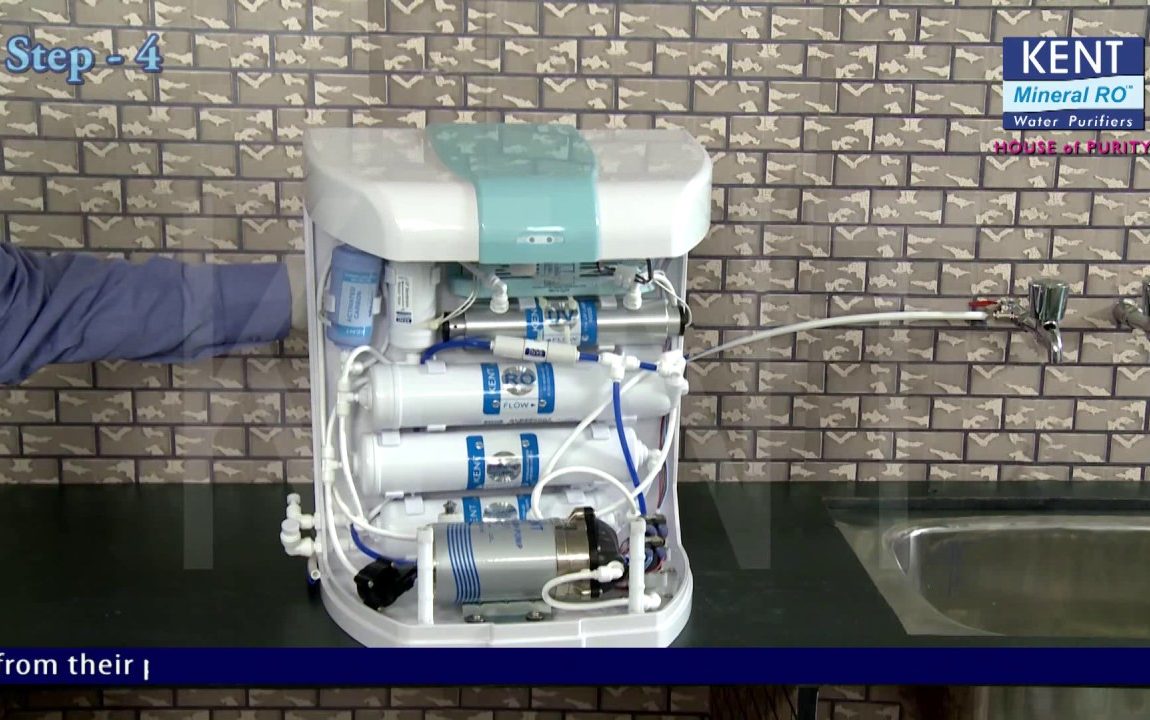
Step 4 – For installing the RO Purifier, remove the front transparent cover and cut the wires holding the carbon block, Sediment filter, UV chamber, and RO membrane. Then hang the purifier on the wall where the screws were drilled. Learn the next steps in the video to turn on the water supply to the purifier.
Step 5 – In this step, learn how to check and adjust TDS level to get healthy and tasty drinking water from Kent RO water purifiers.
Give your family a healthy and pure lifestyle with Kent Pearl water purifier –
Visit to know more.
Subscribe:
Kent RO Systems Ltd –
Like us:
Facebook:
Follow us:
Twitter:
LinkedIn:
Original Video Source