
So you want to know what's really in your tap water? Good call. Testing for chlorine is surprisingly simple. You can use test strips, grab a liquid kit, or get fancy with a digital meter. This quick check is your first step to exposing the secrets in your pipes, arming you with the intel needed to pick the right water filtration system. The goal? To finally get that pure, clean taste you've been missing.
Why Bother Testing Your Tap Water for Chlorine?
Let's be real—most of us turn on the tap without a second thought. But ever catch a whiff of that faint swimming pool smell? That’s your old friend, chlorine. It's the go-to disinfectant that stops our public water supply from becoming a bacterial free-for-all.
While it's a hero for public health, its job should be over long before that water hits your coffee maker. Knowing the specific chlorine levels in your home's water is the secret to choosing a filter that actually works. This isn't about guesswork; it's about getting hard numbers so you can make a smart move. Think about it—before modern water treatment, cities were constantly fighting off waterborne diseases. The introduction of chlorination was a game-changer, slashing illnesses like typhoid and cholera. But that doesn't mean you want it in your drinking glass.
Free Chlorine vs. Total Chlorine: The Showdown
When you run a test, you're looking for two different villains. Nailing down the difference between them is the key to finding a filter that will actually get the job done.
- Free Chlorine: This is the active, germ-killing stuff. It's the frontline soldier keeping your water safe as it travels from the treatment plant to your faucet.
- Total Chlorine: This is the big number that includes both free chlorine and its sneaky sidekicks, chloramines. Chloramines are what you get when chlorine mixes with organic stuff in the water. They are more stubborn and are often the real culprit behind that "chemical" taste and smell you can't stand.
Knowing both figures helps you diagnose the problem. High free chlorine means a strong chemical taste. But high total chlorine points to those pesky chloramines, which many basic filters can't touch.
Testing takes all the guesswork out of buying a water filter. It gives you a clear, data-driven starting point so you can invest in a solution that targets what's actually in your water, instead of just grabbing a generic filter pitcher that might not be up to the task.
This proactive approach puts you in control. Just like you'd want to know what's in your water, it's smart to consider other parts of your home's environment, like the air you're breathing every day. You can learn more about creating a healthier living space with expert air quality tests for a safer home. Ultimately, testing for chlorine empowers you to take charge of your water quality, leading you straight to the perfect filtration strategy.
Finding the Right Chlorine Test Kit for Your Home
Choosing a chlorine test kit can feel a bit overwhelming. Walk into any hardware store and you'll see a wall of options—strips, droppers, and digital readers, all promising to reveal the truth about your water. The trick is to match the tool to your mission. Your home water filtration goals will point you to the right choice.
Think of it this way: if you just snapped a new filter into your pitcher and want a quick thumbs-up that it's working, simple test strips are perfect. They're cheap, fast, and give you a solid ballpark reading in seconds.
But if you're installing a whole-house filtration system or trying to figure out why your tap water tastes a little "off," you're going to need more precision. That’s where liquid reagent kits and digital meters enter the ring. They deliver the detailed data you need to make bigger, more informed decisions about your home's water quality.
Comparing Your Testing Options
The world of home water testing really boils down to three main players. Each has its own strengths and weaknesses, so there's no single "best" option—it's all about what fits your budget, your patience, and your need for dead-on accuracy.
To make it easier, I've put together a quick comparison of the most common types of chlorine test kits you'll find. This should help you zero in on the best one for your situation.
Comparison of Home Chlorine Test Kits
| Test Kit Type | Best For | Accuracy | Ease of Use | Average Cost |
|---|---|---|---|---|
| Test Strips | Quick spot-checks & confirming a filter is working | Low to Moderate | Very Easy | $10 – $20 |
| Liquid Reagent Kits | Accurate home testing & troubleshooting | Moderate to High | Moderate | $15 – $30 |
| Digital Meters | Precise, data-driven analysis & system optimization | Very High | Easy | $50 – $150+ |
As you can see, you can get started for very little money, but investing a bit more can give you a much clearer picture of what's happening in your pipes—and which filter can fix it.
Let’s break these down a bit more:
- Test Strips: The speed demons of water testing. You just dip a strip into your water, wait a few seconds, and match the color to a chart. They're fantastic for quick checks and getting that instant gratification that a new filter is doing its job.
- Liquid Reagent Kits: The reliable workhorse. You add a few drops of a chemical reagent (like DPD) to a vial of water, and it changes color. Compare that hue to a color chart to find the chlorine level. This is a big step up in accuracy from strips without a huge jump in price.
- Digital Meters (Colorimeters): For the data nerds and precision fanatics. It works like a liquid kit, but instead of you squinting at a color chart, a light sensor measures the color change electronically. This eliminates the guesswork and gives you a precise, numerical reading—perfect for optimizing a high-end filtration system.
This infographic breaks down the two key measurements you'll be taking when you test for chlorine.

Understanding both free chlorine and total chlorine is fundamental. These two numbers are the foundation for any smart home filtration strategy.
Matching the Kit to Your Goal
Before you buy anything, ask yourself why you're testing. Are you just curious, or are you on a mission to solve a problem like dry skin after a shower or foul-tasting coffee?
The goal isn't just to get a number; it's to get actionable intel for your filtration strategy. A quick, cheap test is great for confirming a filter works, while a more precise test is essential for choosing and optimizing a whole-house system.
If you're about to invest in a serious filtration setup, you absolutely need an accurate baseline measurement first. For more in-depth guidance on choosing the right filters, check out the expert advice on Water Filter Advisor. Getting good data from the start is the only way to be sure you’re picking a solution that will actually solve your specific chlorine issues.
A Practical Guide to Testing Your Water
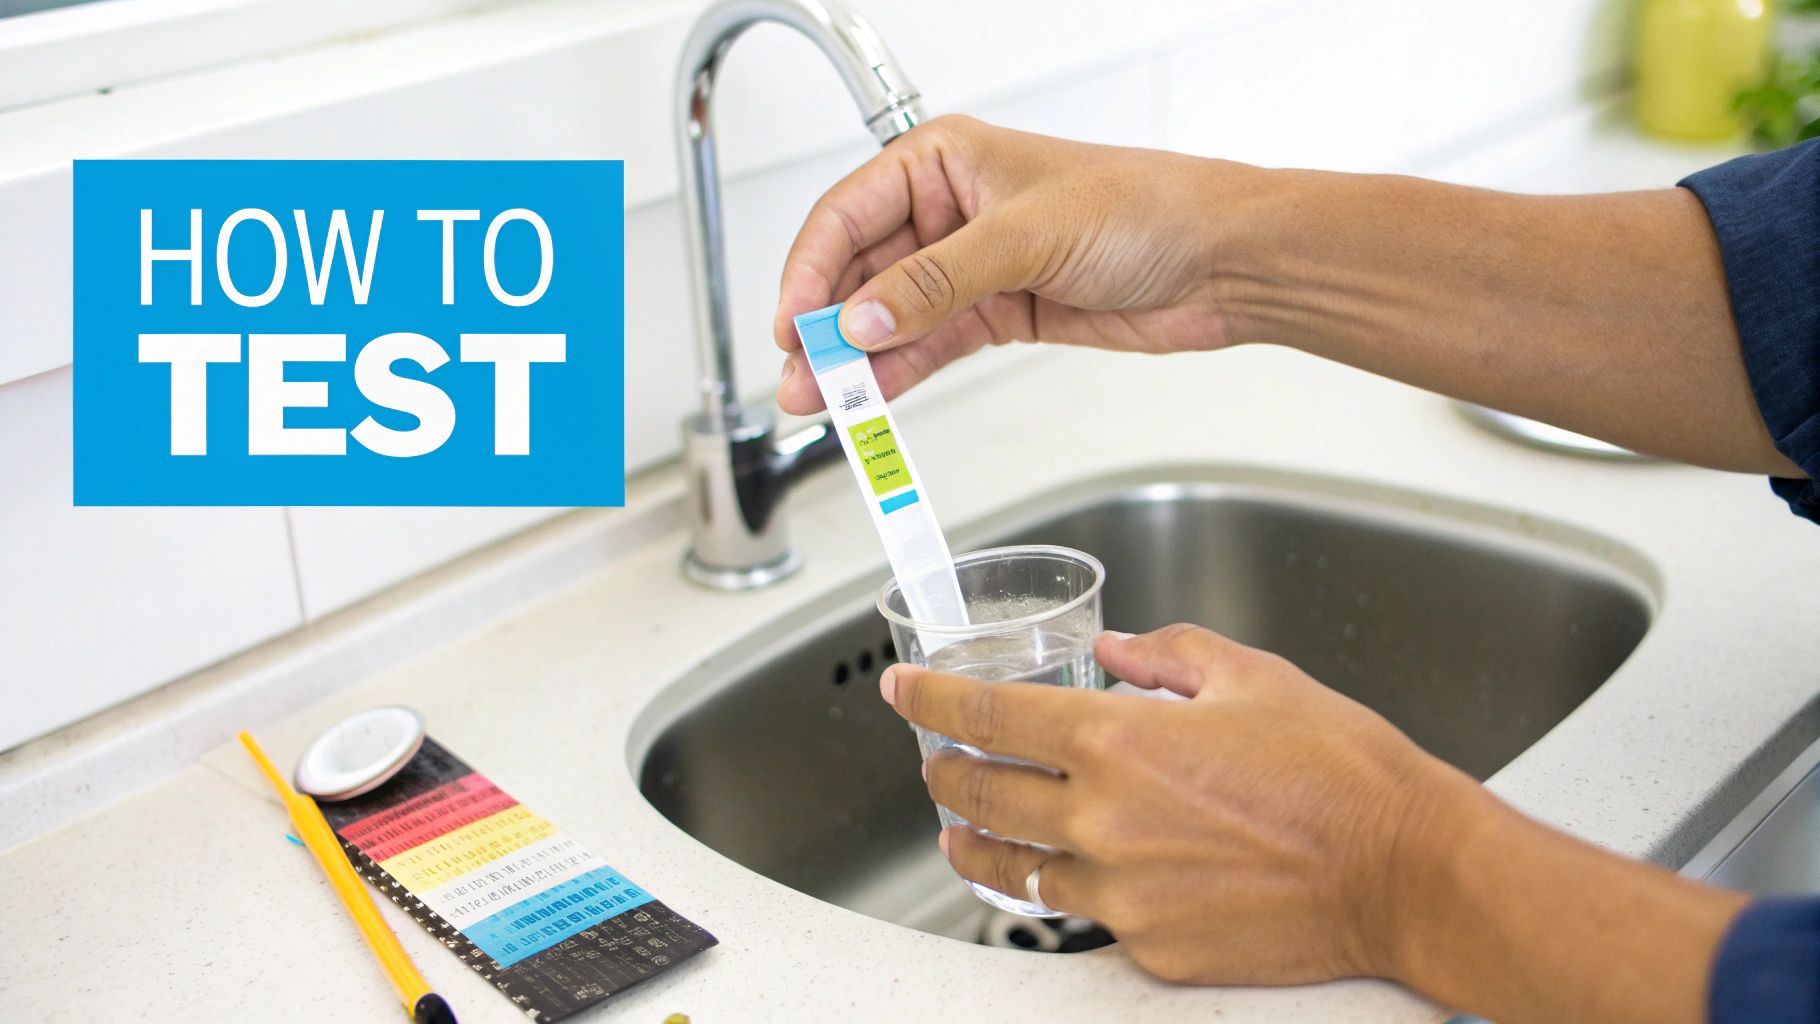
Alright, you've got your test kit. Now for the fun part. Forget the tiny, confusing print on the box for a minute—let's walk through how to actually do this right. Getting an accurate reading is the whole point, and a few simple tricks can make all the difference in choosing the right filter.
First things first: grab your water sample. Don’t just stick the vial under a trickling tap. Let the cold water run for at least 30 to 60 seconds. This flushes out any stagnant water sitting in your pipes, giving you a sample that truly represents what's flowing into your home from the main line.
Mastering Test Strips Without Mistakes
Test strips are the quickest way to get a reading, but their speed can be their downfall if you’re not careful. The most common mistake? Rushing the timing.
If you just dip the strip and immediately check the color, you'll get a faint, inaccurate reading. But if you leave it in too long, the reagents bleed out, also messing up the results. The sweet spot is a quick dip-and-remove, then waiting the recommended time—usually 15 to 30 seconds—before you match the color.
A few pointers to get it right every time:
- Keep it level: After dipping, hold the strip perfectly horizontal. This stops the colors on the different pads from running into each other and muddying the results.
- Find good light: Don't try to read the strip in a dim kitchen. Natural daylight is your best friend, as artificial lights can totally change how the colors look.
- Hands off the pads: The oils on your fingers can contaminate the little reagent pads. Always hold the strip by the plastic end.
Nailing the Liquid Reagent Drop Test
Liquid reagent kits, often using a DPD indicator, give you a nice bump in accuracy. You add a few drops to your water sample and watch for a color change, usually some shade of pink or red. It sounds simple, but the details really matter.
When the instructions say to "mix," they mean a gentle swirl or turning the capped vial over a couple of times. They definitely don't mean a vigorous, bubble-making shake. Shaking too hard dissolves extra oxygen into the water, which can interfere with the chemical reaction and skew your results.
Your goal is an even, consistent color throughout the sample. A gentle swirl is all it takes to mix the reagent completely without adding other variables that could lead you to buy the wrong type of filter.
Here’s another pro tip: hold the vial against a plain white background when you compare it to the color chart. A busy countertop can trick your eyes into seeing a different shade. A simple white piece of paper works perfectly and ensures you’re making an accurate assessment.
This kind of color-based testing has been the backbone of water safety for a long time. Developing reliable methods to test chlorine was a cornerstone of public health for over a century. Early techniques were basic, but modern tech allows treatment plants to keep chlorine levels in that sweet spot—between 0.2 and 2.0 mg/L—to kill germs without ruining the taste. You can learn more about the history of water testing on the USGS website.
Making Sense of Your Chlorine Test Results
So you've done the test, and now you’re staring at a color or a number. What does it actually mean for your water filtration plan? The real trick is translating jargon—like "parts per million" (ppm) or "milligrams per liter" (mg/L)—into a clear course of action.
A test result isn't just data; it's a direct command from your water on which filter to buy. Most city water systems aim to keep chlorine between 0.2 and 2.0 ppm. The EPA sets the absolute maximum at 4.0 ppm, a level your water should never even approach.
Getting these numbers right is a delicate balancing act for water engineers. They need enough chlorine to kill pathogens but not so much that it creates an unpleasant taste or harmful byproducts. You can learn more about how global water safety standards are maintained on ketos.co.
What Your Chlorine Reading Tells You
Honestly, what you do next comes down to your personal goals. Your test result is your personal benchmark for deciding if you need a water filter—and if so, which kind.
Let's break it down with some real-world filtration scenarios:
- Below 0.5 ppm: This is great news. Your water probably has very little chemical taste. A simple carbon-based pitcher or faucet filter is likely all you need to polish it to perfection.
- Between 0.5 ppm and 1.5 ppm: This is typical for most city water. You can definitely smell and taste the chlorine here. It might even cause dry skin. This is where a more robust under-sink or countertop filter becomes a smart upgrade.
- Above 1.5 ppm: At this level, the chlorine is impossible to ignore. Your iced tea tastes funky and your shower feels harsh. You should seriously consider a whole-house filtration system to get the chlorine out of every single tap.
A reading of 1.0 ppm might be perfectly safe according to public health guidelines, but if you're battling dry, itchy skin or can't stand the taste in your morning coffee, your personal standard is what truly matters when choosing a filter.
Free vs. Total Chlorine: What's the Goal for Filtration?
When it comes down to it, for the water you drink and shower in, you want both your free and total chlorine numbers to be as close to zero as possible. A good filtration system makes this happen.
Any reading above zero simply means there's a disinfectant in your water that has already done its job. Your test results give you the exact data you need to choose the right filtration system to get you there, turning a confusing number into a clear plan of action.
Choosing a Water Filter Based on Your Chlorine Levels
Alright, you've done the detective work. You have your test results. That's the diagnosis; now it's time for the cure. With your chlorine numbers in hand, you can stop guessing and finally pick a filter that solves your specific water problem.
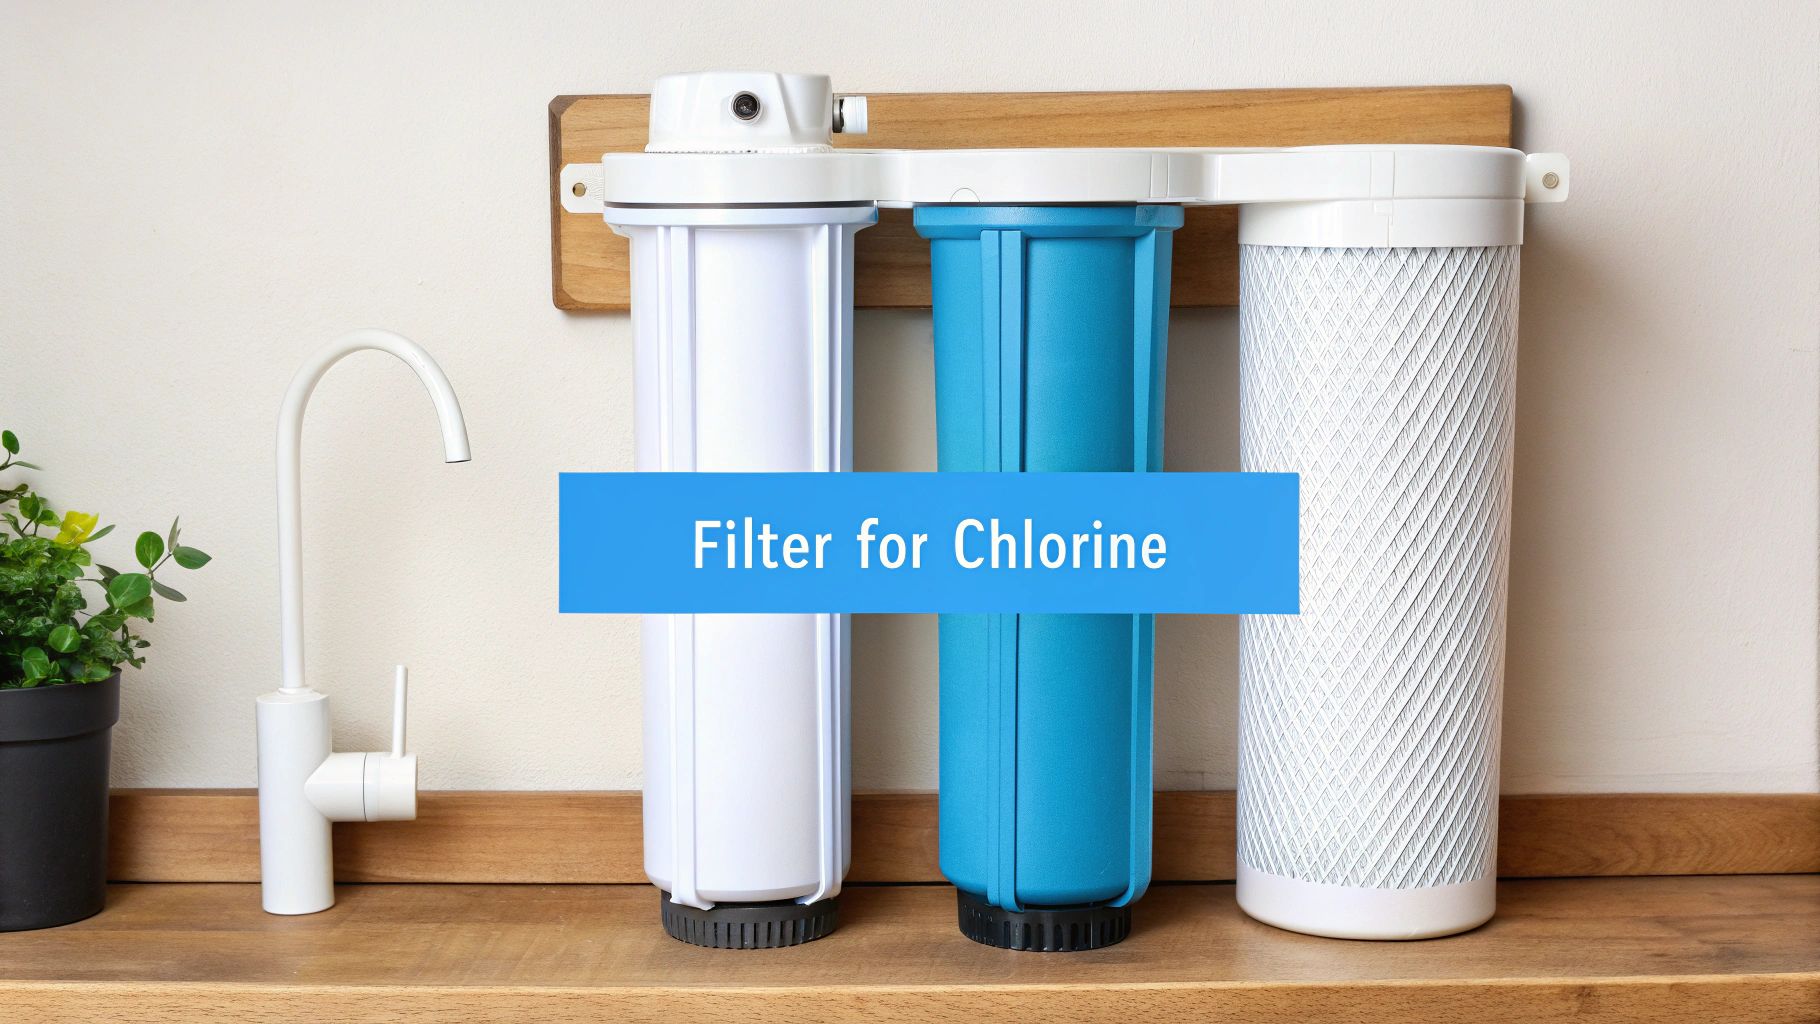
When it comes to chlorine removal, there's one clear champion: activated carbon.
Think of it like a powerful chemical magnet. Through a process called adsorption, it grabs onto chlorine and chloramine molecules, pulling them right out of your water. So, the real question isn't if you need a carbon filter, but which type is the right fit for your home.
Matching the Filter to Your Test Results
Your test results are your personal roadmap to pure water. A high chlorine reading just at the kitchen sink points to a completely different solution than a house-wide issue that makes your skin feel tight and itchy after every shower.
- Low to Moderate Chlorine (0.5 – 1.5 ppm): If you're mainly looking to improve the taste of your drinking water, a simple point-of-use filter is a great, wallet-friendly choice. This could be a pitcher filter, a faucet-mounted unit, or a countertop system. They're dead simple to install and focus on the water you consume.
- High Chlorine (>1.5 ppm): When your tests come back high, you feel the effects everywhere. This is when it's time to upgrade to a more serious system. An under-sink filter is a fantastic option for a dedicated stream of purified water, while a whole-house system tackles the problem at the source.
If your tests show high chlorine levels all over the house, a whole-house system is hands-down the best investment. It doesn't just fix the taste of your drinking water—it deals with the chlorine you absorb in the shower and the stuff that’s fading your clothes in the laundry.
Point-of-Use vs. Whole-House Systems
An under-sink system strikes a great balance. It gives you high-performance filtration right where you need it most—the kitchen tap—without the expense and installation of a full whole-house unit. These systems typically use larger, more powerful carbon block filters than what you'd find in a basic pitcher.
But if you’re truly fed up with dry skin, brittle hair, and that swimming pool smell every time you turn on a faucet, only a whole-house carbon filtration system gets to the root of the problem. It's installed at your main water line, transforming every single tap in your home into a source of clean, chlorine-free water.
Your test results gave you the data. Now you can make an informed choice and invest in a solution that will directly fix your water quality issues.
Common Questions About Chlorine Water Testing
Once you start testing, a few common questions almost always pop up. Let's tackle some of the things people wonder about as they dive deeper into their home filtration journey.
How Often Should I Test My Water?
This all comes down to your filtration setup and your goals.
If you have a whole-house carbon filter, checking your water every three to six months is a smart move. This confirms the system is still working hard and gives you a heads-up when a filter change is on the horizon.
Using a simpler pitcher or faucet filter? A quick test right after you install a new cartridge is a great way to confirm it’s working. After that, testing once or twice a year—or anytime the water starts tasting "off"—is plenty.
Why Do Chlorine Levels Change Seasonally?
You're not imagining things if your water seems more chlorinated in the summer. It's a real phenomenon.
When it gets hot, the warmer water in pipes and reservoirs creates a breeding ground for bacteria. To fight this, municipal water suppliers often increase the amount of chlorine they add. This means your filtration system has to work harder in July than in January, which is why regular testing is so important.
Do I Need a Special Kit for Chloramine?
Yes, and this is a big one. It's a critical distinction many people miss.
Most standard chlorine test kits use a DPD reagent that only measures free chlorine. The problem is, they can't properly detect chloramines—a more stable compound of chlorine and ammonia. Testing for chloramine requires a different chemical reaction.
To get the full story, you need a test kit that specifically measures total chlorine. The difference between your total and free chlorine readings reveals the amount of chloramine present. This is vital to know because chloramine is much harder for many standard carbon filters to remove, often requiring a special type of filter called catalytic carbon.
Here's a little pro tip: Don't just toss an expired test strip. While you shouldn't trust it for an exact reading, an old strip can often still give you a basic "yes/no" indication for high chlorine levels. It's handy for a quick, informal check when you don't need a precise number.
Keeping up with testing is what empowers you to make the best decisions for your home's water filtration. It ensures the system you've invested in is actually working as hard as you expect it to.
At Water Filter Advisor, we're dedicated to helping you find the perfect filtration solution based on your specific needs. Explore our in-depth guides and reviews to make a confident, cost-effective decision for safer, better-tasting water at home. Learn more at https://www.waterfilteradvisor.com.
- November 12, 2025
- 0
- Uncategorized